A spot free, completely clean, and brilliantly shiny 'Vette is flat-out sexy. While there are several waxes or coatings that can provide that final pop and appearance, we all love, those products are not effective unless the surface is clean and free of debris. Washing your Corvette is a crucial first step for optimal cleanliness and shine. But there is a good way and a correct way of accomplishing this task. And like every other DIY project, some elbow grease will be required for optimal results. Let’s break down the Two-Bucket method of car washing, which is highly recommended for the delicate finish of your Corvette’s performance-first body. We’ll provide you with all the tools and supplies needed, and some helpful hints for each step.
First – What Are Your Car Washing Options?
There is no debating this fact – using the right tool to complete any task simply makes sense. This is applicable to washing any year of Corvette. Most 'Vette owners opt for two ways of accomplishing this job:
High Pressure / Hands Free Washing
Two Bucket Hand Washing Method
The problem with the hands-free method is that it really doesn’t completely remove dirt and debris. Sure, you’re able to remove a large percentages of surface contaminants, but small particles that lead to paint damage and additional dirt collection. To wash the vehicle correctly, the two-bucket hand washing technique is optimal. If you’re not familiar with this technique, watch this video as it will provide an easy to follow process.
What You'll Need:
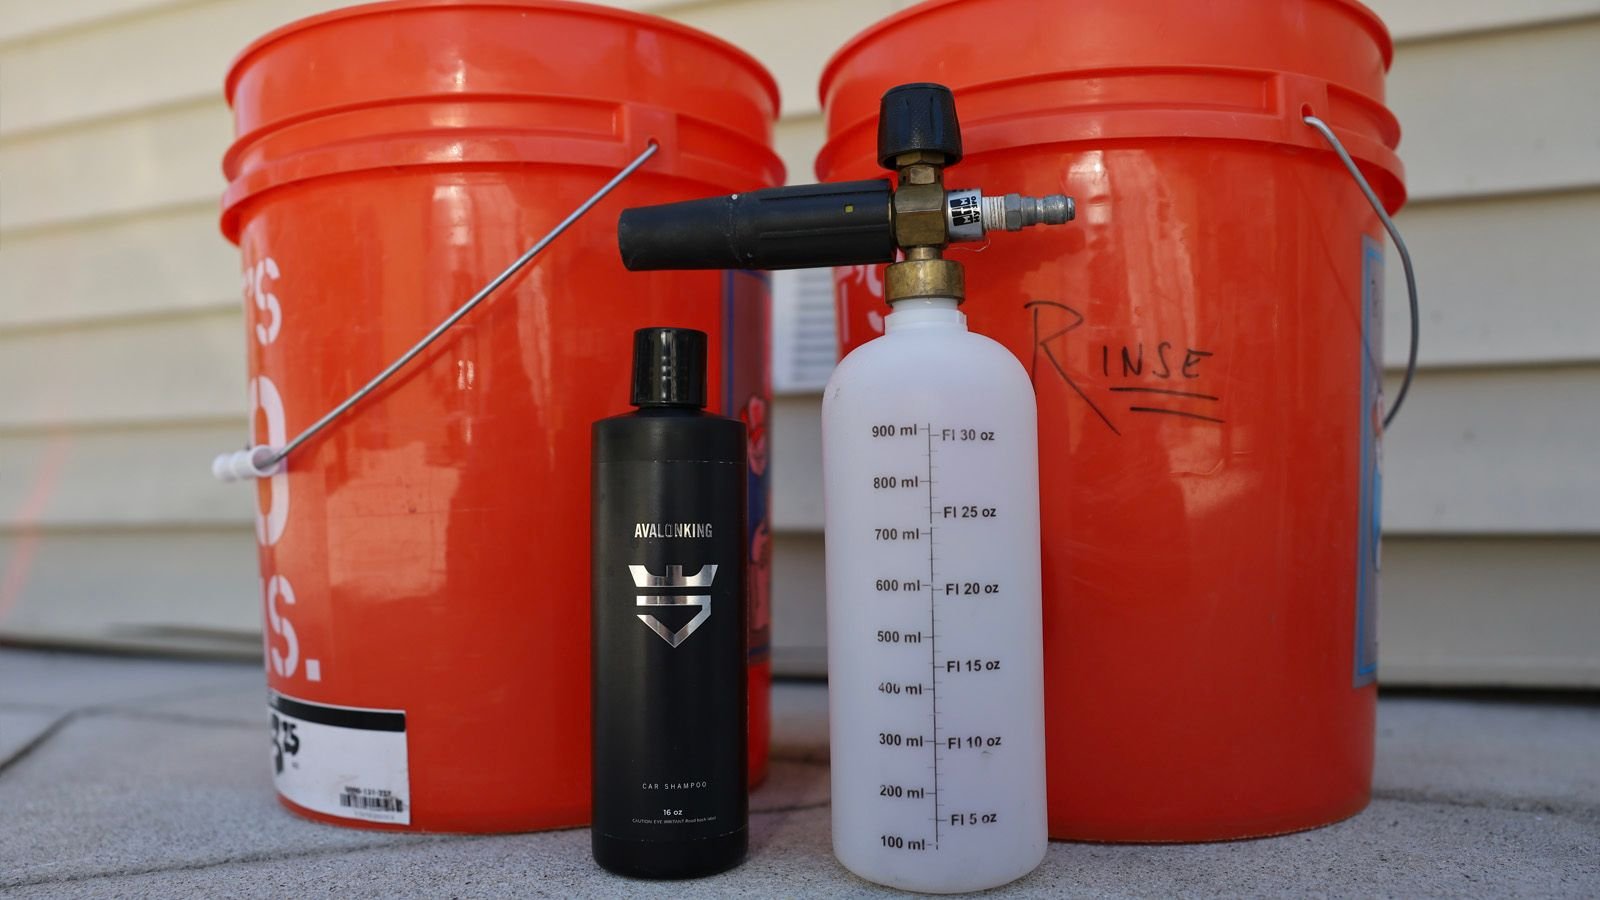
A High-Quality Car Shampoo: This is likely the most important product to secure – as it is important to choose one based on the type of paint protection product you use. If you use car wax or sealants, purchase a pH neutral car shampoo with added wax for lubrication. Those with ceramic coatings should use a pH neutral car shampoo without added wax (as you don’t want to contaminate the ceramic coating surface with cheap wax.
(3) Wash Buckets – (1) specifically for wheels and tires and (2) for washing your 'Vette
(2) Microfiber Wash Mitts – (1) specifically for wheels – the other for the vehicle
(2) Drying Towels – Always best to use a few large microfiber drying towels. If you can get one that is 24 x 30 inches, is made with a 70/30 Korean Microfiber Blend, 1,100 GSM, and a terry weave construction, that will handle all drying for your entire 'Vette.
Optional – If you have a high-pressure washer, consider investing in a foam cannon. This is a great tool that can be used as a pre-wash to dissolve caked on debris and reduce the potential of scratching and swirl marks during the hand wash process. We will include a step for using one in the instructions below.
Quick Tips:
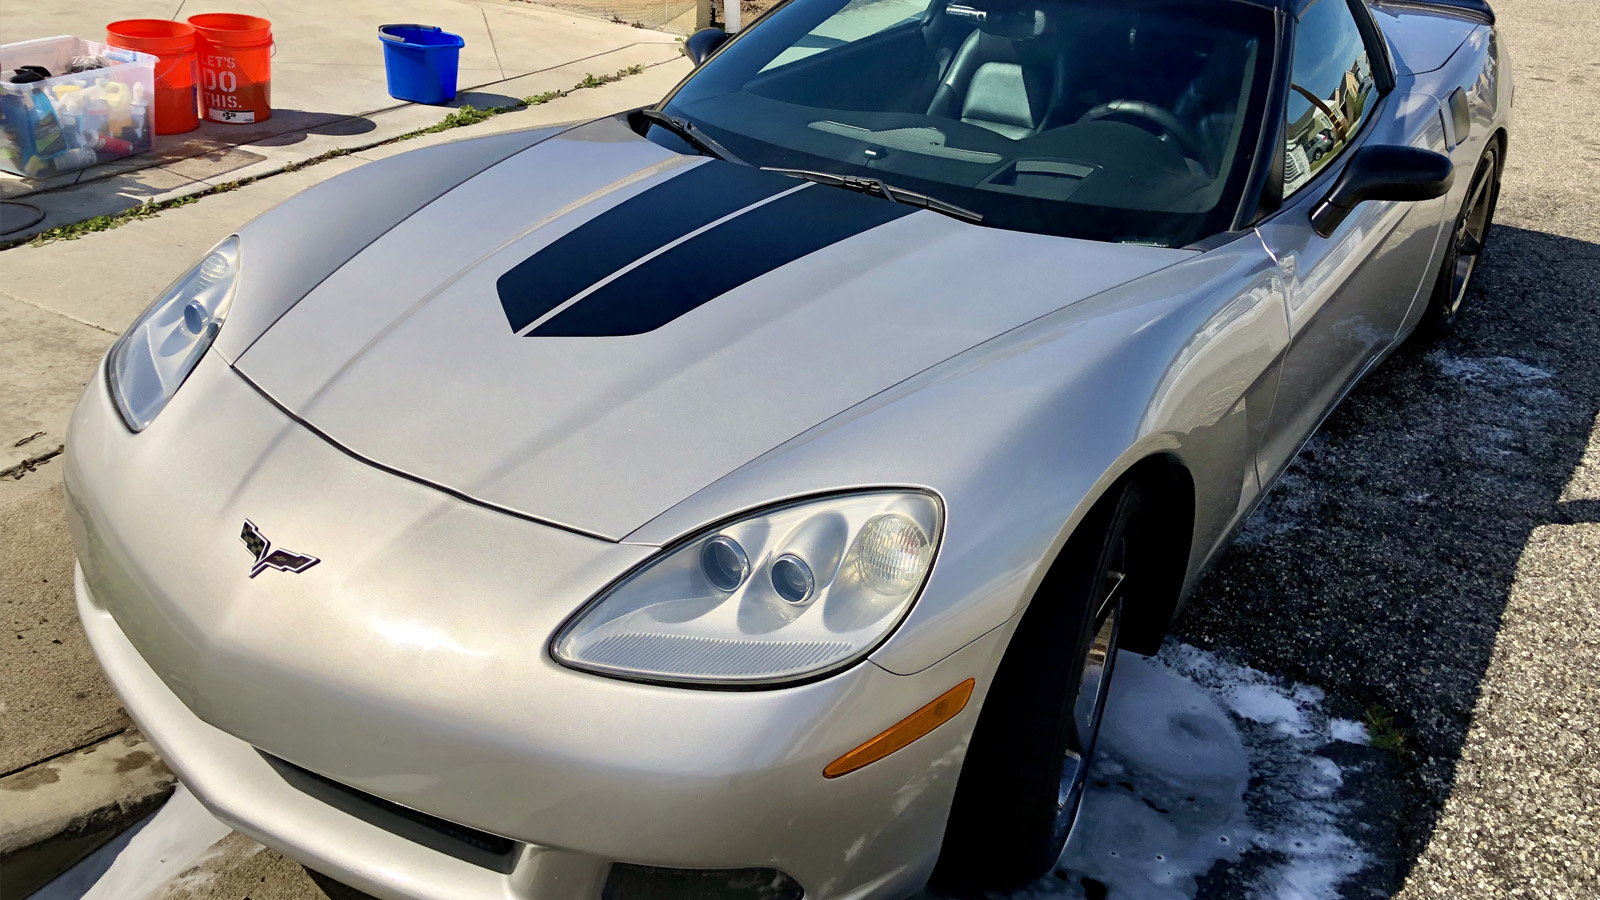
Never wash your car in direct sunlight. Early AM or late afternoon hours outdoors is recommended.
A rolling cart to hold your supplies (especially wash mitts and drying towels) is a great way to keep them free of contaminants on the ground.
Always collect all supplies and have them ready for easier access.
Step 1 – Pre-Rinse the Entire Vehicle
Once you’ve collected all supplies, start by pre-rinsing your Vette. This is intended to remove surface contaminants and debris from the vehicle, which reduces potential of scratching when hand washing starts. You can use a high-pressure washer along with a foam cannon or foam gun to apply a thick layer of suds on top of the vehicle. However, it’s a smart idea to wash your wheels and tires first, as you don’t want the soap to sit on the paint surface too long or it will dry.
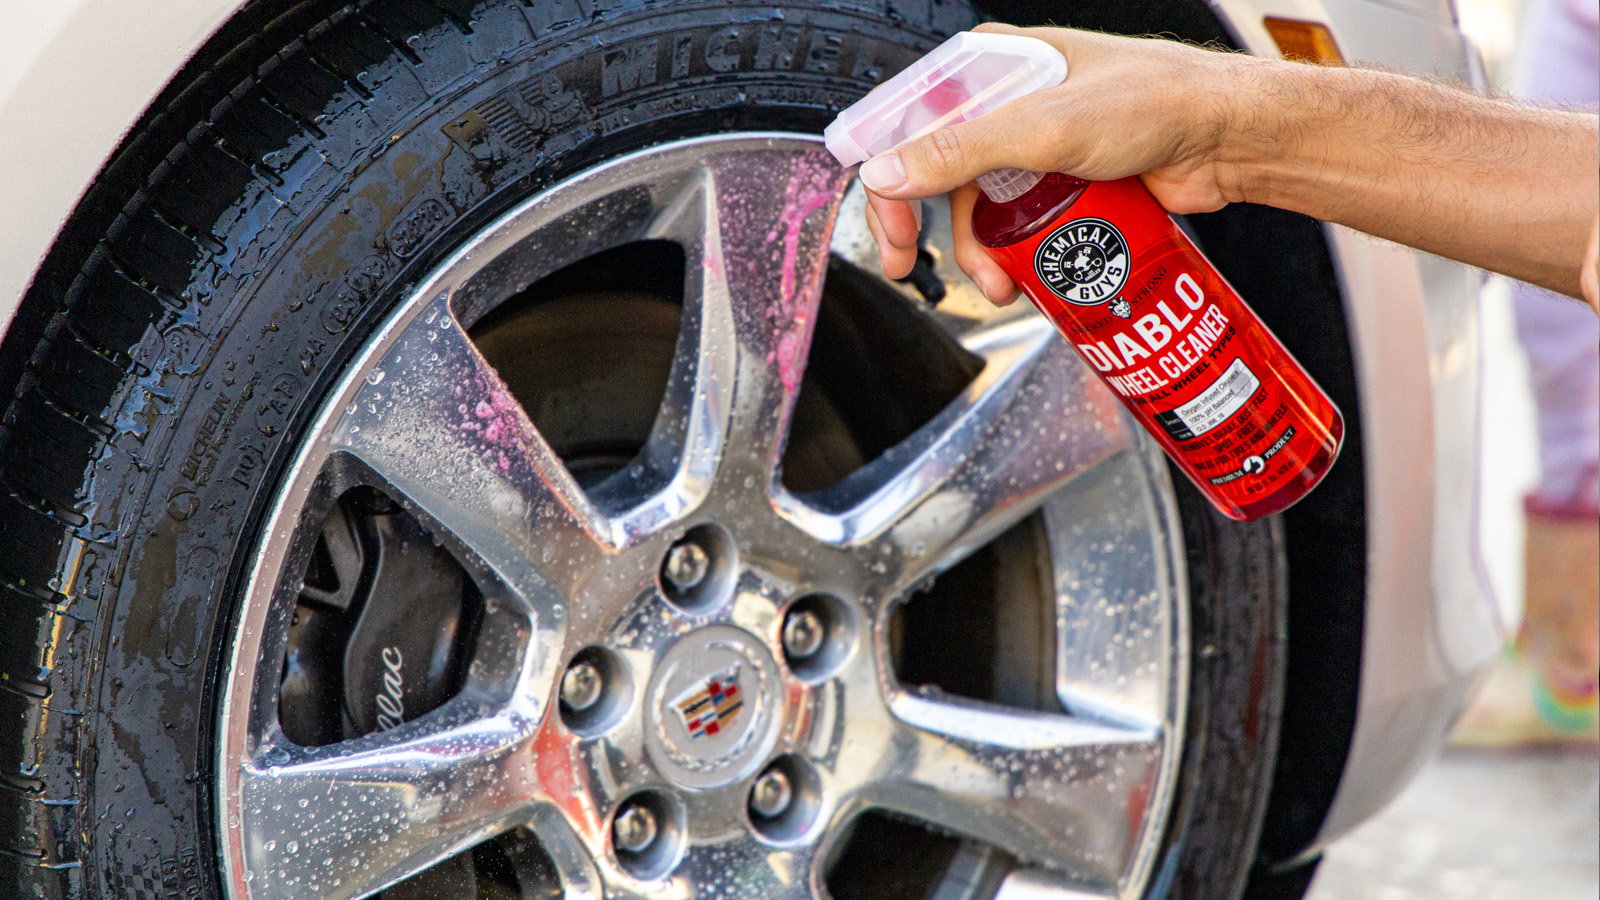
Step 2 – Wash Tires and Wheels
If your Corvette is wearing Michelin Pilot Sport All Season 4 tires like our car, it's going to be doing a lot of acceleration, quick handling, and nimble braking. All this activity creates a lot of brake dust, which can stick to wheels easily. Therefore, it’s always best to wash your wheels and tires before moving onto the paint surface.
Here are some quick tips.
Always use separate washing materials (wash mitt, scrub brush, and wash bucket) specially for the wheels and tires. You don’t want brake dust to blend with the same soap and supplies to wash your paint. This will result in less potential for scratching.
Wash all four tires and wheels, and rinse as you go. This will reduce potential of drying soap and keep the vehicle properly wet and soaked – reducing water spots.
Once you’re done, rinse off the entire car with fresh water.
Step 3 – Washing the Rest of the Vette
When the wheels and tires are clean, proceed to washing the rest of your Vette. This should be completed in three individual steps:
Pre-Wash with foam cannon or foam gun
Hand Washing (using two-bucket method)
Rinse off entire vehicle and dry immediately.
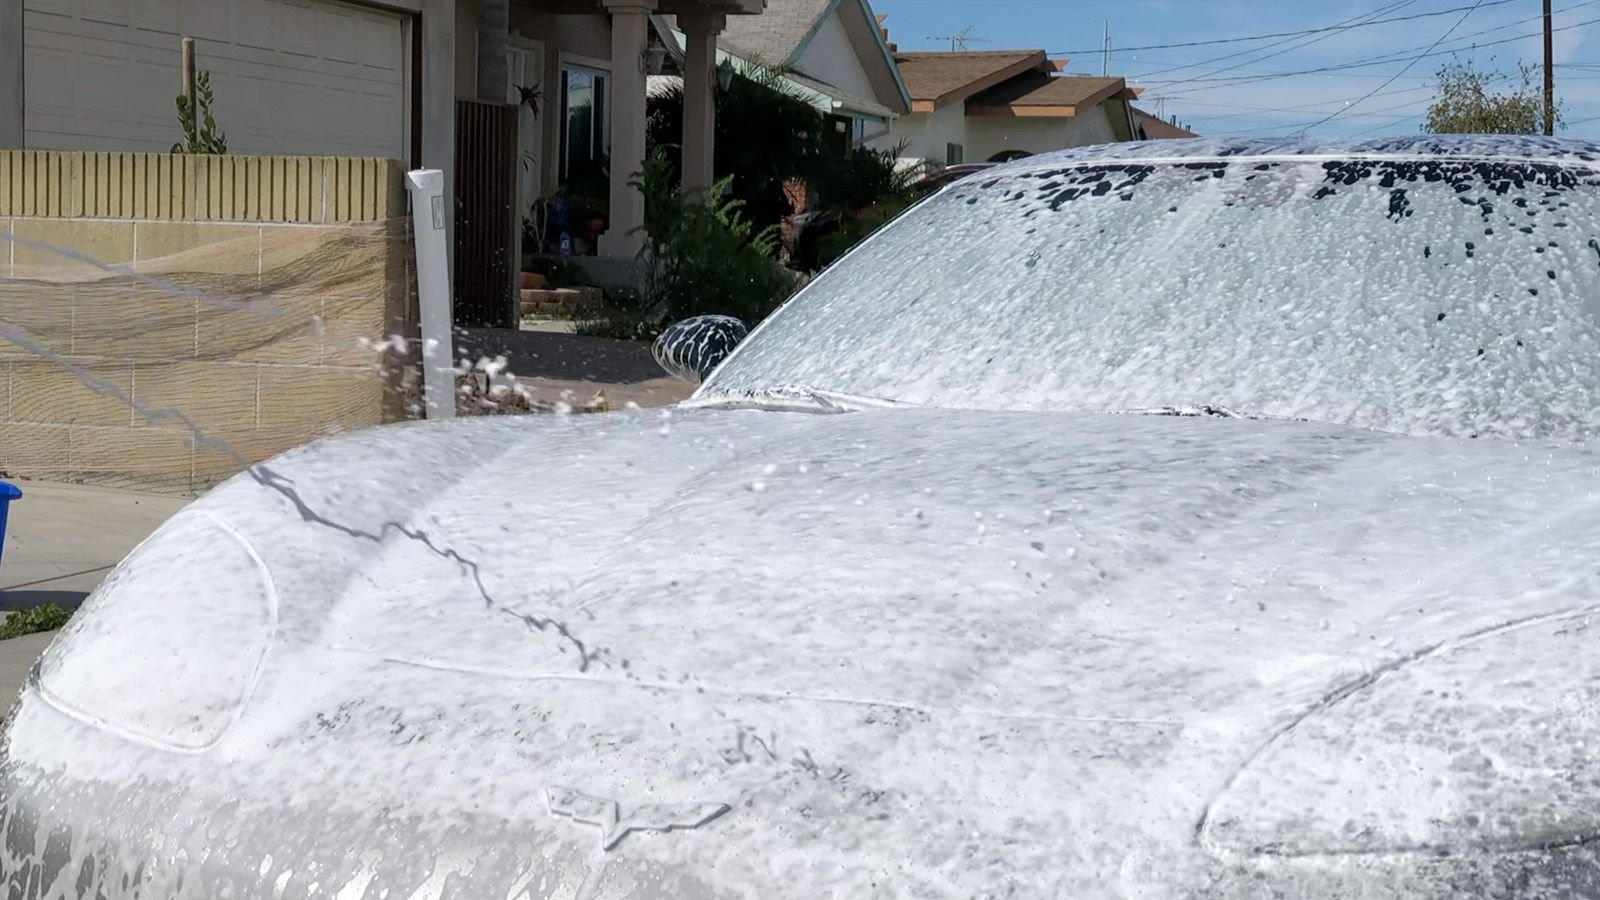
Pre-Rinse and Foam Cannon Wash
The objective of a pre-wash using a foam cannon is to spray off the entire car with the high-pressure washer – then apply a rich and thick layer of suds on top of the Vette. When using a high-quality car shampoo that is formulated to produce extra suds, you can spray it on top, let the soap break down contaminants, and then proceed to hand wash. There are some people who prefer to rinse the foam off prior to hand washing. That’s quite OK. In fact, it’s a great way to remove 80% of the dirt and debris remaining from the initial pre-rinse. This also makes hand washing easier and more effective.
TIP – Make sure to follow the car shampoo instructions for foam cannon use. Most of the best maintenance car shampoos recommend using 2 to 3 ounces per foam cannon load.
Fill the foam cannon with warm water from inside your house about ¾ full. Warm water helps the shampoo foam better.
Add the car shampoo.
Secure the lid, connect the foam cannon to the pressure washer, and lightly shake the bottle for a few seconds.
Spray the foam cannon solution on your paint surface.
Let the foam stand on the vehicle for about 3 to 5 minutes. During this time, you can prepare your wash buckets for the hand washing.
Fill one bucket with fresh water. This is your rinse bucket. The second bucket should be set up with car shampoo. Follow the soap manufacturers recommendation for dilution.
Rinse the car off completely – or start with the hand washing ASAP to avoid soap from drying.
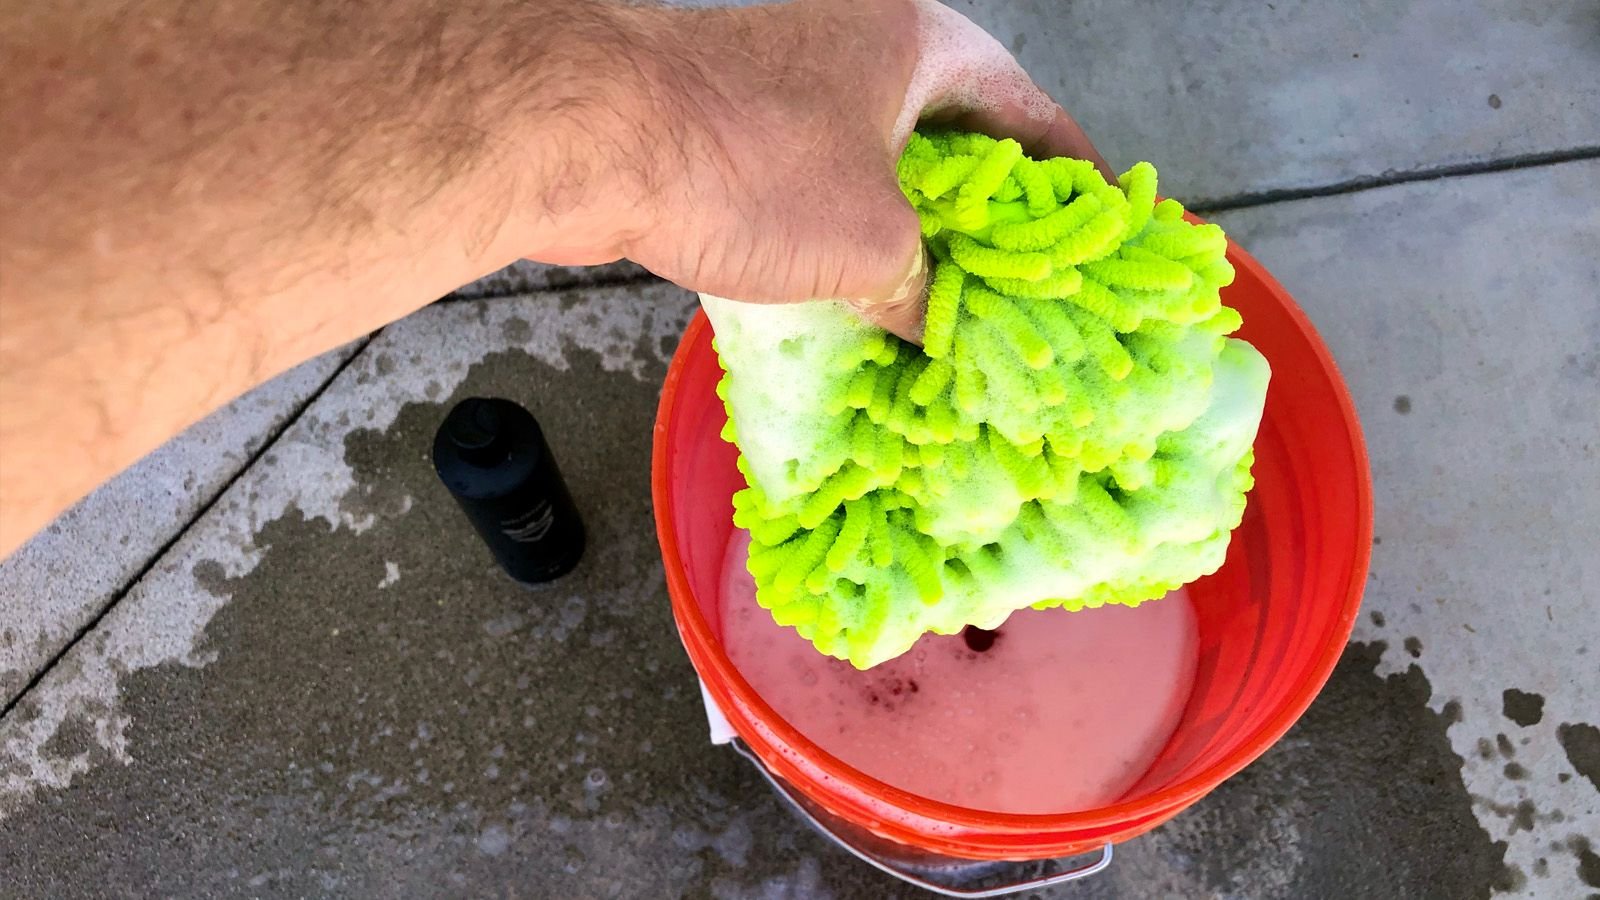
Two-Bucket Method
The two-bucket hand washing method is the best way to reduce scratching. It’s basically using one bucket to coat the wash mitt with fresh soap, and one to rinse the dirty wash mitt off before dipping it into the clean wash bucket. The two-bucket method reduces scratching, marring, and creating swirl marks in your paint. Follow these general steps. Feel free to customize to your individual preferences.
Use two buckets – one with soap and the other with fresh water
Dip your wash mitt in the bucket with soap to soak it
Wash one panel at a time, from top to bottom and left to right. Do NOT use a circular motion when washing.
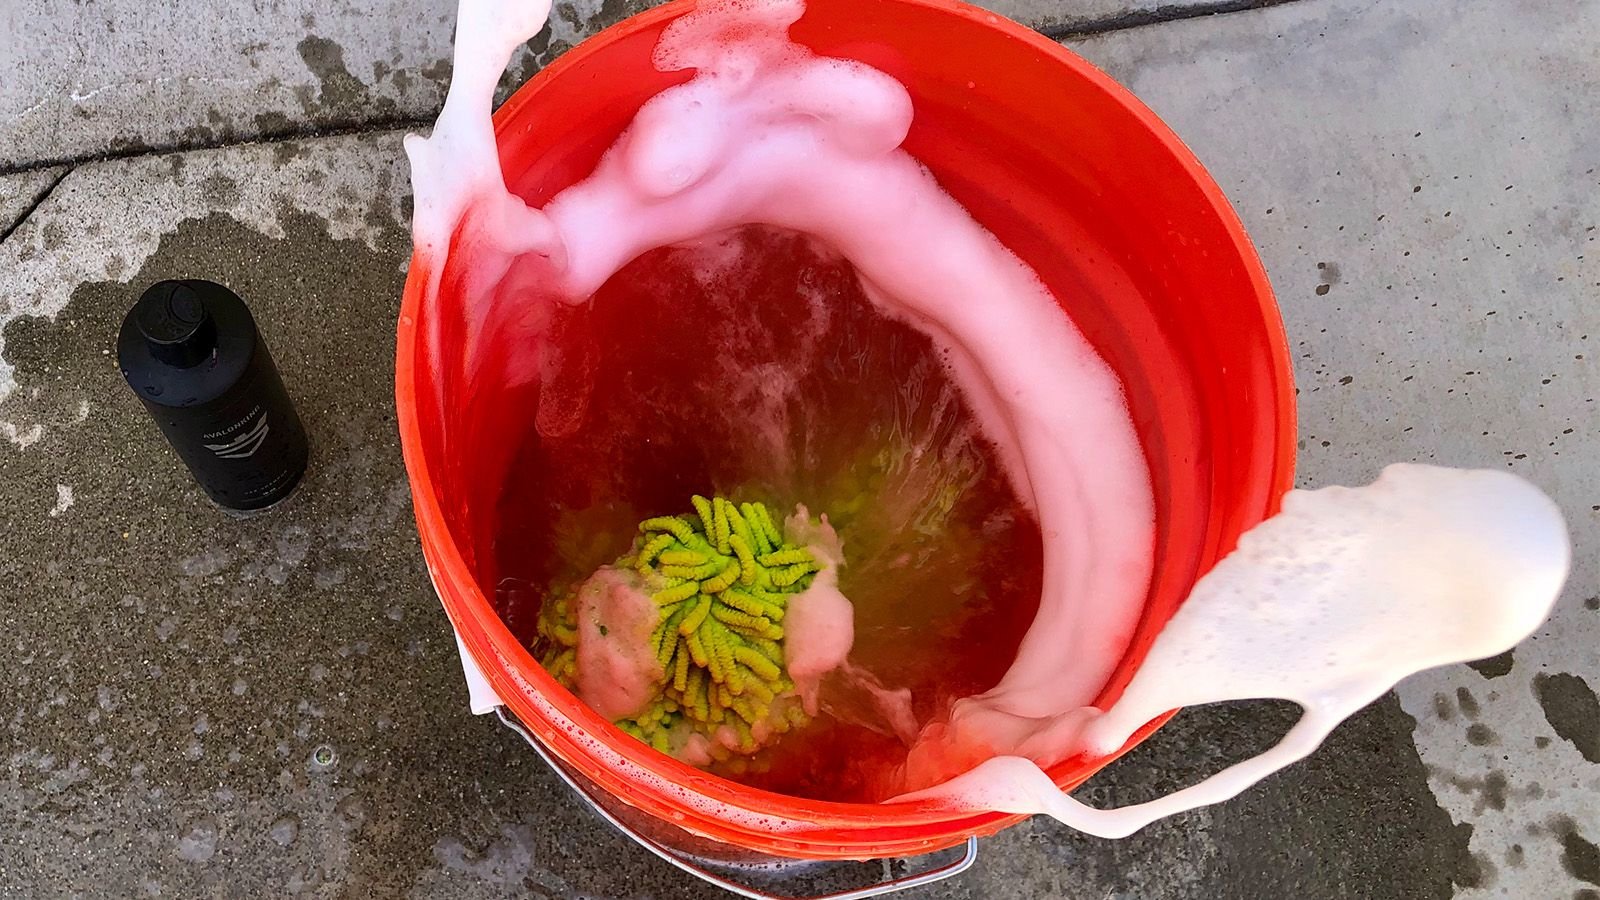
When done with the panel, dip the wash mitt in the freshwater bucket and agitate it to remove any debris or dirt on the mitt. Some people use a grit guard to keep dirt on the bottom of the bucket.
Rinse that panel with fresh water, then proceed to the next panel.
Complete this process till the entire car has been washed.
When you’ve completely washed the vehicle, rinse with the high-pressure hose. Get everything, the paint, wheels, undercarriage and anywhere soap or dirty water has spread.
TIP: You already washed your wheels, so make sure NOT to wash them again with the same wash mitt as you’re using on the body. Although you might have removed all brake dust, you just don’t want to risk getting any extra on the wash mitt – and transferred to your body.
Step 4 – Drying
There are a few good ways of drying. First off, while it’s tempting, don’t take the car for a 140 mph ‘drying’ session. This will just add more dirt and stuff to your Corvette. The best way of drying is using a high-quality drying towel. The best one out there is a new terry weave design. It’s made of 100% Korean Microfiber, with a 70/30 blend and an amazing 1,100gsm. What does all this mean you ask? Simple – it’s great for soaking up a lot of standing water quickly. Most of these towels are 25 x 35-inches, so one towel will dry the entire Corvette. You can also invest in a leaf blower to remove standing water from the surface before using the drying towel.
Tip – Consider using a smaller drying towel or good quality microfiber towel to dry those door jams, hood trim, between the grille, and rear deck lid.
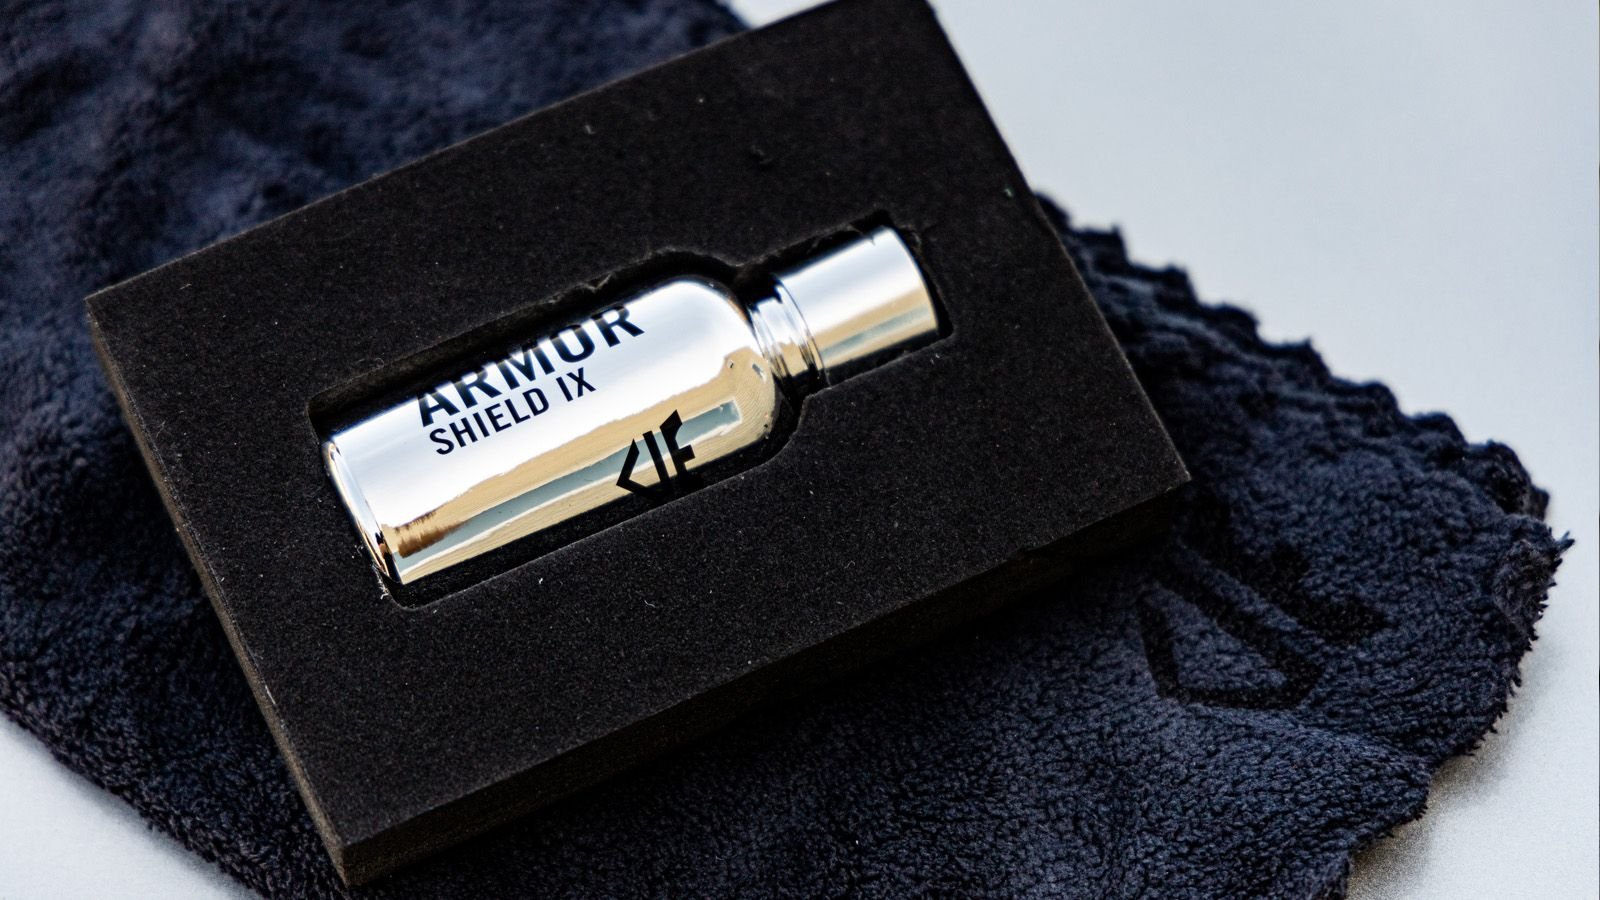
Keep Your Corvette's Paint Protected - Consider a Ceramic Coating to Keep the Vette Cleaner
While washing your ride can be a deeply religious experience for some, keeping your Corvette cleaner – longer is the goal of any passionate car owner. One product to consider is CorvetteForum's favorite ceramic coating kit: Armor Shield IX, a DIY nano ceramic coating that is easy to apply, provides up to 3 to 5 years of protection, and reduces the potential debris sticking. The coating bonds to clear coat, windows, chrome, alloy wheels, carbon fiber, and trim pieces. When correctly bonded, your Vette will produce a shine like never, ensure bird droppings and bug splatters are simple to remove, and protect the finish from UV rays. Check out our review of the Avalon King Armor Shield IX right here.
Everything you need to know to get your Corvette looking shiny, and keep it protected.
This is a step-by-step guide to Super Clean your Corvette, starting from the rinse and wash, all the way down to polishing and ...
Check out this quick checklist before getting started with ceramic coating your car.
Prepping for a DIY ceramic coating is arguably the most difficult and time-consuming part. Here's what you need to ...
Slideshow: the best & worst Chemical Guys car detailing products & gear.
What should you buy? What should you skip? Here are the best & worst Chemical Guys car detailing products (chemicals & gear) that we tested ...
How to Detail Your Car
Keep your Corvette looking flawless with 5 easy steps.
This article applies to the C5, C6 and C7 Corvette (1997-current).
When it comes to Corvettes, performance and looks go hand in hand. ...
How to Clean Dead Bugs on Bumper
Keep your nose clean; get rid of unsightly bug splatter!
This article applies to the C5, C6 and C7 Corvette (1997-current).
'Vettes like to be driven, but that low-slung front end ...
Check out these lovely ladies' tips on how you can get your dirty Corvette clean as can be.
7881
1. Dress for the Job What you're going to want to do is dress properly for the job at hand. The high heels will help ...