
'01 Z06 complete audio install
 05-14-2007, 03:34 PM
#1
Drifting

Thread Starter
Member Since: Oct 2006
Location: Heath Texas
Posts: 1,701
Received 0 Likes
on
0 Posts
St. Jude Donor '12-'13-'14-'15-'16-'17

I want to start out by saying that this would not have been possible without the help of this forum and I want to thank all of you for the great amounts of help you have been. Now to the install.
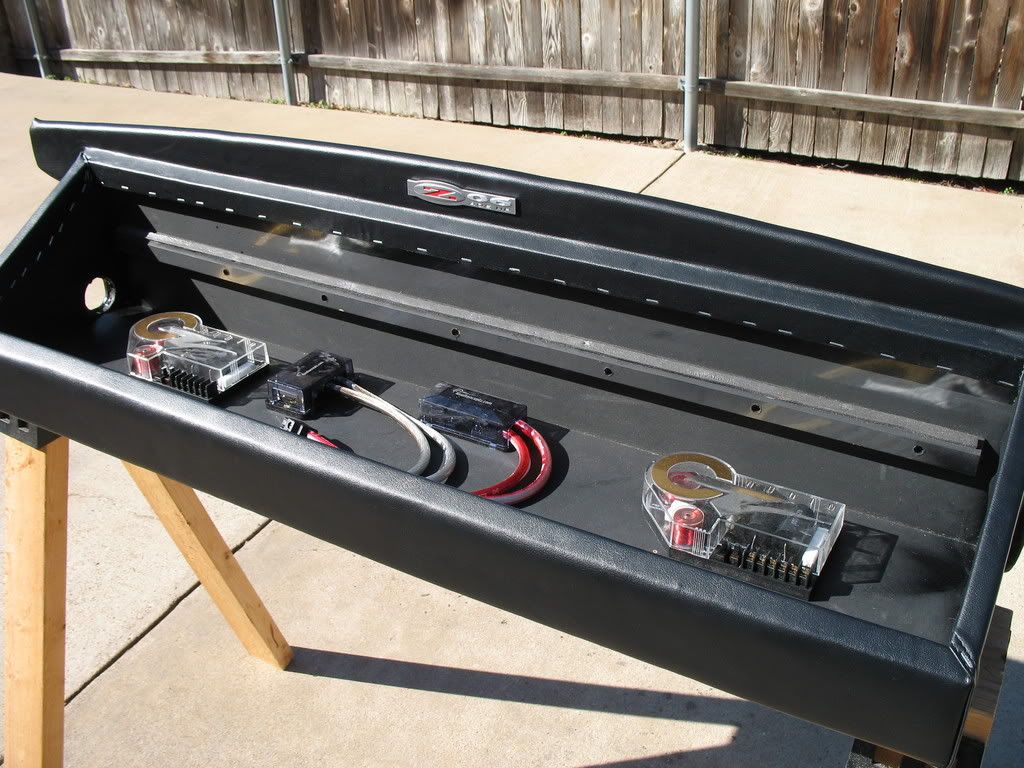
I started by using an aftermarket partition as a template for an amp box. I put a tray on the front to house two amps on a shelf with the crossovers and distribution blocks wired beneath.
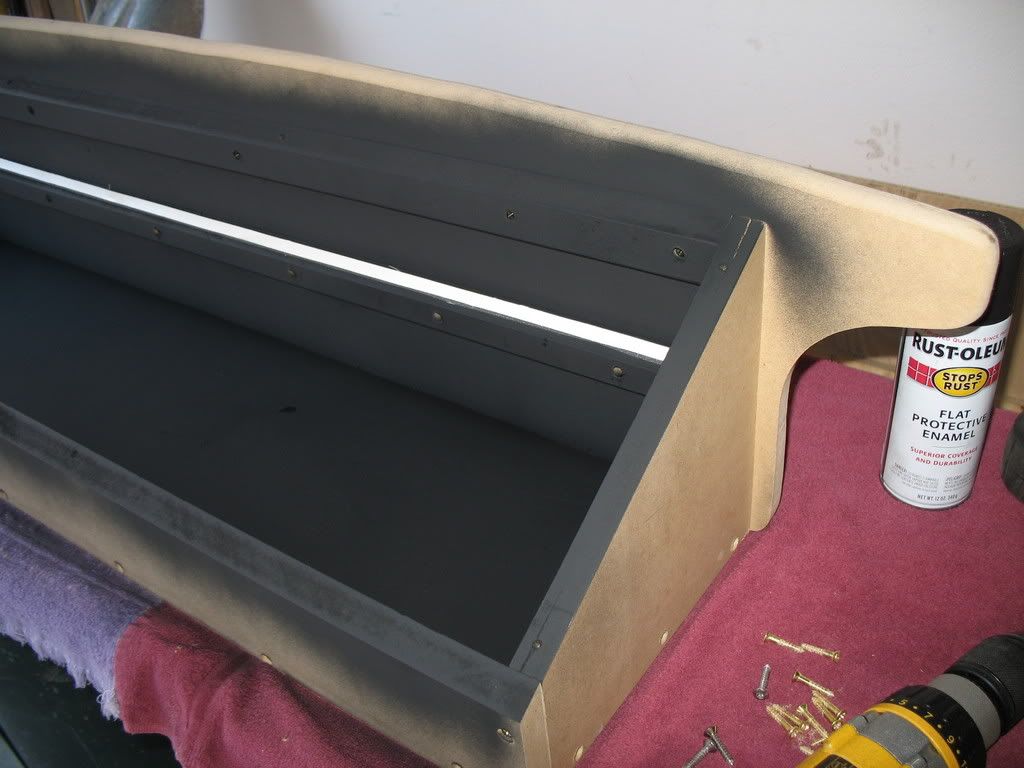
I test fit it to make sure the wiring would fit over the wheel wells and into the holes made on the side of the box.

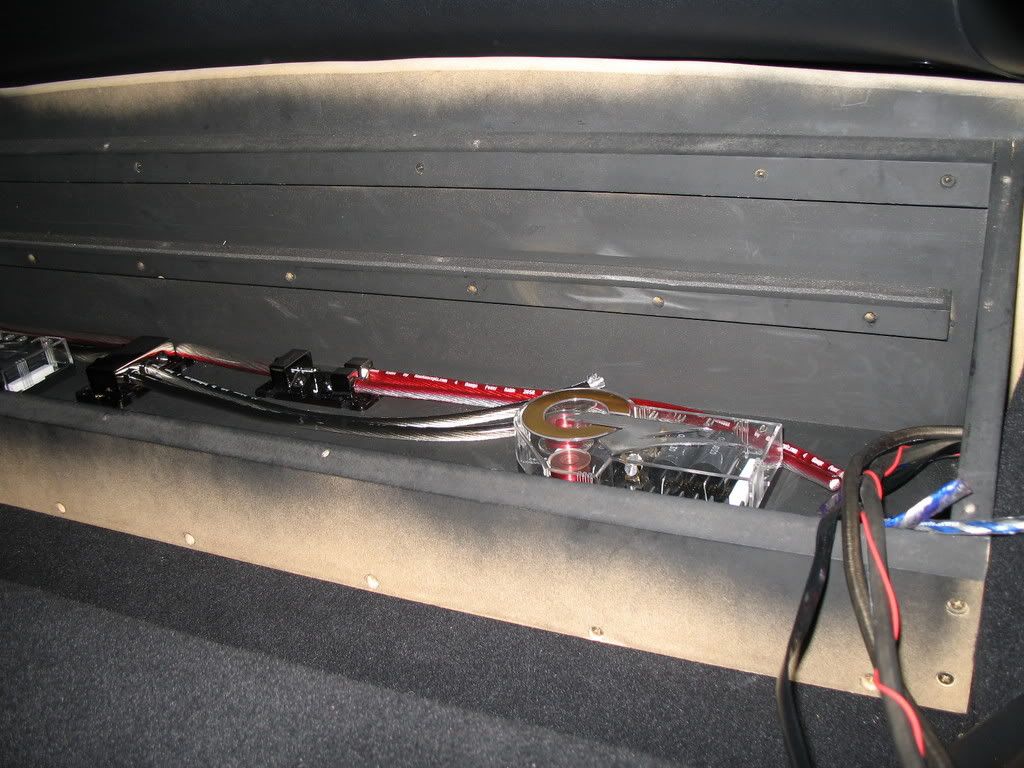
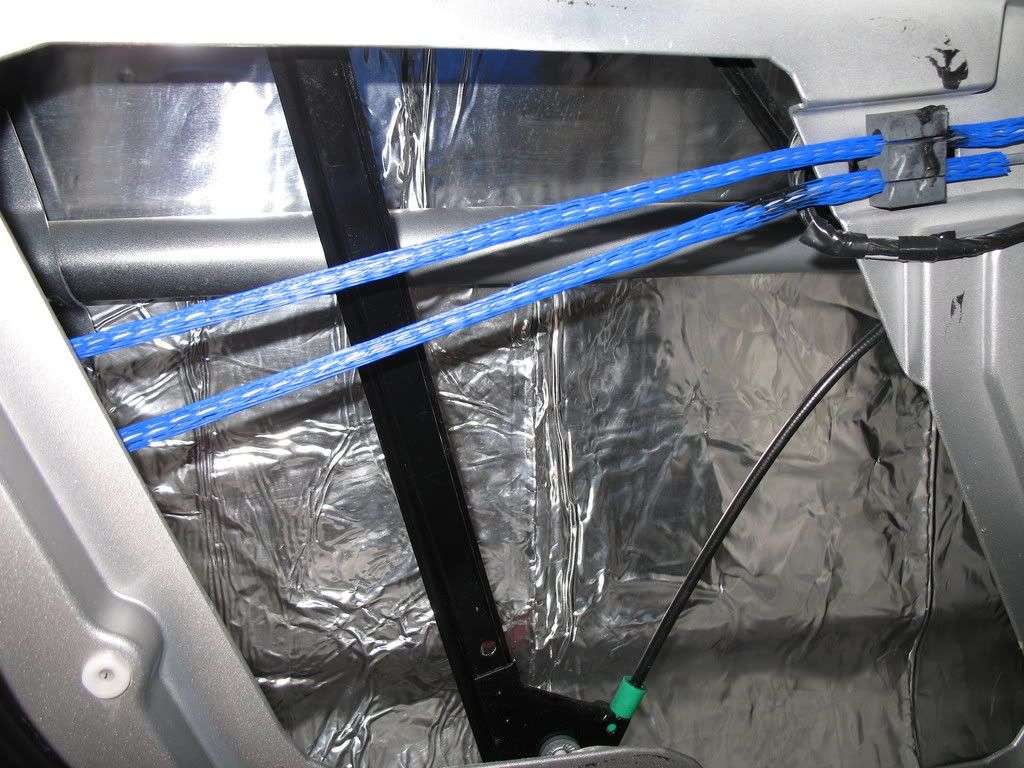
I ran 0/1 AWG from the engine bay and from the passenger seat post up to the distro blocks.
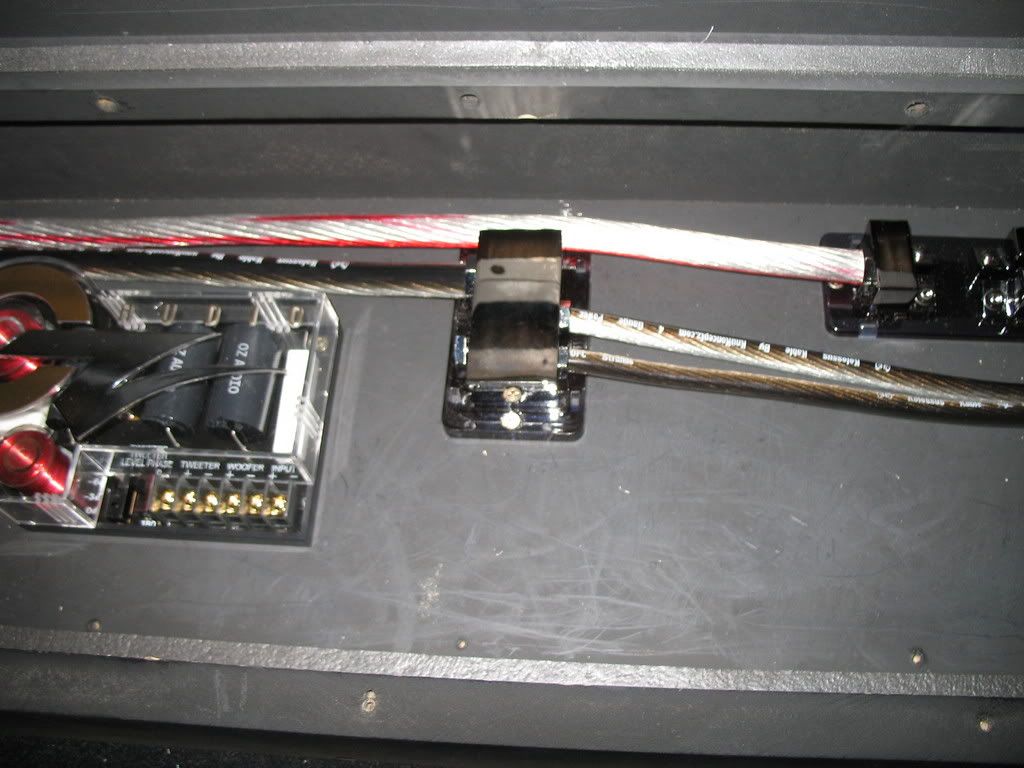
I used www.knukonceptz.com for all of the wires, distro blocks, fuses, fuse holders, etc. 12 AWG to the mid-base and 16 AWG to the tweets.
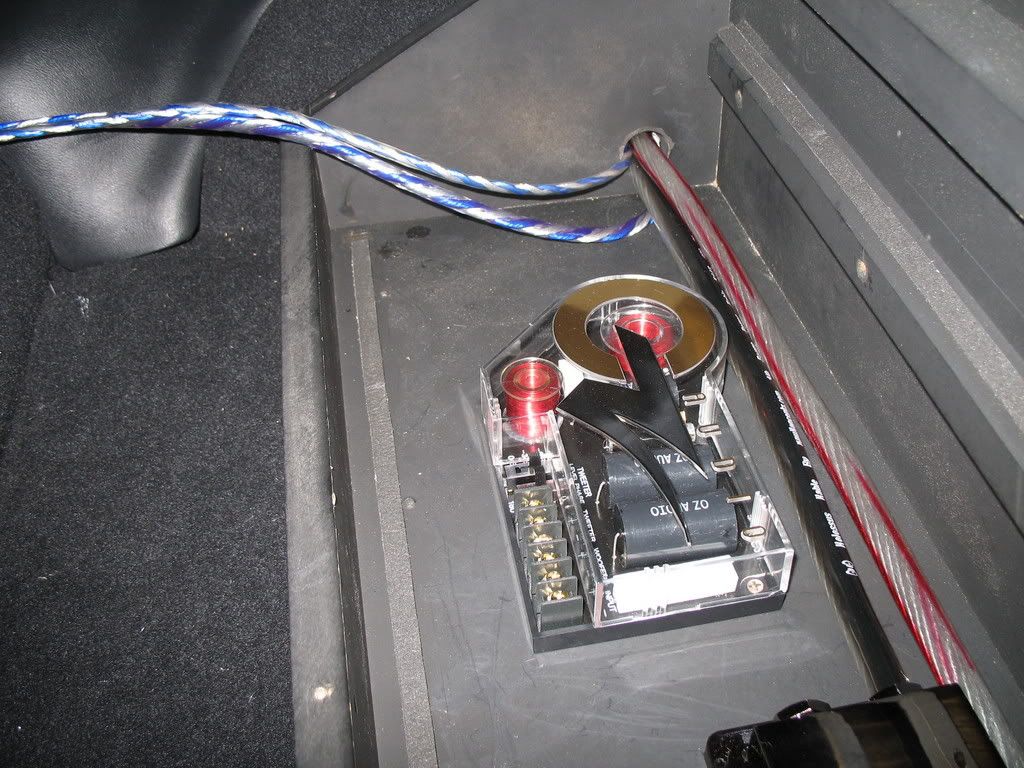
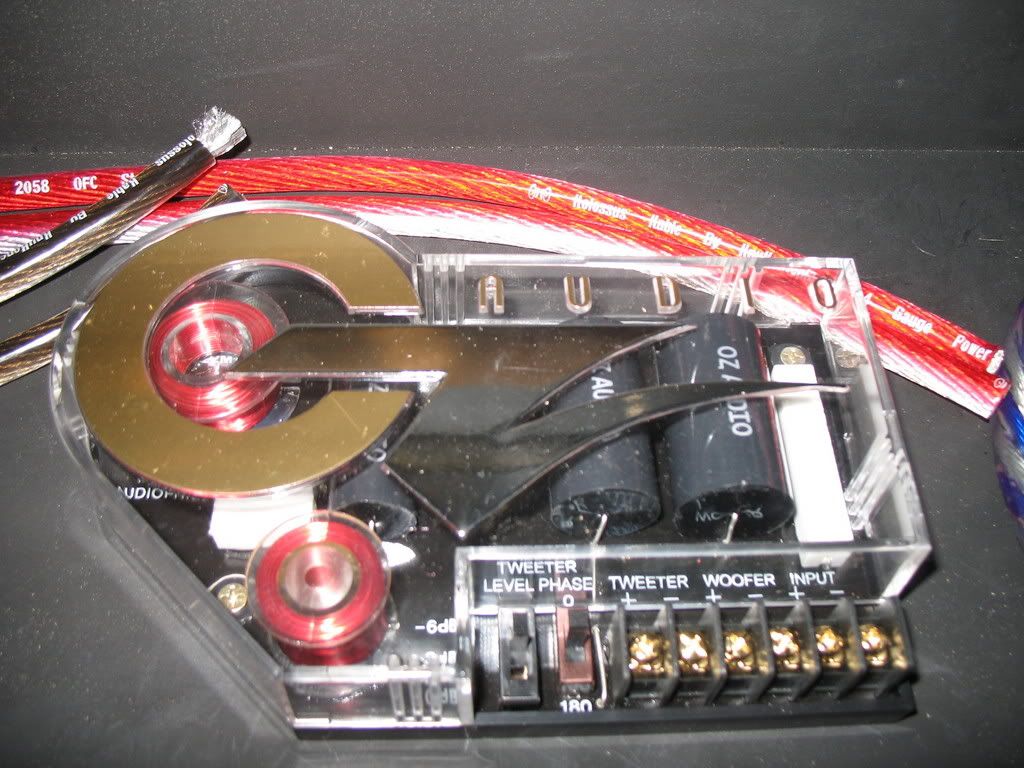
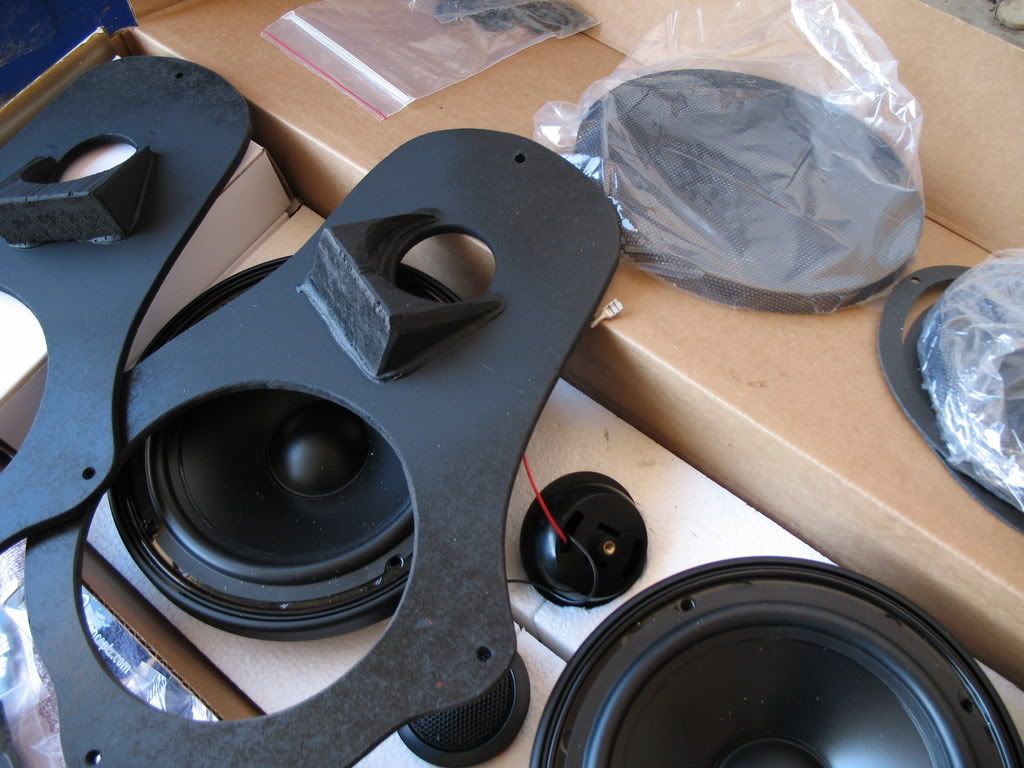
OZ Audio Matrix 180 6.5 components in the front (www.ozaudio.com). Crossovers here.
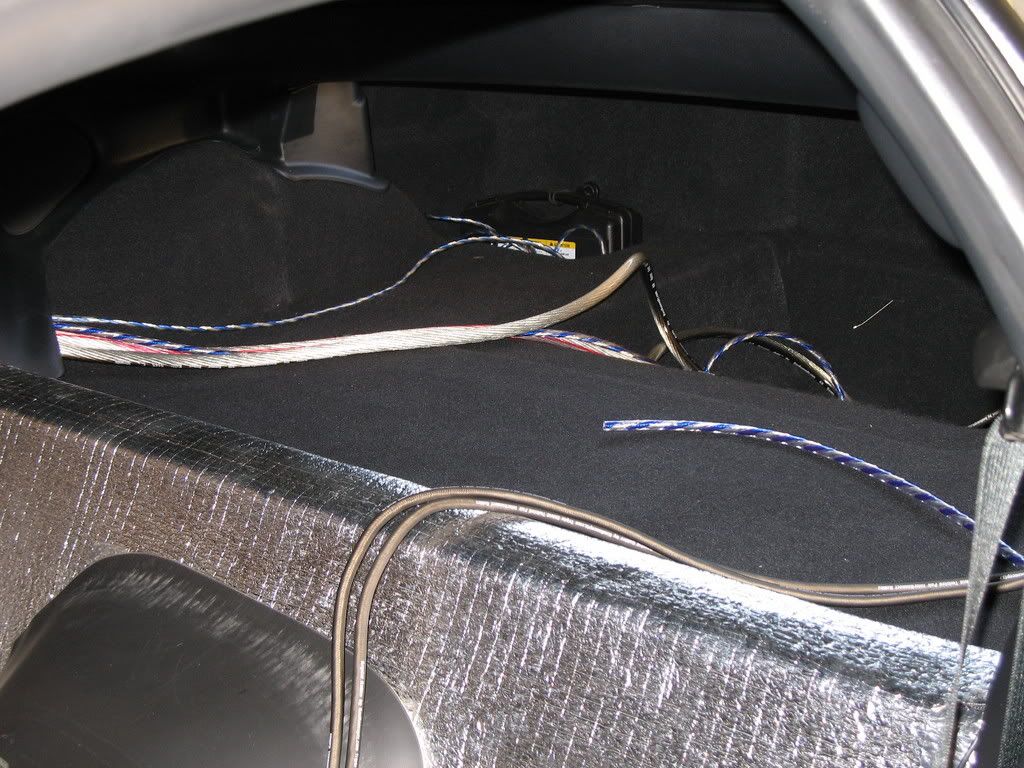
Here's the wiring coming together.
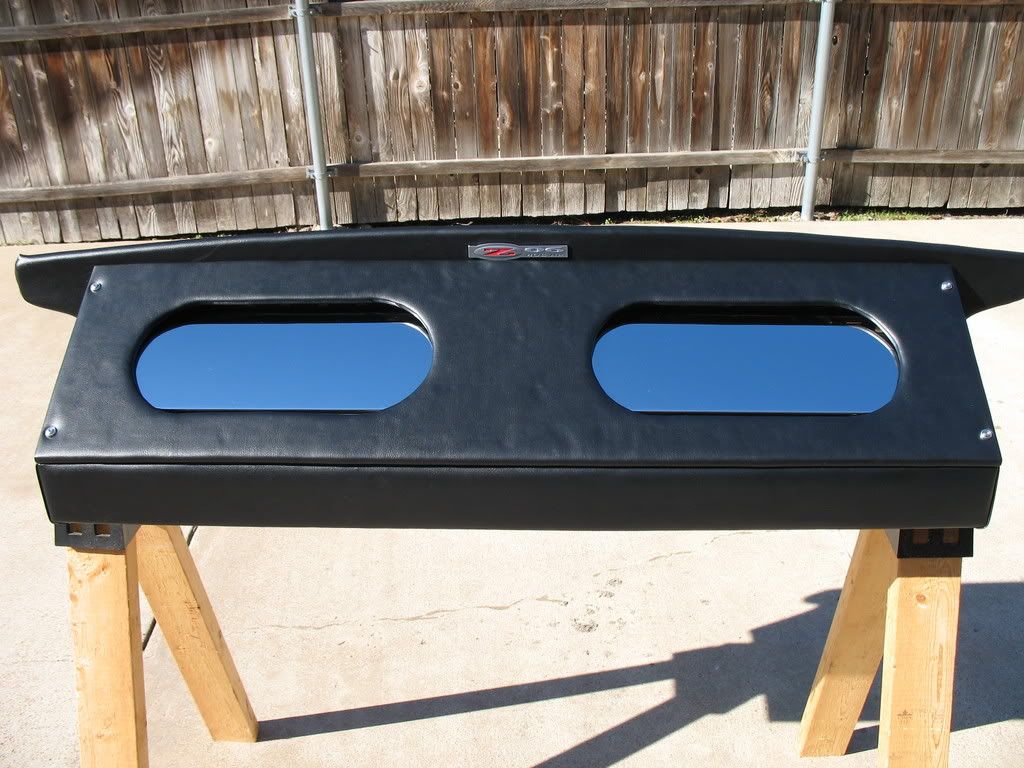
When the box was a fit, I had it vinyled in OEM and put a Z06 fender emblem for a little flair. It looks great in the rear view mirror.
I took some old school PPI amps and had the covers chromed. A PCX 480 and a PCX 2200.
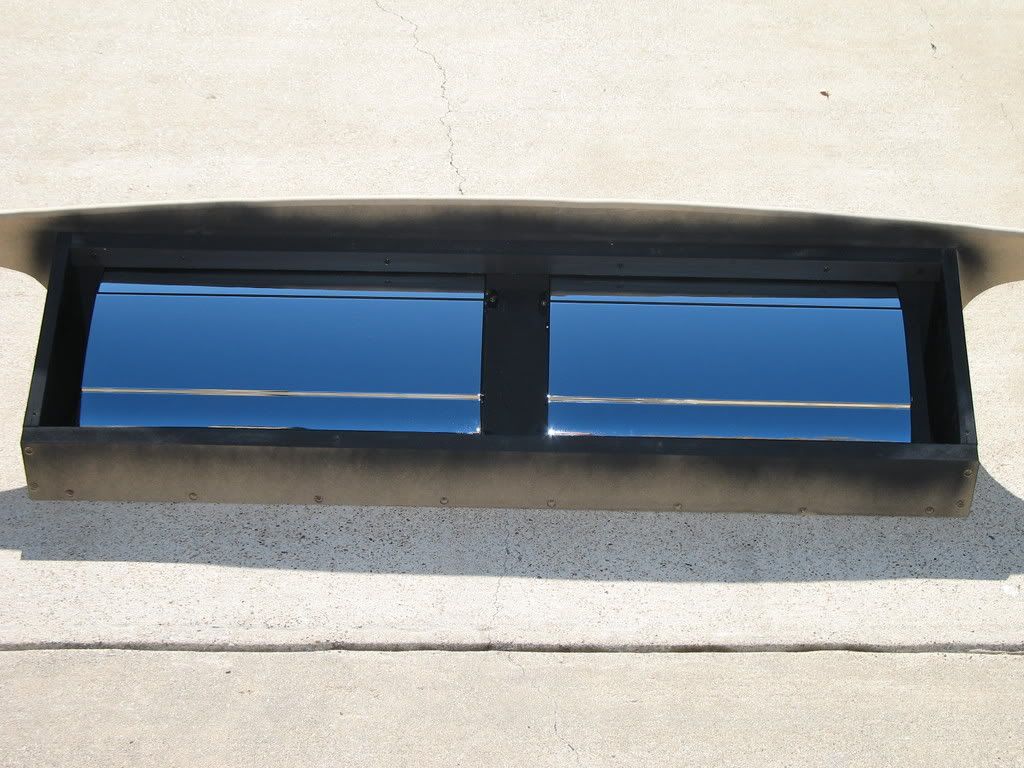
Here they are with the lid on with a clear Texas sky.
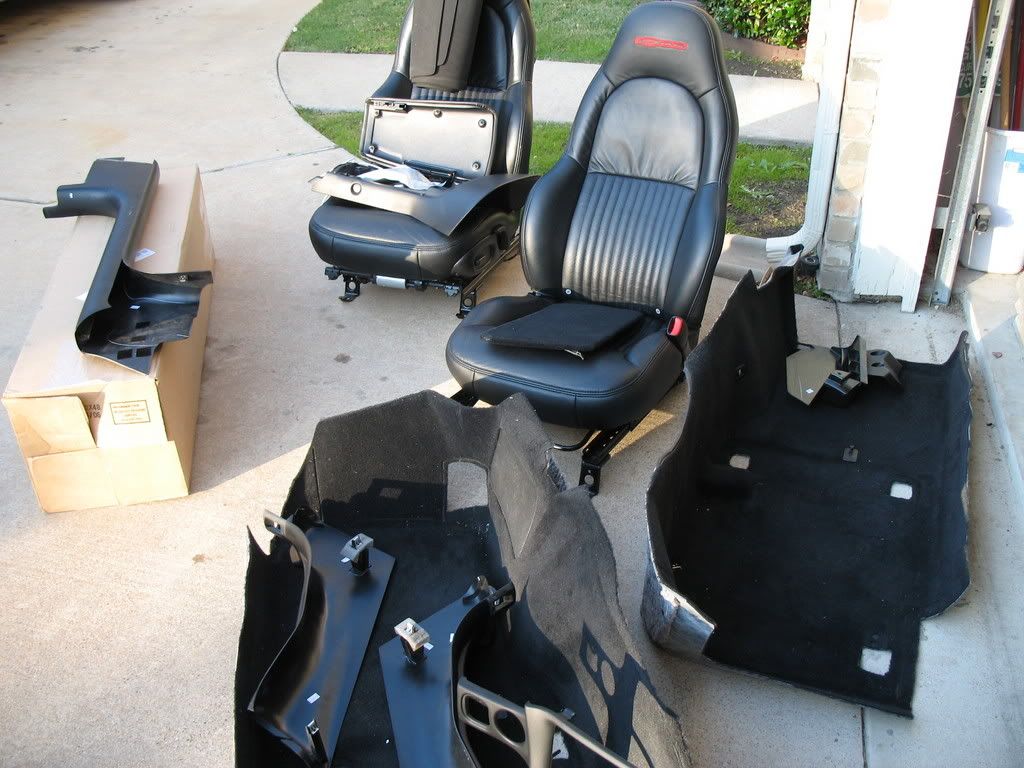
Out came the interior and the yard sale began.
I installed a Crazy Cowboy kit (www.exoticvette.com).
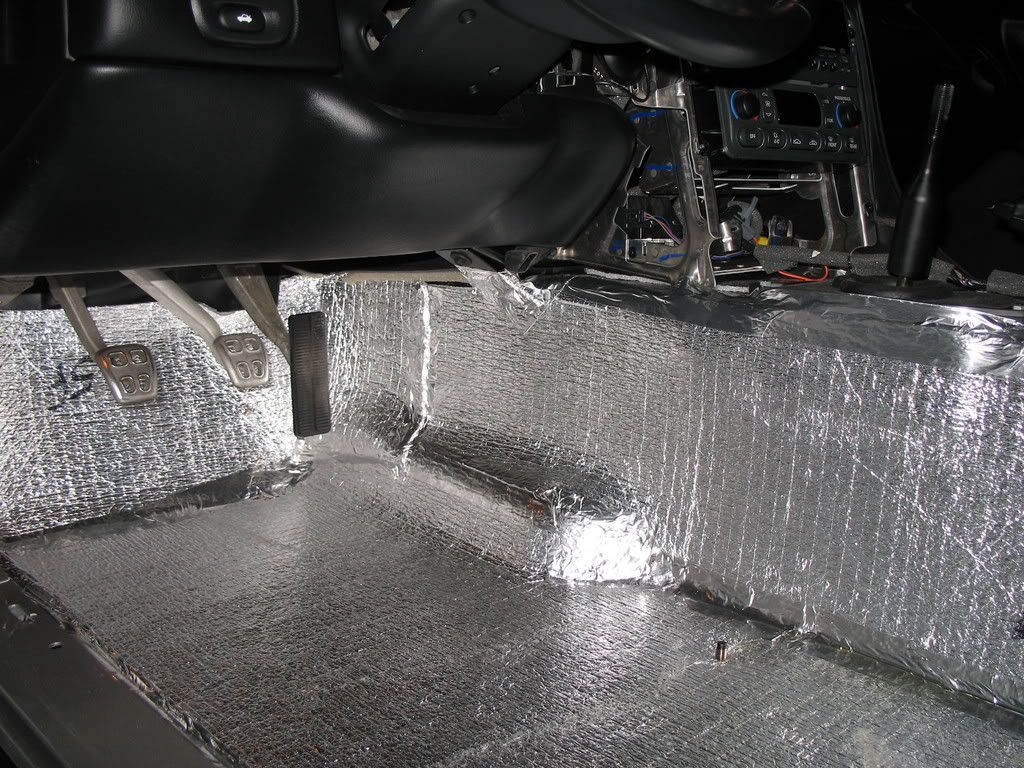
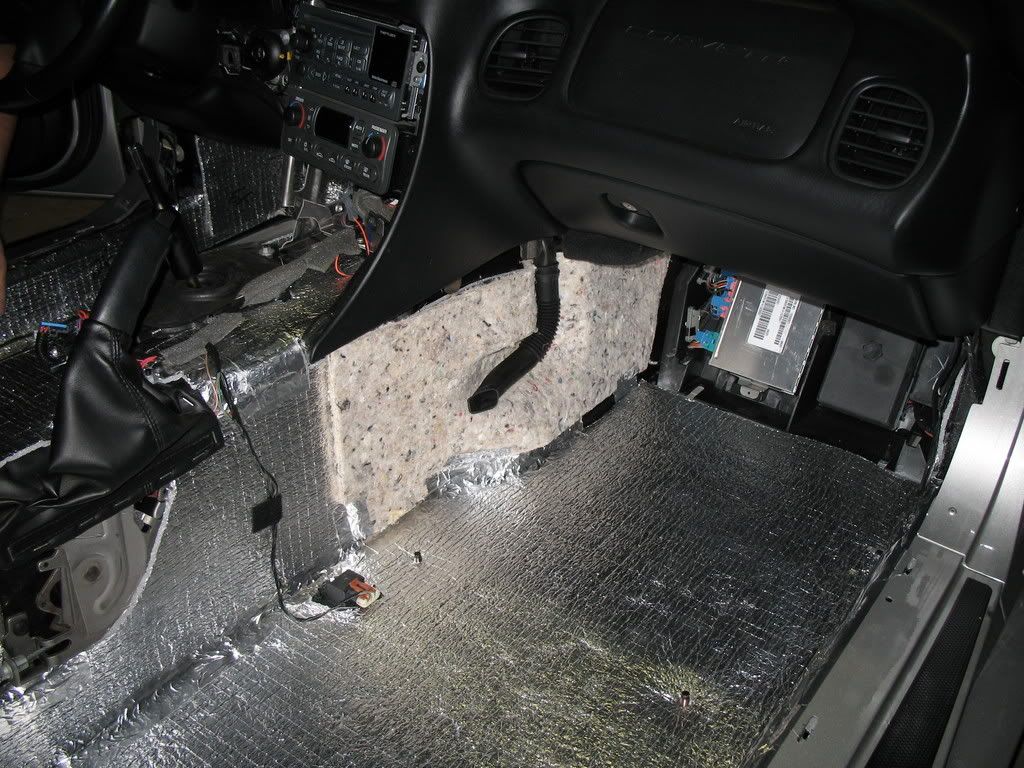
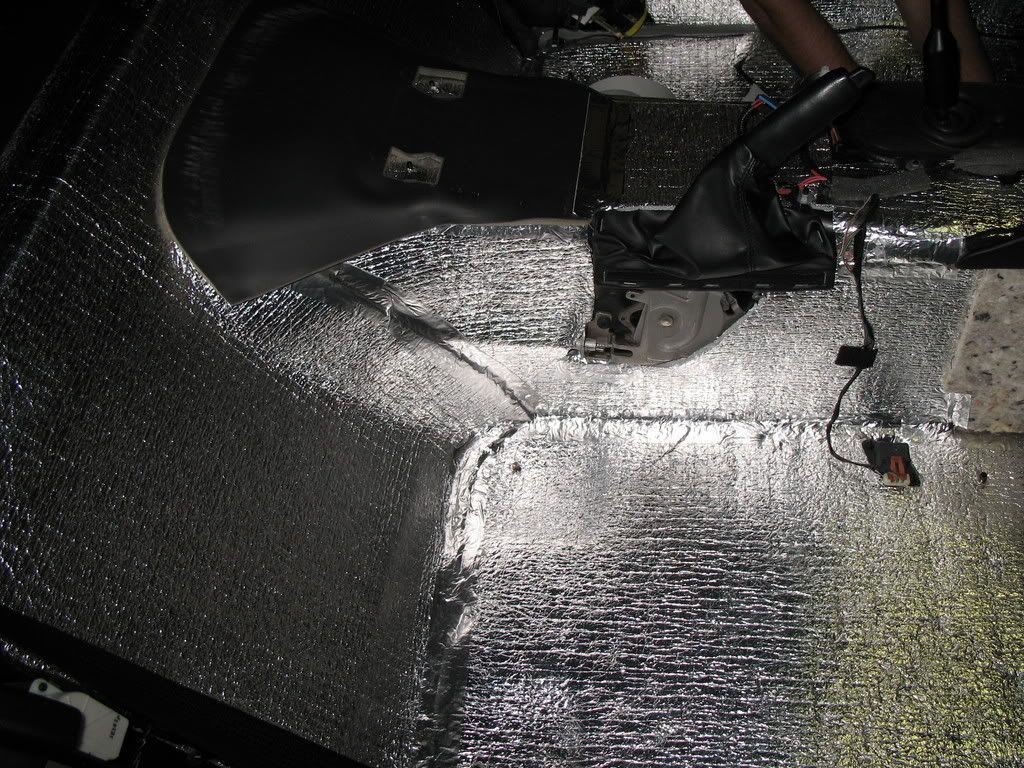
I used some of the leftovers to pay particular attention to the tunnel.

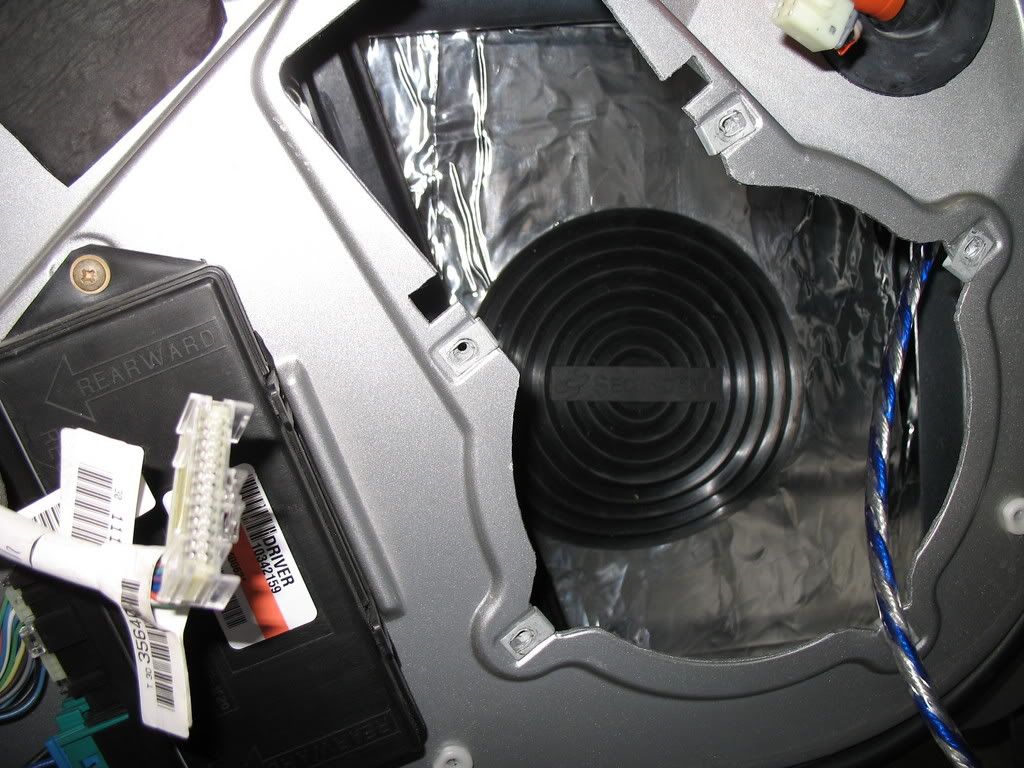
I deadened the doors with Damplifier Pro from Second Skin Audio
(www.secondskinaudio.com).
And put in a speaker kit from Second Skin as well. I wanted as SQ as I could get (with Borla exhaust and no mufflers).
A new Optima went in and the 200 amp fuse in the engine bay. I learned from the forum that you add the amperage of the fuses used in the system to calculate what is needed at the power supply. In this case each PPI amp needed a 100 amp fuse.
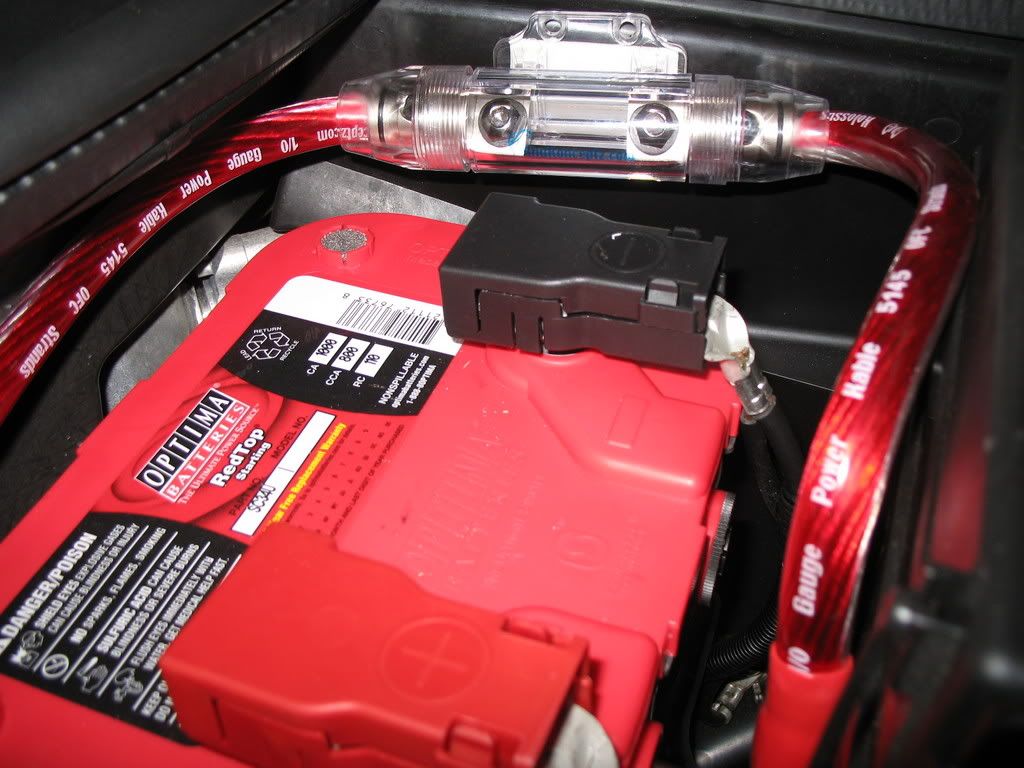
This wiring has incredible quality. I won't use anything else any more.
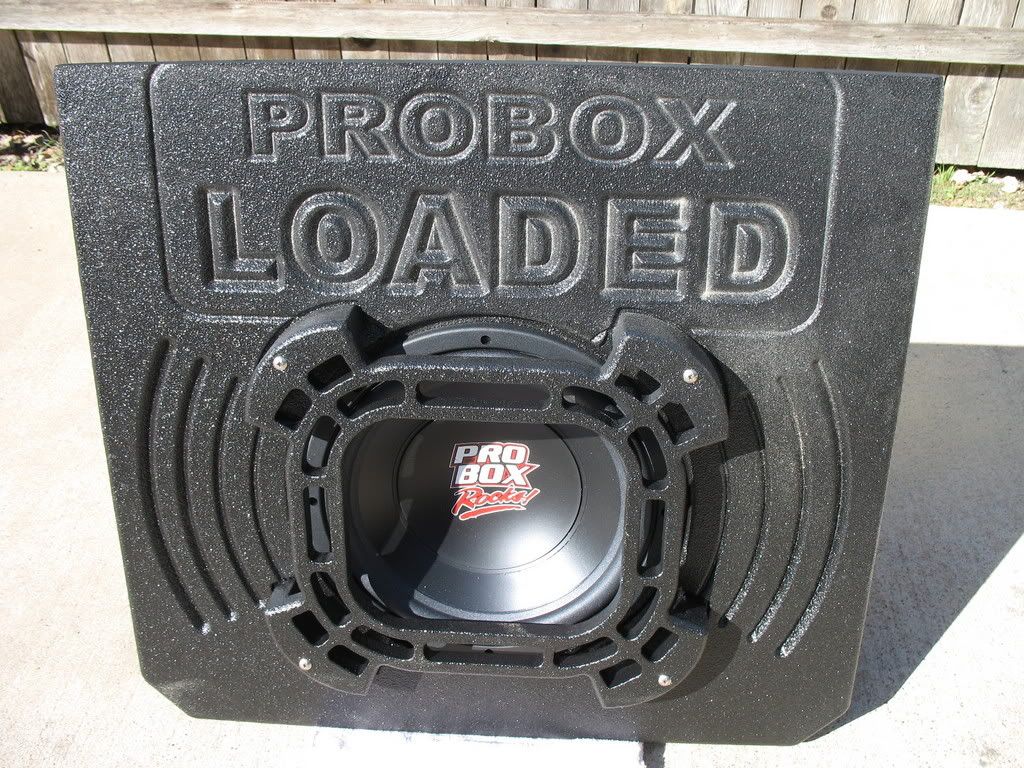
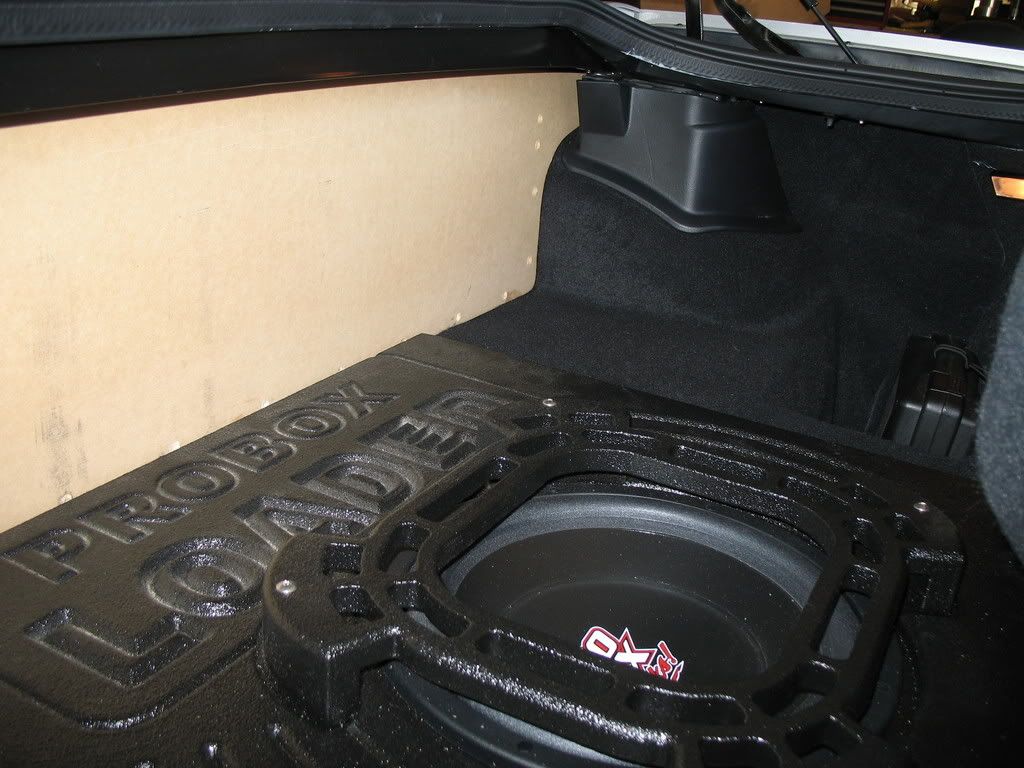
I went with a Pro Box Loaded (www.proboxrocks.com) 12" sub (500 W)for the rear. It came in a custom enclosure that fit like a glove. I set the limits accordingly and this thing will rip your head off.
I had to cut off about 1" to allow for the amp box.
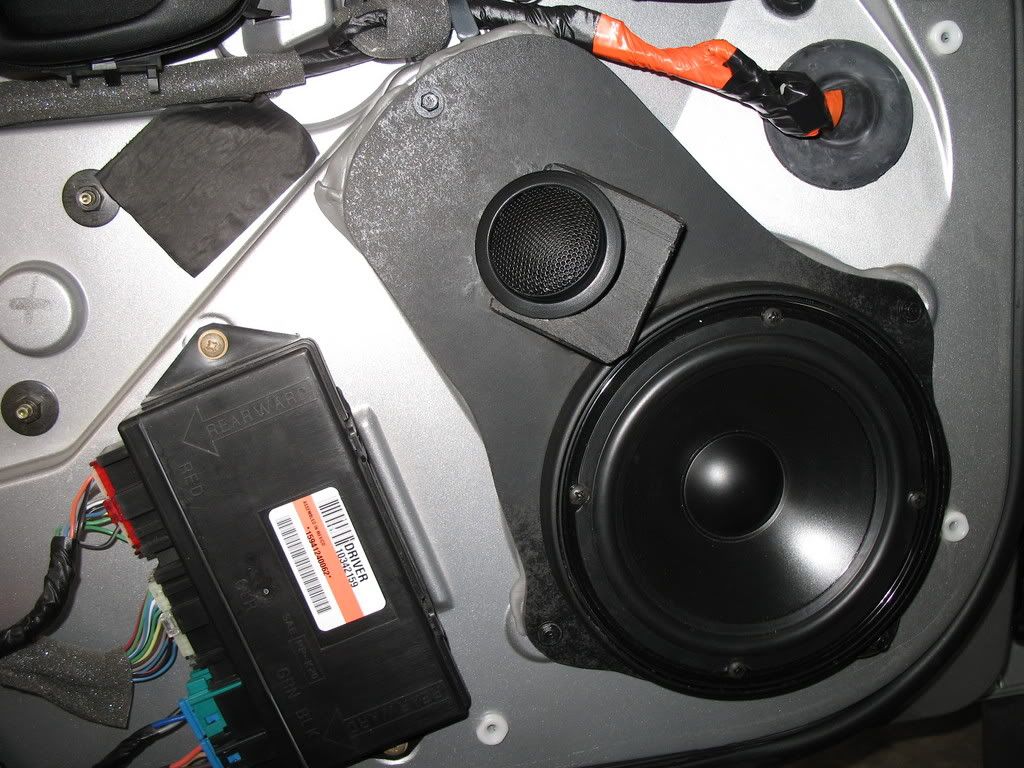
I got some speaker plates from NCR Dave (www.corvettecaraudio.com) and added a little directional pitch on the tweets. These things went in like a champ, perfect fit.
Here is the driver's door after the install.
Again, for the SQ, I chose a Pioneer Premier HU. The DEH-P880PRS has a 24 bit Burr-Brown processor (http://www.pioneerelectronics.com/pn...159496,00.html) and 5 Volt outputs which are a must on high powered amps. I vinyled a Metra HU adapter plate. I didn't like the sheen on the plastic.
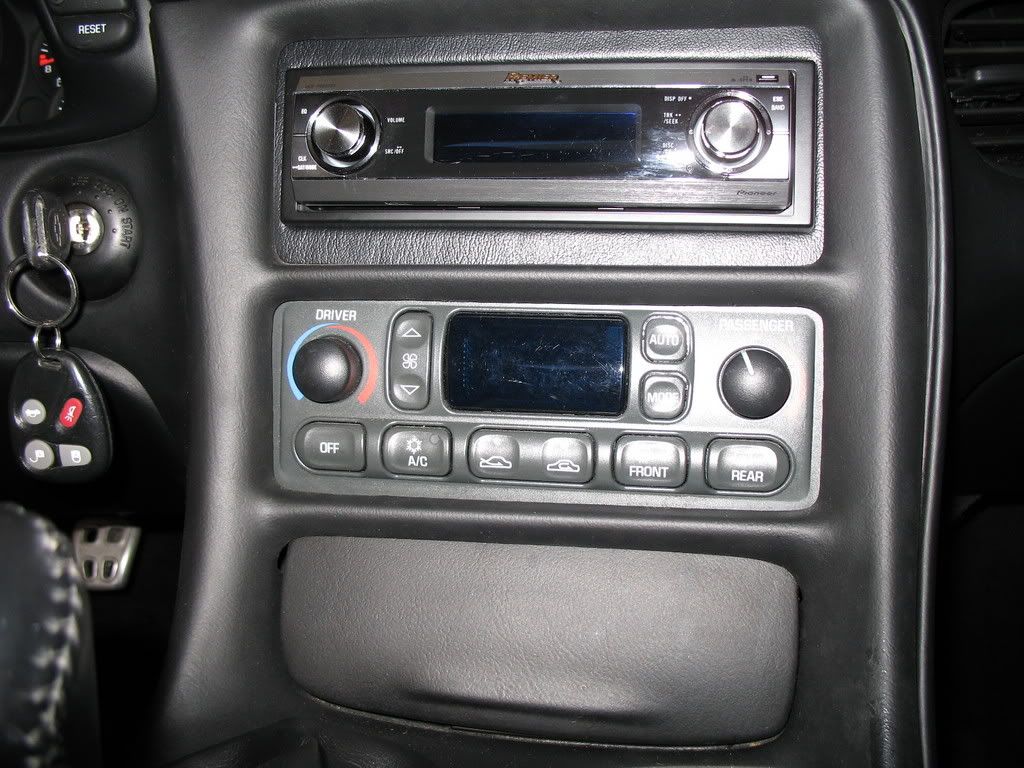
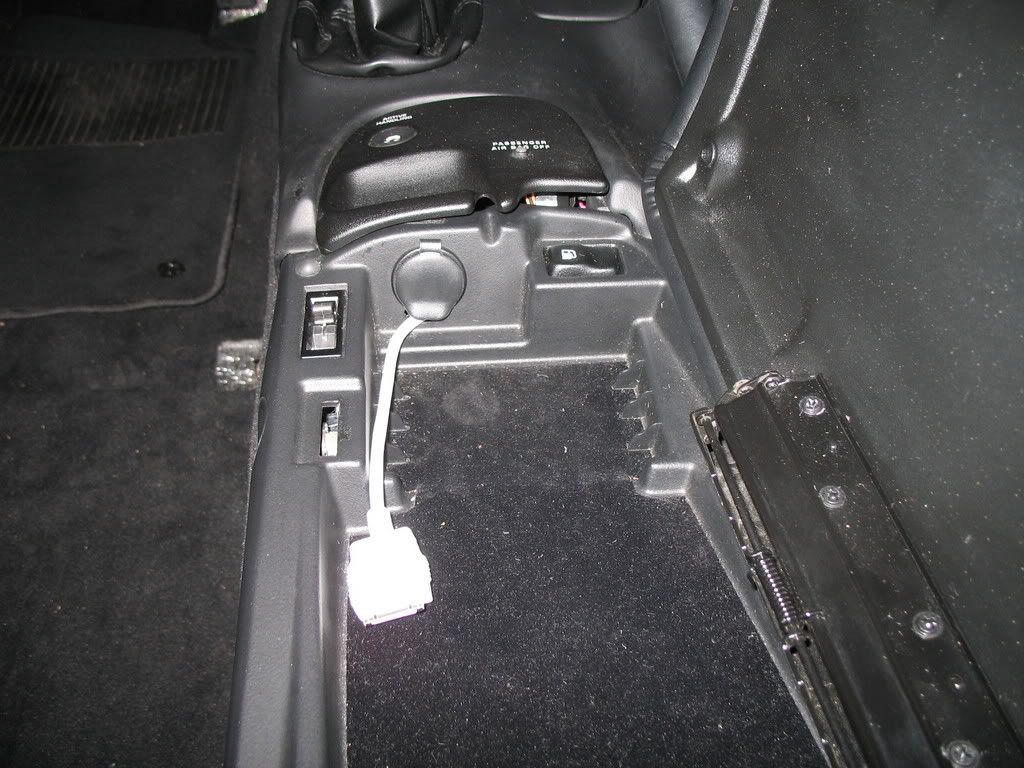
The HU sounds great and I love the IPOD integration. I wanted a stealth install, so I ran the wires along the side of the tunnel and cut away a little plastic below the DC outlet in the console. The IPOD goes in the console and you control it from the HU.
I wanted a stealth install on the bass remote as well. It really is nice to have the extra control over the bass. When the audio gets clear you end up turning the bass up/down quite often depending on the song.
With the help of the ideas of scott_fx I ended up cutting out the cigarette lighter and installing the bass remote in its hole.

In all I am very happy with the whole thing, the install, the sound, the pound. I have left it with just the front stage for now. I don't know yet if I will add rear, but I suspect not. It has a certain concert feel with noise coming from just the front.
I want to thank all of you guys again, scott_fx, pentavolvo, TheKomoman and Kale in particular for their volumes of experience and their willingness to give sage advise.
Speed
I started by using an aftermarket partition as a template for an amp box. I put a tray on the front to house two amps on a shelf with the crossovers and distribution blocks wired beneath.
I test fit it to make sure the wiring would fit over the wheel wells and into the holes made on the side of the box.
I ran 0/1 AWG from the engine bay and from the passenger seat post up to the distro blocks.
I used www.knukonceptz.com for all of the wires, distro blocks, fuses, fuse holders, etc. 12 AWG to the mid-base and 16 AWG to the tweets.
OZ Audio Matrix 180 6.5 components in the front (www.ozaudio.com). Crossovers here.
Here's the wiring coming together.
When the box was a fit, I had it vinyled in OEM and put a Z06 fender emblem for a little flair. It looks great in the rear view mirror.
I took some old school PPI amps and had the covers chromed. A PCX 480 and a PCX 2200.
Here they are with the lid on with a clear Texas sky.
Out came the interior and the yard sale began.
I installed a Crazy Cowboy kit (www.exoticvette.com).
I used some of the leftovers to pay particular attention to the tunnel.
I deadened the doors with Damplifier Pro from Second Skin Audio
(www.secondskinaudio.com).
And put in a speaker kit from Second Skin as well. I wanted as SQ as I could get (with Borla exhaust and no mufflers).
A new Optima went in and the 200 amp fuse in the engine bay. I learned from the forum that you add the amperage of the fuses used in the system to calculate what is needed at the power supply. In this case each PPI amp needed a 100 amp fuse.
This wiring has incredible quality. I won't use anything else any more.
I went with a Pro Box Loaded (www.proboxrocks.com) 12" sub (500 W)for the rear. It came in a custom enclosure that fit like a glove. I set the limits accordingly and this thing will rip your head off.
I had to cut off about 1" to allow for the amp box.
I got some speaker plates from NCR Dave (www.corvettecaraudio.com) and added a little directional pitch on the tweets. These things went in like a champ, perfect fit.
Here is the driver's door after the install.
Again, for the SQ, I chose a Pioneer Premier HU. The DEH-P880PRS has a 24 bit Burr-Brown processor (http://www.pioneerelectronics.com/pn...159496,00.html) and 5 Volt outputs which are a must on high powered amps. I vinyled a Metra HU adapter plate. I didn't like the sheen on the plastic.
The HU sounds great and I love the IPOD integration. I wanted a stealth install, so I ran the wires along the side of the tunnel and cut away a little plastic below the DC outlet in the console. The IPOD goes in the console and you control it from the HU.
I wanted a stealth install on the bass remote as well. It really is nice to have the extra control over the bass. When the audio gets clear you end up turning the bass up/down quite often depending on the song.
With the help of the ideas of scott_fx I ended up cutting out the cigarette lighter and installing the bass remote in its hole.
In all I am very happy with the whole thing, the install, the sound, the pound. I have left it with just the front stage for now. I don't know yet if I will add rear, but I suspect not. It has a certain concert feel with noise coming from just the front.
I want to thank all of you guys again, scott_fx, pentavolvo, TheKomoman and Kale in particular for their volumes of experience and their willingness to give sage advise.
Speed


 05-14-2007, 04:57 PM
#3
Melting Slicks

Member Since: Dec 2004
Location: Bay Area CA
Posts: 2,394
Likes: 0
Received 0 Likes
on
0 Posts
Looks very nice man good job  My only advice is to add some deadening material to the inner door skin where the speakers mount to help reduce some resonance and possibly look into some ensolite. I am just doing my truck deadening now and I am really impressed with its sound absorping/reducing principals. Talk to Rick at raamaudio about it.
G'luck man and enjoy the fruits of your labor. Amps look awesome by the way.
Fej
My only advice is to add some deadening material to the inner door skin where the speakers mount to help reduce some resonance and possibly look into some ensolite. I am just doing my truck deadening now and I am really impressed with its sound absorping/reducing principals. Talk to Rick at raamaudio about it.G'luck man and enjoy the fruits of your labor. Amps look awesome by the way.
Fej


 05-14-2007, 07:58 PM
#7
Le Mans Master

Member Since: Aug 2005
Location: DP(oh you know where) IL
Posts: 7,201
Likes: 0
Received 0 Likes
on
0 Posts
St. Jude Donor '06
great install. that is what I wanted my amp rack to look like with the partition tied into it. I am already planning on something diff for my next rack. haha. something thats easier to remove. Great job on the install. it looks really cool.
05-14-2007, 10:05 PM
#8
Former Vendor
Member Since: Nov 2005
Location: Spring Texas
Posts: 8,995
Likes: 0
Received 2 Likes
on
2 Posts
St. Jude Donor '08
Survey says:
Love the amp box. Nice attention to detail. Curious how much interior noise you get with that exhaust system. You might be a prime canidate for Closed cell foam. The good news is that if you choose to add foam, installation is relativly easy (certainly not as difficult as laying down dynamat)
Love the amp box. Nice attention to detail. Curious how much interior noise you get with that exhaust system. You might be a prime canidate for Closed cell foam. The good news is that if you choose to add foam, installation is relativly easy (certainly not as difficult as laying down dynamat)
Last edited by TheRadioFlyer97; 09-03-2007 at 06:11 PM.
05-14-2007, 10:59 PM
#10
Drifting
Thread Starter
Member Since: Oct 2006
Location: Heath Texas
Posts: 1,701
Received 0 Likes
on
0 Posts
St. Jude Donor '12-'13-'14-'15-'16-'17
Speed
05-14-2007, 11:13 PM
#11
Drifting
Thread Starter
Member Since: Oct 2006
Location: Heath Texas
Posts: 1,701
Received 0 Likes
on
0 Posts
St. Jude Donor '12-'13-'14-'15-'16-'17
 I have some Second Skin closed cell as well (http://www.secondskinaudio.com/viewp...3&category=55). I ordered it with the Damp Pro. My intent was to add it over the Crazy Cowboy, if needed. But, I don't need it now. However, I am adding some LG Longtube Pro headers in the next week or so. I may need to add it somewhere after that. I'm not sure where it could be of the most value. Any opinions?
Thanks to all for the kind words.
Speed
P.S. If your up to Dallas, look me up. I would be happy to go for a spin.
 09-03-2007, 04:25 PM
#13
Advanced


Member Since: Aug 2007
Posts: 62
Likes: 0
Received 0 Likes
on
0 Posts
i am putting together a custom install myself. i am having some difficulties with the amp rack and i was wondering if you had the outside dimensions of yours? i like the way you enclosed everything. thanks don
09-04-2007, 10:18 AM
#14
Drifting
Thread Starter
Member Since: Oct 2006
Location: Heath Texas
Posts: 1,701
Received 0 Likes
on
0 Posts
St. Jude Donor '12-'13-'14-'15-'16-'17
I'll measure it and get back with you. Of course, the height of the box was based on the width and angle of the amps, which might vary with your amp(s).
Speed
Speed
09-04-2007, 03:23 PM
#15
Drifting
Thread Starter
Member Since: Oct 2006
Location: Heath Texas
Posts: 1,701
Received 0 Likes
on
0 Posts
St. Jude Donor '12-'13-'14-'15-'16-'17
45 1/2" wide, 8 1/2" deep and the height is 3 1/2" in front, about 6" (hard to measure around the wheel wells) in the rear where it contacts the partition.
Have fun on the install
