
Some progress pictures of my mini resto.
 04-04-2010, 11:47 PM
#1
Instructor

Thread Starter

Member Since: Dec 2009
Location: Nassau co. NY
Posts: 109
Likes: 0
Received 0 Likes
on
0 Posts
Hey Everyone.
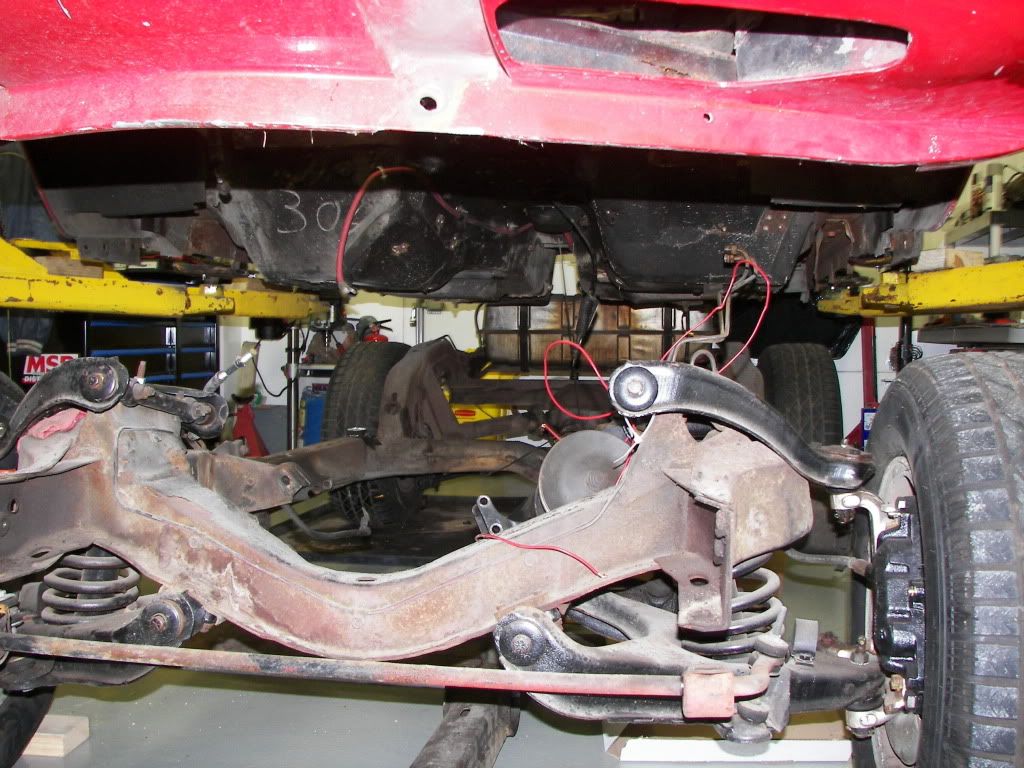
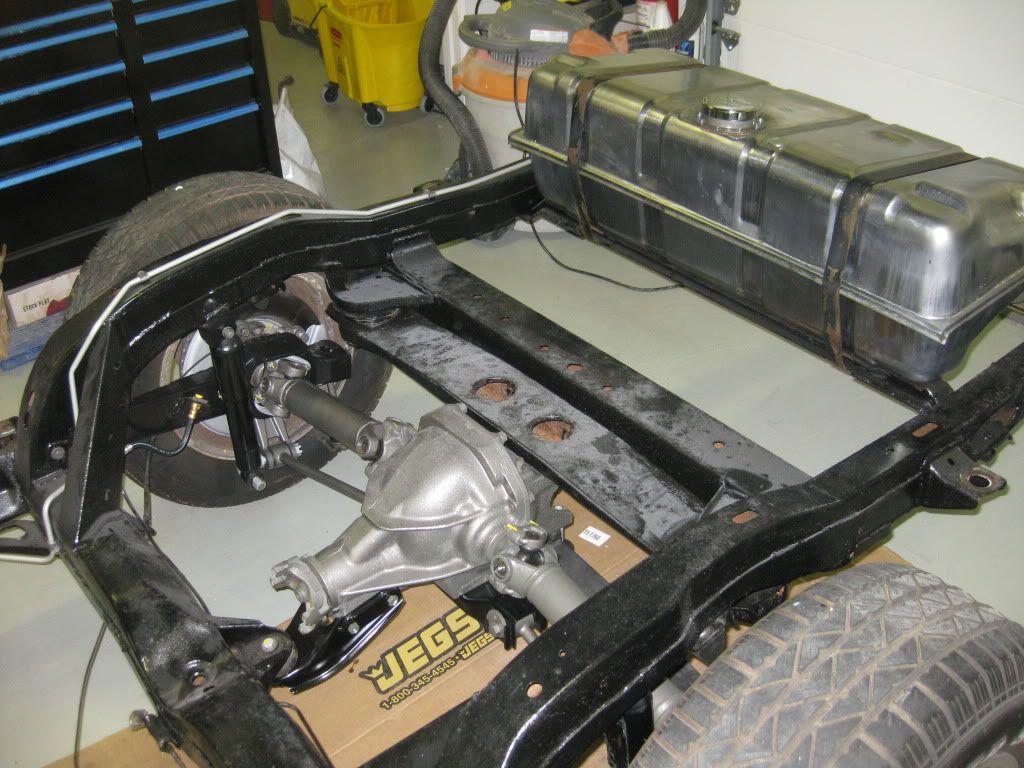
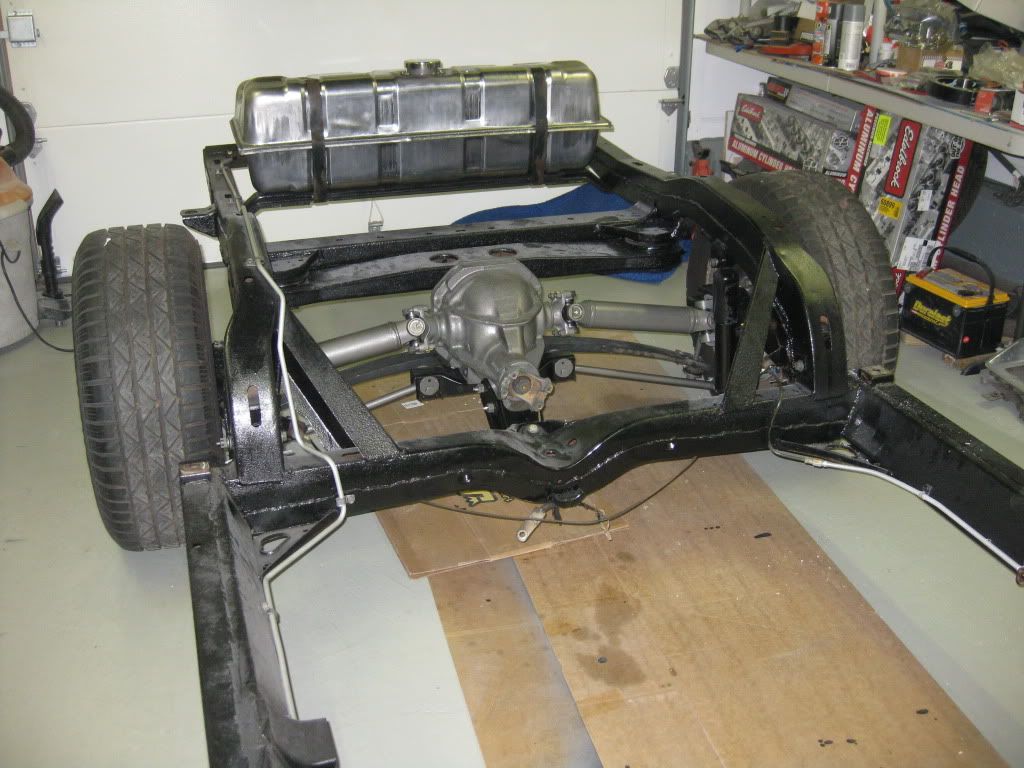
I love seeing pictures of all of your builds/projects so I am posting some of my progress on our '69 vette coupe. Just completing the rear assembly rebuild , so here are some pics. Hope you enjoy them.
Greg.
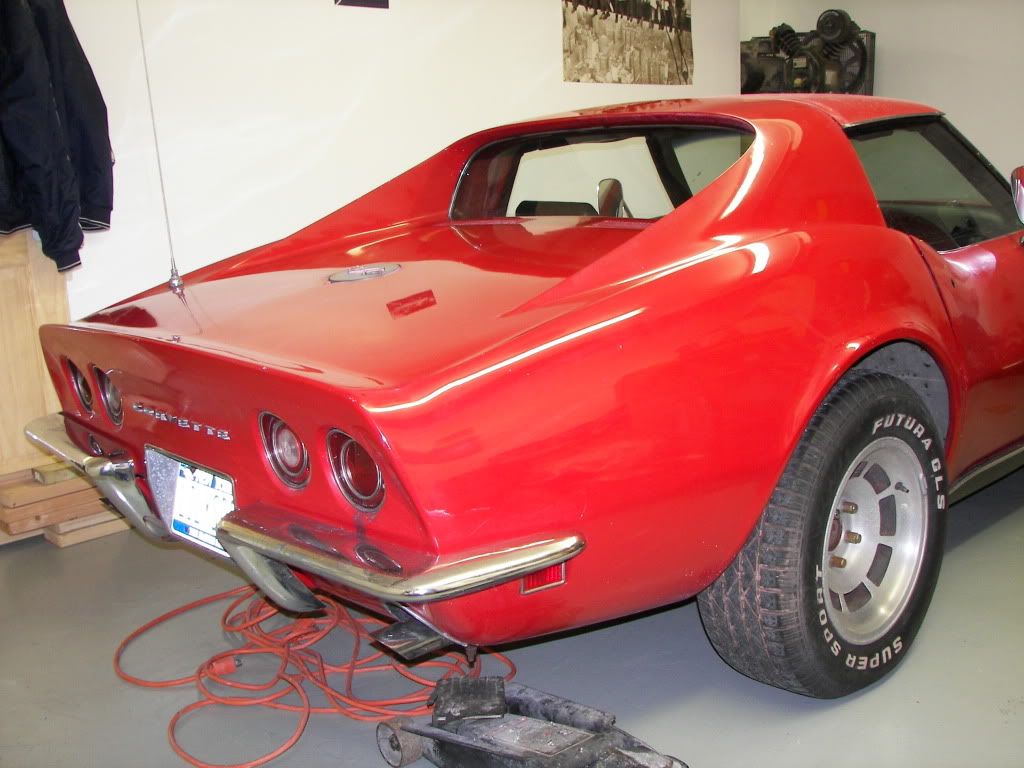
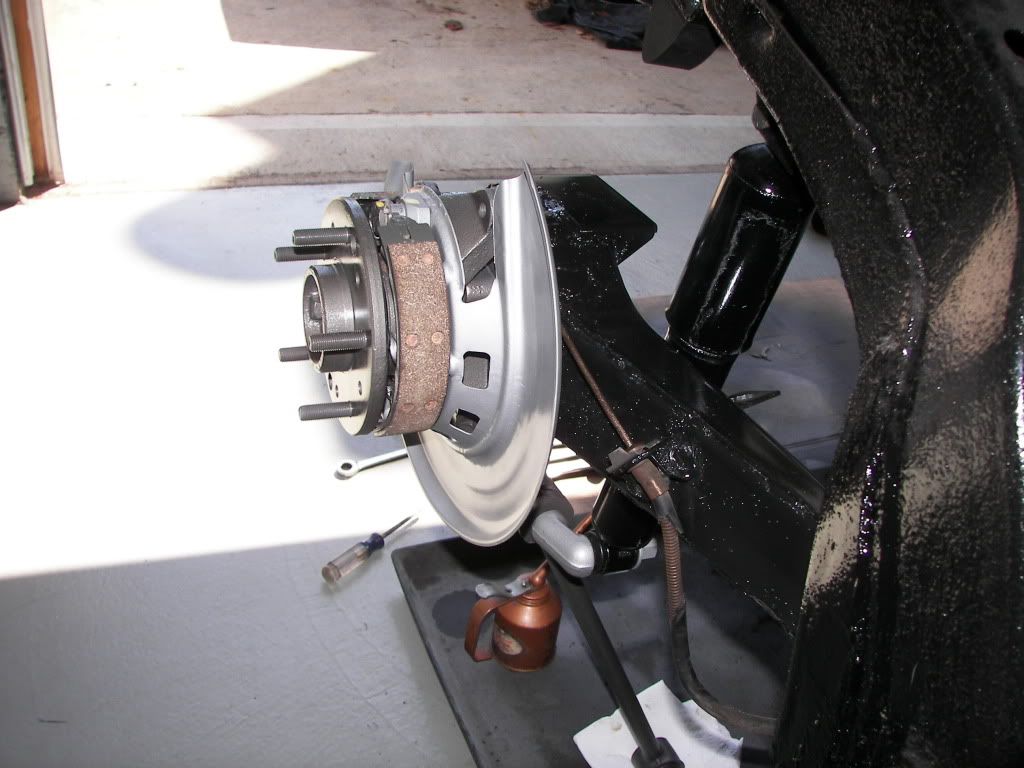

I love seeing pictures of all of your builds/projects so I am posting some of my progress on our '69 vette coupe. Just completing the rear assembly rebuild , so here are some pics. Hope you enjoy them.
Greg.


 .
04-05-2010, 01:41 AM
.
04-05-2010, 01:41 AM
#5
Safety Car


 04-05-2010, 05:30 PM
#7
Team Owner

Member Since: Sep 2006
Location: Westminster Maryland
Posts: 30,173
Likes: 0
Received 2,878 Likes
on
2,515 Posts

Hi Greg,
I agree that what you're doing is pretty serious! It looks like you're having fun.
I'll enjoy seeing more pictures of your progress!
Regards,
Alan
I agree that what you're doing is pretty serious! It looks like you're having fun.
I'll enjoy seeing more pictures of your progress!
Regards,
Alan
04-05-2010, 06:29 PM
#8
Burning Brakes

I like how you've researched and chosen the correct colour paint on the chassis components to aim for a factory look - when it's finished it's going to look really good. I hope you keep on enjoying the project. 
04-05-2010, 08:32 PM
#10
Drifting

Member Since: Apr 2009
Location: Melbourne Australia
Posts: 1,345
Likes: 0
Received 0 Likes
on
0 Posts
04-06-2010, 06:30 PM
#11
Terrorizing Orange Cones
Wow. Very impressive results of your major efforts. Anytime somebody digs that deep to have that many pieces laying around to reassemble, the work is recognized.
Good luck on the restore and keep posting those pictures. Always a pleasure to review and thanks for sharing.
Good luck on the restore and keep posting those pictures. Always a pleasure to review and thanks for sharing.
04-07-2010, 12:06 AM
#12
Instructor
Thread Starter
Member Since: Dec 2009
Location: Nassau co. NY
Posts: 109
Likes: 0
Received 0 Likes
on
0 Posts
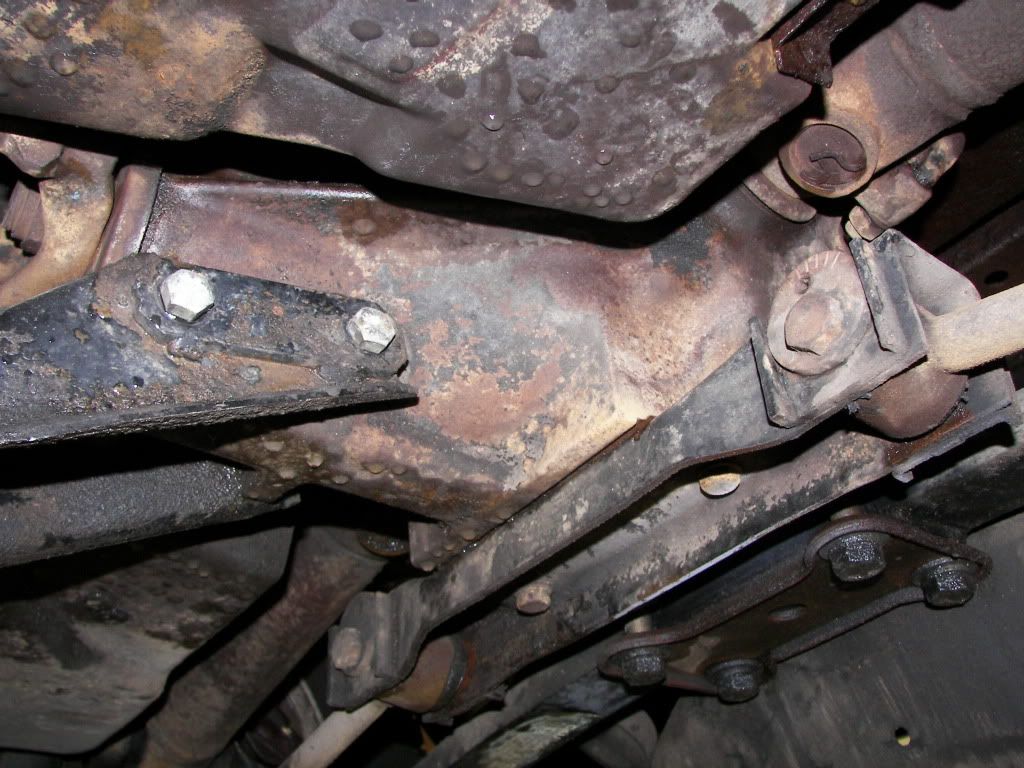
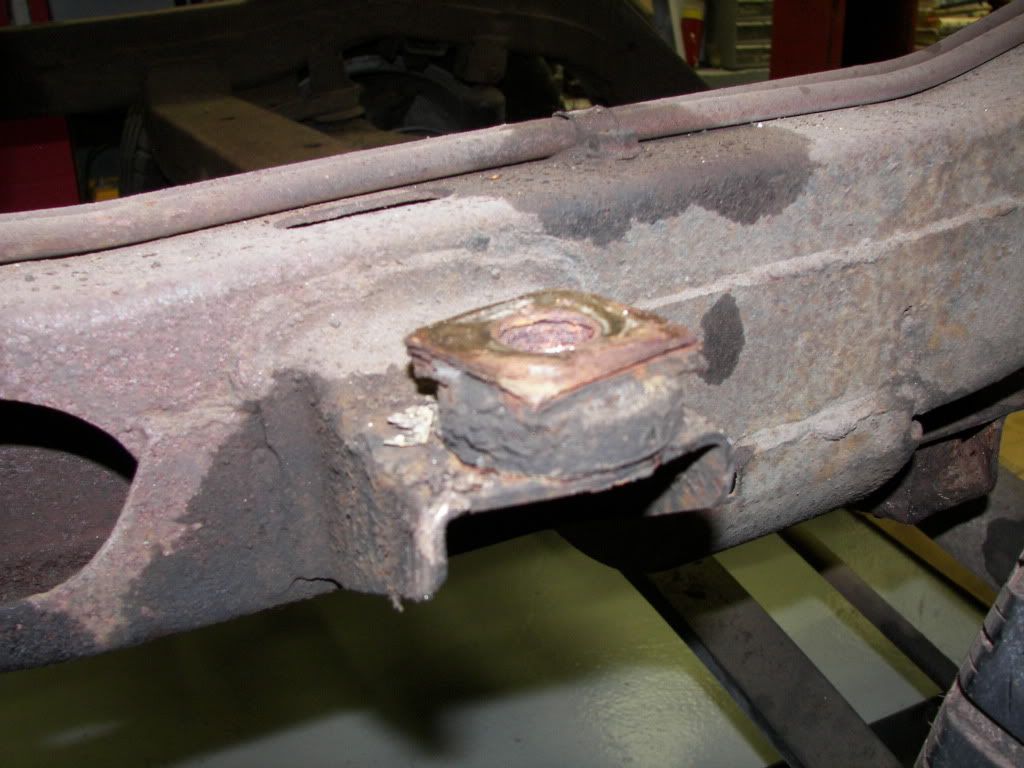
Thanks everyone for the very encouraging words. I did not mean to play this down or to infer that this was easy for me. It is very challenging to me. I just meant that I am not going to restore every aspect of the car. I am restoring certain areas of the car. For instance, I did not strip and spray or powdercoat the frame...I just scaped it down and painted it with rustoleom paint to keep the rust at bay.
My wife has had this car for 7 years and has never driven it yet. I am only attacking the areas of the car that need attention in order to make it drive like it should and be reliable.
Thanks again and I will continue to post pictures,
Greg.
My wife has had this car for 7 years and has never driven it yet. I am only attacking the areas of the car that need attention in order to make it drive like it should and be reliable.
Thanks again and I will continue to post pictures,
Greg.
 04-07-2010, 10:01 AM
#14
Team Owner
Great work! As long as you get the "safety" items and the "functional" items properly repaired, she can start enjoying it.
 04-07-2010, 12:44 PM
#16
Safety Car

 04-07-2010, 11:03 PM
#17
Instructor
Thread Starter
Member Since: Dec 2009
Location: Nassau co. NY
Posts: 109
Likes: 0
Received 0 Likes
on
0 Posts
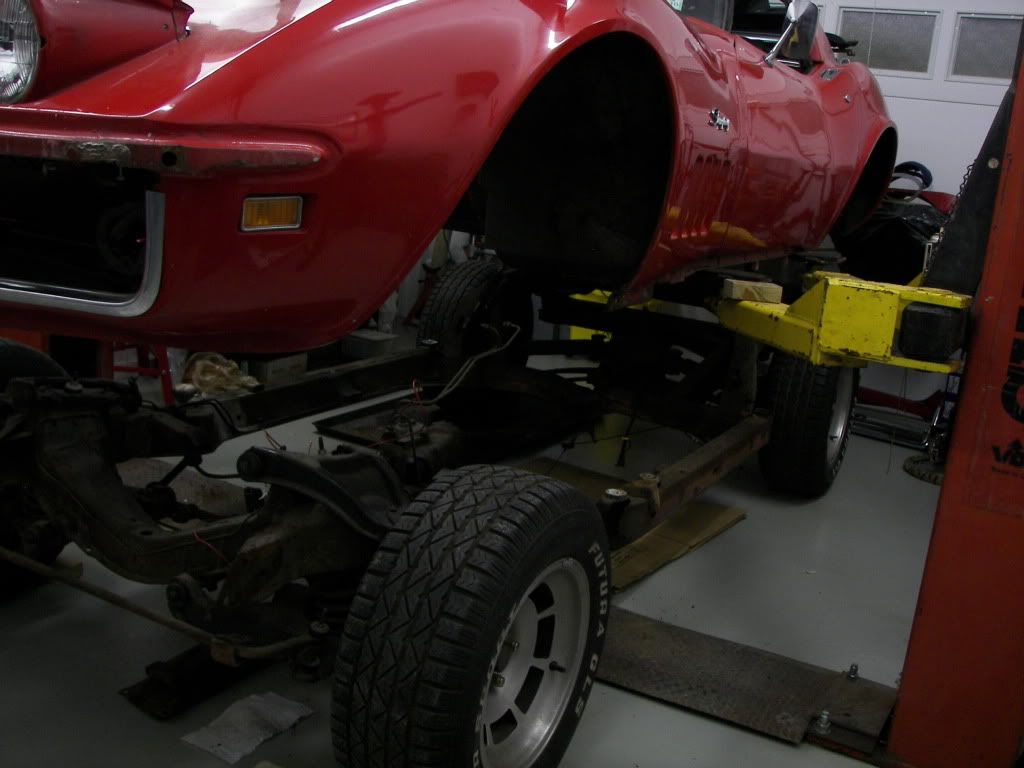
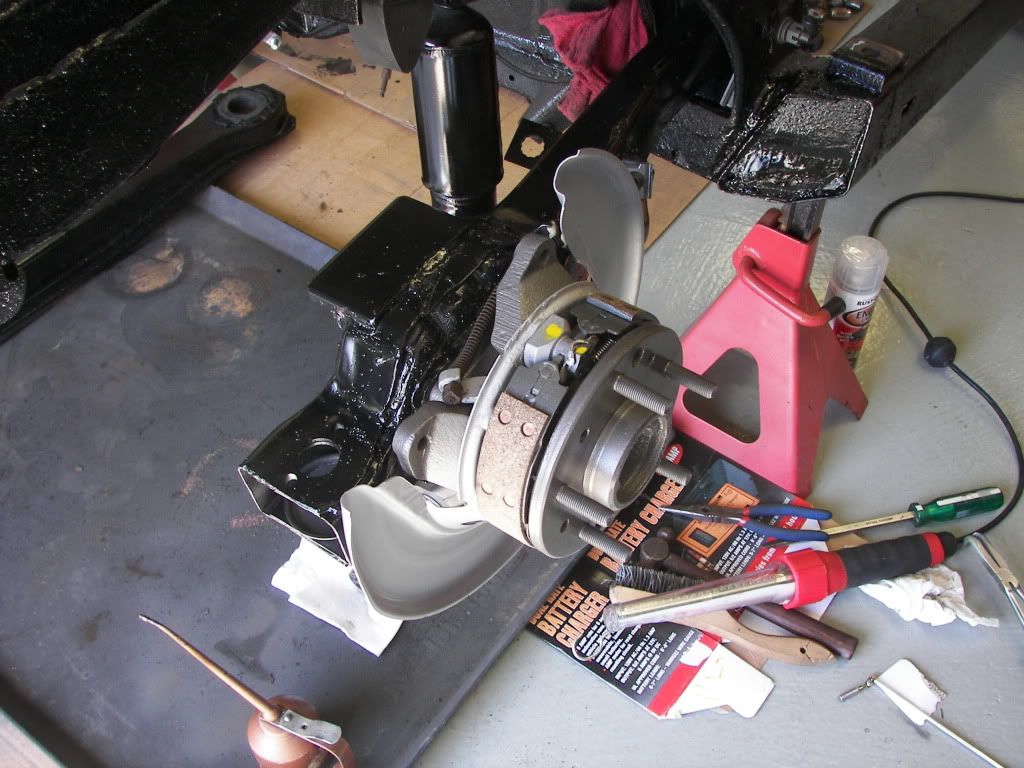
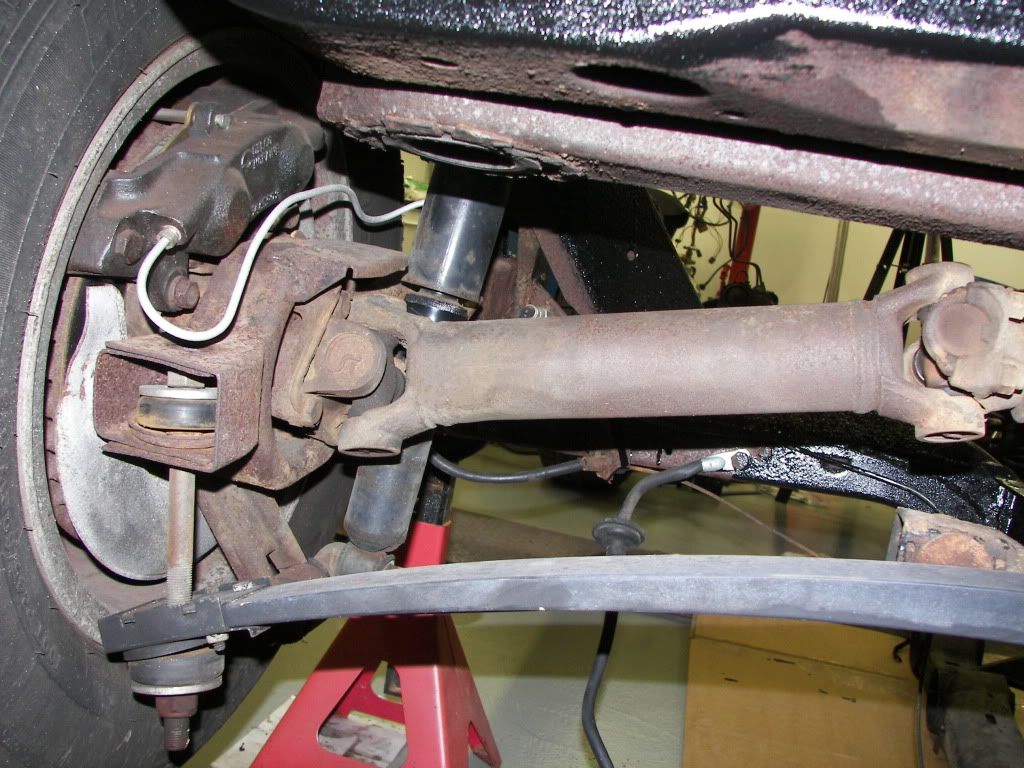
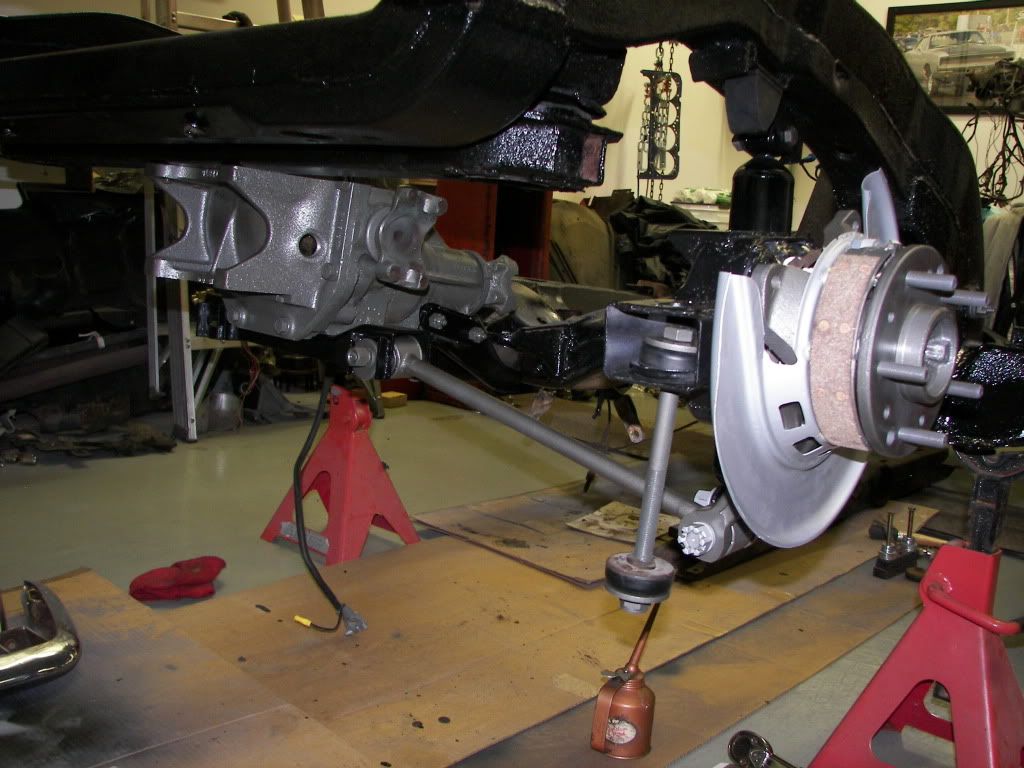
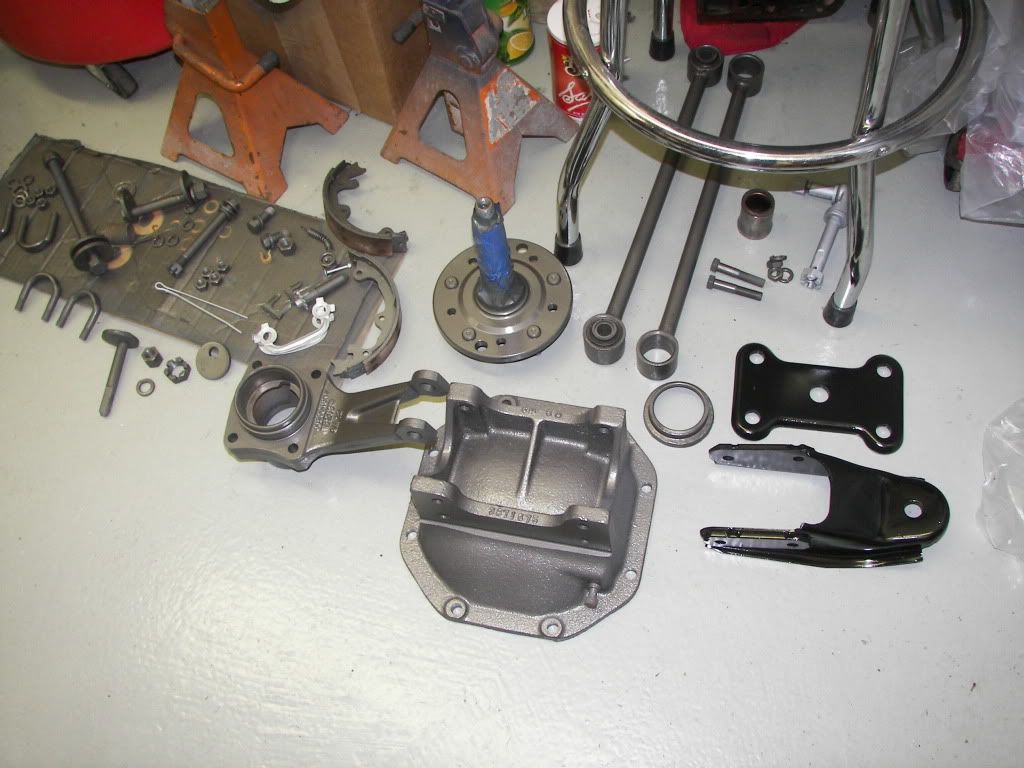
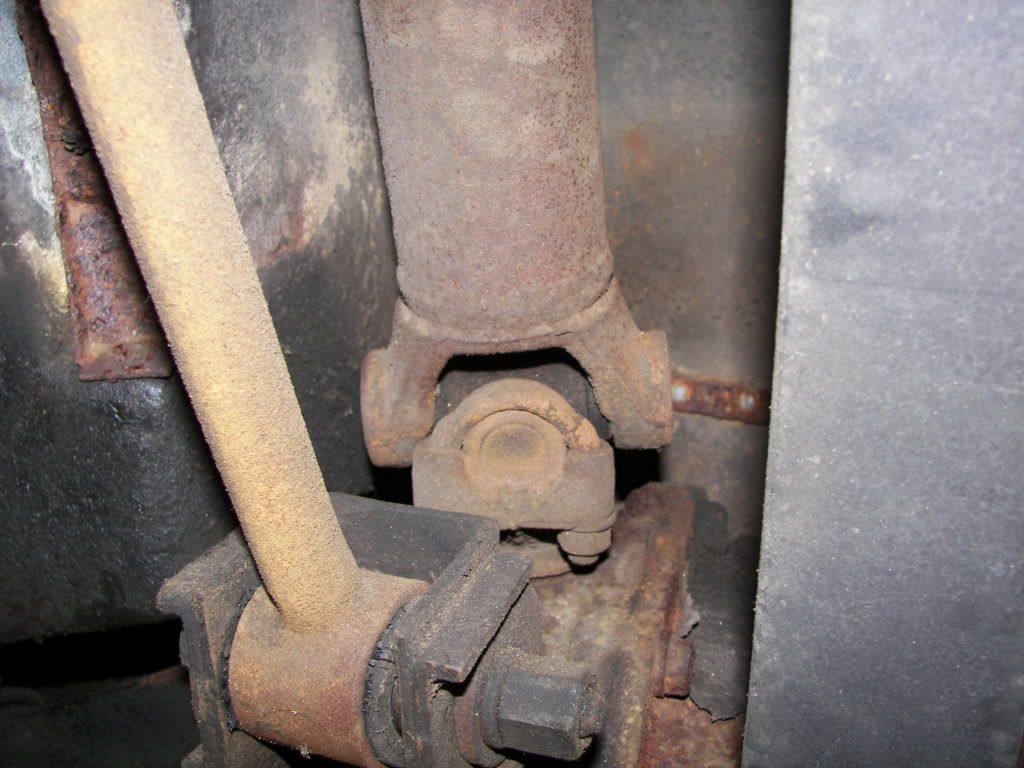
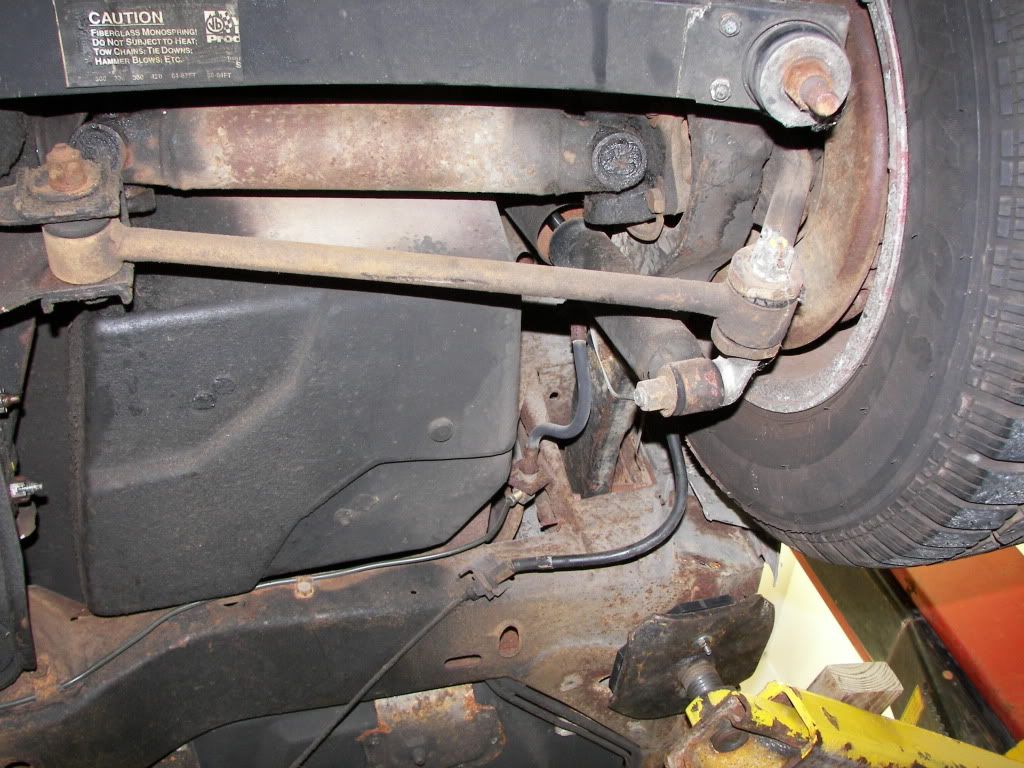
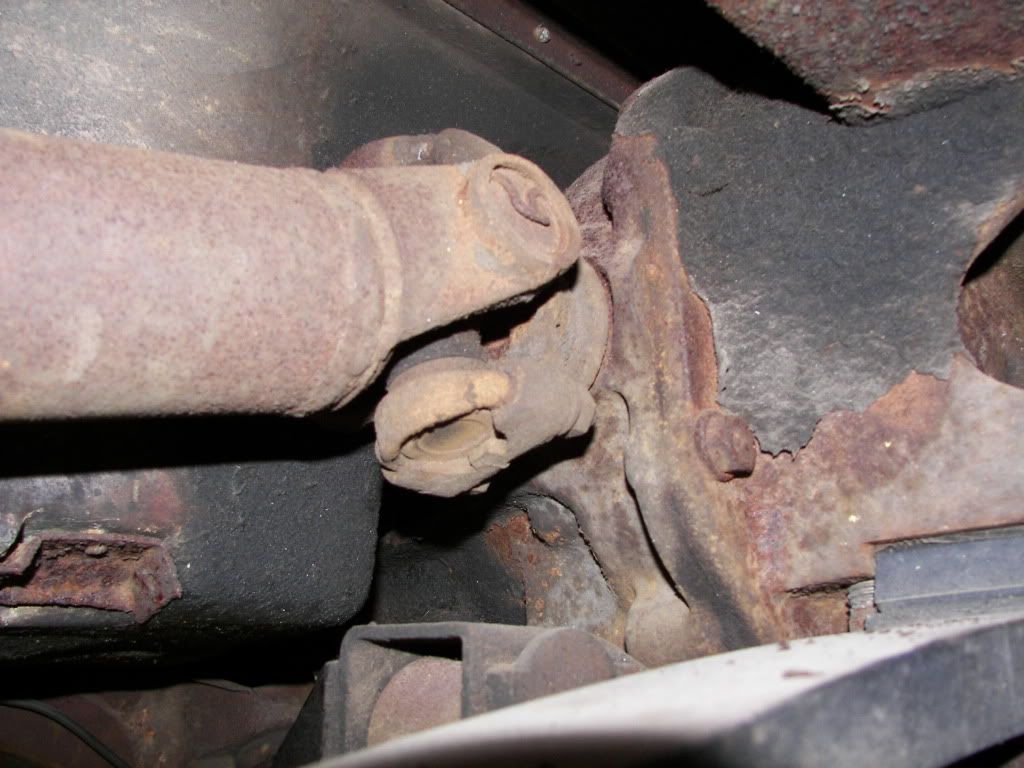
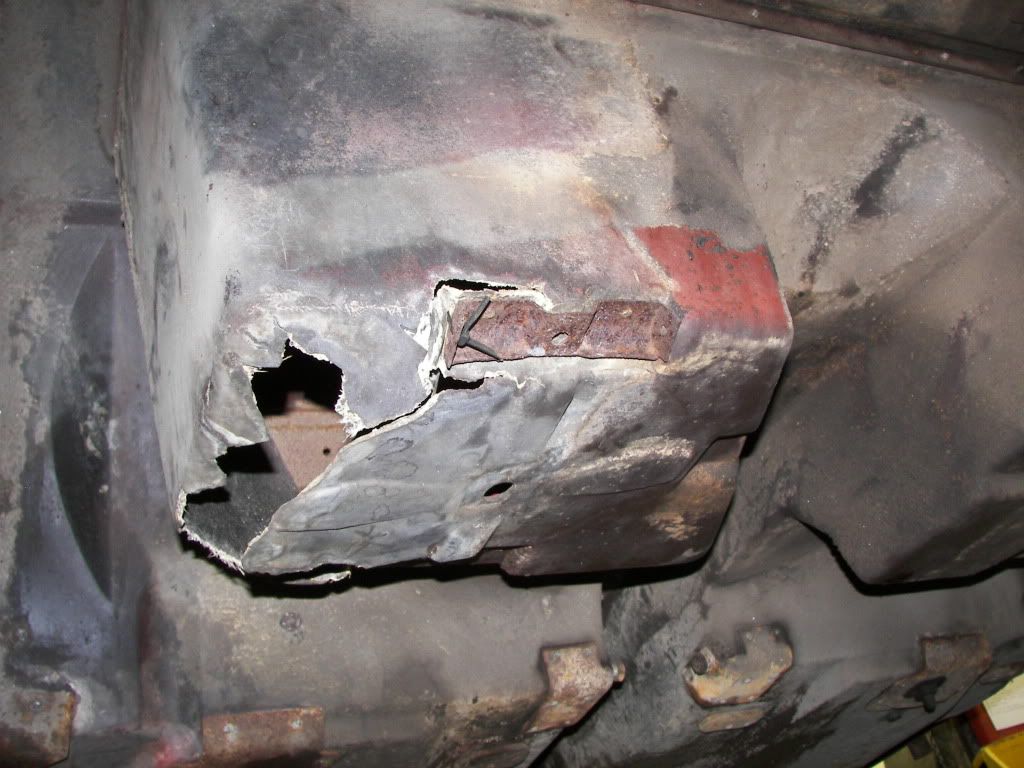
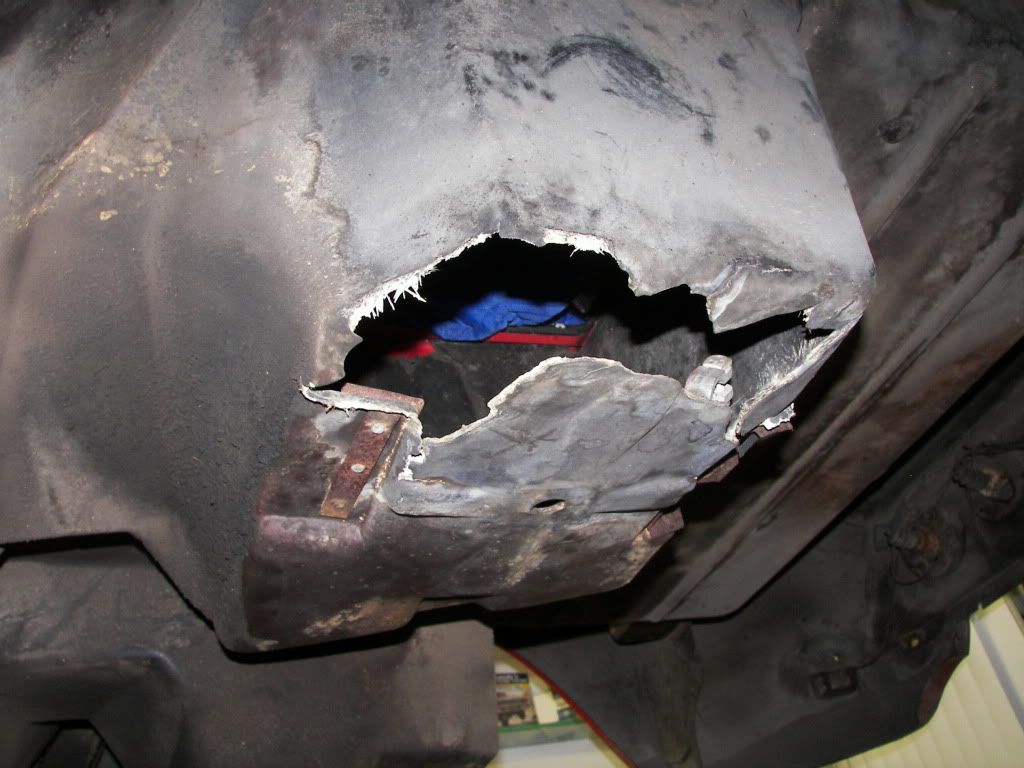
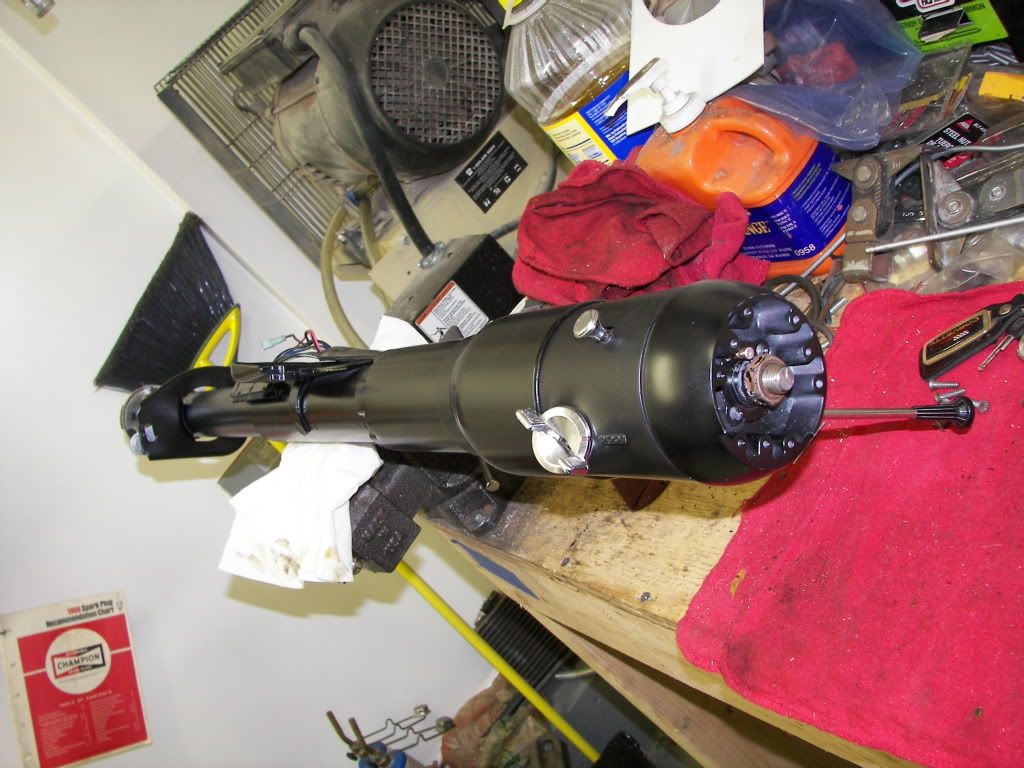
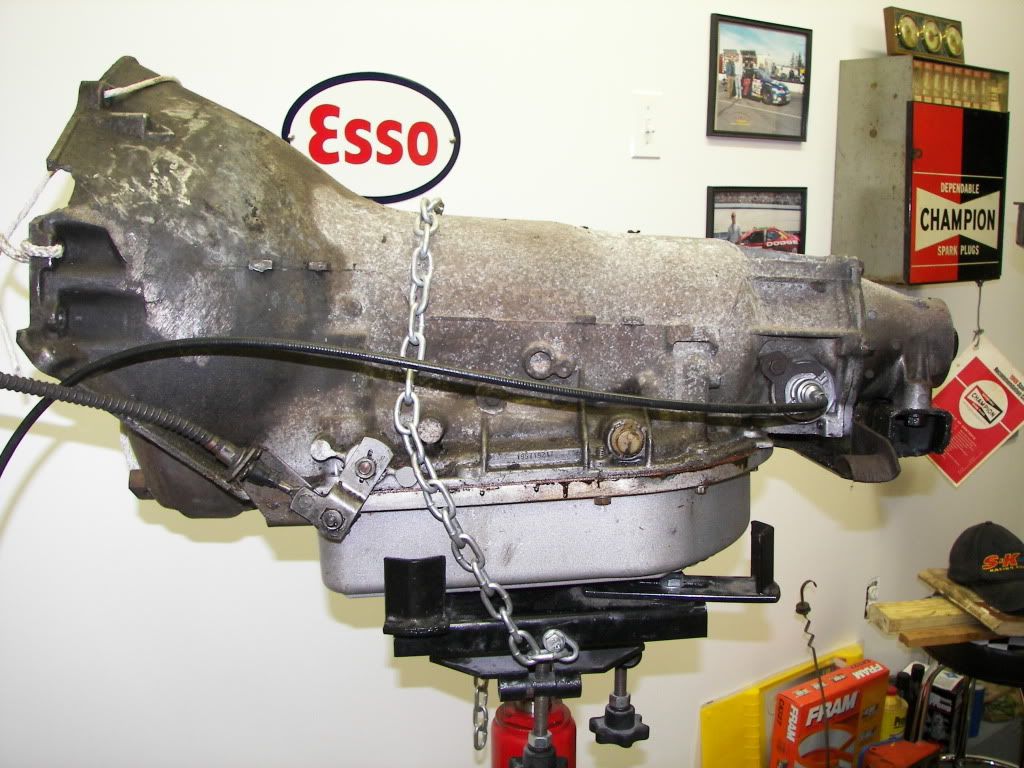
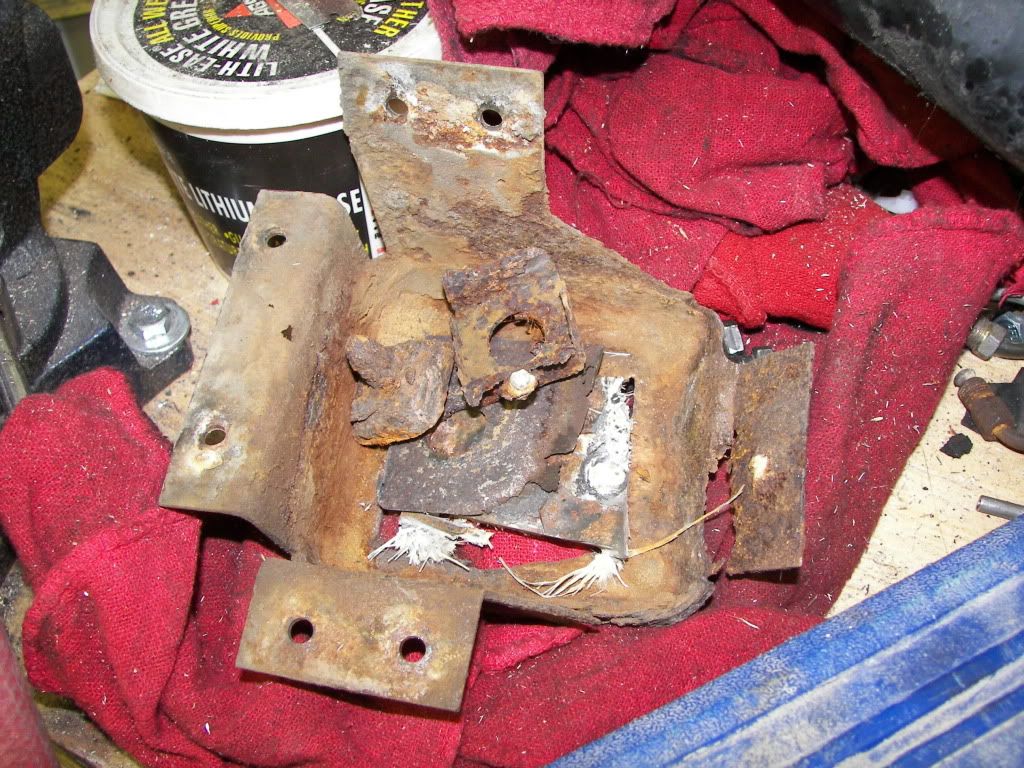
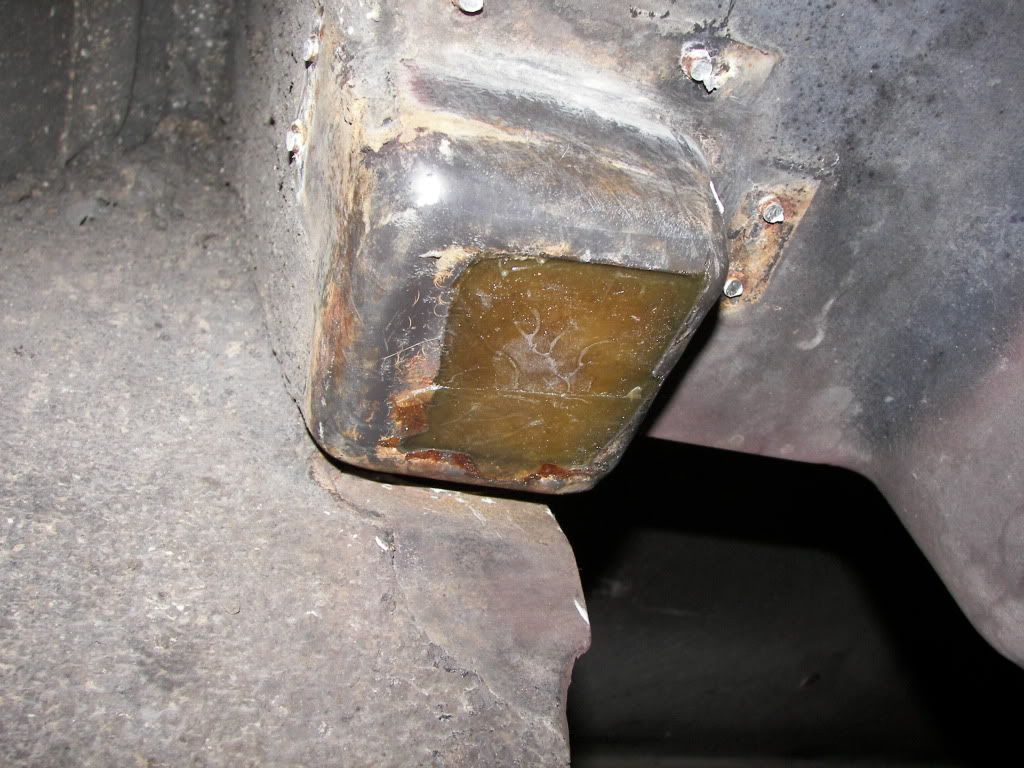
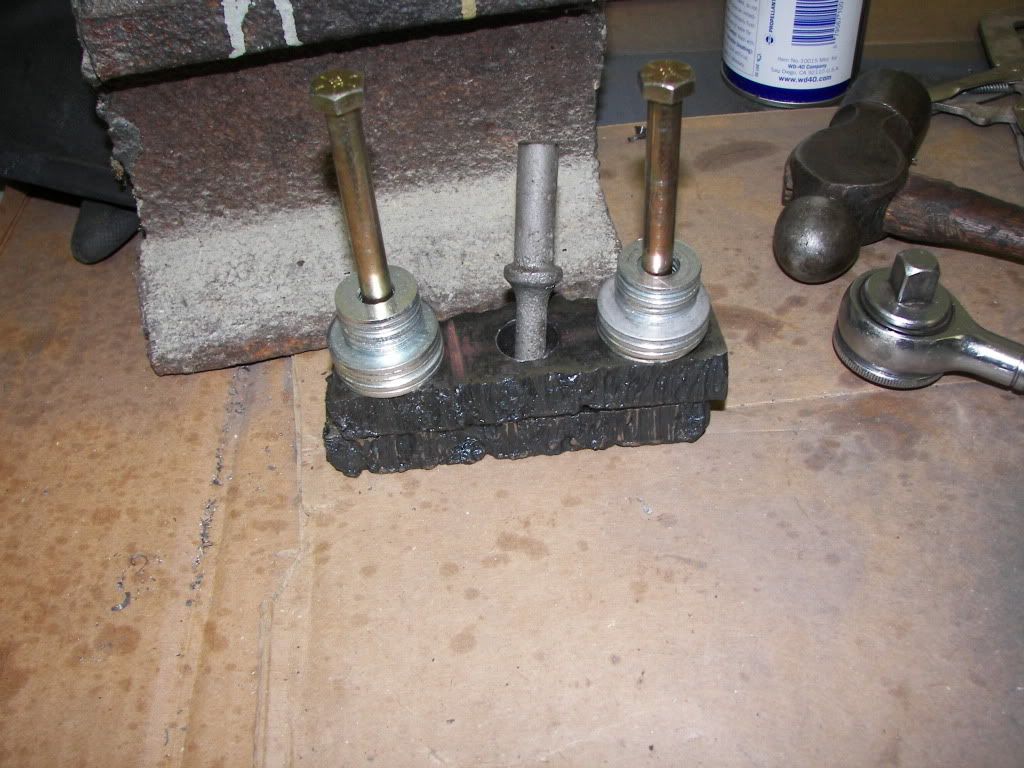
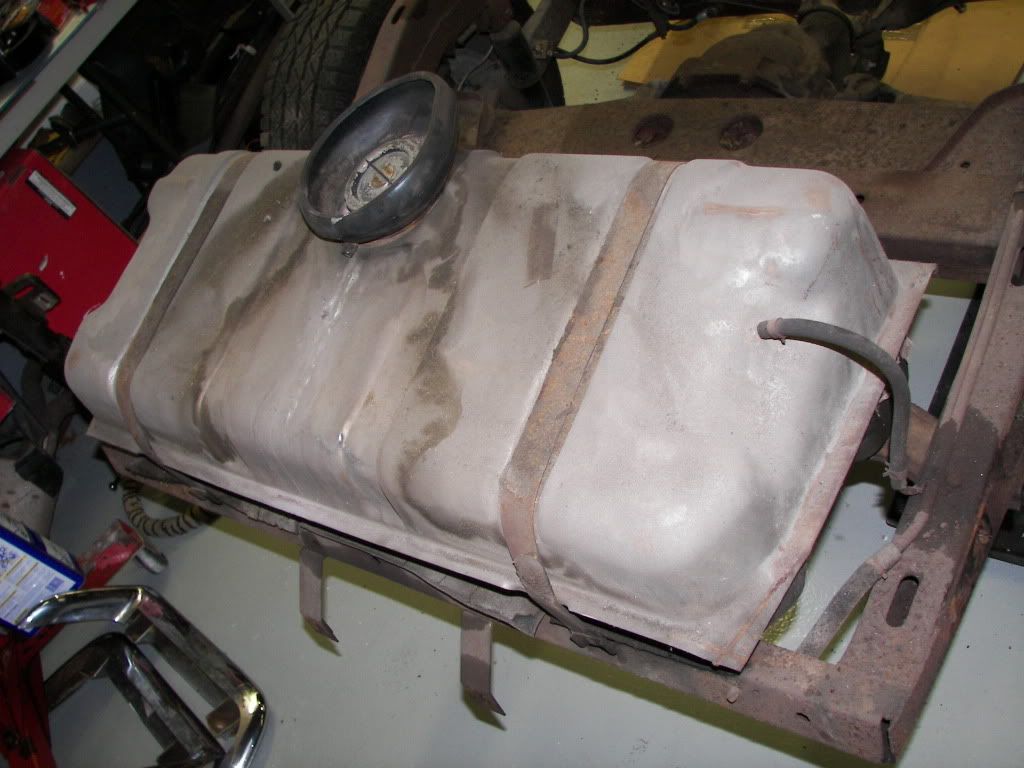
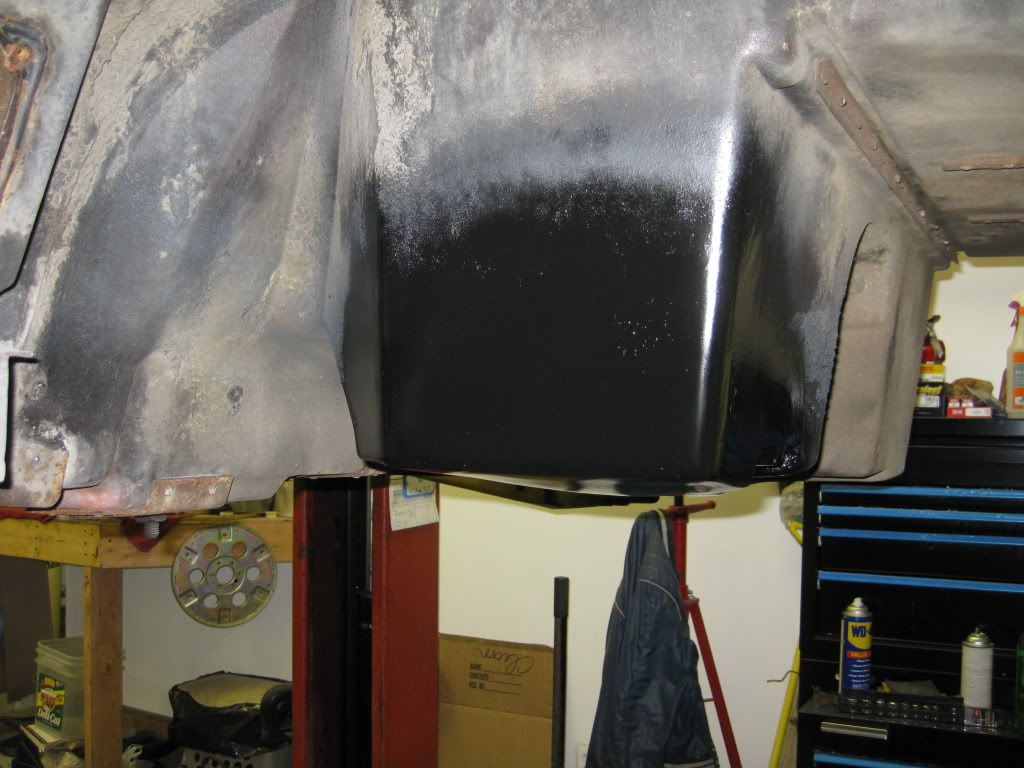
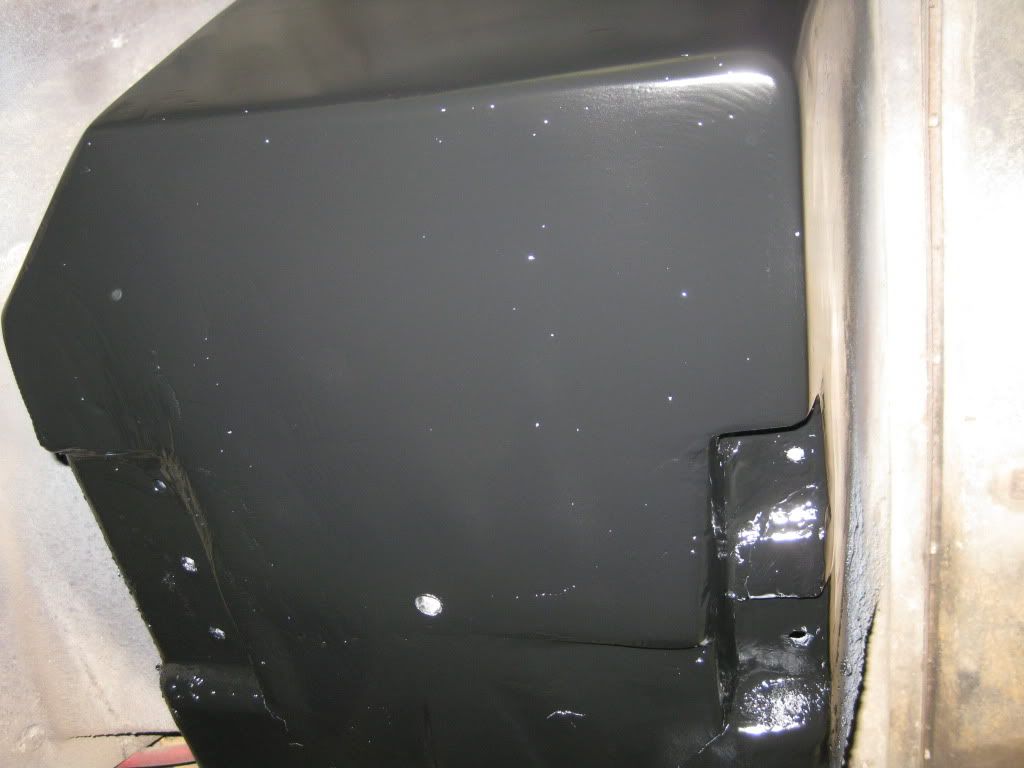
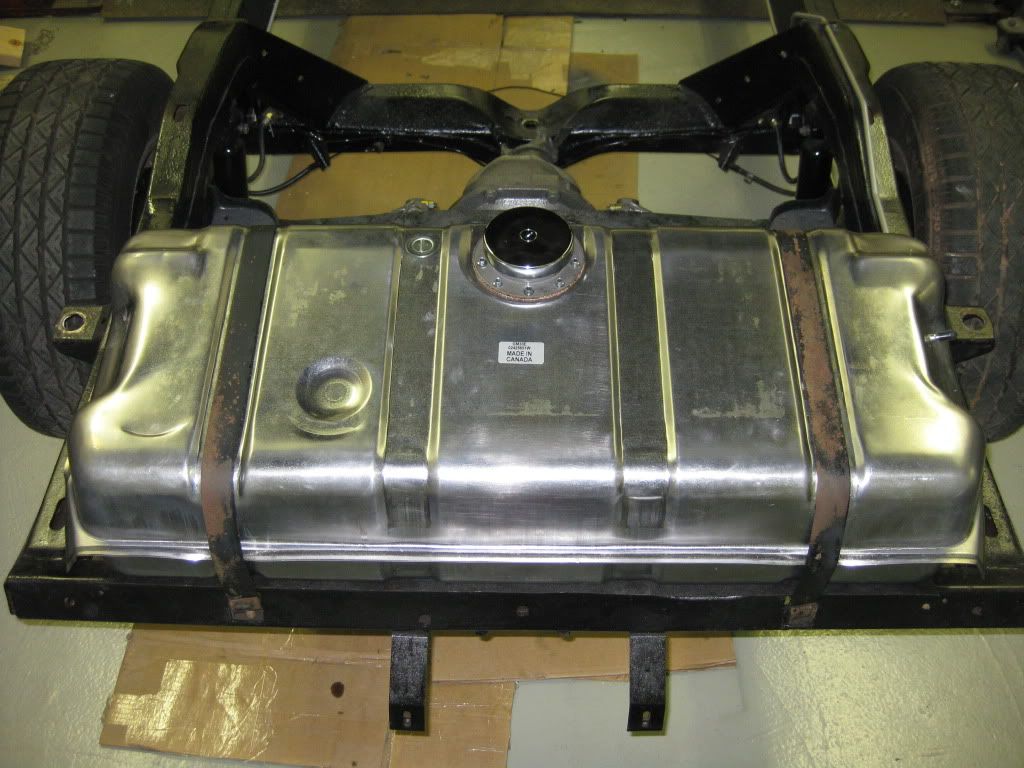
Thanks fellas. Yes I have replaced all of the bushings as well as the wheel bearings and set the end play. Once I finish the drivers side assembly, I will be psyched. Then I just need to repair the battery box and I can put the body back on. Then just reassembly of just about everything.
Here are some more pictures:
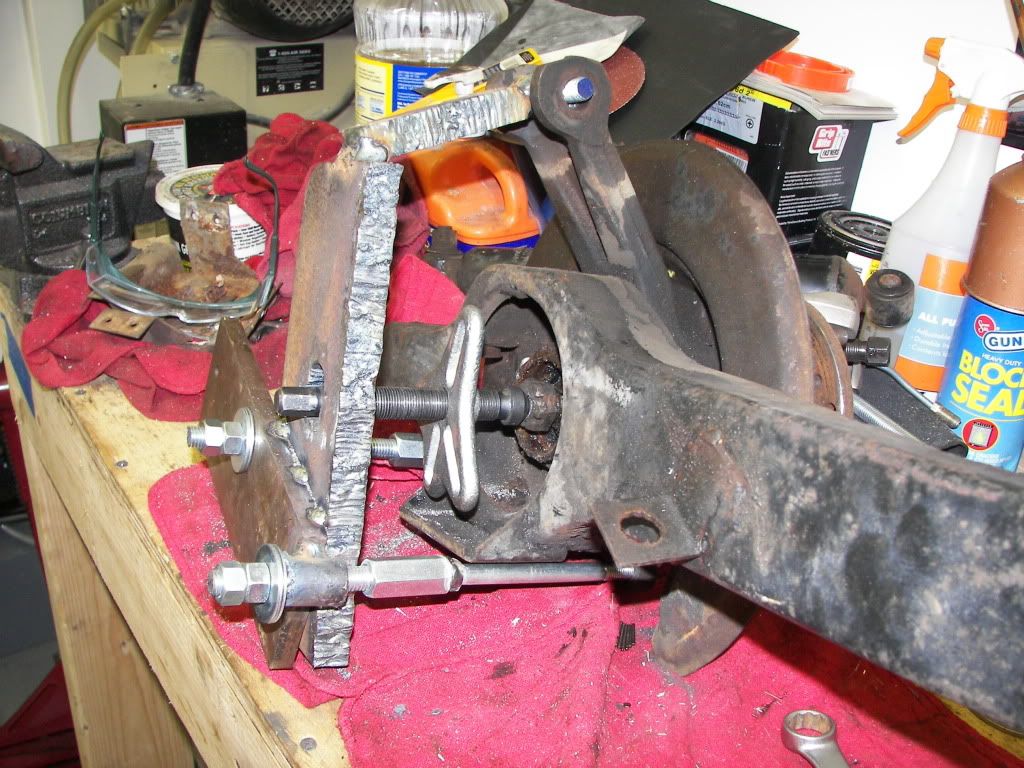
This is what I started with just after some dissassembly:


Here are some more pictures:
This is what I started with just after some dissassembly:
 04-15-2010, 12:06 AM
#19
Instructor
Thread Starter
Member Since: Dec 2009
Location: Nassau co. NY
Posts: 109
Likes: 0
Received 0 Likes
on
0 Posts
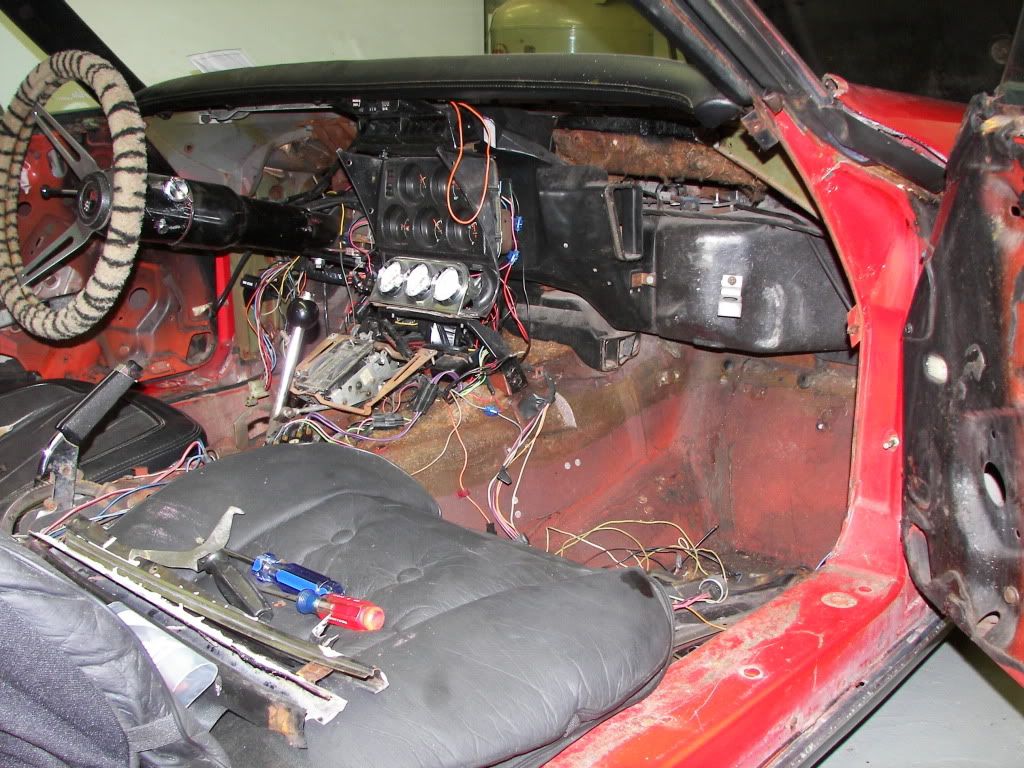
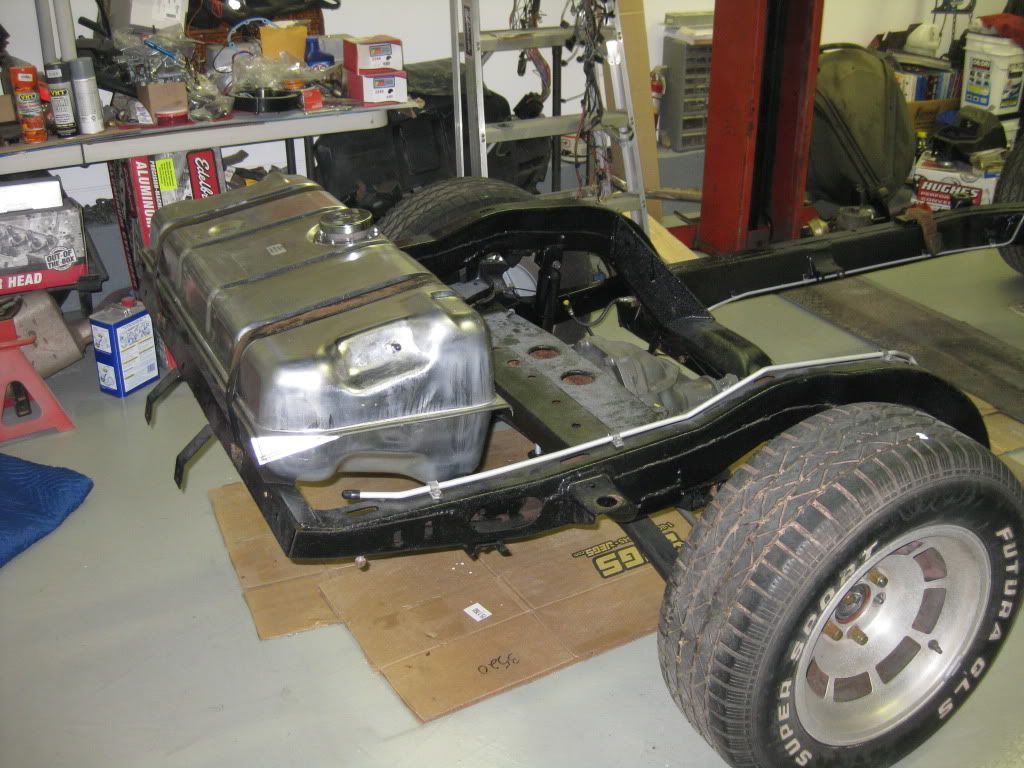
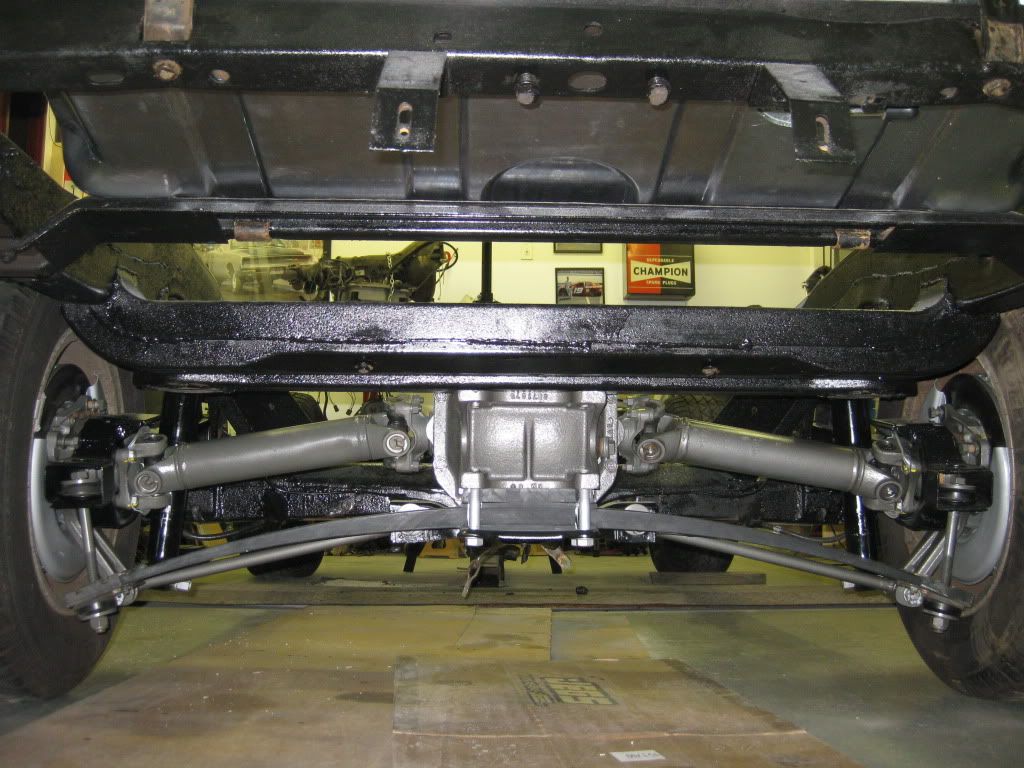
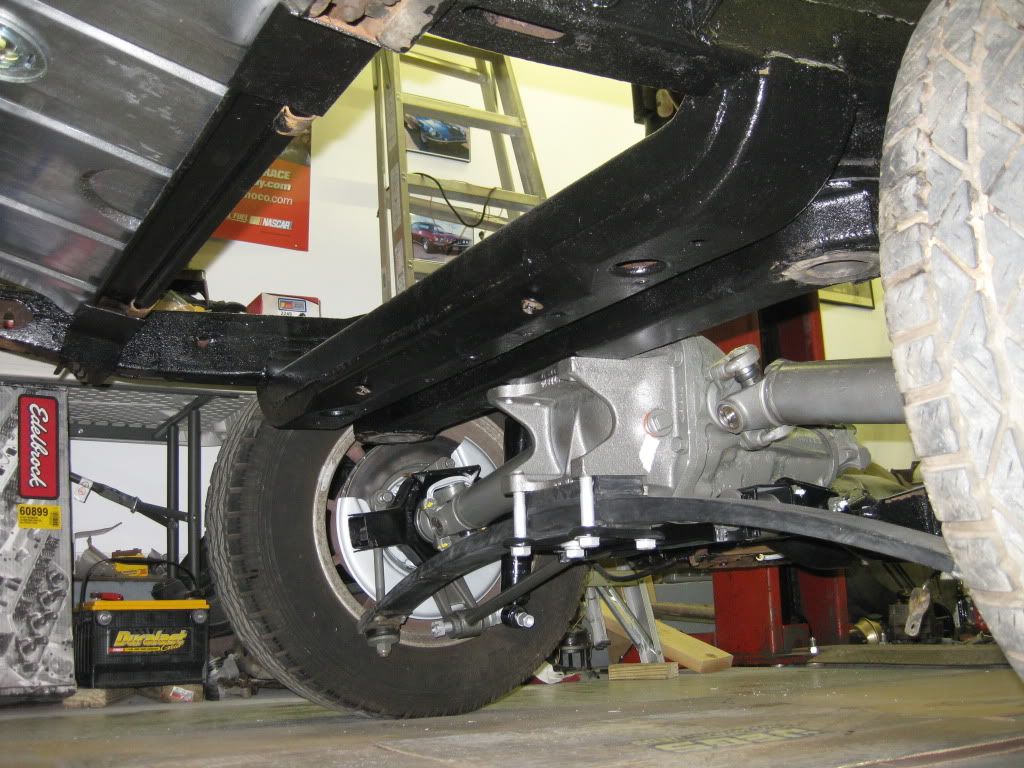
Here are some more updated pictures. I jsut have to rivit in the battery hold down kit and the pass. no. 4 mount reinforcement and I can lower the body on the new mount kit. Can't wait. Then final reassembly and maybe we can actually drive this Stingray for the first time in 8 years.
Thanks for all the info and help here!!
Thanks for all the info and help here!!
04-15-2010, 12:10 AM
#20
Instructor
Thread Starter
Member Since: Dec 2009
Location: Nassau co. NY
Posts: 109
Likes: 0
Received 0 Likes
on
0 Posts
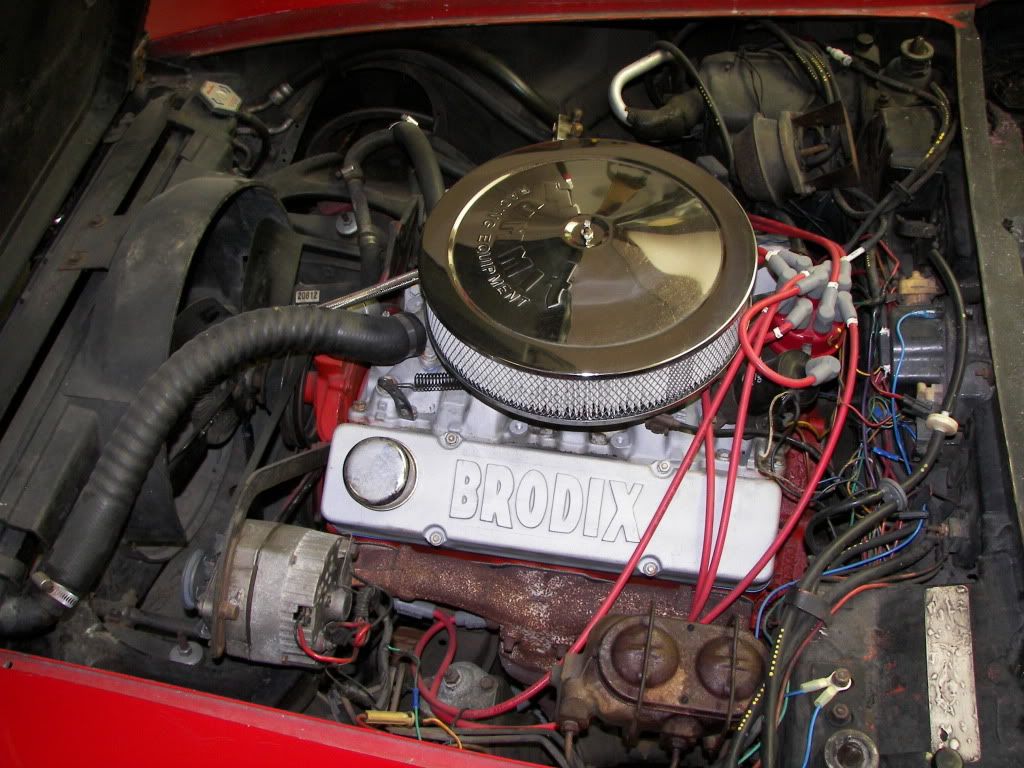
some more:

My other Muscle car (I know it's not a chevy, but it is my first love):

Hope you like the pics...I'll tune in again when I lower the body and snap some shots.
My other Muscle car (I know it's not a chevy, but it is my first love):
Hope you like the pics...I'll tune in again when I lower the body and snap some shots.