When you click on links to various merchants on this site and make a purchase, this can result in this site earning a commission. Affiliate programs and affiliations include, but are not limited to, the eBay Partner Network.
I was wary of putting the windshield together but it needed to be done, so after purchasing new rubber seals and the hardware kits from Corvette Central, I started on it. It took me about 4 hours total and it will all have to be taken apart again when the body is painted so the side posts can be chromed and the stainless polished but I want to have the car "appear" complete for the state patrol inspection.
Nice job -- getting that bottom rubber piece fairly straight where it lays along the dash pad and curves around the windshield is the mark of a good install.....
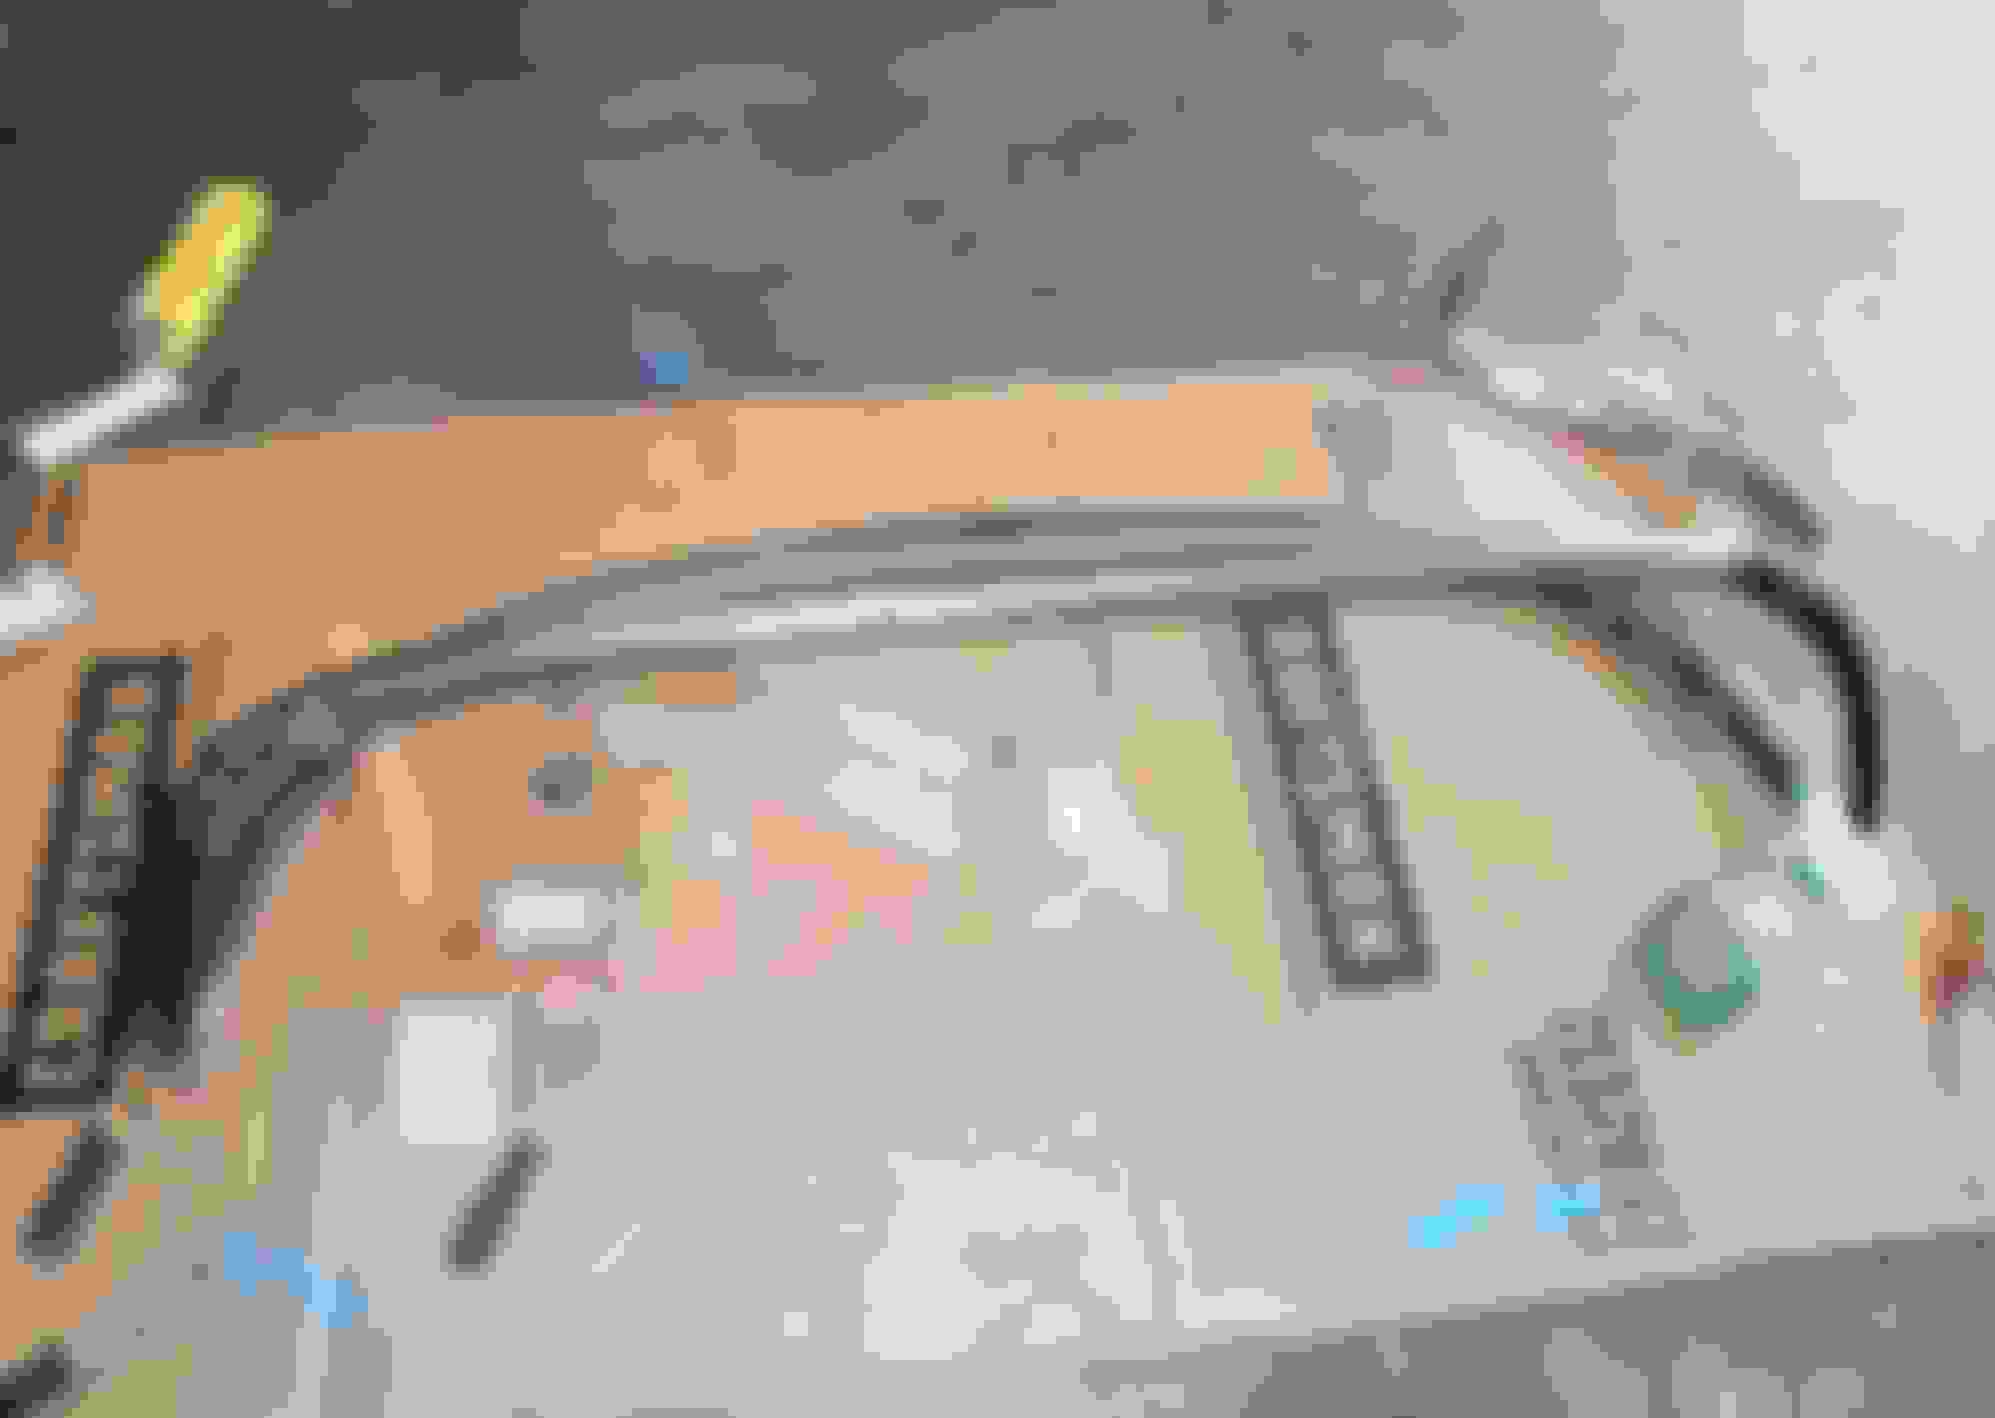
Hard to tell in the pictures but since your car is non-stock anyway (tinted windshield) it appears your windshield pillar tabs are the original cheesy pot metal. They break REAL easy. Have them fixed before the install and re-chroming with the upgrade that is available at most vendors and you'll NEVER have a problem with them.
Nice job -- getting that bottom rubber piece fairly straight where it lays along the dash pad and curves around the windshield is the mark of a good install.....
Hard to tell in the pictures but since your car is non-stock anyway (tinted windshield) it appears your windshield pillar tabs are the original cheesy pot metal. They break REAL easy. Have them fixed before the install and re-chroming with the upgrade that is available at most vendors and you'll NEVER have a problem with them.
I thought I was lucky to have some that were not broken but since the cost of chroming the side posts is not that much less than exchanging them for rebuilt units I will take your advice and send mine in. Thanks!
I thought I was lucky to have some that were not broken but since the cost of chroming the side posts is not that much less than exchanging them for rebuilt units I will take your advice and send mine in. Thanks!
Nice work. It is a fairly intimidating job but as you found out a fairly easy one if you take your time.
Jus a suggestion, but if you are going to take it apart again to have the posts rechromed, then you might want to call Corvette Rubber Company and get one of the new shorter windshield gaskets. A shorter gasket will eliminate the ripples you see in the lower curve area.
Do a forum search and look for write ups about windshield gaskets and installation by Rich5962 and myself from last winter. Lots of meat to chew on there......
Nice job -- getting that bottom rubber piece fairly straight where it lays along the dash pad and curves around the windshield is the mark of a good install.....
Hard to tell in the pictures but since your car is non-stock anyway (tinted windshield) it appears your windshield pillar tabs are the original cheesy pot metal. They break REAL easy. Have them fixed before the install and re-chroming with the upgrade that is available at most vendors and you'll NEVER have a problem with them.
I agree with Frankie....mine were not broke before, but ended up breaking after the top was too tight....do yourself a favor and buy the insurance of adding the steel plate to them....cheap insurance!
From: "You may all go to Hell- and I will go to Texas- Davy Crockett
St. Jude Donor '12
also, if you have your windshield posts rechromed, ask Rich for some pictures before you send yours off to be redone, -- he can show you where they need to be masked off so they don't wind up being too thick to go back in the windshield frame. Mine had to be ground down cause my rechromer didn't know.
I rebuilt my 61's windshield about 10 years ago, and tightened the
frame to the body very snug. All was fine for about 2 weeks then a crack started up the right corner of the glass. It went all the way to the top before I figured it out. Lesson learned, but had to do it all over again.
The next time, I just seated the nuts and added a 1/4 turn.
Both of the above posts are VERY good tips. Too much chrome in places can make those pillars a b!tch to mate to other parts. A trouble spot is that little recessed flange at the lower rear of the pillars that mates to the front of the horizontal stainless steel outer door garnish. If that's too thick it's a PITA to mate the two parts. Search for some threads on it, maybe some from rich5962.
And, yes there is no reason to torque down like a madman on those T-bolts, etc.. when installing the windshield; it won't fly off in your face on the interstate...
Get some 3M strip caulk, or similar pliable, non hardening caulk, and make a little circle of caulk around each T bolt hole (and the two studs on each upright), both top and bottom on the rubber body gasket, and your windshield frame wont leak water into the car.
Do NOT trust that rubber gasket to keep your car dry inside, especially if just minimally tightening the nuts on the t bolts.
It is much easier than going back later and taking the nuts off one at a time and stuffing caulk up around each T bolt from under the dash.
Thanks for all the tips, I went over the installation instructions Rich provided and with that and the tips from this forum the next install should go smooth. Since my body never had a windshield installed before locating the holes in the right spots has also been a challenge. I am also having trouble getting the hard top located correctly as it seems it needs to go back about another 1/2 inch.
Thanks for all the tips, I went over the installation instructions Rich provided and with that and the tips from this forum the next install should go smooth. Since my body never had a windshield installed before locating the holes in the right spots has also been a challenge. I am also having trouble getting the hard top located correctly as it seems it needs to go back about another 1/2 inch.
When I did mine, I Installed the windshield, top and doors. Got everything aligned and shimmed first. Those were a challenge. Then, I installed the upper firewall follow by the front clip. My body is back off its frame and in a rotisserie so if you need specific measurement I can provide them.





 C 1 Windshield Installed