[C2] Restomod build dedicated to Dave Bart, long time club member and all around good guy
#22
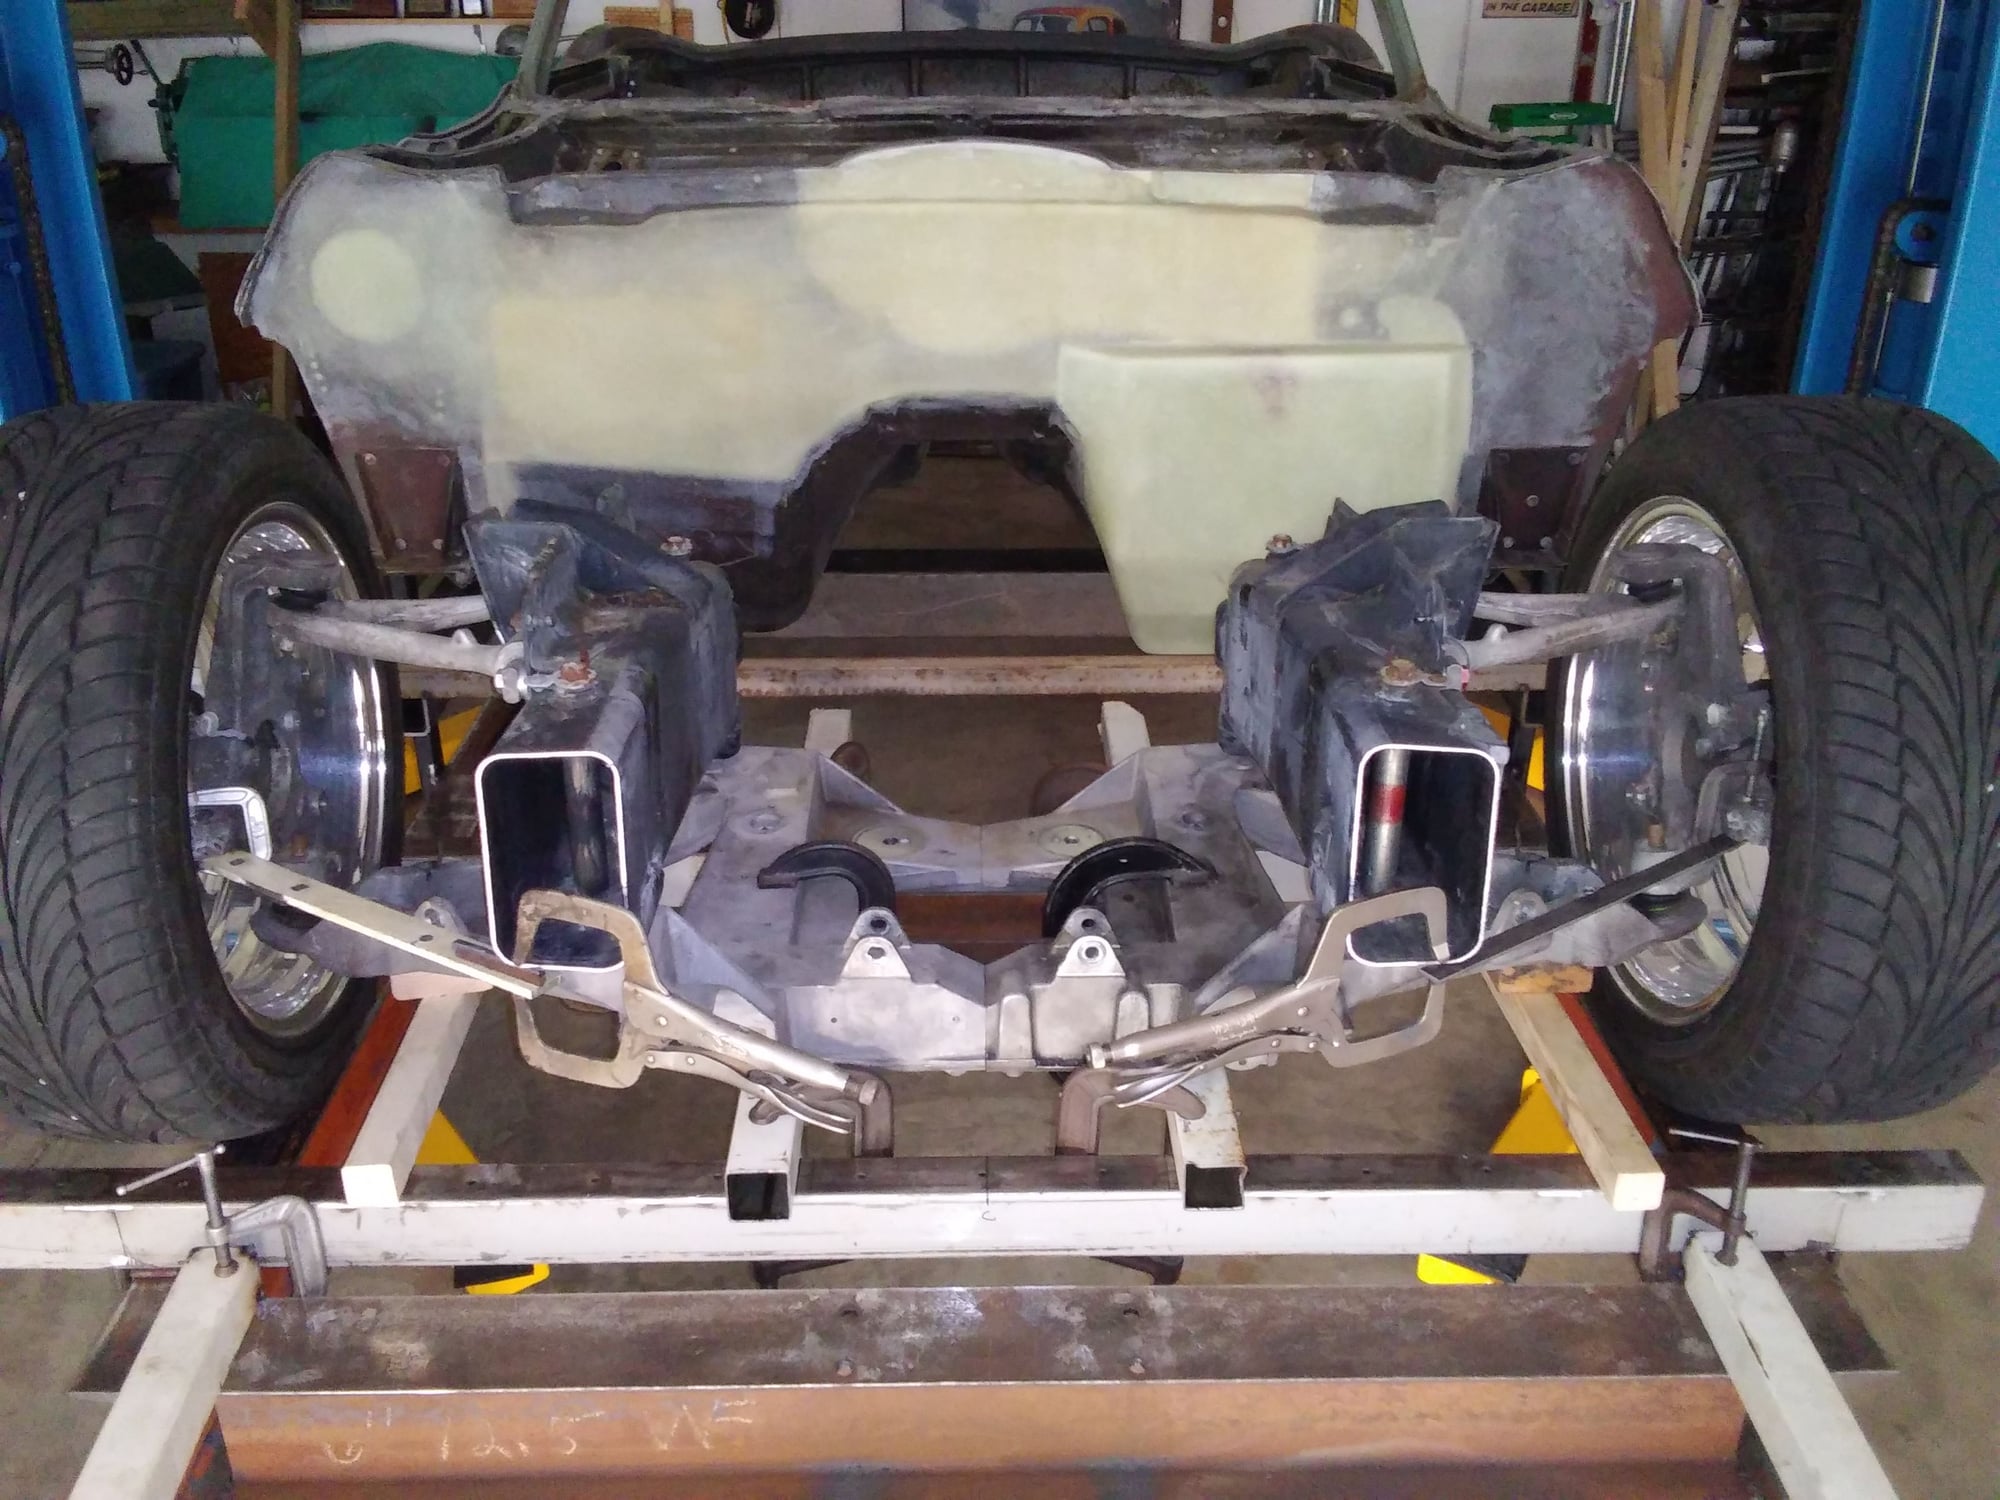
This is the C5 front suspension mocked up 10" narrower than stock.
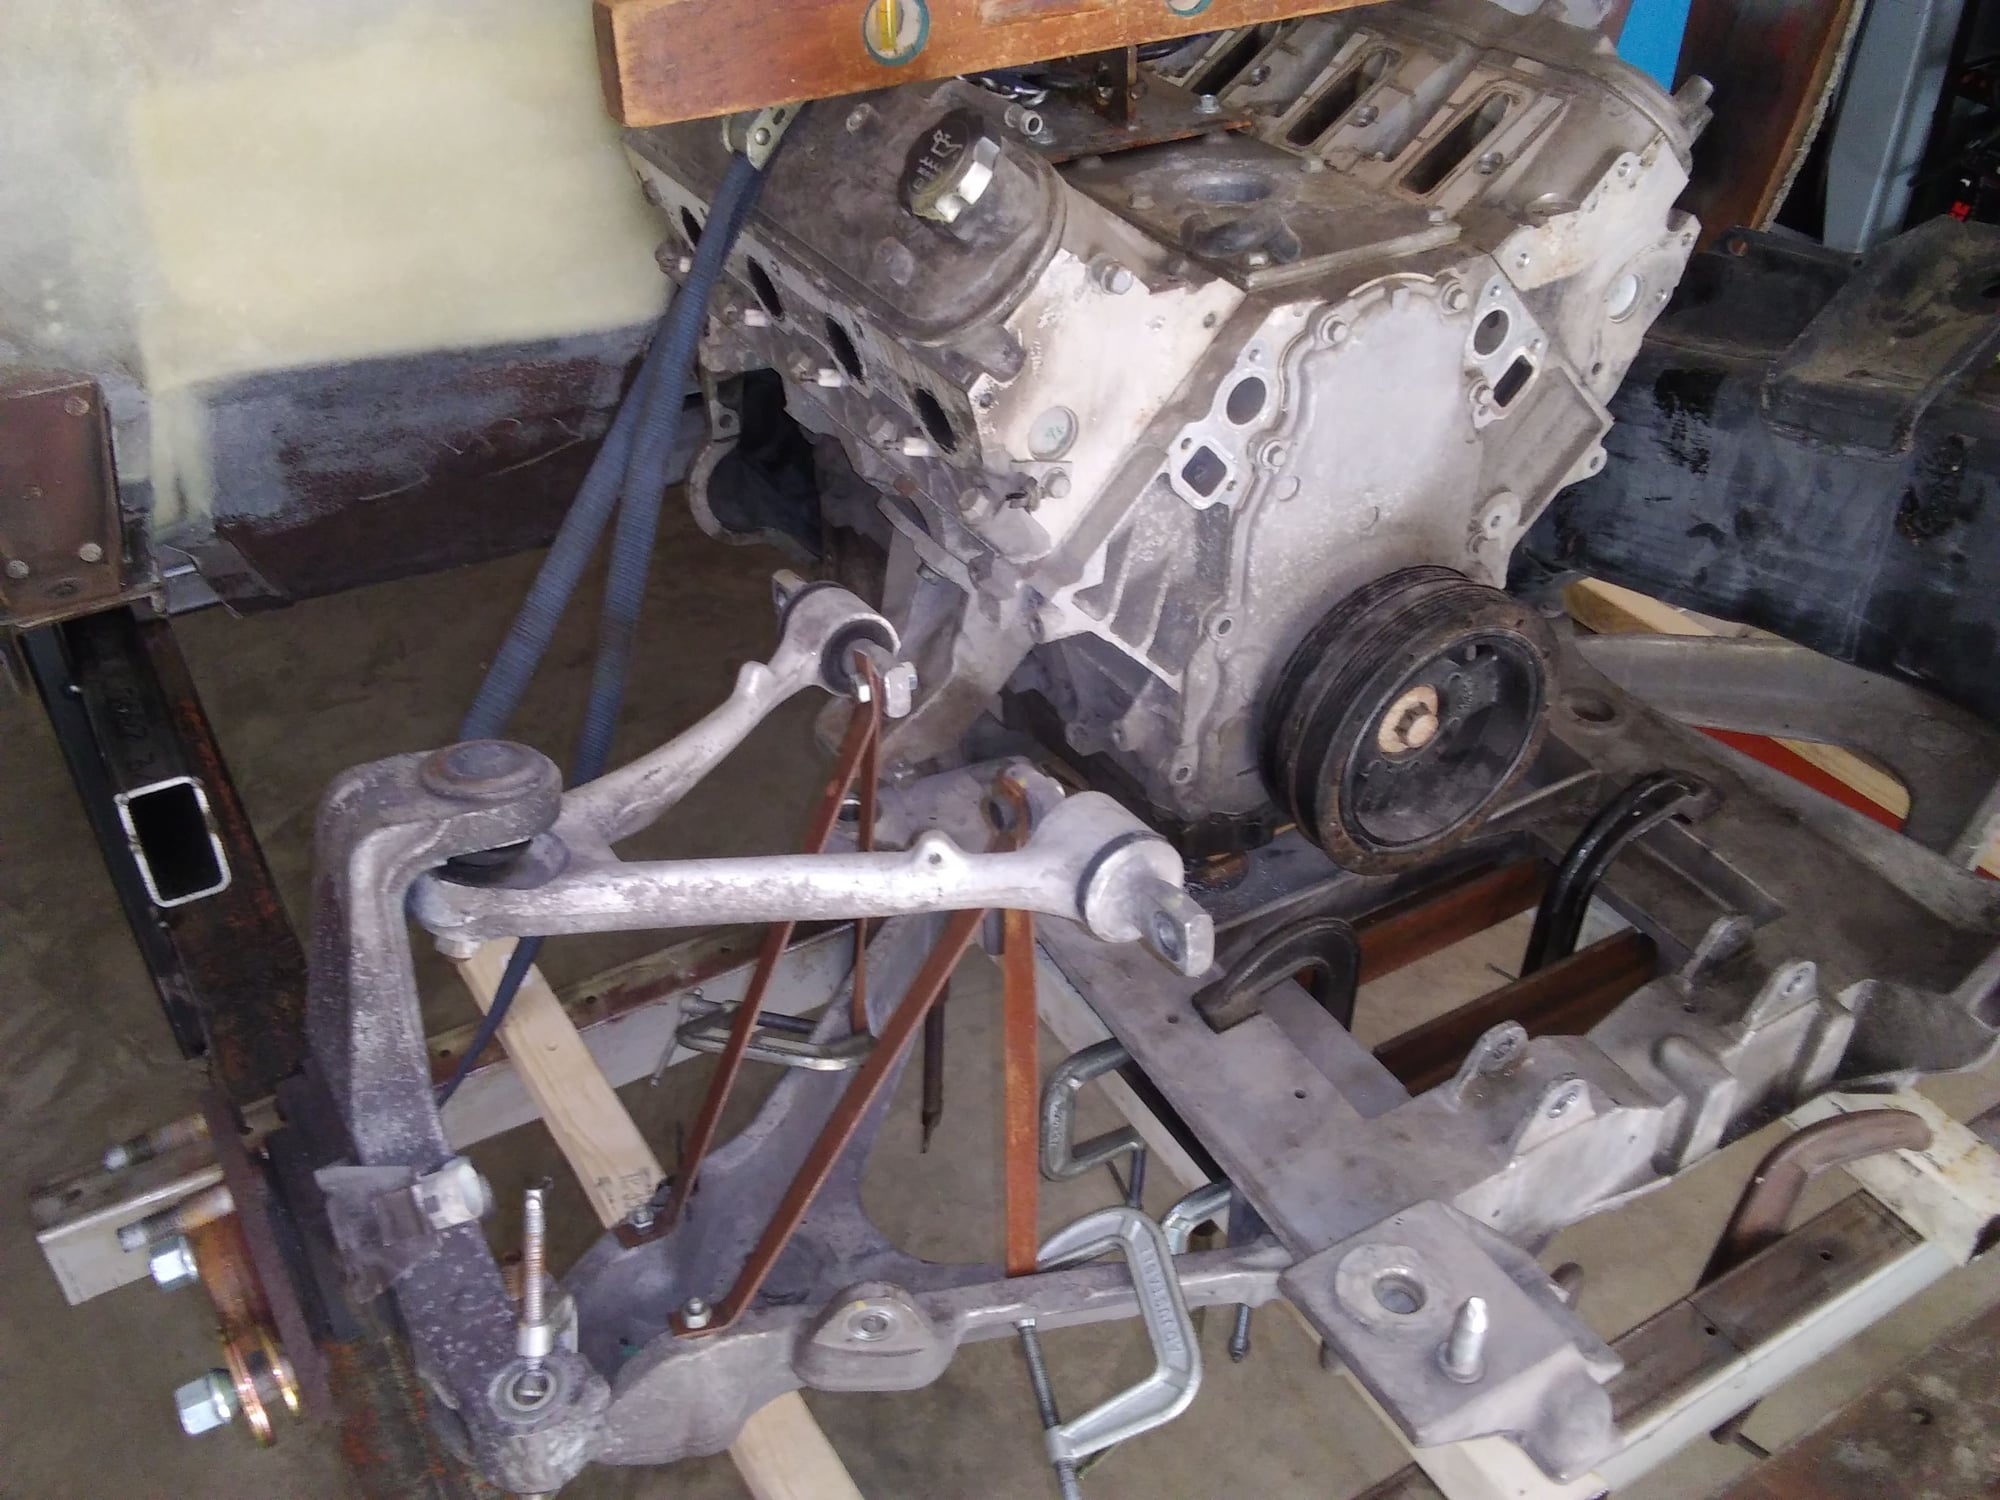
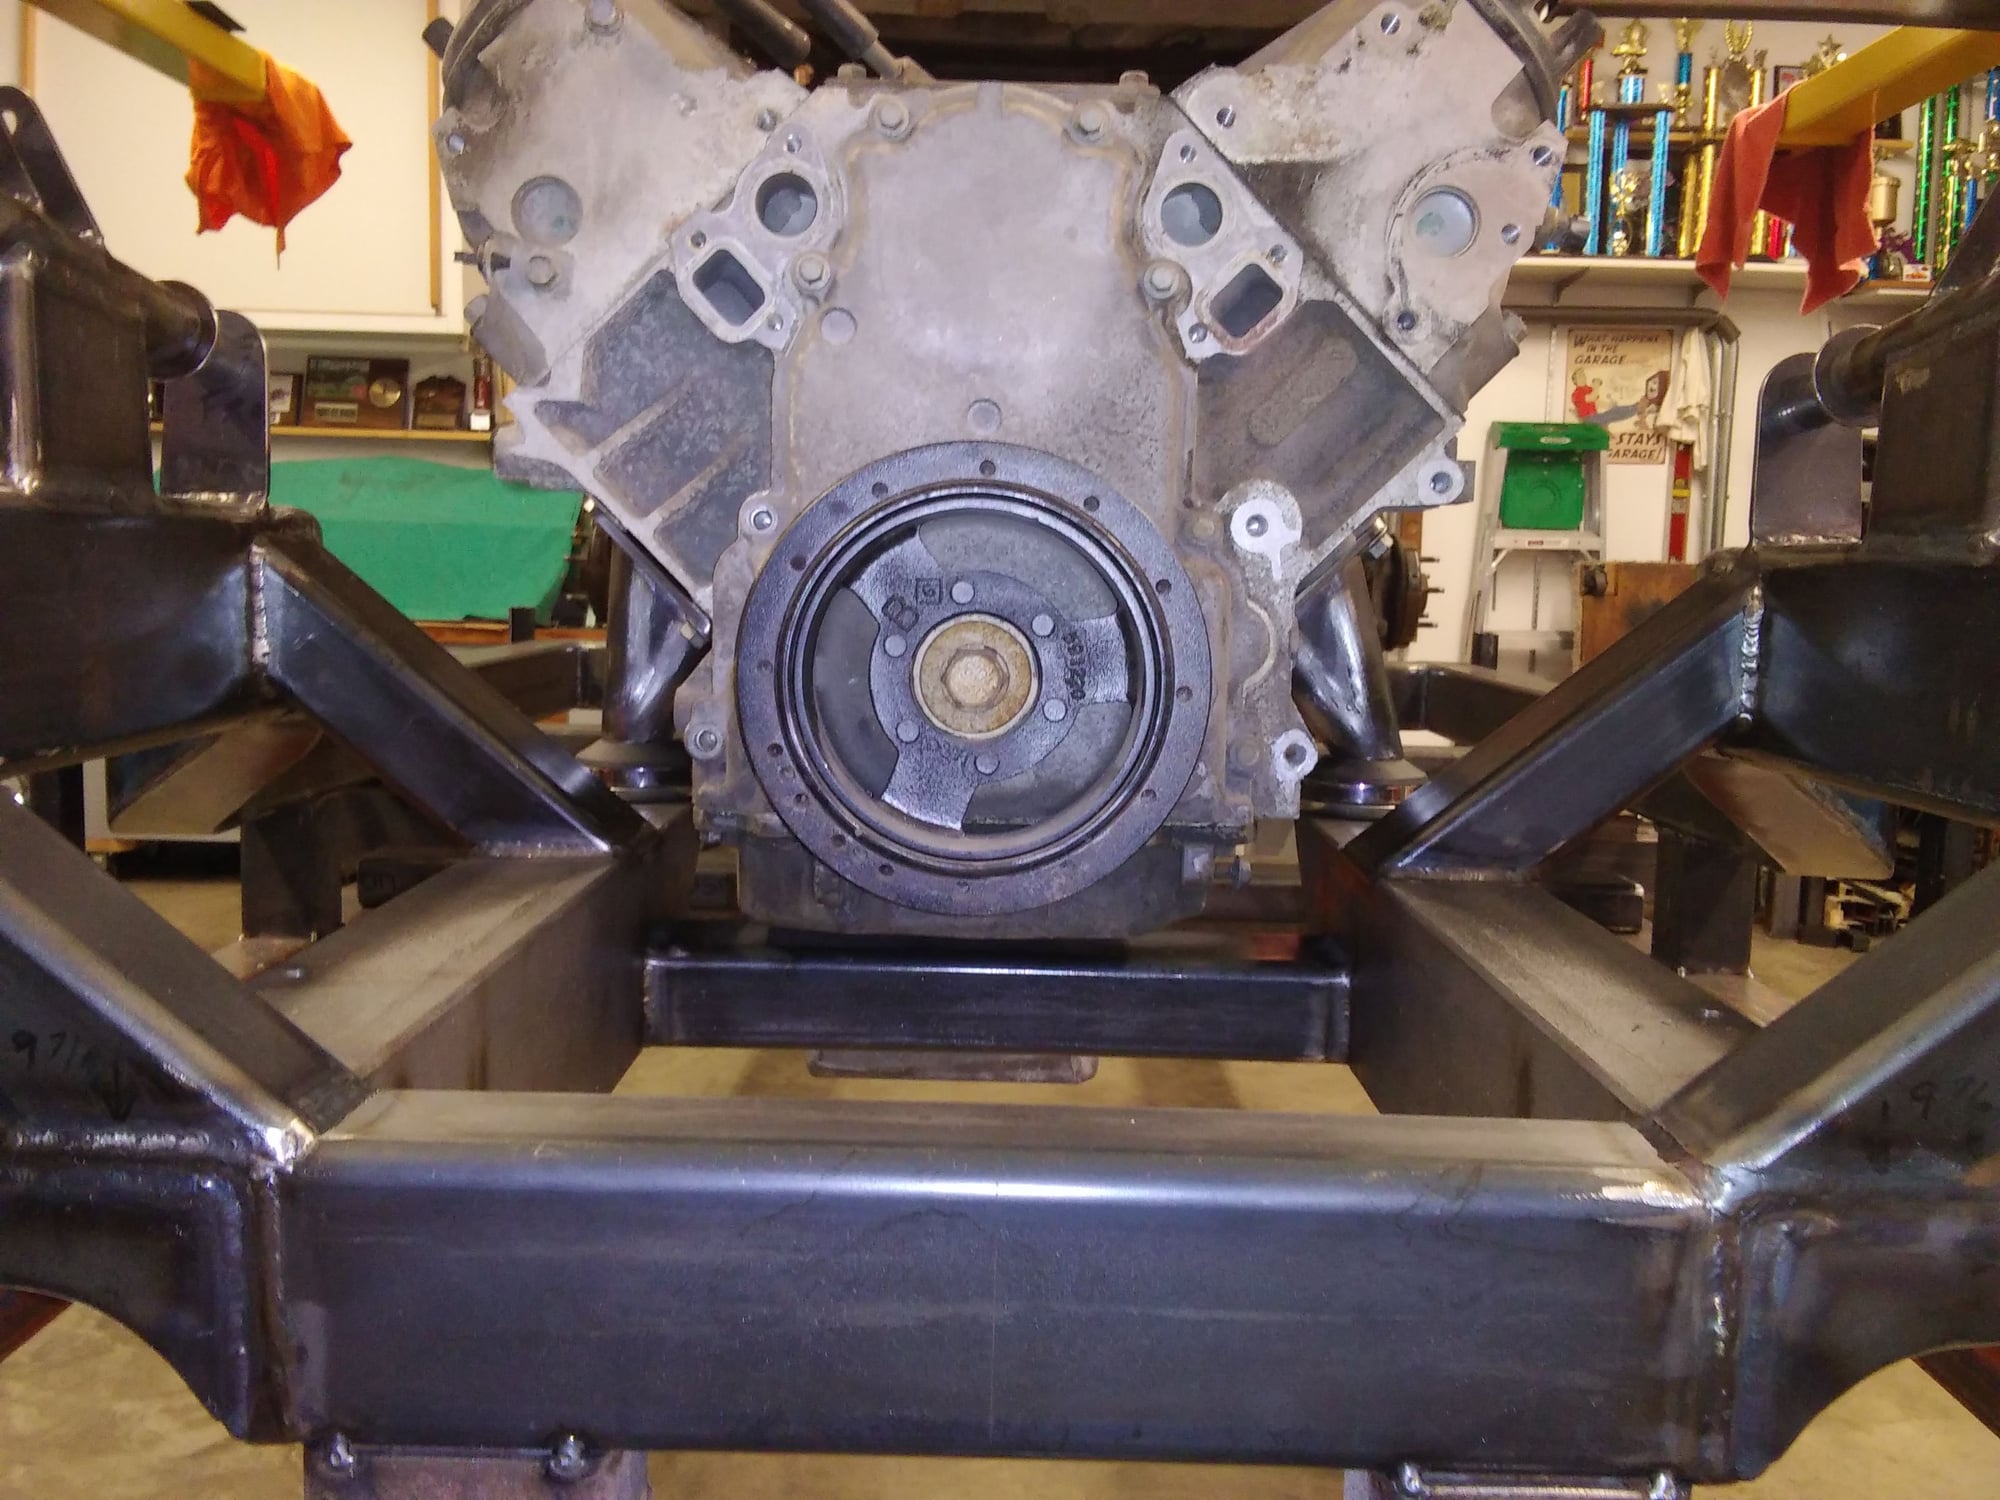
After looking at other manufactured chassis, I was a little concerned that it might be a little tight between the rear of the upper control arm and the #2 exhaust port, but I've got plenty of room for the headers.
Plenty of room.
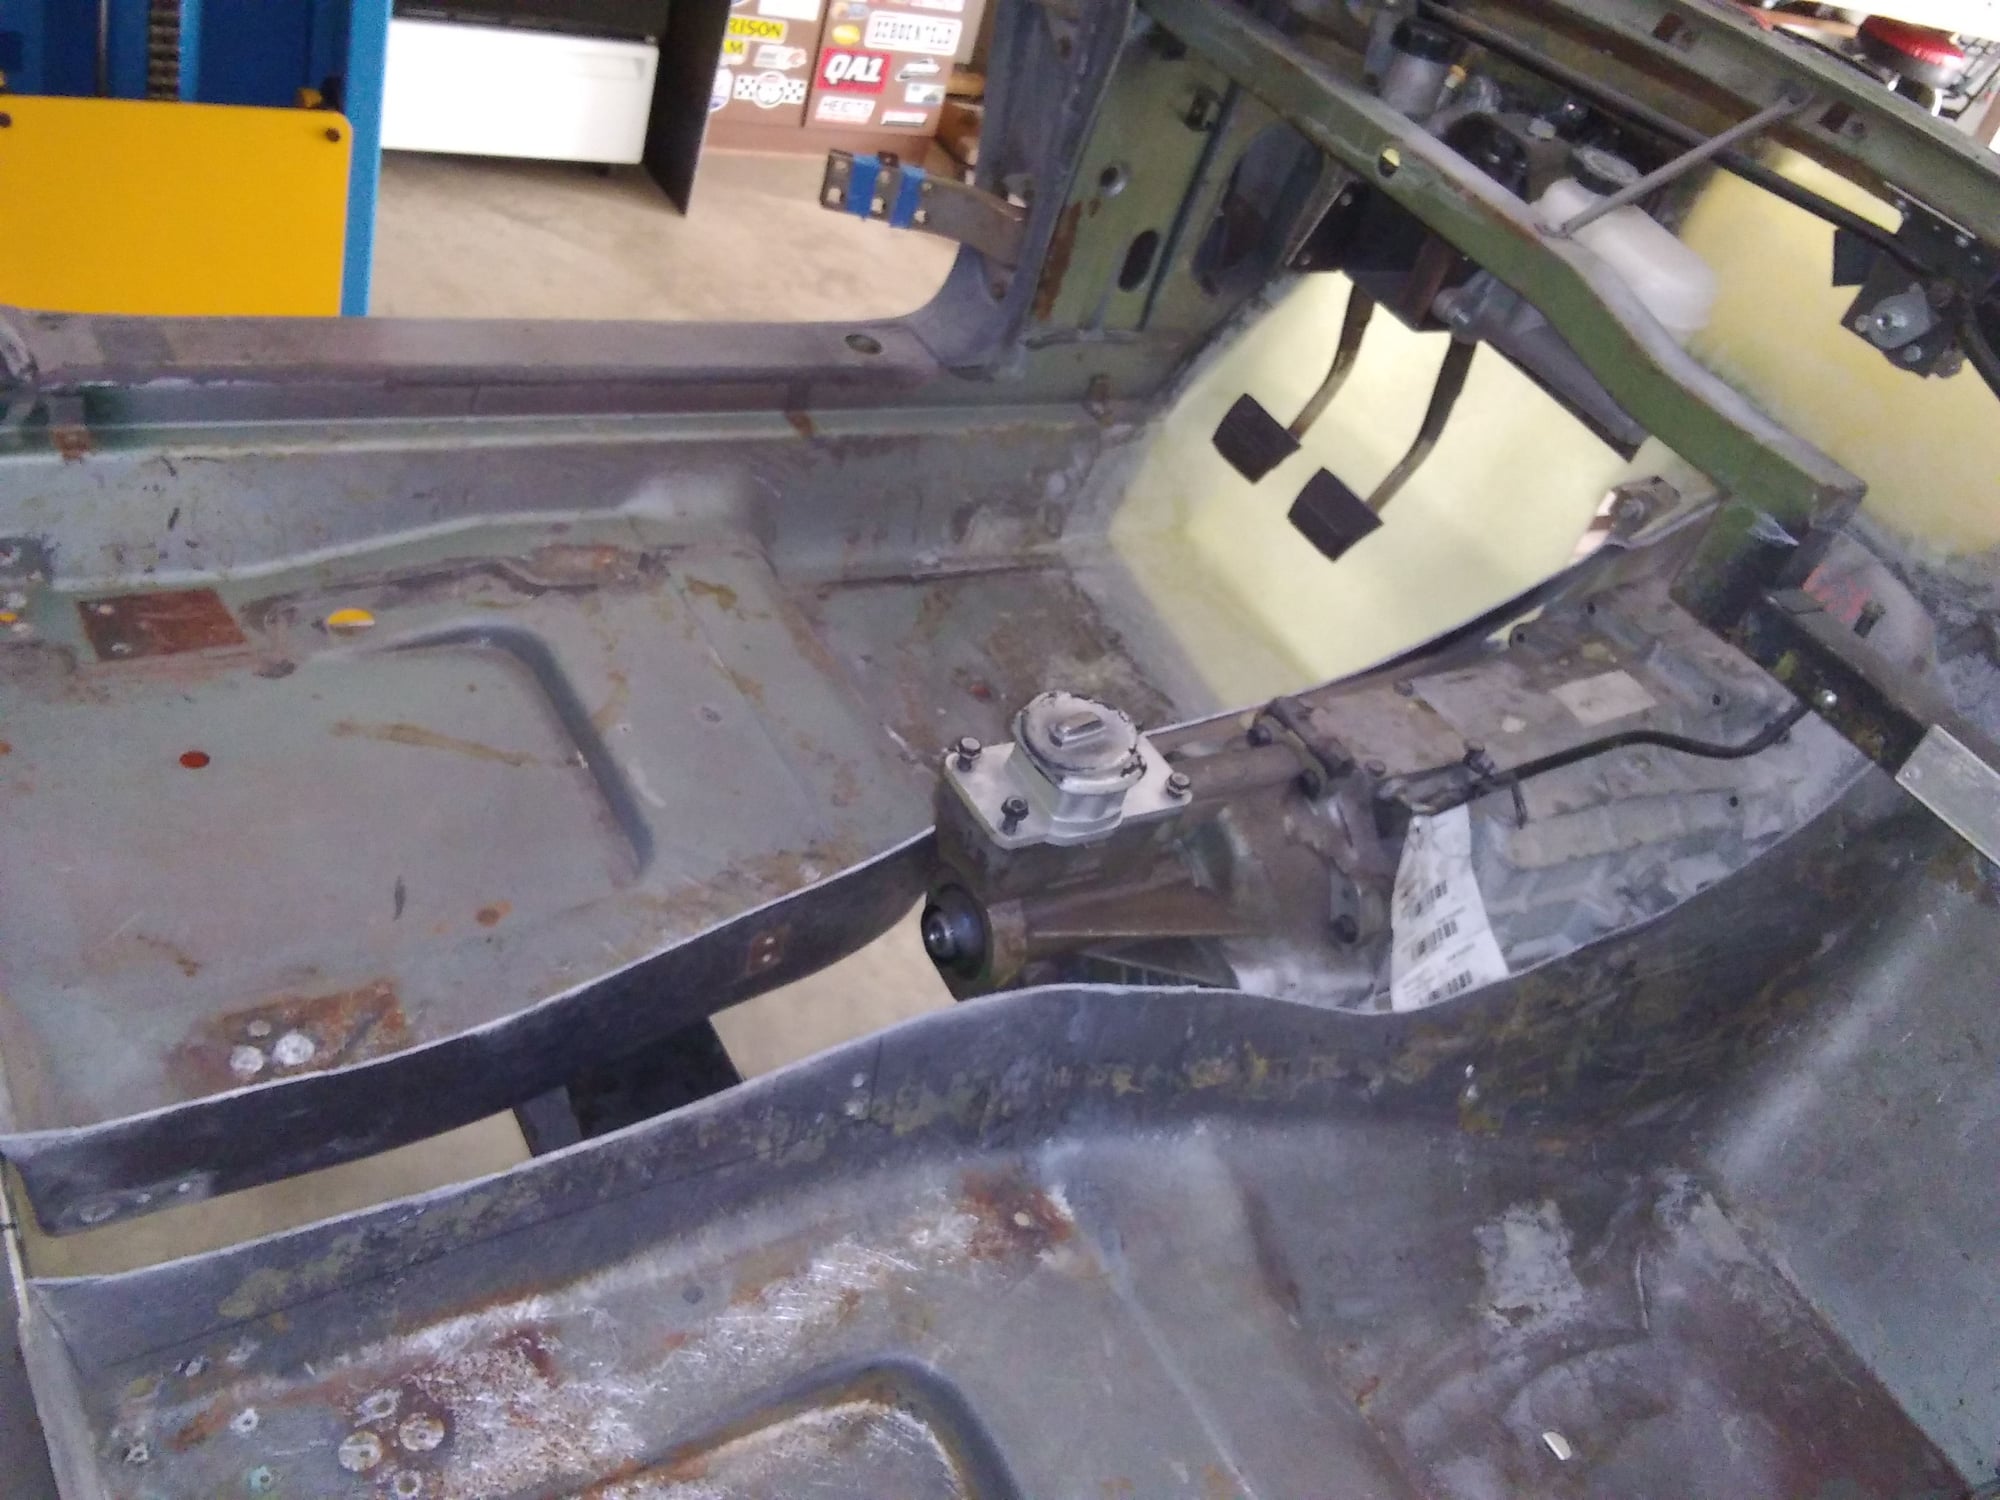
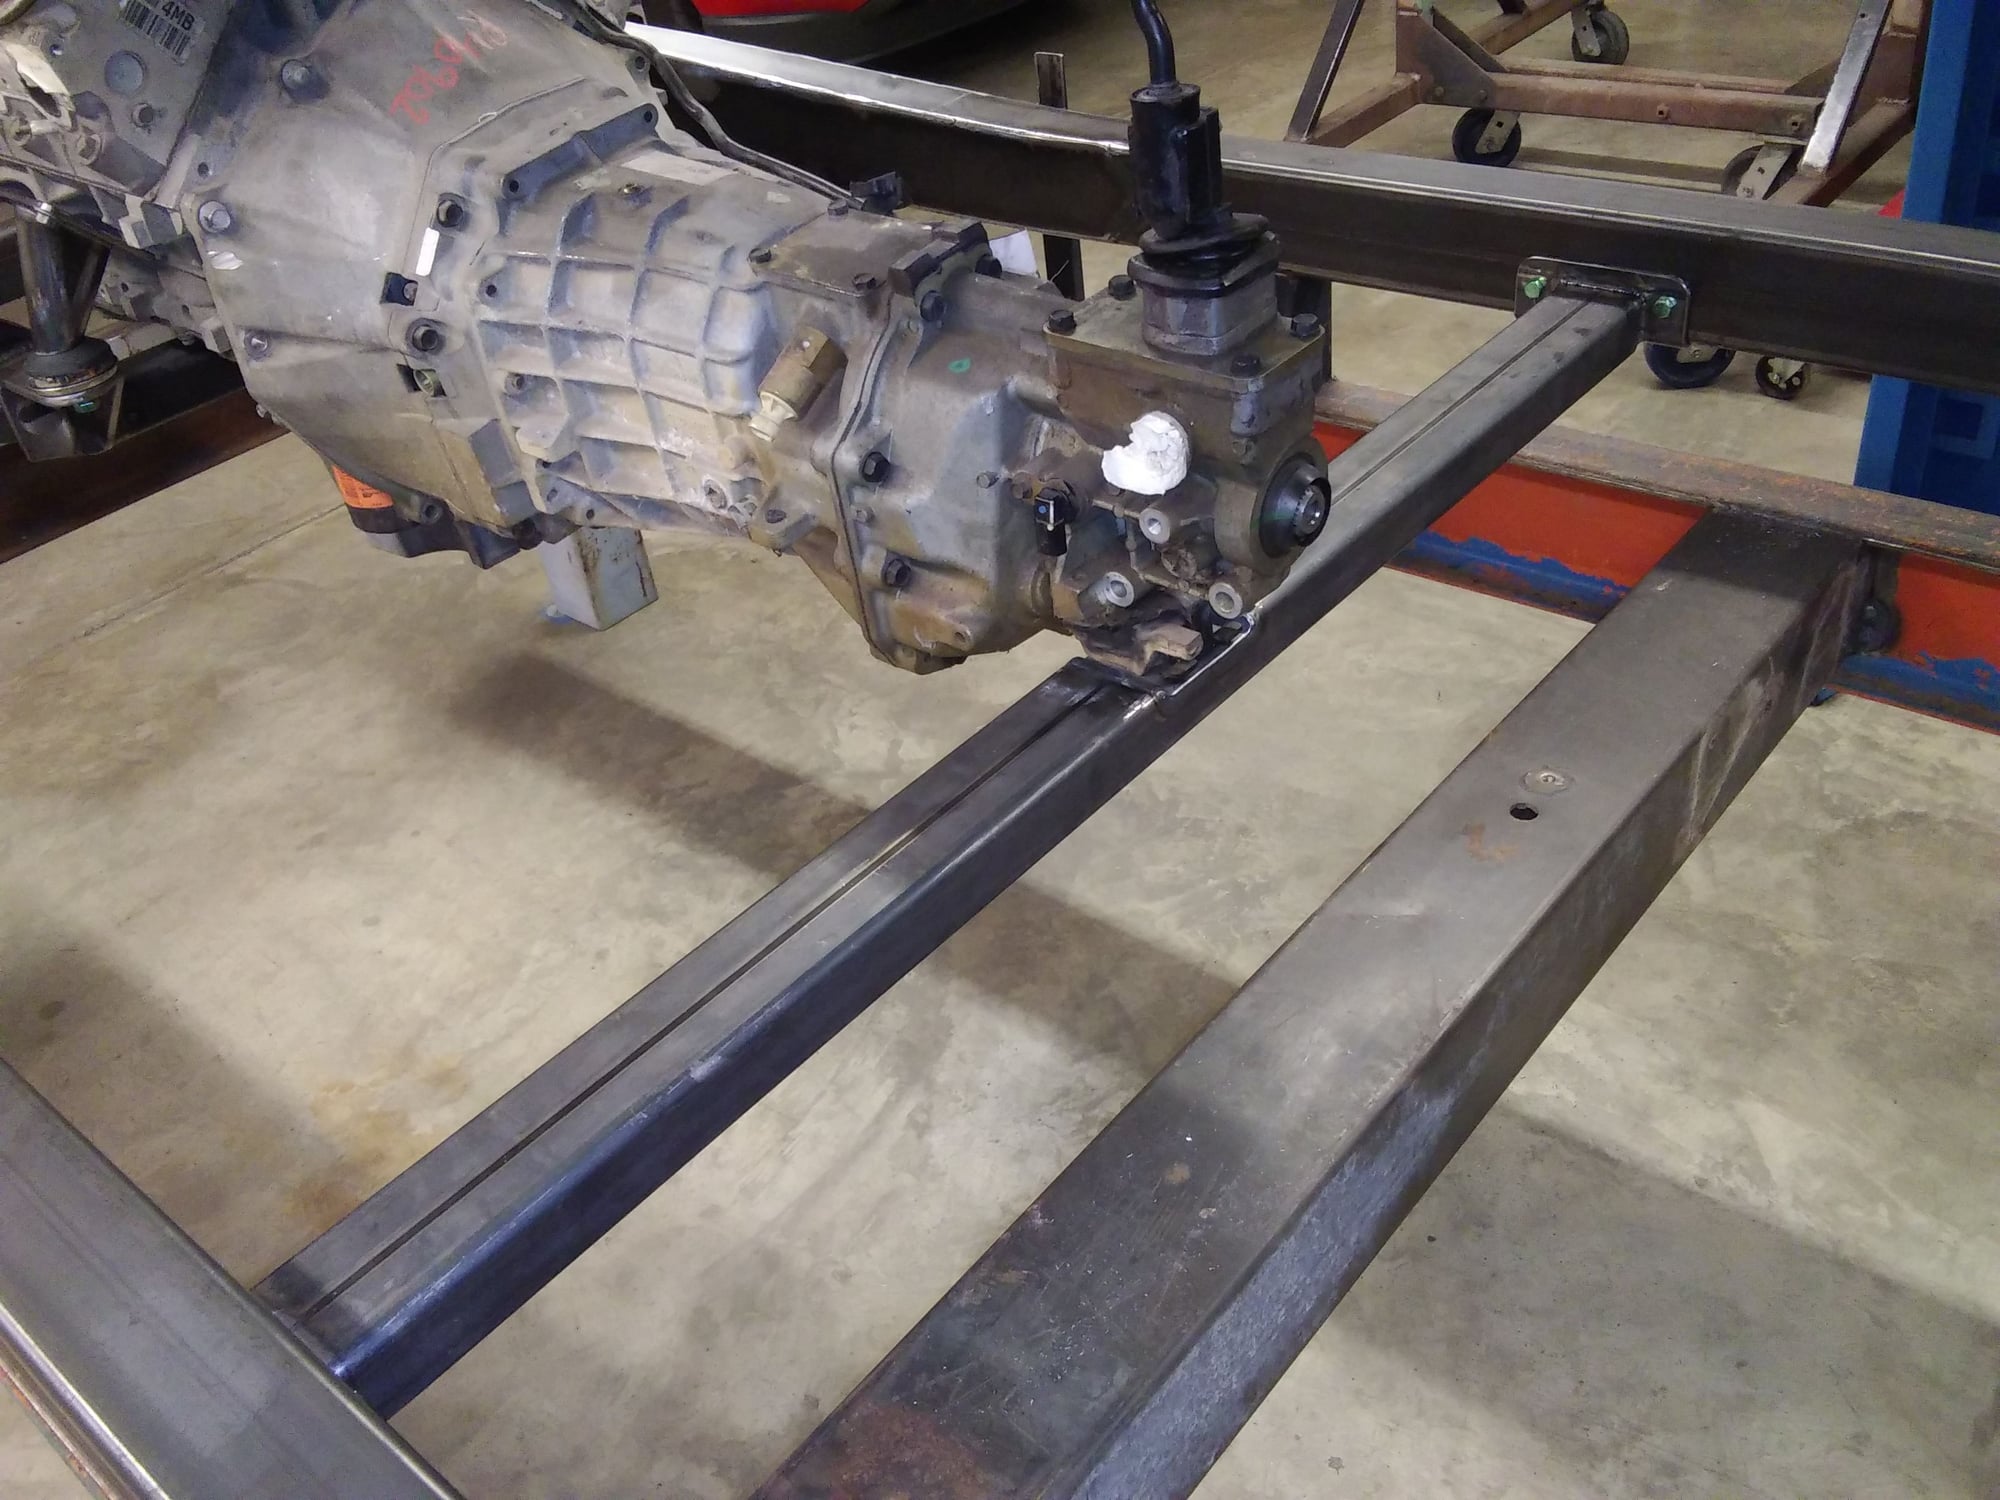
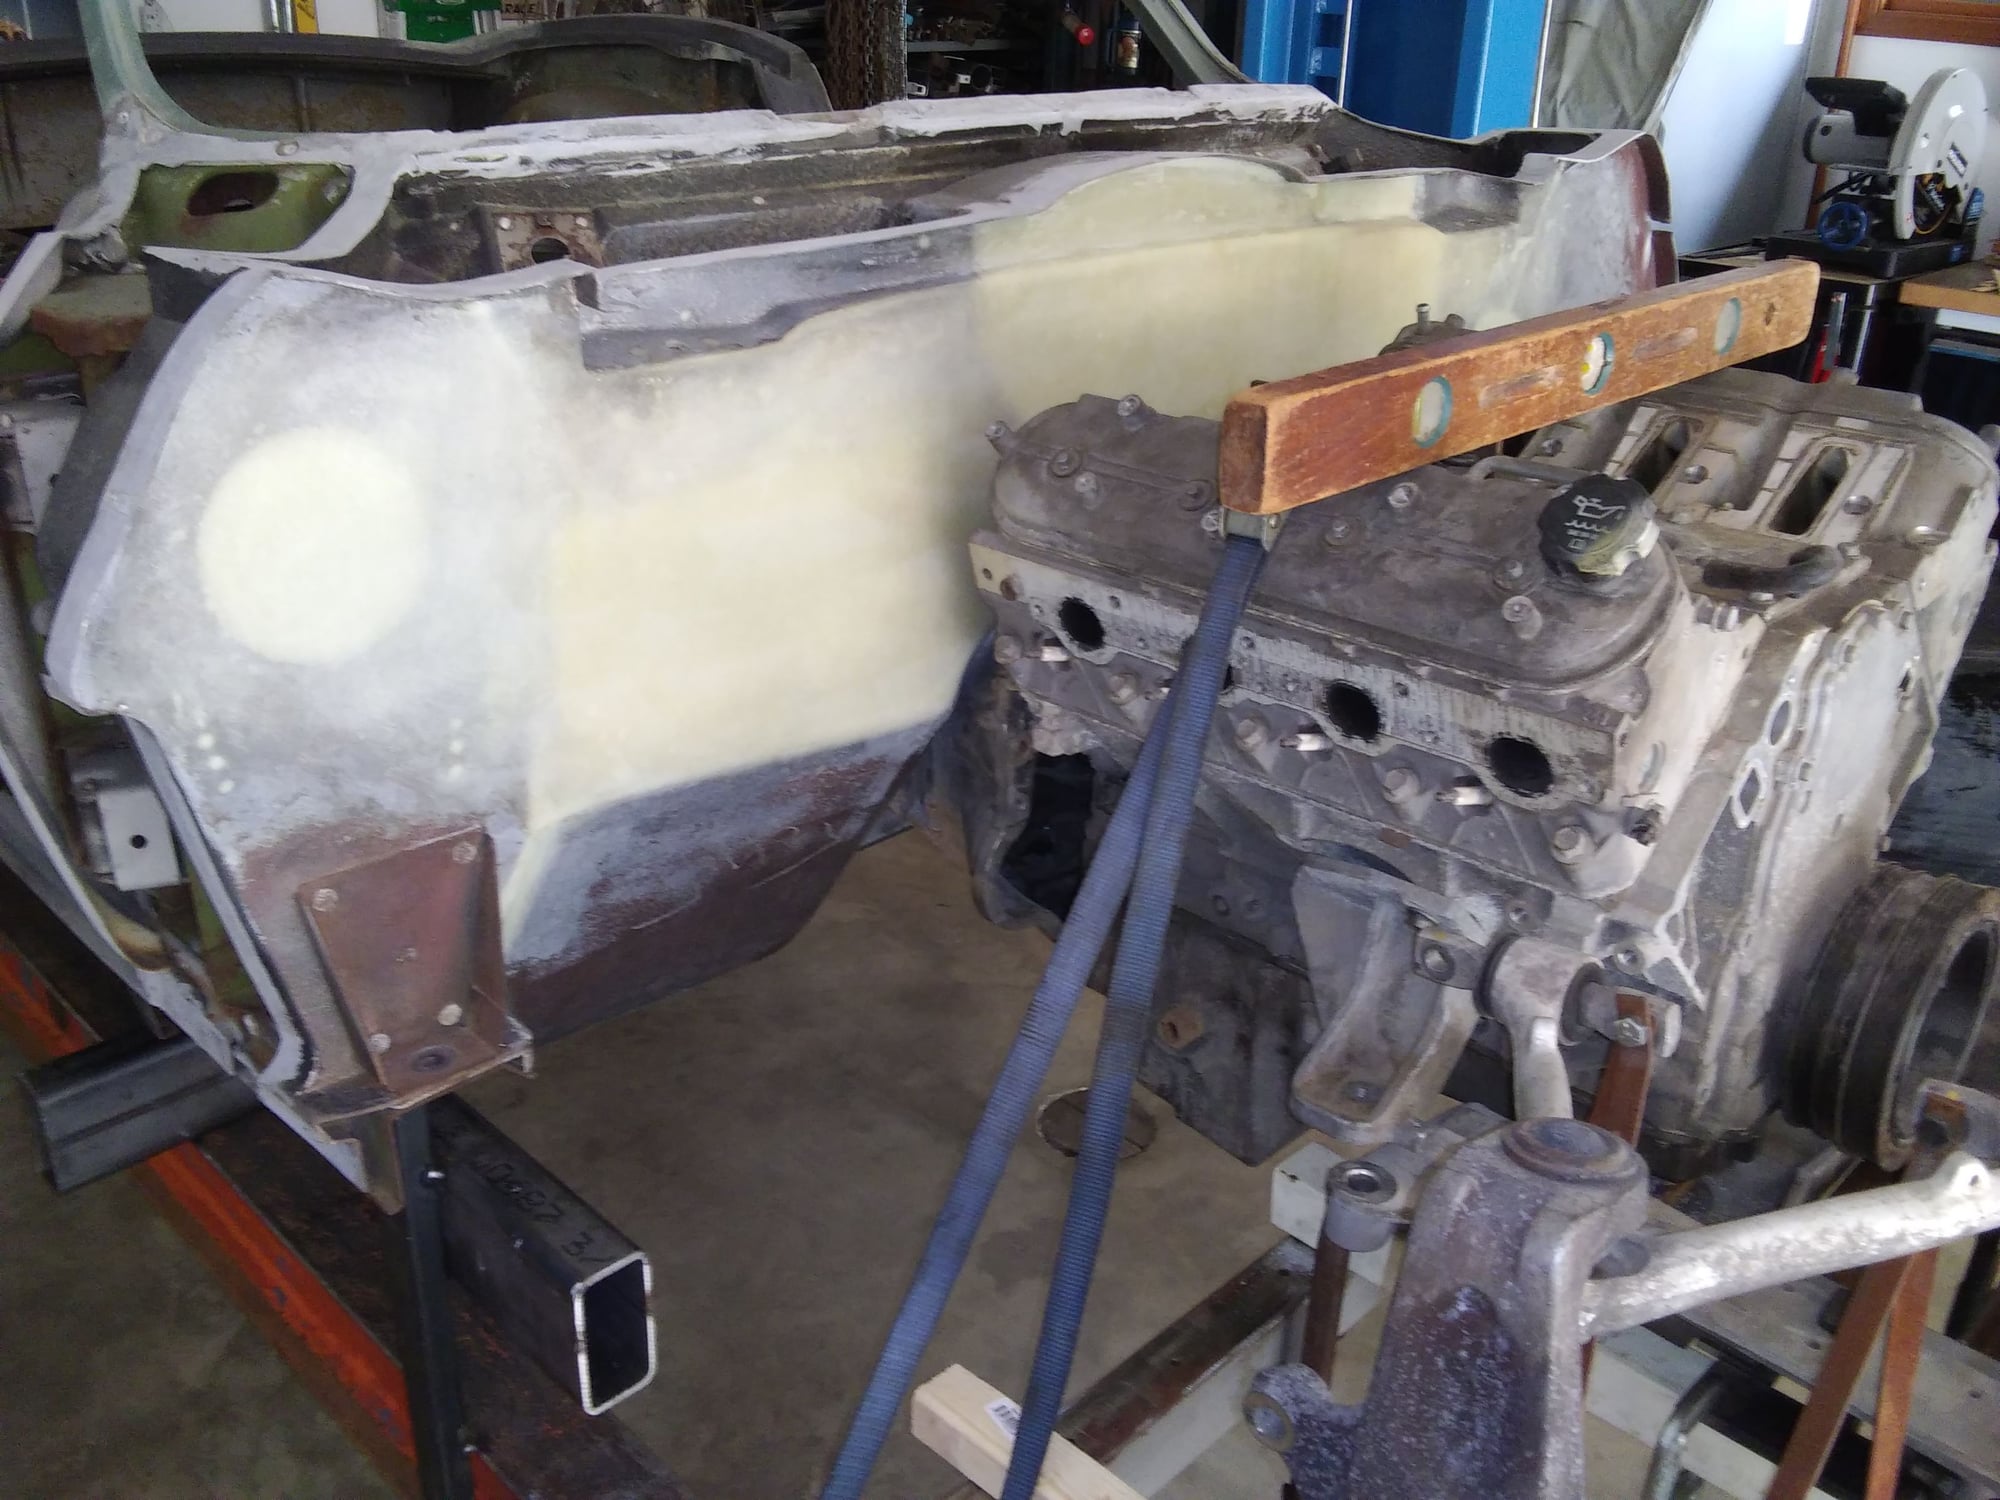
This is a borrowed LS and T56 6 speed trans I am using for mock up. The T56 is a huge trans compared to the original 4 speed, and the engine/trans combo has to sit higher in the body because of the lowered stance I'm going for. After several smaller cuts and body lowerings, I finally went all the way to the firewall to get the clearance I need. More fiberglass work is in the future.
#23
So after extensive research at Bloomington Gold, I found that I need a steering rack that is 10" narrower pivot to pivot than the stock C5 unit, which is 32.5". A stock Mustang II or T-bird rack is 24.5". So I need a Mustang II rack that is 2" narrower than stock. Has anyone ever narrowed a M2 rack? From what I found online, it may be no big deal for someone with a lathe and TIG welder, which I have.
#25
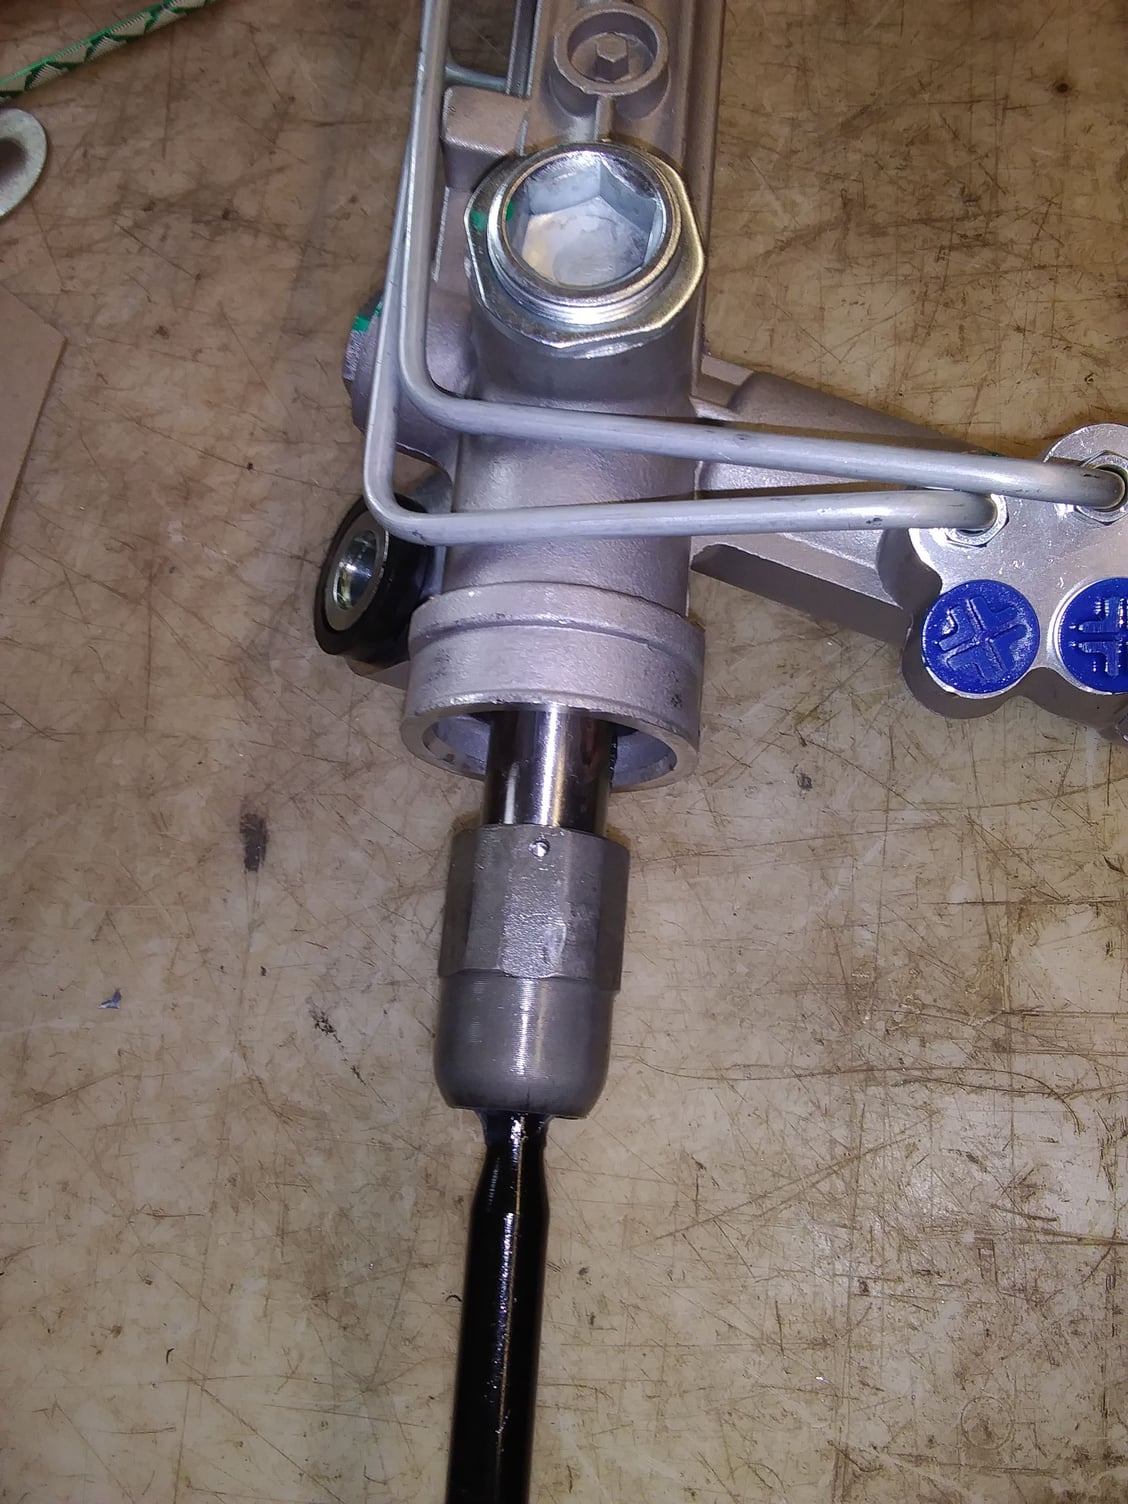
I ended up getting this T-bird power rack from Speedway Motors for $200, a good deal compared to what some Corvette shops wanted. It's center to center dimension was 2" wider than what I wanted, so I decided to narrow the rack.
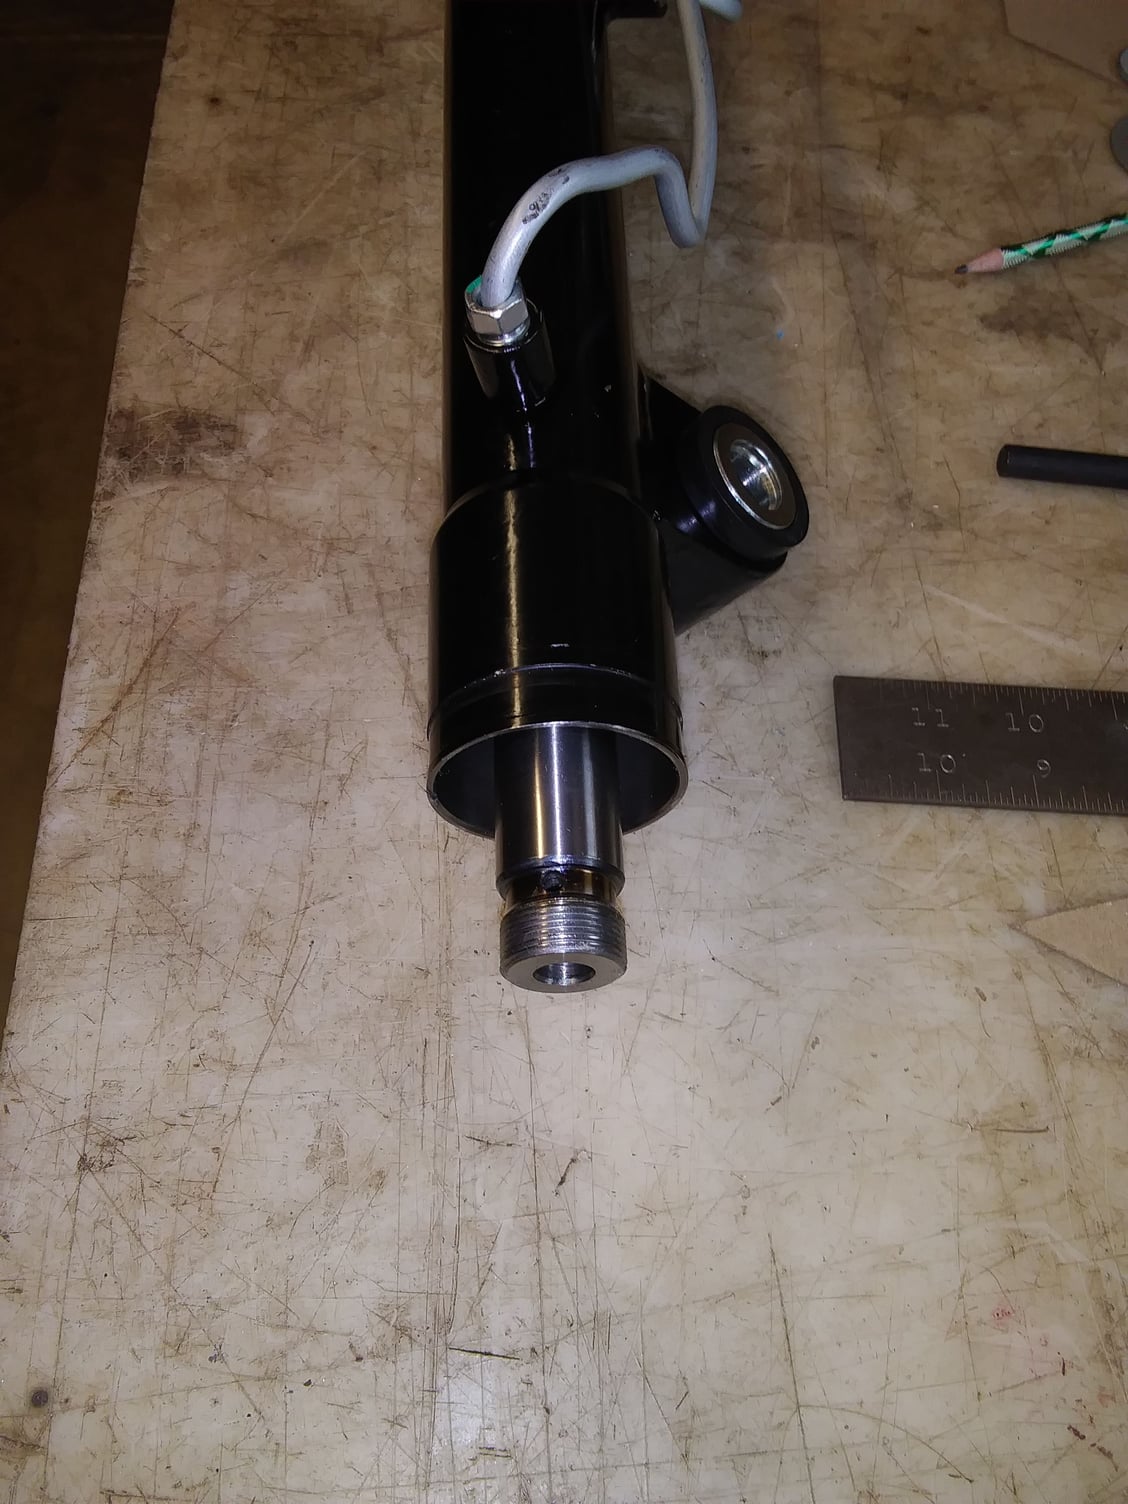
The T-bird rack uses male threads to attach the tie rods, the C5 rack uses female. I wanted to use the C5 tie rods, so I cut an inch off each end of the rack.
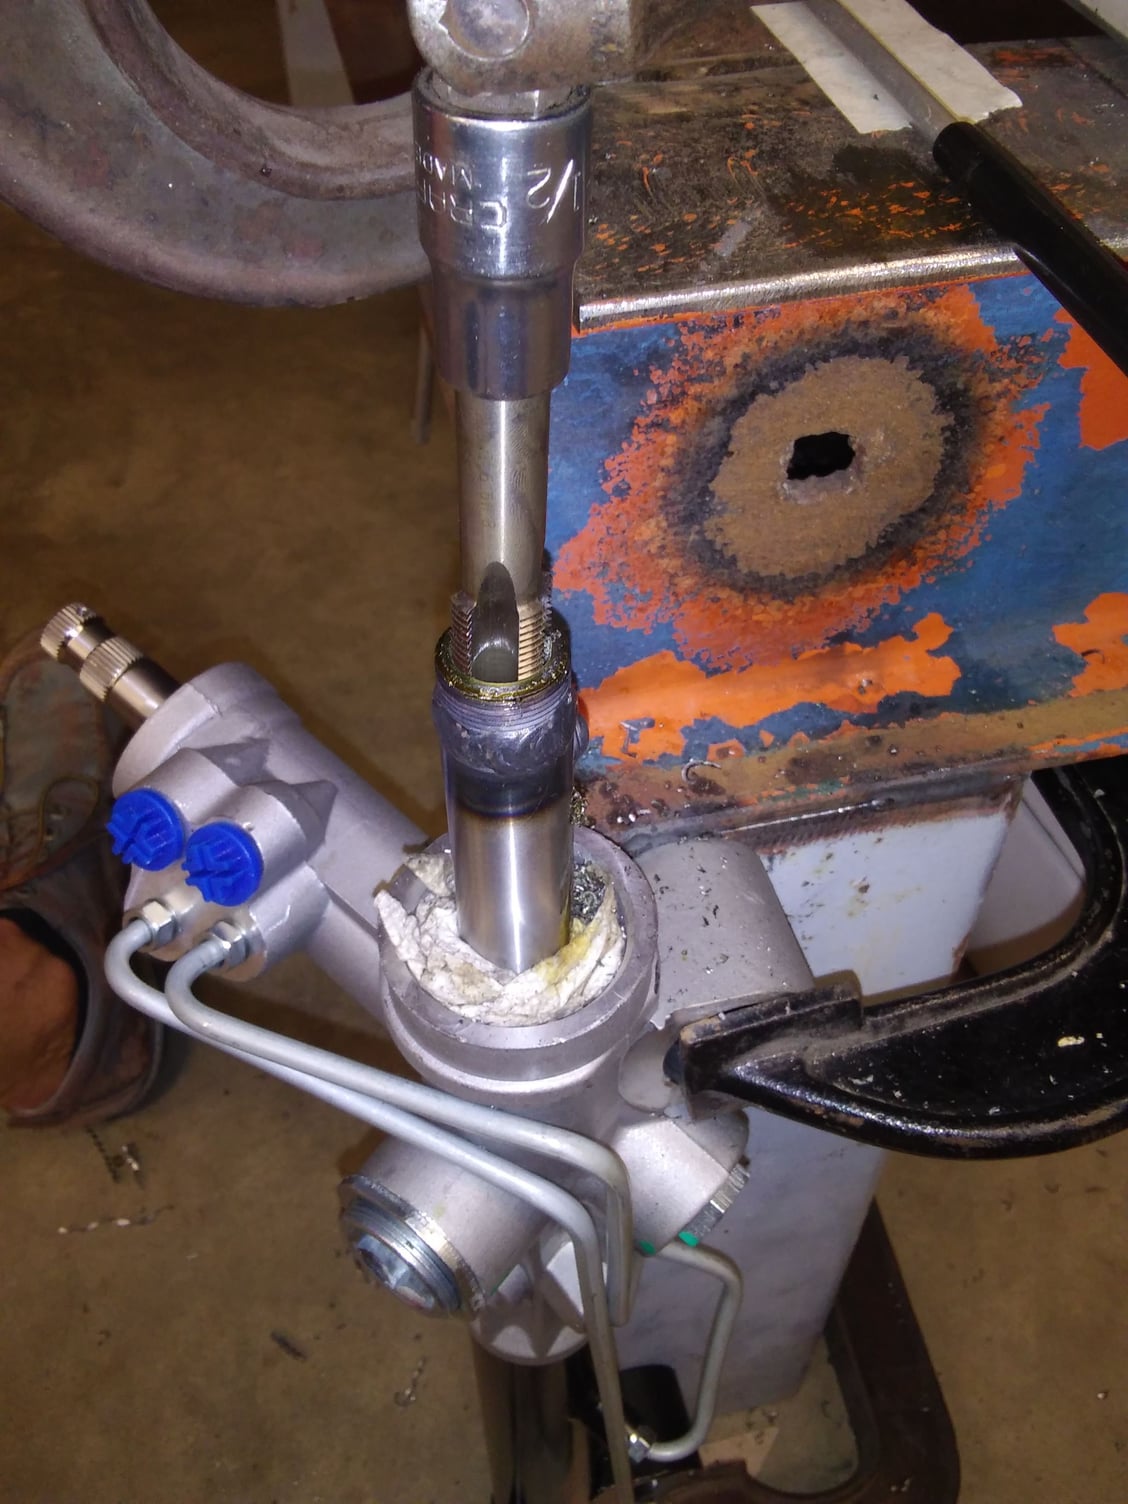
I welded the groove, then drilled and tapped each end.
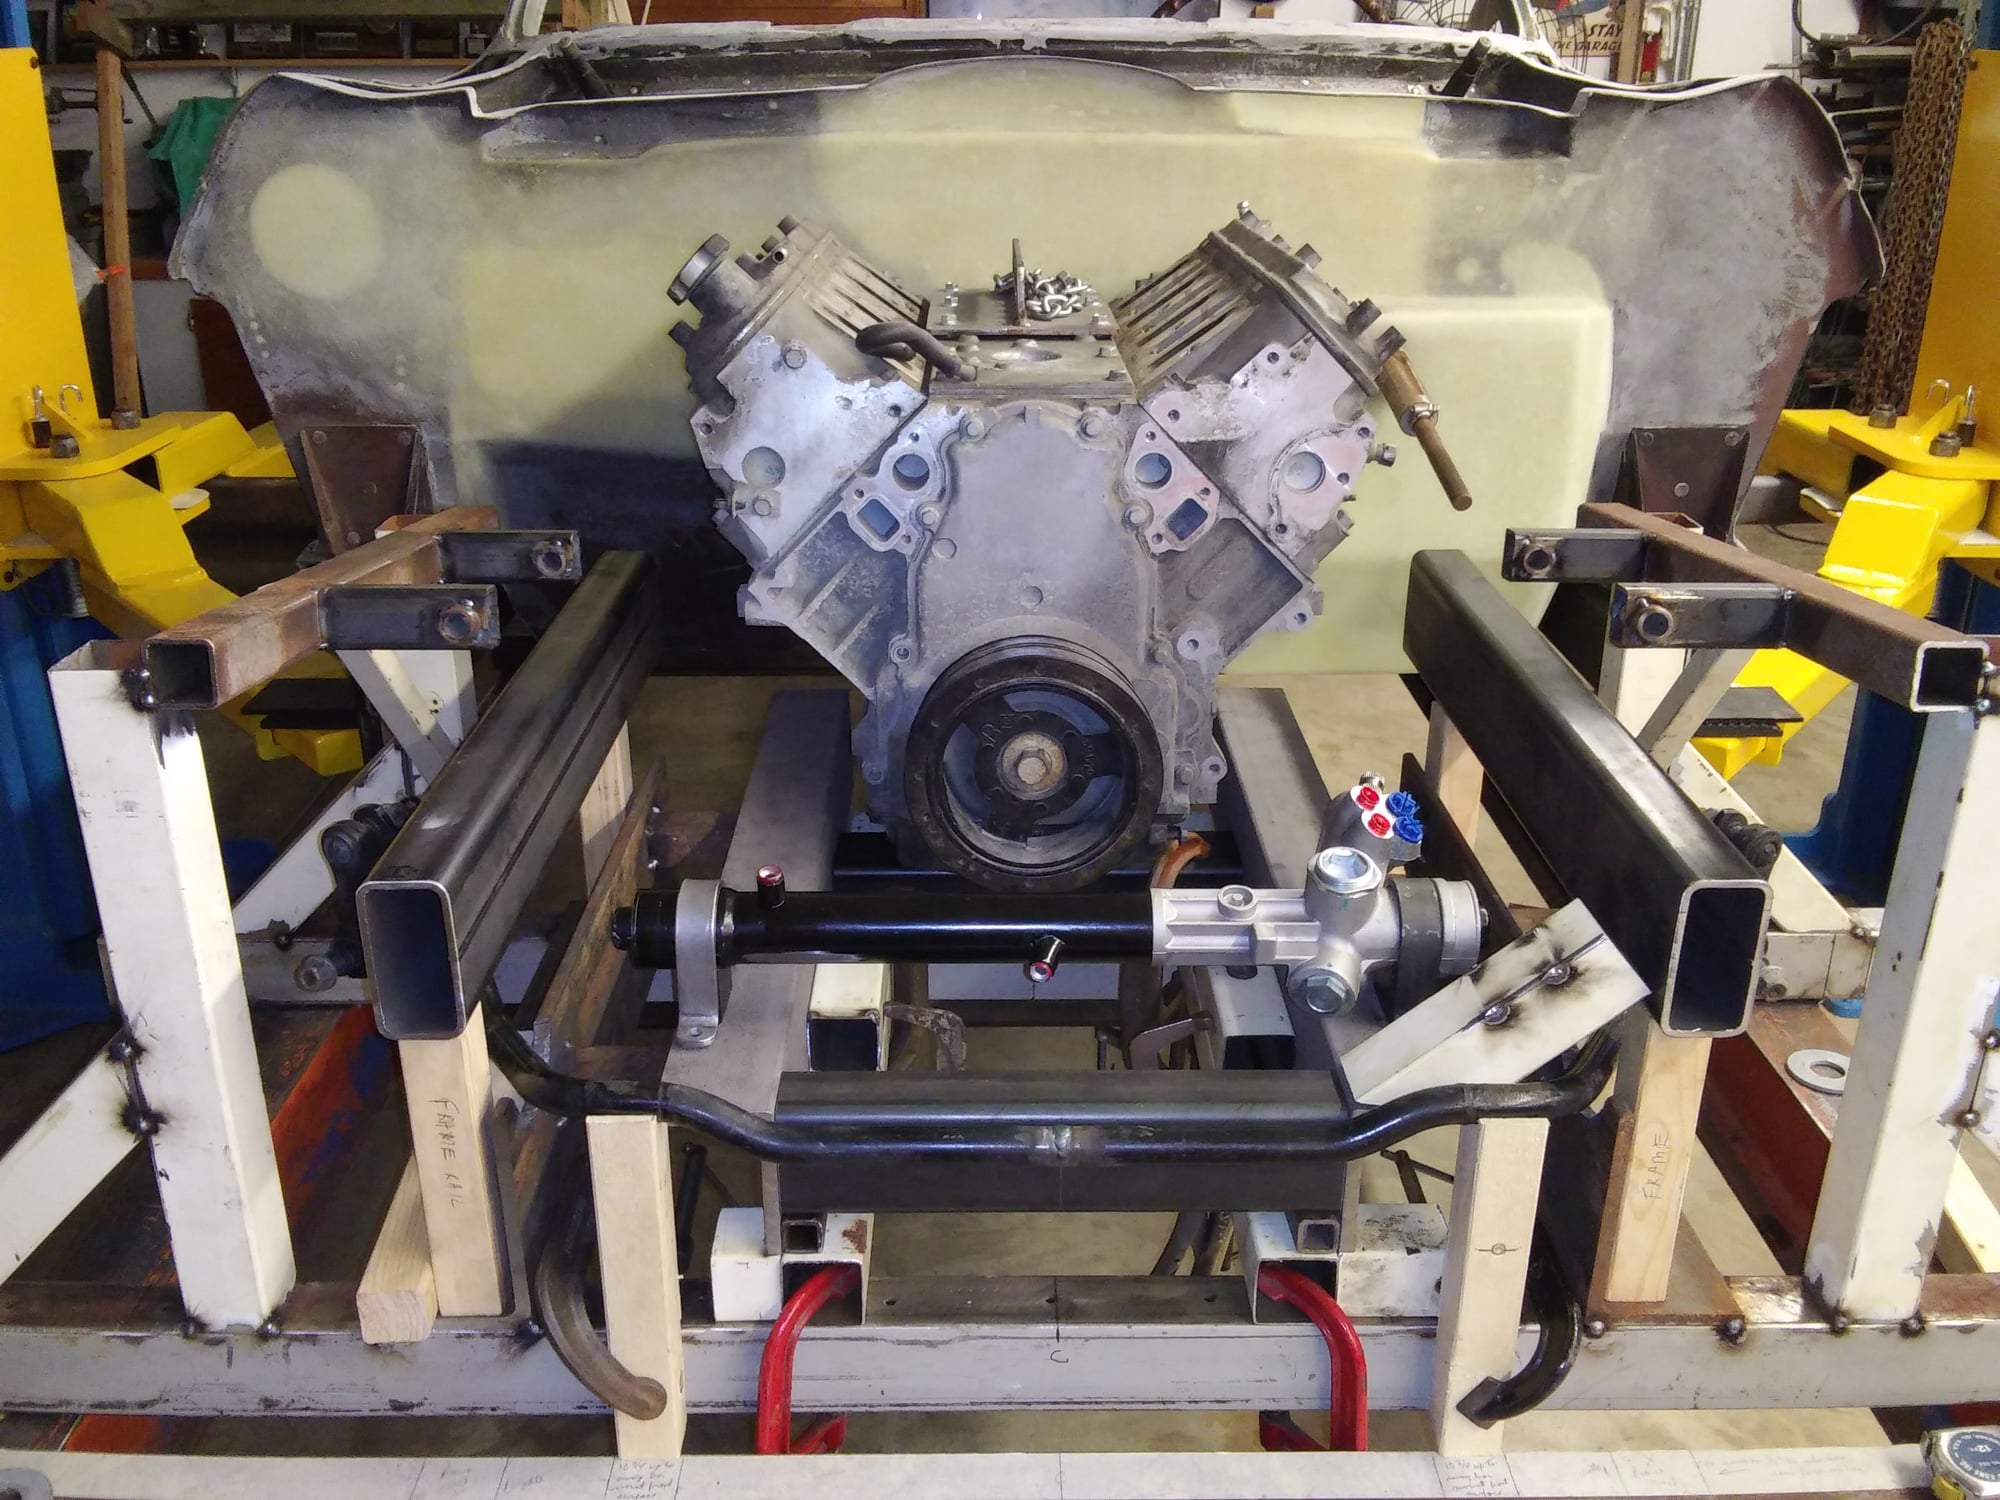
I also cut the mounting bosses off the housing and made my own mounts. This setup should work fine.
#26
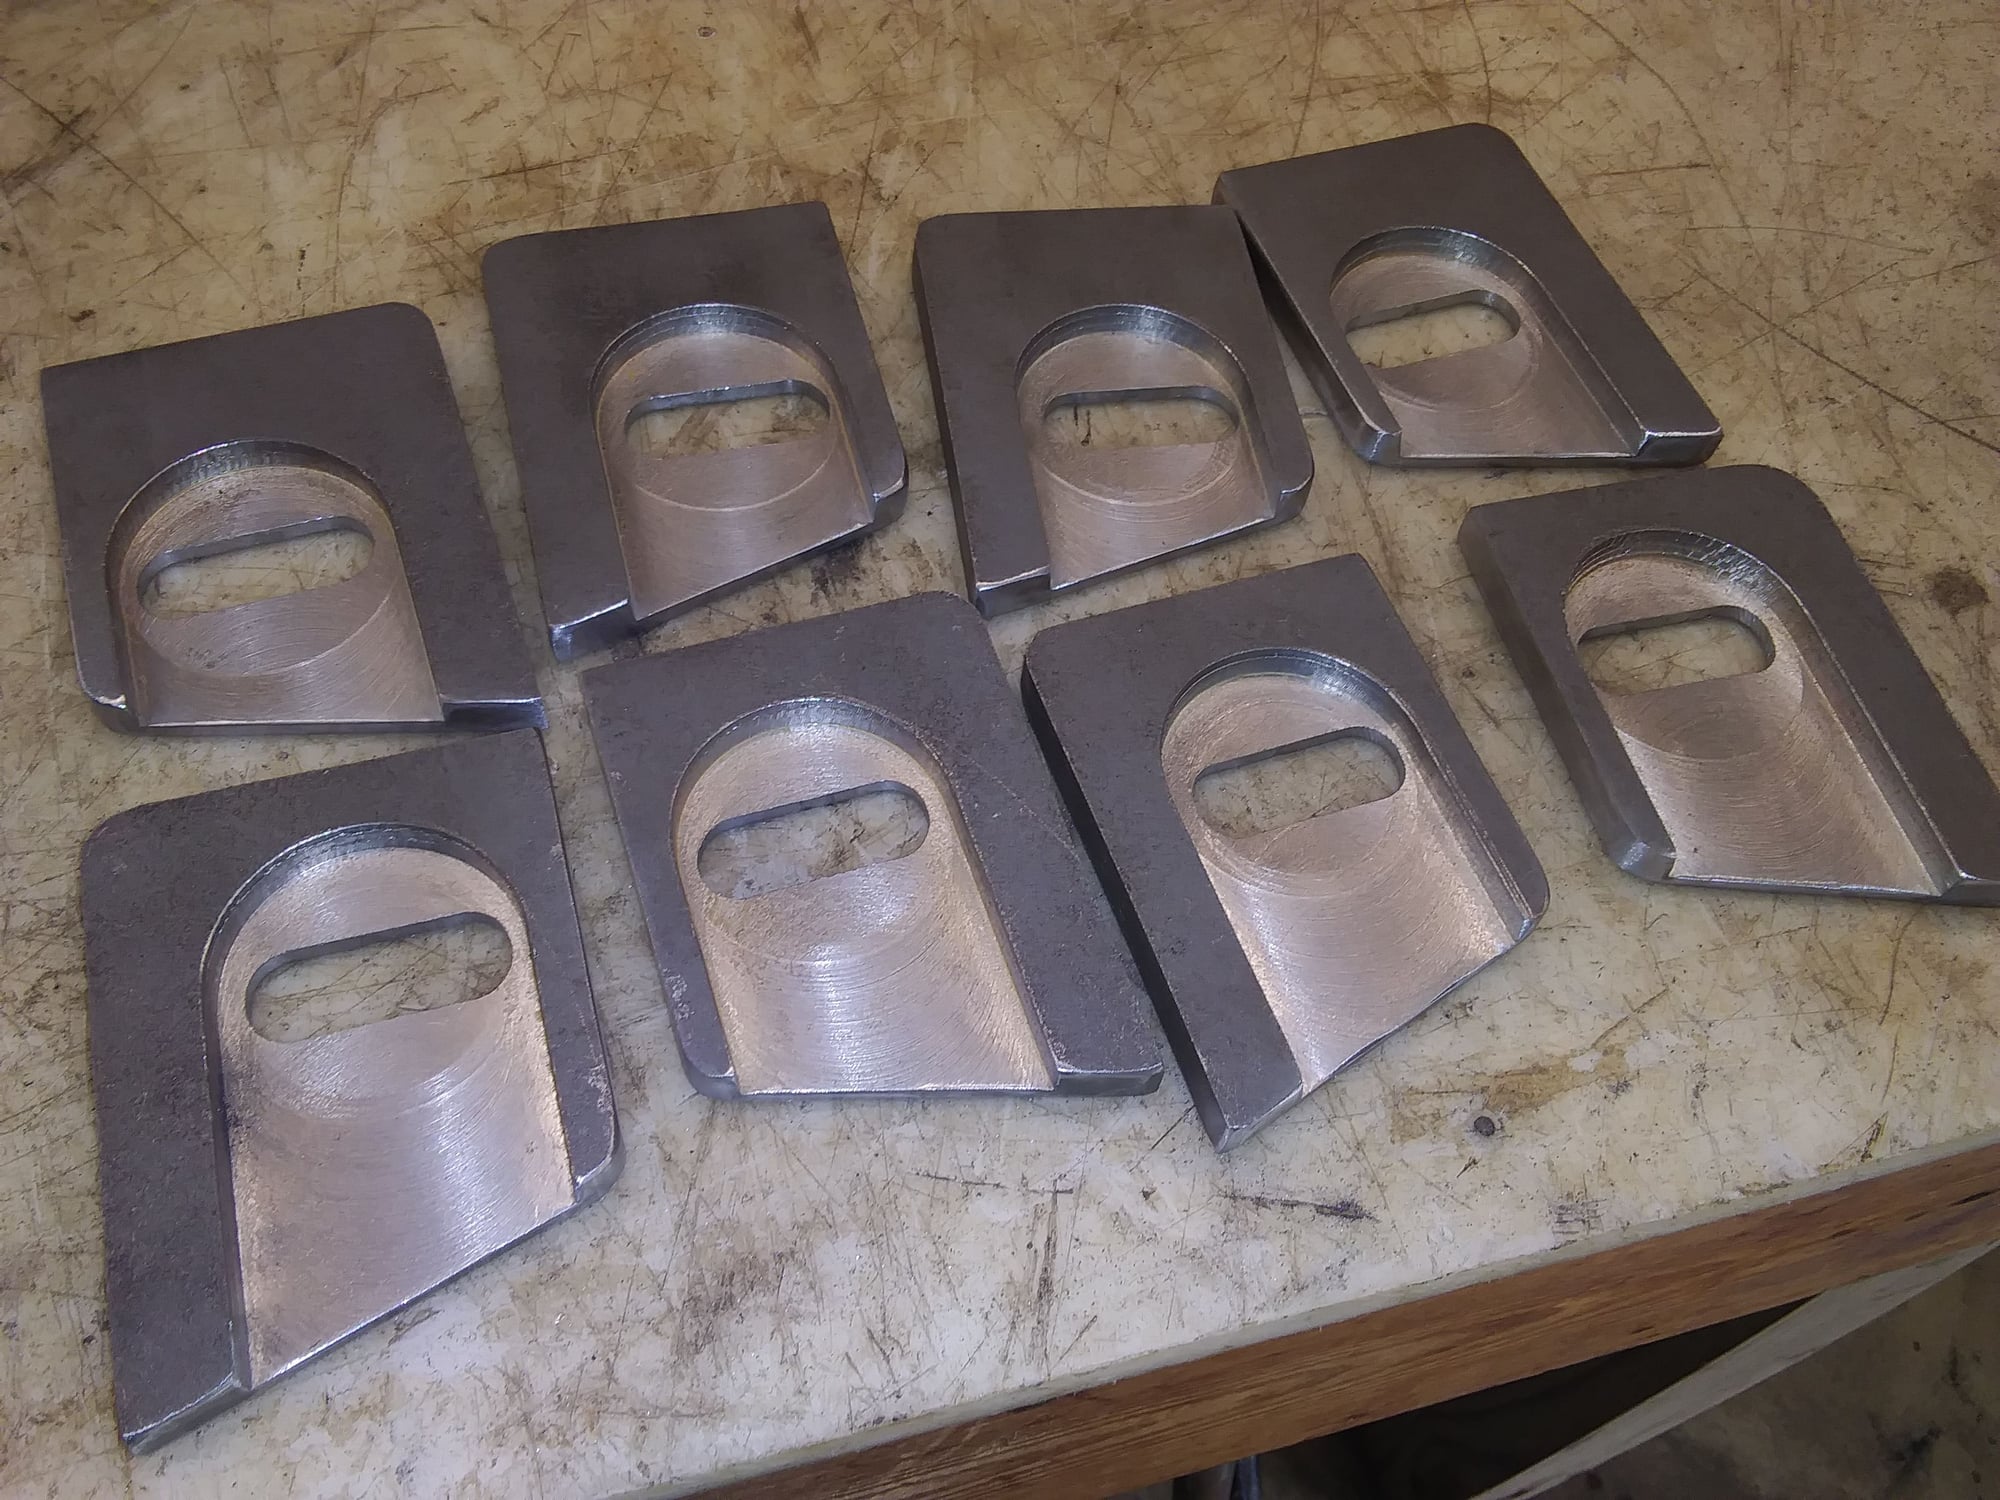
Next came making the lower control arm mounts. I wanted to make the lowers adjustable just like factory, so I won't have to make the uppers adjustable and have stacks of ugly washers like most chassis makers. I cut these out of 3/8" plate, then had a friend mill the slots and recesses for the adjustment bolts.

I jigged them up after I welded up my version of the cradle.
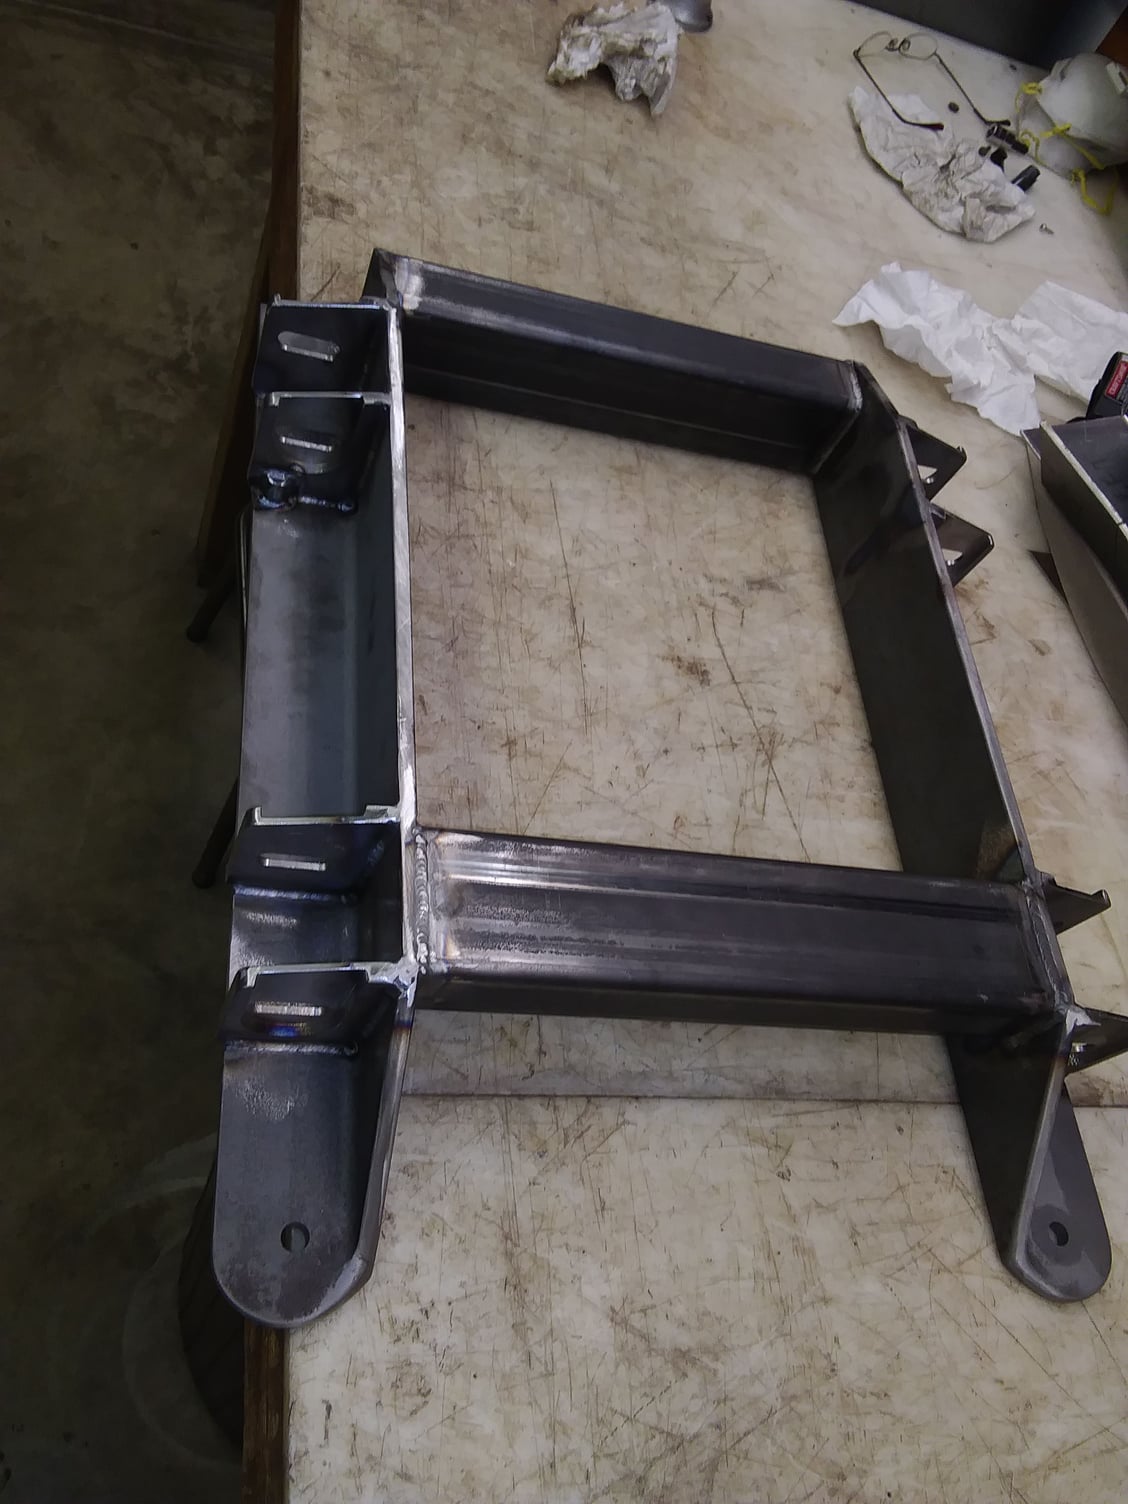
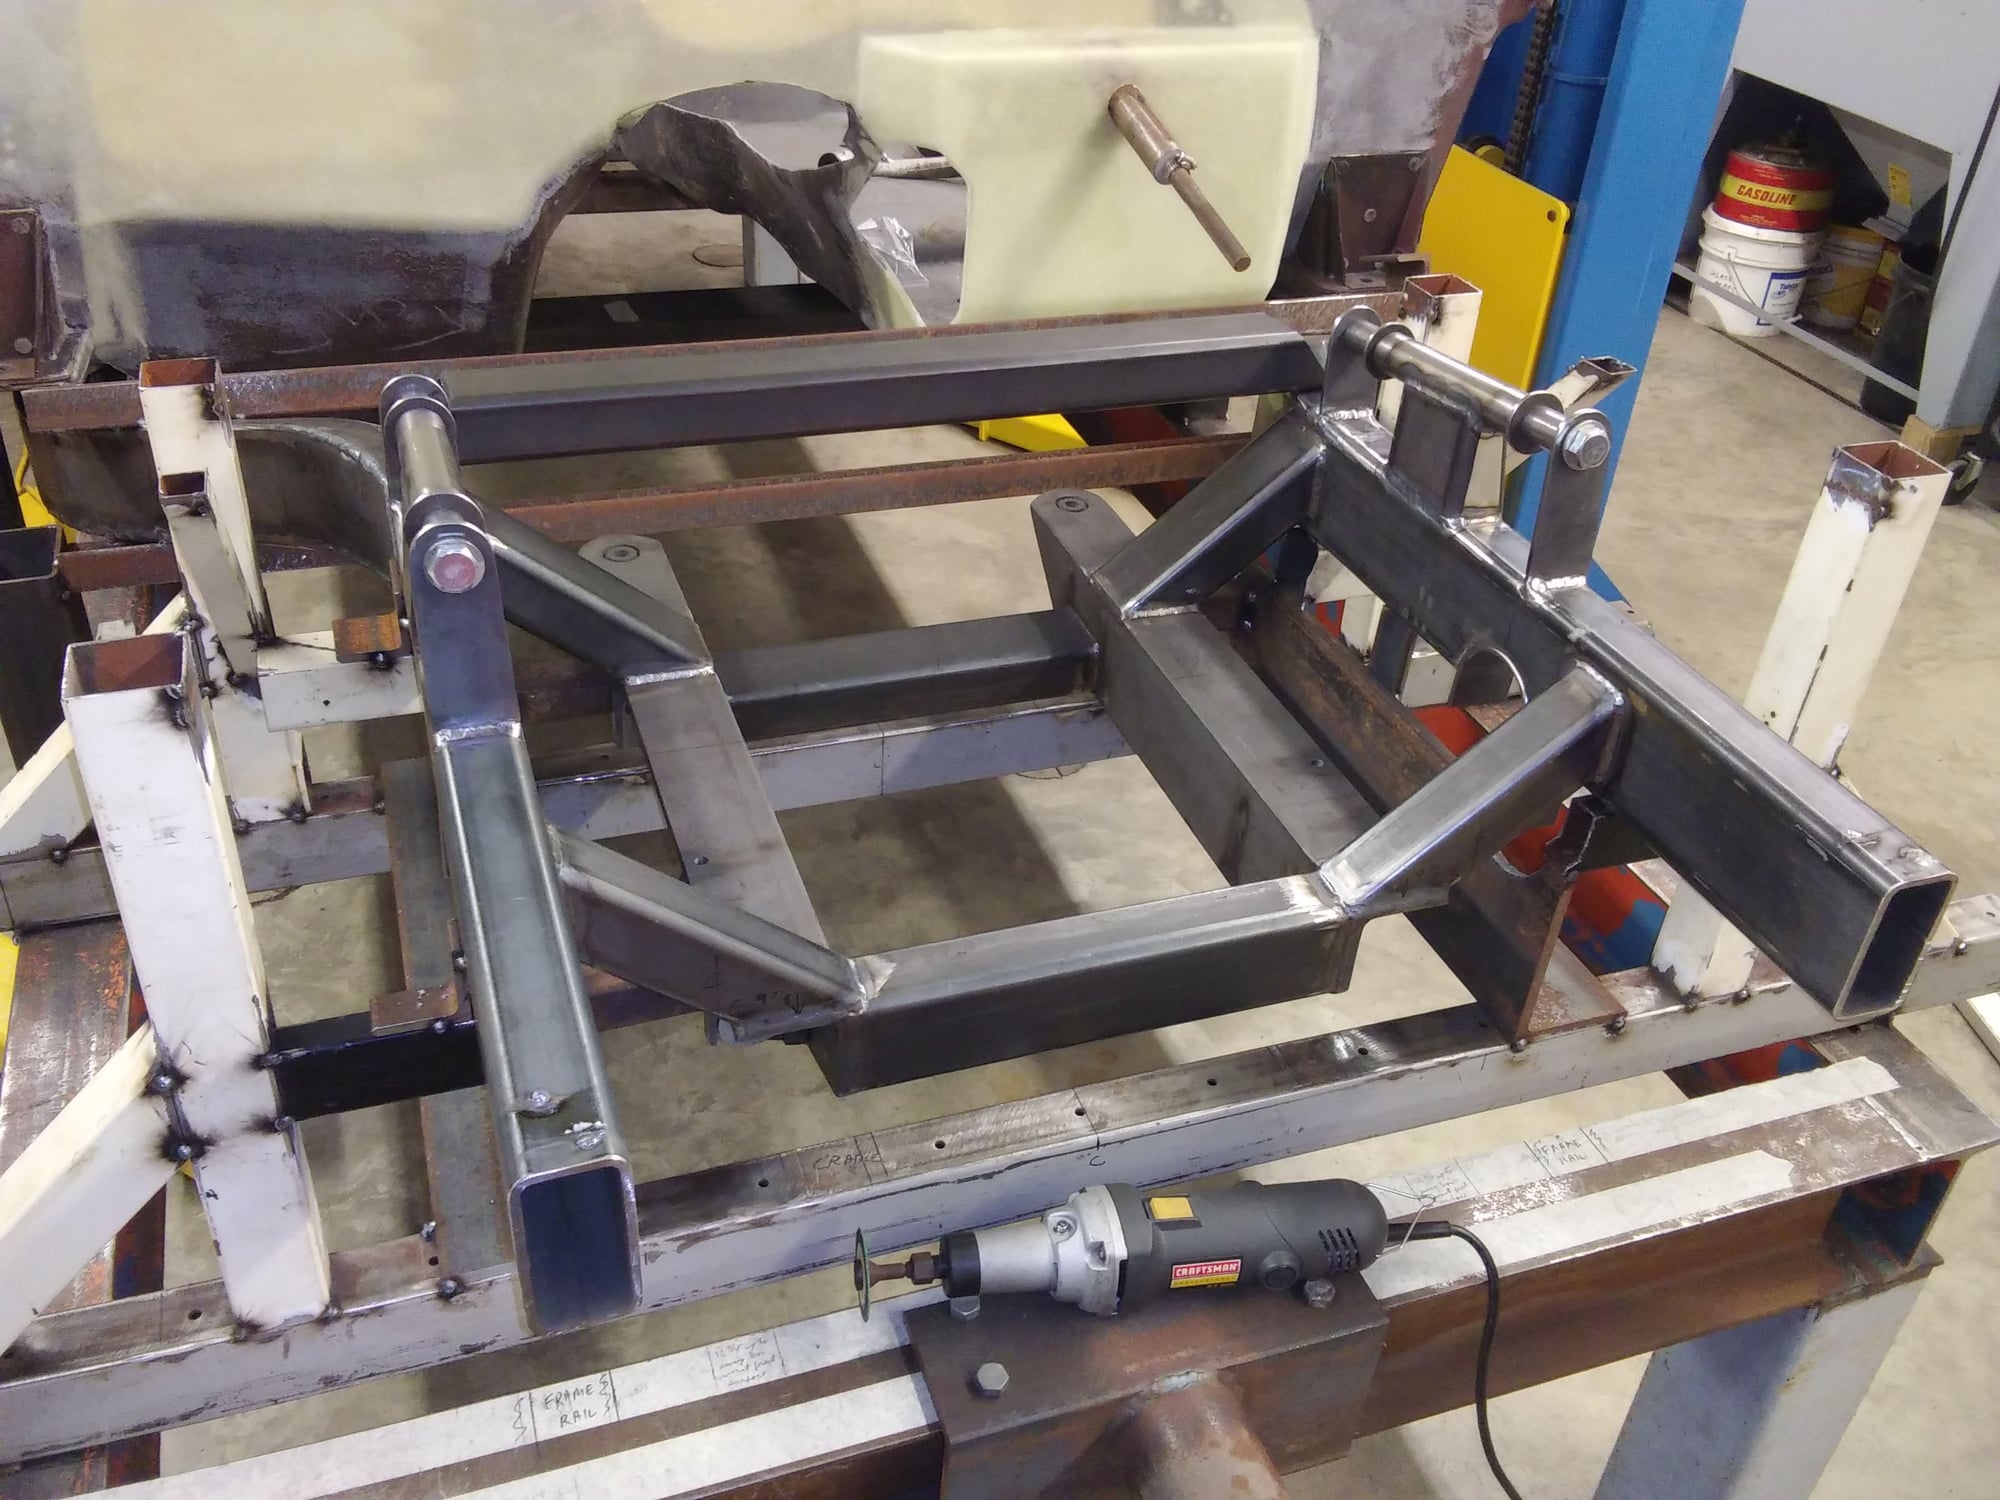
Completed cradle upside down.
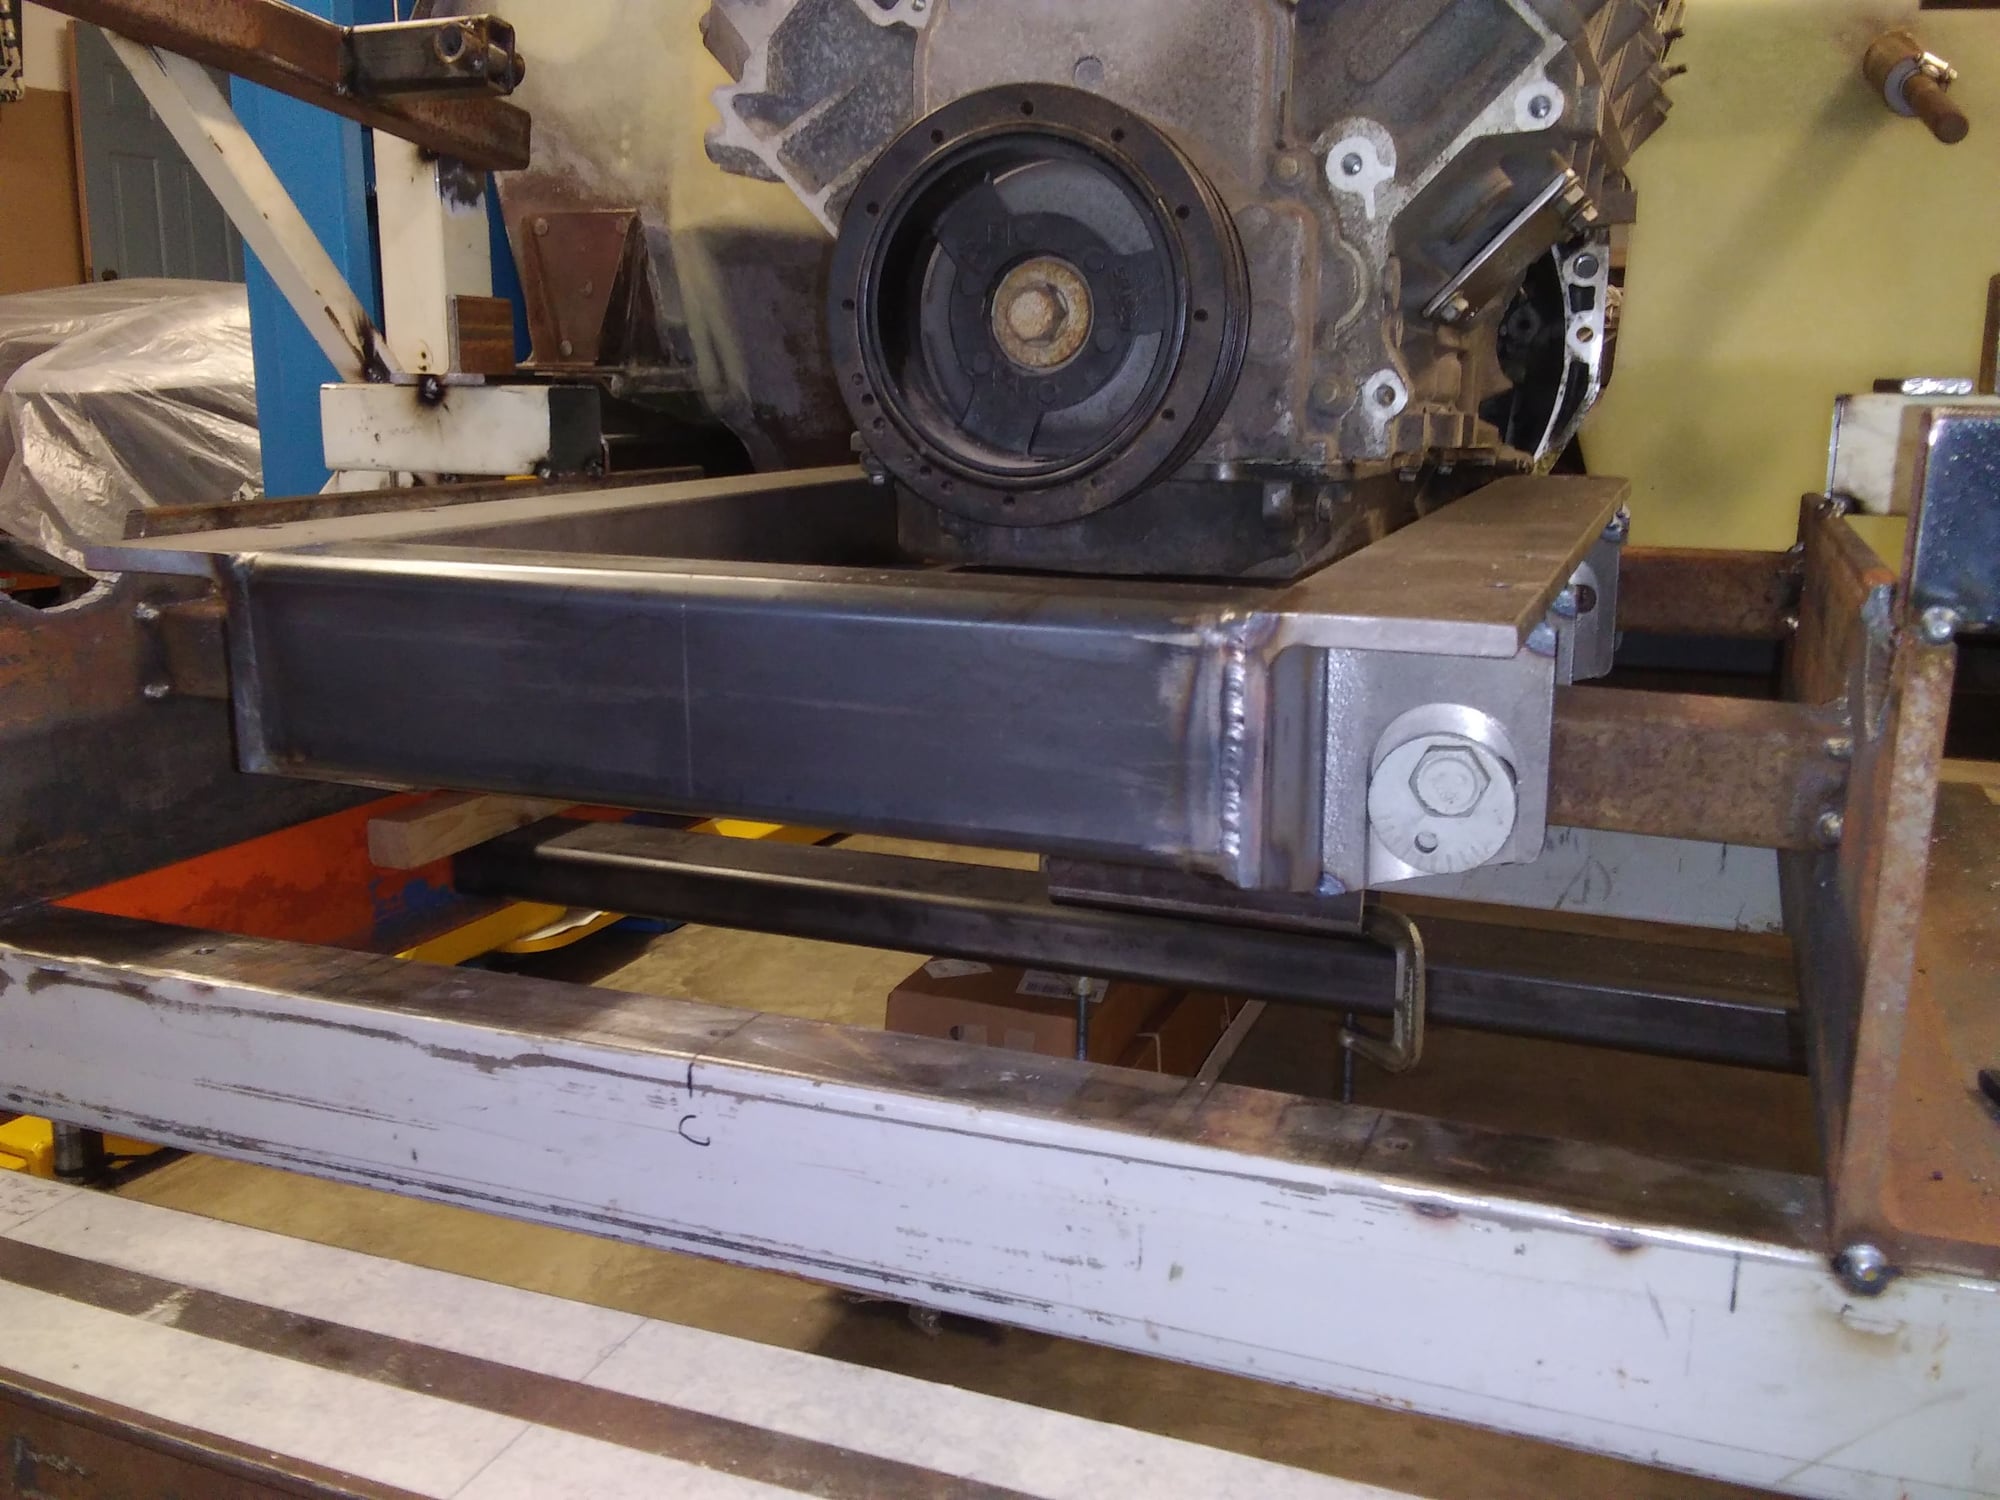
Back in place on the frame table. Probably way stronger than it needs to be.
#27
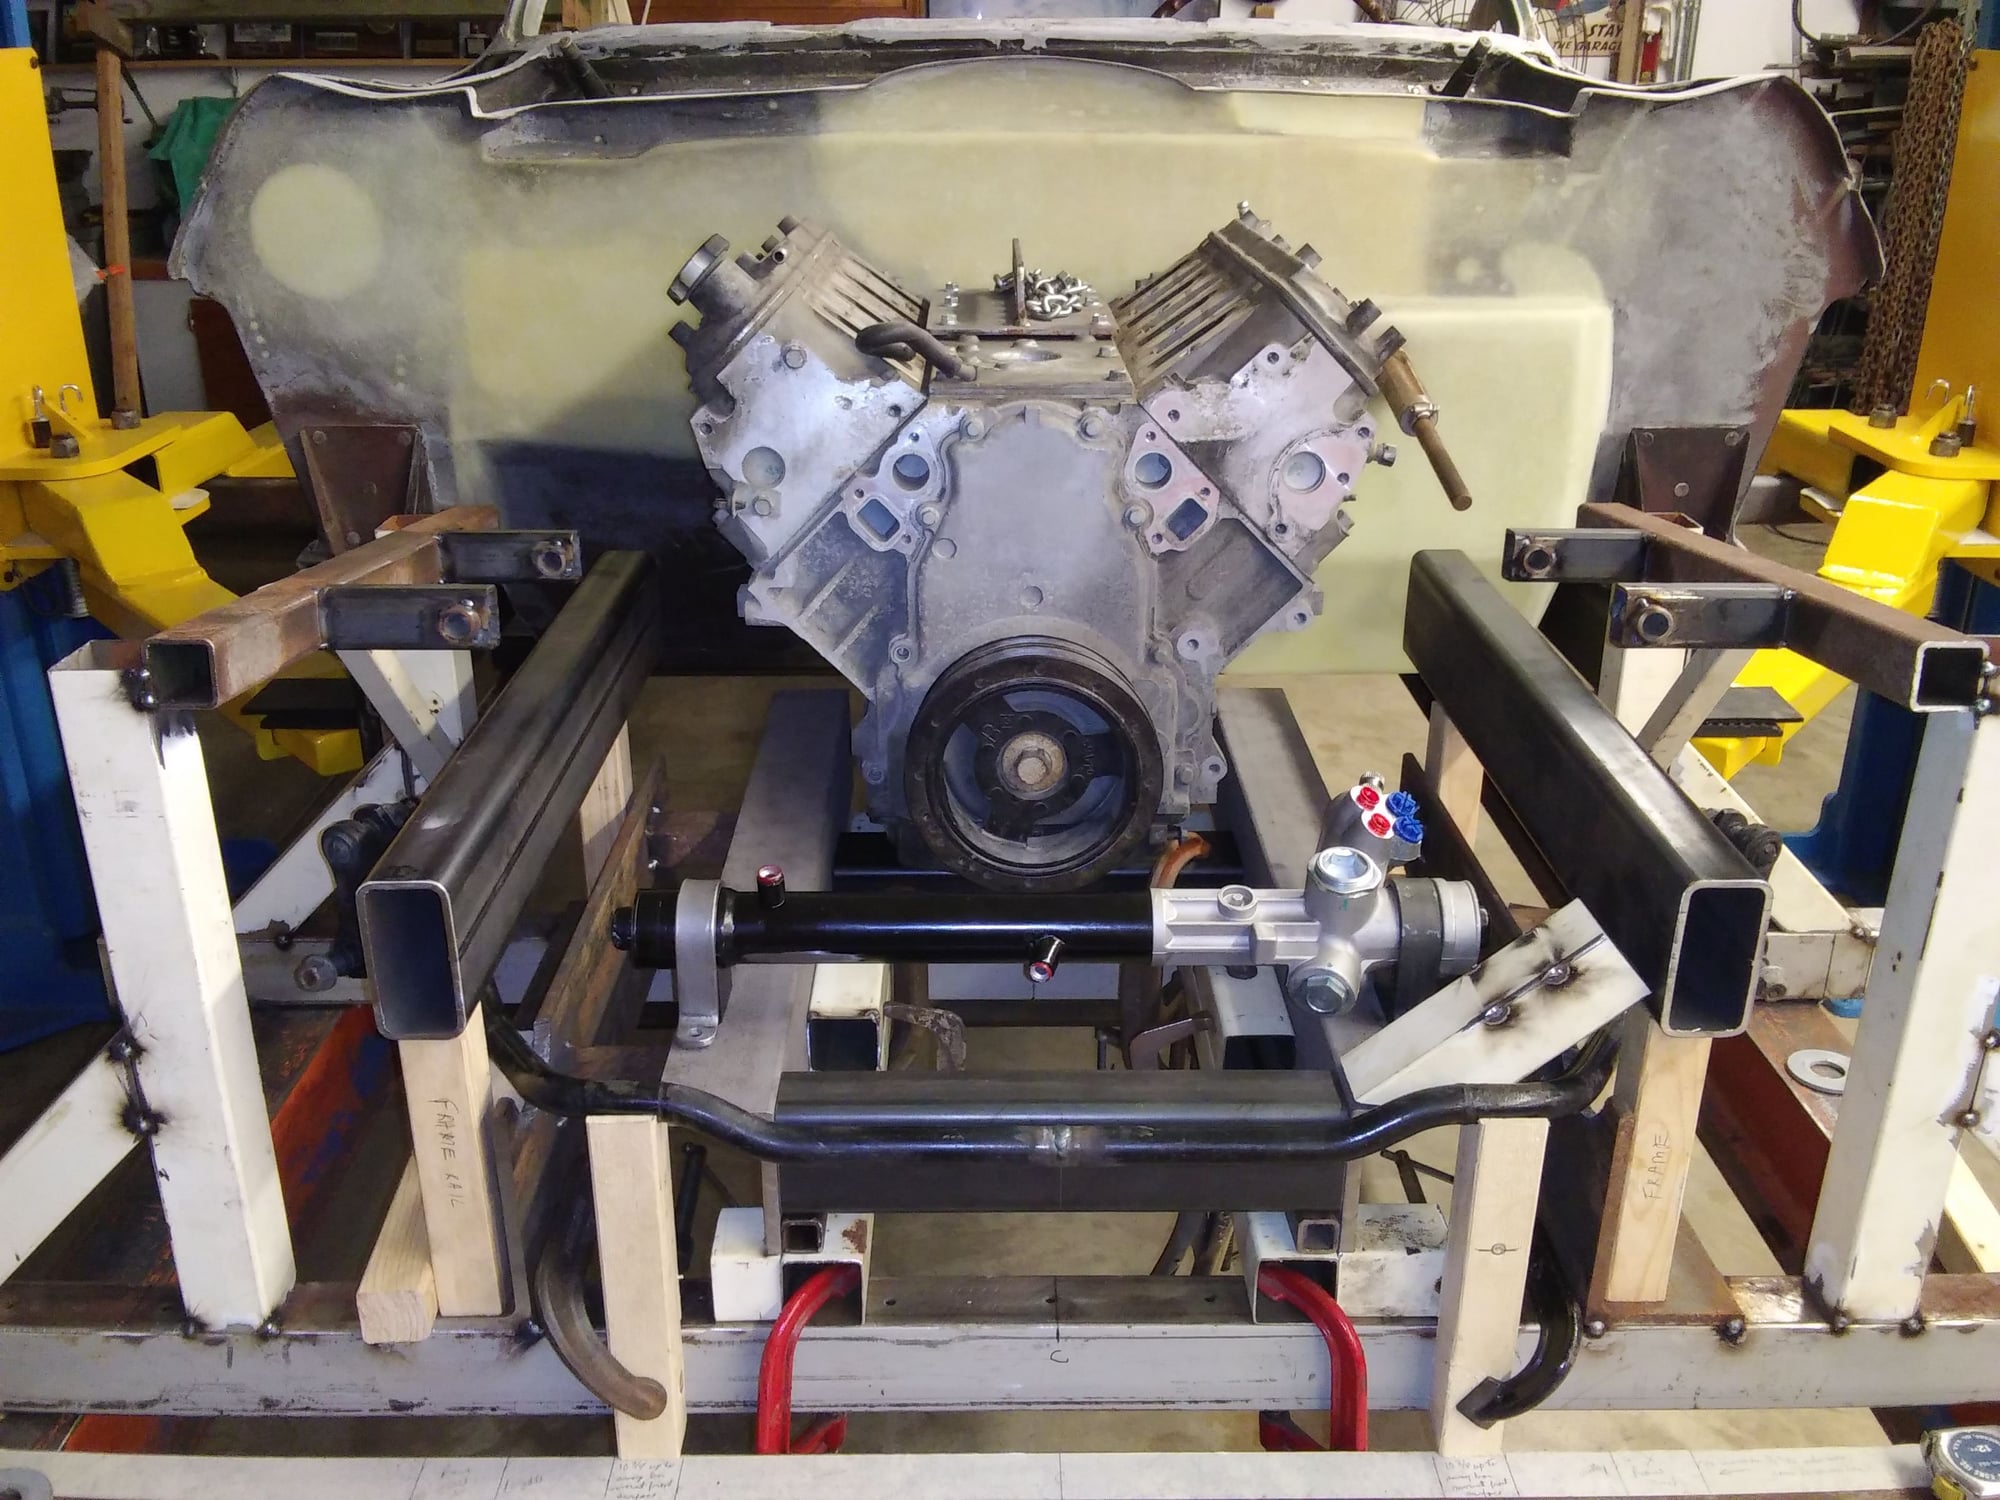
I guess I forgot to take a pic after the cradle was welded up and the upper frame rails in place like this pic. So now I need to connect the 3x4" main rails under the cab to these 2x4" rails that will tie it all together.
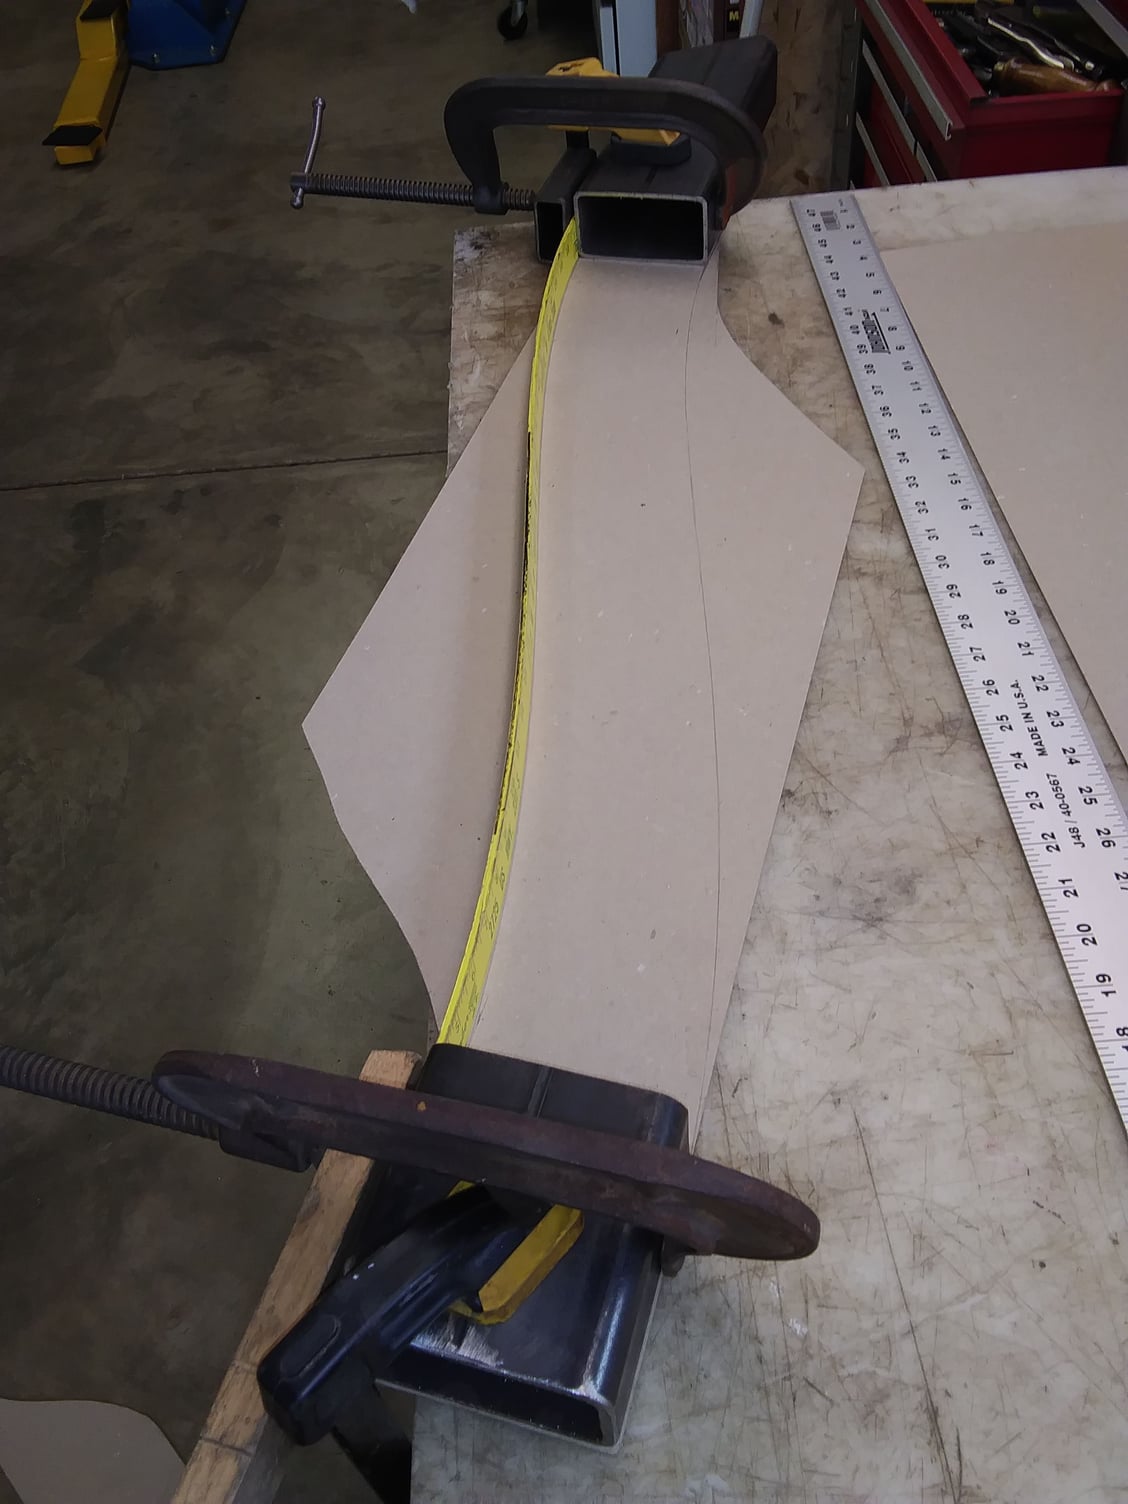
I started by making a jig of the offsets between the front and rear frame sections, both vertically and horizontally. I used a yardstick to make the curves, then cut some cardboard patterns.

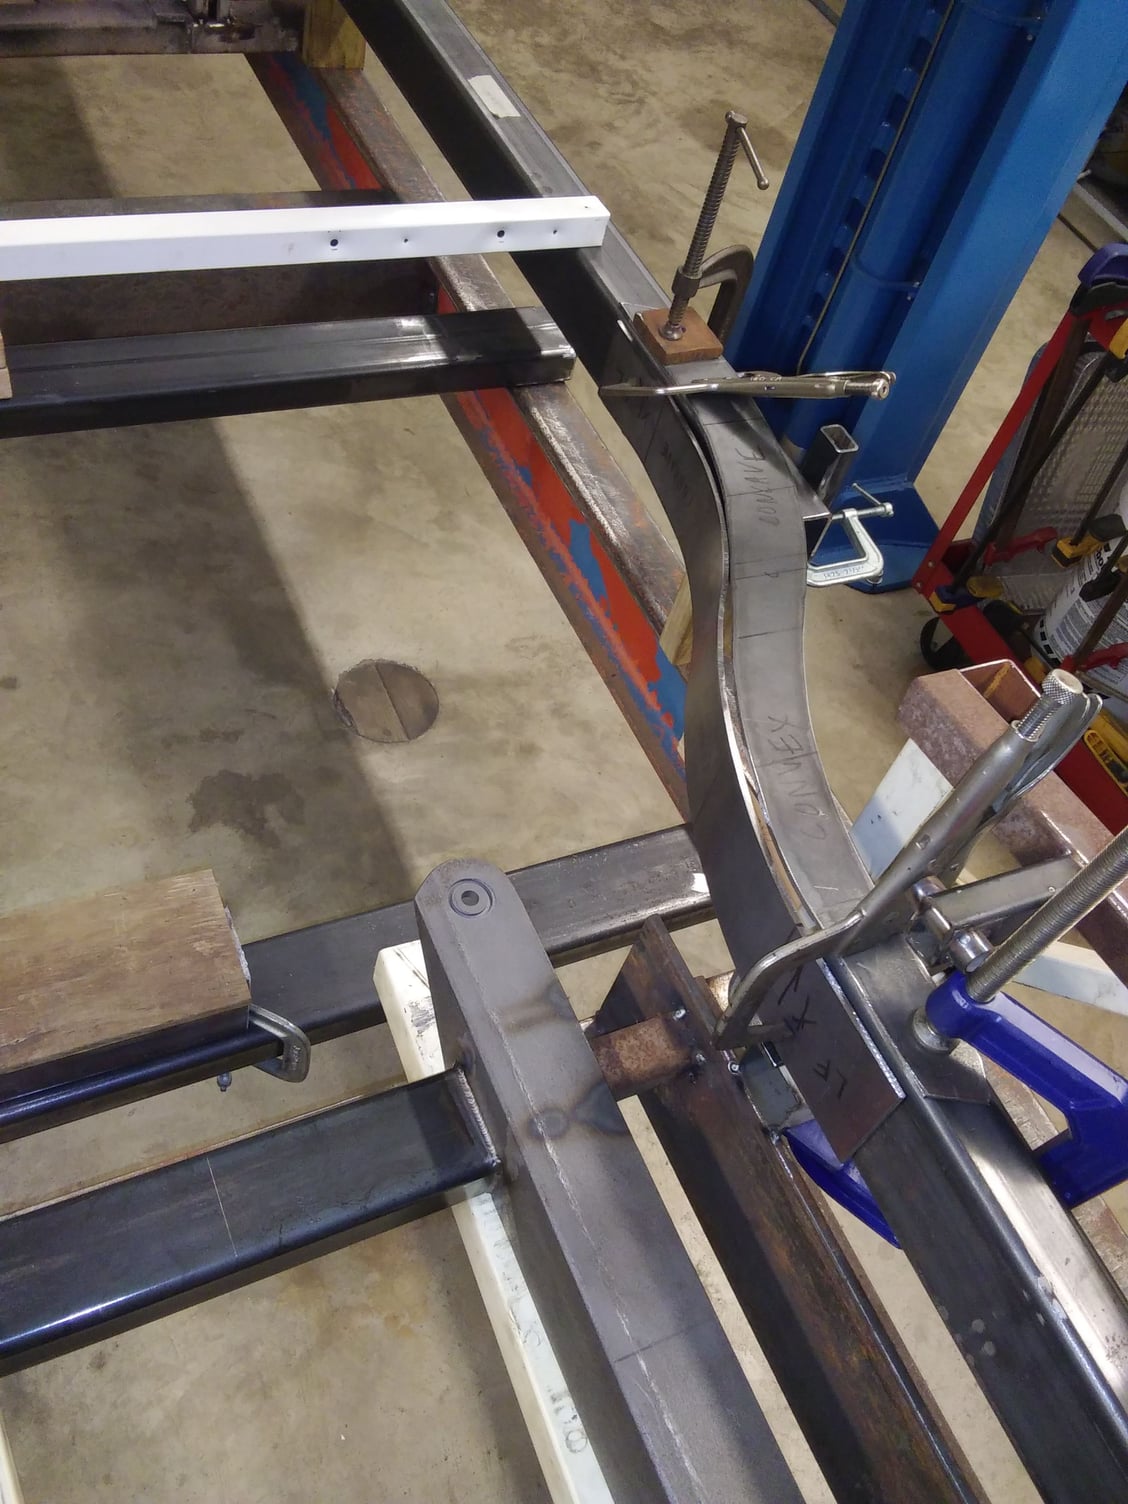
I then cut the pieces out of 3/16" plate, then took them to the local sheet metal shop to have them curved on their HD slip roller.
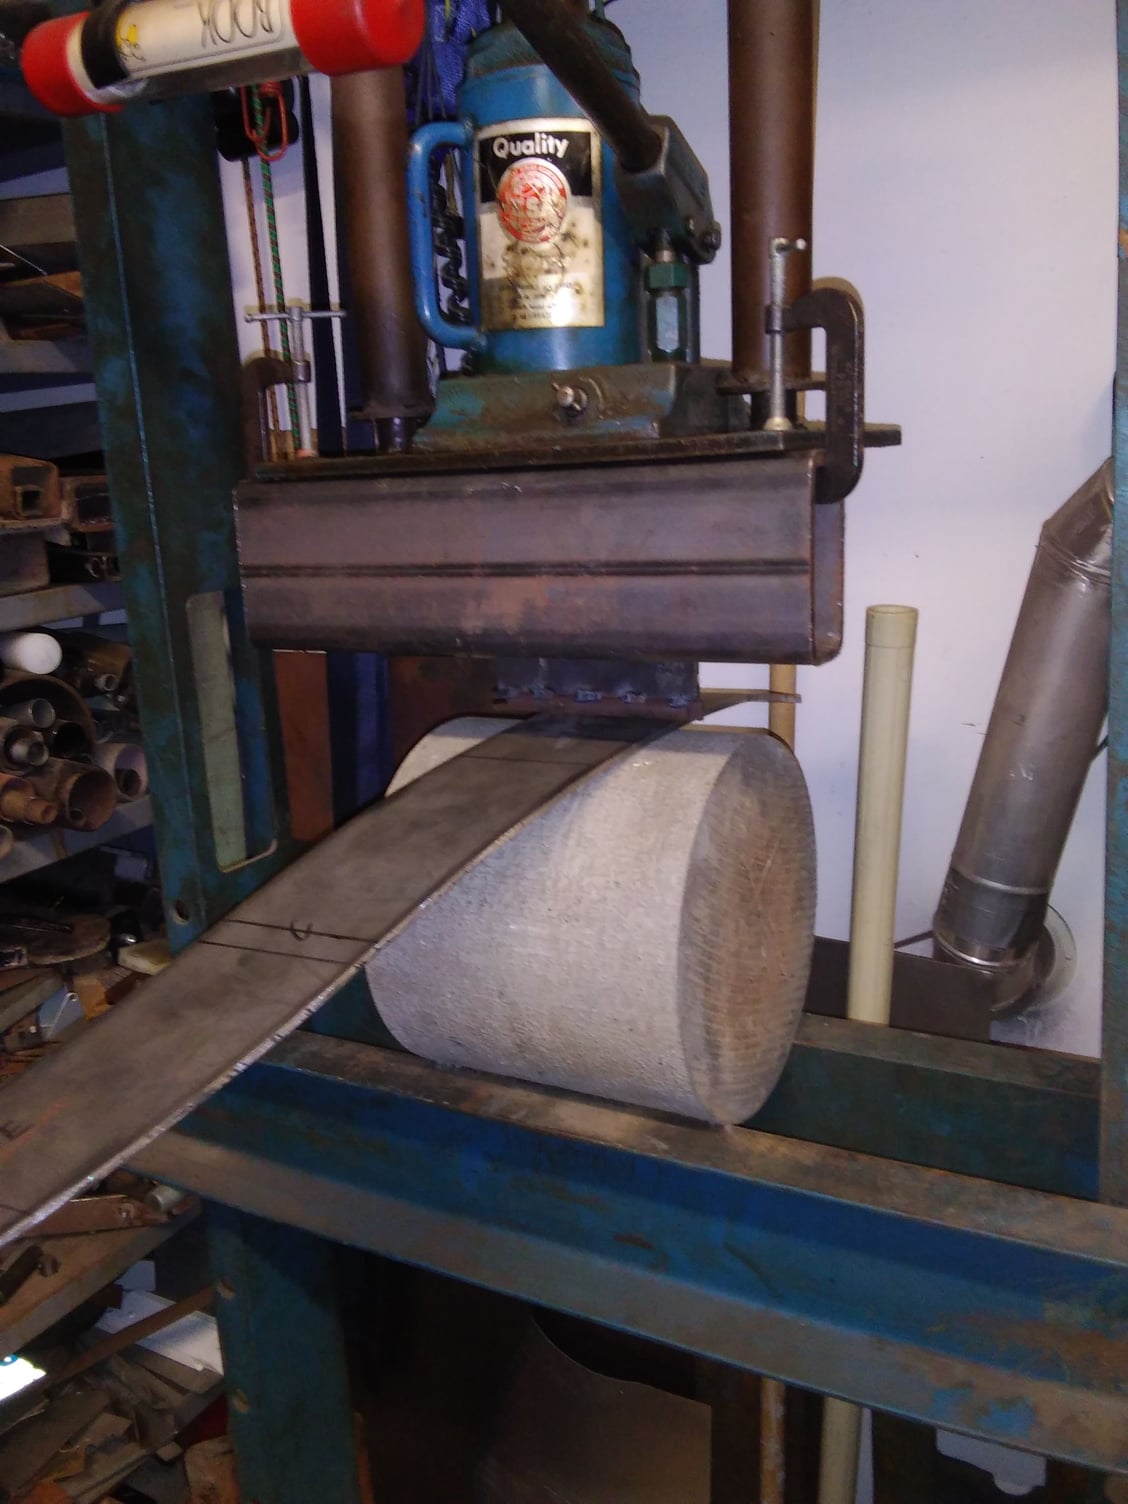
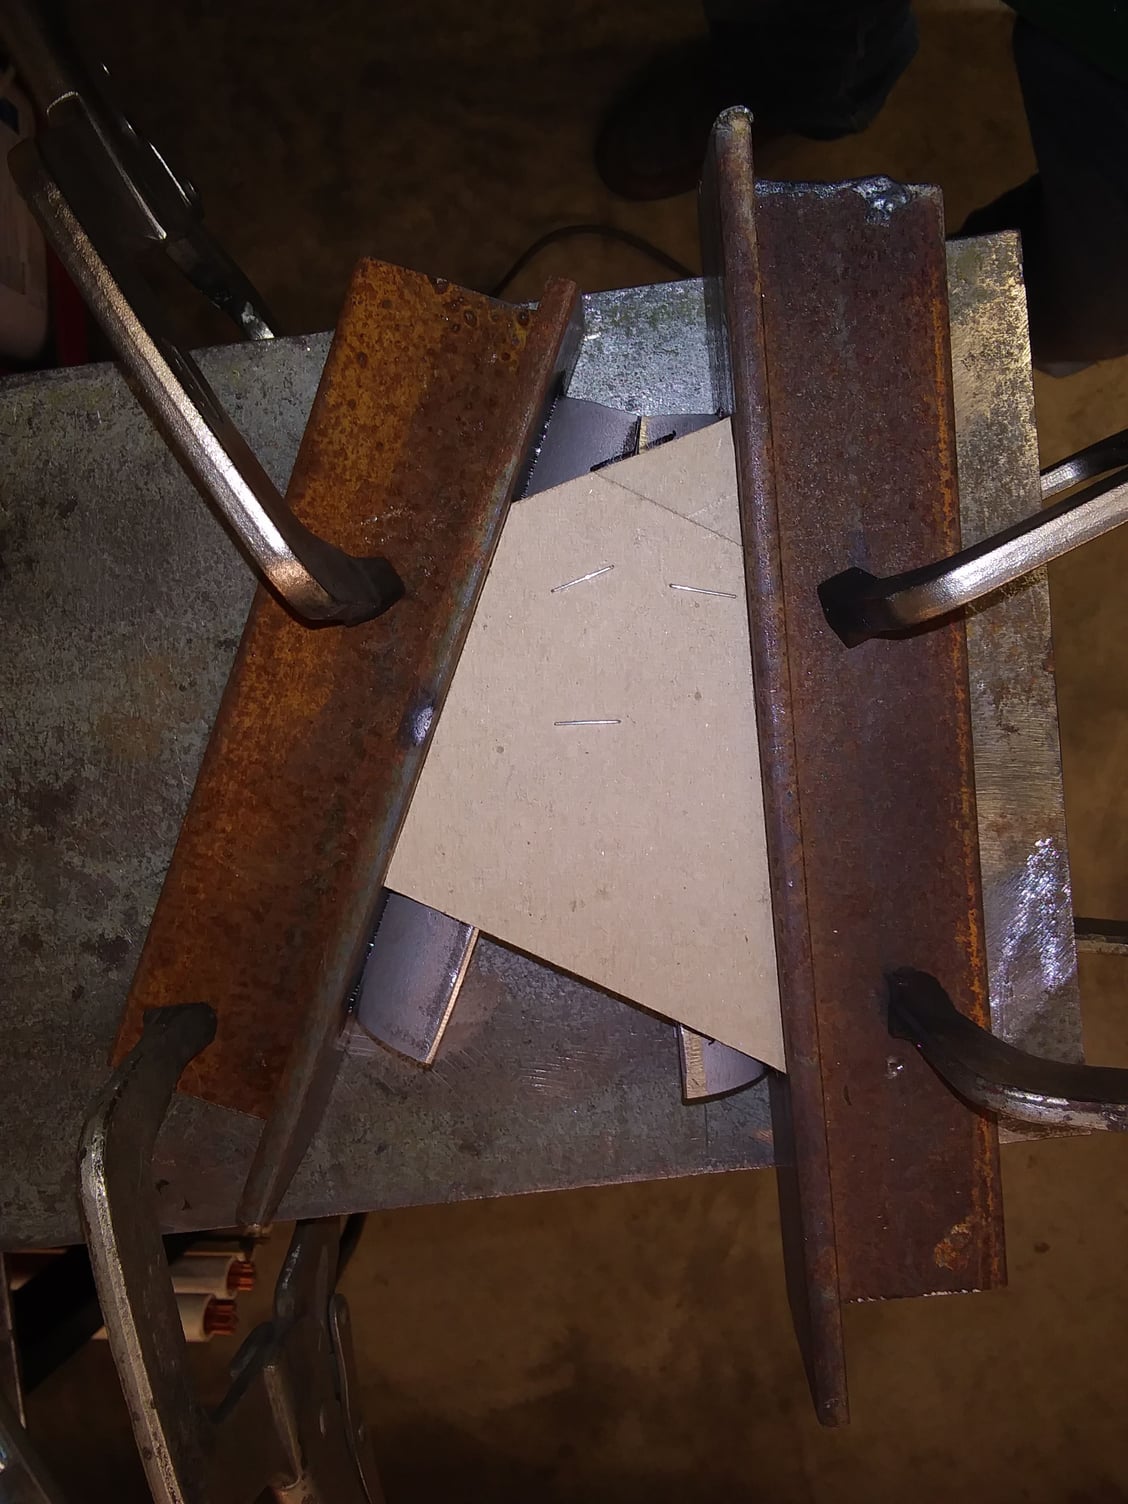
I rigged up this deal in the press to make fine adjustments in the curves. I probably made about 20 trips back and forth from the frame to the press for each of the 8 pieces.
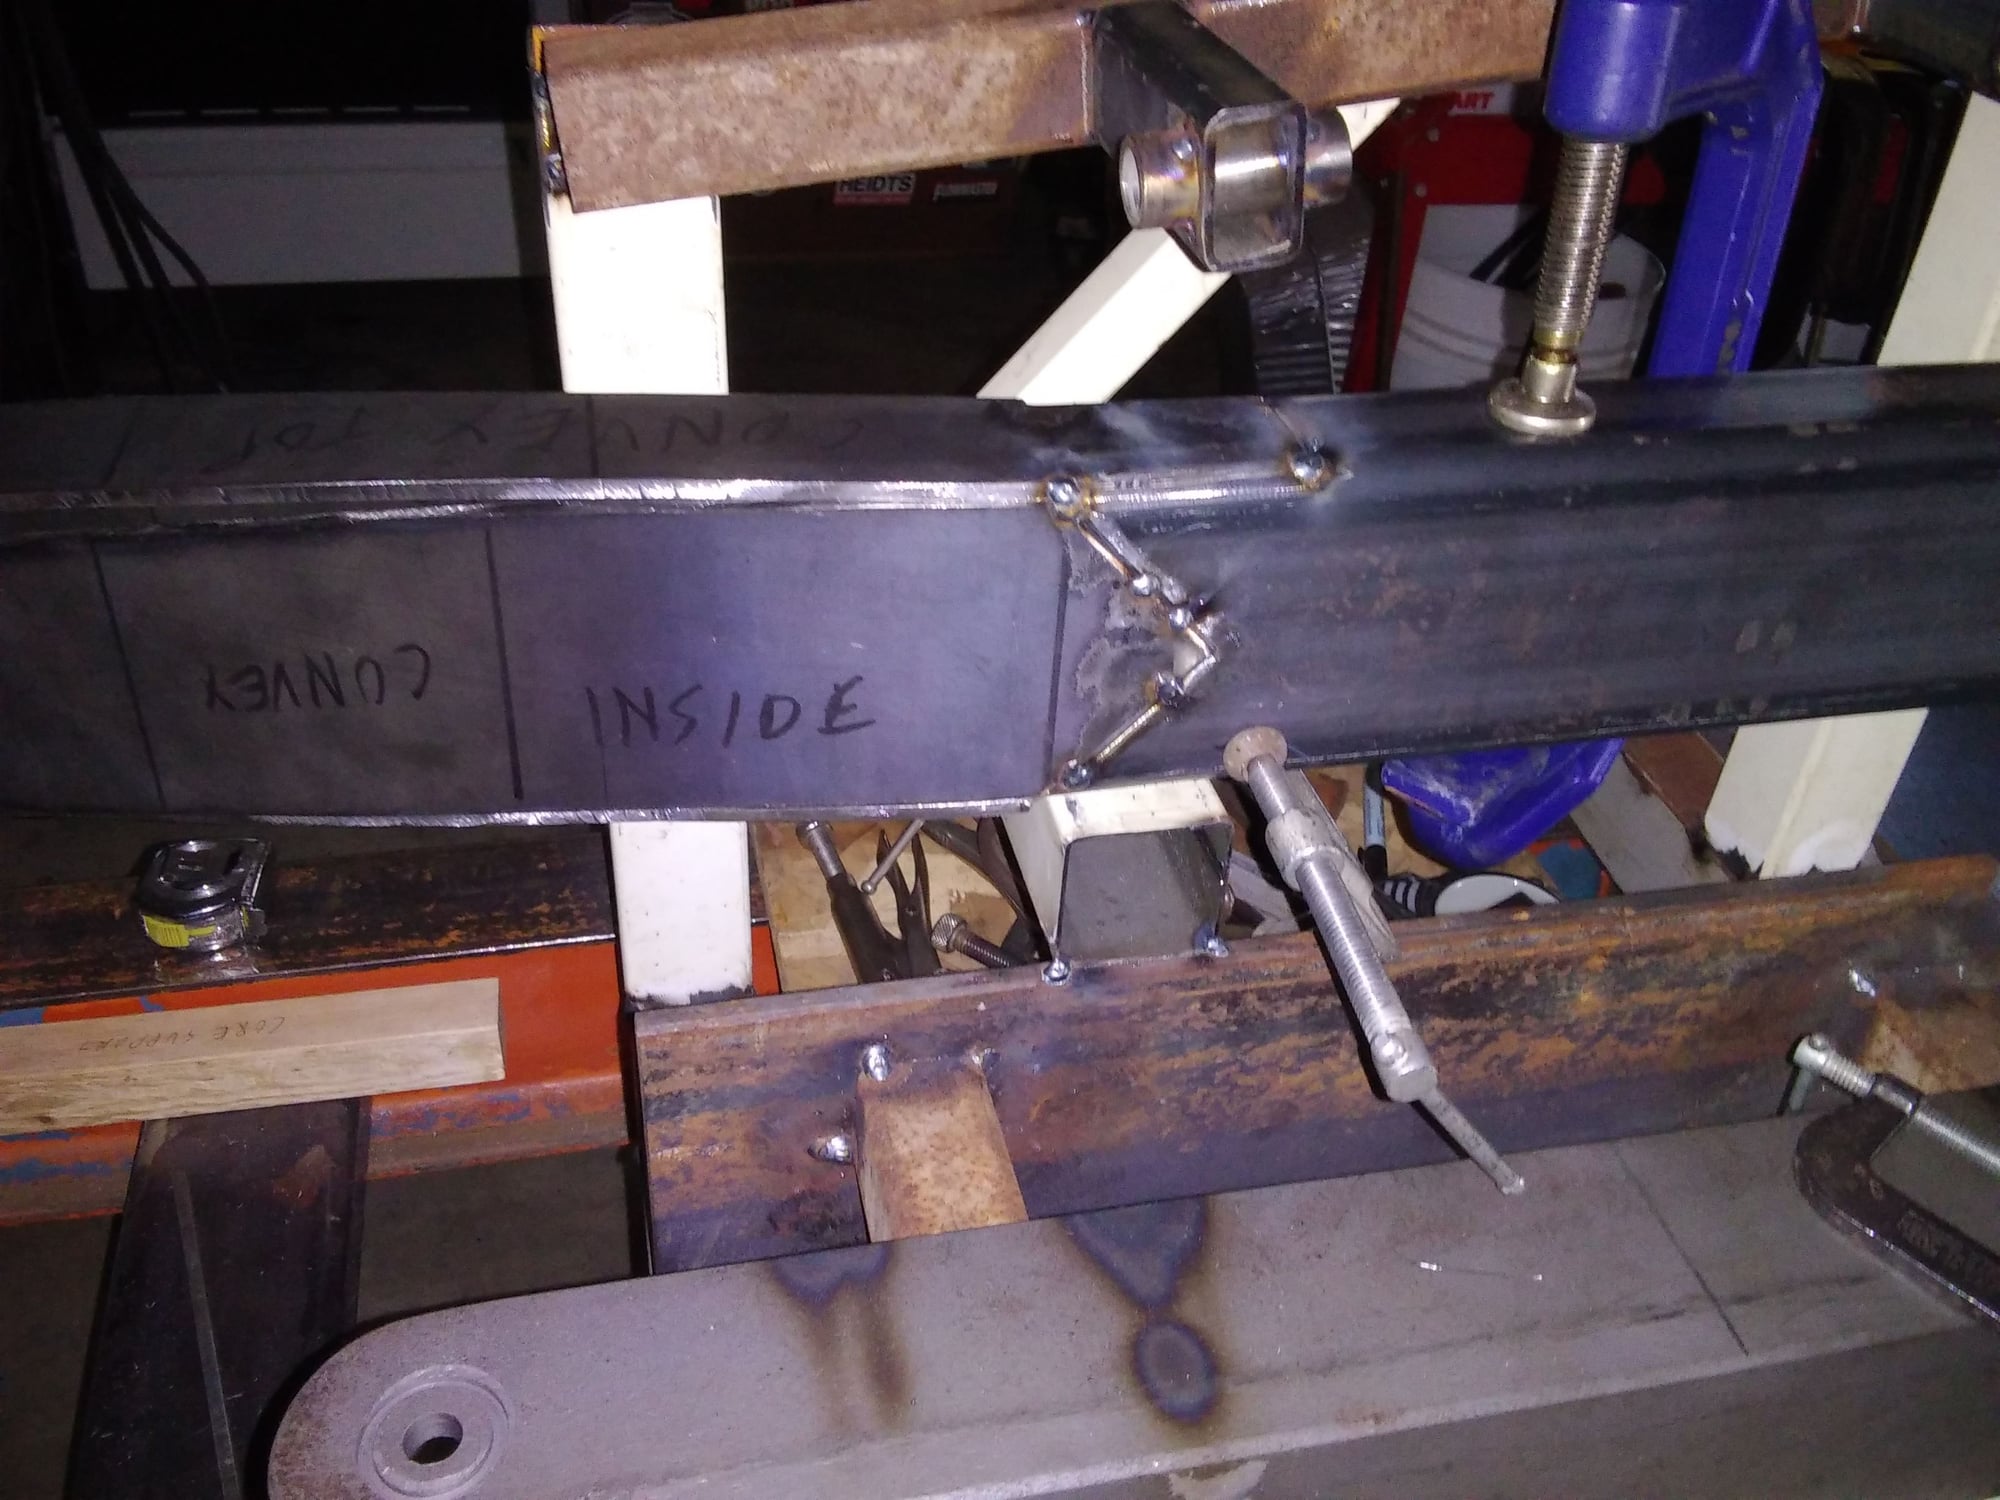
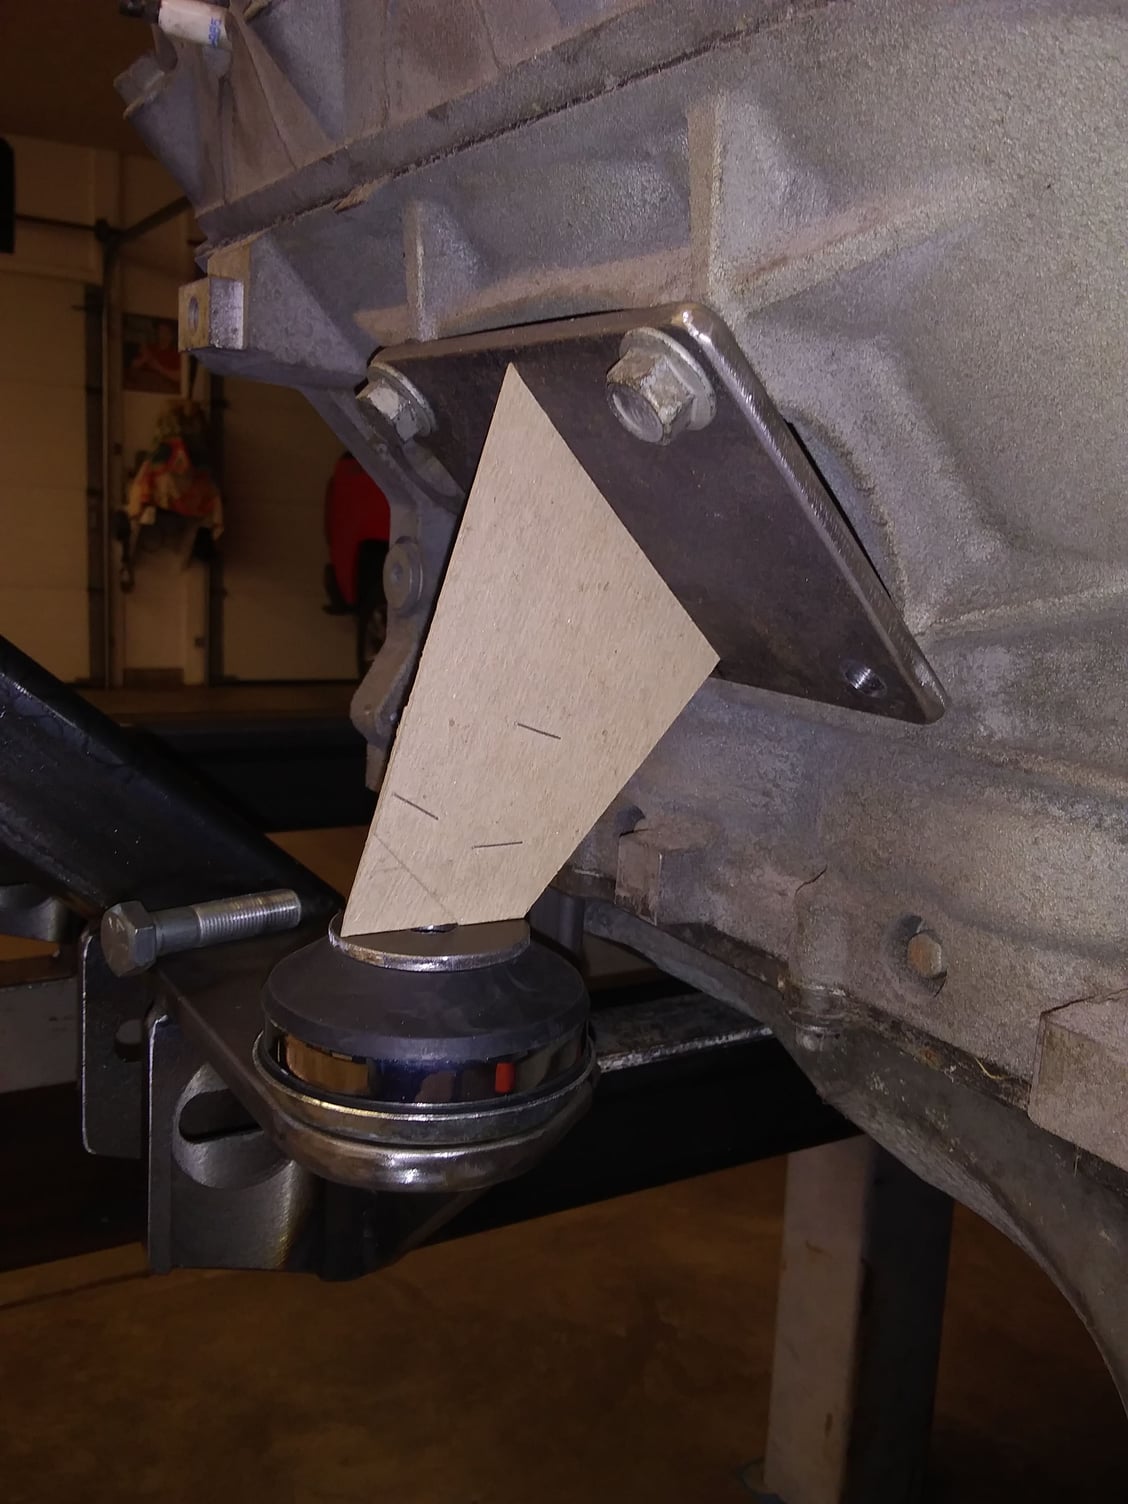
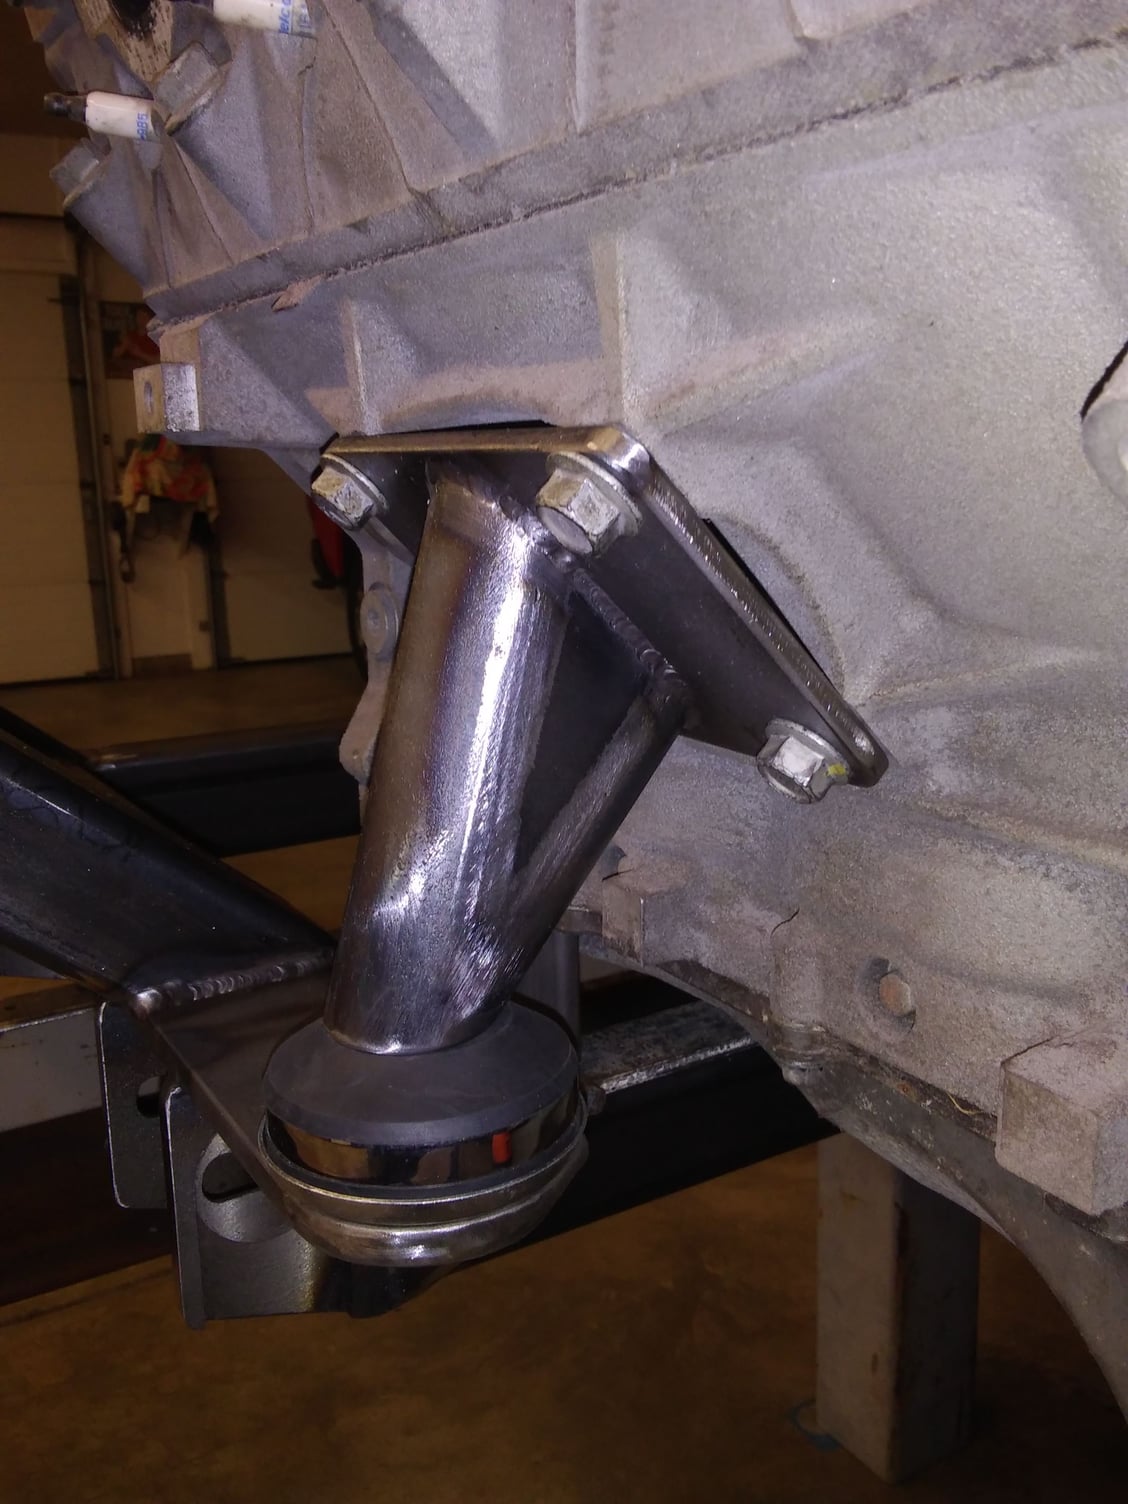
I tacked the 4 pieces together and cut this kind of a joint on each end for a strong joint. By the way, the hole in the cradle is for the motor mounts to come later.
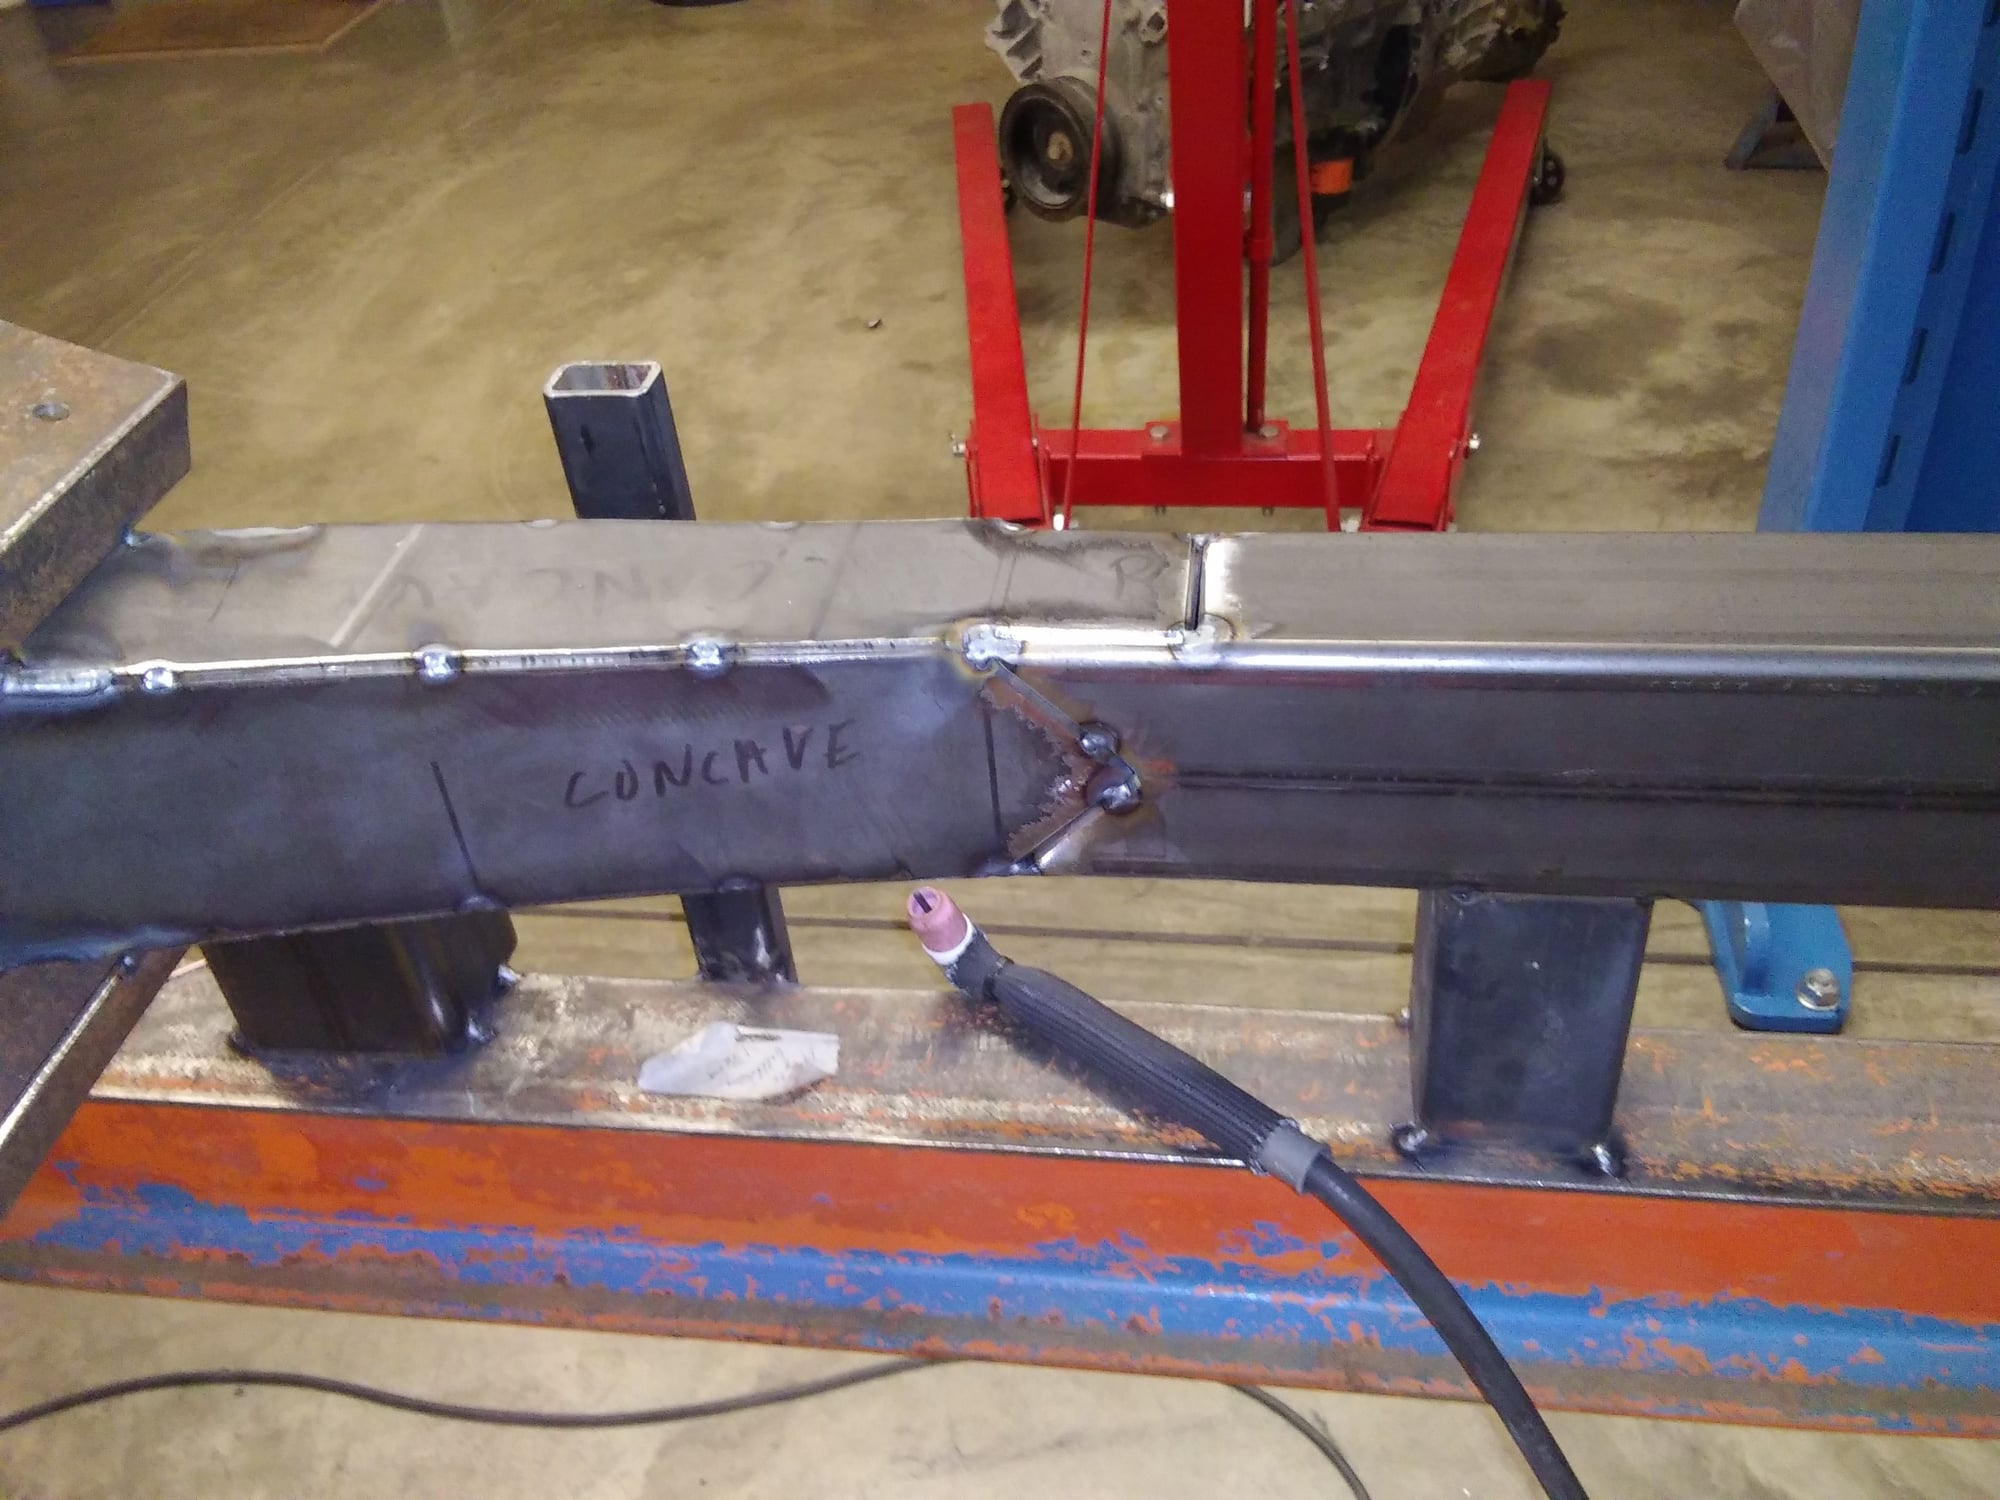
For you sharp eyed observers, you noticed that I changed the main frame rails from 2x4 to 3x4 after I discovered that 3x4 would fit under the body.
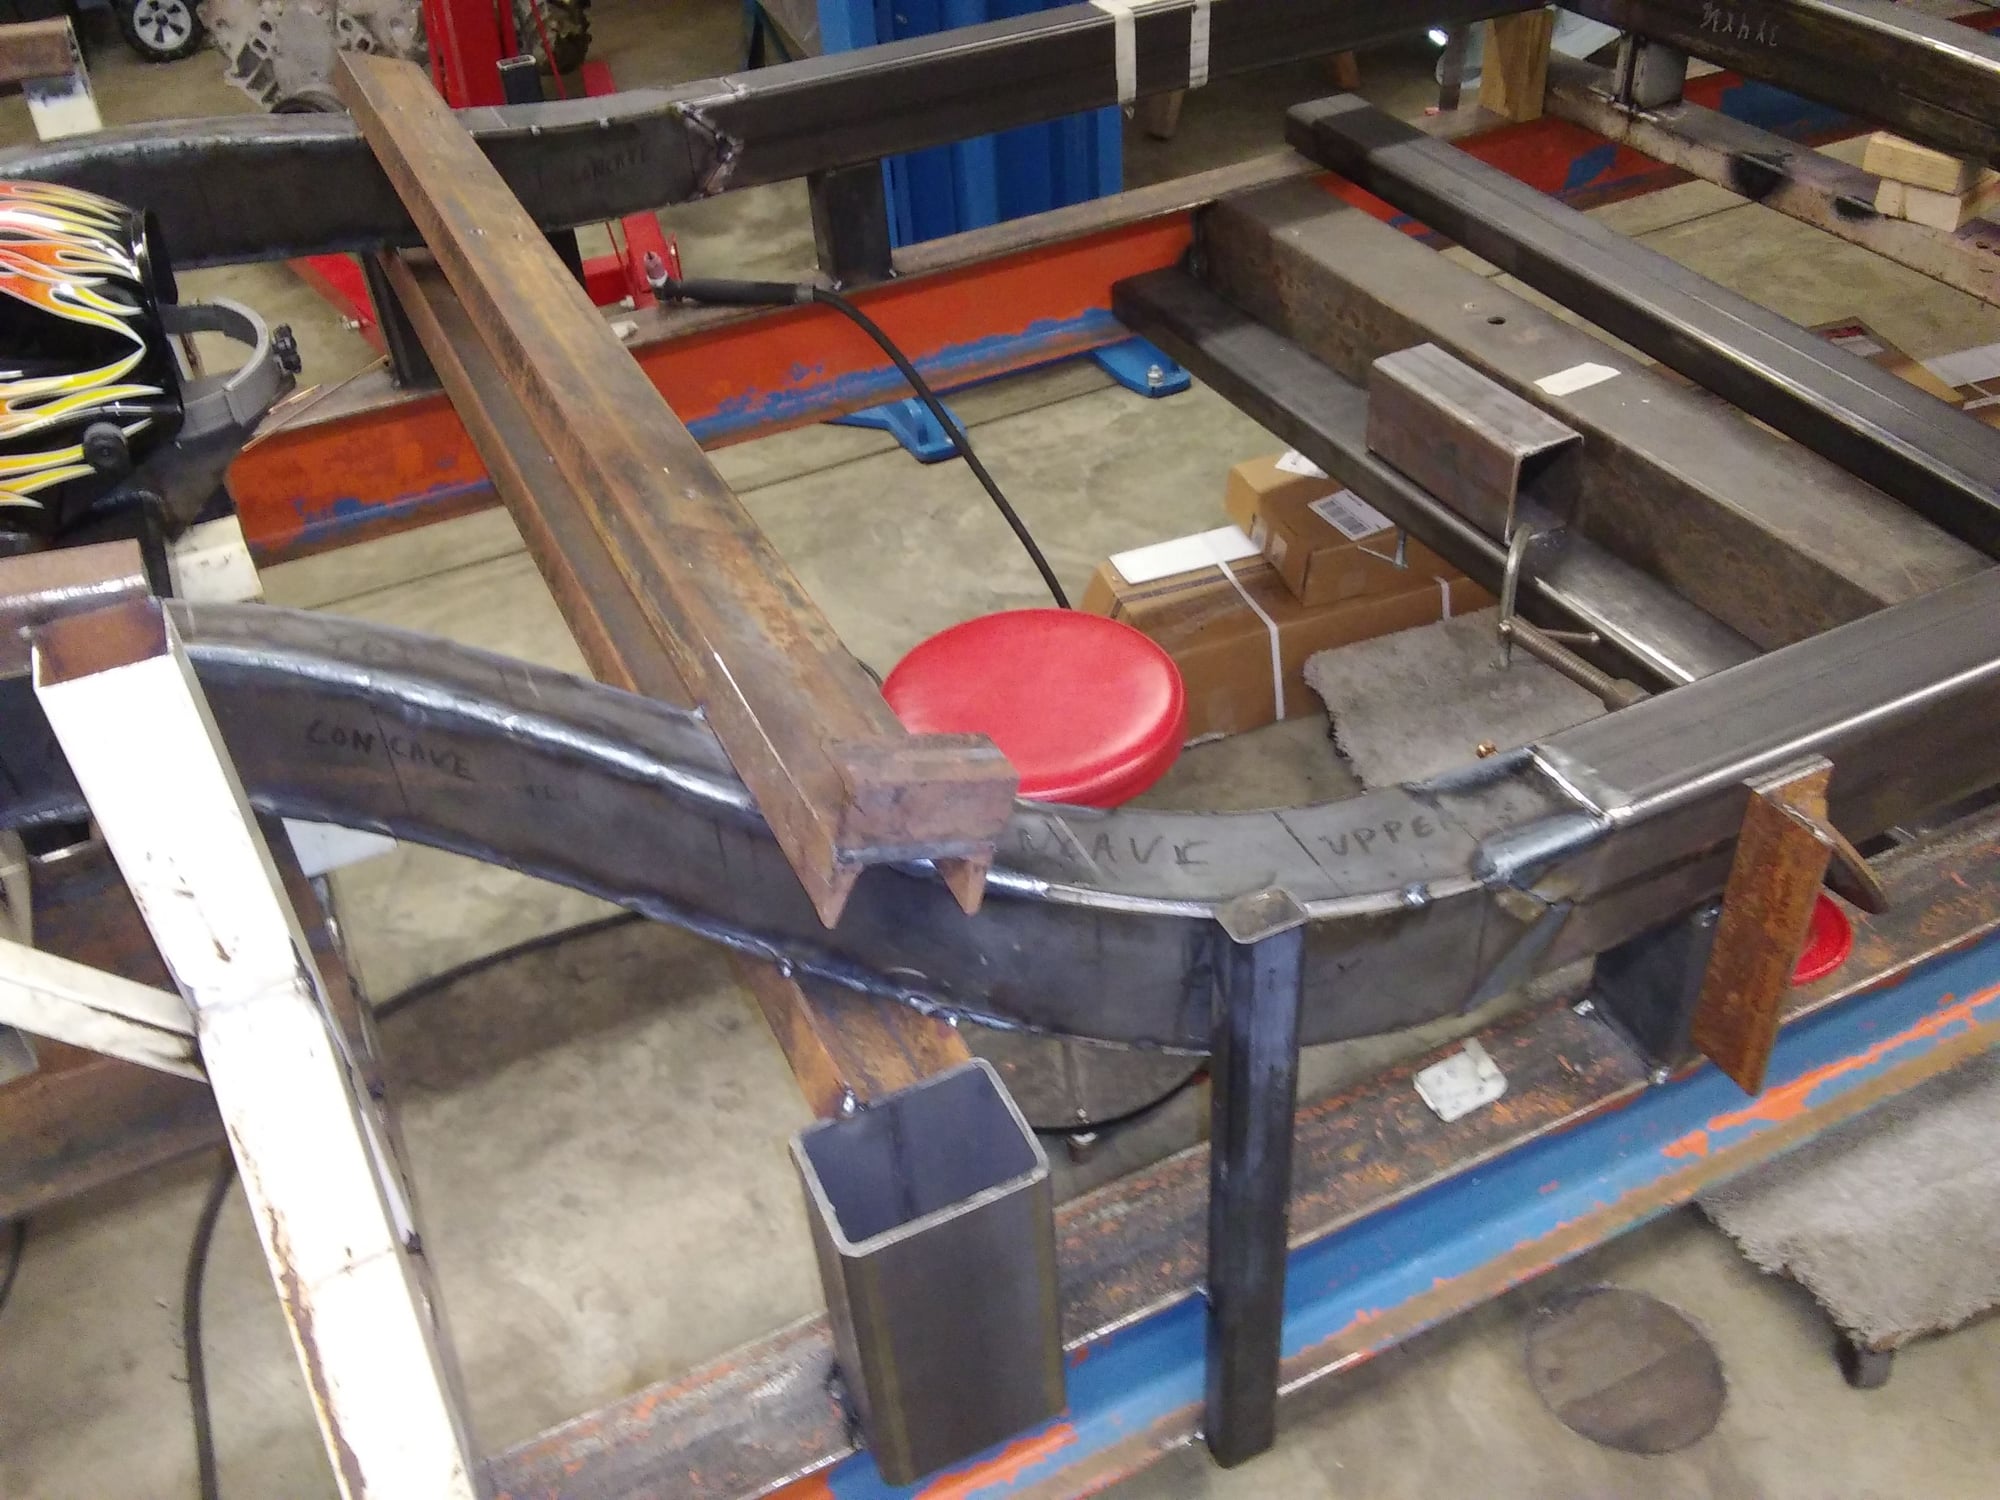
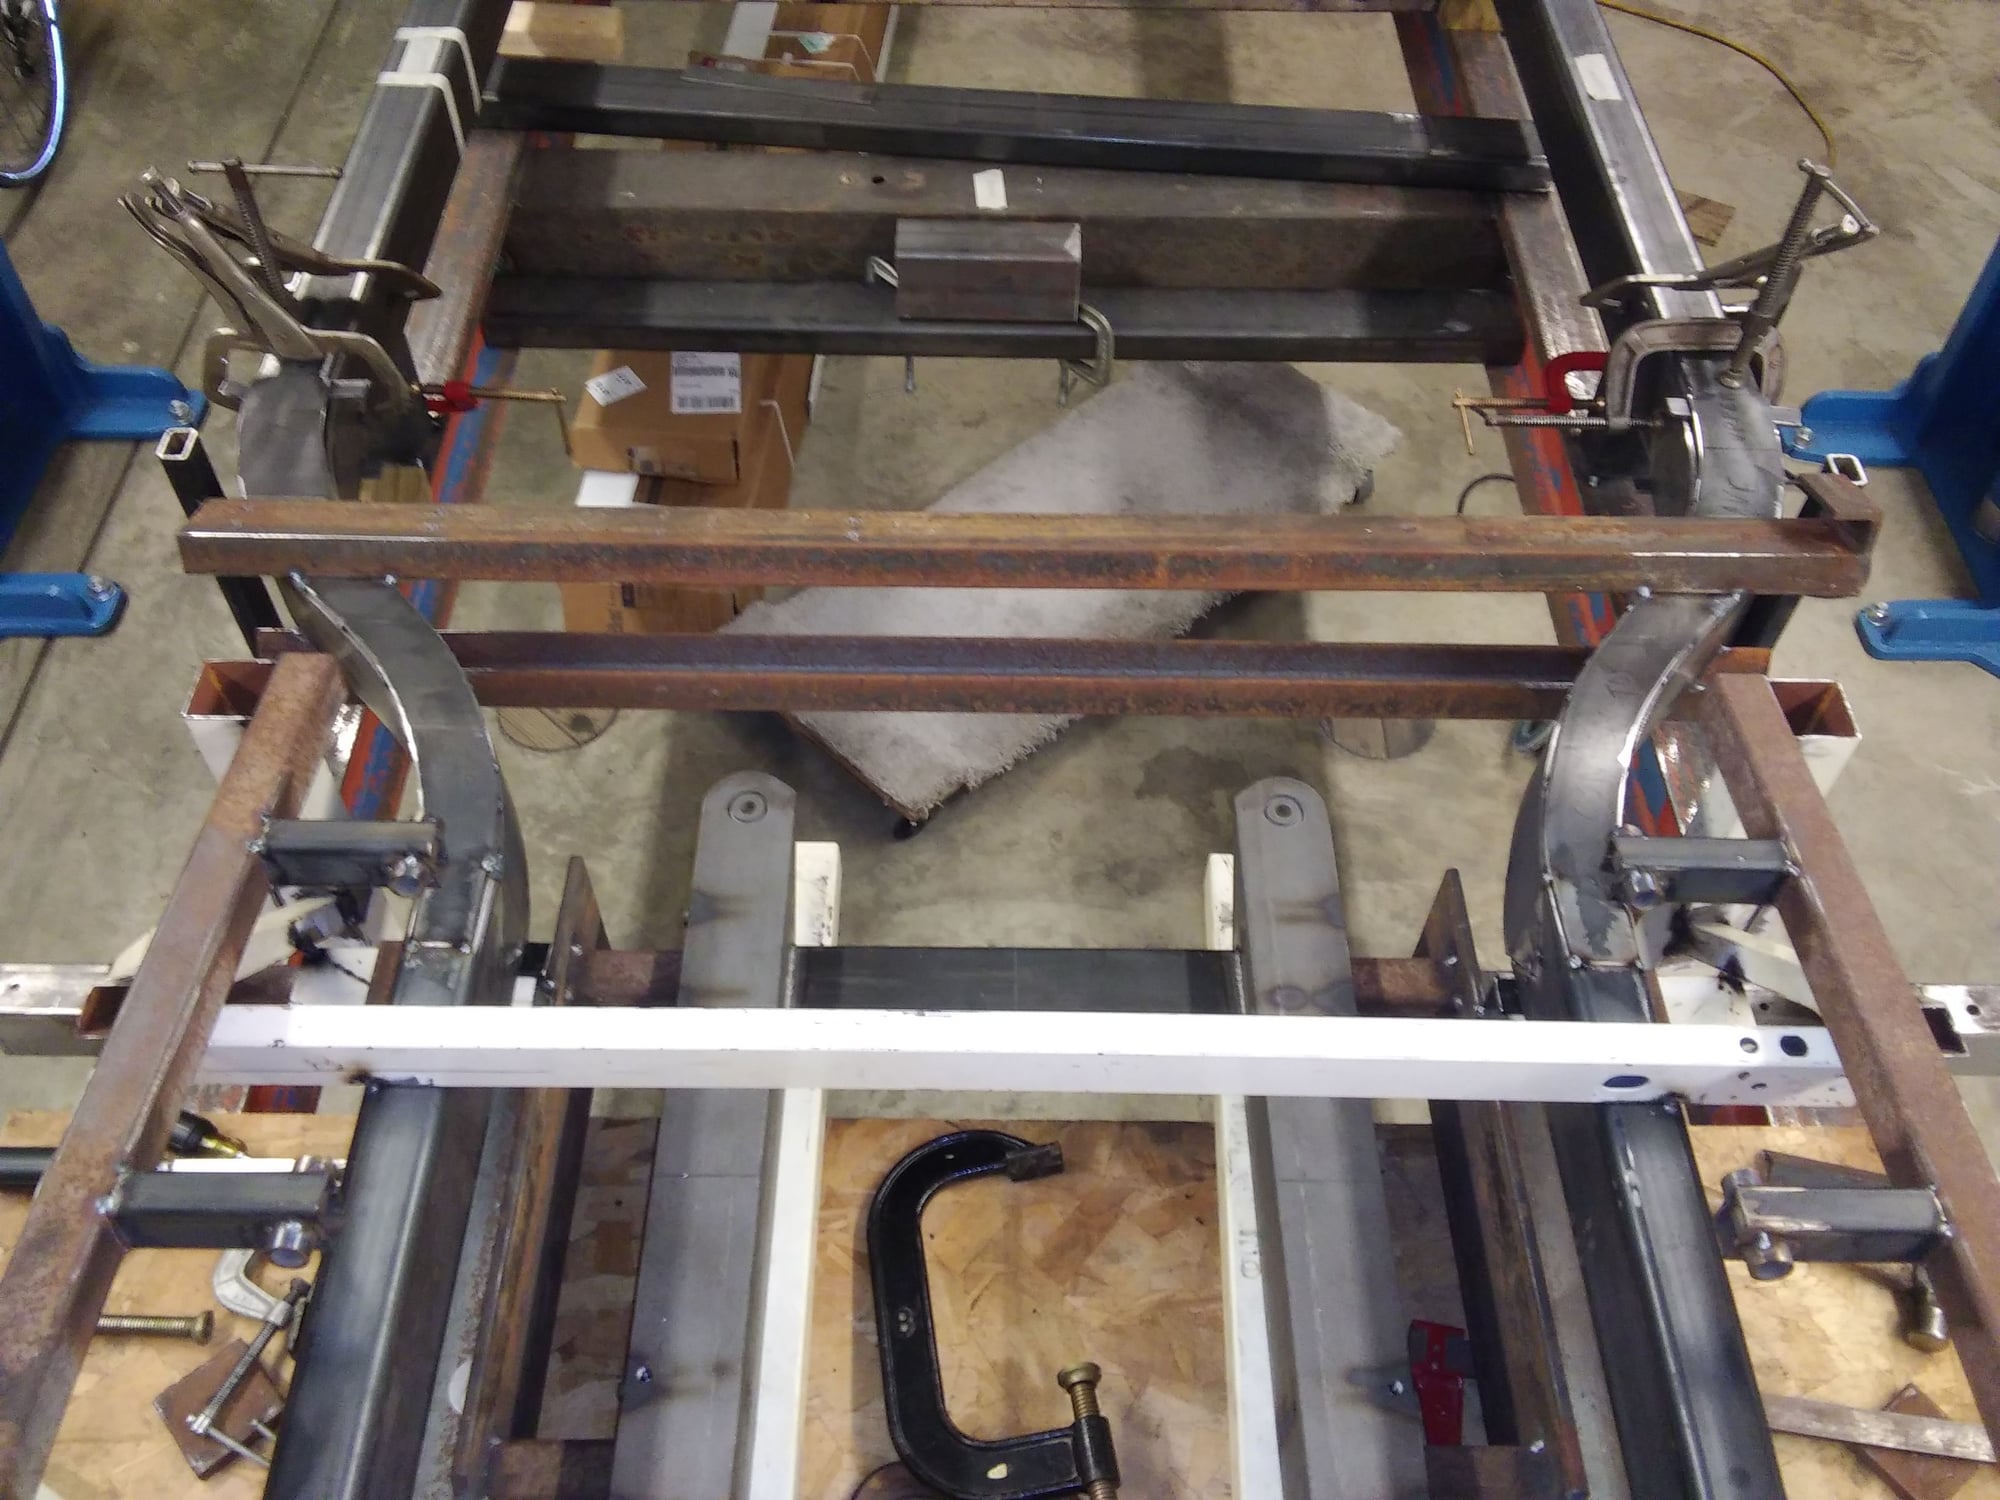
Lots of bracing to keep warpage to a minimum.
#28

Jump ahead to where the cradle is welded to the frame rails and the upper control arm mounts are started. I made the bushings for the control arms out of Delrin on the lathe.
The round tubes have nuts welded inside for the bolts to thread into.

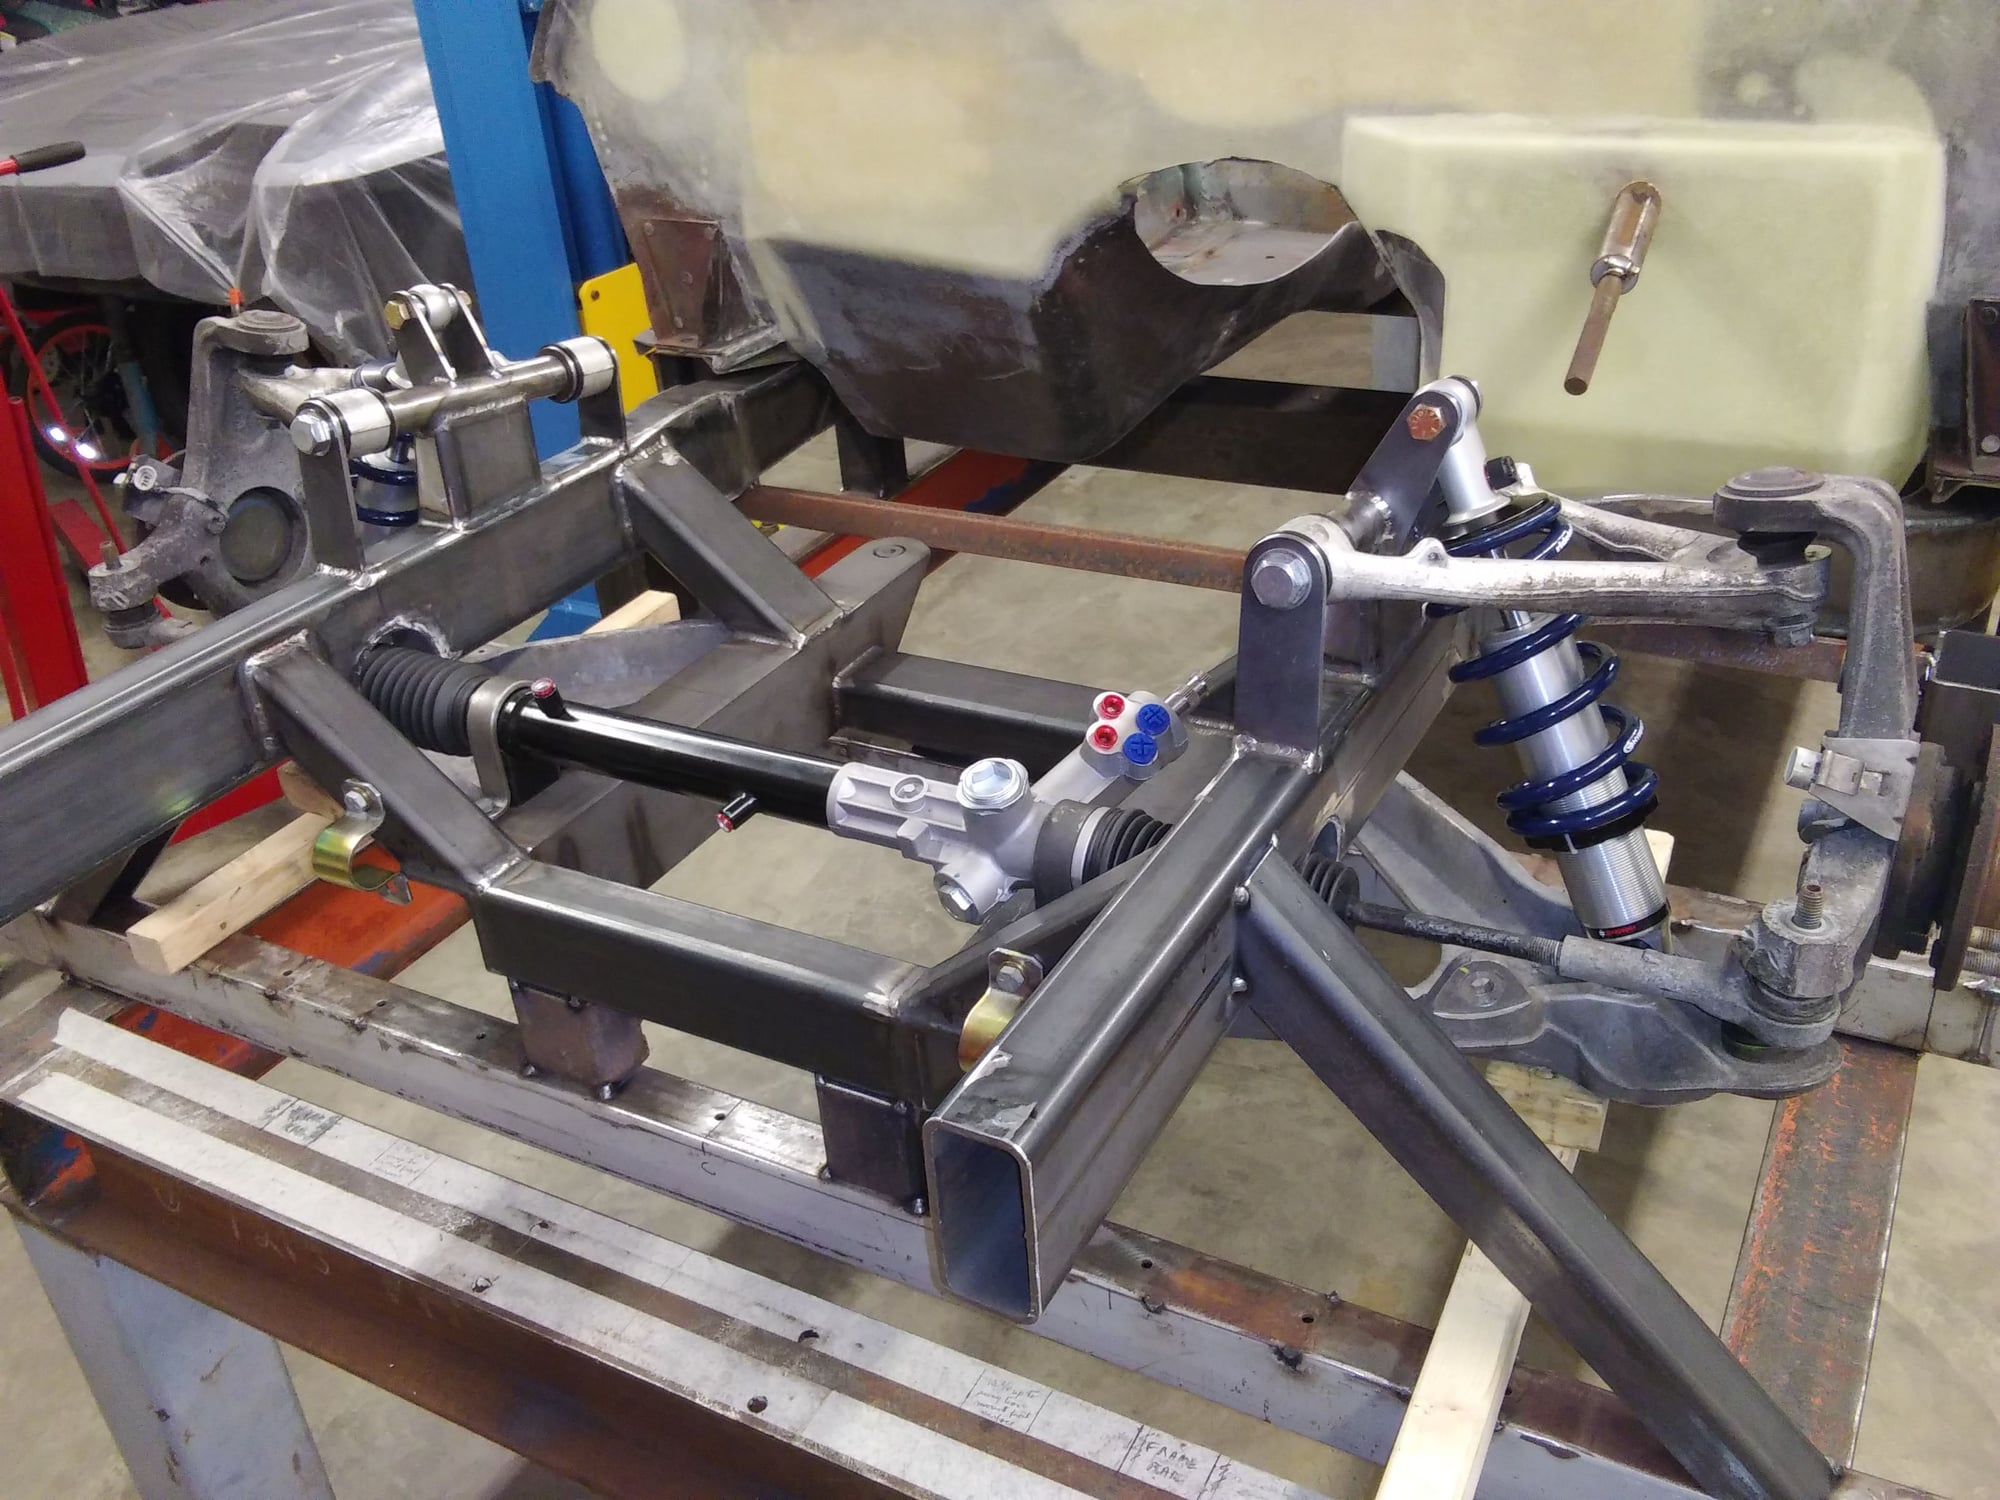
Shock mounts were next.
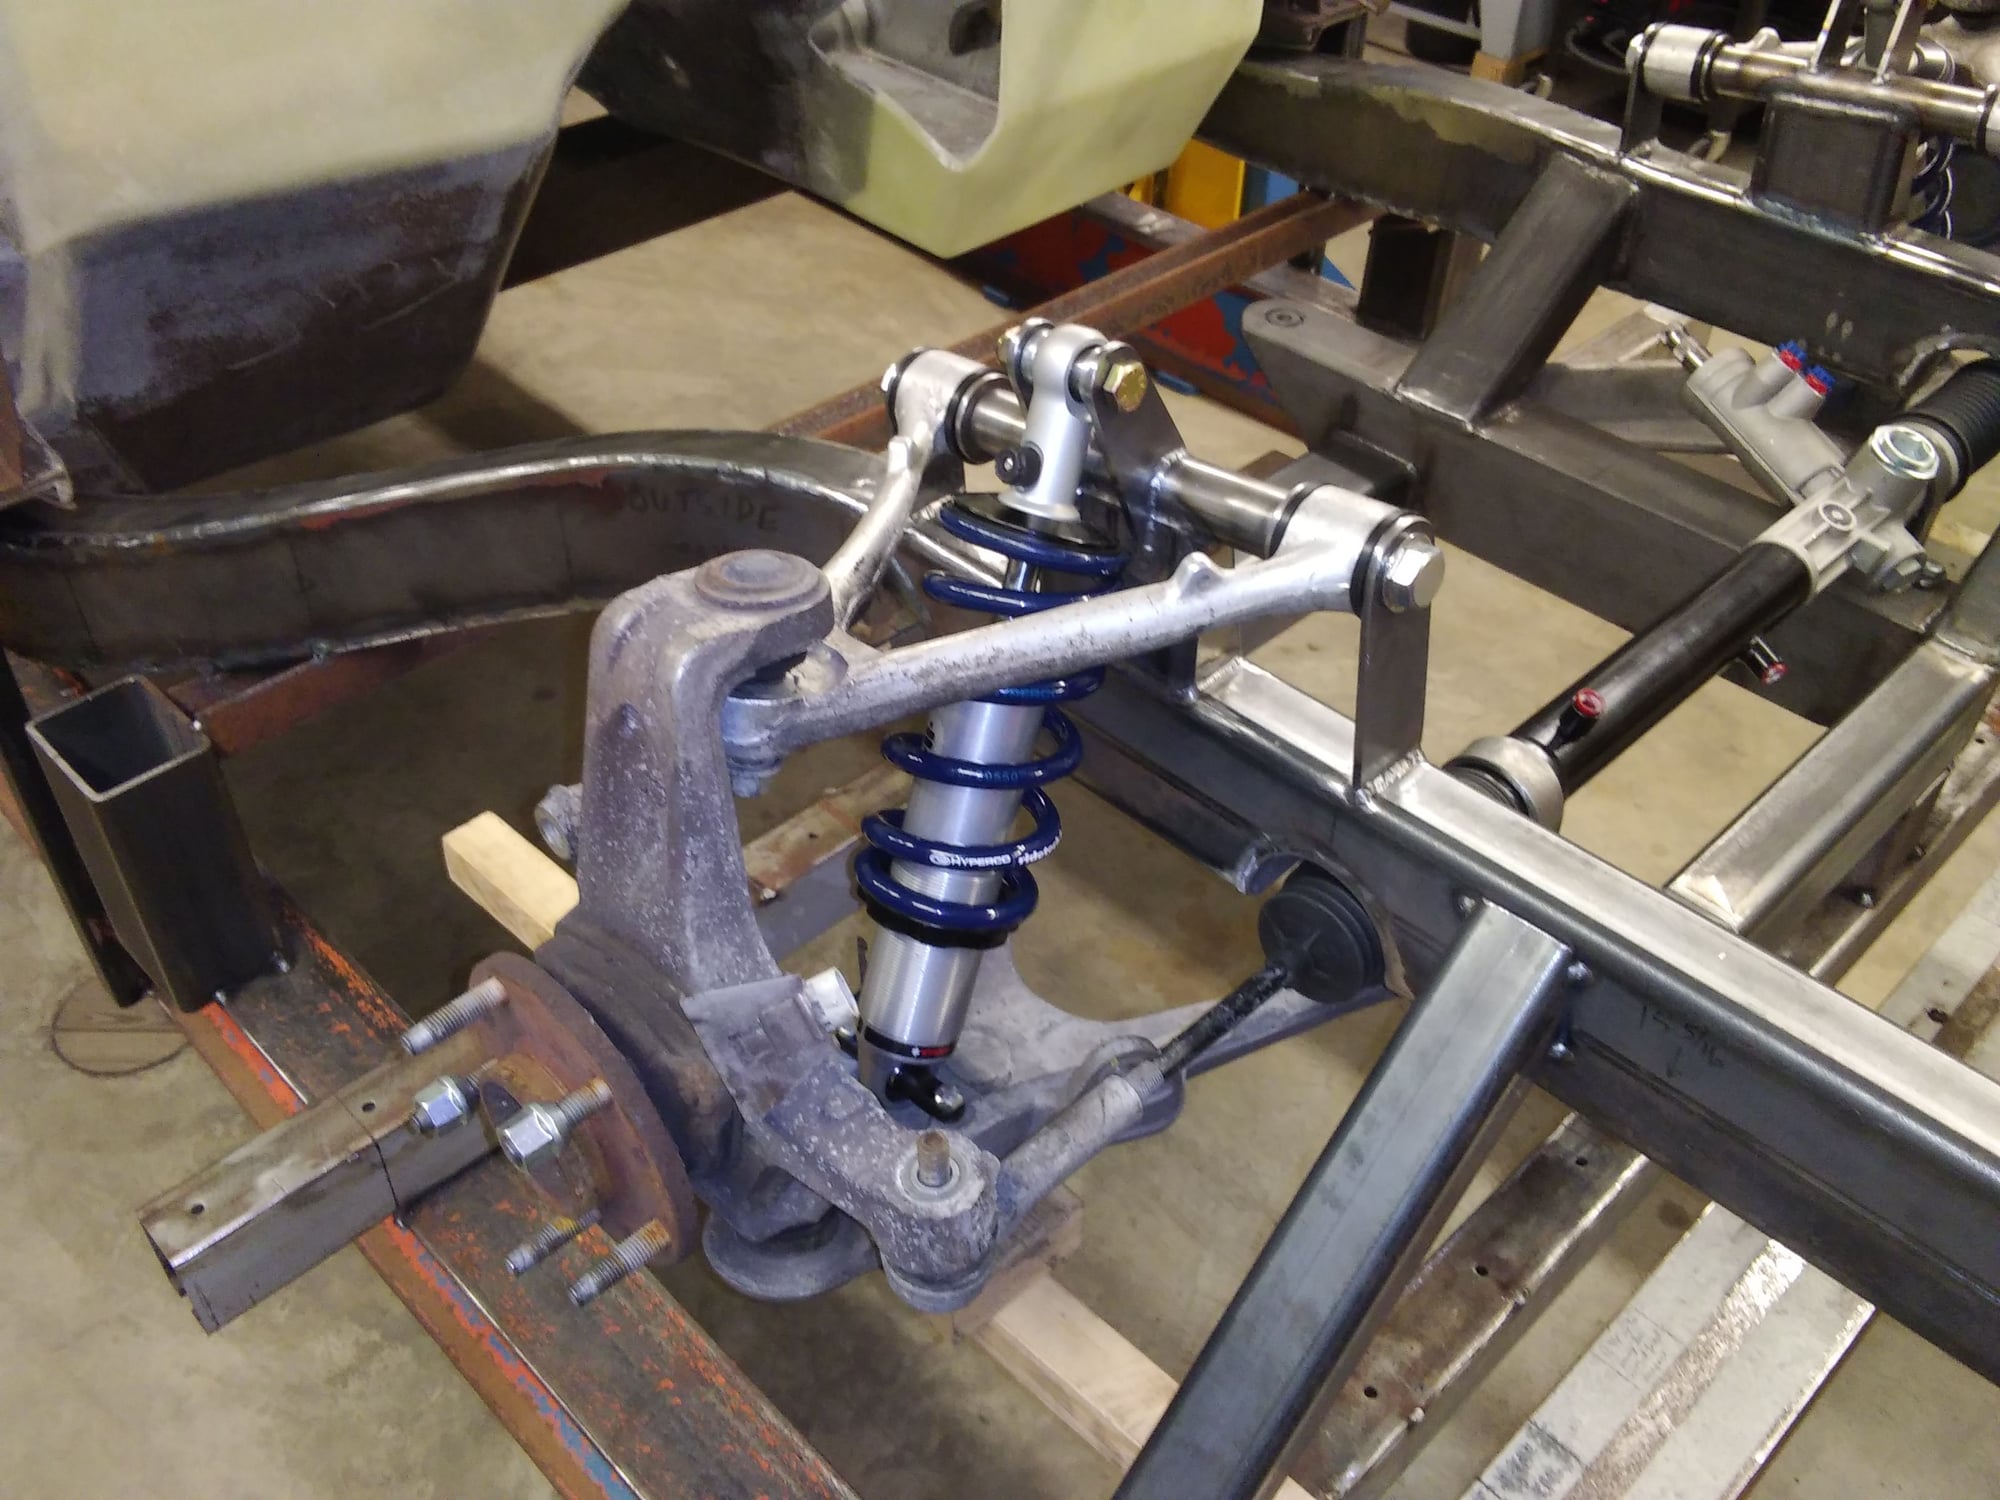
Had to cut some chunks out of the frame rails for rack clearance.
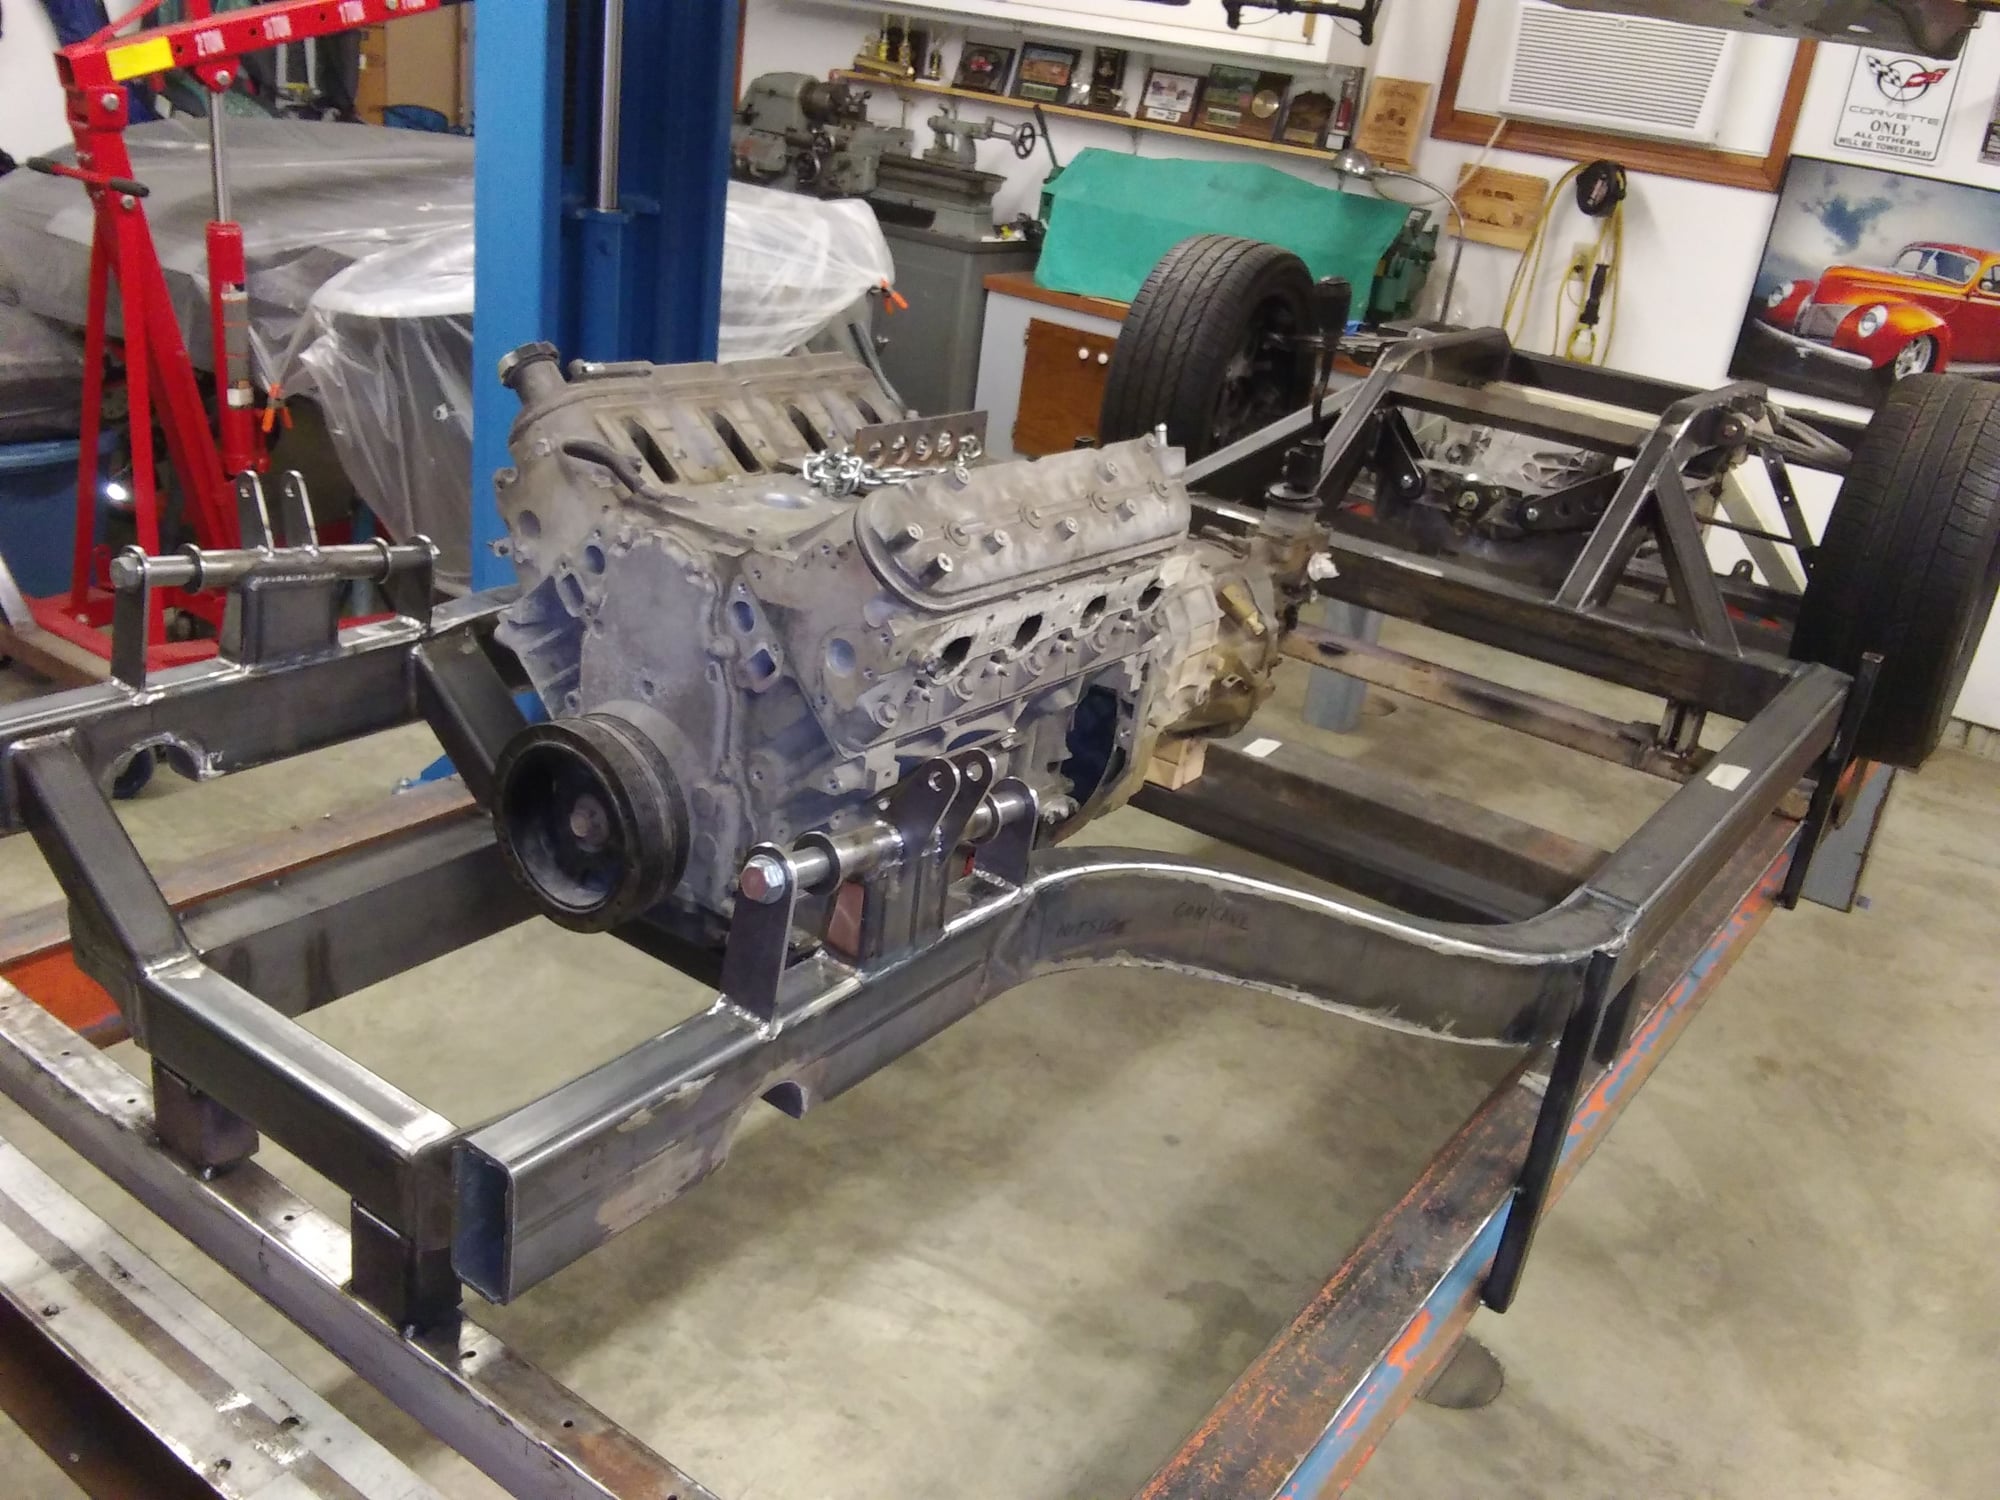
The following users liked this post:
Lisa Wheeler (01-25-2020)
#31
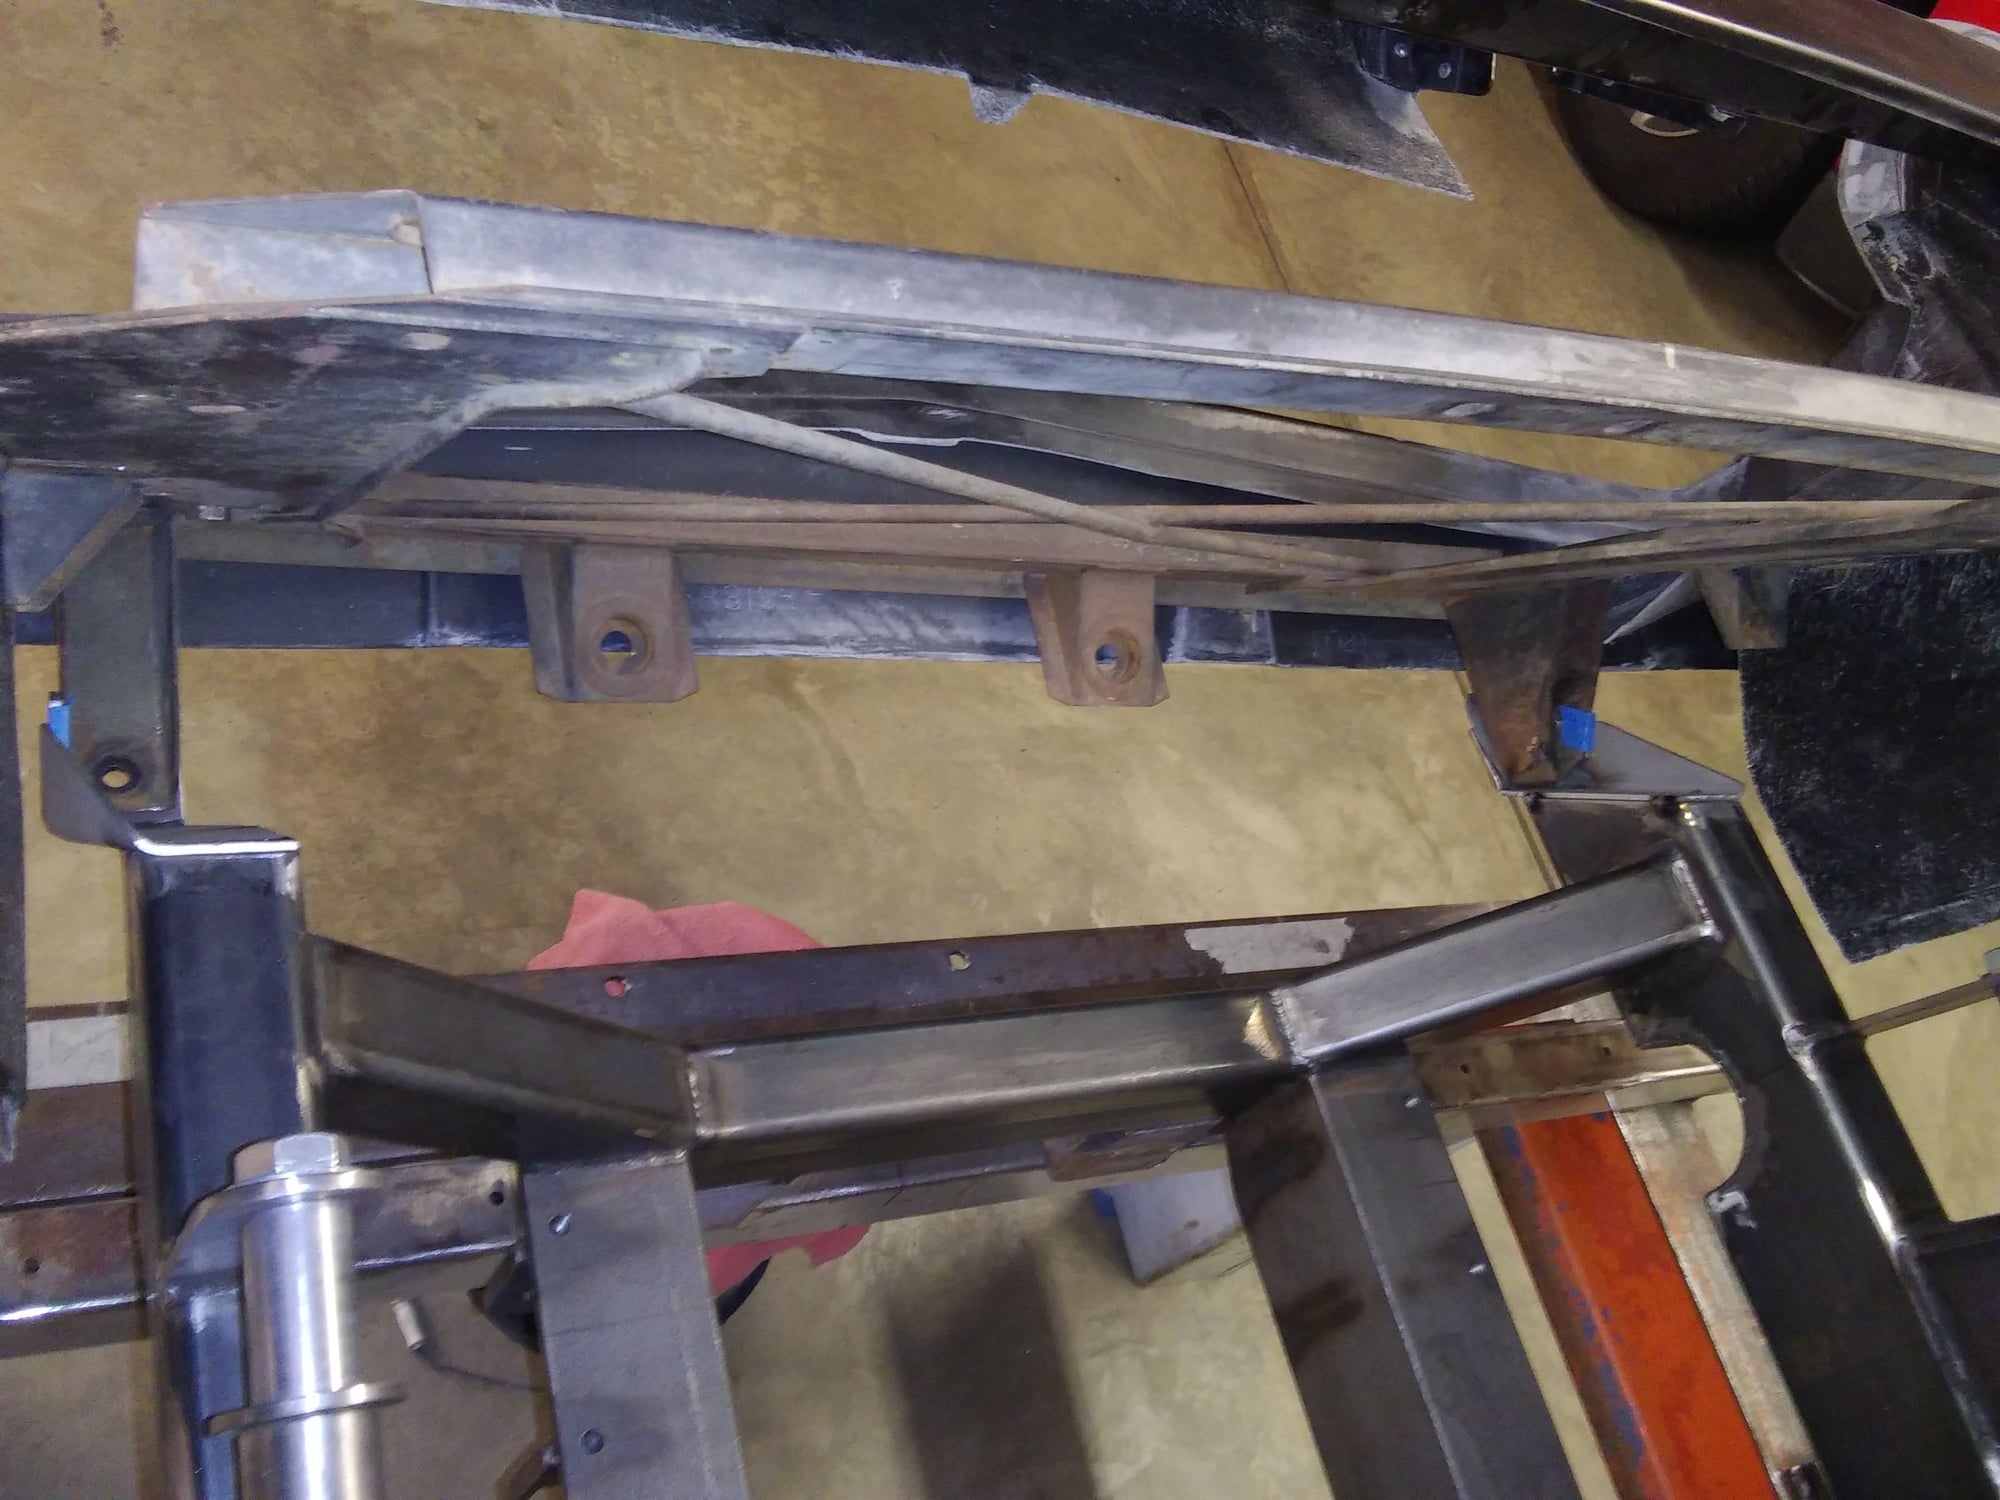
Time to transition the frame to the core support.
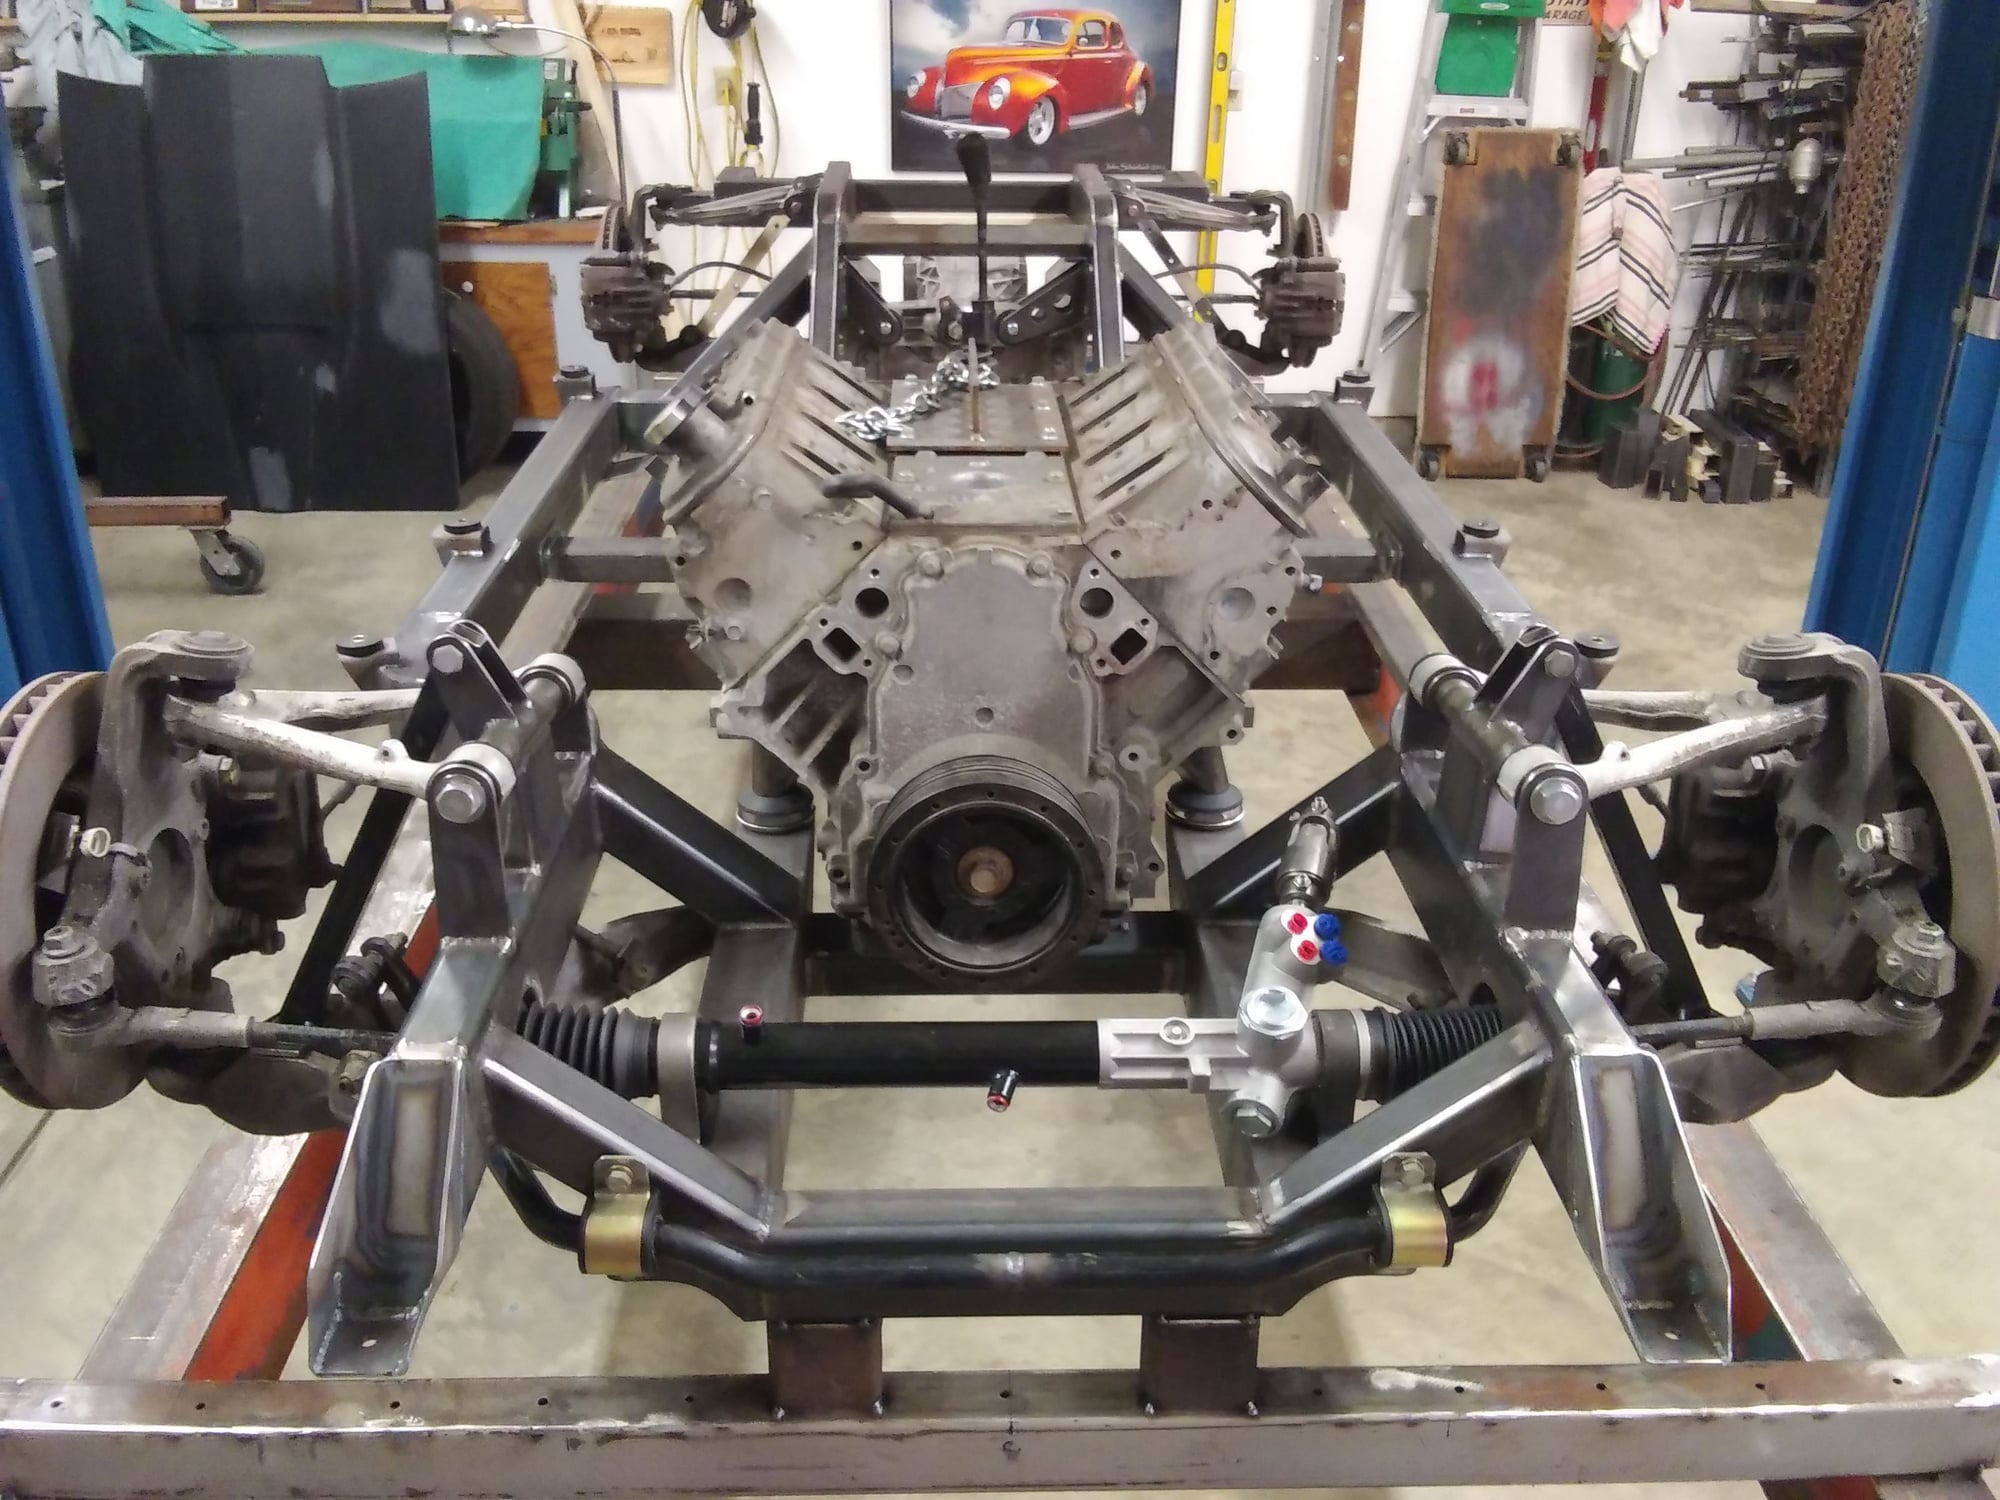
Core support mounts and narrowed sway bar in place. I'll use a bigger Z51 bar later on.
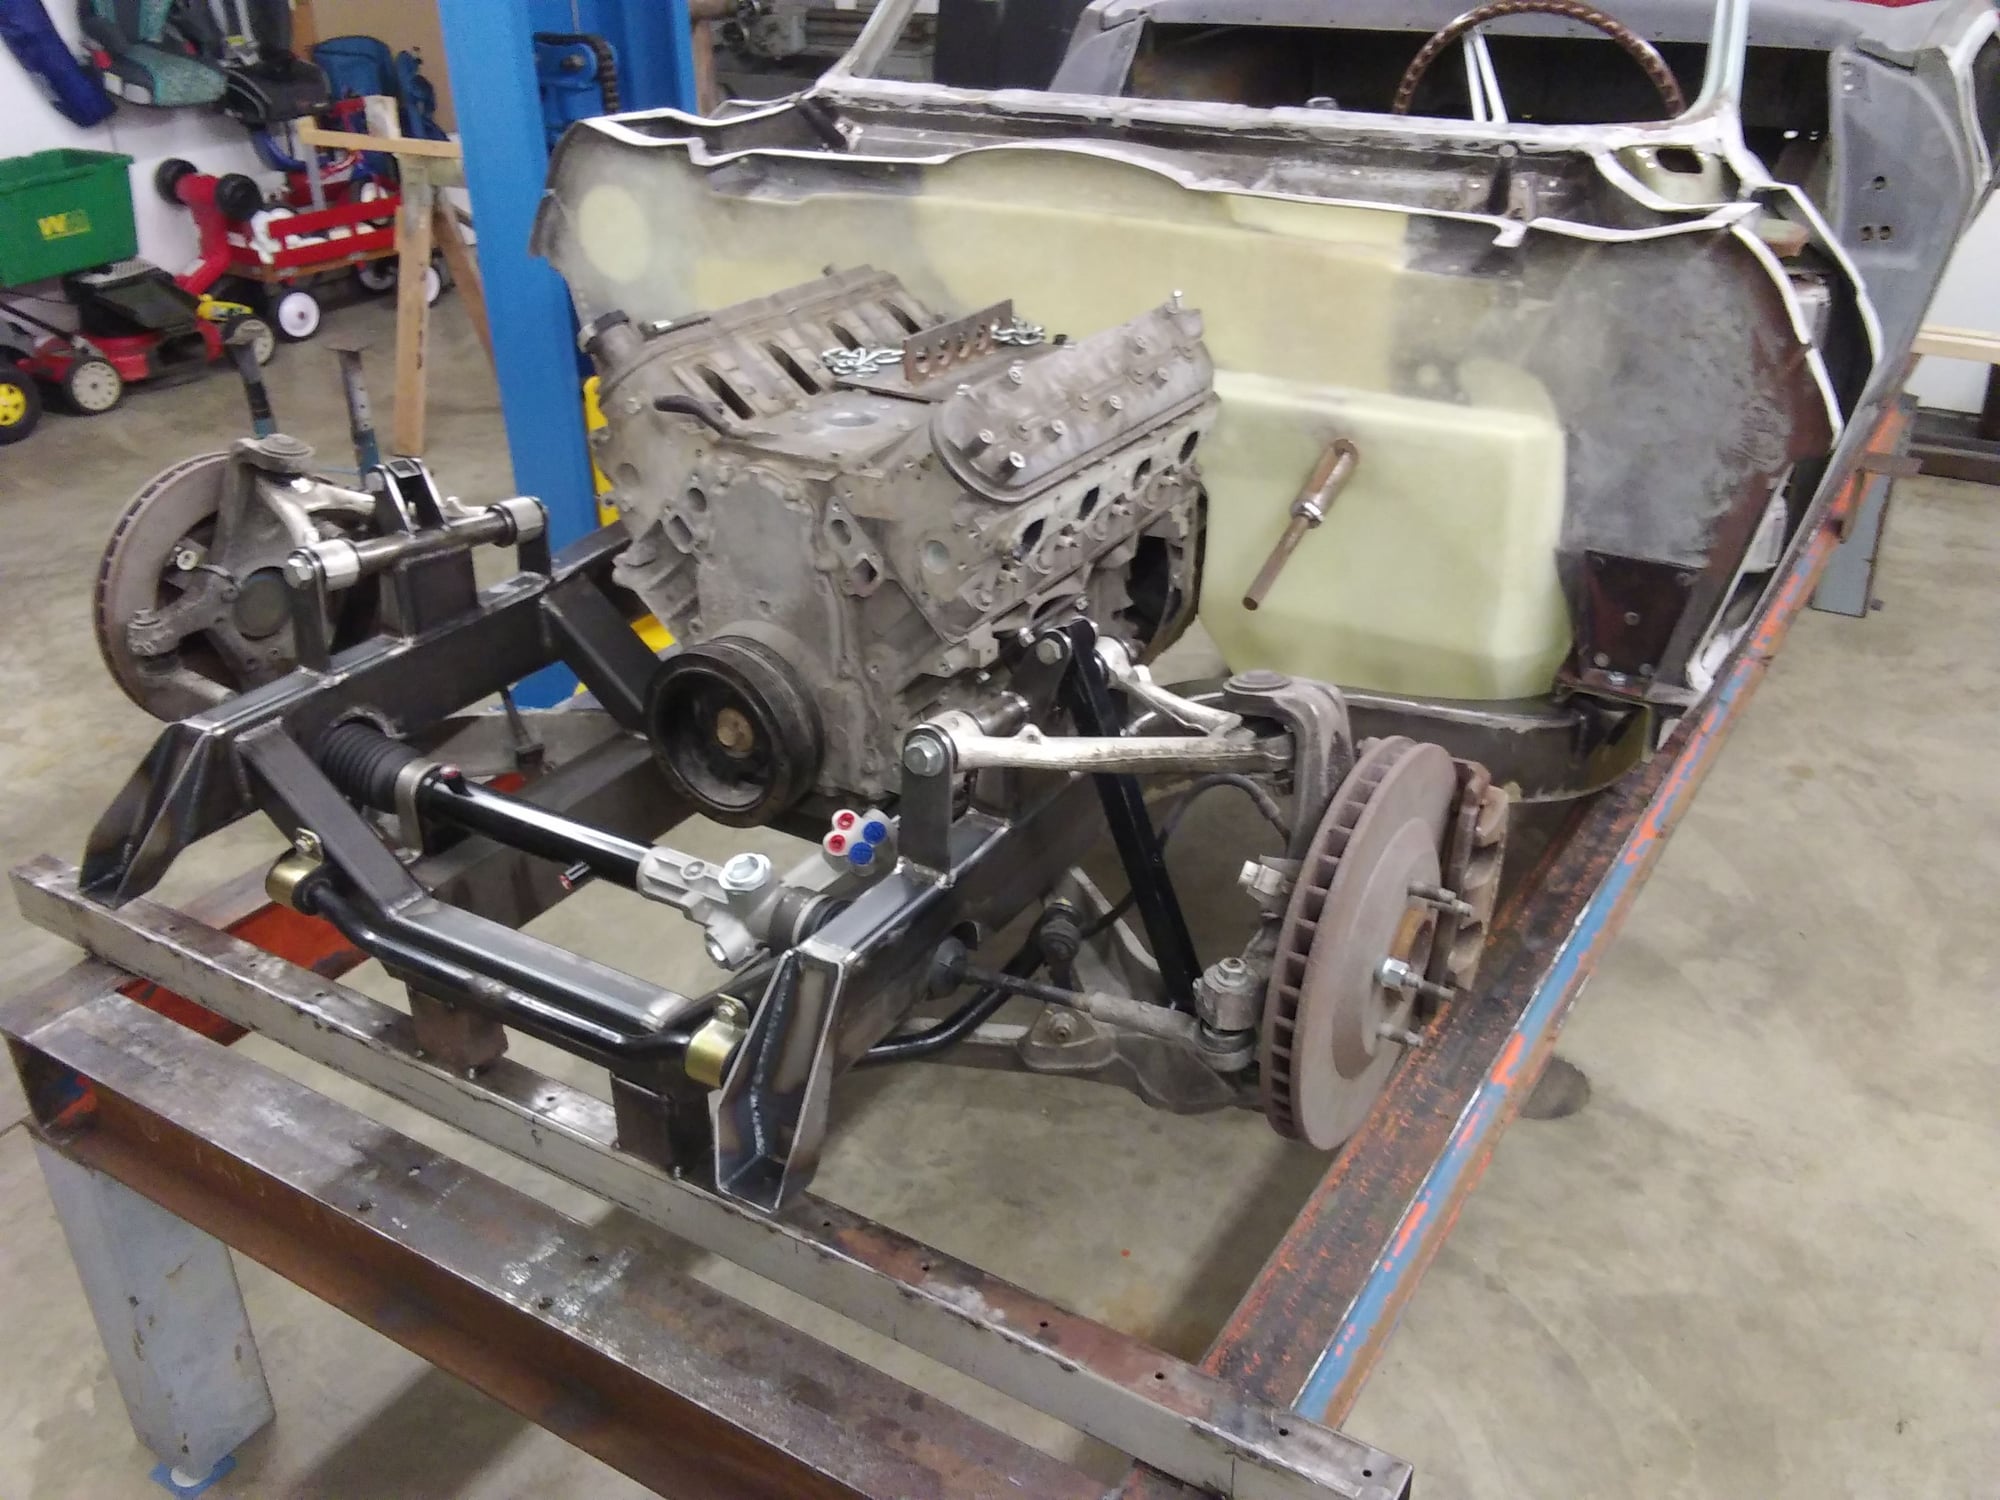
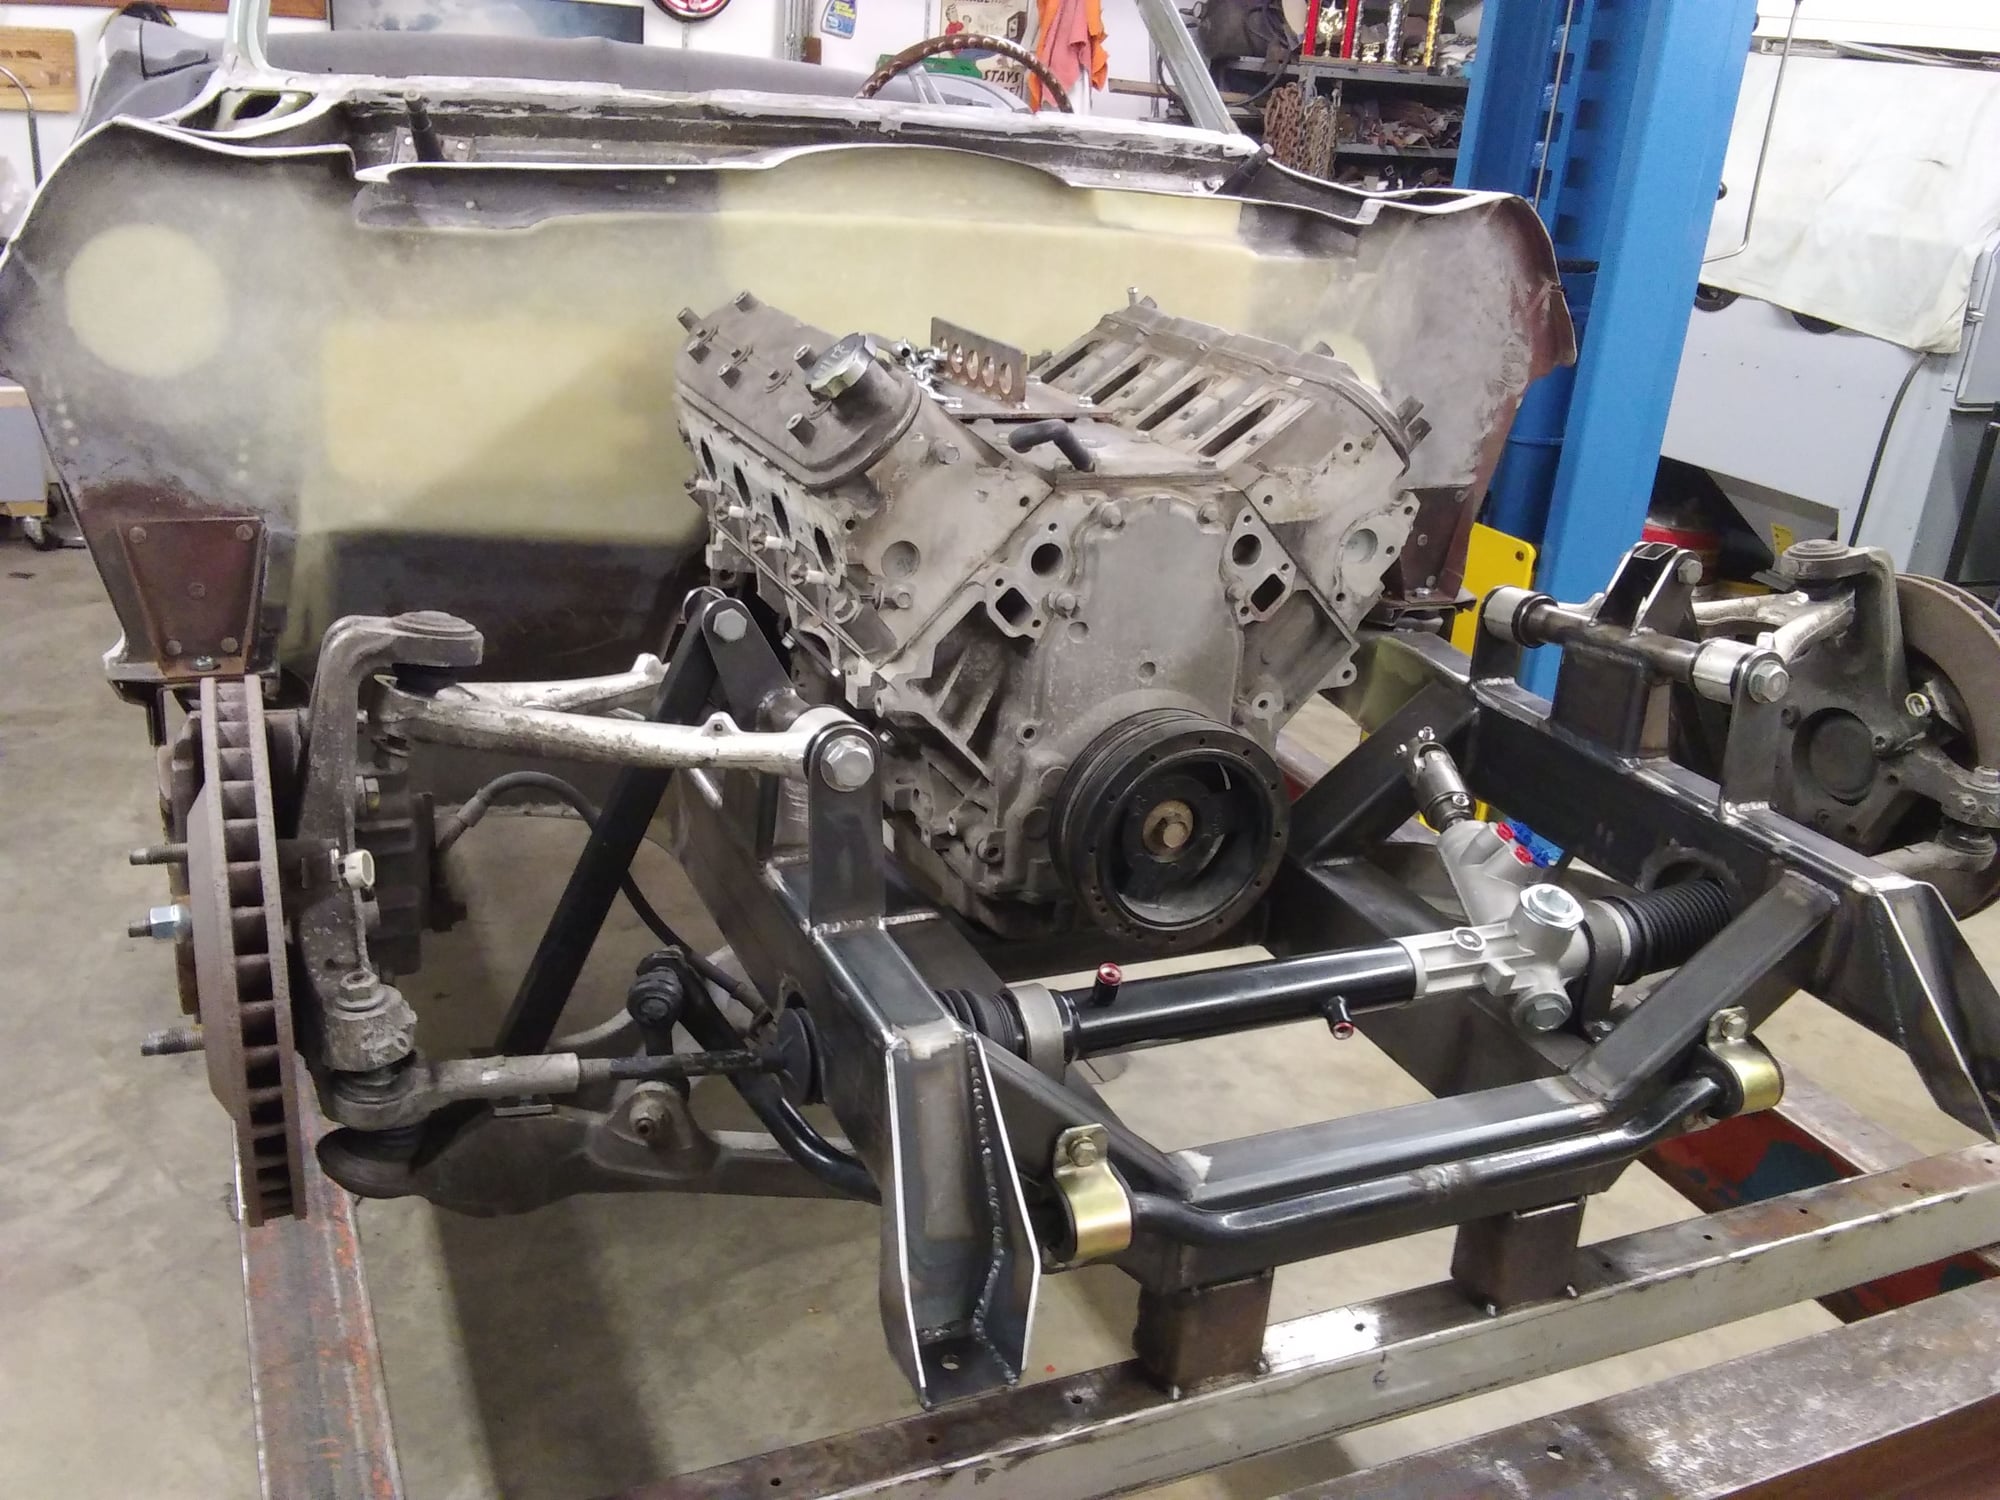
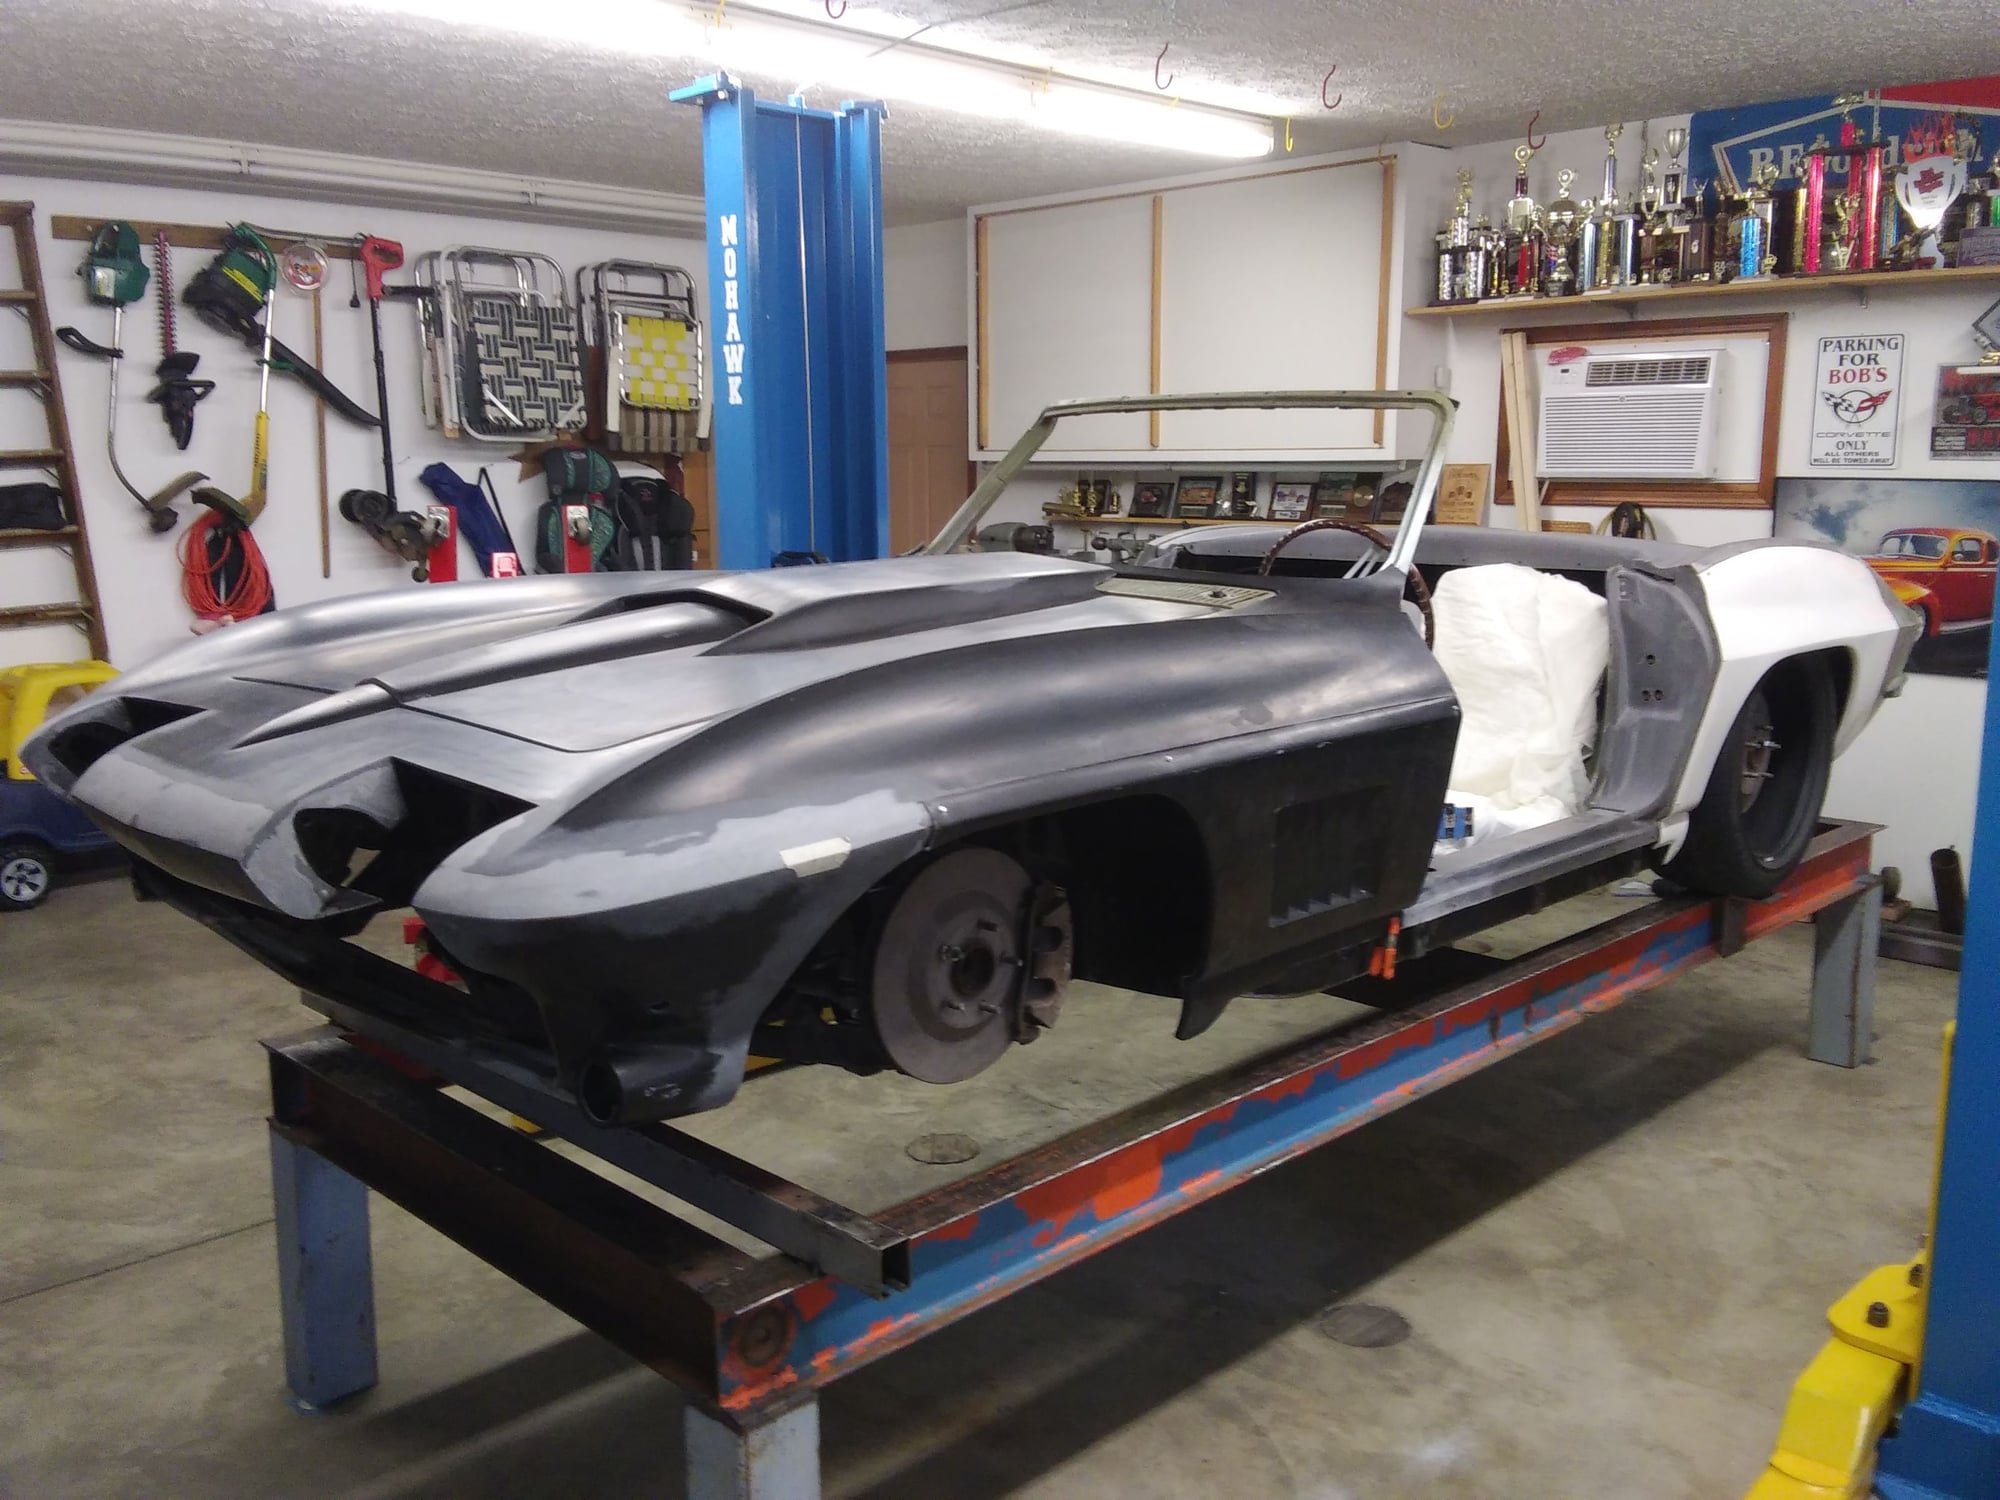
And... now I'm up to date on posting pics.
The following users liked this post:
Lisa Wheeler (07-09-2019)
#32
Instructor


Hey Bob. Good seeing you at the Villages Cruise in last Saturday. Thanks for the link to this build. People have called me crazy for the level of work I did on my car, but if I am crazy you are insane! Your work is beautiful! Your car will be very unique among Corvettes. I will be following your story.
Charlie
Charlie
#33
Melting Slicks


Nice work!
The following users liked this post:
Lisa Wheeler (01-25-2020)
#35
Melting Slicks


Bob, where is ur shop?
#37
Safety Car


Wow is all I got.
#38
Le Mans Master


Wow...just WOW!!! Your creativity, attention to detail and build quality is off the charts. Thanks for all the pics and the explanations. Kudos to you, sir.
The following users liked this post:
vjjack04 (01-23-2019)
#40
morly1963, you asked where my shop is, if you mean as a business, I don't do this for hire, just for a hobby. I'm not even in the automotive business, I'm just a shade tree engineer. I look at what the professionals build, then build my own version for a lot less money because I'm a tightwad! I looked back at my posts and realized that I didn't give credit to Dobbertin Performance. They make adapters to mount C5/6 suspension under almost anything you want to build. I studied every page of their website, especially the page about reverse engineering by building a jig to locate the pickup points for the suspension. That website inspired me to give it a try on my own.
The following users liked this post:
morly1963 (01-24-2019)


