
Rookie's first attempt at a restoration...
 11-02-2009, 11:41 PM
#1041
Drifting

Ok, all these close up shots are great. Can we see the over all project? Does it look like a car yet? The wait is killing me! (says the guy that hasn't done squat to his own project in a year)
 11-04-2009, 02:15 AM
#1042
Safety Car

Thread Starter

I have the best corvette expert helping me on this entire build. Mike Dyer.
My doors are stripped, sandblasted, and all bonding joints fixed. They look awesome. The edges have also been marine-texed for a clean, smooth look.
My firewall is stripped, and finished. The cowl and plenum panels have been mocked up, and just need to be bonded. The other bonding strips on the firewall are also all new, and just need to be fitted (they fit great out of the box). This will all be done once the front end it being mocked up.
My body is stripped of absloutely friggen everything...and I mean everything. I cannot go any farther with the stripping. EVERYTHING has been scrubbed with scotch brite and lacquer thinner down to raw glass...that's including the interior.
The underbody will be finished and painted.
The rear bumper has been bonded.
The front end is brand new, straight from Ecklers. No stripping needs to be done on that.
The front bumper is new.
The valance panel is new.
My L88 hood is new.
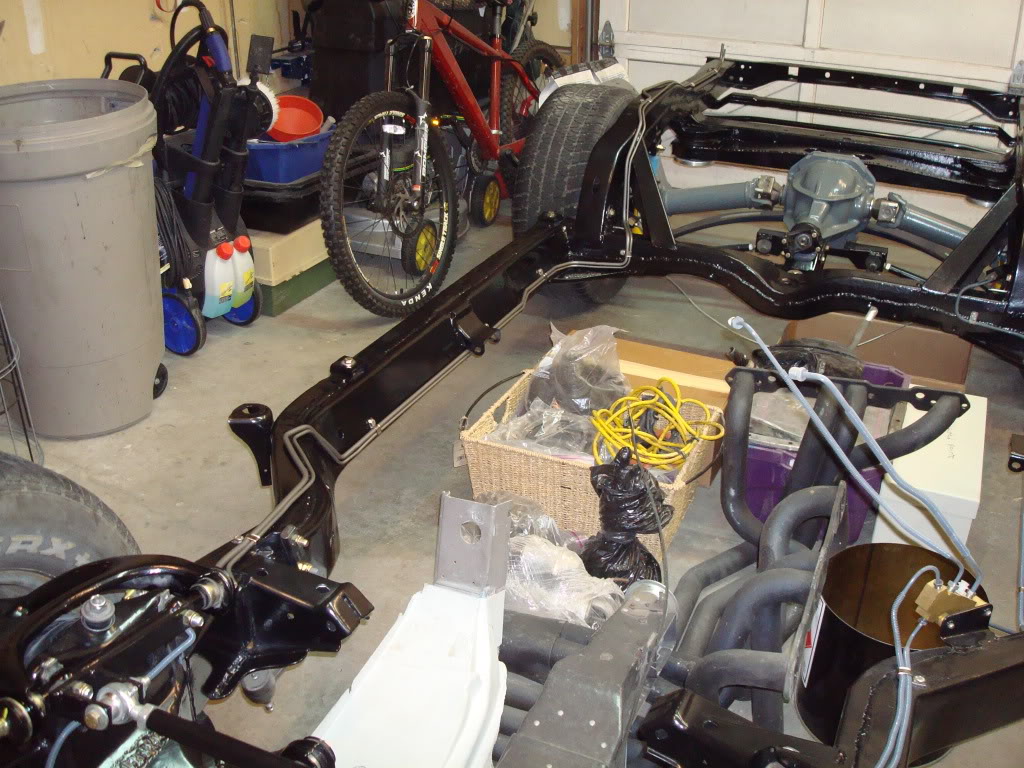
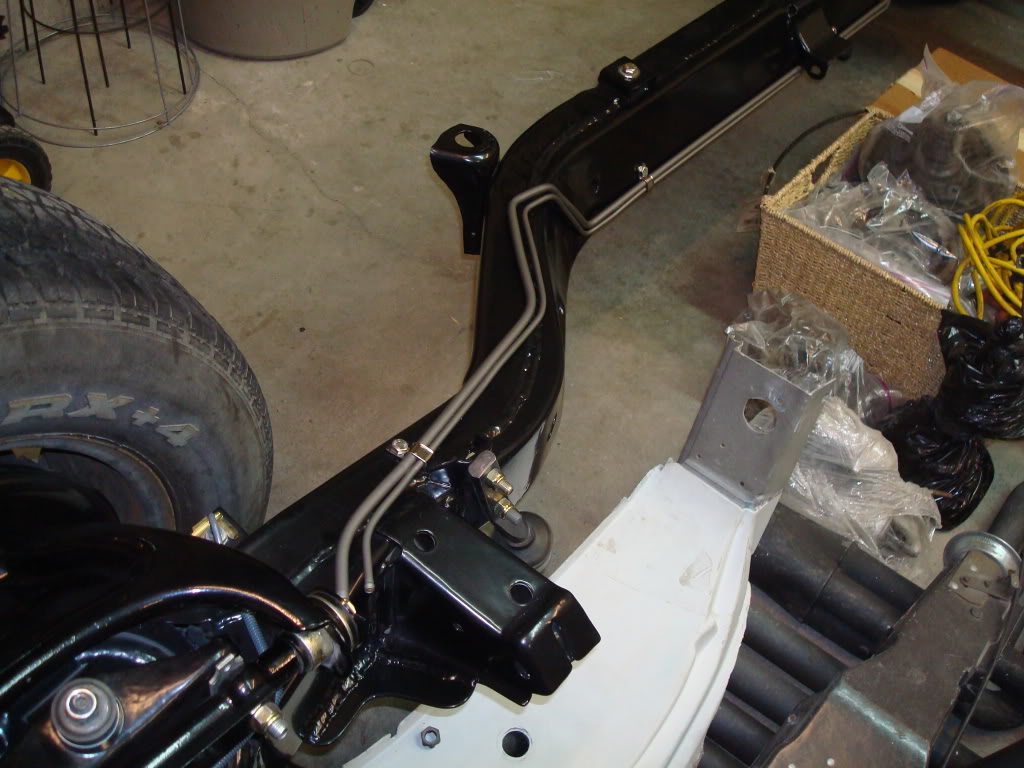
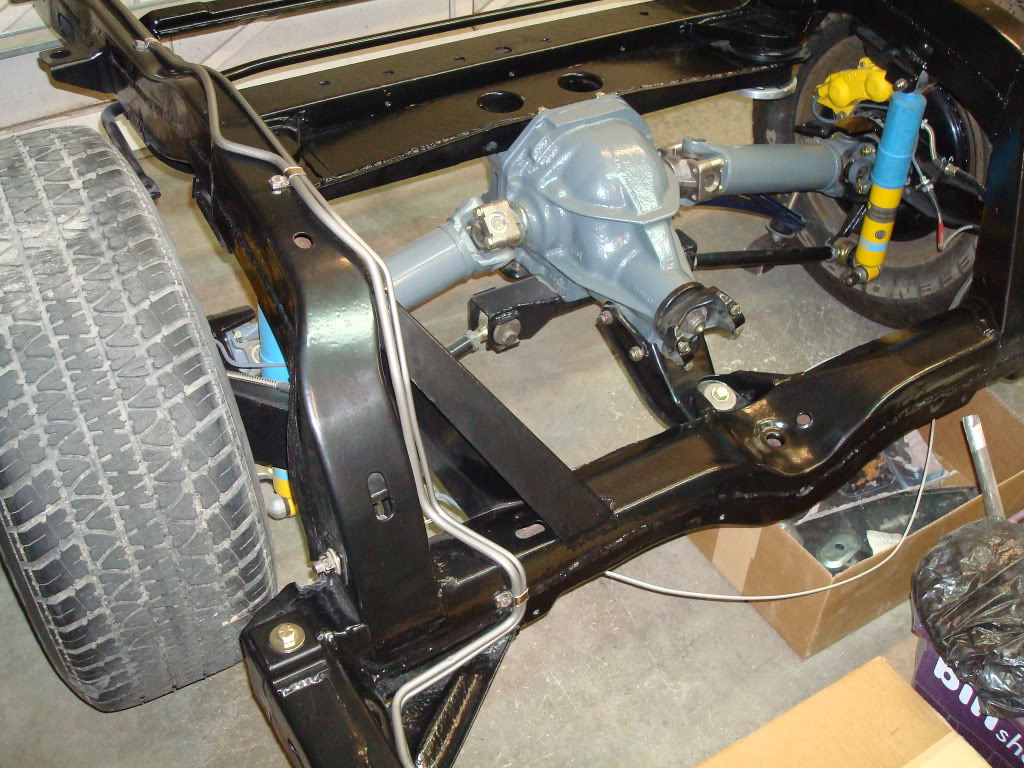
My chassis is finished.
My steering box just needs to be assembled now...everything has been cleaned and powdercoated.
My floorpans and windshield frame/birdcage will be painted before the body drop (in about a week hopefully, if all goes to plan).
My lock pillar plates are new.
My A-pillar covers are new.
I have bought a NOS Inner fender, now I just need to find one more.
The engine is being built as we speak down in Dallas, by Mike Dyer, my tutor on this entire project. He has put a combination together which is unreal - the guy sat at the computer for days, choosing which parts combo is best for my application. It took him forever to pick out a cam, because he is a perfectionist, and will not just slap something together. He probably went through ten damn cams before he finally chose which one worked best for this 383 build. I can't wait to see what pics he posts on this thread.
So, I'll basically be doing all the fun stuff now, and it should all come together pretty soon. No more crap falling in my face under the car! I've worked very hard over the past 3 years now, both at work, when I was in High School, and on the vette. Its taken me a long time to make enough money to follow through with the project. I haven't been handed any of this...I've worked my butt off. And, like I said before, none of this would be happening if it wasn't for my parents - they are the best.
Enough with the typing, here are some more pics. I "accidentally" found my fuel line clips today lying around in my room, in a box. I just ordered a set from Mike (woops)...so it looks like I'll have another set to put in my stock

Last edited by stinger12; 06-19-2011 at 01:43 AM.
11-04-2009, 06:47 PM
#1043
Racer

Hi Jeremy, I have considered putting flares on our '76 and as you say Stan's are the best, how are they fitted, is the existing wheel opening flange removed, and if it is when is that done, before or after?
11-04-2009, 11:59 PM
#1045
Safety Car
Thread Starter
It needs to be done before, but just enough to fit the flare to the body. Once you finish bonding the flares and everything else, you grind the inside for a smooth look. I'm still new to the whole flare thing.
You are better off asking Stan your questions, as he seems to install these weekly
I know I'll be asking him some questions when the time comes to mock them up for real.I also have Mike helping me with the flares...which is fantastic. He is awesome at this type of stuff.
I can't wait to get started on the flares - that's when I'll be able to stand back and say I have a badass vette!!!
Last edited by stinger12; 11-11-2009 at 12:02 AM.
11-05-2009, 12:01 AM
#1046
Safety Car
Thread Starter
11-06-2009, 08:55 PM
#1047
Drifting
Hey Stinger, your project looks like its coming together nicely.
I have a question, when you are doing the fiberglass work in
your garage, how warm are you having to keep the temperature?
You seam to be able to work through the colder months with out
being affected by the cold. I'm hoping to do some fiberglass work
this winter if I can find the time but I'm not sure if I can keep the
garage warm enough for more then a few hours. I was hoping you
could share your methods?
As mentioned before in an earlier post, you have really simplified
fiberglass work with the post you have made. Thanks for sharing
you talents.
Riggs.
11-07-2009, 04:00 PM
#1048
Safety Car
Thread Starter
Originally Posted by riggs 7
4;1572068010
4;1572068010
Hey Stinger, your project looks like its coming together nicely.
I have a question, when you are doing the fiberglass work in
your garage, how warm are you having to keep the temperature?
You seam to be able to work through the colder months with out
being affected by the cold. I'm hoping to do some fiberglass work
this winter if I can find the time but I'm not sure if I can keep the
garage warm enough for more then a few hours. I was hoping you
could share your methods?
As mentioned before in an earlier post, you have really simplified
fiberglass work with the post you have made. Thanks for sharing
you talents.
Riggs.
I have a question, when you are doing the fiberglass work in
your garage, how warm are you having to keep the temperature?
You seam to be able to work through the colder months with out
being affected by the cold. I'm hoping to do some fiberglass work
this winter if I can find the time but I'm not sure if I can keep the
garage warm enough for more then a few hours. I was hoping you
could share your methods?
As mentioned before in an earlier post, you have really simplified
fiberglass work with the post you have made. Thanks for sharing
you talents.
Riggs.
11-07-2009, 06:33 PM
#1050
Race Director


 11-07-2009, 10:48 PM
#1051
Safety Car
Thread Starter
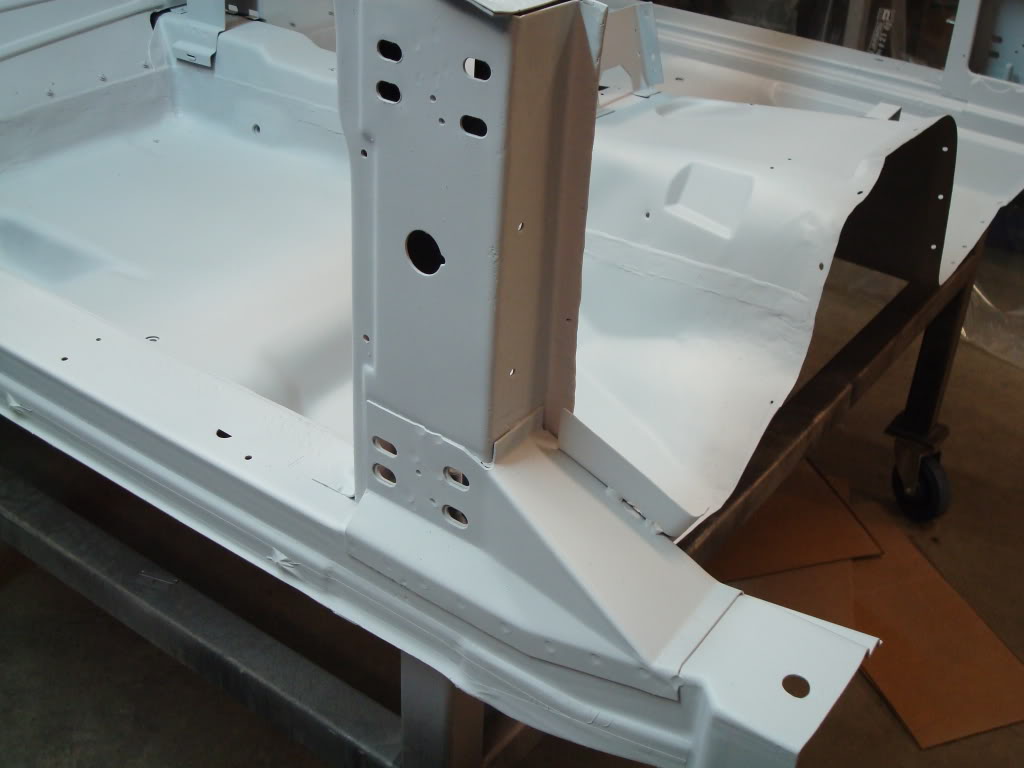
I have parts coming in the mail from Mike at the moment. I decided to replace the access panels (the #3 body mount ones), and also ordered poly body mounts from Mike. I am in desperate need of those parts...I had to pay more for shipping so they would arrive sooner (I want this body on the damn frame already!!!!). The body cannot be put back on the frame until I get those access panels bonded.
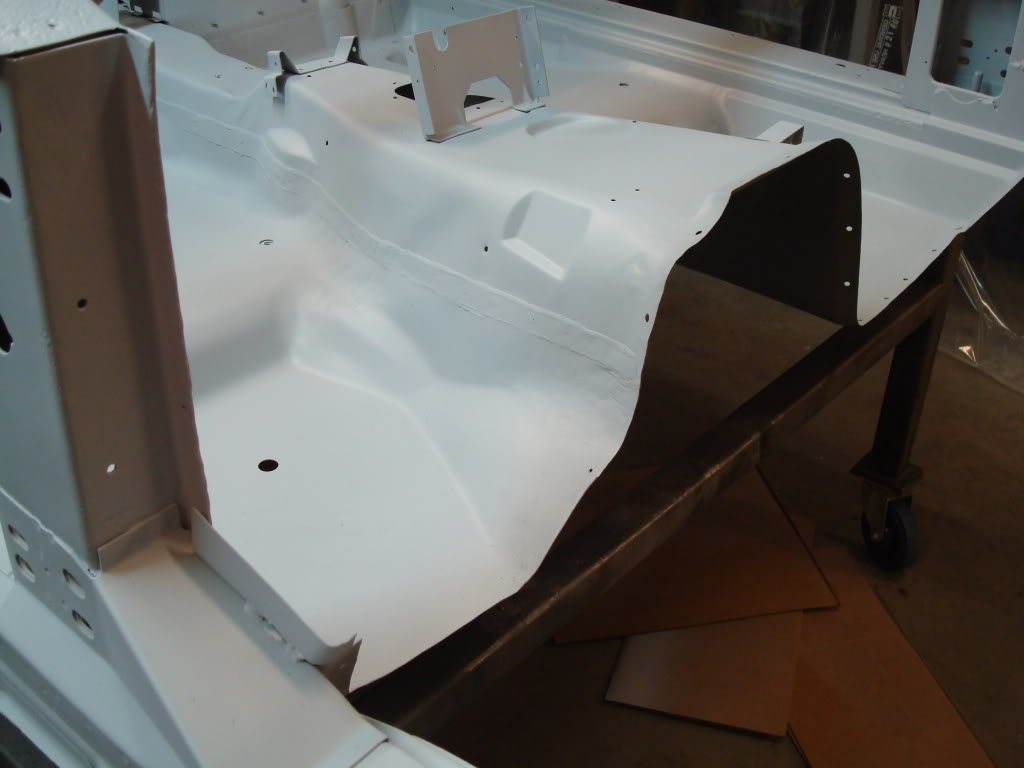
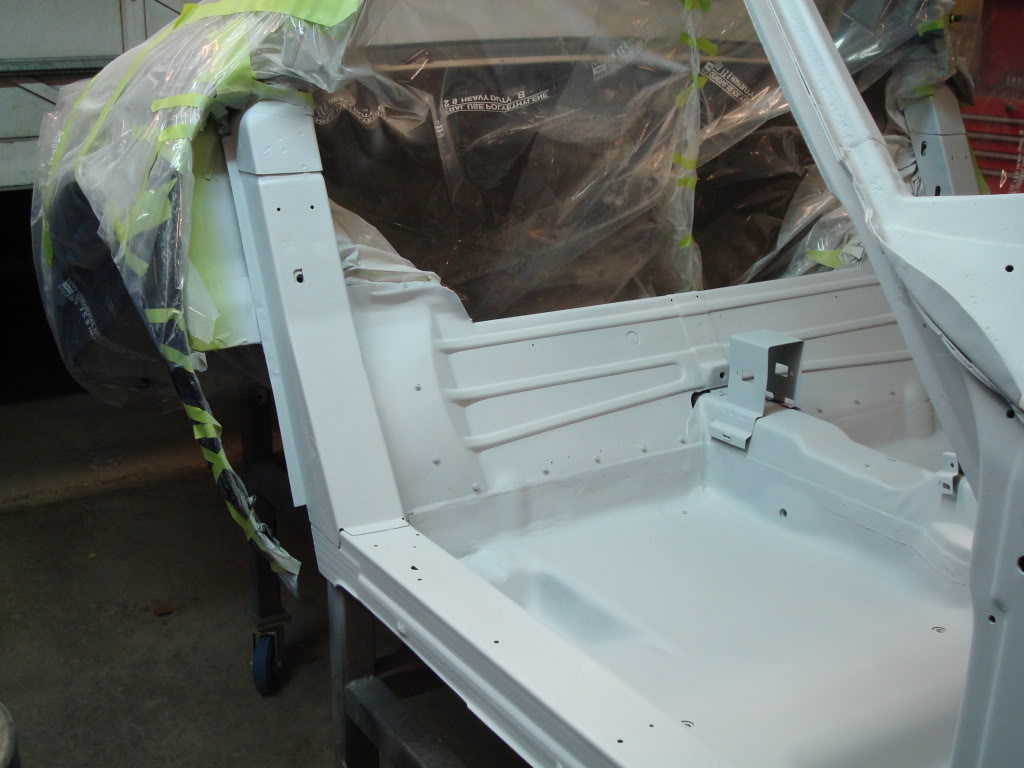
I'm bustin' my ***** this weekend. Working overtime in the garage tonight so I can spray tomorrow. I just finished wiping down all the metal to remove any oils/grease. It took me fu**ing forever...I started at 12 this morning, and only took a 2 hour break. There are so many damn nooks and crannies...its a friggen nightmare. Now I get to mask the body off so it doesn't accidentally get painted. I'm exhausted right now...hopefully I don't hurt myself again tonight...that seems to happen at least once a week now.
11-09-2009, 01:20 AM
#1053
Safety Car
Thread Starter
Need to pick up some more paint tomorrow. I have to fix a few mistakes on my amateur part, and also need to paint the underside of the car. It turned out alright I guess (not entirely happy with my painting skills at the moment...I still need lots of practice).
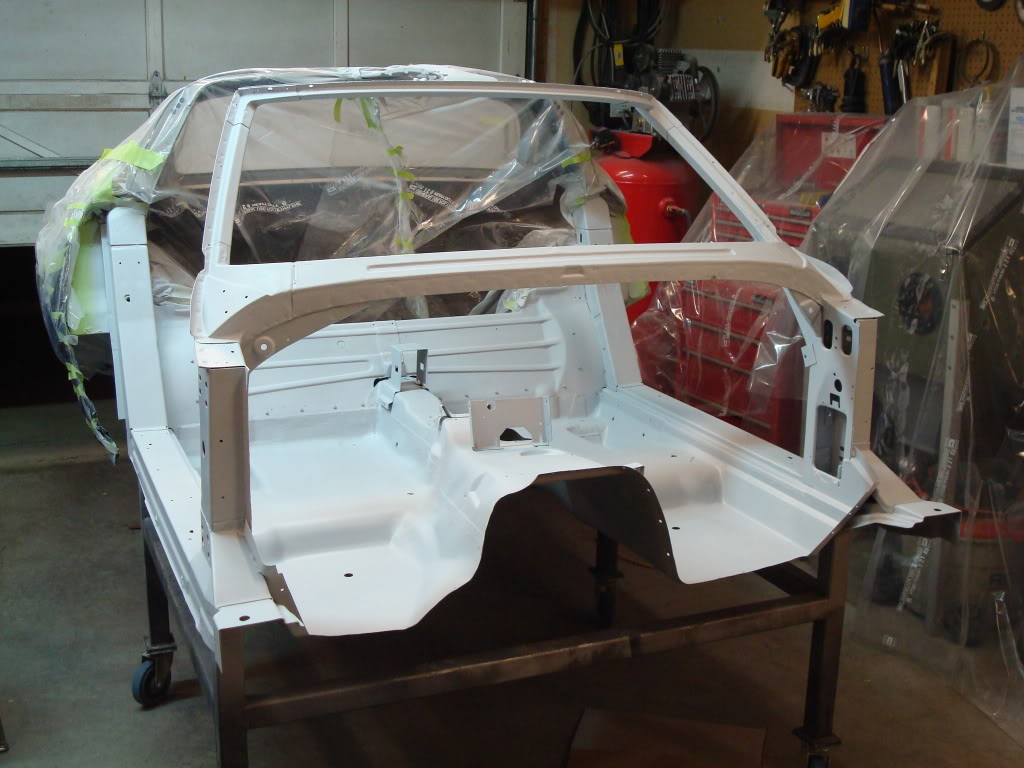
This is what it looked like before...
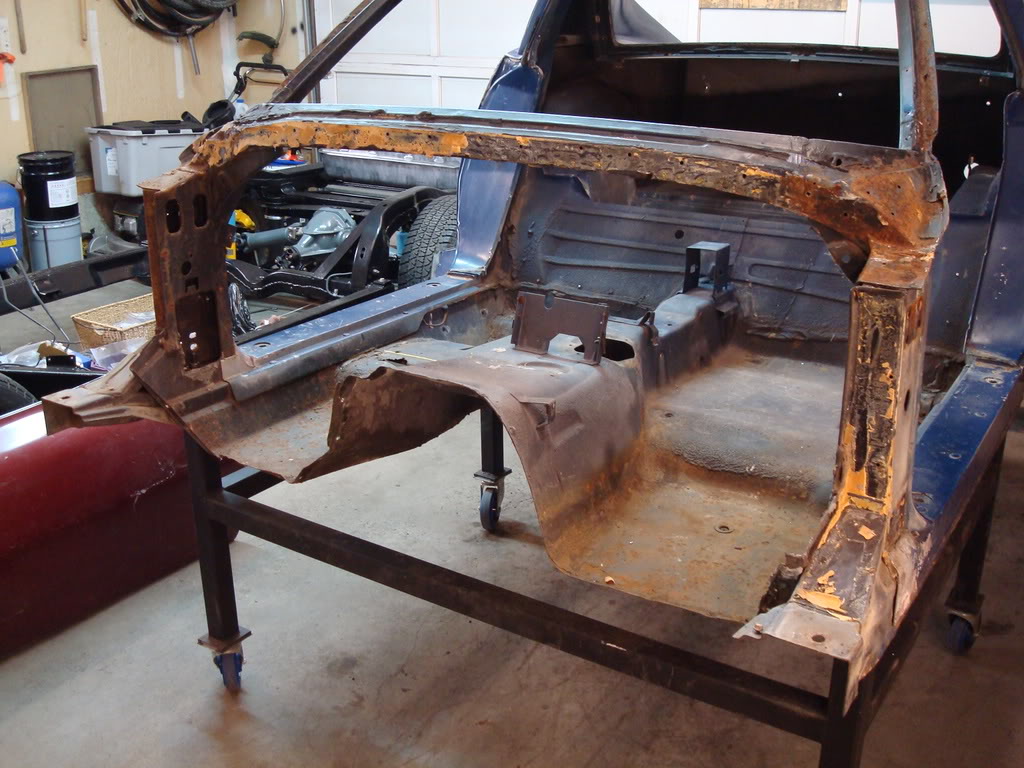
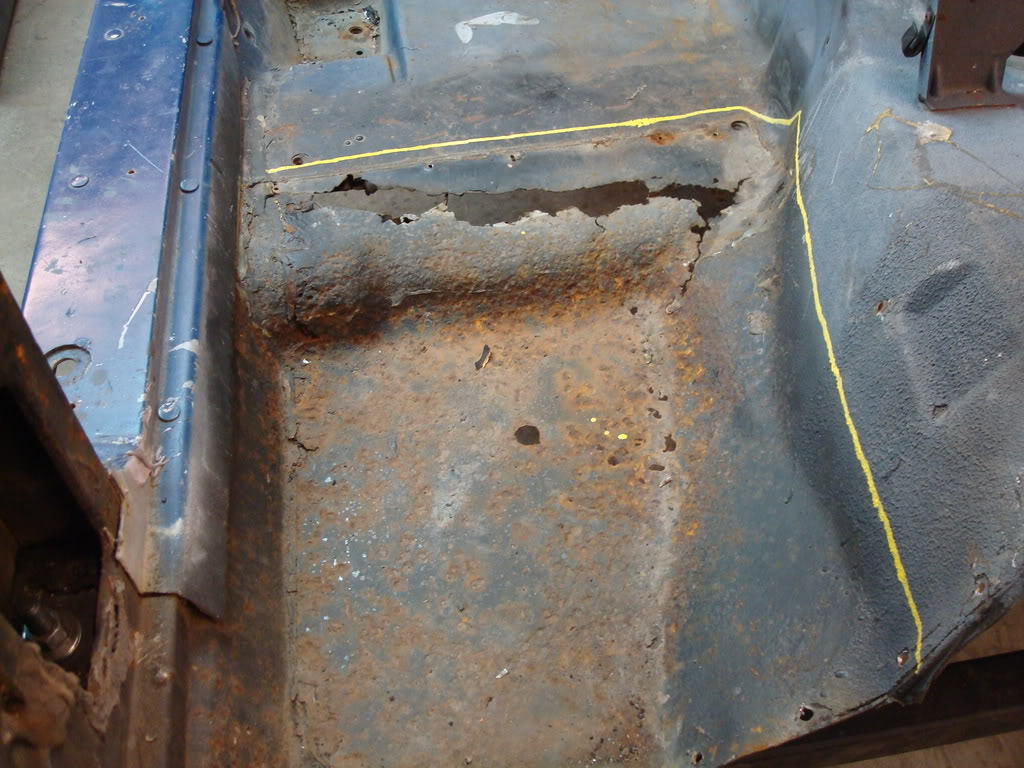
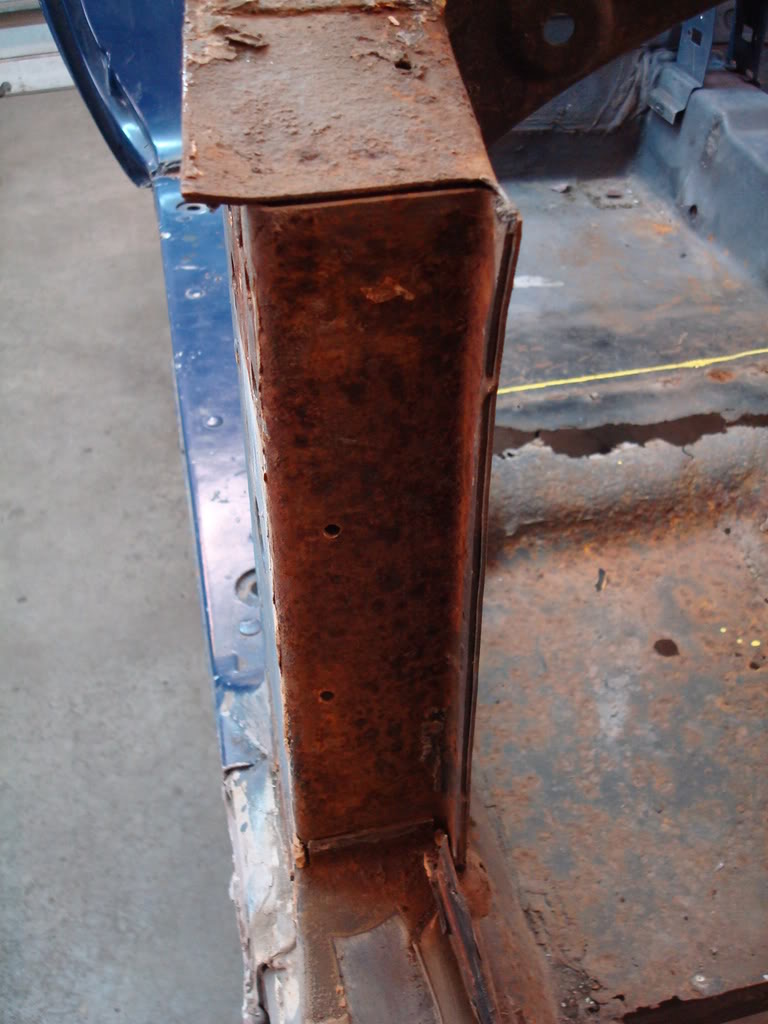
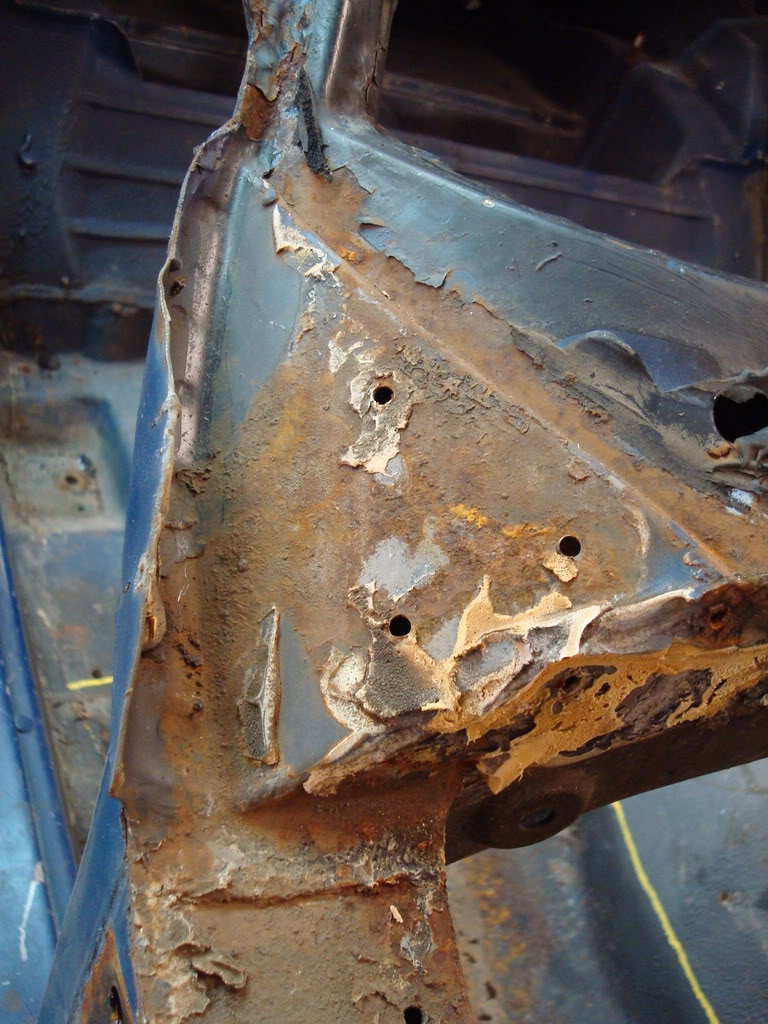
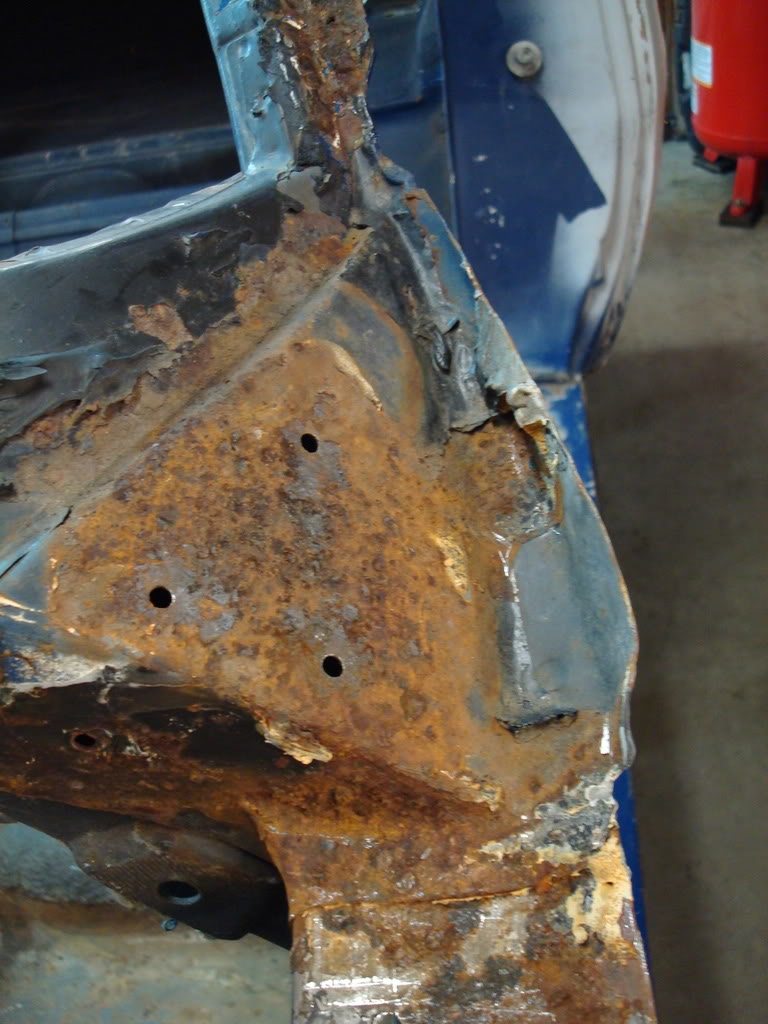
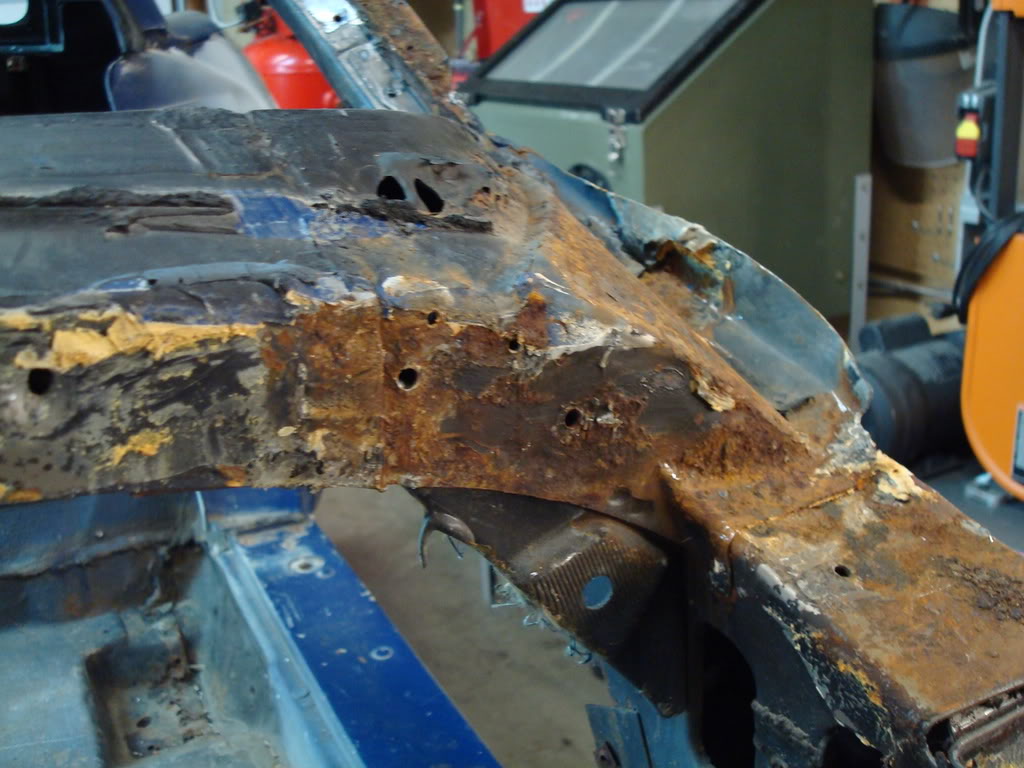
This is what it looked like before...
Last edited by stinger12; 10-24-2010 at 09:27 PM.
 11-09-2009, 09:41 AM
#1055
Safety Car
Thread Starter
I appreciate the feedback. Like I said, I wish I could paint better...I need lots of practice. I have to fix a bunch of mistakes I made later on today...I messed up more than once. I'll have to resand and shoot several areas I am not happy with. Oh well...that's how you learn I guess.
Last edited by stinger12; 11-09-2009 at 09:48 AM.
 11-09-2009, 04:50 PM
#1059
I think we need to take up a collection for this kid 
All I know is if I even tried to do this when I was living at home and in HS/College - I be in the DOGGGG house!!
Keep up the FANTASTIC job you are doing!!!!!
All I know is if I even tried to do this when I was living at home and in HS/College - I be in the DOGGGG house!!
Keep up the FANTASTIC job you are doing!!!!!

