
Rookie's first attempt at a restoration...
 12-24-2009, 05:35 AM
#1181
Burning Brakes


Really interesting stuff, Jeremy. Thanks for posting those photos.
I can't believe the factory took this much care. How did they get it right?
I can't believe the factory took this much care. How did they get it right?
 12-24-2009, 10:07 AM
#1182
Burning Brakes
1. The factory has each guy just doing ONE of these steps, over and over and over again, and
2. They weren't built NEARLY this well in the first place.
 12-24-2009, 10:48 AM
#1183
Race Director


These cars were factory-built kit cars...
12-24-2009, 12:37 PM
#1184
Safety Car

Thread Starter
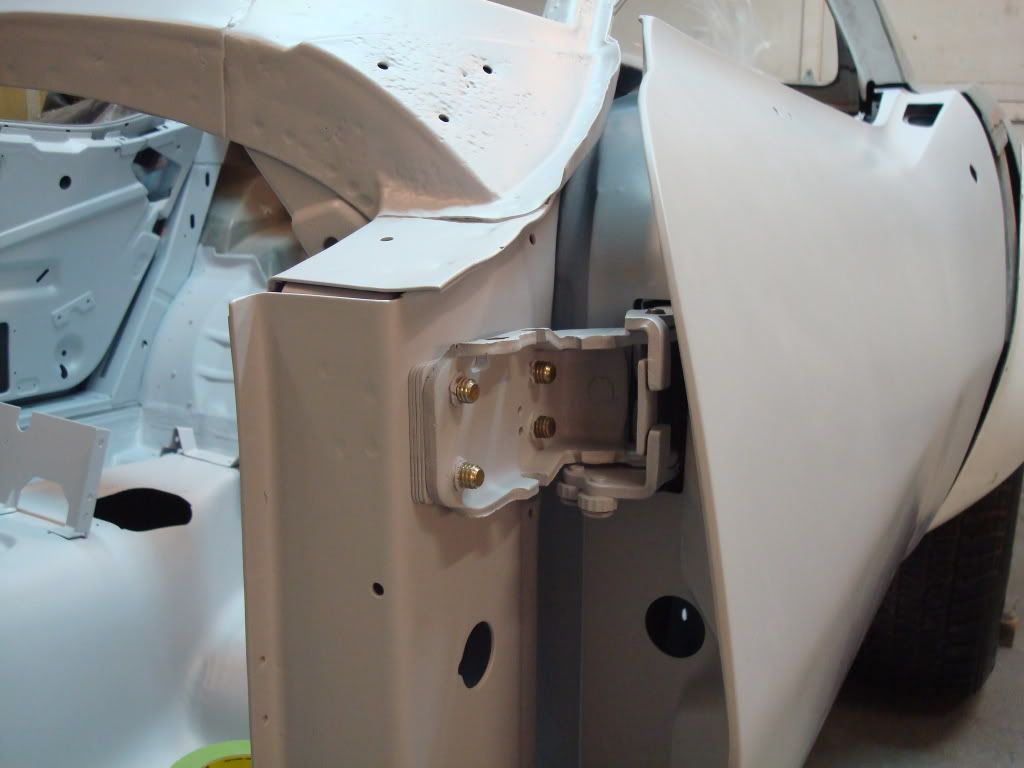
Zwede's car was way out of wack. Mike had to fix lots of things which many people don't know about. He actually had to use a ram to tweak some areas...he put a lot of hours into that car. It is the perfect example of how a corvette should be rebuilt. Mike uses so little body filler, yet he still ges a perfect finish.
In short, the only way to properly rebuild and fix Gm's flaws is to remove everything and start over from scratch - which is why I took this thing down to bare bones. It is going to be one of the straightest vettes out there. I am very fortunate Mike is helping me, because i would be lost without him.
12-24-2009, 03:33 PM
#1185
Melting Slicks

Just a note too, these guys were paid really well for the one small task they did.
12-24-2009, 05:09 PM
#1186
Le Mans Master

Member Since: Dec 2009
Location: Saskatoon Saskatchewan
Posts: 6,397
Received 640 Likes
on
463 Posts

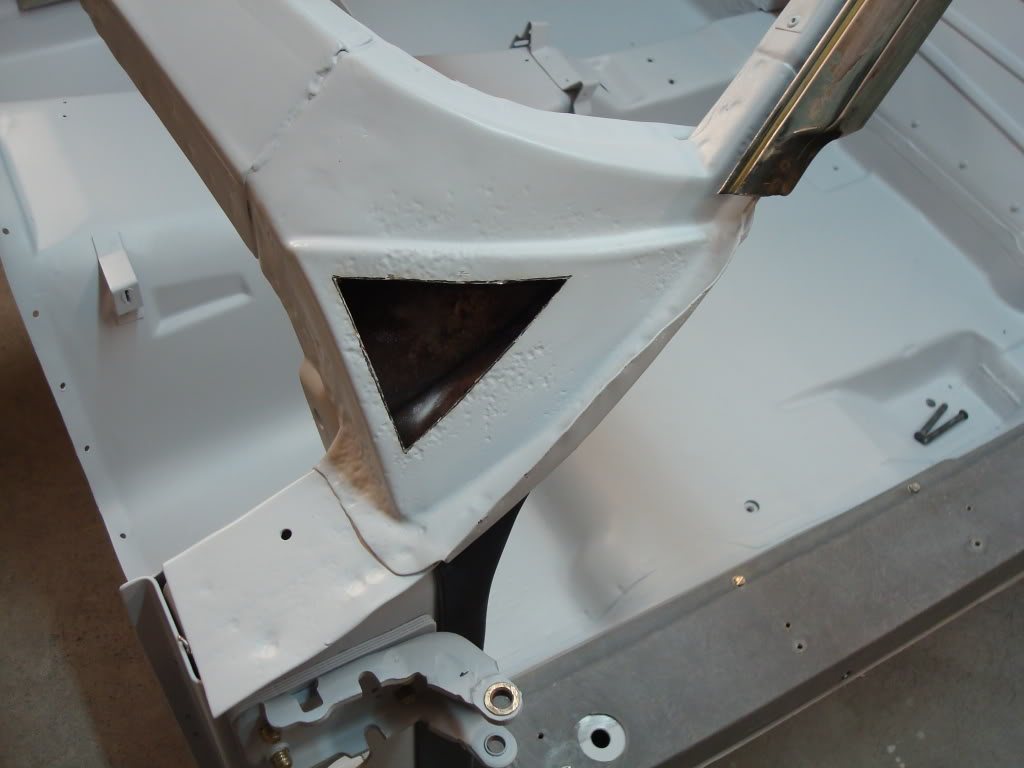
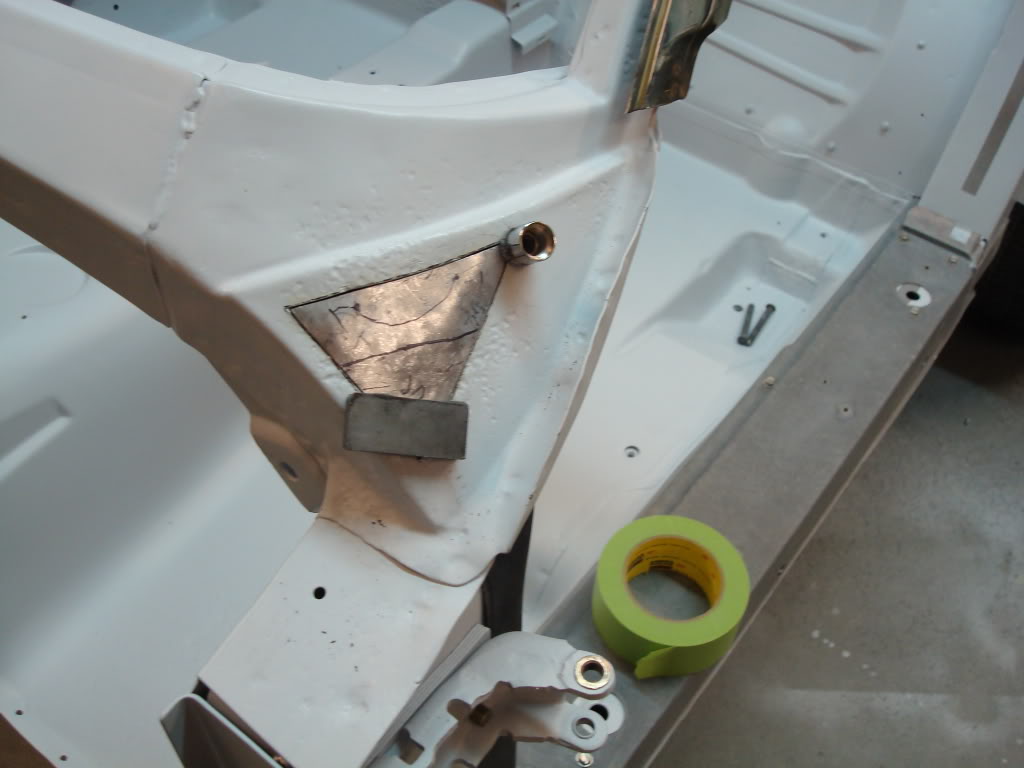
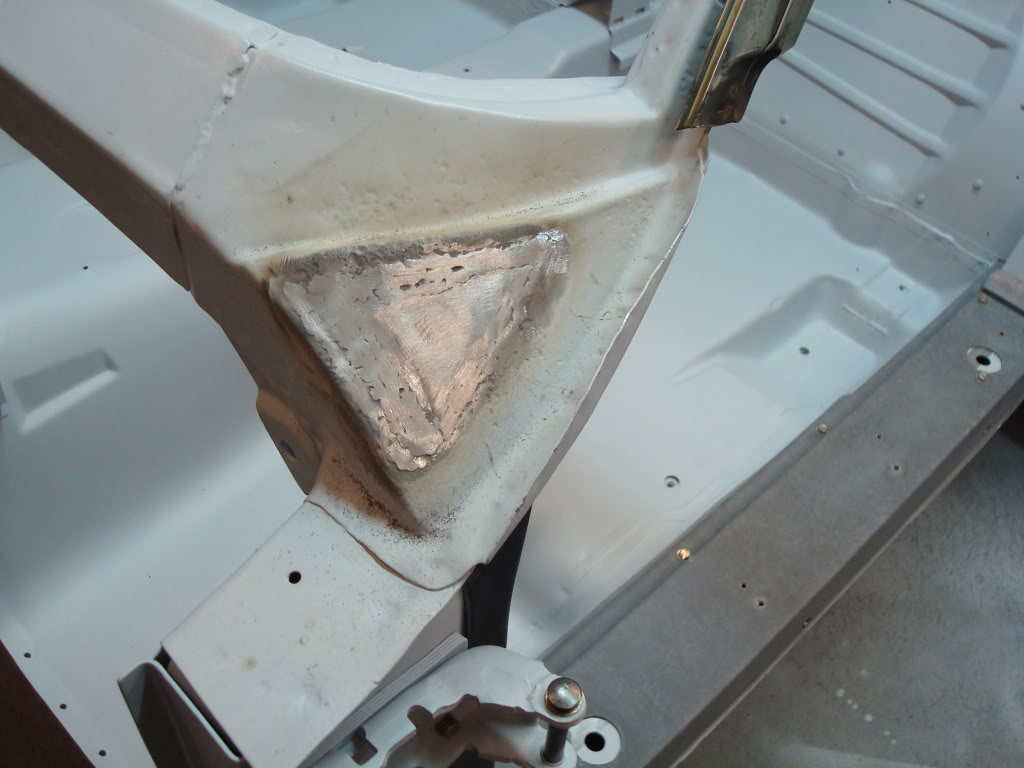
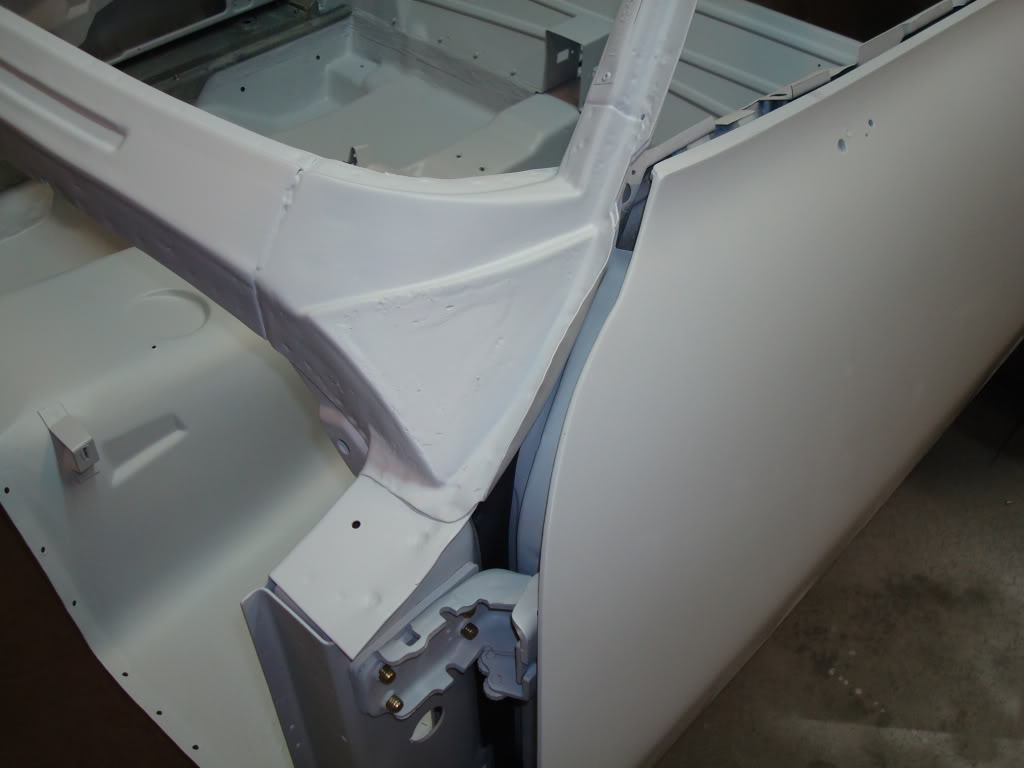
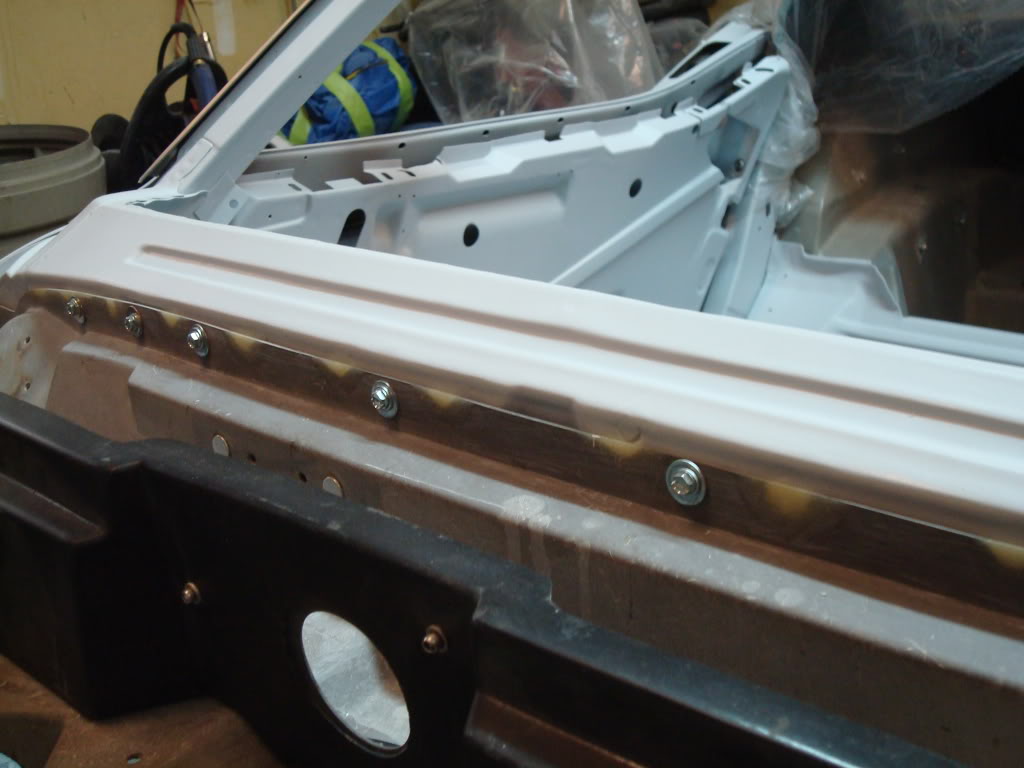
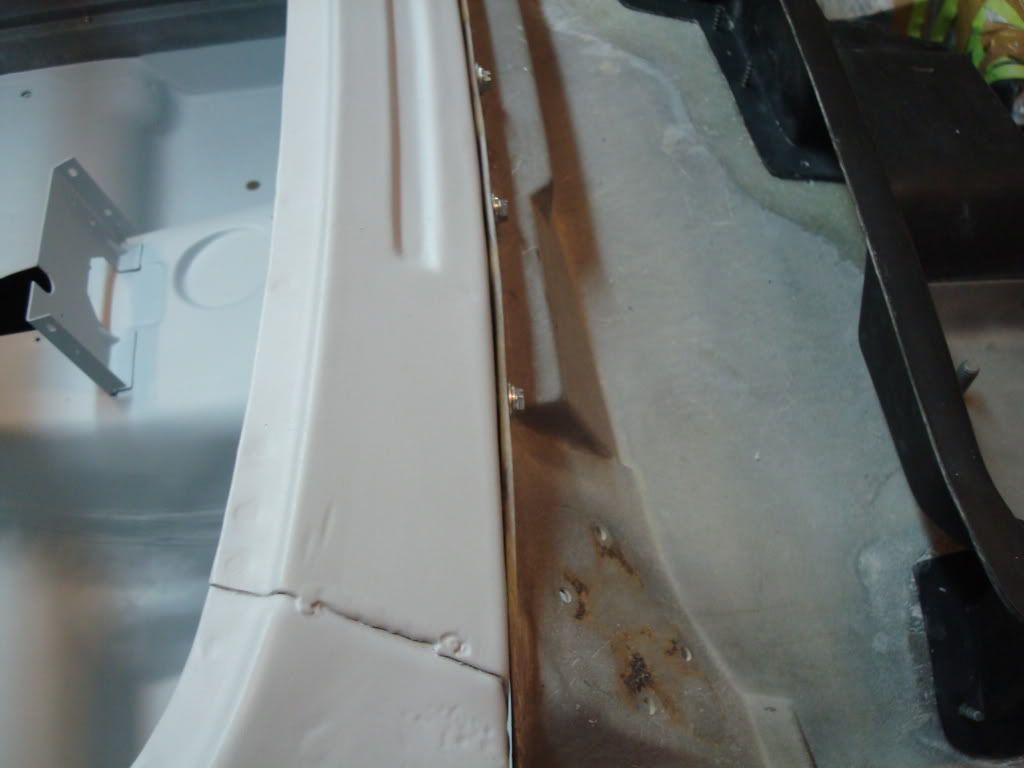
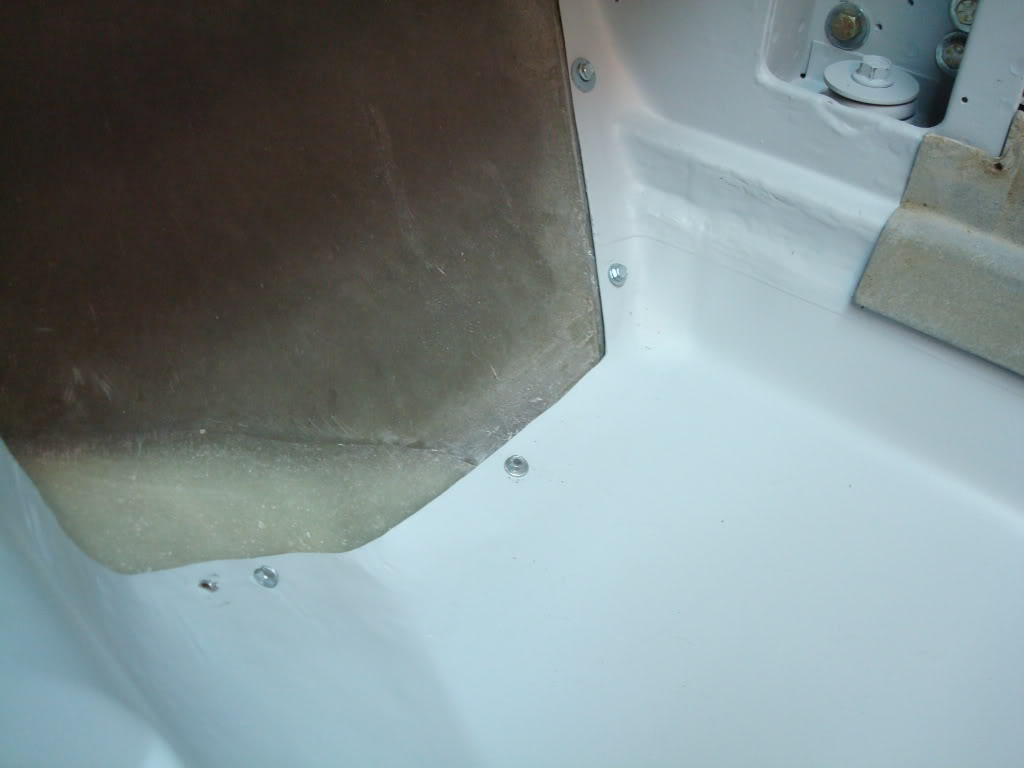
I keep looking at that triangle of metal just below the "A" pillar on the bird cage and it looks awfully deeply pitted to me - I think it needs a new piece welded in while you've got it apart to this point. I'd take a scratch awl or similar pointy object, place it in a few of the deep pits and give it a tap with a hammer. If it goes through, its time to cut out that pitted area and weld in a new piece.
12-26-2009, 02:31 AM
#1187
Safety Car
Thread Starter
I keep looking at that triangle of metal just below the "A" pillar on the bird cage and it looks awfully deeply pitted to me - I think it needs a new piece welded in while you've got it apart to this point. I'd take a scratch awl or similar pointy object, place it in a few of the deep pits and give it a tap with a hammer. If it goes through, its time to cut out that pitted area and weld in a new piece.
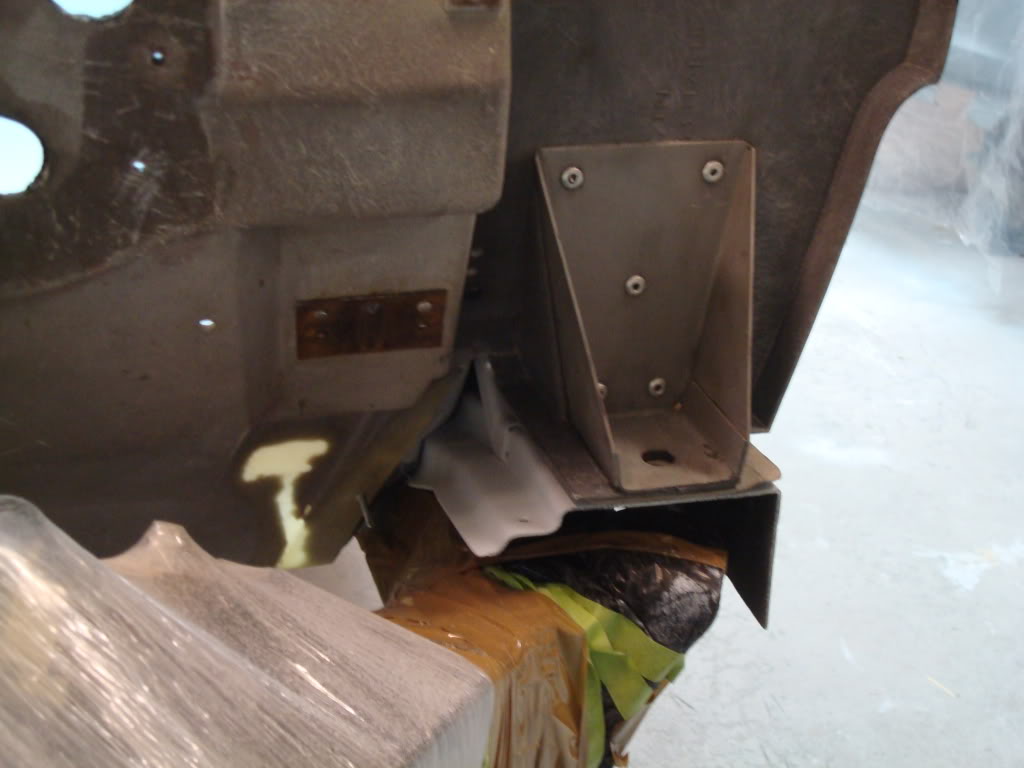
Now I can start test fitting the firewall. Once I get that in place, then I will start mocking up the front end, which will tell me where the bonding strips need to go, and whether the doors need more adjusting.
Apparently my rear tires were delivered to Mike yesterday. He said they were friggen huge!
Last edited by stinger12; 12-26-2009 at 02:43 AM.
12-28-2009, 01:11 PM
#1189
Safety Car
Thread Starter
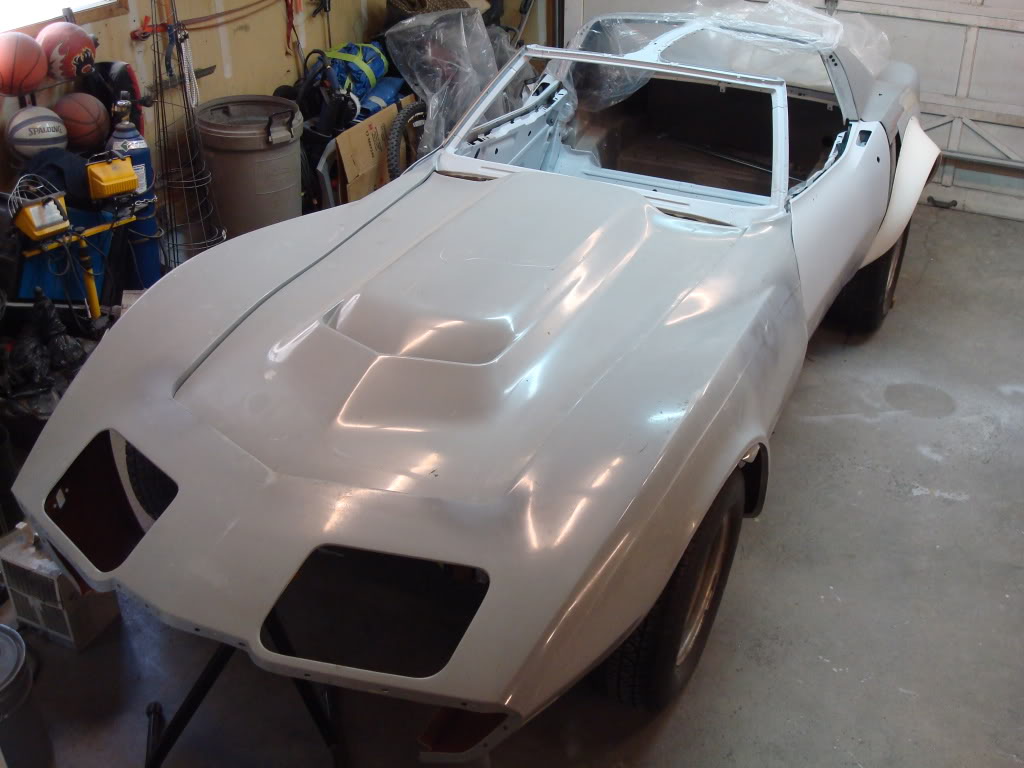
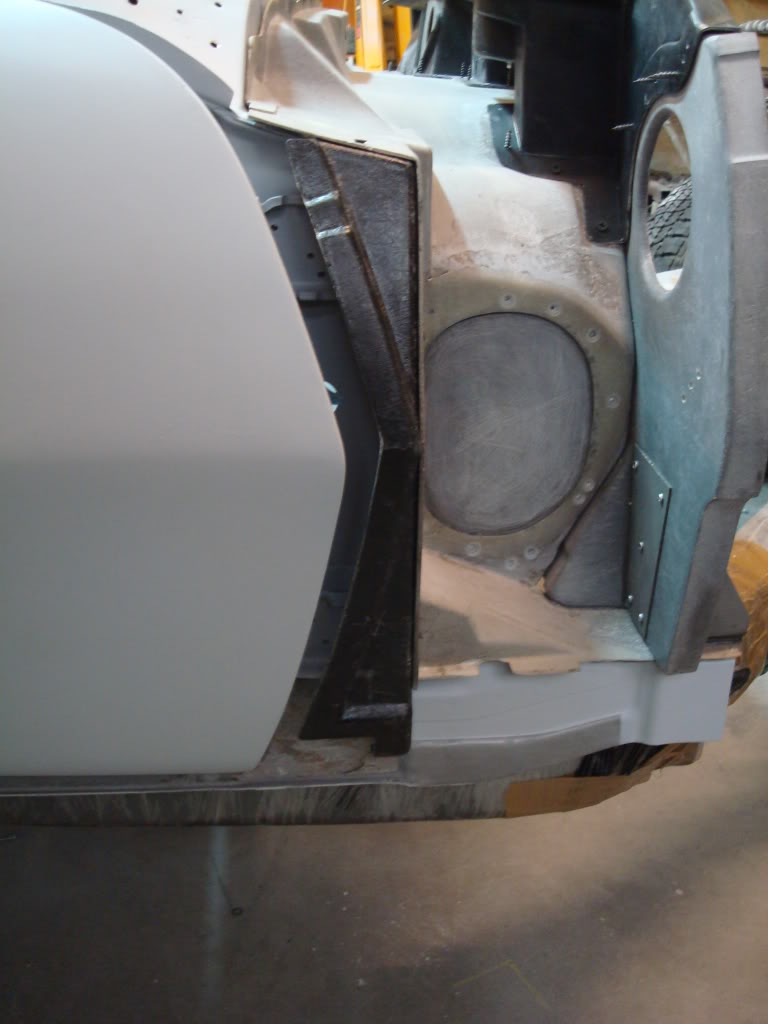
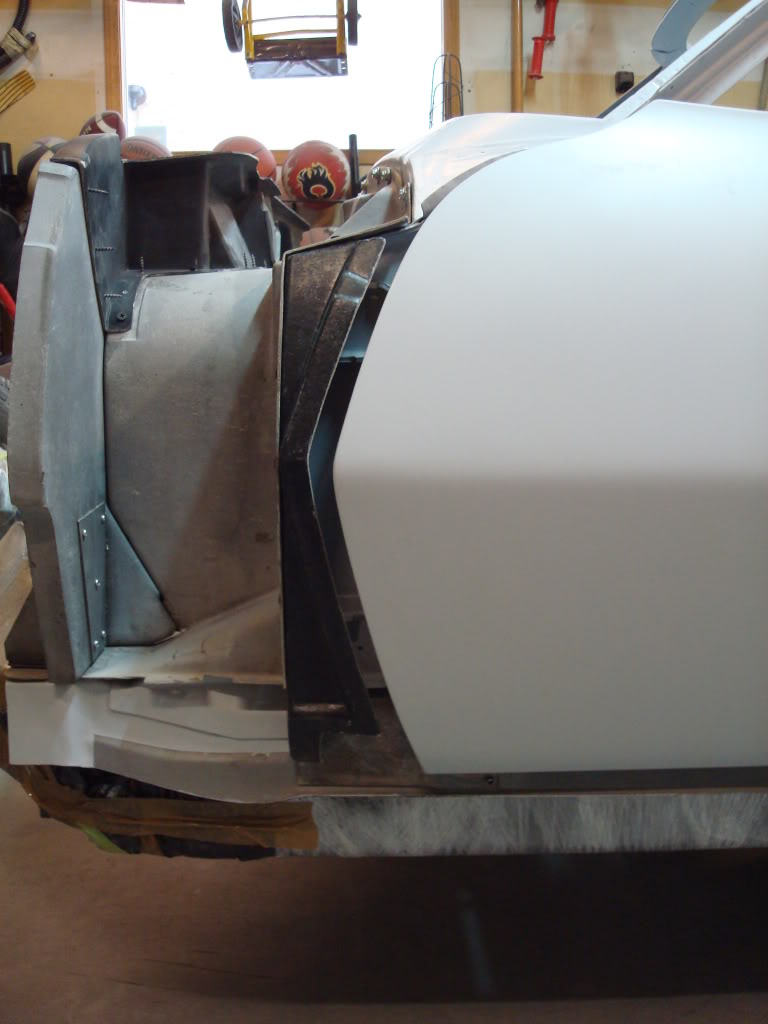
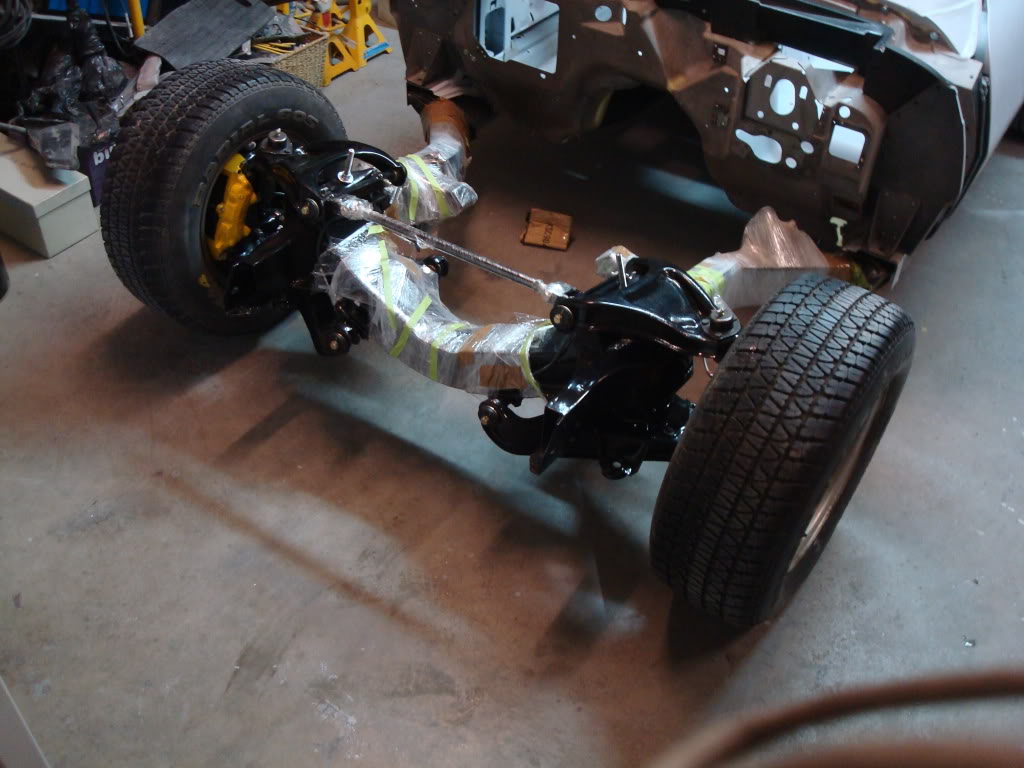
I had to see what this thing was gonna look like when done. Here is a pic with the front end just sitting on the firewall. Imagine what its gonna look like once I get all the flares mounted!
12-28-2009, 01:42 PM
#1191
Safety Car
Thread Starter
You're damn right it did! Way too happy right now...words cannot explain the feeling. Everything is finally coming together, and those naysayers in my family are, well, lets just say their views have changed.
Last edited by stinger12; 12-28-2009 at 02:49 PM.
12-28-2009, 06:52 PM
#1194
Safety Car
Thread Starter
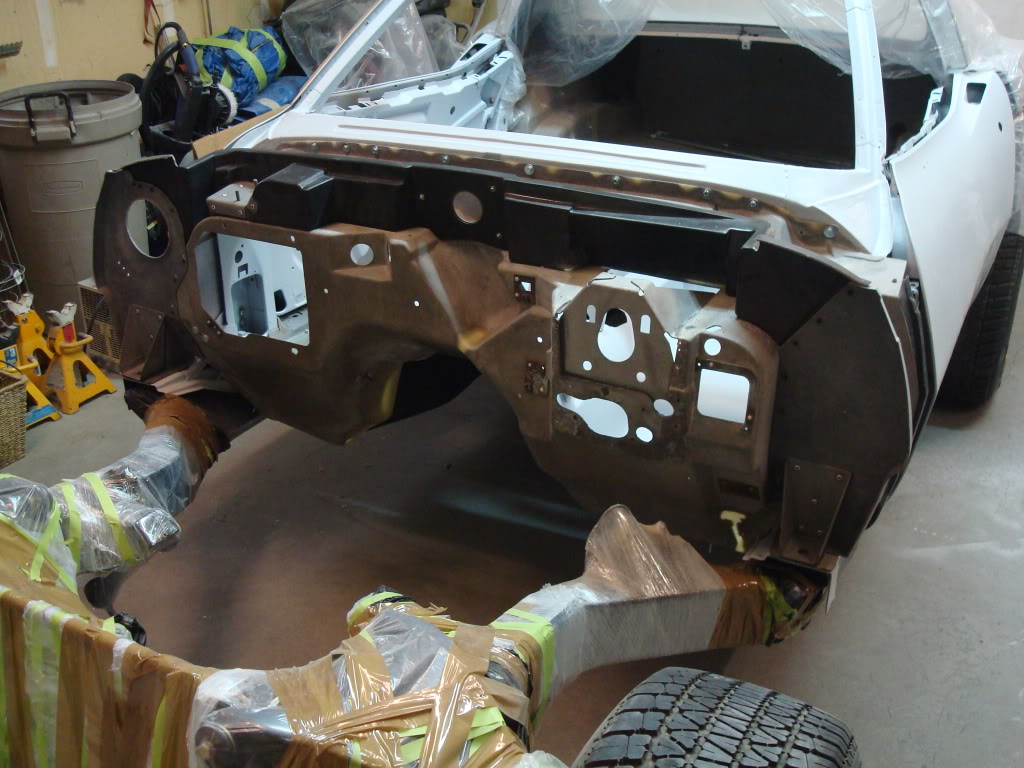
Engine is getting installed last. I have a ton of fitting to do, and I need to be able to sit inside the front end so I can work on stuff. The engine is in Mike's hands. That's his project. The front end wont be ready to install for quite a while...this was just to see what it is gonna look like.
12-30-2009, 03:45 PM
#1195
Safety Car
Thread Starter
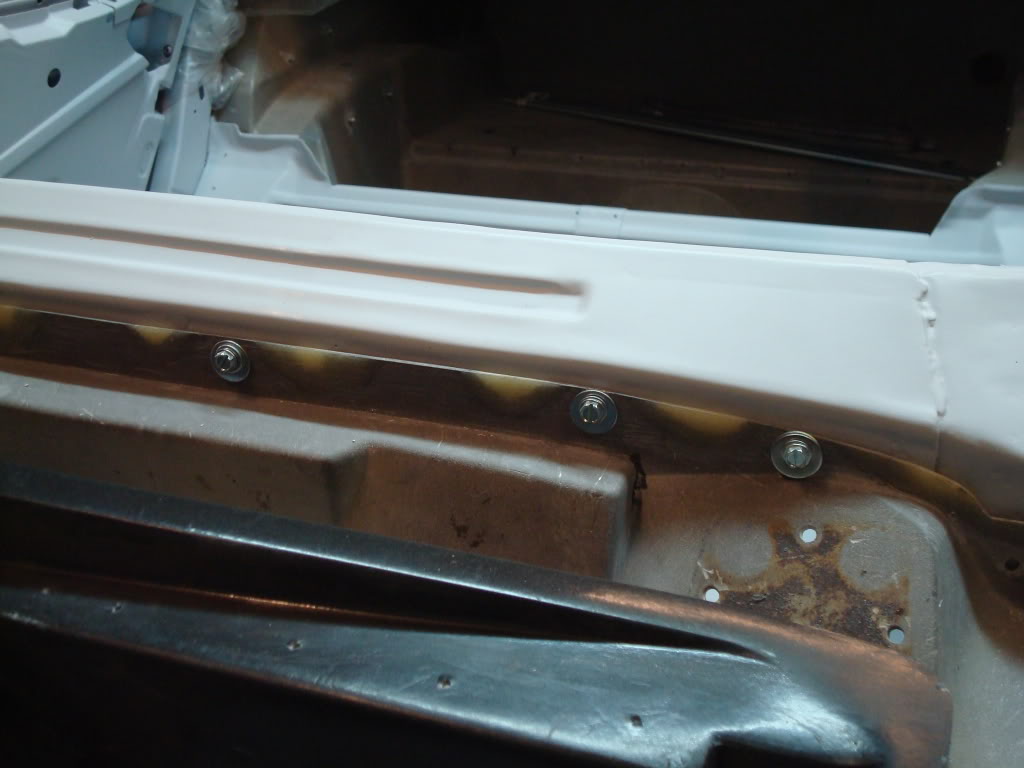
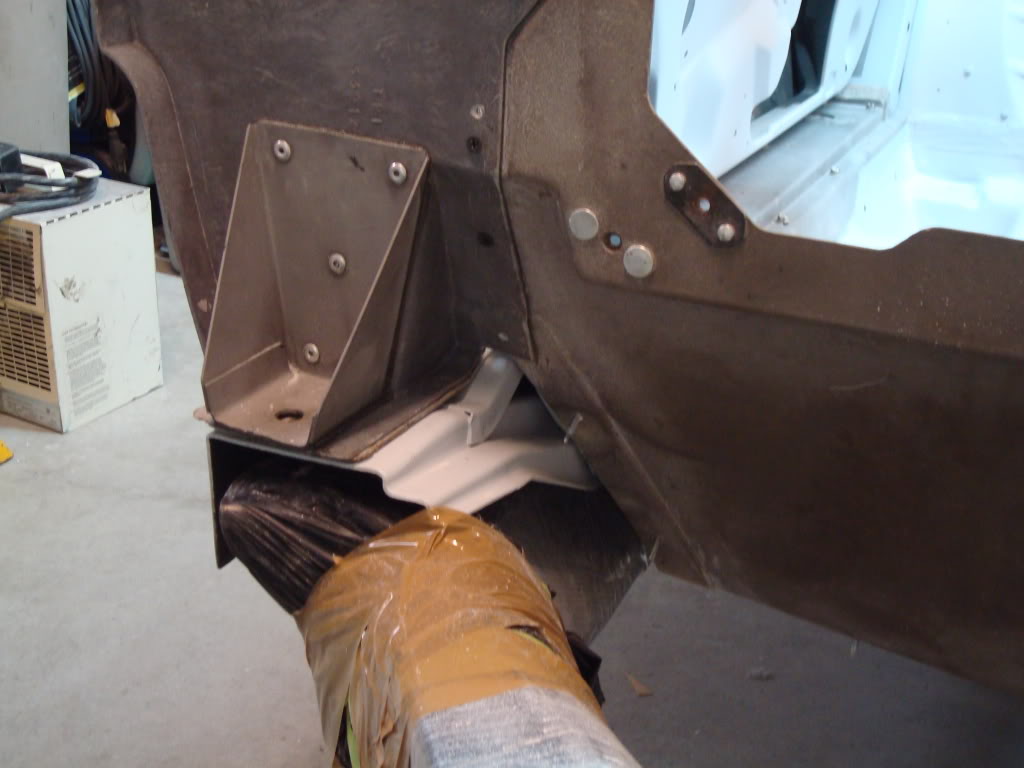
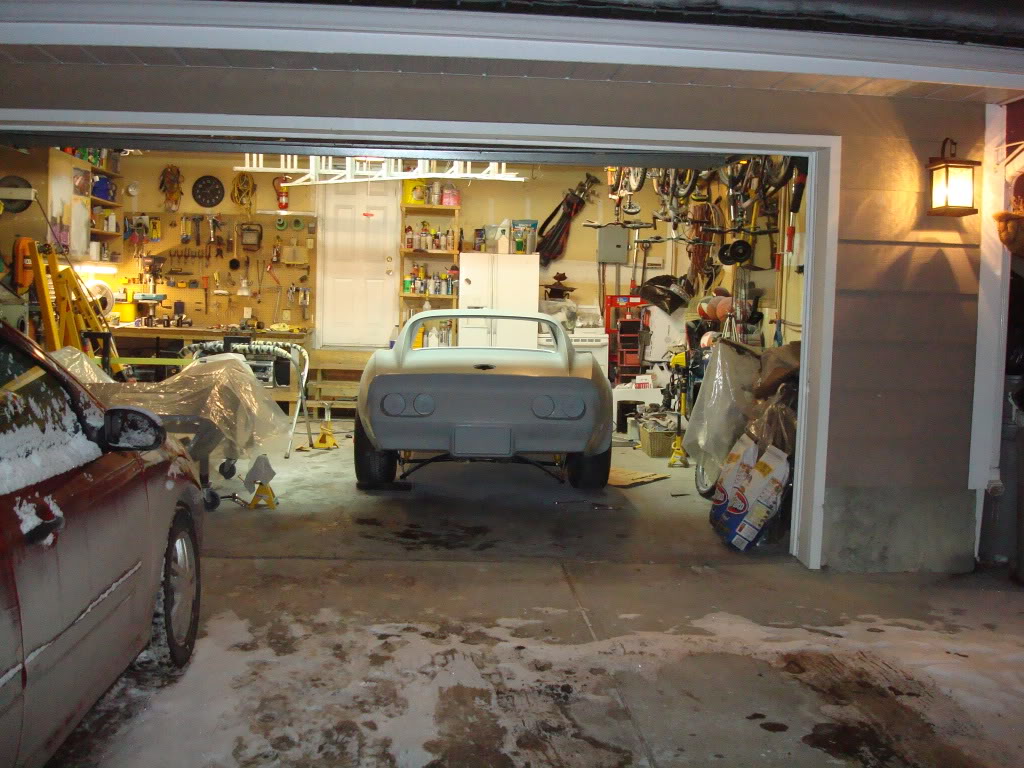
Firewall and bonding strips are temporarily in place with screws. Next is test fitting the front end. I need to settle the suspension down with all-thread both front in rear. I'll have to give Mike a call and get some measurements for fitting the front end.
12-30-2009, 11:26 PM
#1197
Safety Car
Thread Starter
Mike and I are already planning a book. I posted about that a while back. We are serious about this...but first I gotta finish putting this car together.
12-31-2009, 12:33 AM
#1198
Safety Car
Thread Starter
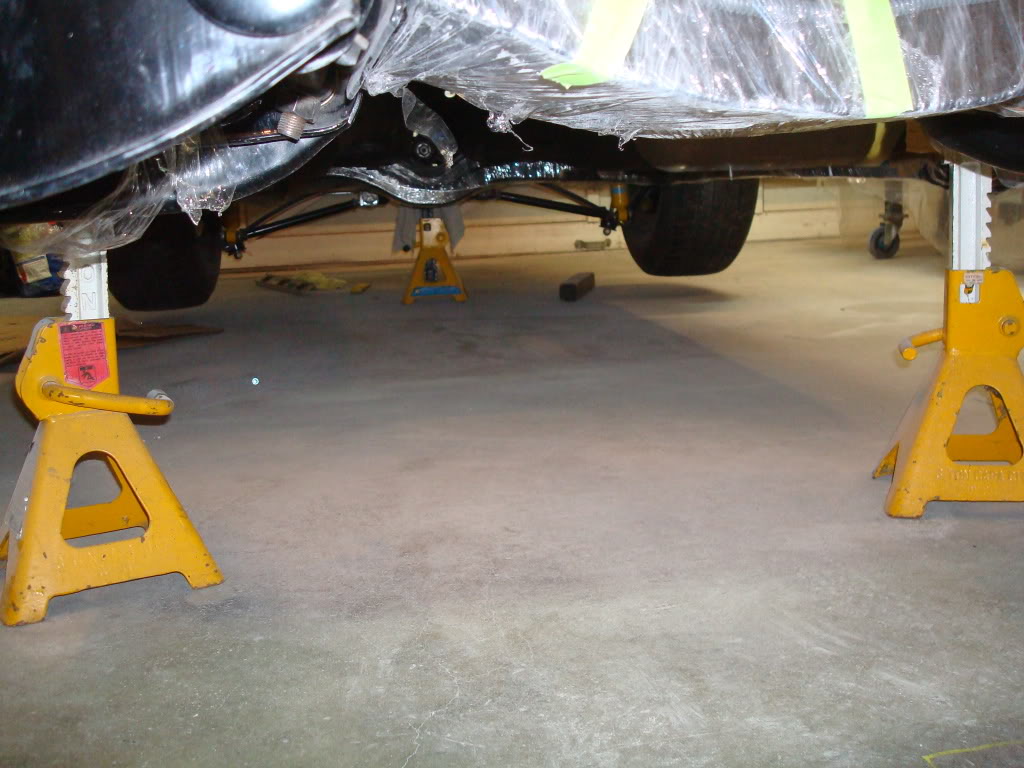
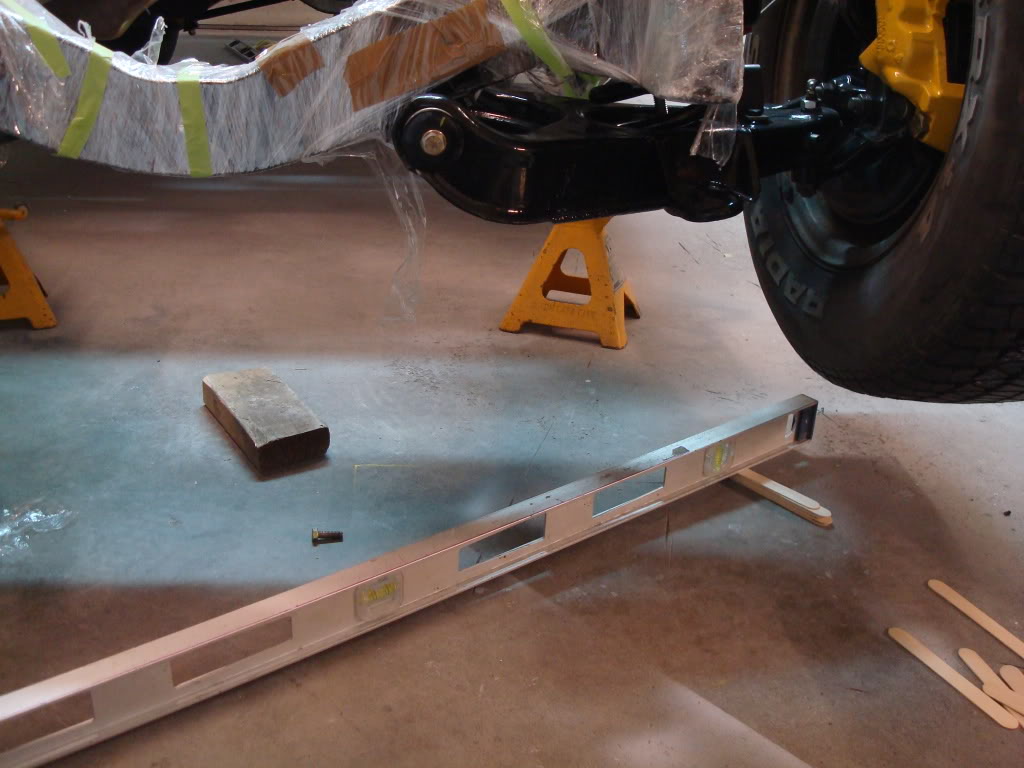
Today I set the ride height on the car. Mike walked me through the entire process. Remove the front shocks, and get yourself some heavy 1/2'' all-thread. Jack the car up onto three jackstands, not four. One under the diff, and two just behind the frame horns. Level out the back of your frame using this crossmember. Shim the two front jack stands until the frame is level side to side.
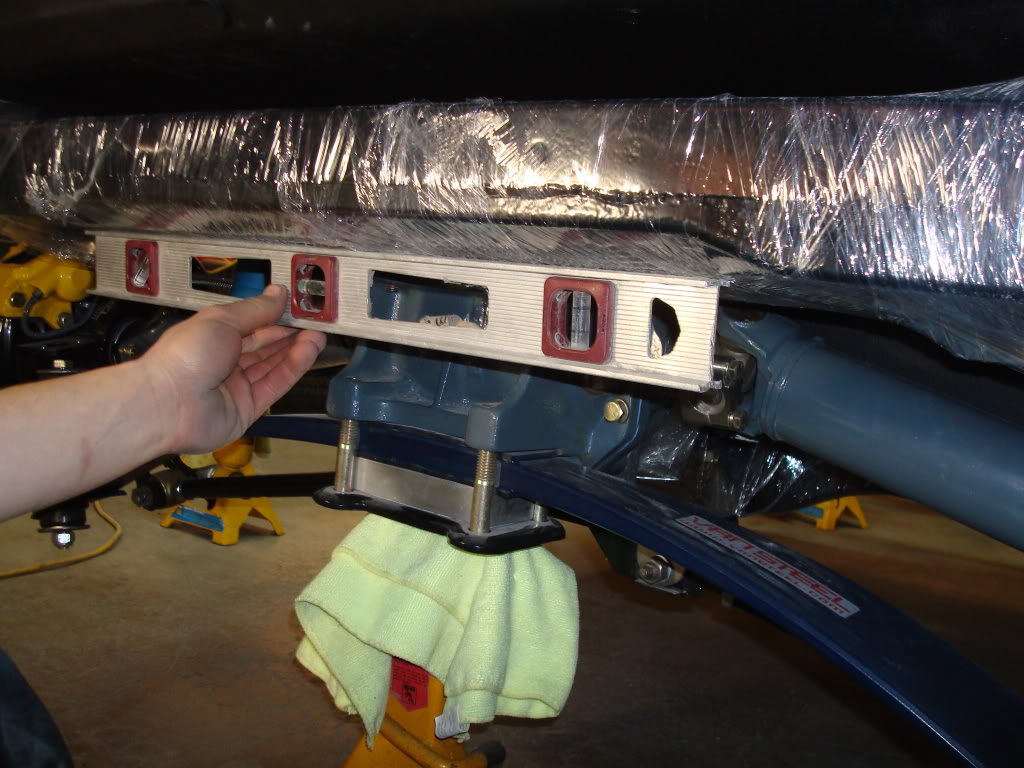
Take your all thread and cut it into two 18'' pieces. You will need to make a plate which bolts to the bottom of the lower a-arm with a hole large enough to fit the 1/2'' all-thread through. This centers the all-thread in the a-arm and also acts as a "giant washer".
Alright, here's the next step. Get out the AIM and find the page with the ride height specs. Here is one for the 76...
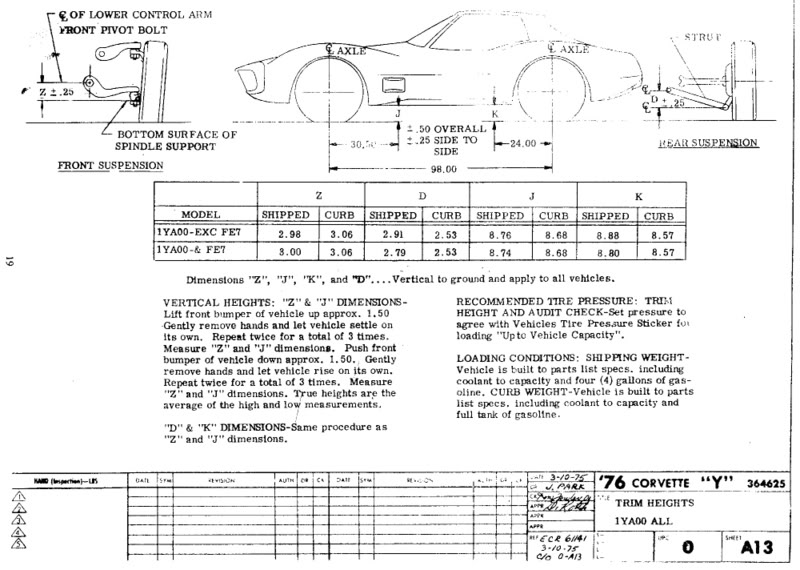
See the "Z" value in the top left corner of the pic? Well, that is the value you are shooting for. You want the curb height, which is the height when the car is on the street. The value for the '76 vette is 3.06 inches. You need to get two measurements to calculate this value. However, you need to ballpark the tightening of the all-thread before you take any measurements. Tighten it downuntil there is about 2'' between the lower a-arm rubber bumper and the bottom of the frame. This is a guess. Now, get yourself a level and level it on the floor, just below the lower a-arm bushing and the bottom of the front spindle.
The reason for the level is because an unlevel surface will mess around with your measurements, and that will do you no good. The first measurement you need is from the center of the lower a-arm bolt, to to top of the level.

The second measurement you need is from the bottom of the spindle, to the top of the level.
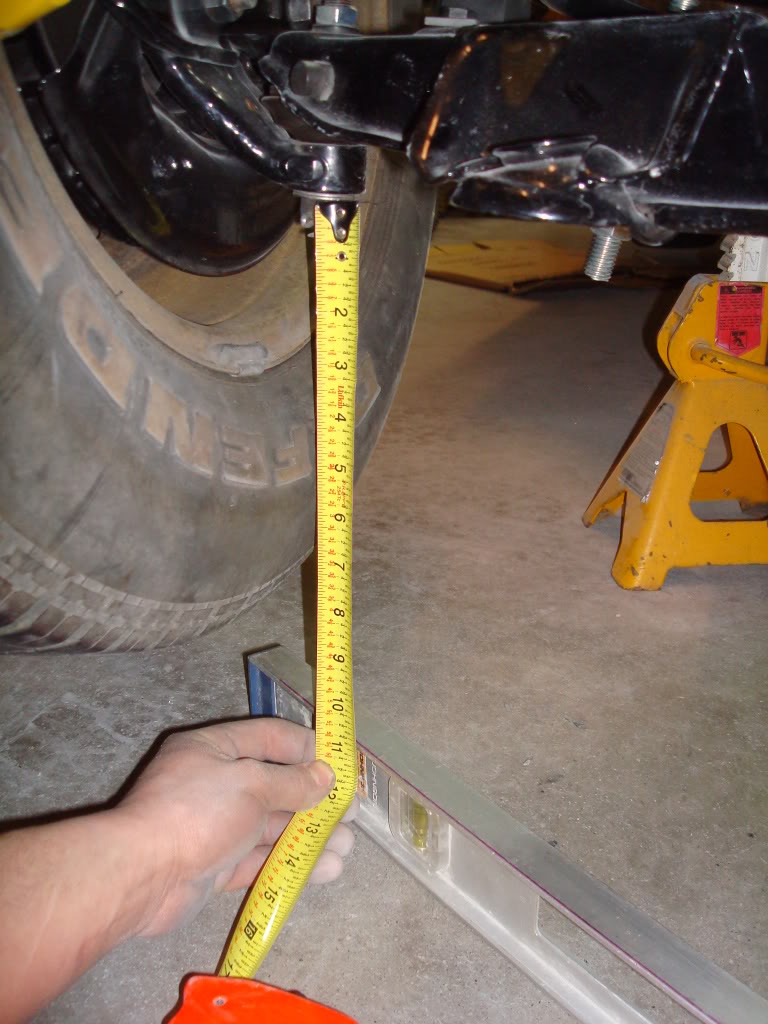
Take those two values, and subtract them from each other. For the '76, the value should be 3.06, which is about 3 & 1/16''. Make sure you do this for both sides, and get them exactly the same. You probably will not get it the first try, but just loosen or tighten the nuts until you reach the value in your assembly manual.
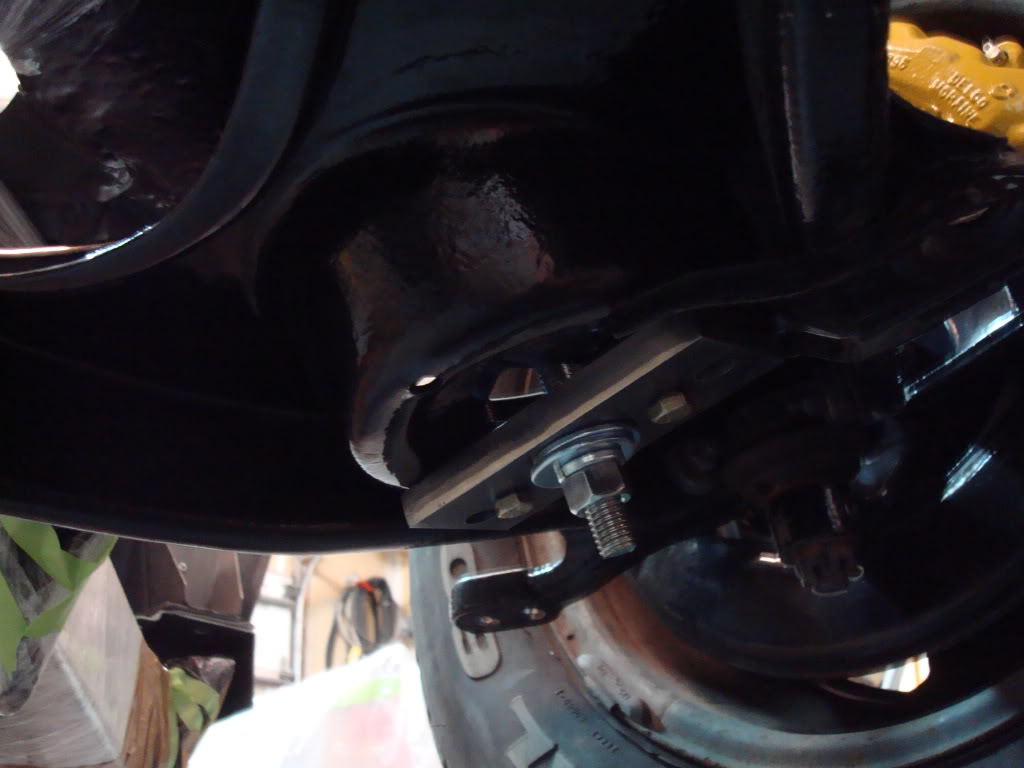
For the rear of the car, you will need to get rid of your spring bolts. Cut two pieces of all-thread about 4'' longer than your bolts (I think). Put them through your t-arm and then through the spring.
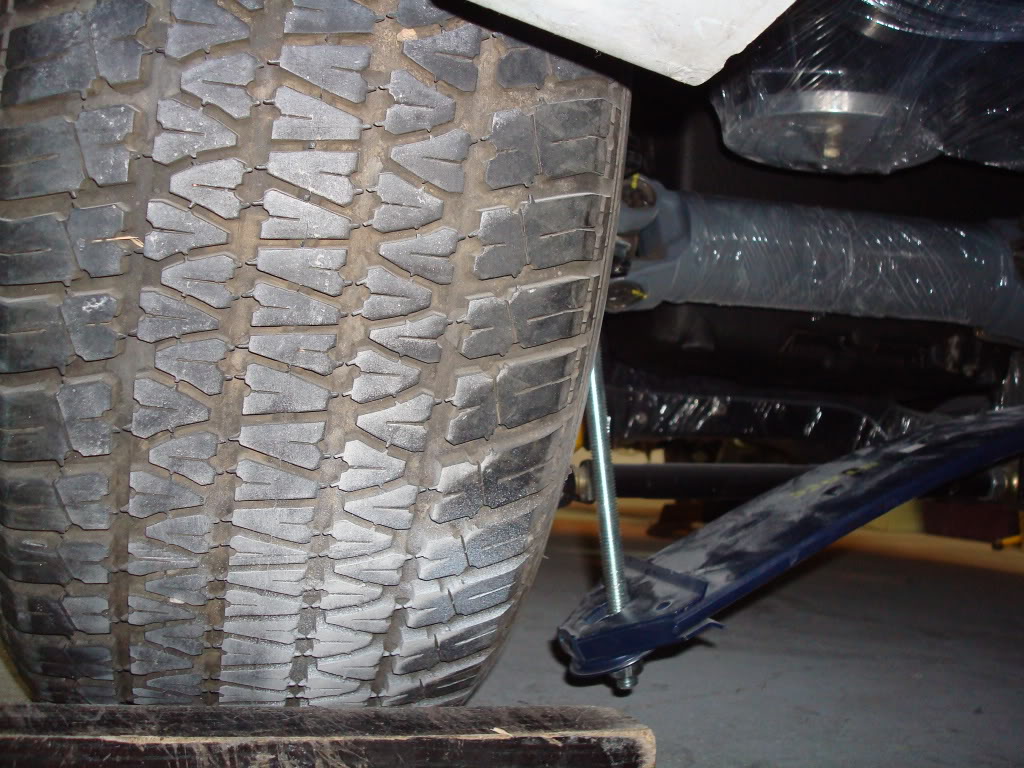
Drop the car back on the ground, and loosen them until the half-shafts are just "under level"
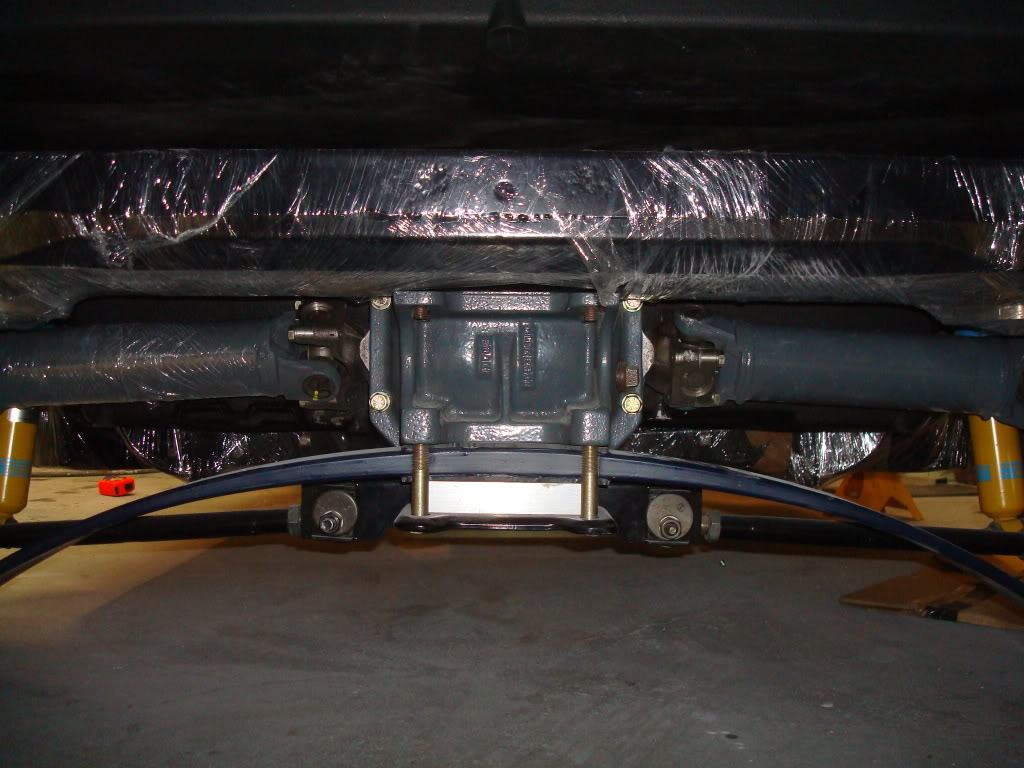
Make sure they are identical side to side. Use the crossmember (the one you put the level on before) as a reference point when adjusting each side. They should look identical. Roll the body back and forth until it settles the rear of the car. If your half-shafts are near level, and symmetrical to the crossmember, then you are good. Because I was using my old worn tires for this setup, I had to make sure they were all identical in "wear". Take measurements from the edge of the rim to the floor on every tire. Use air to raise the rim or remove air to lower the rim (this is another tip from Mike's amazing brain). Make sure all four wheels are identical. Stand back and smile with joy - you are ready to start putting sh*t together
Once again, a big thanks to Mike Dyer for all the help on this. He told me how to do everything. I just listened and moved my hands. This took me the entire day. This job is very tedious, but is necessary before you fit the front end and your flares.
Take your all thread and cut it into two 18'' pieces. You will need to make a plate which bolts to the bottom of the lower a-arm with a hole large enough to fit the 1/2'' all-thread through. This centers the all-thread in the a-arm and also acts as a "giant washer".
Alright, here's the next step. Get out the AIM and find the page with the ride height specs. Here is one for the 76...
See the "Z" value in the top left corner of the pic? Well, that is the value you are shooting for. You want the curb height, which is the height when the car is on the street. The value for the '76 vette is 3.06 inches. You need to get two measurements to calculate this value. However, you need to ballpark the tightening of the all-thread before you take any measurements. Tighten it downuntil there is about 2'' between the lower a-arm rubber bumper and the bottom of the frame. This is a guess. Now, get yourself a level and level it on the floor, just below the lower a-arm bushing and the bottom of the front spindle.
The reason for the level is because an unlevel surface will mess around with your measurements, and that will do you no good. The first measurement you need is from the center of the lower a-arm bolt, to to top of the level.
The second measurement you need is from the bottom of the spindle, to the top of the level.
Take those two values, and subtract them from each other. For the '76, the value should be 3.06, which is about 3 & 1/16''. Make sure you do this for both sides, and get them exactly the same. You probably will not get it the first try, but just loosen or tighten the nuts until you reach the value in your assembly manual.
For the rear of the car, you will need to get rid of your spring bolts. Cut two pieces of all-thread about 4'' longer than your bolts (I think). Put them through your t-arm and then through the spring.
Drop the car back on the ground, and loosen them until the half-shafts are just "under level"
Make sure they are identical side to side. Use the crossmember (the one you put the level on before) as a reference point when adjusting each side. They should look identical. Roll the body back and forth until it settles the rear of the car. If your half-shafts are near level, and symmetrical to the crossmember, then you are good. Because I was using my old worn tires for this setup, I had to make sure they were all identical in "wear". Take measurements from the edge of the rim to the floor on every tire. Use air to raise the rim or remove air to lower the rim (this is another tip from Mike's amazing brain). Make sure all four wheels are identical. Stand back and smile with joy - you are ready to start putting sh*t together
Once again, a big thanks to Mike Dyer for all the help on this. He told me how to do everything. I just listened and moved my hands. This took me the entire day. This job is very tedious, but is necessary before you fit the front end and your flares.
Last edited by stinger12; 12-31-2009 at 12:41 AM.
12-31-2009, 02:04 AM
#1199
Advanced

Member Since: Dec 2009
Location: Harlingen Texas
Posts: 52
Likes: 0
Received 0 Likes
on
0 Posts
Its coming together AMAZINGLY!!! It's going to be one sweet ride that is sure to make the folks at GM jealous because they didnt build it like this! Great Job!!!
Cory
Cory
12-31-2009, 12:05 PM
#1200
Melting Slicks
Thats excellent Jeremy. Congrats to Mike for giving so much help.
Couple of questions here. My half shafts aren't level at all and the trailing arms are still close to the bump stops. Whats your measurement from trailing arm to bump stop?
Also...I'm using Bilstein sports on the front and it looks like there's only maybe 1.5 to 2" travel left in the shock. Thats even after I bolted the shock to the bottom side of the bottom control arm. I think it's suppose to be bolted to the topside. My front still looks high, am I missing something? My only thought is 2" at the shock equates to a lot more distance out at the wheel , but is it enough?
Rob