Rear End Yoke Trouble......
 03-22-2012, 07:18 PM
#21
Le Mans Master

king bubba the 8th
 I don't know why but that's the funniest thing I've read in a long time. Probably too much 80 degree March sun on my forehead today.
OP, pretty sure I have a good used rear cover cheap if you need one. Let me know and I'll find it.

 03-22-2012, 07:54 PM
#23
Drifting

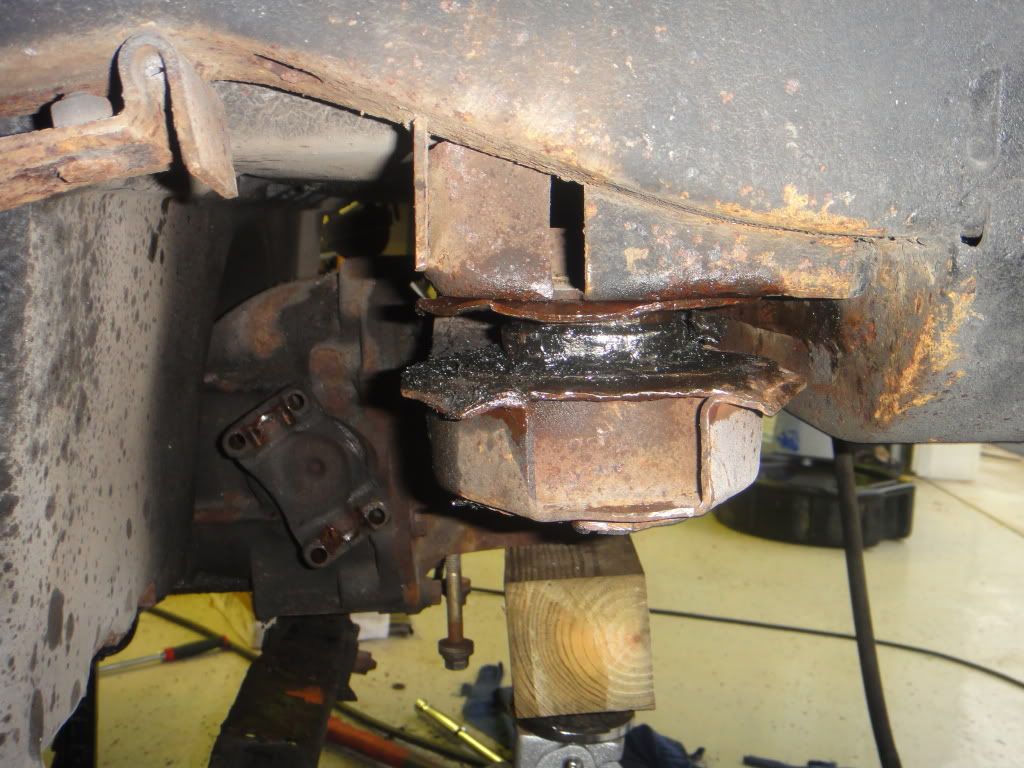
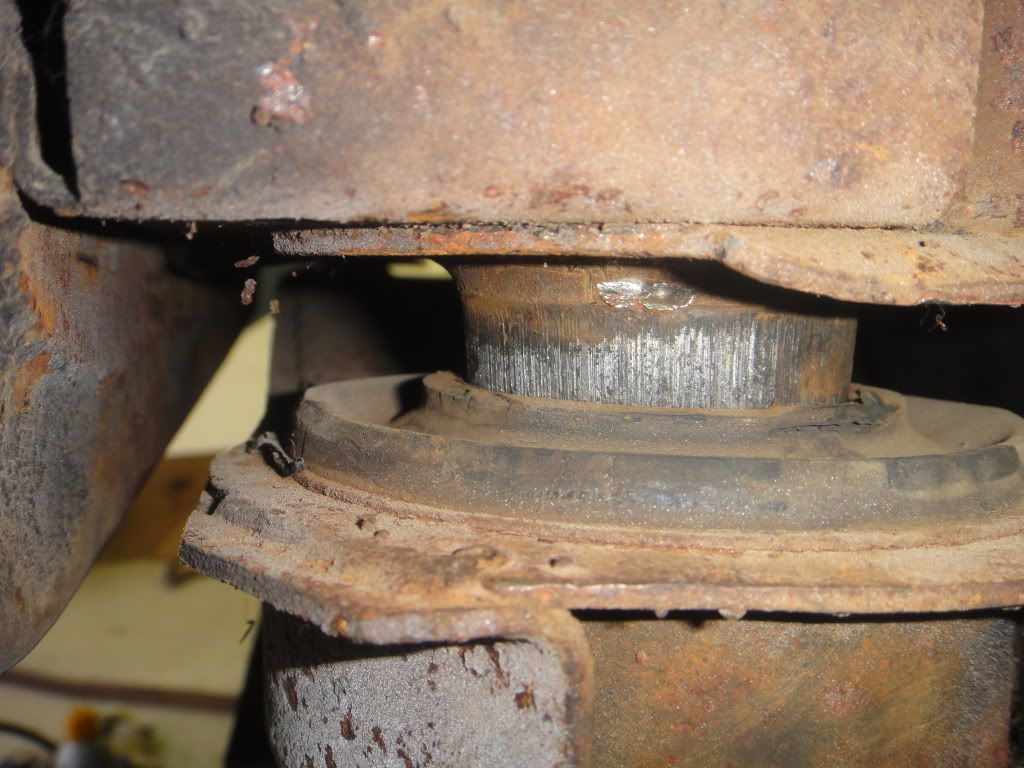
Drive the fork parallel to the crossmember along side the bushing, not into it. In the pic you have the fork on the left side of the bushing. Switch it to the right side, of the pic not the car.
Mike
Mike
03-22-2012, 08:10 PM
#24
Drifting
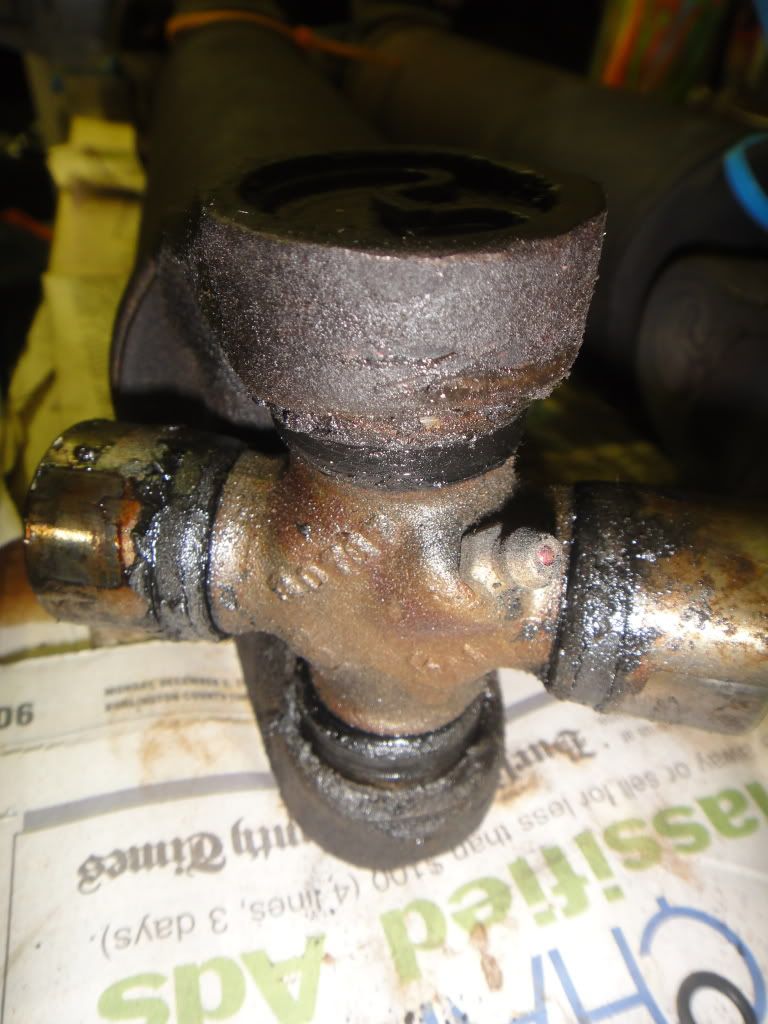
Looking at the pic in #8 there's one small problem with the stub axle bending the shaft. It's 90 degrees off. This is proof positive that you shouldn't rotate the carrier with the lock bolt loose and the shaft hanging out of the carrier.
Mike
Mike
03-26-2012, 10:44 PM
#25
Instructor

Thread Starter

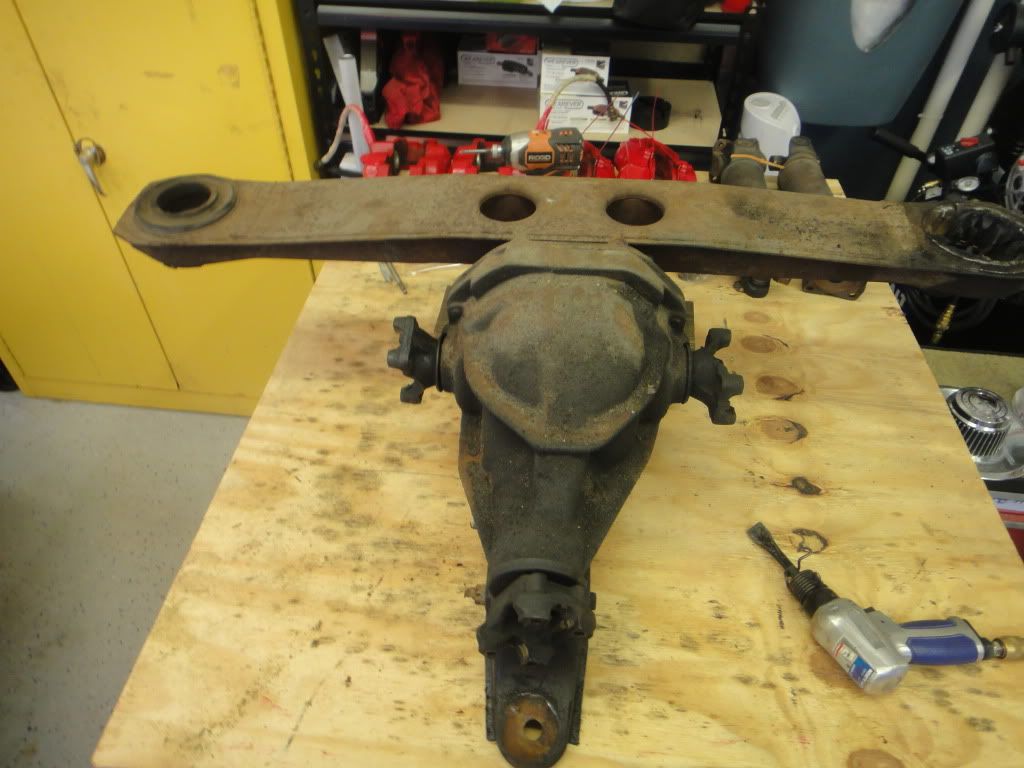
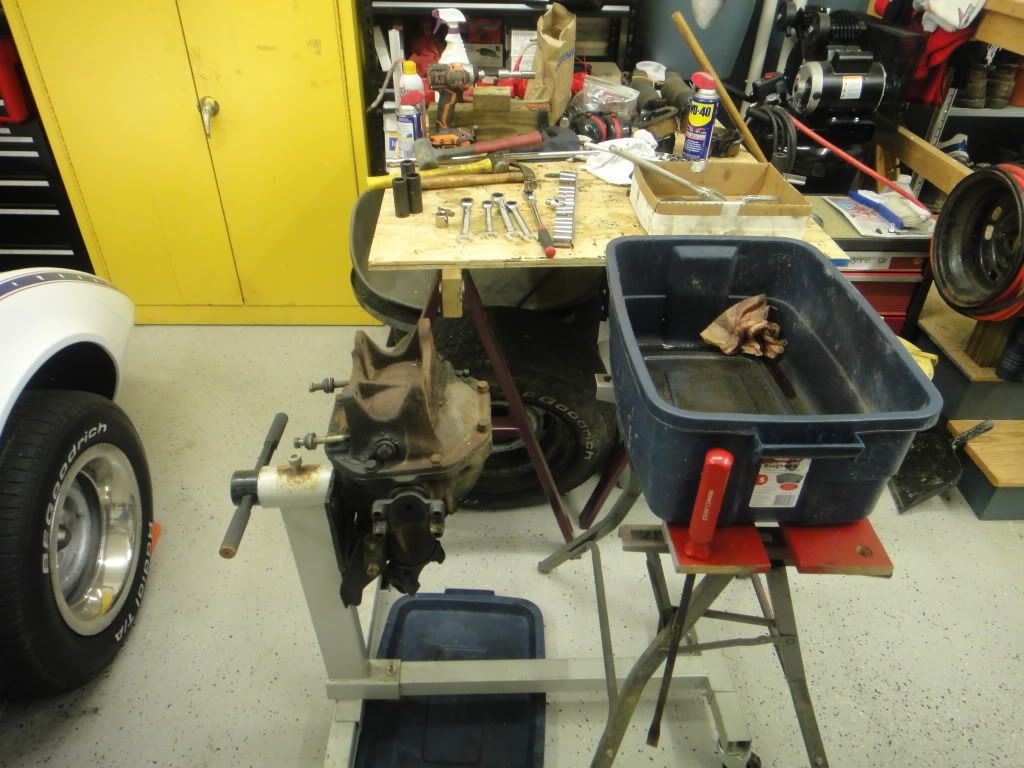
Mega update! I got the diff out of the car this weekend. Had a lot of help from my father in law....we could not get the left side bushing to release! Ended up drilling out the rubber bushing to get the cross member to drop. Here are some pics of that carnage:
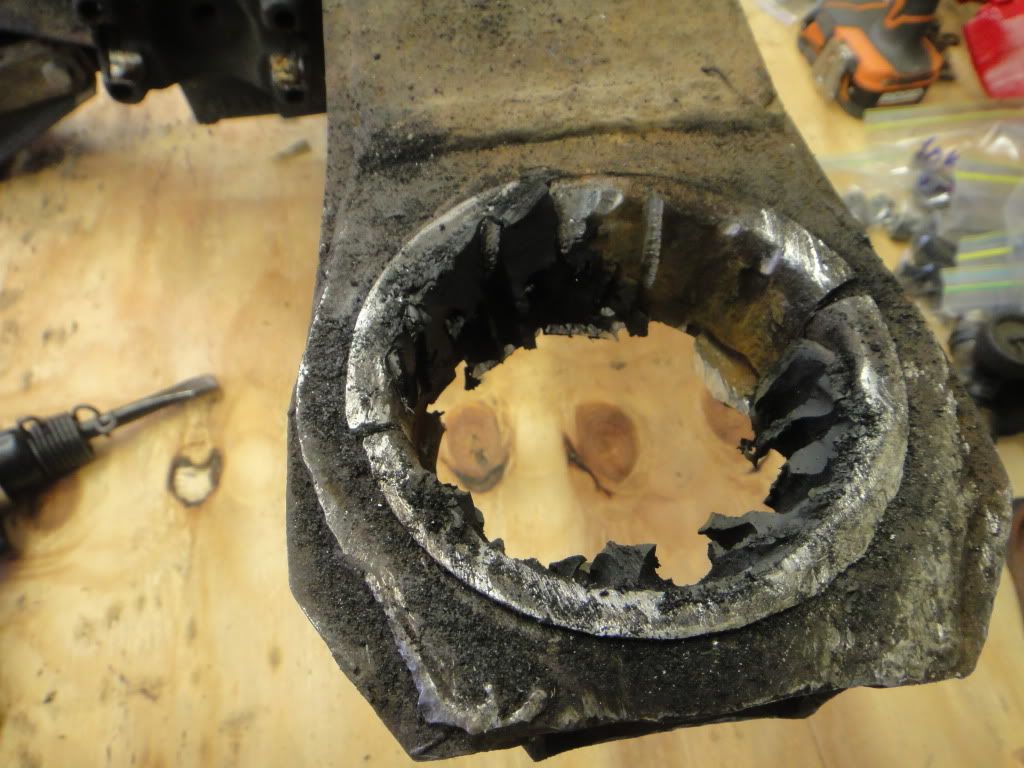
Rubber shrapnel:

Left side:
Right side:
Left side:
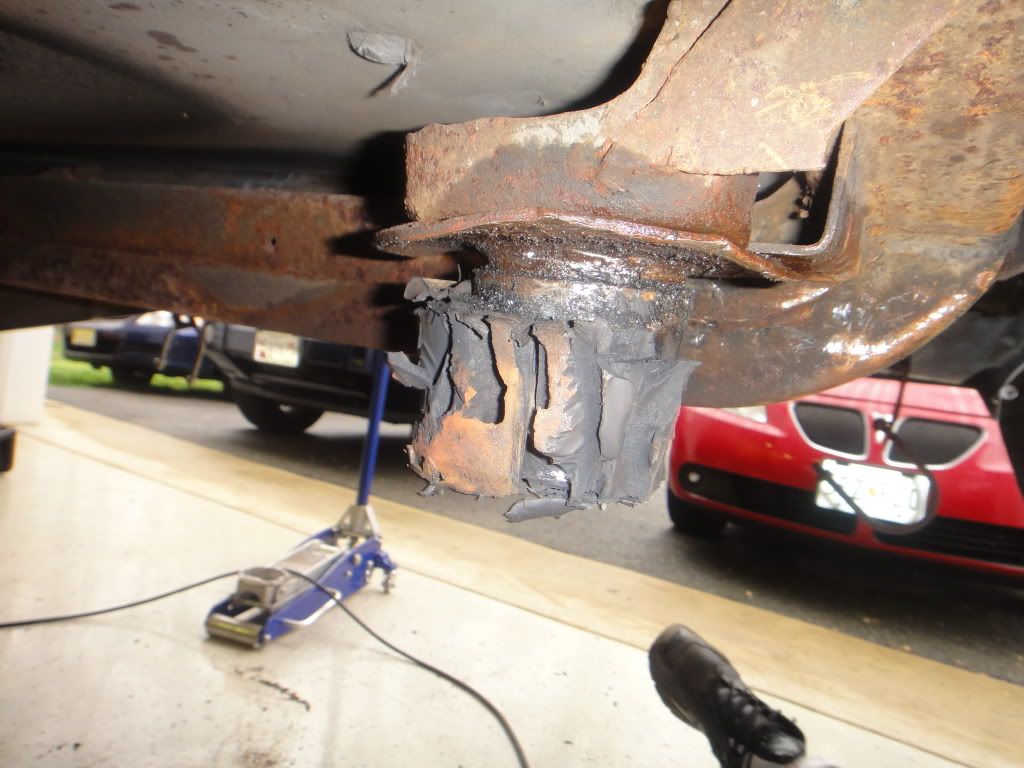
Left side in x-mmbr:
RIght side in x-mmbr:
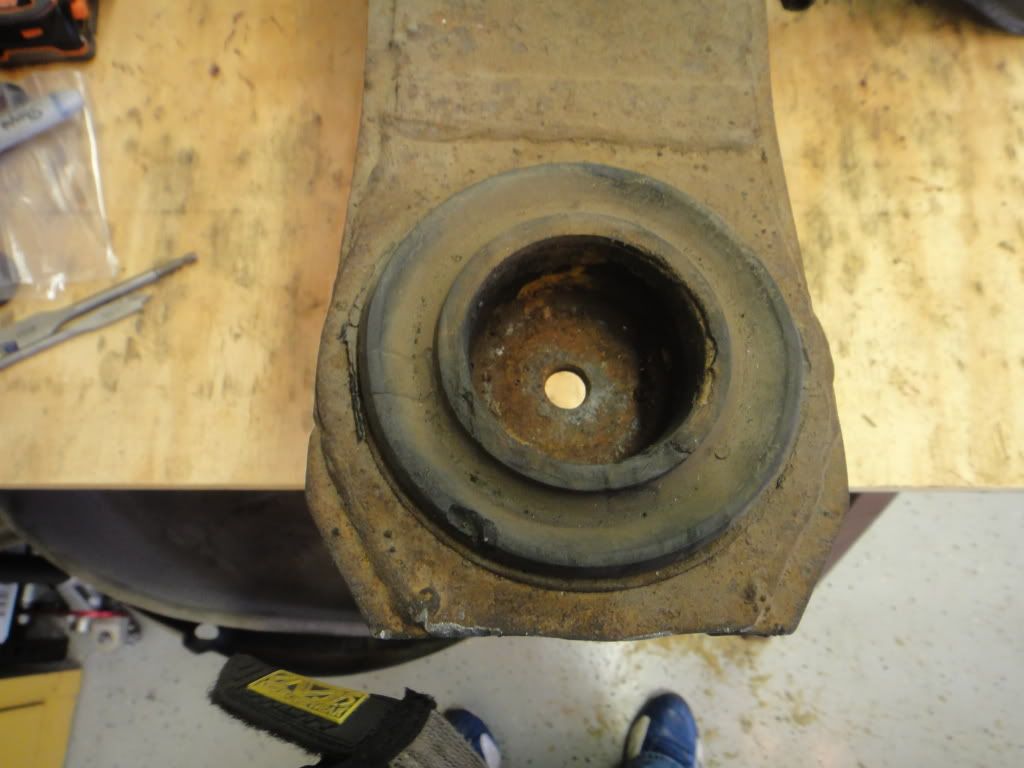
Busings out:
Diff and x-mmbr:
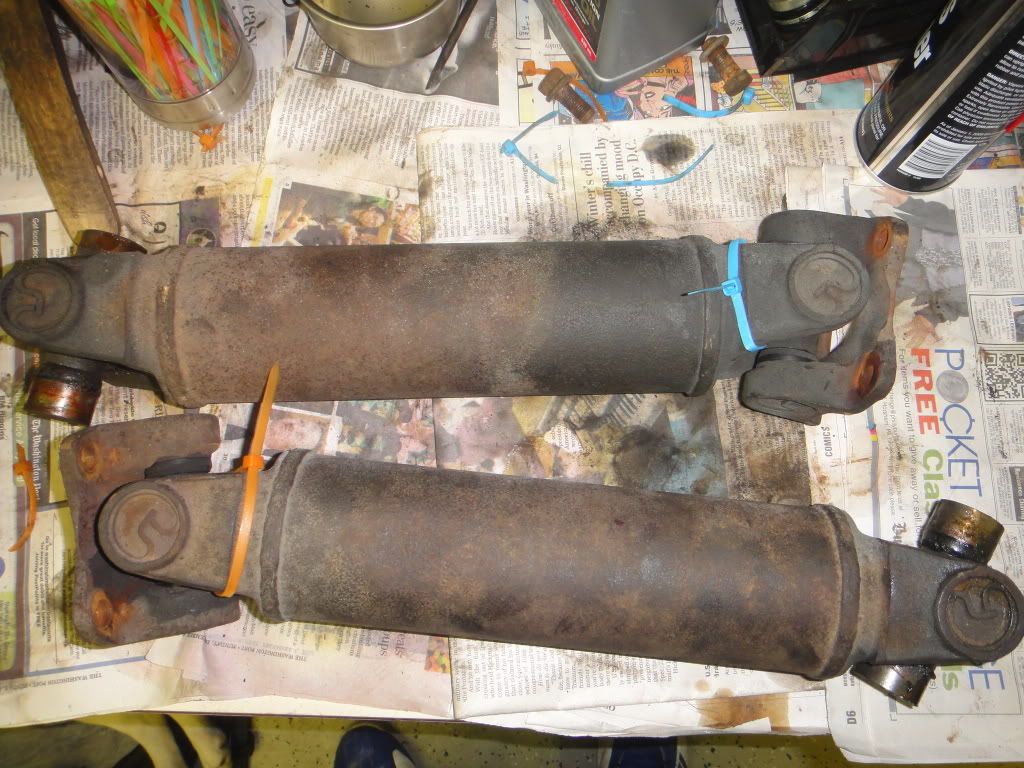
And here some pics of the half shafts:
I borrowed an engine stand from the corvette club president, and got it opened up tonight:
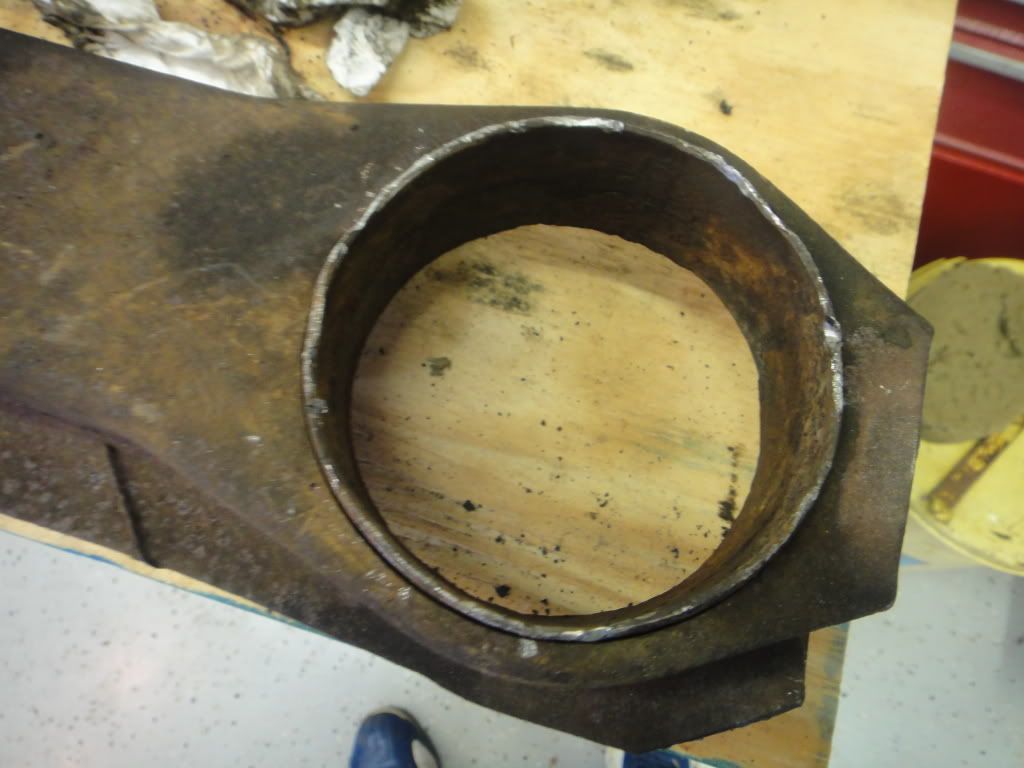
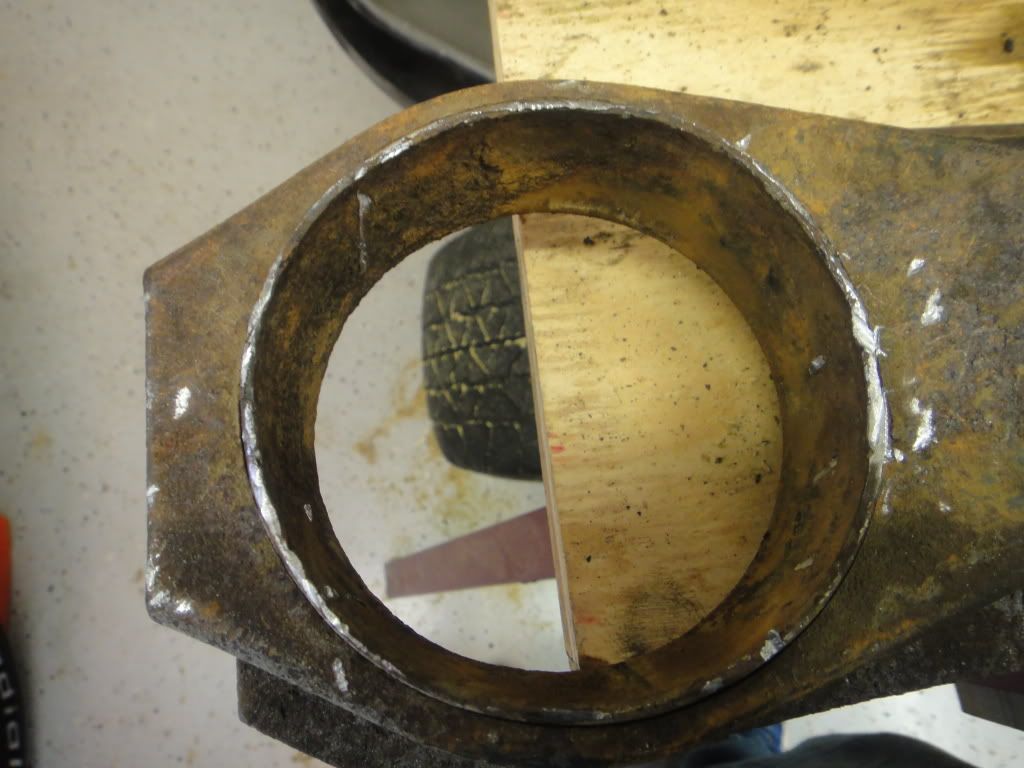
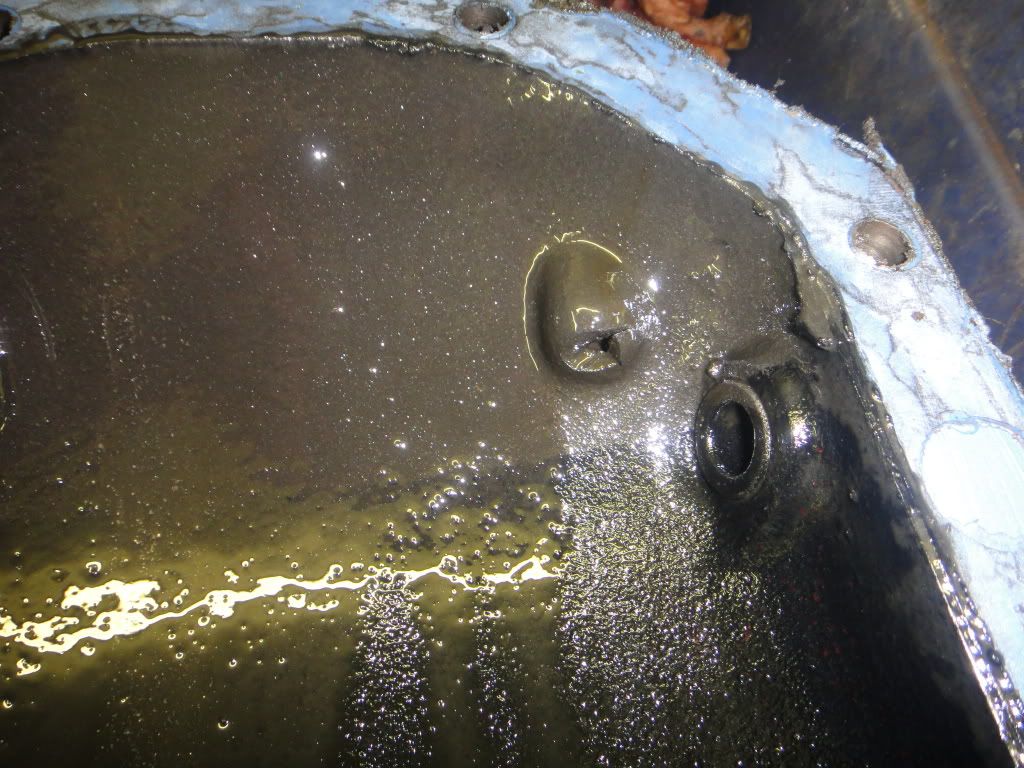
I found the broken piece of the cover:
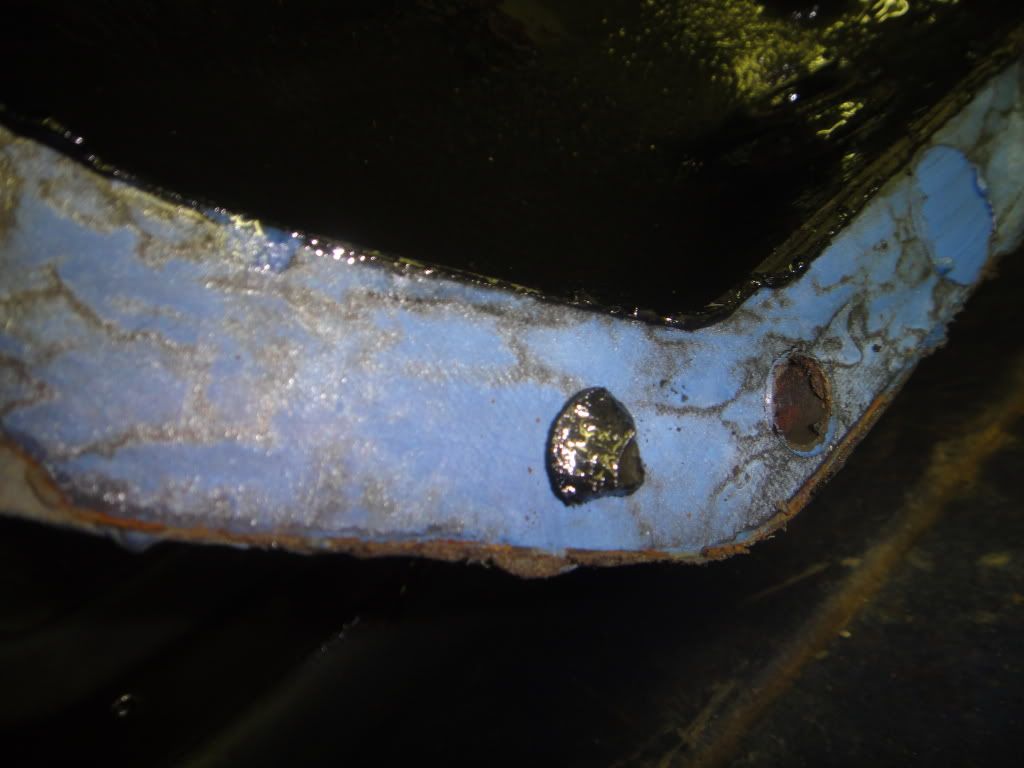
From here:
And is this a serial? Is it coded to the diff/engine?
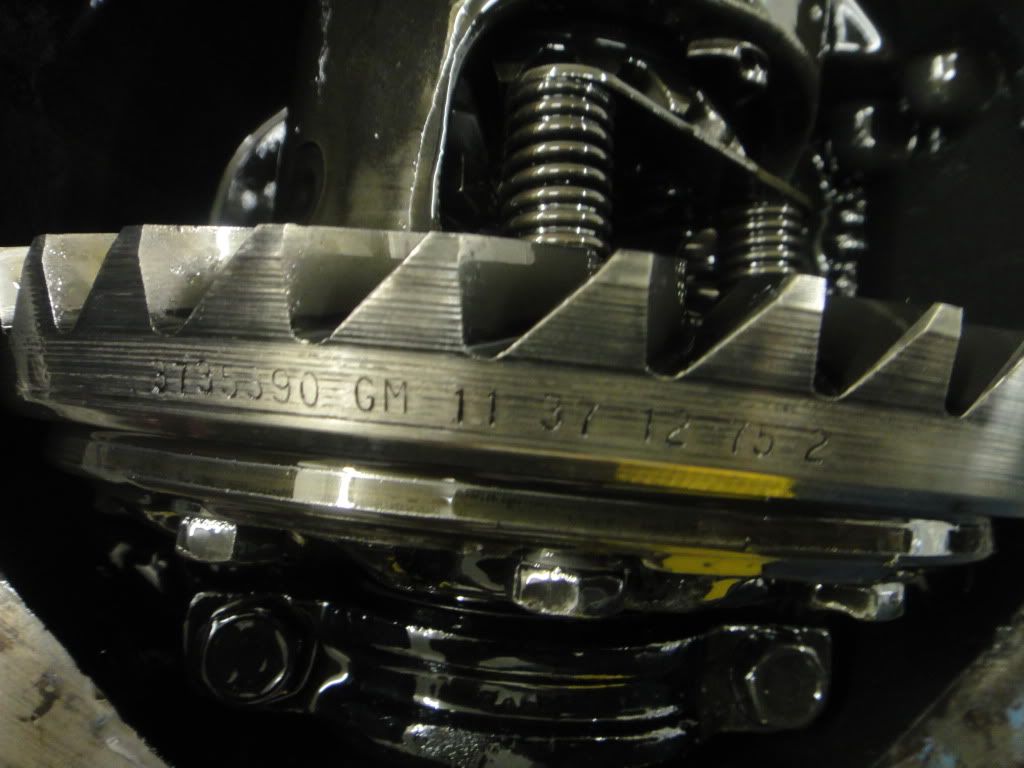
Reads "3735390 GM 11 37 12 75 2" some sort of date code?
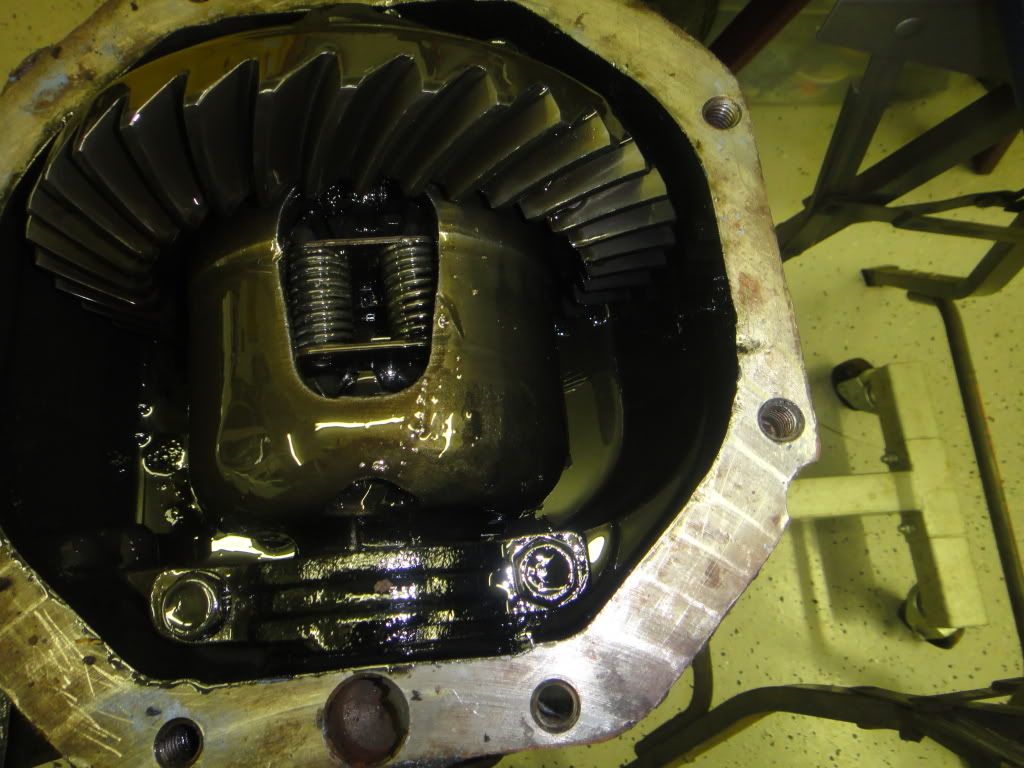
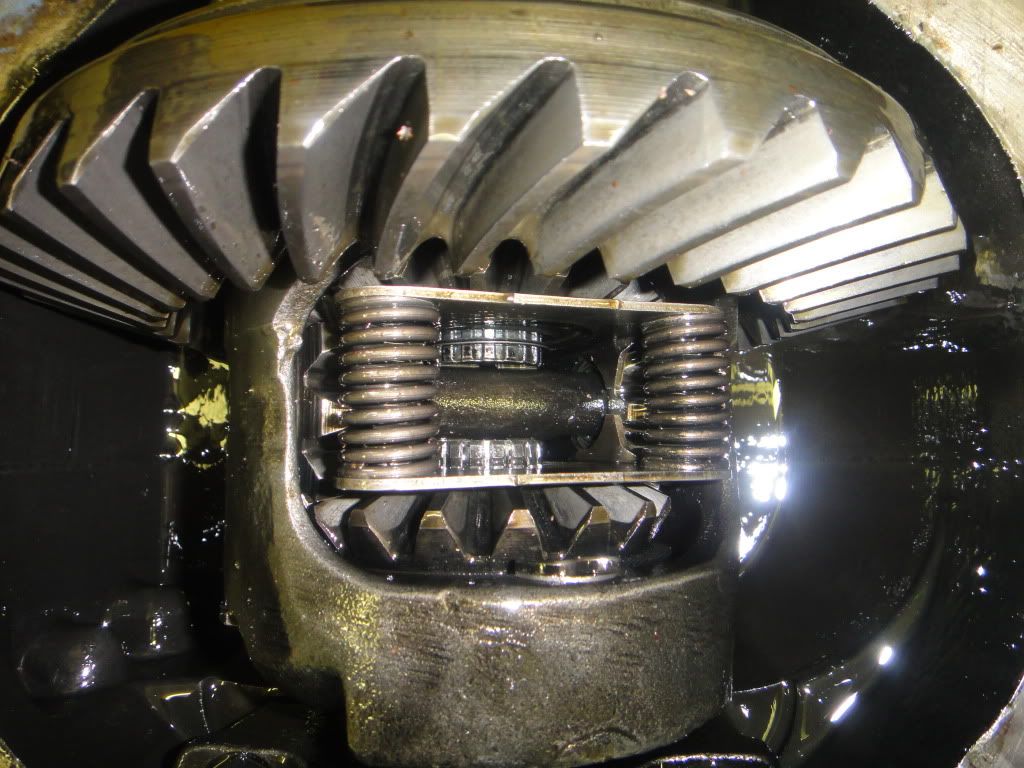
I don't know if you can really tell anything until the gears are pulled, or at least degreased, but here it is! I feel a lot of accomplishment getting this out with minimal help up until the very end.
Now to commence the disassembly!
Rubber shrapnel:
Left side:
Right side:
Left side:
Left side in x-mmbr:
RIght side in x-mmbr:
Busings out:
Diff and x-mmbr:
And here some pics of the half shafts:
I borrowed an engine stand from the corvette club president, and got it opened up tonight:
I found the broken piece of the cover:
From here:
And is this a serial? Is it coded to the diff/engine?
Reads "3735390 GM 11 37 12 75 2" some sort of date code?
I don't know if you can really tell anything until the gears are pulled, or at least degreased, but here it is! I feel a lot of accomplishment getting this out with minimal help up until the very end.
Now to commence the disassembly!
03-27-2012, 08:34 AM
#26
Race Director


 03-27-2012, 08:56 PM
#30
Steve g
03-28-2012, 03:13 PM
#31
TheCorvetteBen

I talked with Mike (tracdogg2) the other night for a long time, and he walked me through the options I have once I get the diff out of the car. He also helped me with the next steps of getting the diff itself out.....so here I am with most of the hardware removed and unsure of the next step.....

Thats a very good idea. Honestly Mike can answer any questions you will ever have when it comes to rear ends. If I was you, I would have Mike build you your rear end, and upgrade the gears at the same time. The reason why? When you put it back in your car, you will never have to worry about ever taking it out. His work is that good. I have watched him build a rear end for me and my brother and they work great. Ask anyone on the forum, it is worth your time and money.
04-02-2012, 12:21 AM
#32
Team Owner


Member Since: Jul 2004
Location: Redondo Beach, California
Posts: 39,565
Received 548 Likes
on
375 Posts

The second one!!!!!!!
My guess is that the pickle fork will not work. Maybe, but not on my car when I removed the crossmember. I used a large crow bar. Leveraged the finger of the bar between the crossmember and the frame and used my 200 pound body weight. I broke loose with a big bang.
My guess is that the pickle fork will not work. Maybe, but not on my car when I removed the crossmember. I used a large crow bar. Leveraged the finger of the bar between the crossmember and the frame and used my 200 pound body weight. I broke loose with a big bang.
05-28-2012, 08:28 PM
#33
Instructor
Thread Starter
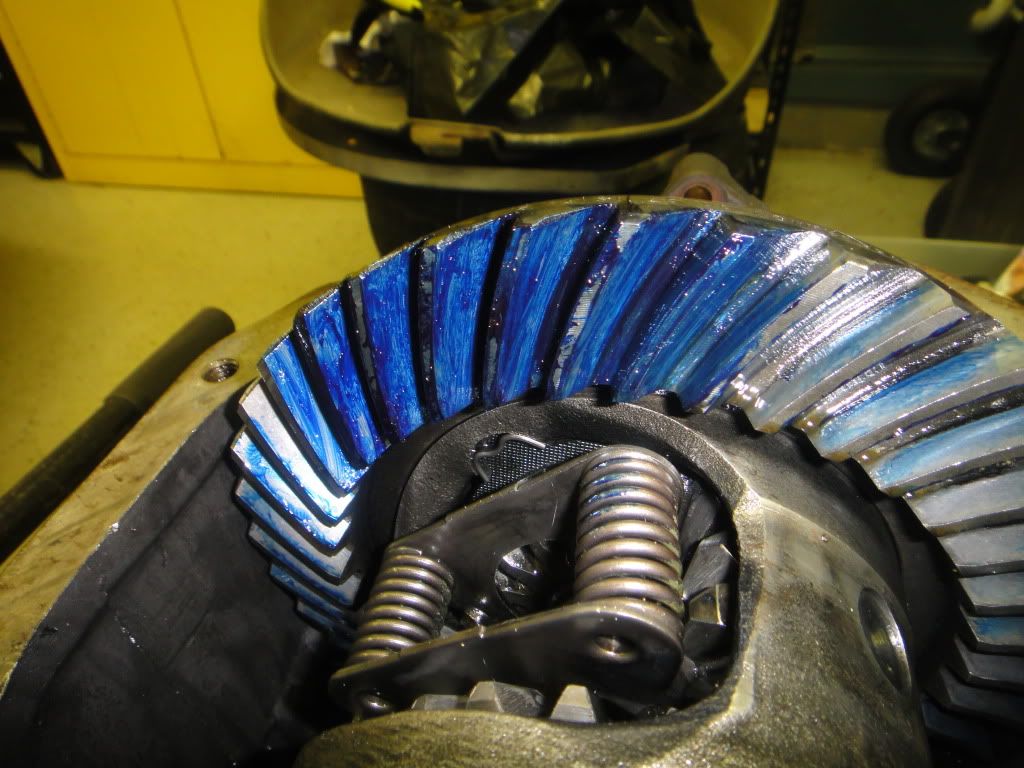
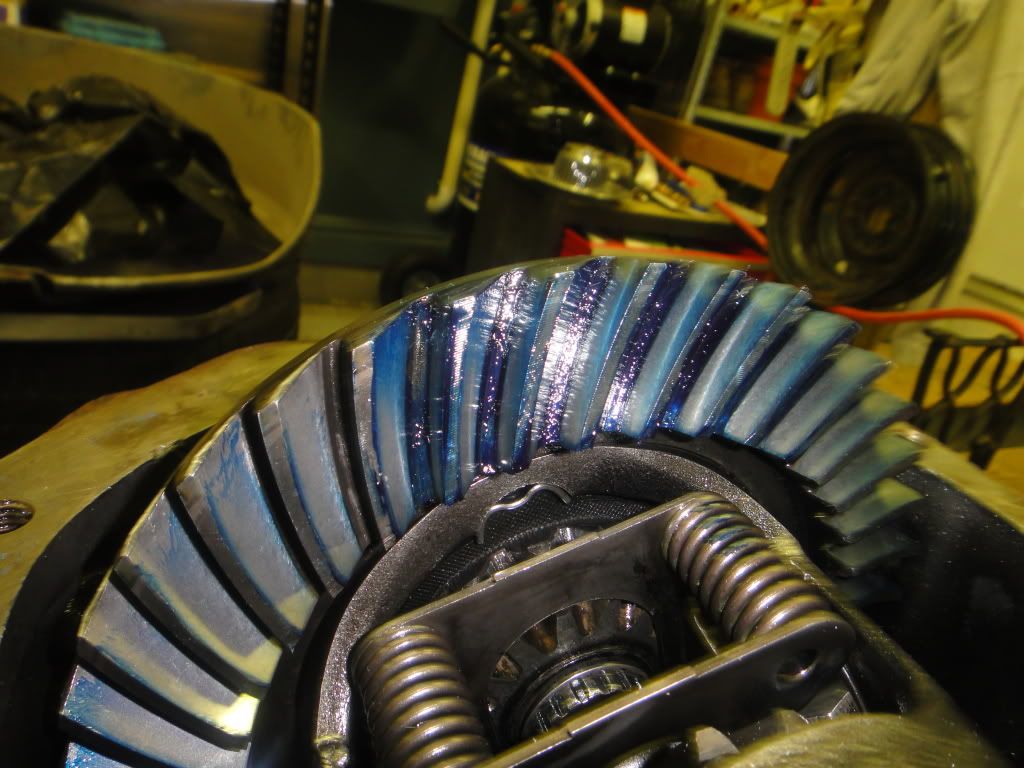
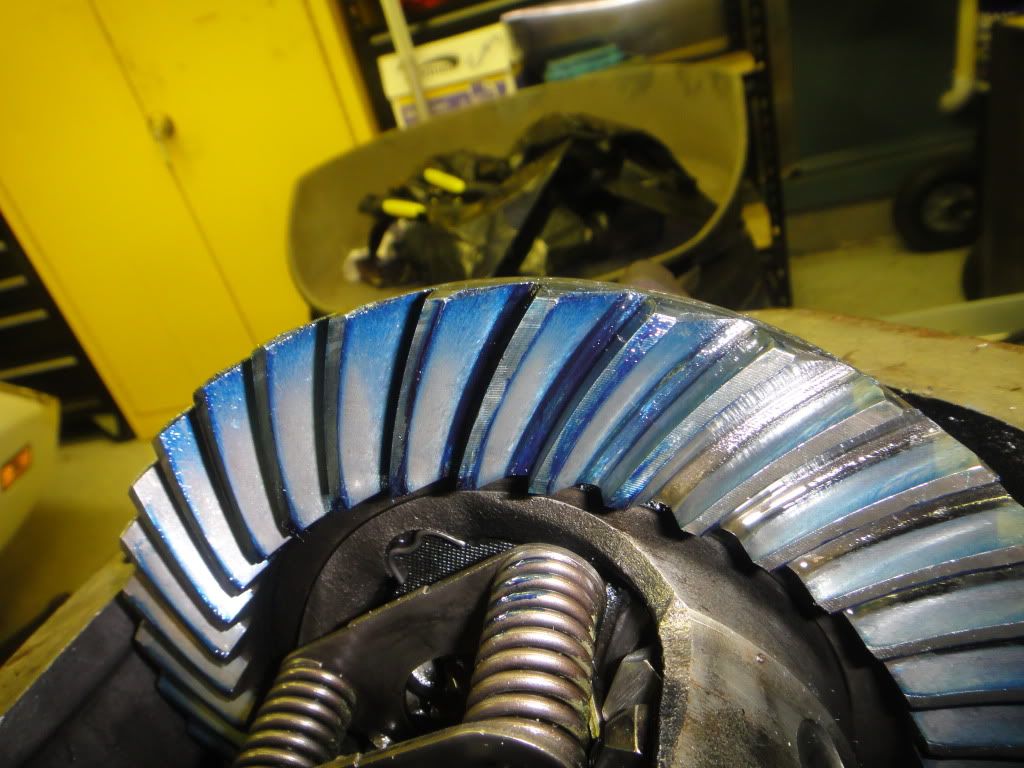
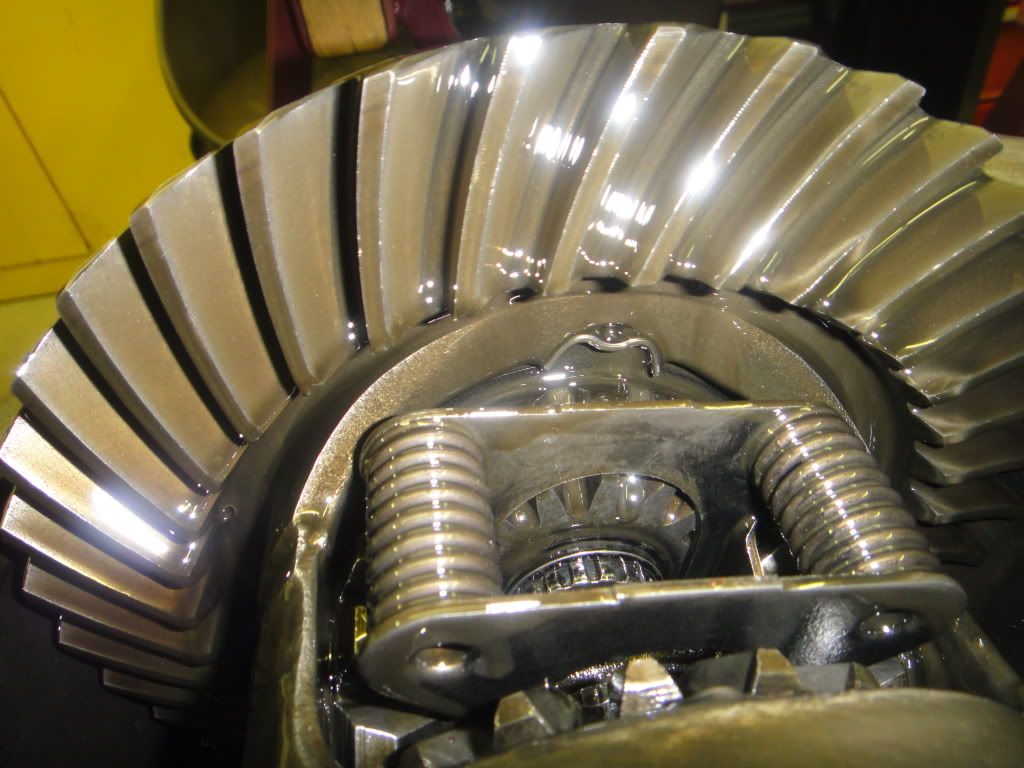
So I finally got some spare time to get out and check the gear pattern......
I am using Permatex Prussian Blue (which I am not sure if I am using correctly, but I am sure someone will tell me......)
Here is the area I painted:
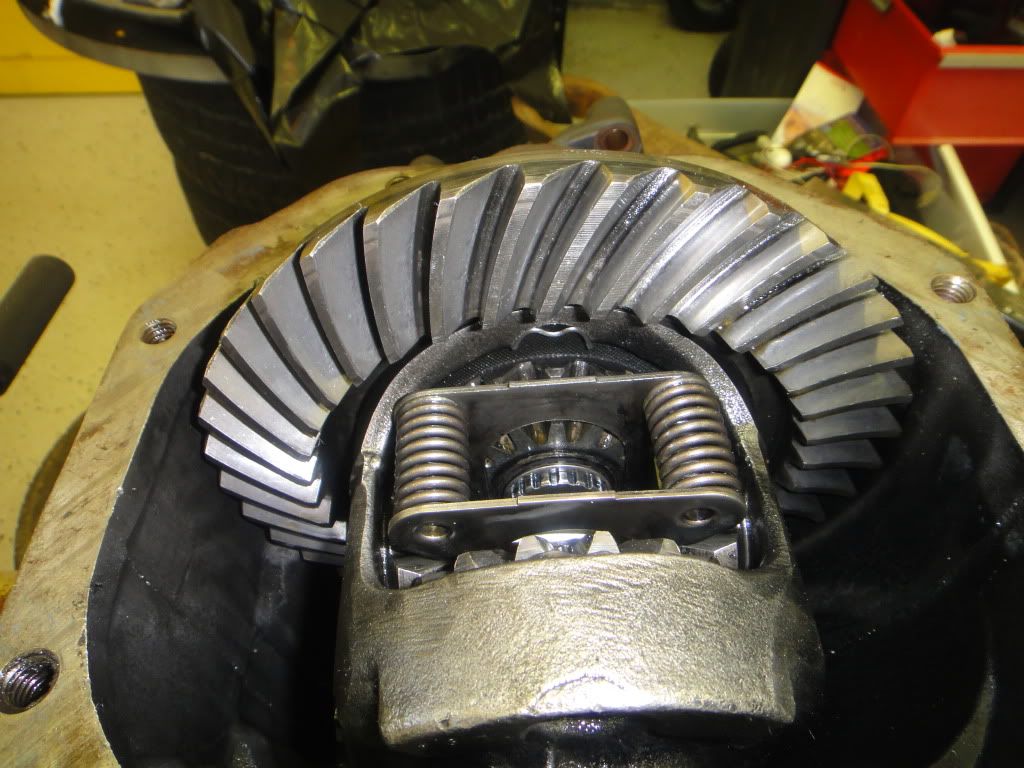
Painted:
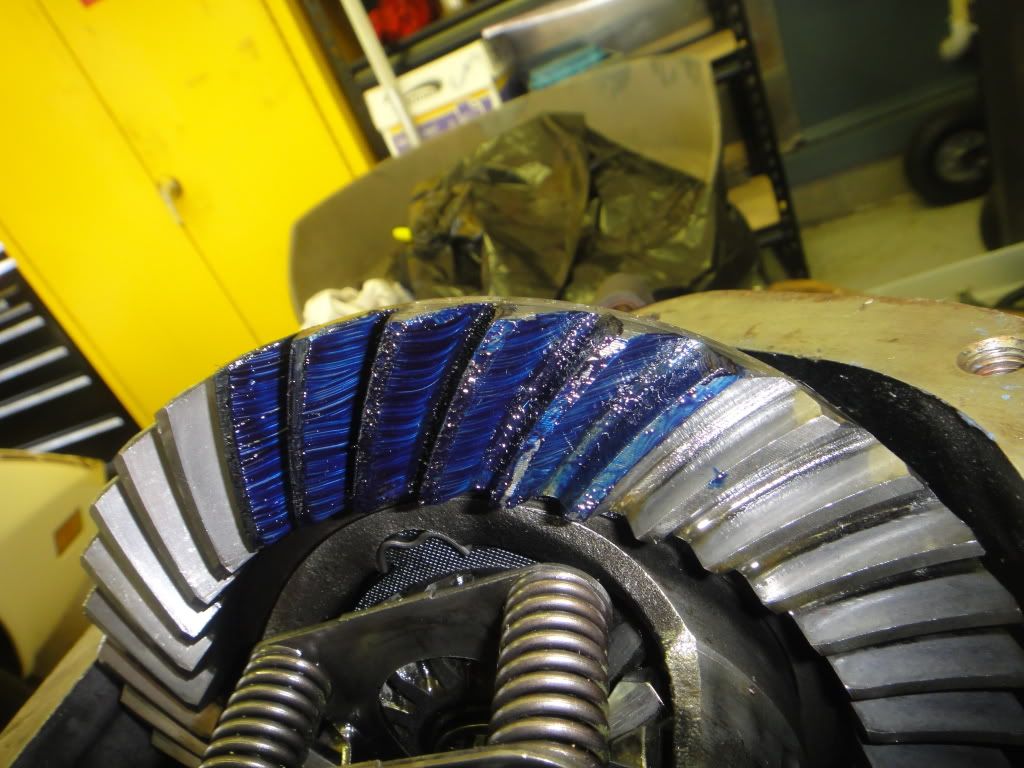
And Patterned:
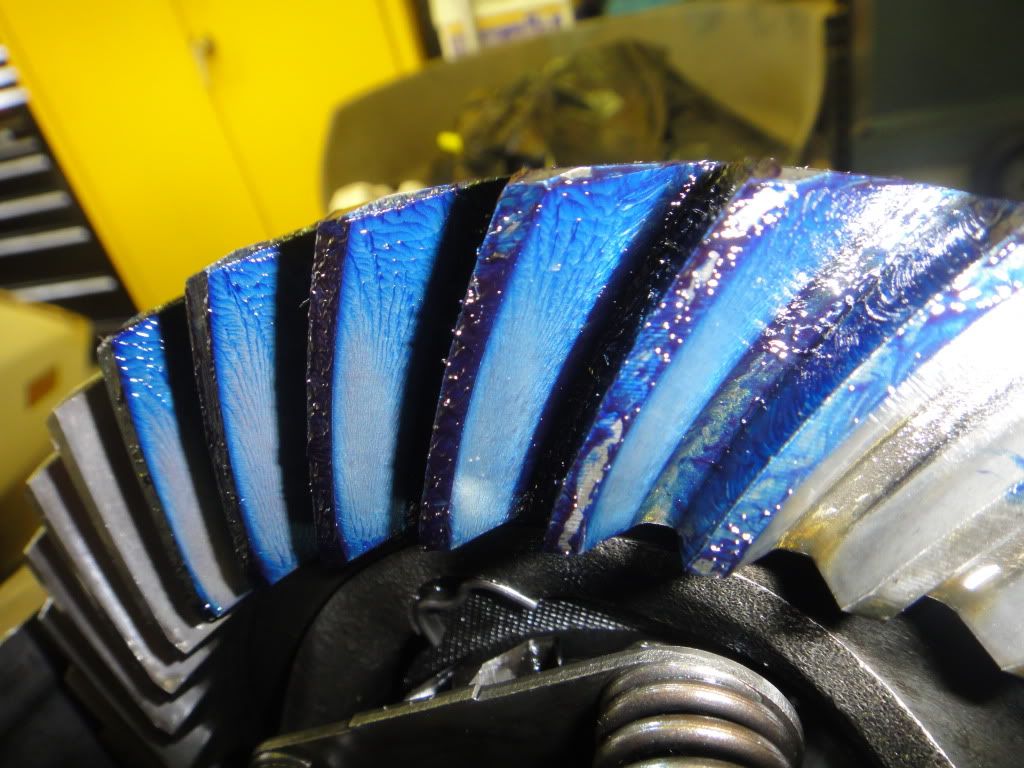
I am not sure if I supposed to the let the paint cure a little, I know it never dries, but the other pictures I have seen look paler blue.
I am using Permatex Prussian Blue (which I am not sure if I am using correctly, but I am sure someone will tell me......)
Here is the area I painted:
Painted:
And Patterned:
I am not sure if I supposed to the let the paint cure a little, I know it never dries, but the other pictures I have seen look paler blue.
05-29-2012, 11:23 AM
#35
Instructor
Thread Starter
05-29-2012, 03:07 PM
#38
Instructor
Thread Starter
Should I be spinning the half shaft yoke to get the patter, or the drivesaft yoke? The ring gear should move clockwise when looking at the teeth side of it, correct?