When you click on links to various merchants on this site and make a purchase, this can result in this site earning a commission. Affiliate programs and affiliations include, but are not limited to, the eBay Partner Network.
First you want to go to lowes or Home Depot and gat a piece of LEXAN not plexi glass I repeat not plexi glass. And dremel set and rotozip cutter
Next you will need to cut a strip of LEXAN about a half inch bigger then whatever emblem you are doing
After that if you are doing the front emblem you will take a tourch and heat it up to make it couture to the emblem and it doesn't take much heat at all to bend it
Next I drilled holes in LEXAN with rotozip so that the emblems would sit down flat and I traced it out with a pin
After that I took the rotozip and cut the lexan out a little bigger then traced lines
Than you can take the grinding wheel that came in the dremel pack and grind it down just to the lines so that it fits flush behind the emblem
Now you will take your etching bit that came in the dremel set and etch out a channel on the inside of the lexan that will fit up against the emblem the closer you can get the the edge the brighter it will be.
I forgot to take a pic but i drilled a hole through both of them for the wire to come up through.
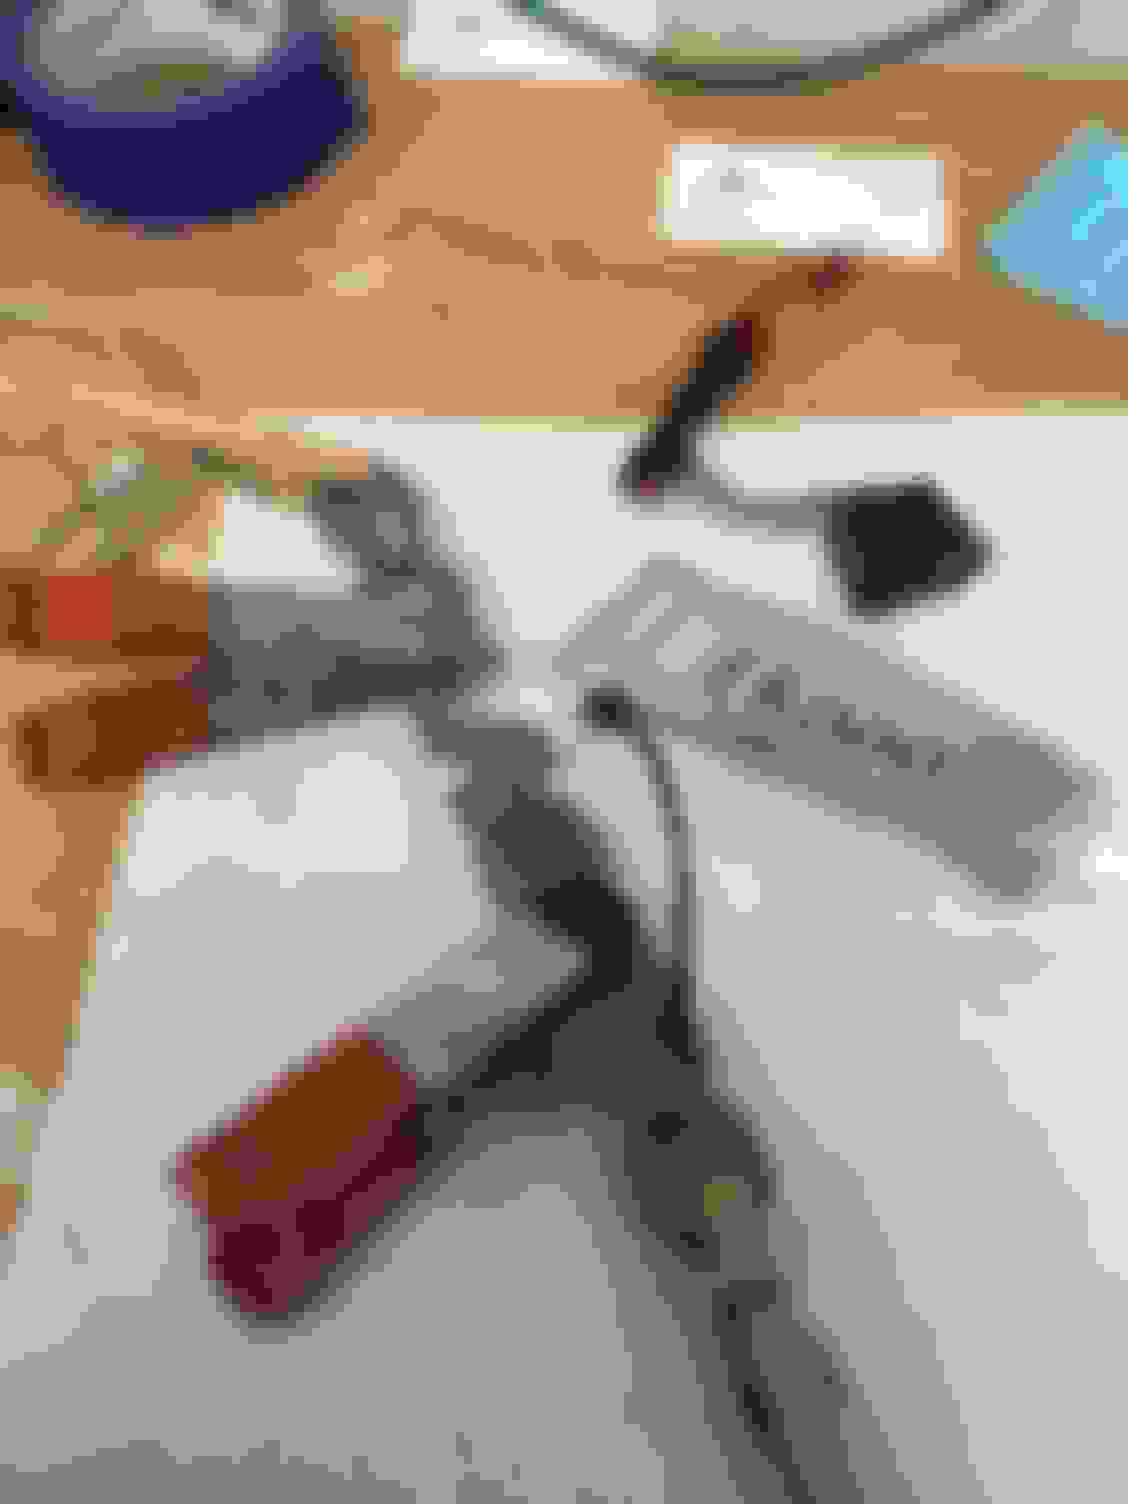
Now that I have the channels cut out its time to lay the wire in. I got my wire from elumiglow.com but you can get it from thatscoolwire.com. (YOU HAVE TO BUY 1.4mm WIRE ANYTHING ELSE IS TO BIG TO MAKE THE TIGHT BENDS) The reason I chose elumiglow was because the research I did said that they had the brightest wire but they don't have red. Thatscoolwire does have red. You will also need to buy a transformer and and some connectors. I called them and they put it all together for me so all I had to do was plug it in.
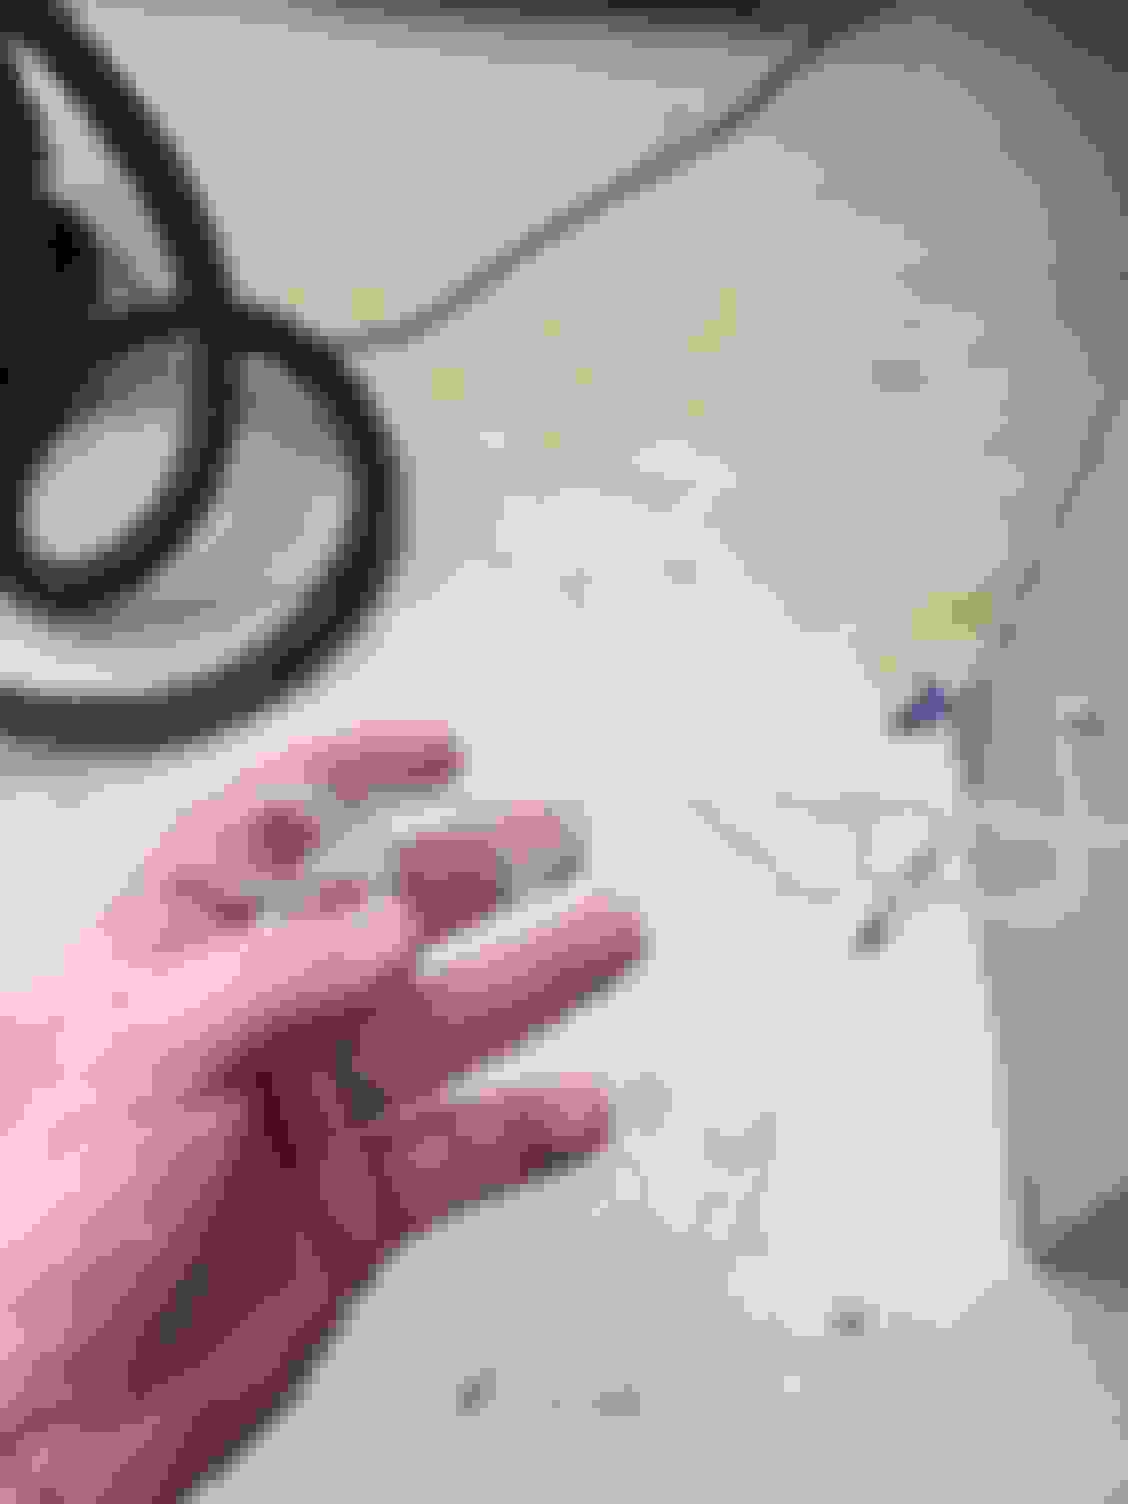
I just superglued the wire in to held it in place till I was finished
Once I tested them the make sure they worked it's time to glue them to the back of the emblems. I used E6000 glue I got at Walmart and this stuff is ridiculous strong when dried. On the front I generously filled in the channel and then clamped it to the emblem. Using a wet paper towel I cleaned up the excess glue that came out. For the back I pretty much did the same except I also filled in the letters as well to fill the void.
I let them sit over night and I tested one more time before I put them on. The front I glued on using the E6000 and on the back I just screwed them back on. I wired the front to the side markers and I wired the back to the liscence plate light if you wanted to do it as a third brake light you could wire it the the brake wires
Dub thank you very much I appreciate
Vettemarshal you could make it in red I just choose to do blue I plan on painting mine blue evintually so I just wanted it to match. The place I bought my wire didn't have red but you can get it from thatscoolwire but it has to be 1.4mm wire
Thanks for taking the time to get pics and write this up in a simple to understand set of directions. I am printing this thread out s I don't loose it. Excellent work.
They also sell pre-cut pieces for other cars- here's one in red for about $10.
And here's some two color ones- the Bike guys are using these...I was thinking doing something w/ my "Stingray" side emblem and it would double as a turn indicator.
Designer Imagines A Corvette That Looks More Like a Corvette Than the Corvette
Slideshow: A Jaguar designer's personal project imagines what a modern front-engined Corvette might look like if Chevrolet revisited the golden age of the Stingray.