When you click on links to various merchants on this site and make a purchase, this can result in this site earning a commission. Affiliate programs and affiliations include, but are not limited to, the eBay Partner Network.
Got my snubber bushing in the mail today...Now I need to use the search function and make sure I'm jacking it from the right place before I put it up in the air to fix the "clunk".....
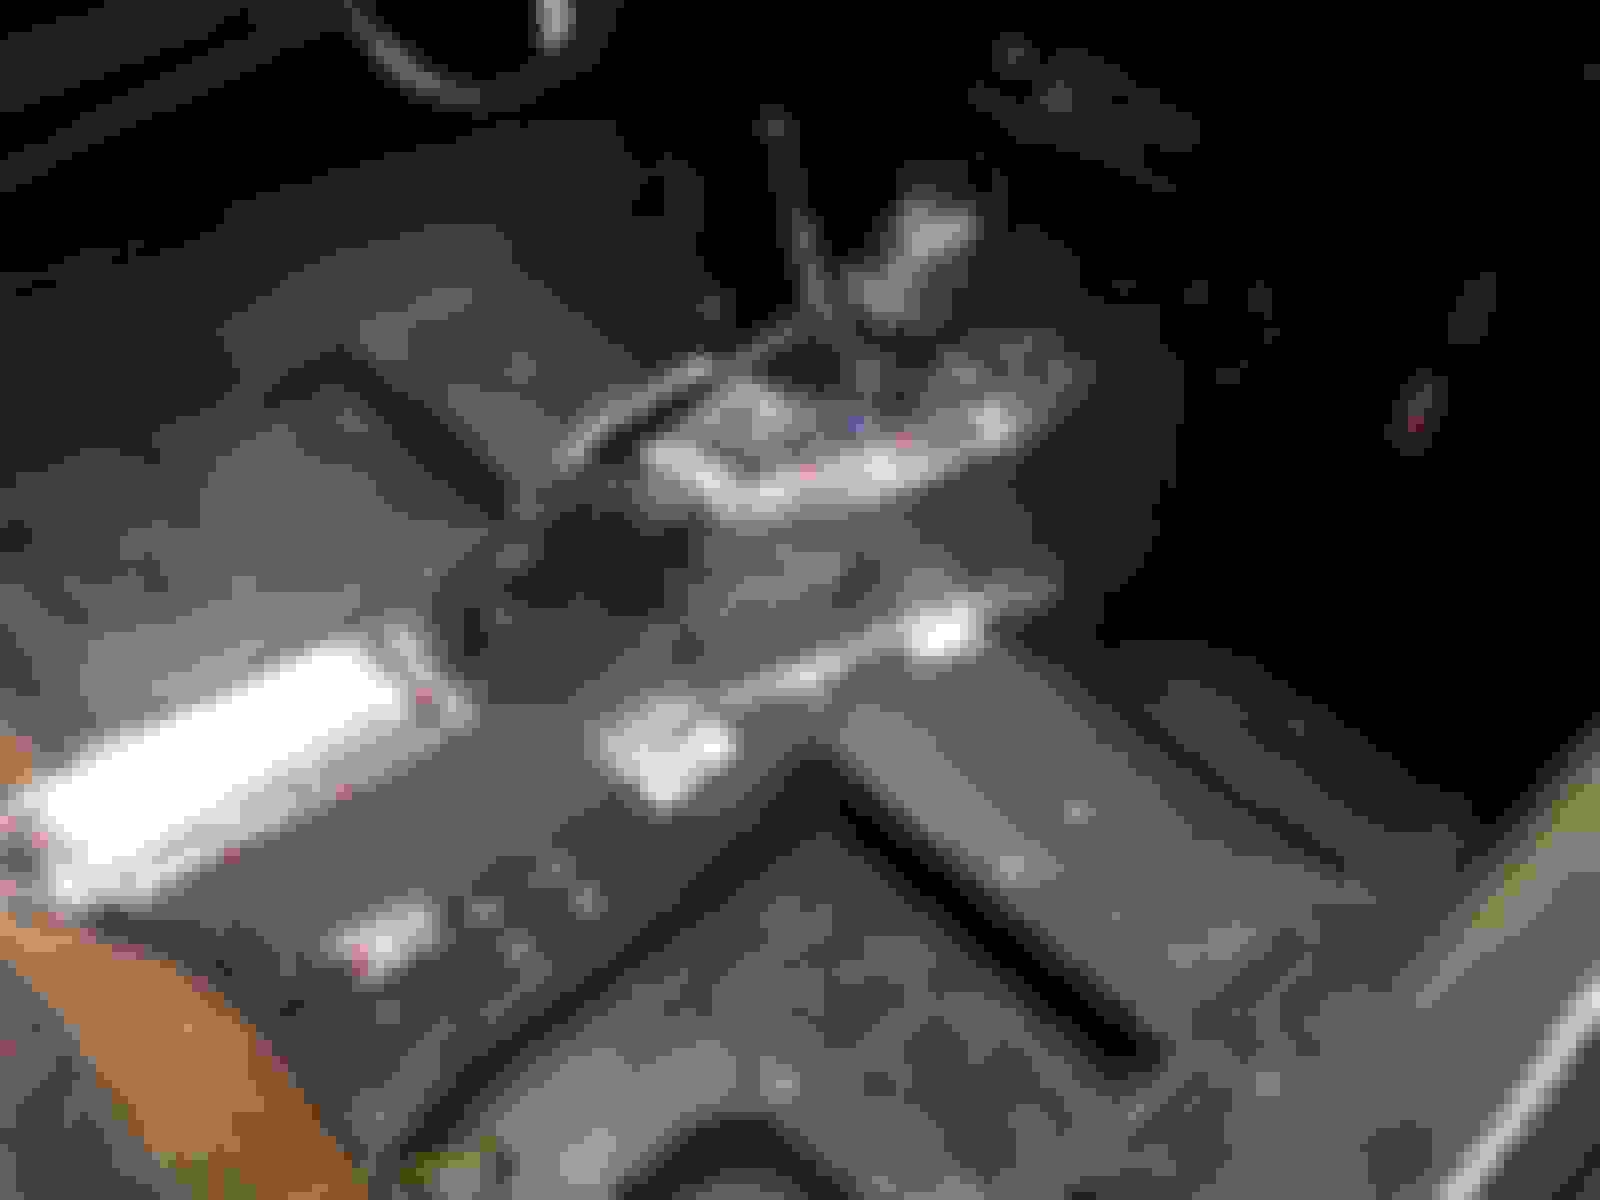
The T-Top adjustment bolt worked like a charm....Nice and tight now when I lock the drivers side down.....I wish I would have gotten 3 new ones for the rest...The new one had a nice rubber cushion in it that worked well.
I picked up the title today from the guy that first had it for sale....He gave me a ton of stuff that was supposed to go with the car but the guy that bought it just to flip it didn't want to wait for him to round it all up....Super nice guy, talked to him for almost an hour while he kept rounding stuff up....I got an extra center console....Inside door handles...Extra drivers side mirror including new mounting bracket and gasket....Halo trim panels in the correct color that were missing....Seat belts to go with the shoulder harness he had already installed....The original center caps and an extra trim ring....A service manual and a AIM manual...Receipts were he had work done and a hand full of misc. screws and other smalls....I figure I got $300-$400 dollars worth of stuff.
After getting back home today and working on the new kitchen backsplash, I finally got enough time to put the new snubber bushing in....I didn't take it for a test drive after finishing...It took a few beers to get the job done and I never drink and drive.
All in all I had a great day as far as the Vette goes...I'll report back in the morning if the "Clunk" is gone.
I worked on the drivers side kick plate body mount....I vacuumed it out and painted it tonight....When I removed the sill plate to take a look at the body mount I noticed some of the screws were loose so I added the plastic inserts that you put into sheetrock to hang pictures with and they worked like a charm....Next I'll do the passengers side.
I fixed a couple more issues tonight....I noticed what I thought might be a loose timing chain sound coming from the front of the engine...I checked for any items rubbing but found none....I then took off the AC and the power steering belts, started up the car and the sound was gone....Put the power steering belt back on and the sound was still gone....I guess the bearings are shot in the AC compressor...I figure it will have to be replaced anyway to get the AC going again.
Second issues was a coolant leak that I had not found yet....It was the large brass plug in the top of the water pump...I tightened it about 1/2 turn and then drove it up the road a few miles....No leak when I got back or after the motor cooled down.
I'm still investigating my temp/gauge issue and if the gauge is reading high or it's running too hot....Just a few miles and the gauge is sitting above 210....With a IR temp gun the top radiator hose shot about 160 the the thermostat housing shot about 150 and the head where the sending unit is shot about 190....Headers shot about 400....I think the inside gauge may be off by about 20 deg too high....?
Next project is to install some seat belts from an f-body Firebird....Seats already the slots for the shoulder belts...Got a ebony colored set off eBay tonight shipped for $70....Maybe I can sell the fronts for 20-30 dollars.
I figured while I had the seats and carpet out to put the new seat belts in I might as well add some Reflectix. Getting all the dirt, grime and old glue was the worst part and took the better part of the day....I did get the tranny tunnel covered before days end. Found a body mark too although I have no clue what it means...?
Hi,
I think the 342 was the number of the car as it was built on the line....
i forget if they went up to 500 and then started back at 1...?
if i am right that number would be on the firewall on the pass side also.
I fixed the wobbly drivers side mirror tonight.....Someone had tried to get the screws out of the old mounting plate and just rounded the holes out....I was given a new mounting plate and gasket so I decided to see if I could get them out....No luck with anything I tried so I set in and drilled the heads off so I could remove the plate.....There was enough of the screws left to get a pair of vise grips on and I got one screw out that way....The other one wouldn't budge so I ended up drilling it out. I used a sheet metal screw it that hole and it held very well. I'll get back on the inside this weekend....Just not enough room in the garage to work on it inside and we have been having the typical southern afternoon and evening thunderstorms this week so far.
Well the rear brackets on the seat sliders were pretty much toast....At $22 each plus shipping I was looking at over $100....That is just ridiculous, I know Vette parts are high but when I can make them for just about nothing but my labor I will do just that.
I got all the parts cut out tonight...Tony from FlexFab gave me the steel tube and flat plate for free....Now I just have to weld and drill them.
Got the brackets welded, drilled and painted. They are now bolted back on the seat rails and installed on the bottom of the seats. I even did some touch up painting on the bottom of the seats. I'm ready to start putting it back together now.
Got the rest of the floor boards insulated today....Just have the area behind the seats to do, then I'll be ready to install the carpet. I did find a very good match for my carpet at Lowe's tonight....It's almost a dead match and cheap....$4.98 per foot X 6 foot wide....I got enough to do the area behind the seats for less than 10 bucks, That piece must have had battery acid spilled on it or something....Part had turned red and the rest looked like a poor dog with mange.
Thank Ya'll for the kind words.....I got $14,400 in it now including tax tag and title....New chambered exhaust, transmission tunnel insulation and foam seal are on the way.
Thank Ya'll for the kind words.....I got $14,400 in it now including tax tag and title....New chambered exhaust, transmission tunnel insulation and foam seal are on the way.
Brian
Looks great. You bought that car very well. The floor insulation will make a HUGE difference.. You'll find that that your lower back won't be all damp with sweat. Probably knock 10 degrees out of the cockpit with that product.
Another great project is to pull the original radio and send it to Hagen's radio conversion. They will put a board in the original radio with an amplifier and Iphone connector. Pull the phone connector up through ashtray and put a stand in there. Play your iTunes through the original radio -- nice wattage. Replace the kicks and put some removable 6x9 in boxes in back. Kill the dash speakers. Sound will be amazing.
On a side note...The alarm is supposed to work on this car....I know the key slot in the back has something to do with setting it but I have no idea how it works.....Can anyone point me to a thread about this issue....?
Brian
Start in the jack compartment, a relay and a flasher are in there. Most troubleshooting starts there. Next step is under the driver rear fender, that's where the horn for the alarm sits. Each door and hood also has an actuator switch to trip the alarm. That is it! The rest is just circuit tracing. I would arm the alarm (assuming you have the key), trip it by opening a door and see if you can hear the flasher actuating, and also measure to see if you get voltage with a multimeter at the terminals for the horn.
Searching on the forum should turn up plenty of help. They are the simplest alarm system you will find.

 05-21-2015, 05:07 PM