

Windshield trim removal....

Thread Starter
Pro

Joined: Jul 2011
Posts: 508
Likes: 36
From: Ia
Hey everyone,
What is the best/most recommended way to remove the the stainless outer windshield trim from a 76 coupe? Any 'best practices' or experience to share? I am going to attempt to remove the windshield tomorrow and any advice would be greatly appreciated!
What is the best/most recommended way to remove the the stainless outer windshield trim from a 76 coupe? Any 'best practices' or experience to share? I am going to attempt to remove the windshield tomorrow and any advice would be greatly appreciated!
Team Owner


Joined: Sep 2006
Posts: 31,278
Likes: 4,372
From: Westminster Maryland
Hi M,
I start with the proper sequence�.really the only sequence.
First the weatherstrip and it's retainers on both a-pillars.
Then the stainless steel reveal molding screwed to each a-pillar.
Next the long thin piece of stainless steel trim right across the top of the windshield header. (Here there are various methods employed� from using one of the 'trim tools', to gentle prying, in order to release the trim from the clips mounted to the header under the trim.)
Then the large piece running across the top of the windshield header.
Finally the chrome plated corner castings. You REALLY need to be careful here. Some of the screws that hold this piece in place are in a position that if you try to remove them with the windshield in place the glass can easily be damaged.
Are you replacing the existing glass or reusing it?
Good Luck!
Regards,
Alan
Melting Slicks

Joined: May 2015
Posts: 2,365
Likes: 428
From: Cape Girardeau Missouri
The trim on the sides is integral with the weatherstripping and its retainer. There are three screws. There are little access holes in the glass channel of the weatherstripping--one near the top, one middle and one bottom. Feel around with a #2 Phillips and you'll find the screw heads.
The top trim merely presses in place--pull straight out towards the front of the car.
If you're doing a thorough cleaning, etc. of the windshield area and decide to remove the cast corner pieces (the ones with the holes that position the t-tops) be careful. There are screws going into them from around the outside of the windshield. You'll be able to see them with the upper trim removed. DO NOT attempt to remove them with the glass installed as you will almost certainly make at least one tiny chip in the edge of the glass and it will eventually run. Also you MUST reinstall them BEFORE the windshield is replaced! I'm far from the only one who broke a windshield that way!
Also you'll find a black tar like compound used on the windshield side trim and the "roof" trim (the "T" shaped piece, the front piece and the corner pieces previously mentioned). While I was able to find the GM product used in the assembly manual it is no longer an active GM product that I couldn't find anything similar at good auto stores. Described as "gunnable, fibered, bituminous" I used fibered asphalt patch (in a standard sized caulk tube) from a hardware store.
Thread Starter
Pro
Joined: Jul 2011
Posts: 508
Likes: 36
From: Ia
Thankyou for the info Gentlemen!
Alan, as alwa6s thankyou for sharing your expansive knowledge, and to answer your question:
Yes, and no... I am going to attempt to pull the good windshield out of this tub
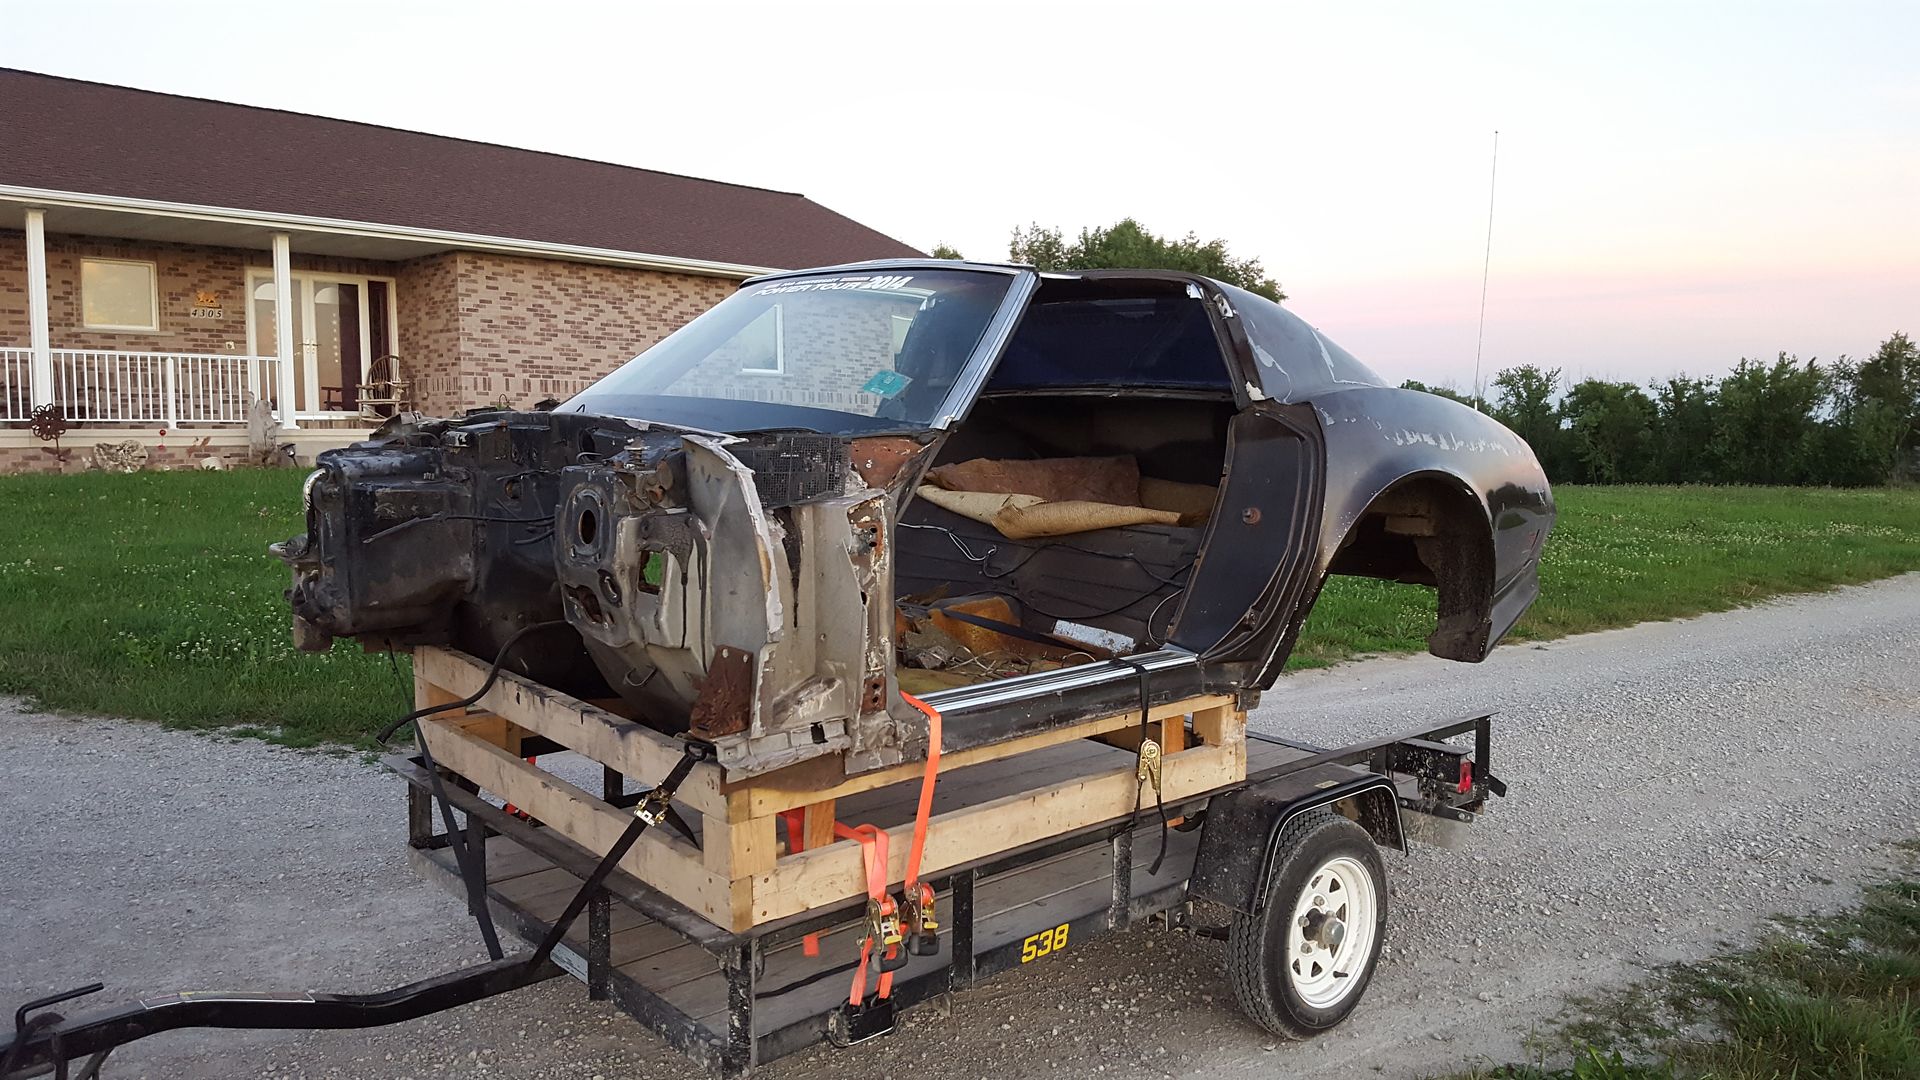
And use it to replace the cracked one in my 77. I was aware that the winshield was in te way of the cast blocks, but only from a post on this forum from a couple years back. However part of my plan involves using this tub to mock up the roll cage I want to build. So the T top blocks will stay for now to aid with proper clearance.
SwampeastMike: Good to know about the adhesive! Where I work uses something that sounds similar to reglue windows in the back of our chassis cabs... I will have to look into it. The actual window swap probably won't happen until next spring though.


Thread Starter
Pro
Joined: Jul 2011
Posts: 508
Likes: 36
From: Ia
 I am hoping to get some pics and even video... so if I break it, this should be fun


