When you click on links to various merchants on this site and make a purchase, this can result in this site earning a commission. Affiliate programs and affiliations include, but are not limited to, the eBay Partner Network.
Great question, I'd say I spent two or three solid saturdays working on it, plus a an hour here and there during the working weeks after work. In total I'd guess ~32 hours of labor. This includes building the chassis dolly, as well as filming which slowed me down. I'd consider myself fairly adept at mechanical work, but I'm not professional wrencher. I had very little rust issues to deal with as well which I'm sure saved some time.
Good advice on the accusump as well, thanks!
Good luck with the BB, your '68 427 is kick ***, I hope you enjoy it!
Thanks, your time info is super useful. The 68 is destined to be sold back to the guy I bought it from (neighbor), I had a ton of fun with it this year but I want to do something along your lines long term (I have a chassis in mind, hopefully it'll still be available this spring) and I can't bring myself to altering the 68 any more than it is (headers/side pipes and mono spring f/r, narrowed trail arms done by a P/O).
Small Update:
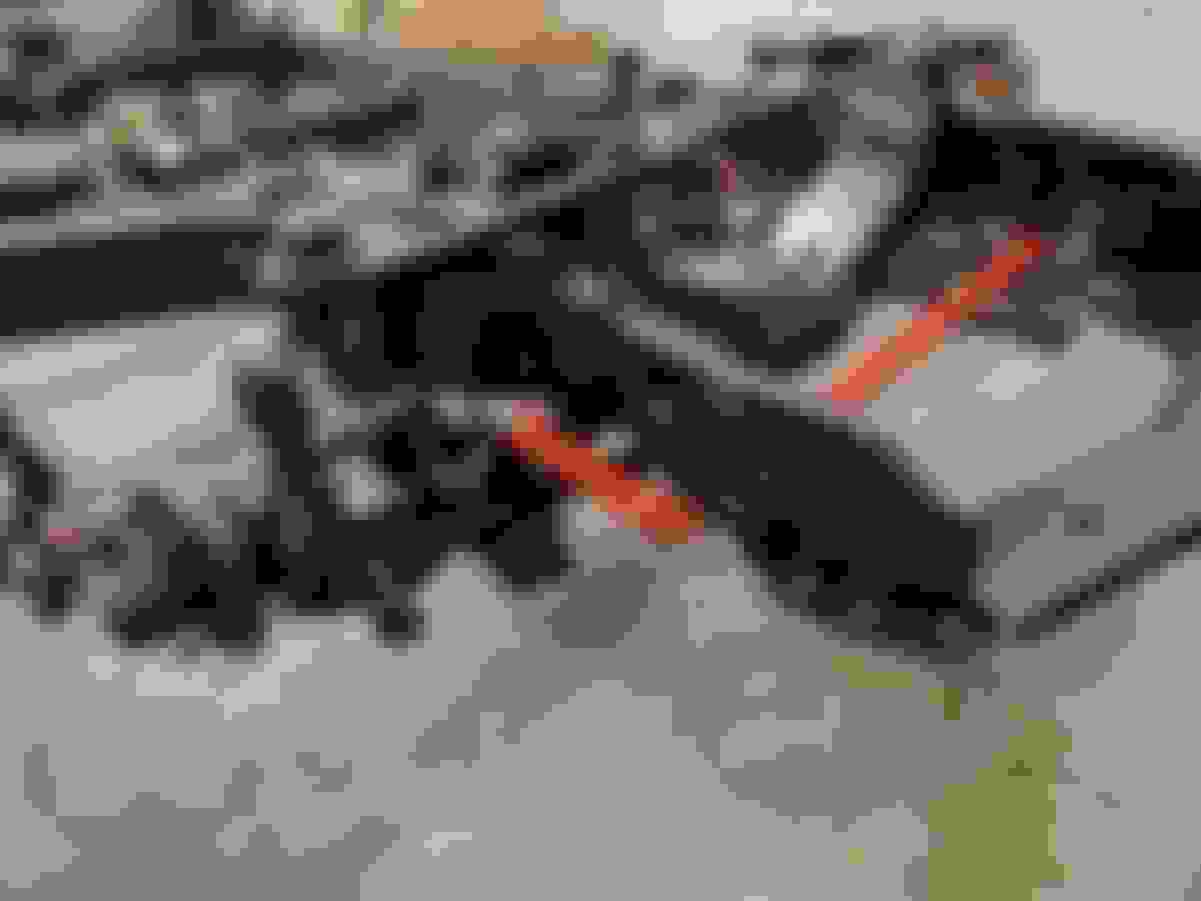
Got the engine, trans, front suspension and some of the rear suspension off. Had a friend of mine come over who's much more skilled at welding than I am to box in the trailing arm kick ups, weld in many of the gussets from the chevy power book, and fill in the factory skip welds through much of the frame.
The previous owner claimed that only about 3500 miles were on the engine since it was rebuilt, and upon inspection I'd say thats about right. You can still see the cross hatches in the cylinders from when it was bored 0.030" over, the cam at least looks to be in good shape, and it's all very clean, no sludge. The clutch face still faintly has paint on it that was the part number! So I do think it was hardly driven.
In the mean time I've just been cleaning the frame with a wire wheel and flap wheel for my angle grinder as well as a steel bottle brush attachment for a drill. They all work, but it is very slow going. I have this week off of work, hopefully I can get it cleaned and painted by the end of the week.
Still working on the body off video, editing takes considerably longer than I thought it would.
Yea because rust contaminates a good weld. I blasted mine 1st, then spent at least 40 hrs seam welding and installing gussets.
I sandblasted my frame before welding it, but I also spent a shitload of time trying to get that same damn sand out of the frame rail seams before the welding. If I do a frame job again I'll wire brush/grind the seams, weld, and then sandblast prior to painting.
I just smacked it with a hammer a few times to tighten up the seam and blew it out with air. Be sure to skip around the frame , don't weld in one area too long.
Haven't updated in a while, been busy working on my masters degree, or at least that's my excuse.
Anyway, after spending a few hours grinding paint off with various attachments on an angle grinder I finally gave in an heeded to multiple people's advice a bought a sand blaster. I had not realized how cheap they could be! I ended up using about 800lbs of abrasive sand in my driveway. At $7/50lbs bag and a $75 sand blaster I spent less than $200 to do it. So now I guess I'm a proud owner of a sandblaster?
This is after I finished blasting and moved the frame back inside. Made a helluva mess but it worked great!
Here's the frame after blasting, not sure why it looks so white in the photos, must be the lighting.
After reading every review under the sun in regards to chassis paint and treatment I determined that every product has a) people who claim its the best thing ever and b) people who claim its the biggest scam on earth.
So, I went with KBS all-in-one-chassis paint kit (not sure if we're allowed to link to non-venders?). I liked the price and results, and it was a convenient all in one kit. It uses a cleaner, a zinc-phosphate etcher, a rust sealer/coat, and a top coat. The rust sealer was sticky/serious stuff, wear protection! I went with matte black for the top coat, just personal preference.
Here's the frame after etching:
I also used Eastwood's internal frame coat, it worked great! I used 3 cans. Be careful with it, as it will spray out the various holes in the frame.. my garage door is now inspired by a dalmatian.
Here's the frame after the sealer.:
Here's the frame after the top coat, as the days went by it progressively lost sheen and became more "matte" (which I wanted).
So, great progress on the frame has been made and time to put on the new suspension and put things back together!
But wait, there's more! Long story short I've decided to do the LS and 6 speed swap now for a whole host of reasons. Looking like I'll buy an L92 out of a wrecked truck. Its essentially an LS3 for 3/5ths the cost but with different intake manifold and cam, which I'll be upgrading anyway. Still a 6.2 aluminum block with the great LS3 heads.
More to come on that as I get parts.
In the meantime, I'd like to sell my 350 and muncie 4 speed and would appreciate any input on what they are worth. The 350 is the base 1969 300hp SBC but with a "350 hp" cam and 1.6:1 roller tip rockers the PO installed, as well as a road course pan that I ended up buying on sale last year. I have little history on the muncie other than its an M20 close ratio, I think it's original (it has all the right numbers for a '69) and appears to be in good shape.
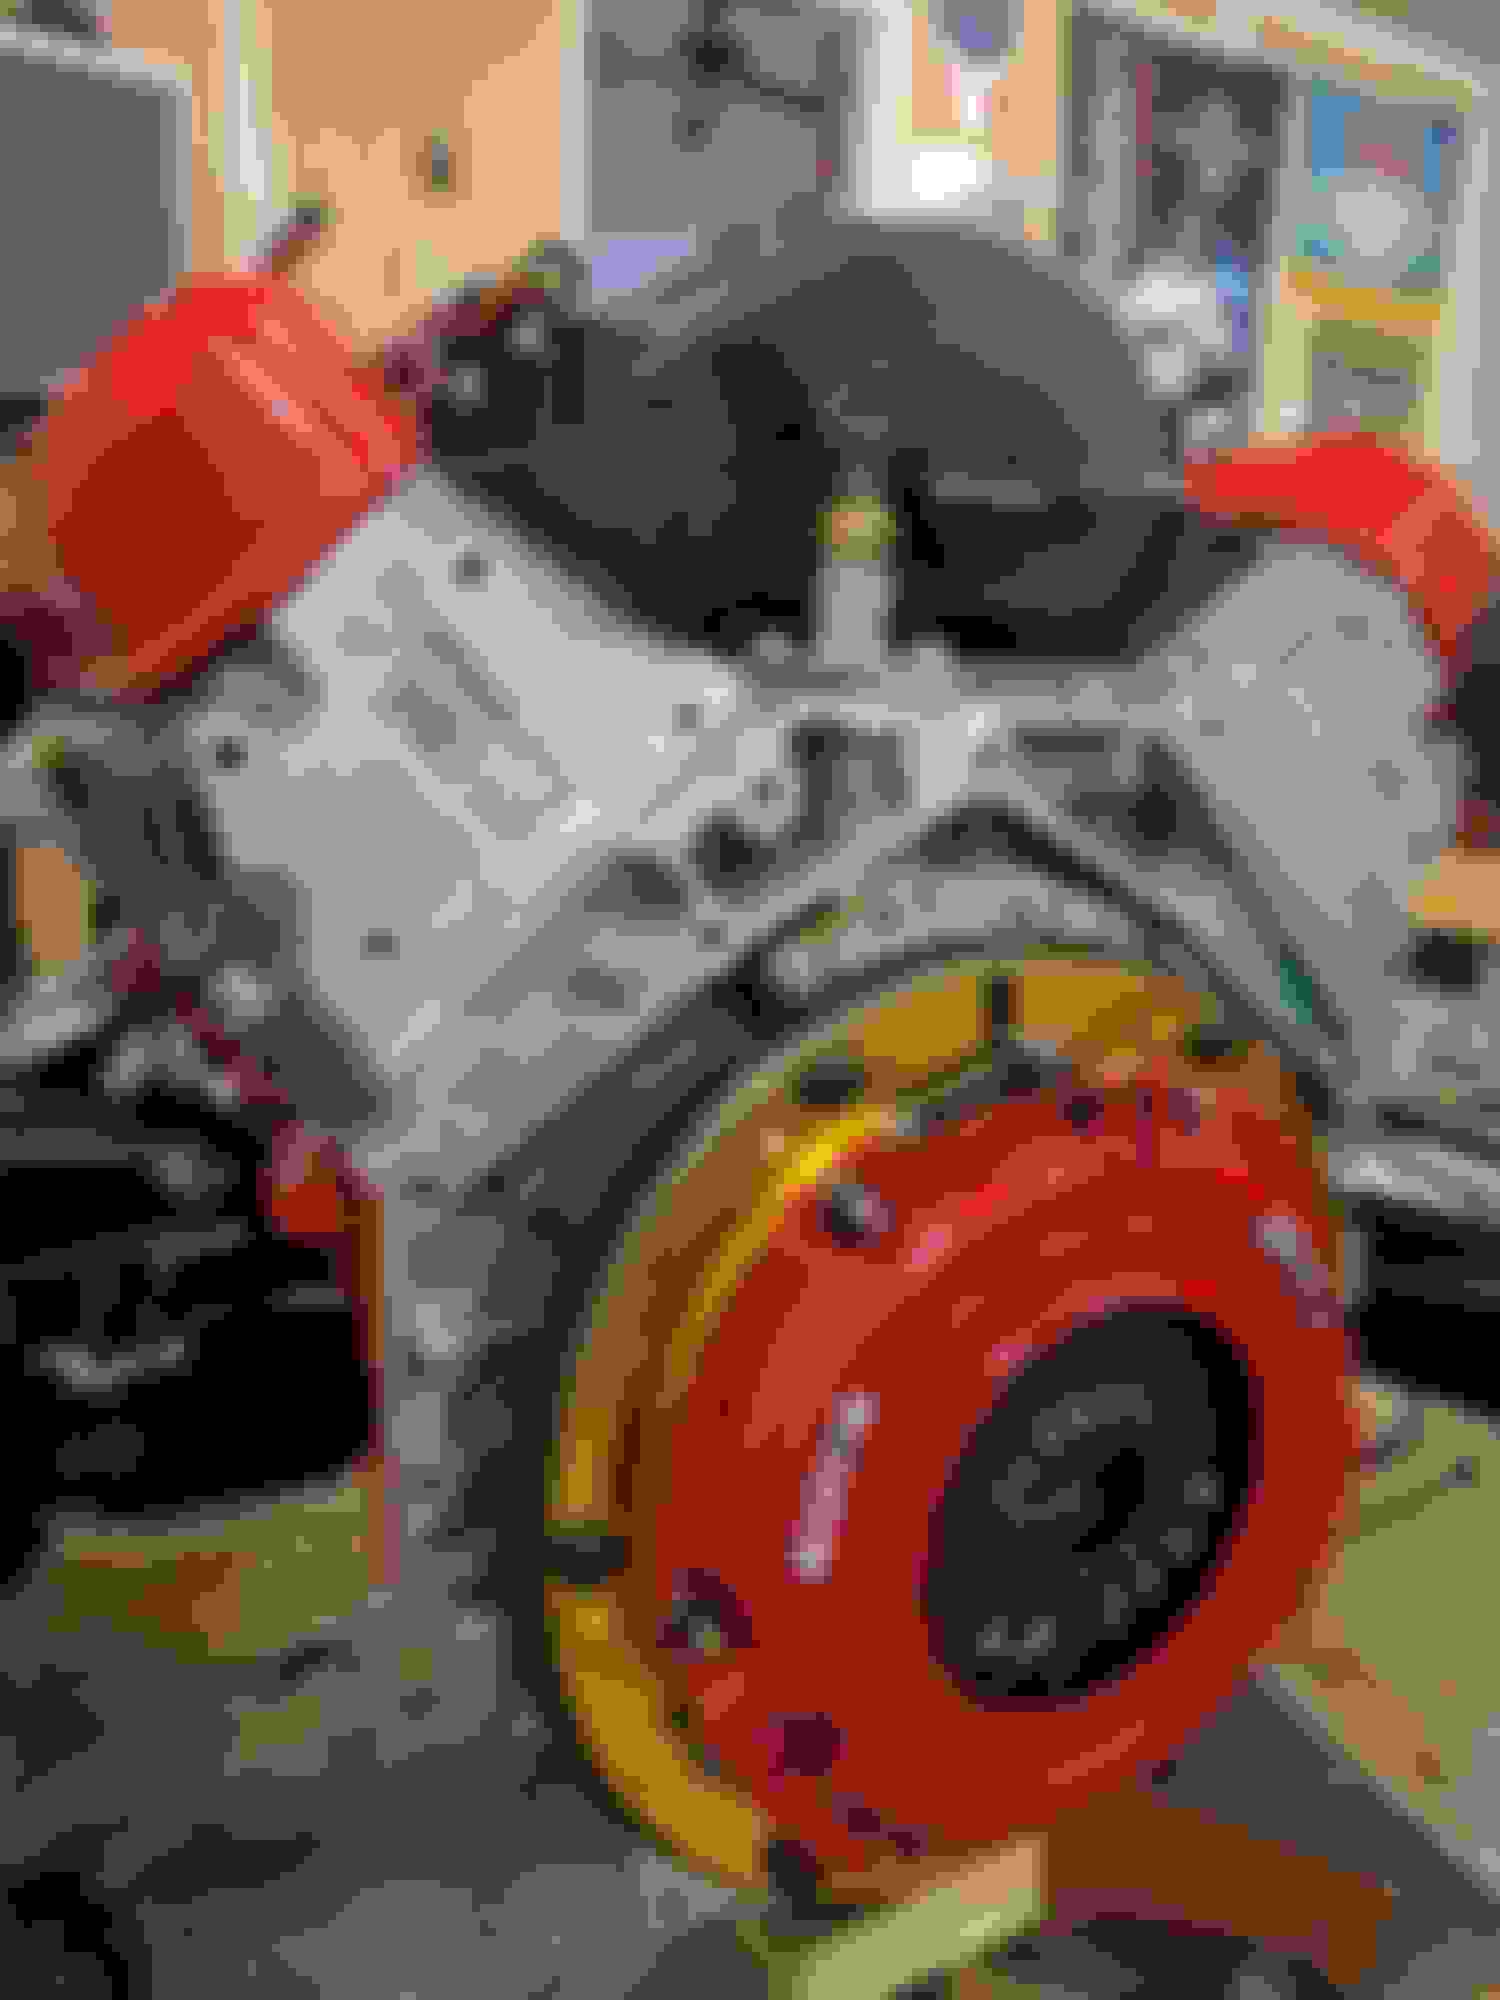
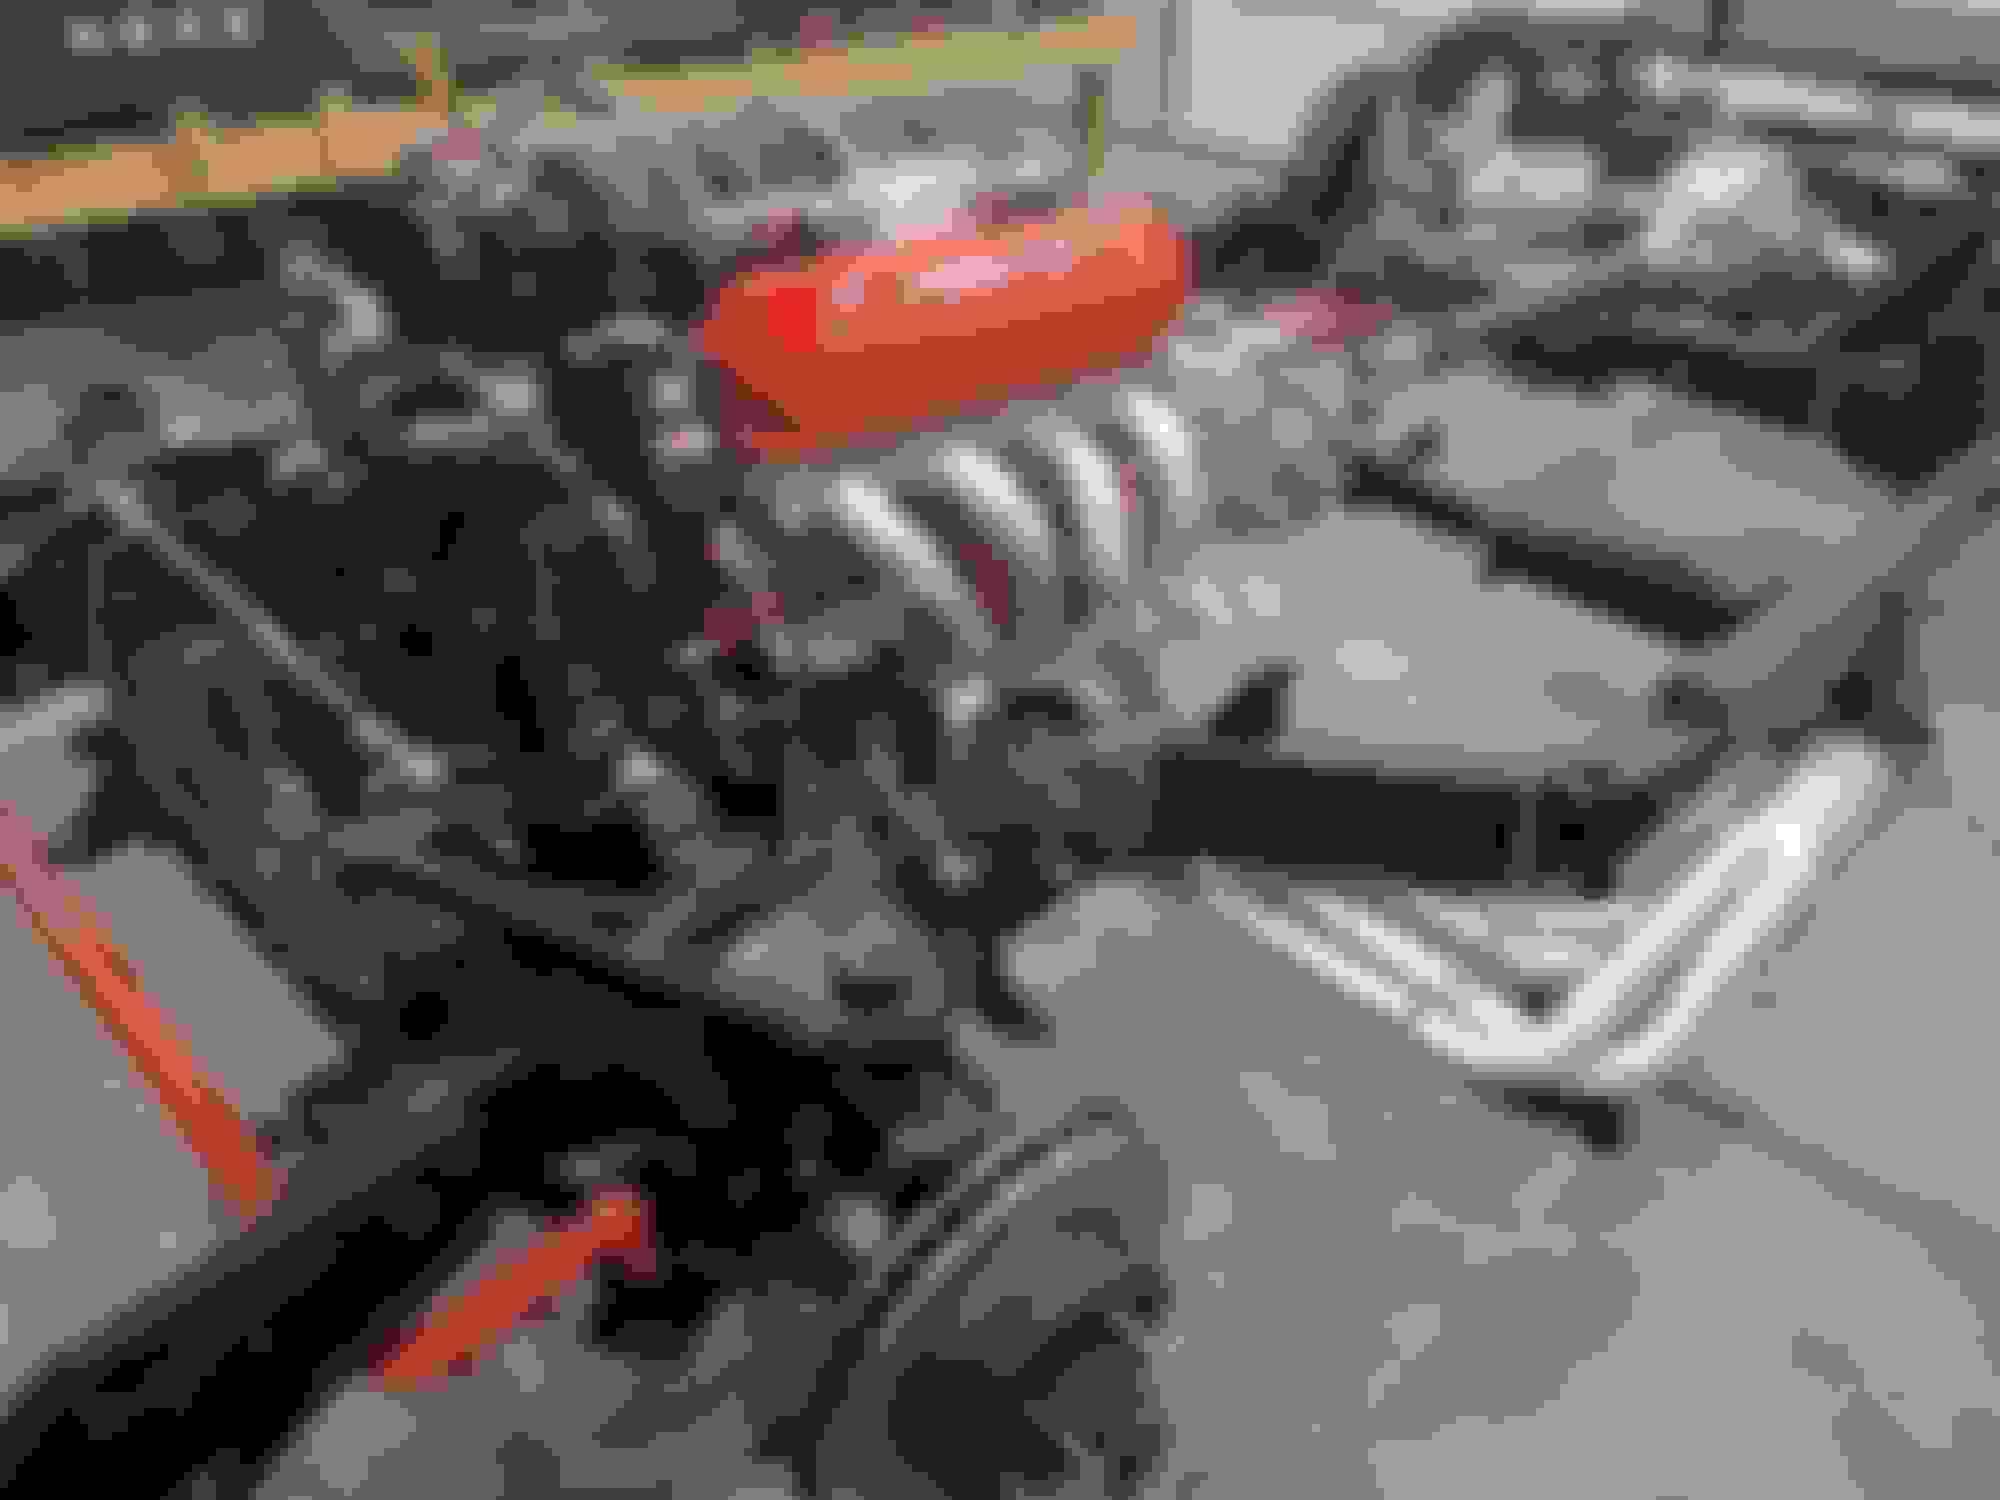
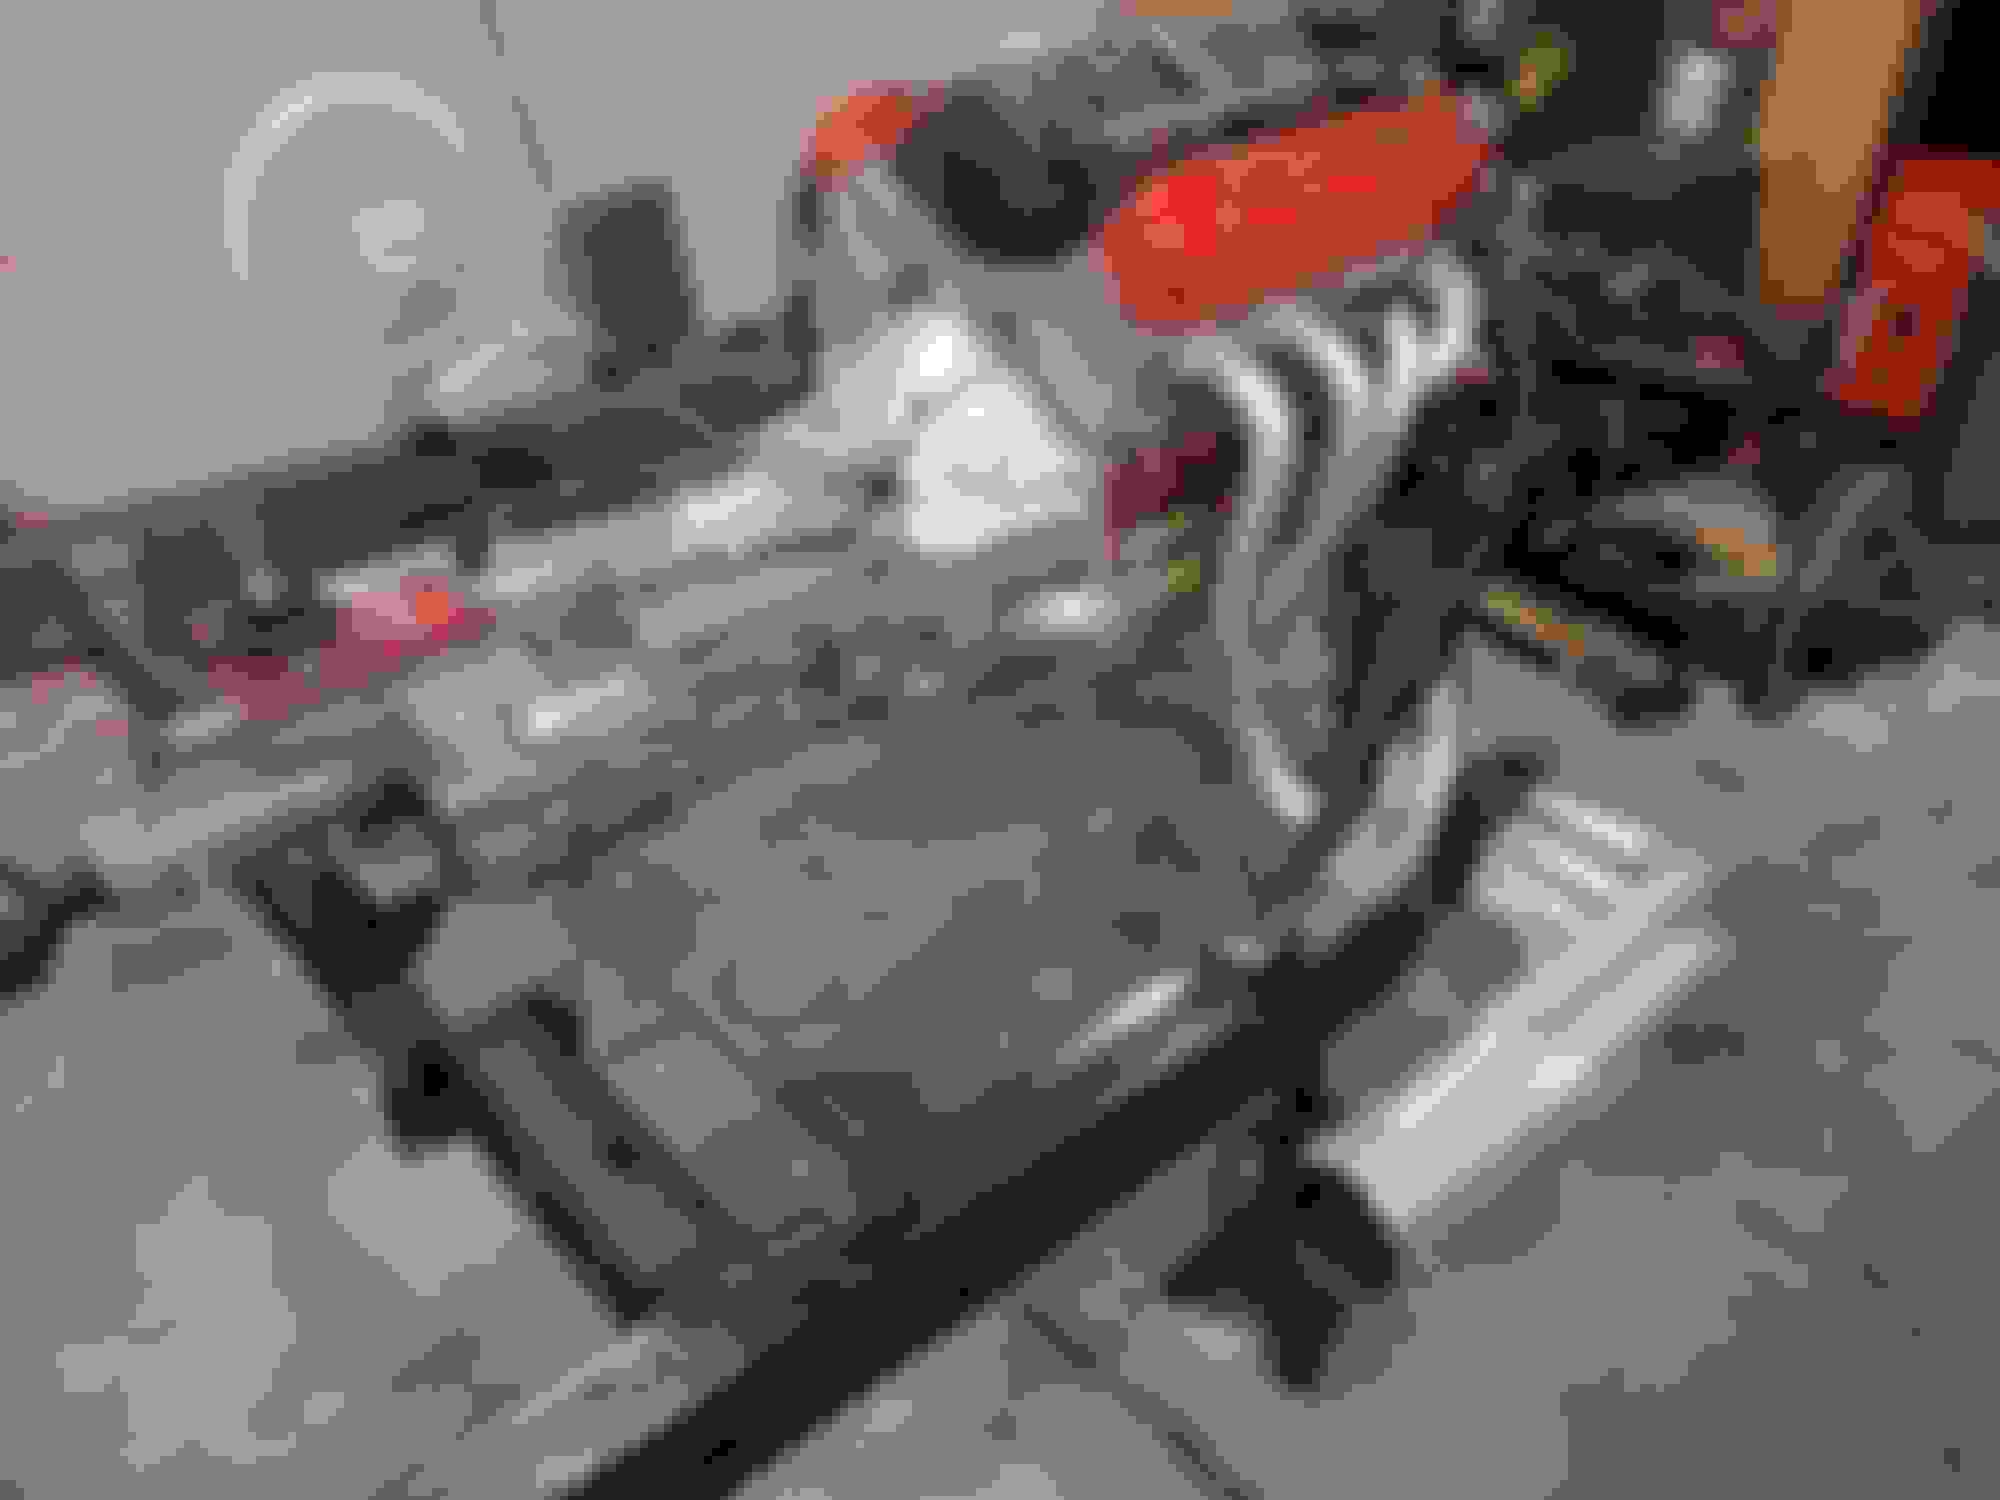
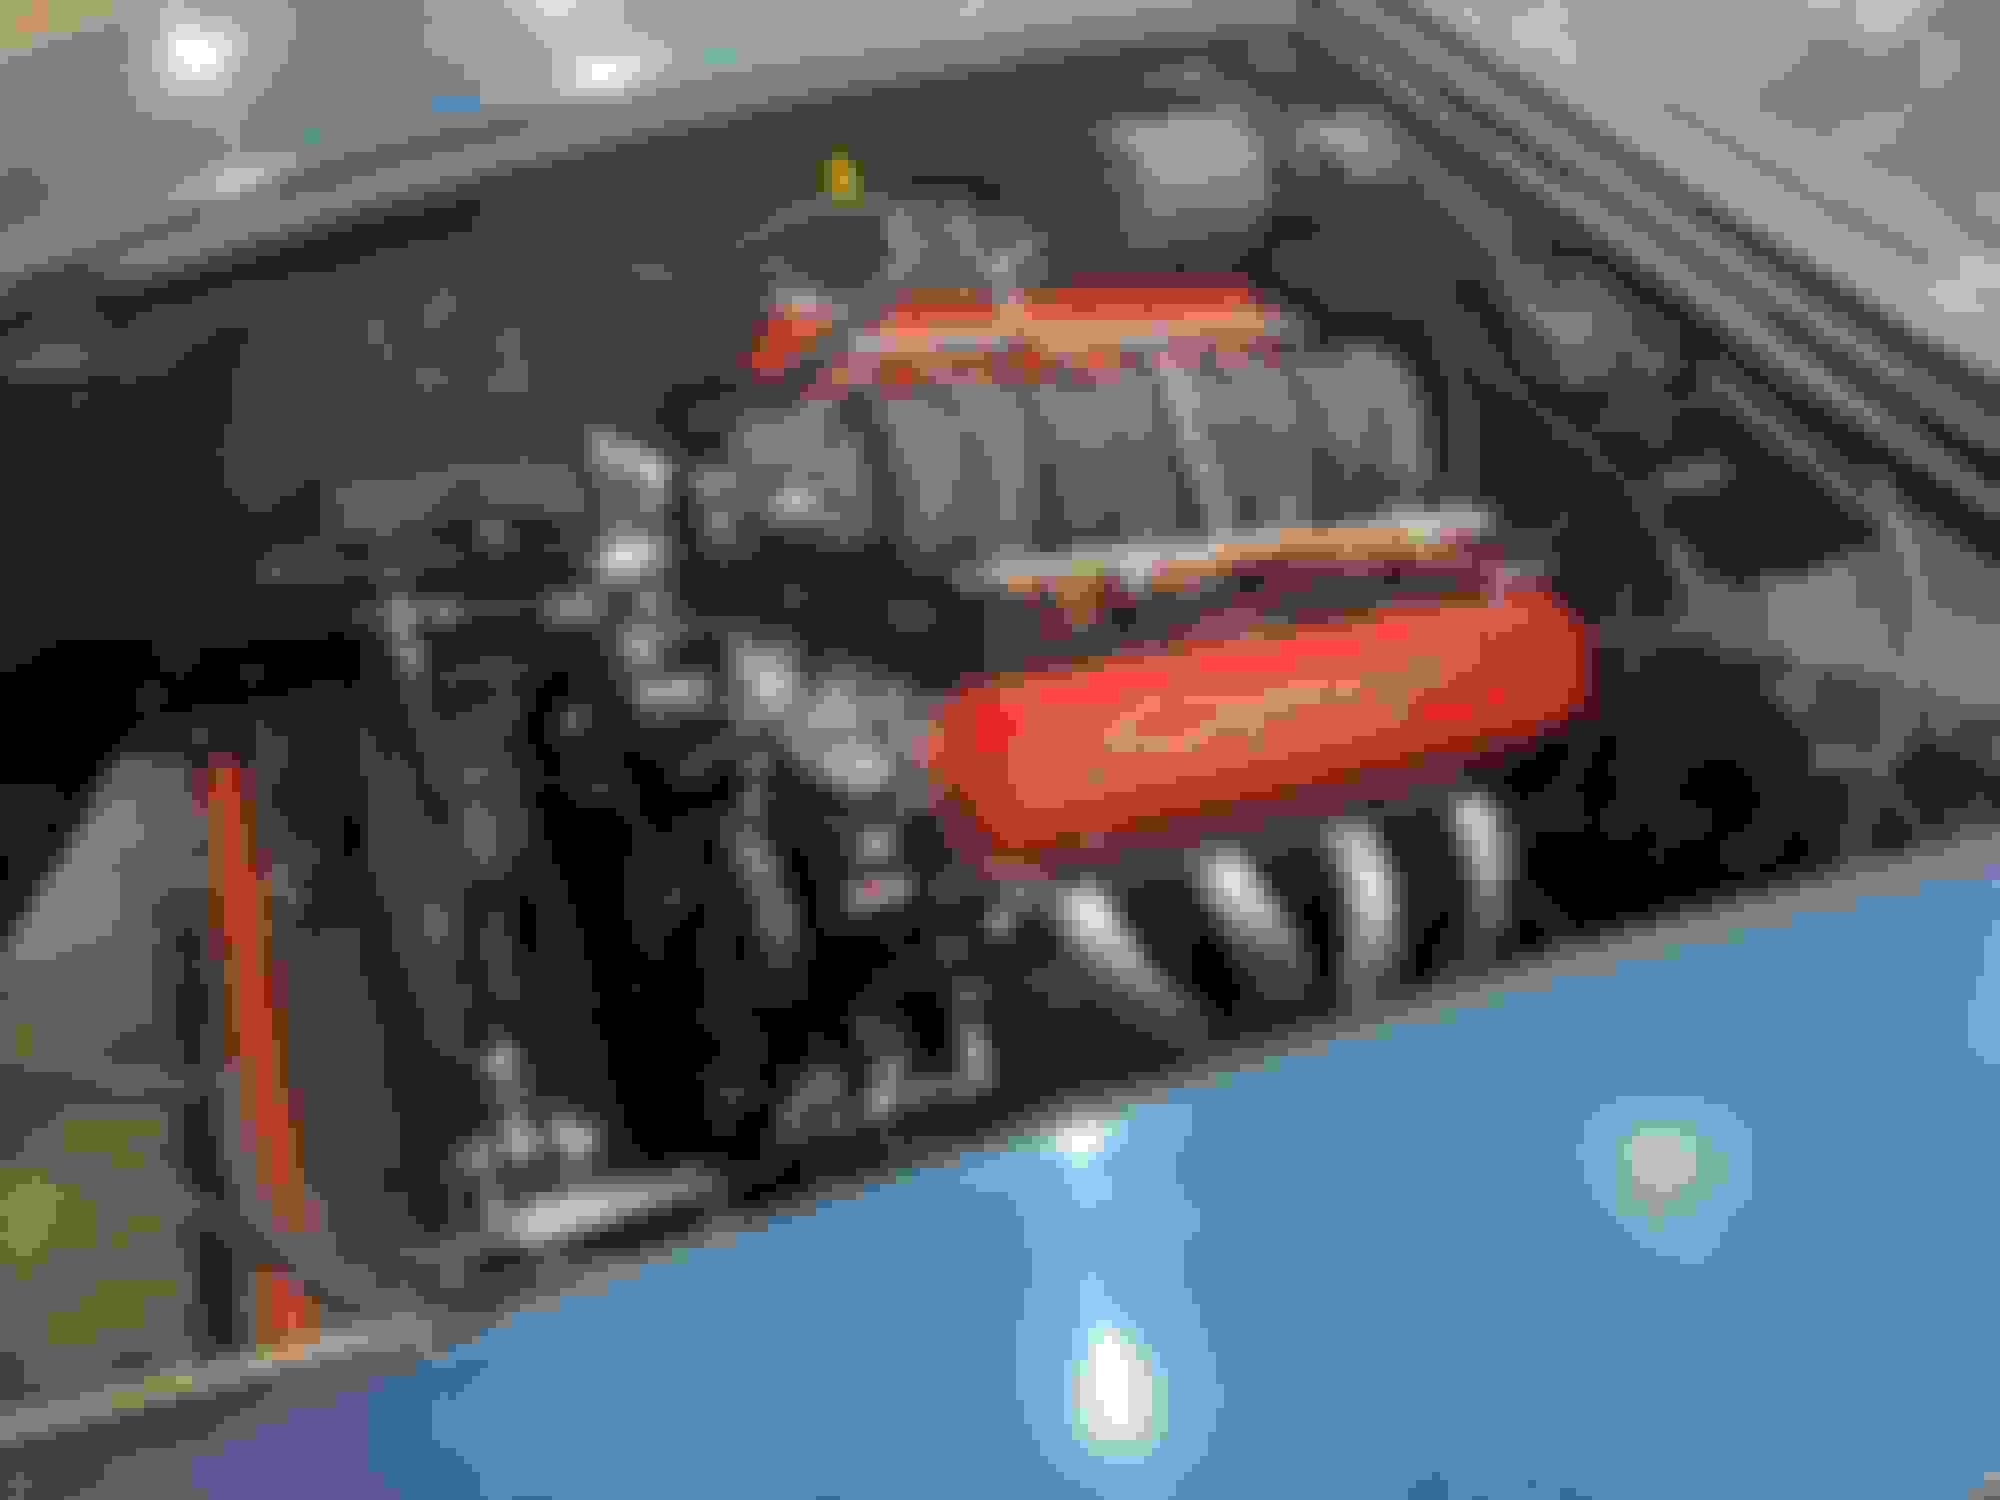
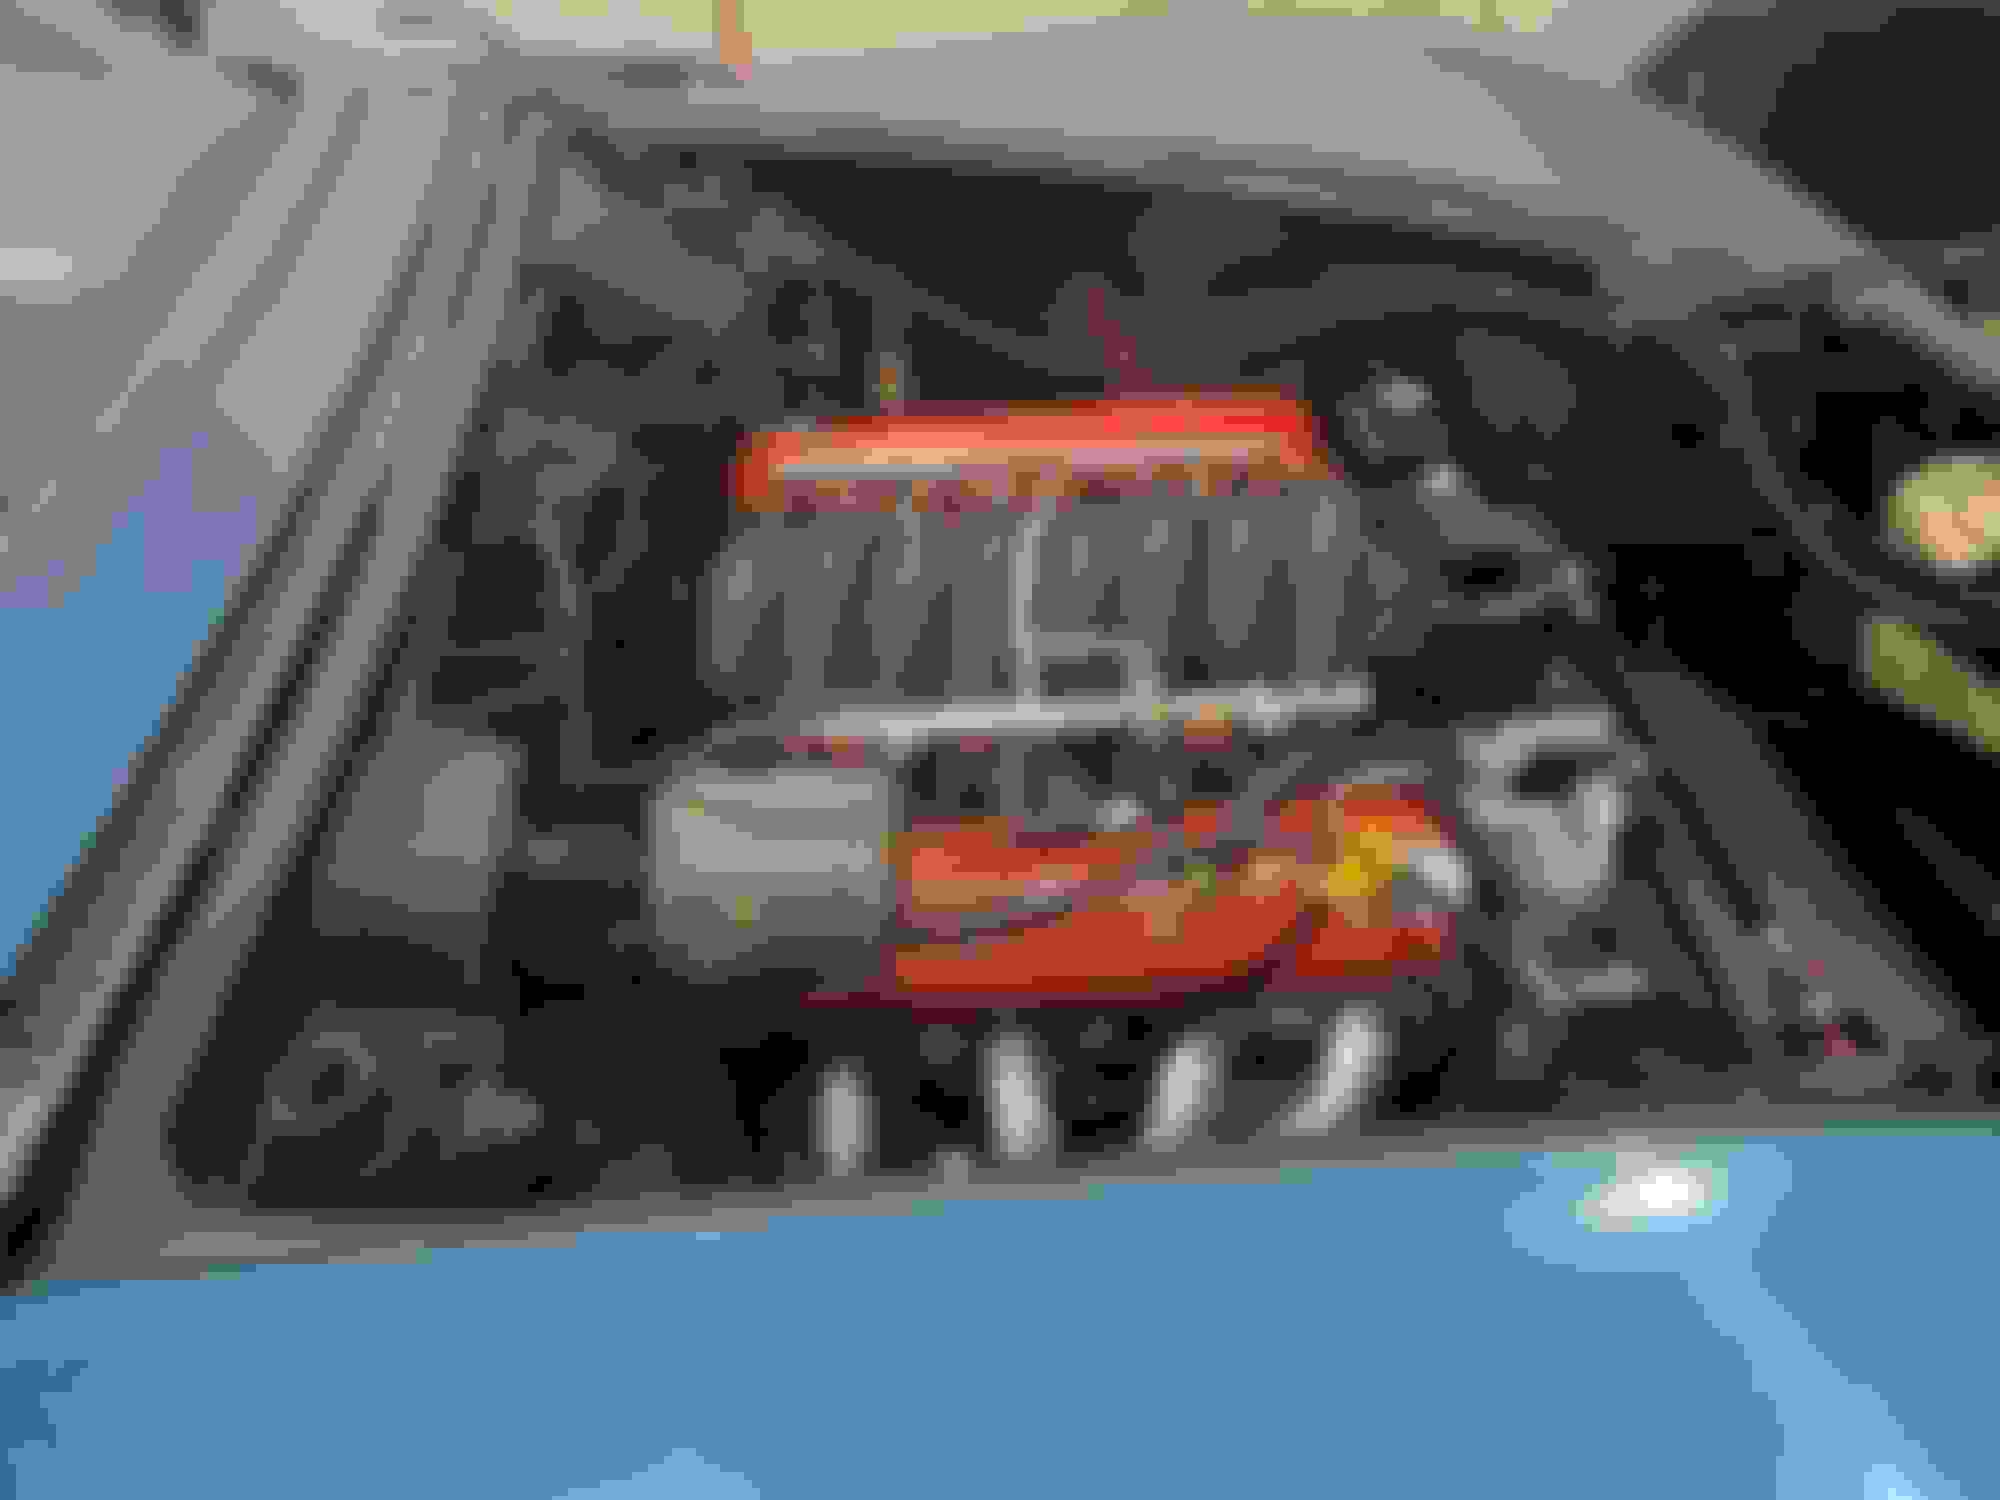
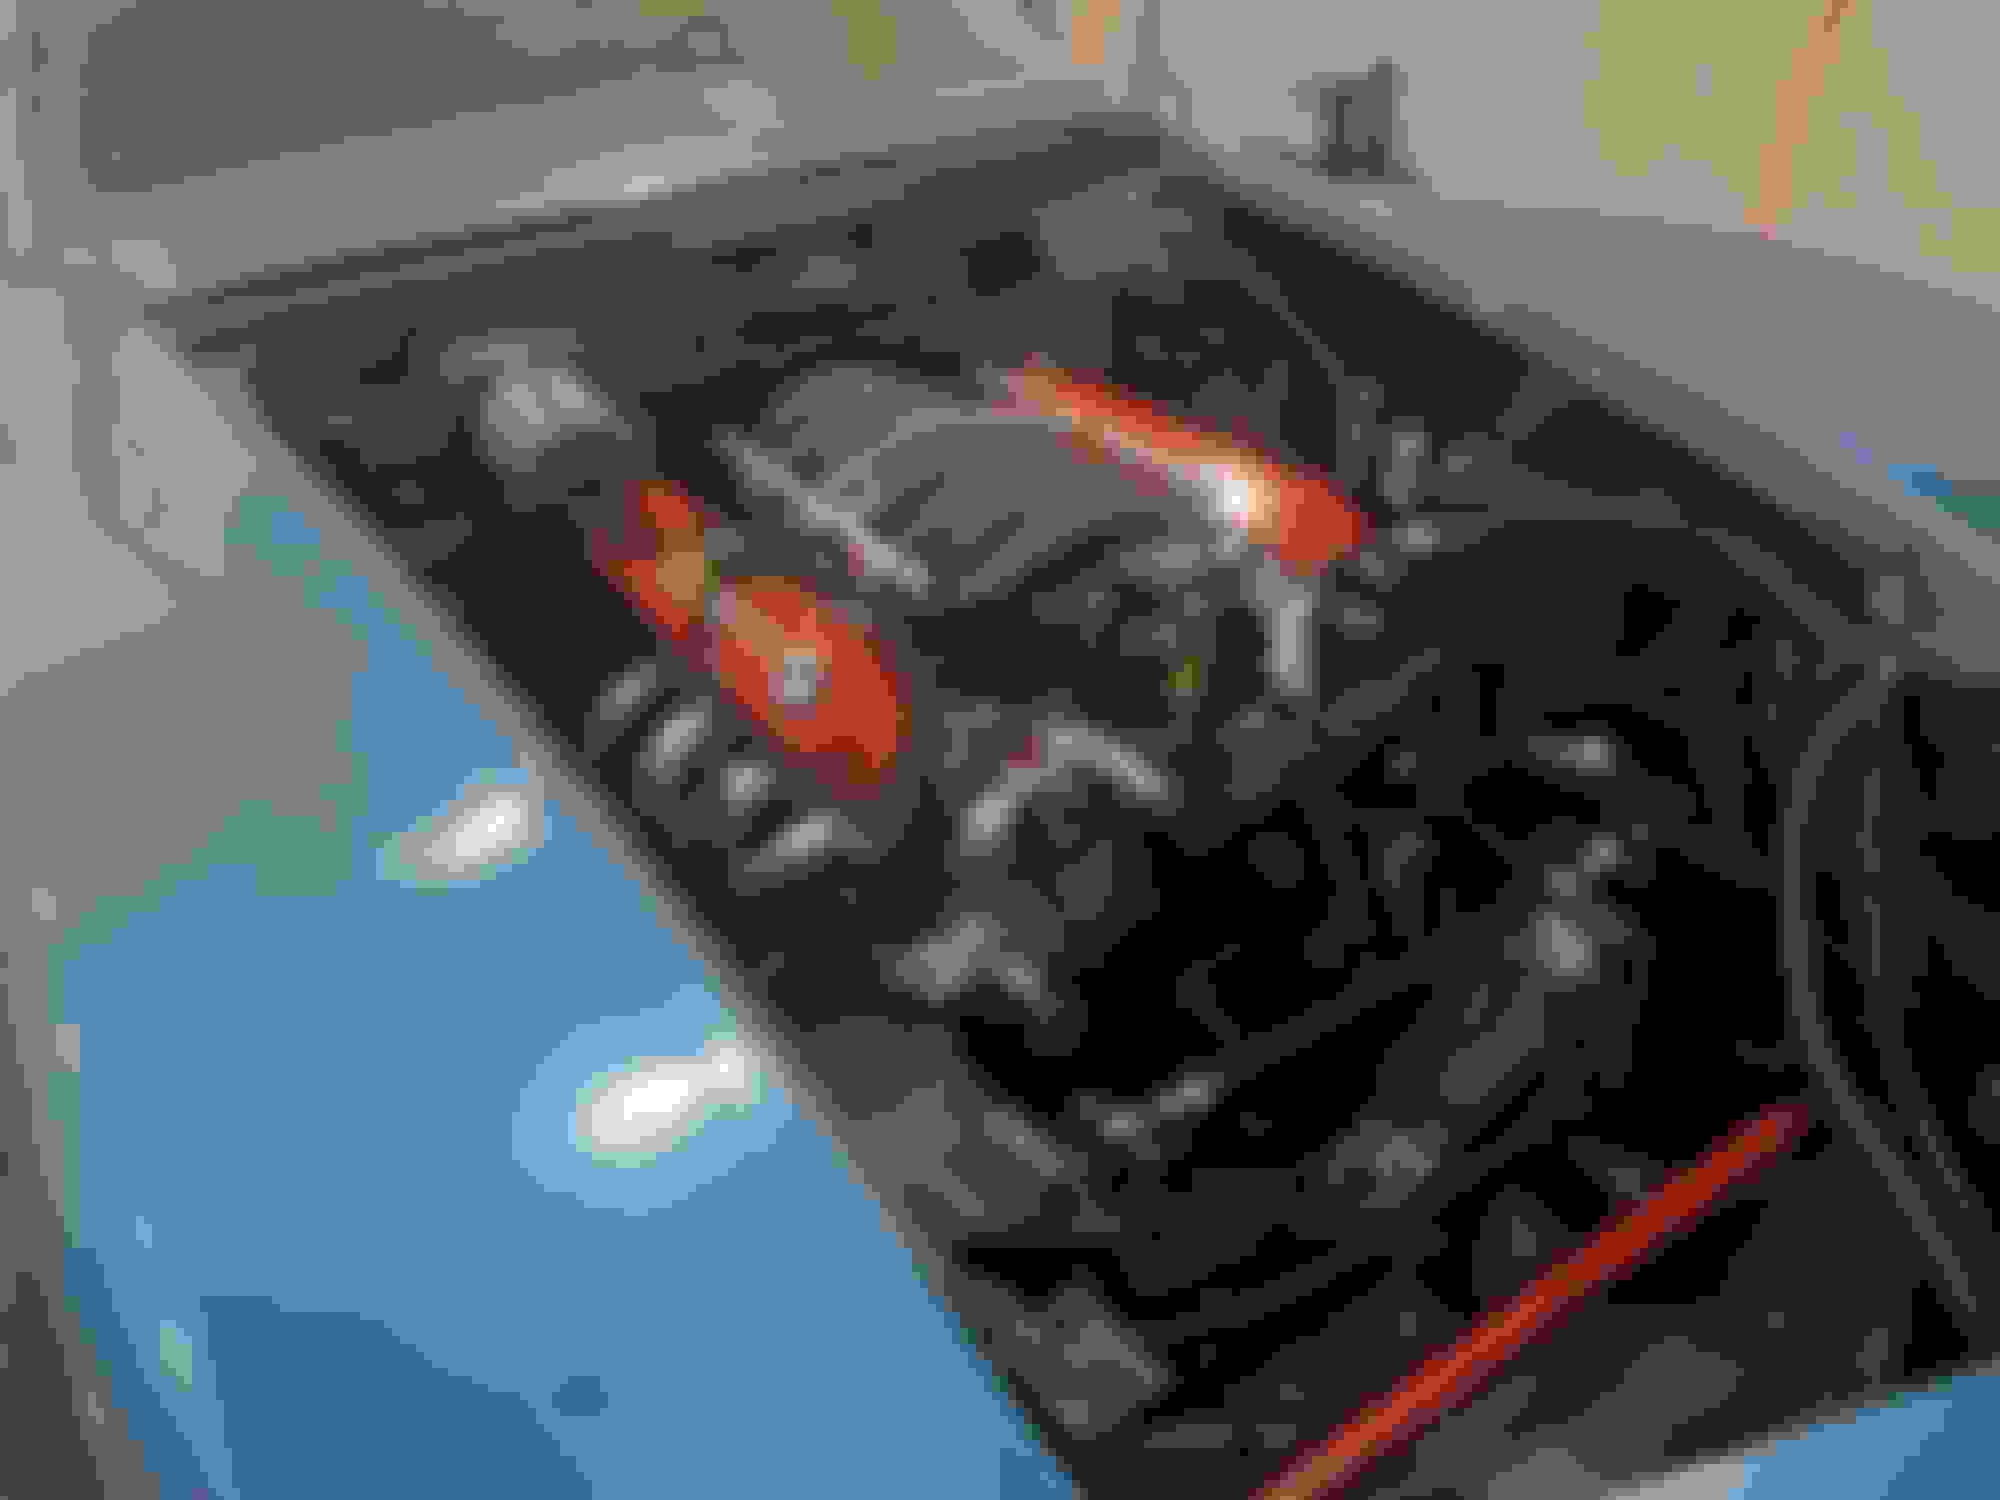
I bought a very gently used LS3 from a nearby local race team for a smoking deal! They bought it as a crate motor and claim to have only idled the engine when they had a misfire and switched to a crate LS7 last minute. Long story short they bent a valve (they had to have been playing with cam timing or swapped in too big of a cam or something). Anyway, they were up front about it and replaced the valve, and had all the paperwork to prove it. I took the heads off and checked everything anyway just to be sure, and made sure everything measured within spec. This engine was definitely barely run. The intake valves were spotless and the pistons and exhaust valves had practically zero carbon on them.
I swapped in a Texas Speed Stage 2 cam: 229/244 .629/.615, better pushrods and dual valve springs. TSP claims 568 flywheel HP with this cam and headers. While I was at it, I installed a crank scraper, windage tray and oil pan baffle, all from Improved Racing.
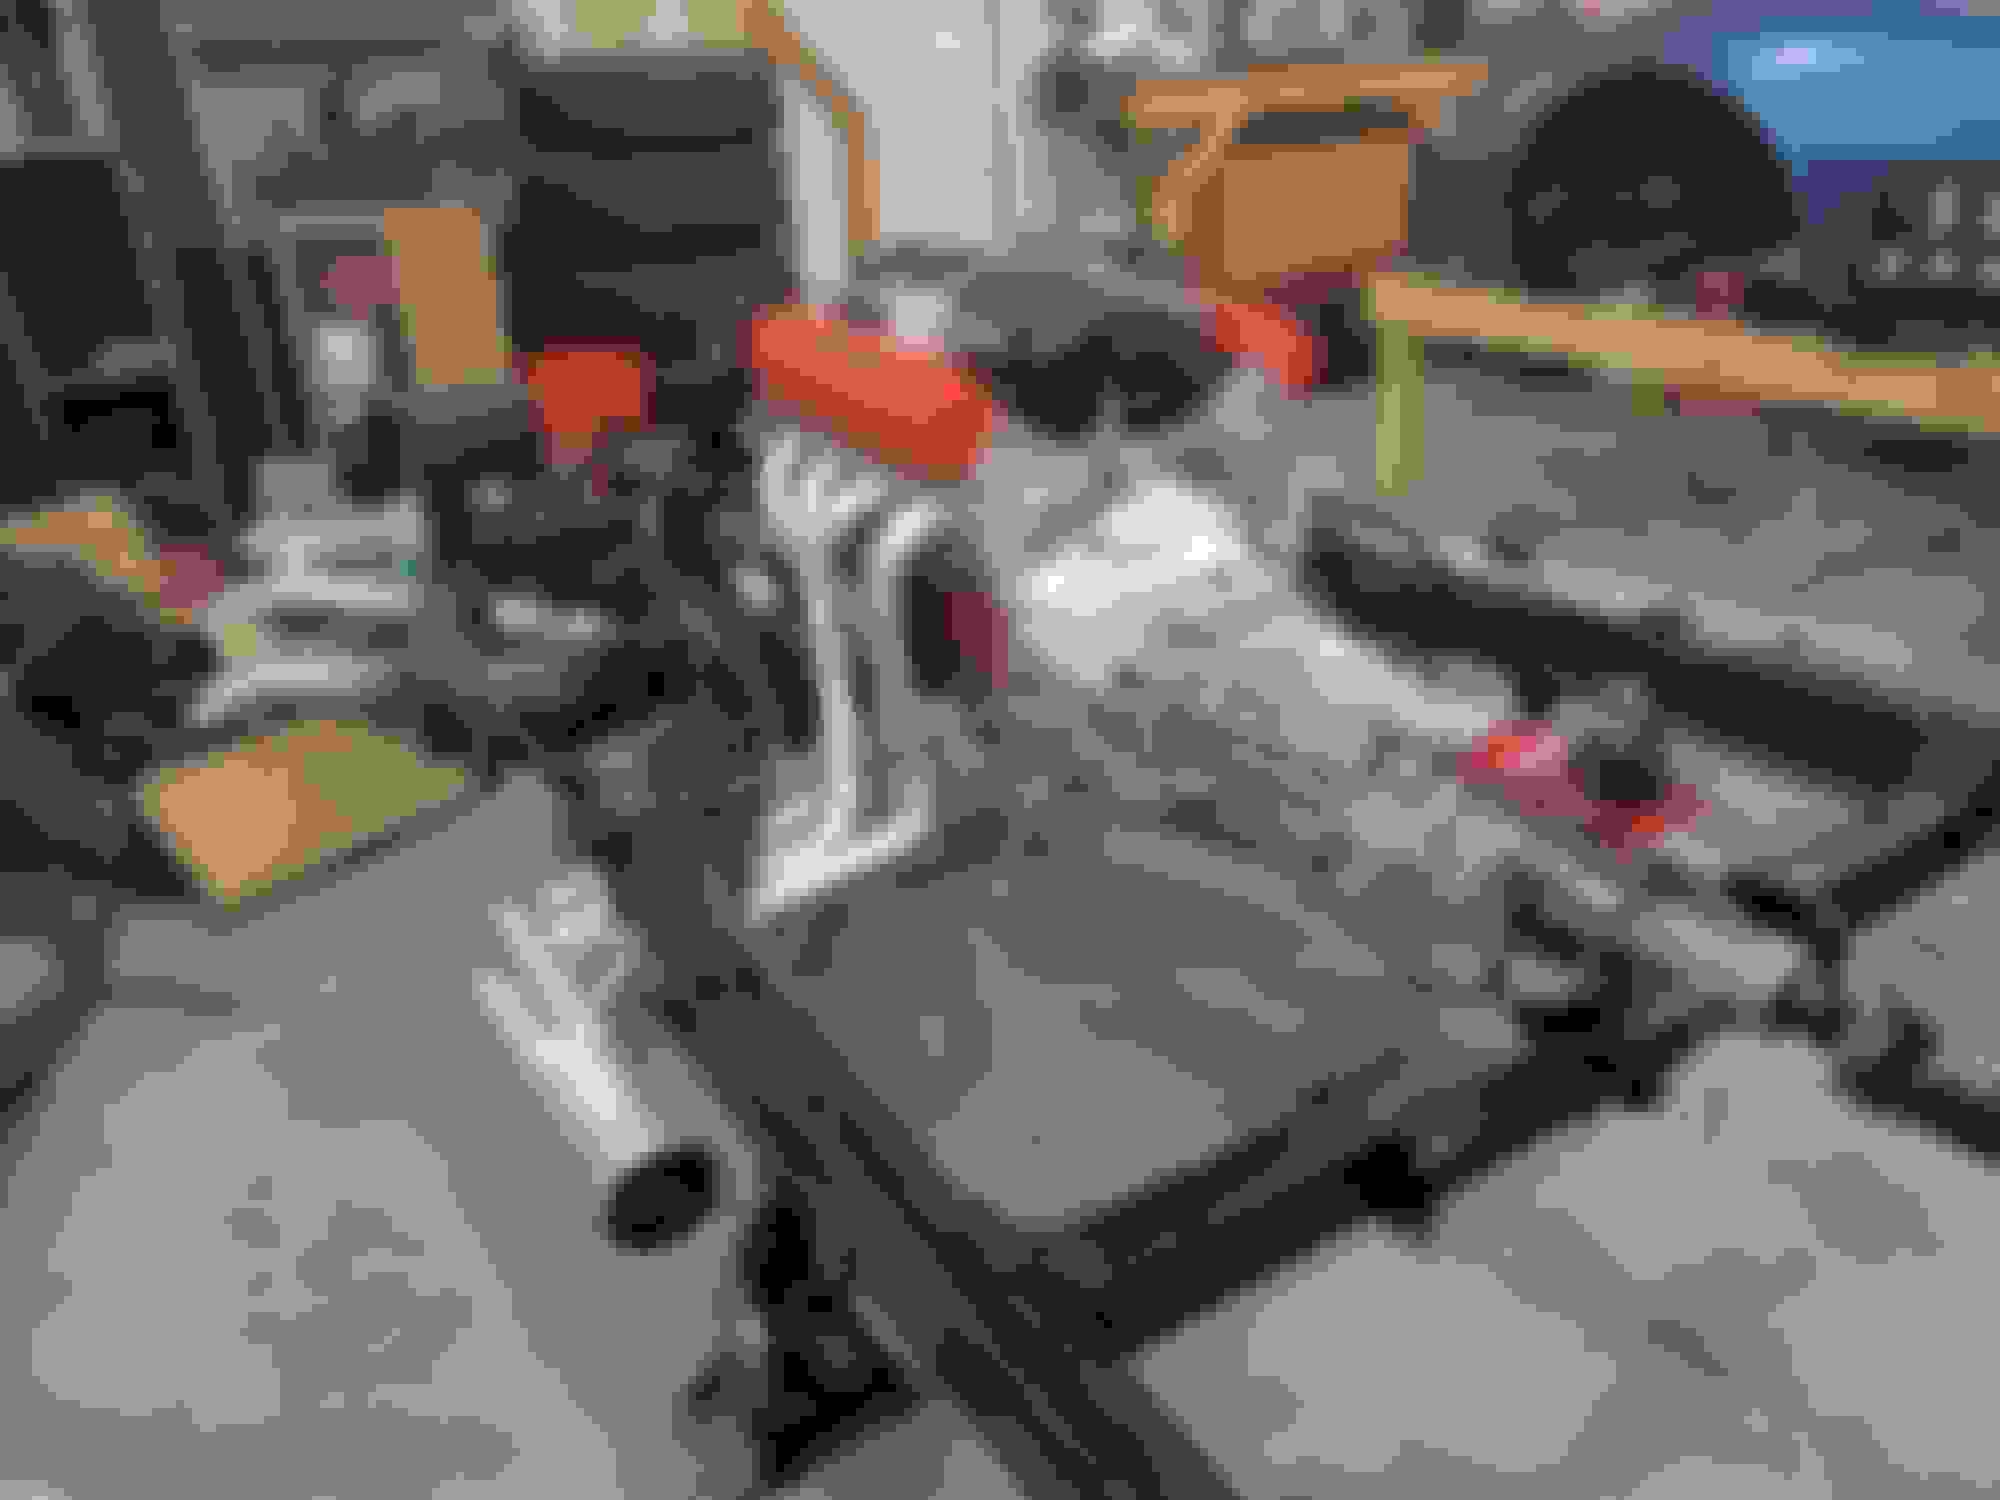
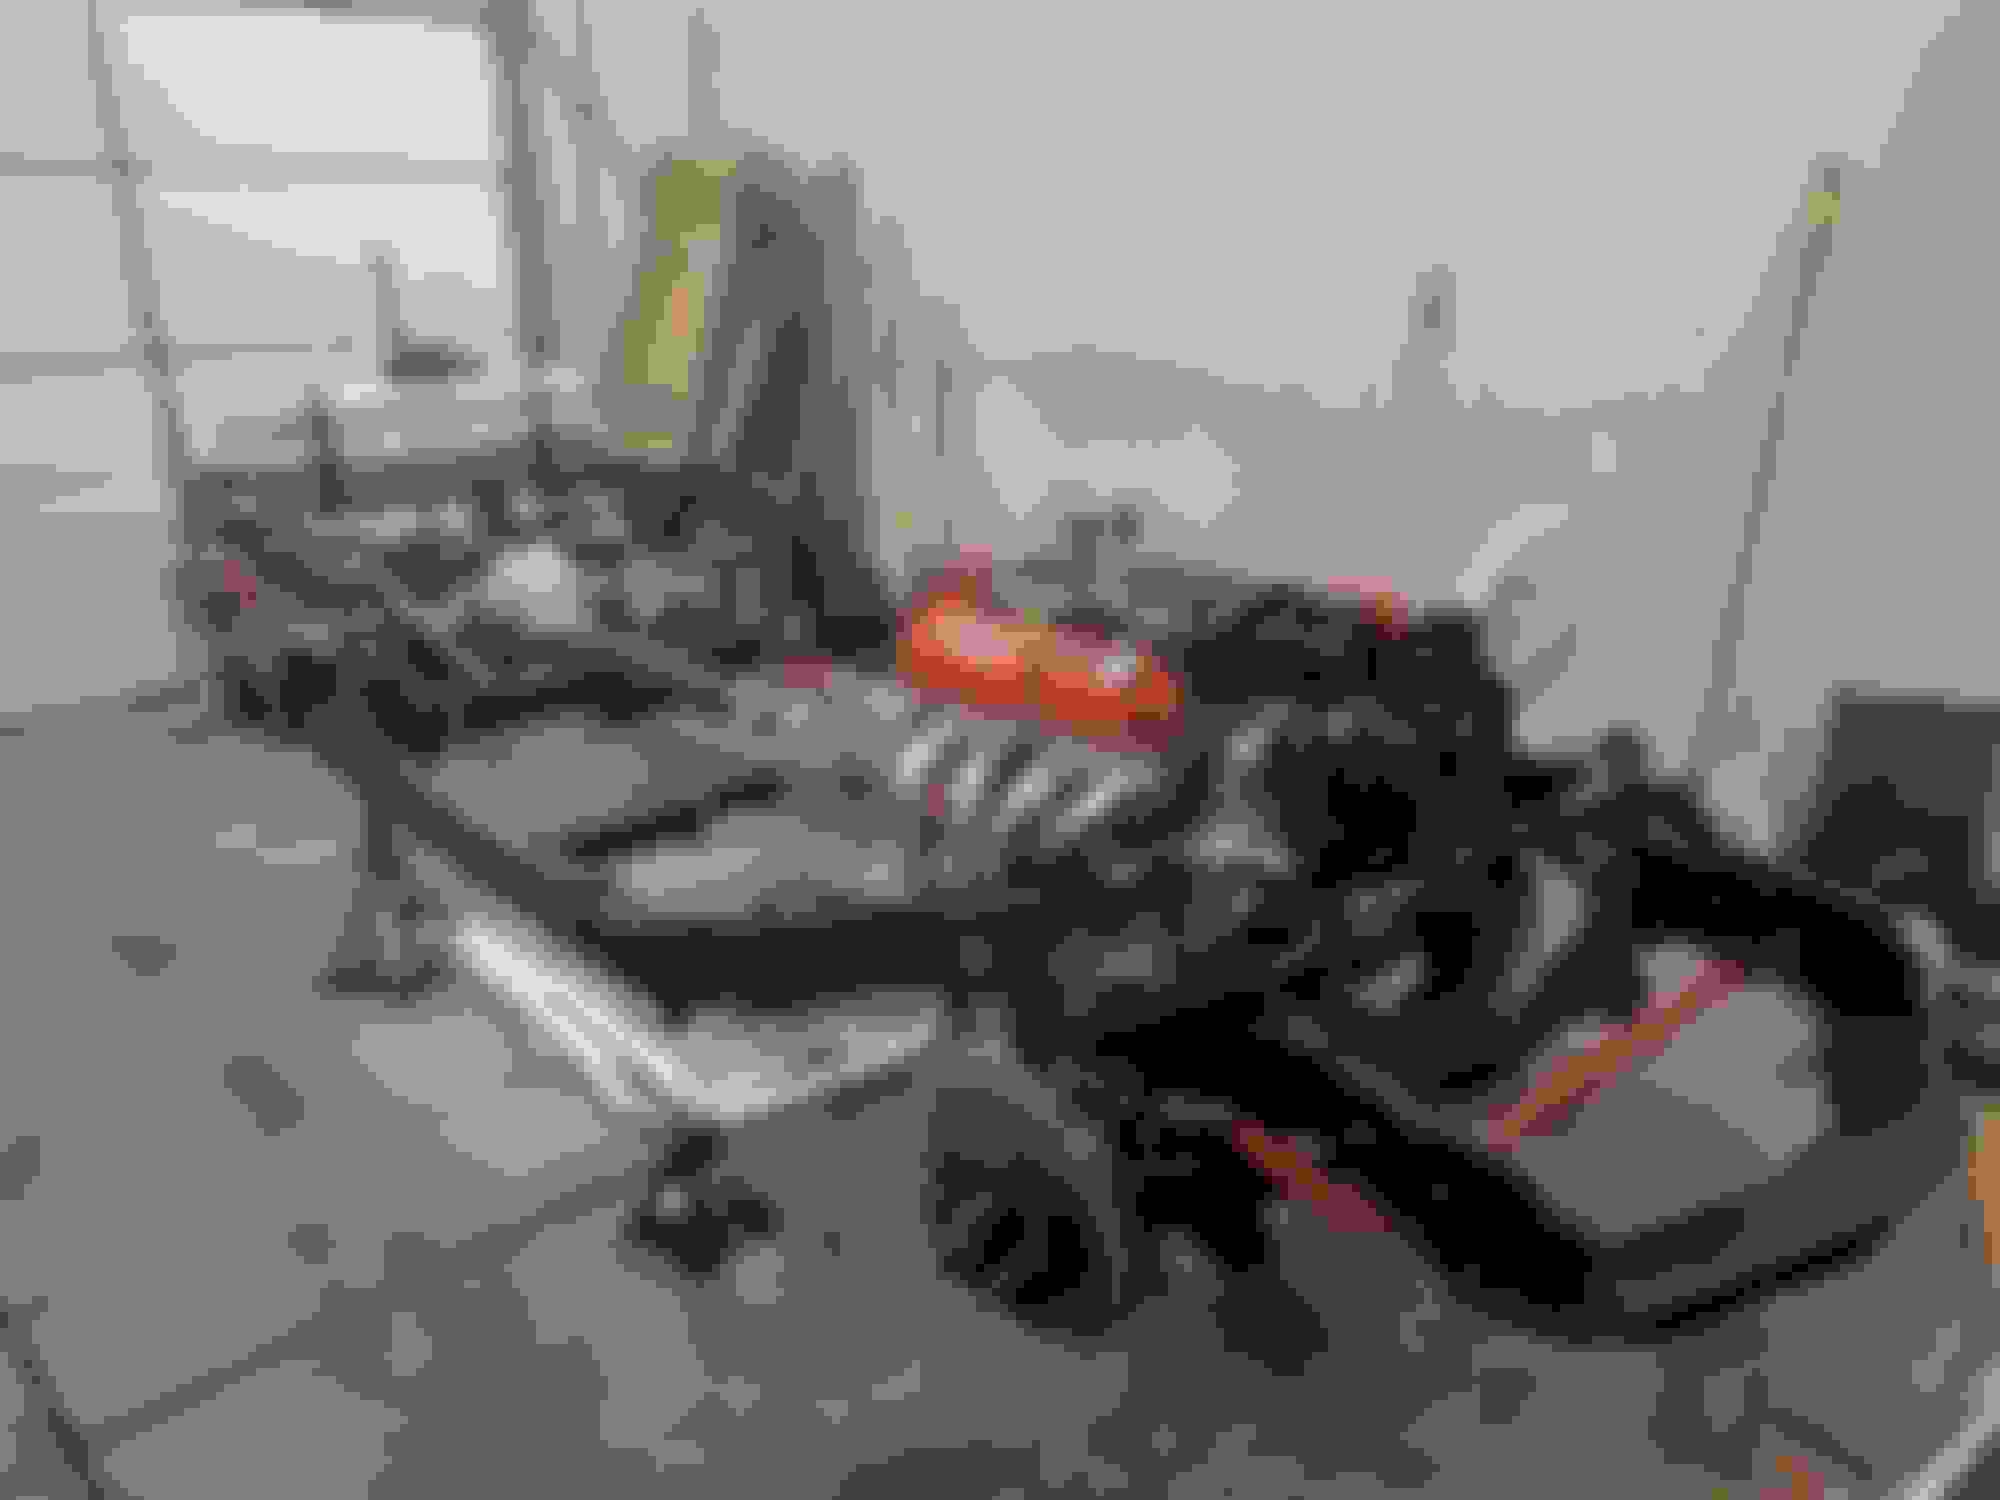
Additionally, I got all the suspension and rack & pinion conversion on, engine painted, and on the frame.
Not pictured, but I've also got the accessories (F body accessory spacing from Dirty Dingo) and brake lines on it now. Additionally I painted the engine bay and under the car.
Thanks for reading! Making progress, but still a ways to go! Still need to pick up a T56, wheels and tires, ECM and a few other things.
Nice project. I dont think you went wrong with that LS3. I have an LS3 in my Camaro, its totally stock and still impressive. Talking with a few different folks at LS fest west a few weeks back. Cam and head swap and 550 hp. Bingo! Very reliable engine. My 72 will get the upgrade next yr.
Been a while since I posted an update. Before I share, just wanted to say I lurk here frequently and make extensive use of the forum and its been an invaluable resource. Many frustrated evenings spent googling "C3 Corvette xyz issue" and Corvette Forum has the answer 90% of the time. Thank you all!
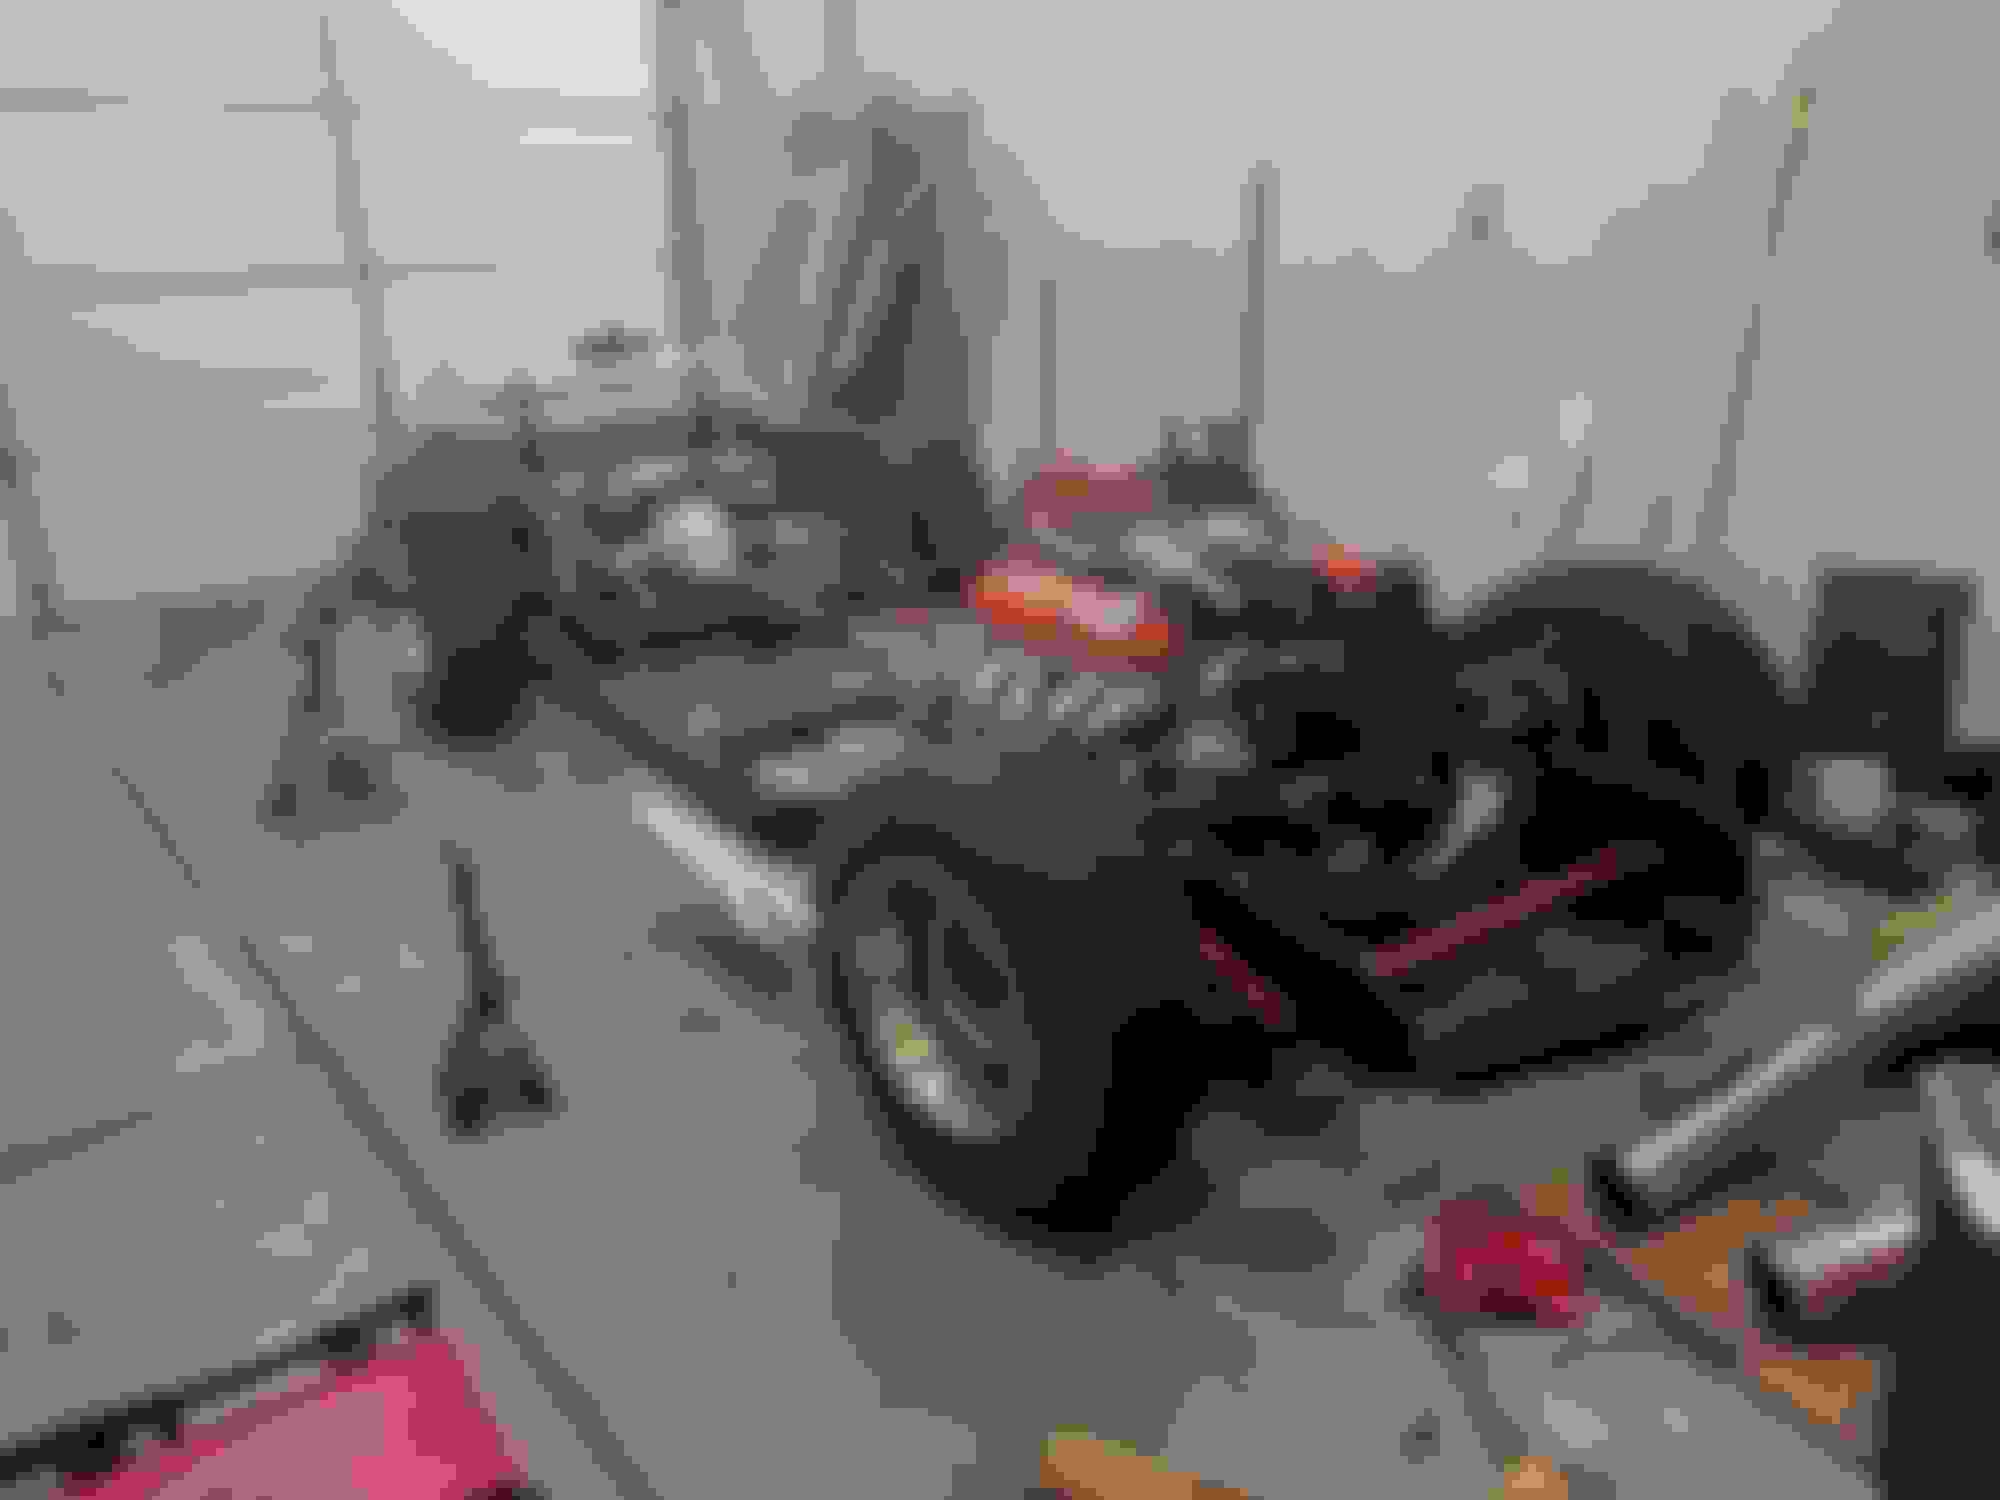
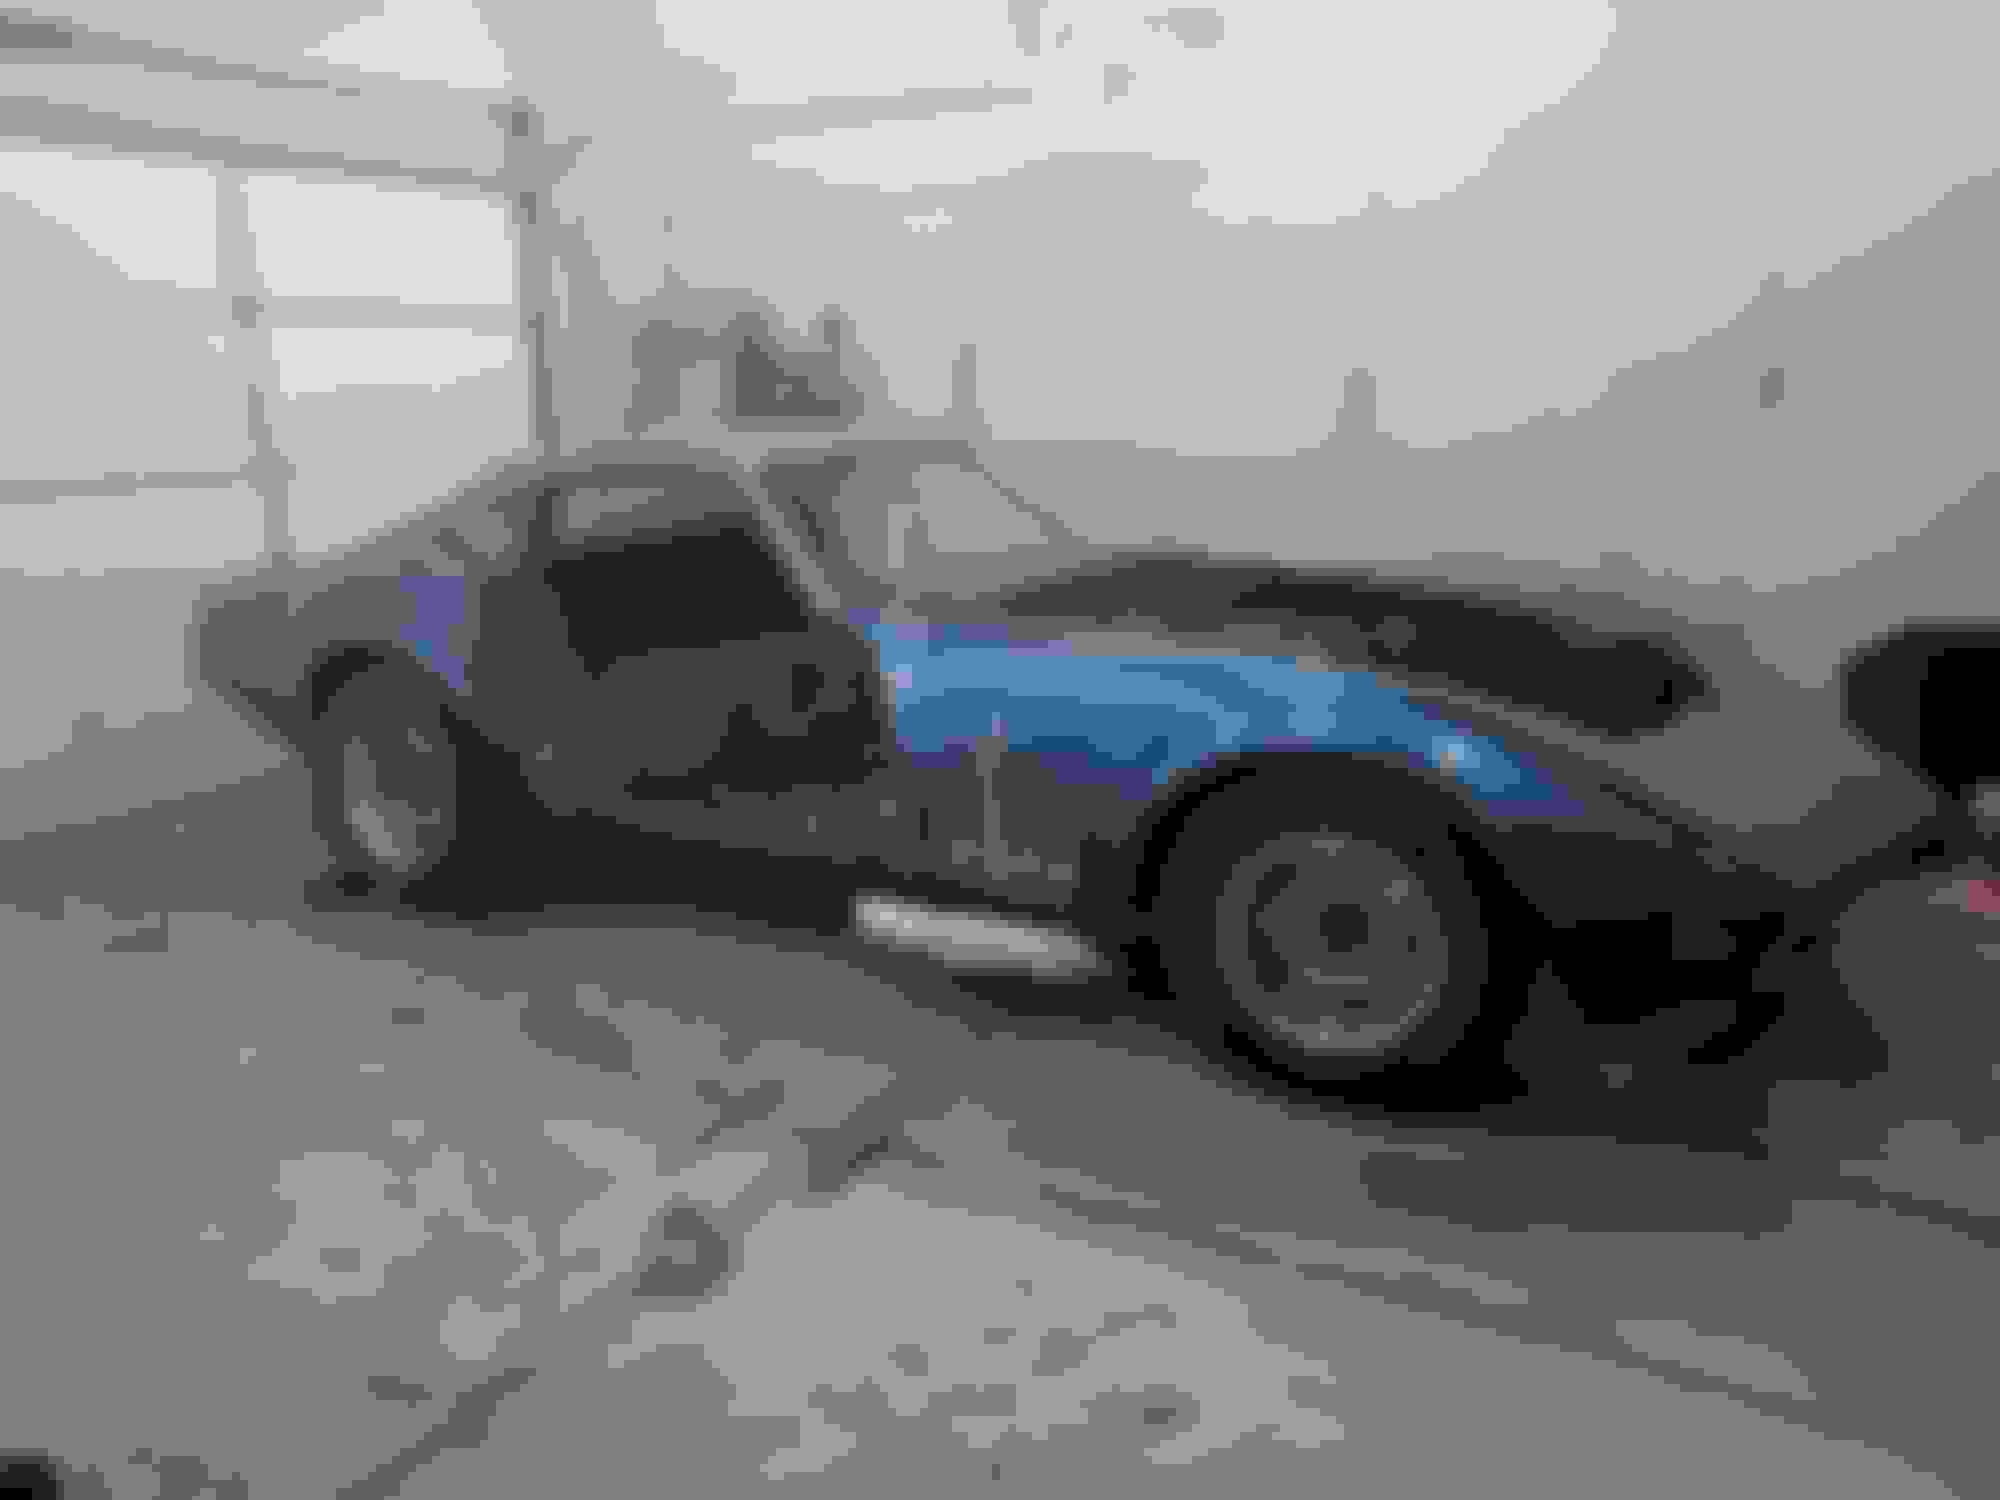
So I got the Engine and Transmission on, body on, and am starting to reassemble everything! ITS SO CLOSE! Here's a photo tour of all the big items since last time:
Since this is a track day car, I went with a Fidanza aluminum flyhweel to greatly reduce rotating inertia for quick revs.
I was a little concerned about streetability with it, and upon many hours of research I went with a McLoed twin disc clutch to try and help low speed easy engagements with the clutch (and also reduce rotating inertia yet again). This is probably the part of the build I'm most nervous about, but based on everything I've tried to consider.. it should be great
Good friend of mine is handy with a welder so instead of spending a few hundred bucks on a T56 crossmember online, we made one ourselves. We intentionally made the mounting surface for it slightly low, so that I could add washers to it and set the driveling angle just right.
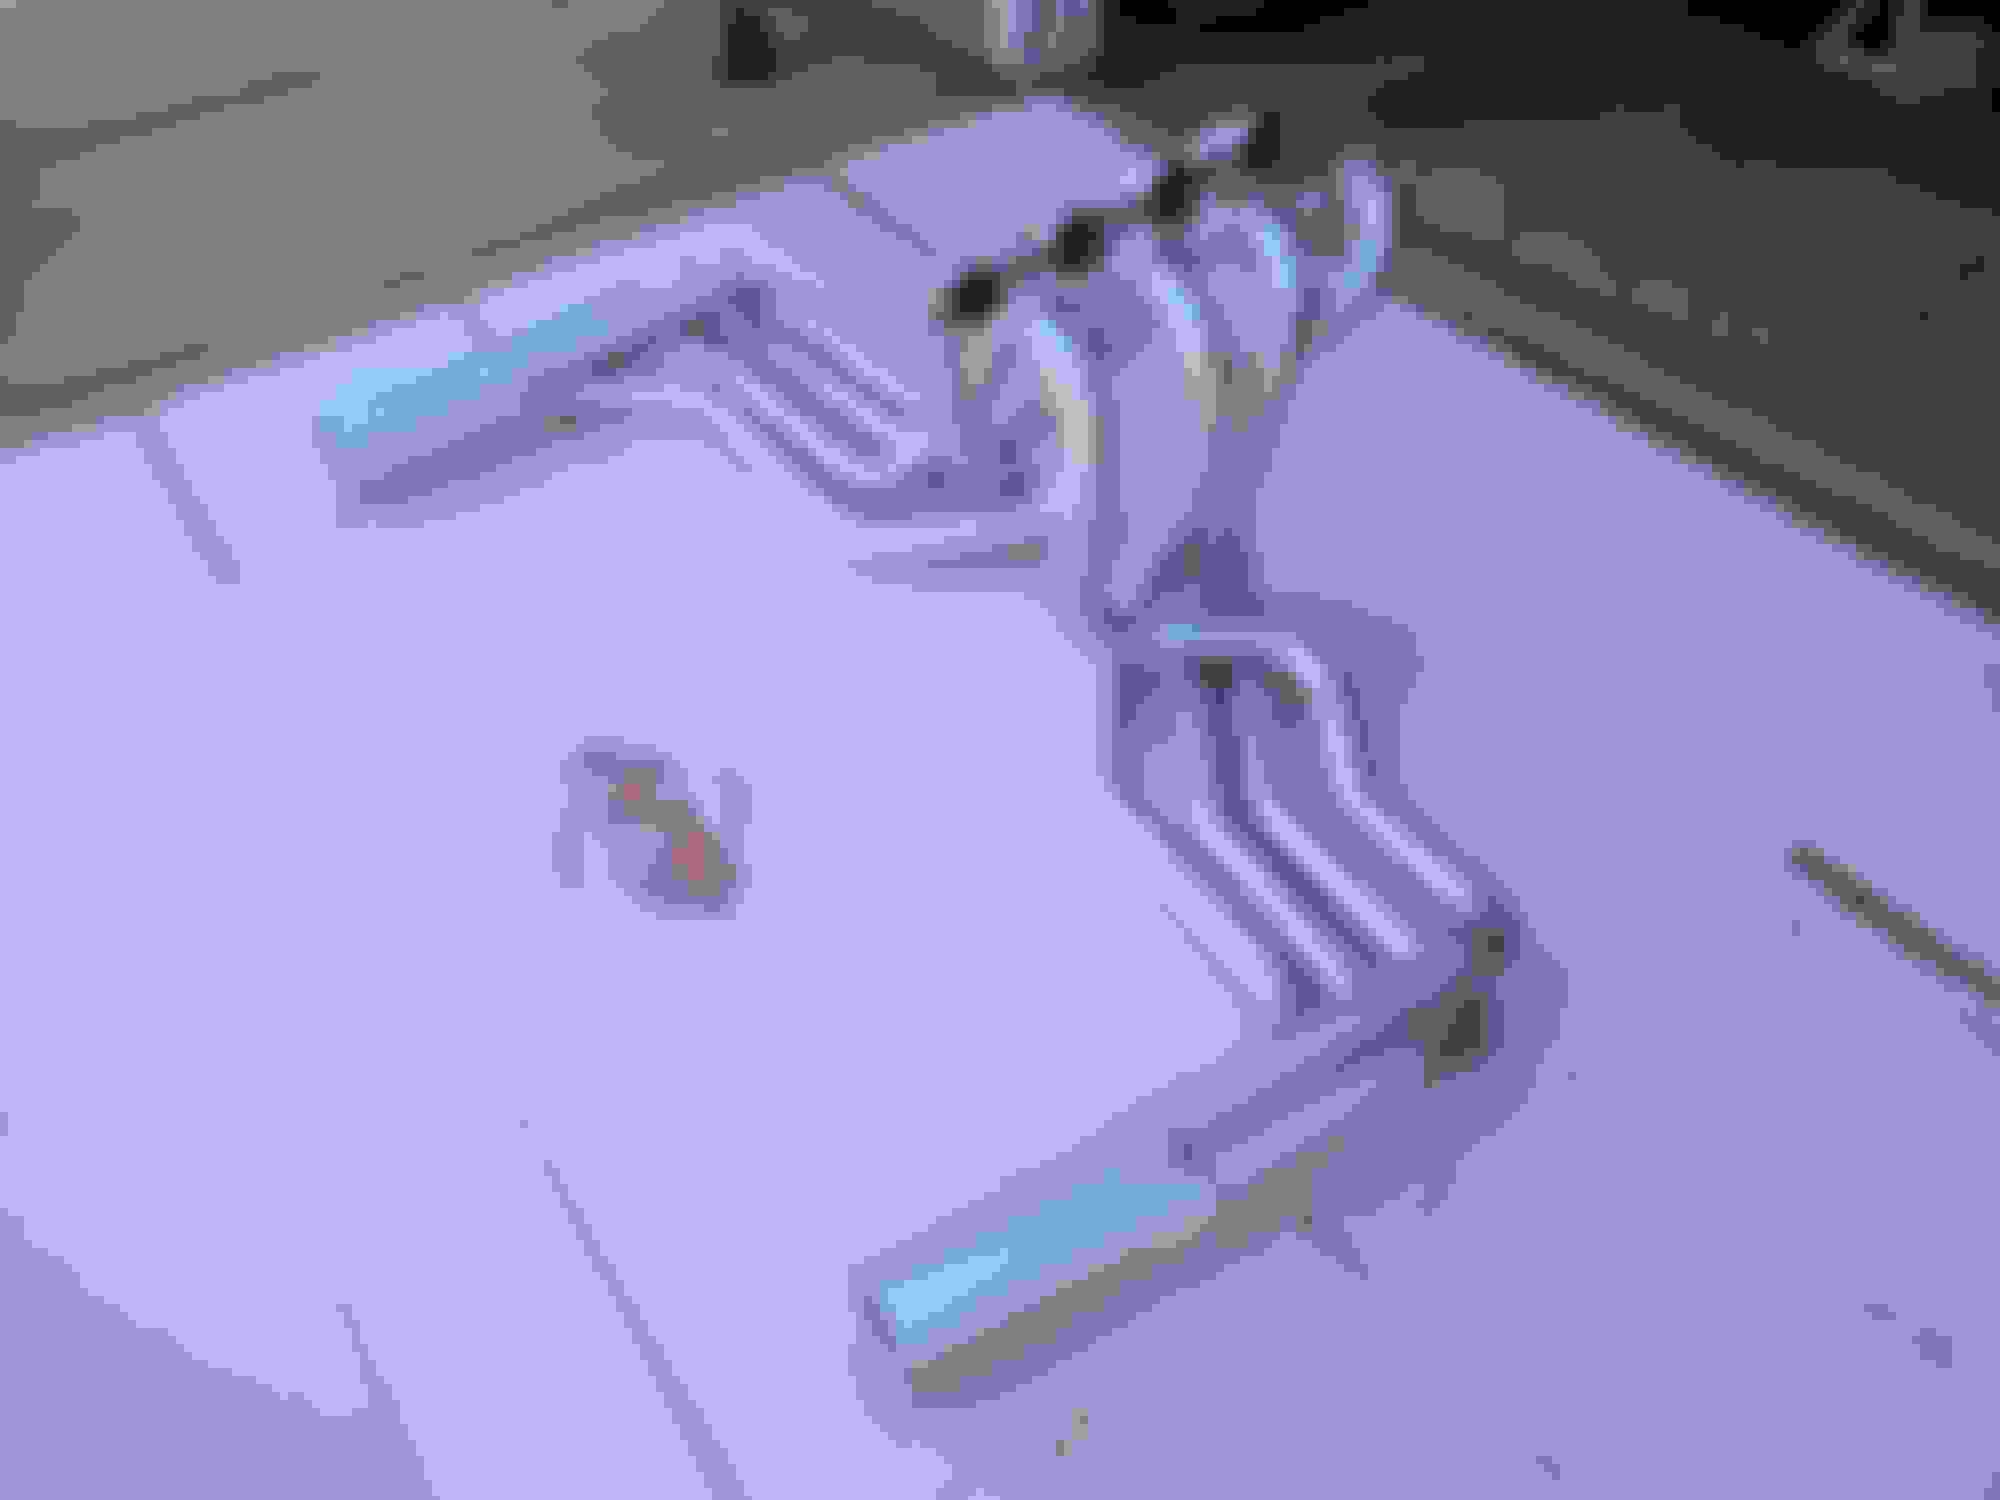
The LS swap sidepipe headers from CIC came in, and they look great! Fitment was also great for the most part. They just barely touch the frame on the passenger side. We'll see what happens when its all on the road and settled in. Worst case, a gentle use of ballpeen hammer will take care of it.
Also had my friends back over to help lift the body back on, which honestly went easier than taking it off! The transmission and driveshaft were really tight to the tunnel... In fact wen rotating the front U-Joint was scraping the tunnel, so I had to cut a hole that I'll cover.
The back of the valve covers are pretty close to the firewall as well, but I think they'll be alright. Otherwise fitment for everything was great!
Still a lot to do, but we're getting there! Big items left are the computer and wheels and tires. Otherwise many many little things to re-assemble.
just curious all that outstanding work on the frame and you didnt box in the the front frame horns to support the Sway bar???
That's a great point, and a good eye you have. Unfortunately I don't personally have a welder (might be picking something up on Black Friday), so I was only at liberty of how much time my friend had to weld. We prioritized filling in the stitch welds of the frame, suspension mounts, and boxing in the rear kickups since those are harder/impossible to get to with the body on. Thankfully the front horns are something I could do later even with the body on. "Simply" taking the radiator and support out provides great access to it.
I am curious, is there any evidence of any issues caused by not boxing it in?
Great looking build. Where did you get that spreader bar? I have a BB 68 with limited clearance in the front of my motor as I added a serpentine kit to it. Thanks. Just checked your parts list and found it.
That's a great point, and a good eye you have. Unfortunately I don't personally have a welder (might be picking something up on Black Friday), so I was only at liberty of how much time my friend had to weld. We prioritized filling in the stitch welds of the frame, suspension mounts, and boxing in the rear kickups since those are harder/impossible to get to with the body on. Thankfully the front horns are something I could do later even with the body on. "Simply" taking the radiator and support out provides great access to it.
I am curious, is there any evidence of any issues caused by not boxing it in?
Issues may be too strong a word... the frames are flexi flyers... mounting the sway bar more rigidly just gets rid of second order effects IMHO

 12-12-2016, 07:39 PM