When you click on links to various merchants on this site and make a purchase, this can result in this site earning a commission. Affiliate programs and affiliations include, but are not limited to, the eBay Partner Network.
I should have soaked these for days, maybe I would have had a better chance of not breaking them.
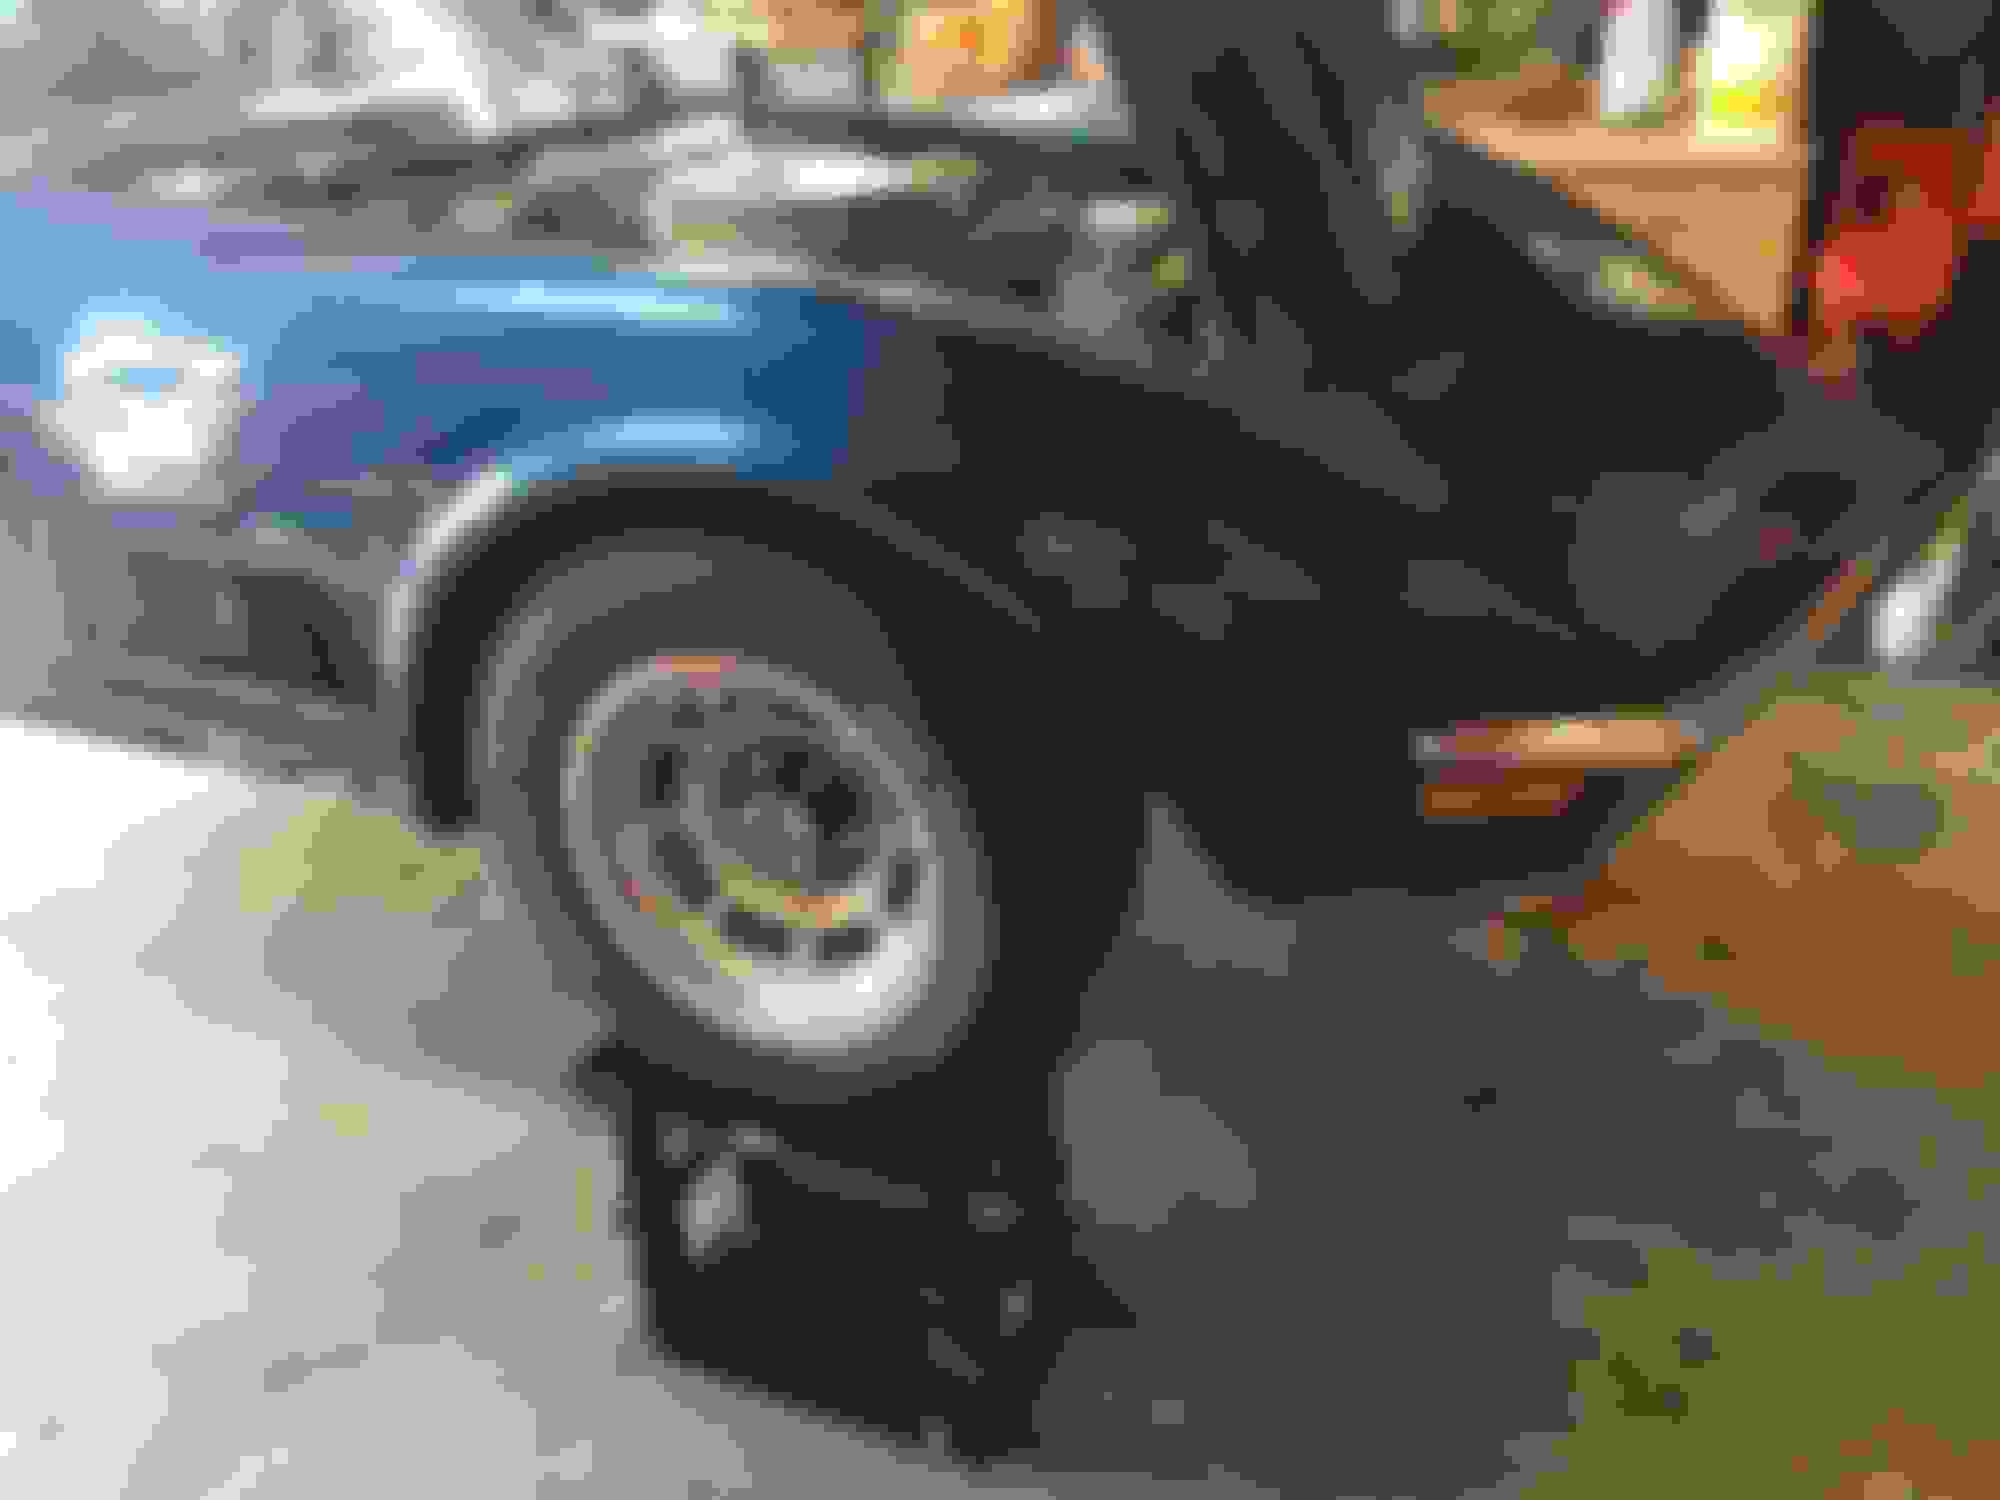
Just a few pictures of the dismantling everything is going pretty good so far. Bought a used dolly for the body the other day, will more than likely pull the body after the holidays.
Hi c,
"Panel Asm"?
I asked about the clip because I read about a 'clip' attached to the radiator or a 'strap' attached to the apron being used and I was curious if you saw signs of either.
Regards,
Alan
Hi Alan, found the clip ( hard to see in photo ) attached to the radiator & the tag (marked) MI 9.
There was a strap or loop if you will adjacent to the area of the radiator.
Notice the fill line 3"-4" below the neck of the radiator ?
As always, thank you Alan for sharing your knowledge.
Happy New Year.
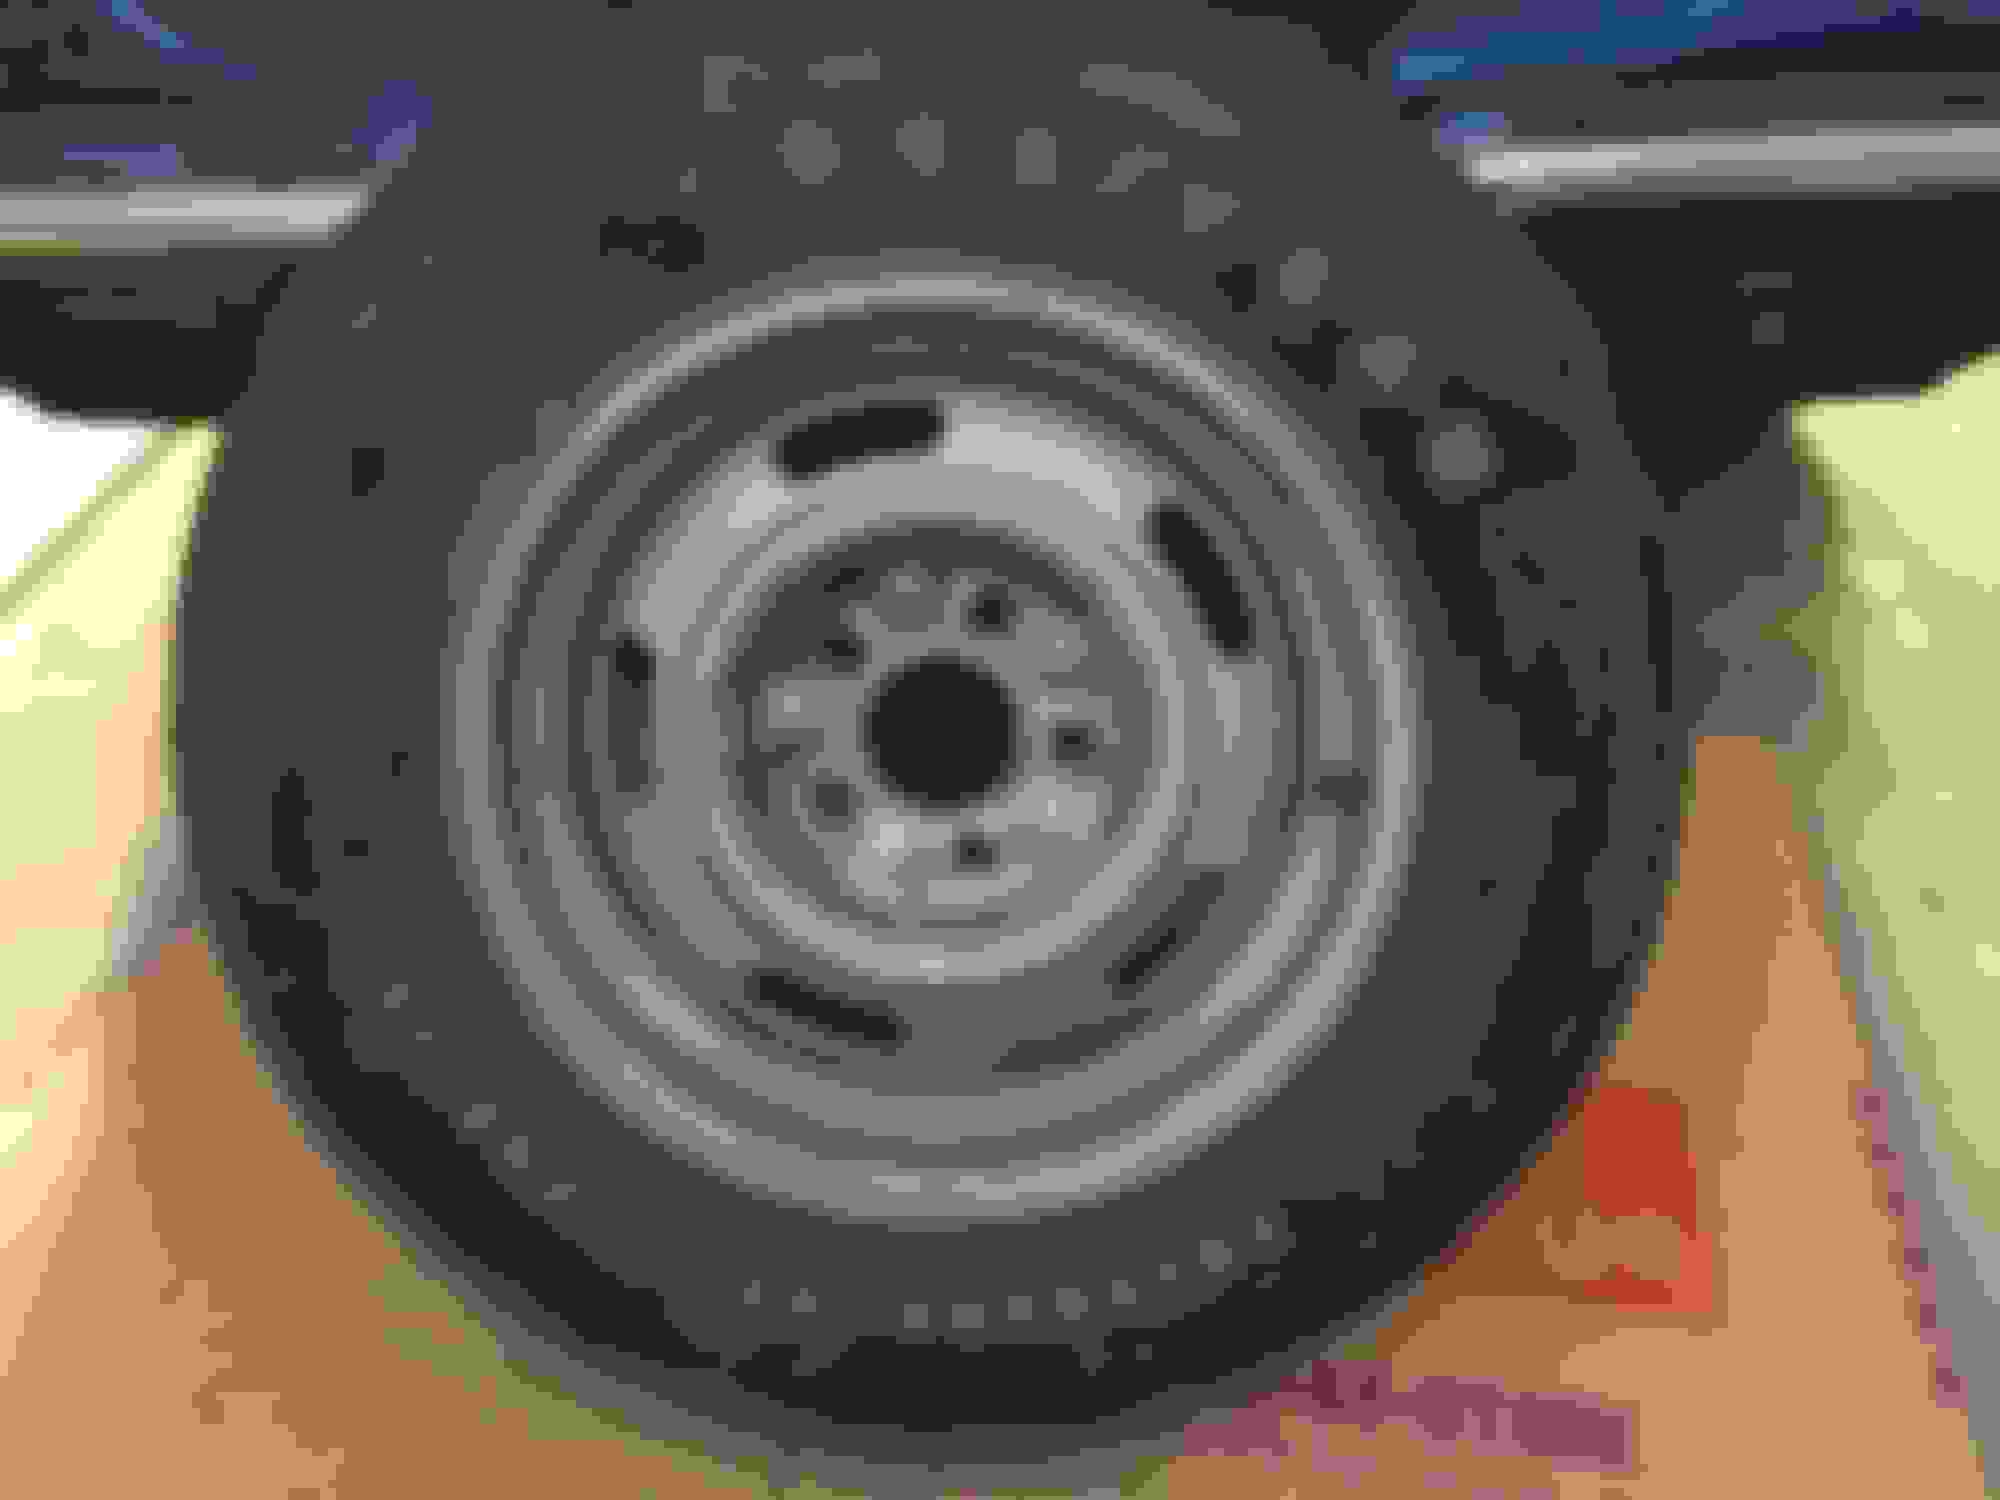
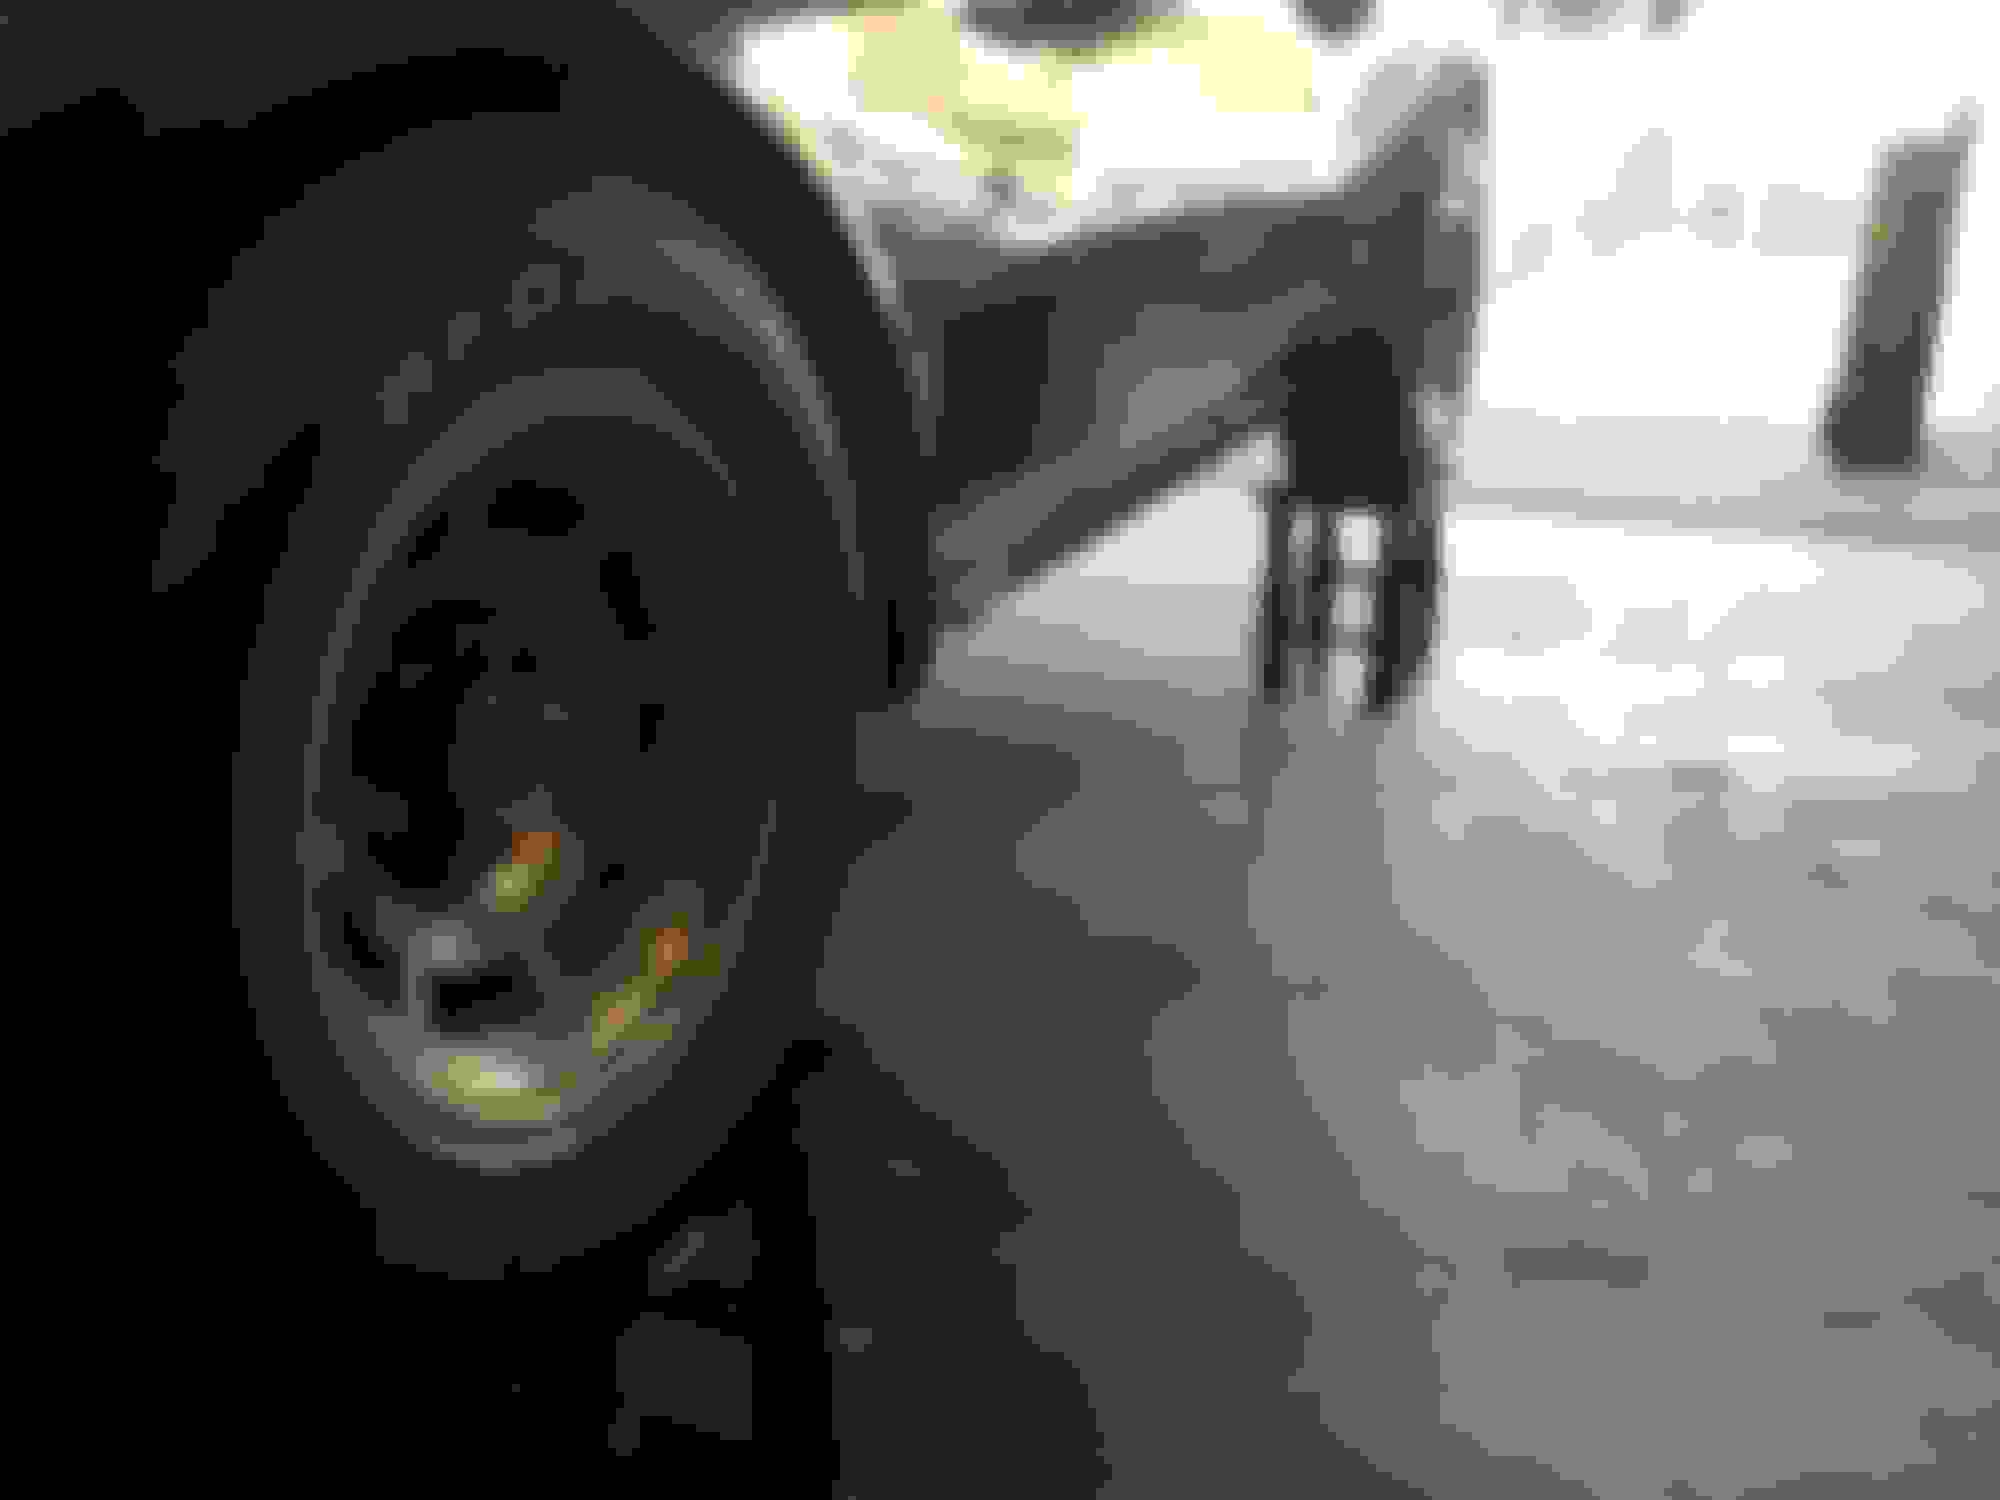
Finally removed worn/spare tire. Is it original ? Not sure, but old none the less. I also may have found the infamous tank sticker. I used a suggested method mentioned by the one and only "Alan" of peering in by the gas fill with the boot lowered and I see "paper". Will see when I drop the tank for sure.
Hi C,
Thanks for the continuing updates and photos!
It's always interesting and informative to see what someone is finding as a nice car comes apart!
Regards,
Alan
Nice looking bird cage!
VERY nice looking WHITE bushings on the wiper door linkage.
Those bolts seem 'almost' designed to fail!
I broke only a few things getting my car apart and one of those bolts was one of them.
All Corvette tires from 1968 to 1972 were F70-15 Nylon Cord.
If it says "Polyglas," it isn't a Corvette tire.
Great car you found... Looks to be really complete and original for the most part!
Regards,
Stan Falenski
Your right on the tire, it's just an "old" used tire. I found that standard tires issued were black wall F70x15. Whitewalls and raised- white-letters were extra cost options.
More information can be found on this via 2nd Edition Corvette 68'-82' Restoration Guide.
Thanks for your input, I'm sure I'll need your support along the way as I venture further into my restoration.
Wow. Thanks Alan.
I didn't know that "Parts Catalog" even existed.
I've been struggling so far, using the AIM and Service Manuals, which tend to be lacking in detail, and at the very least, pretty dis-organized. (I find myself always flipping through the whole book to find the area that I'm looking for). Would have been good to have useful "chapters" and even a Table of Contents, that you could always be assured of finding the appropriate system in the books.
I've worked for GM for over 36 years now, and I know back then, the systems were separated mainly by Body (Fisher Body), and by Chassis/Powertrain, which was linked to the "Motor Divisions" (Buick, Chevrolet, etc.)
Doesn't make it any easier today, trying to find where the heck the Heater Hose Valve is located (for example).
So, I just ordered myself a copy of the Parts Catalog for 53-74.
That last image in Caskiguy's post really sold me. Finally, some clear pictures, with legible numbers and decent resolution to small parts like fasteners. The AIM and Service Manual are awful when you need to see micro details.
Even more of a bonus, it looks like the manual shows the "specs" of fasteners by their part numbers (i.e., part number 8.900 = 7/8 inch long bolt in 3/8-16 thread).
Hopefully that will extend to all the various interior screws that I've had to special order or search hardware store bins for matches!
Your right on the tire, it's just an "old" used tire. I found that standard tires issued were black wall F70x15. Whitewalls and raised- white-letters were extra cost options.
My '70 came with white letter tires, my '71 came with blackwalls, and my '72 came with whitewalls.
More information can be found on this via 2nd Edition Corvette 68'-82' Restoration Guide.
Not sure if Alan mentioned to you... It would probably be worthwhile picking up a copy of the NCRS Technical Information Manual & Judging Guide for 1970-1972. Great source of information if you're leaning more to the "stock" end of the hobby.
Thanks for your input, I'm sure I'll need your support along the way as I venture further into my restoration.
Happy to help in any way that I can. In any case, you found yourself a really great car to start with (working on a Bridgehampton blue 1970 coupe right now too)!
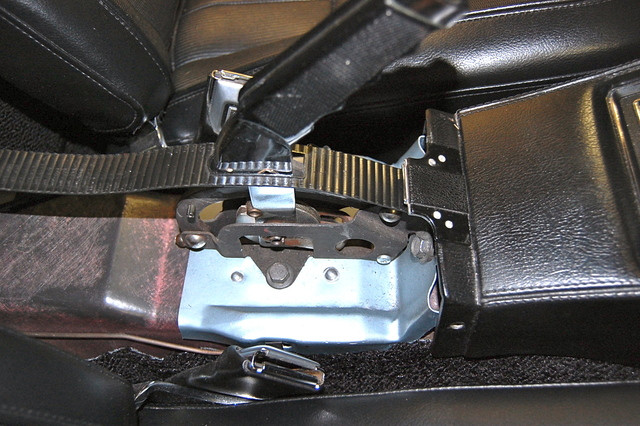
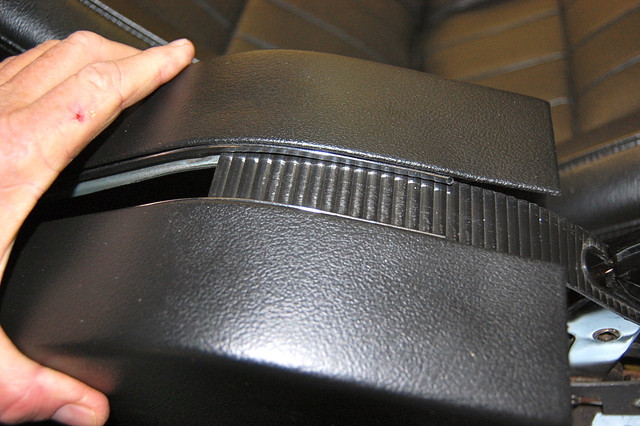
Well your timing is perfect. I was trying to remove the emergency brake cover last night. I have all the side screws and rear compartment bolt removed but yet when I lift the cover ( I have power windows) it feels like a "spring" or something is holding in place. Do I need to remove the main console first (automatic) ? Any thoughts ?
I don't have power windows(or any other option), but I remember mine coming out easily after removing the two screws on each side and the one in the back
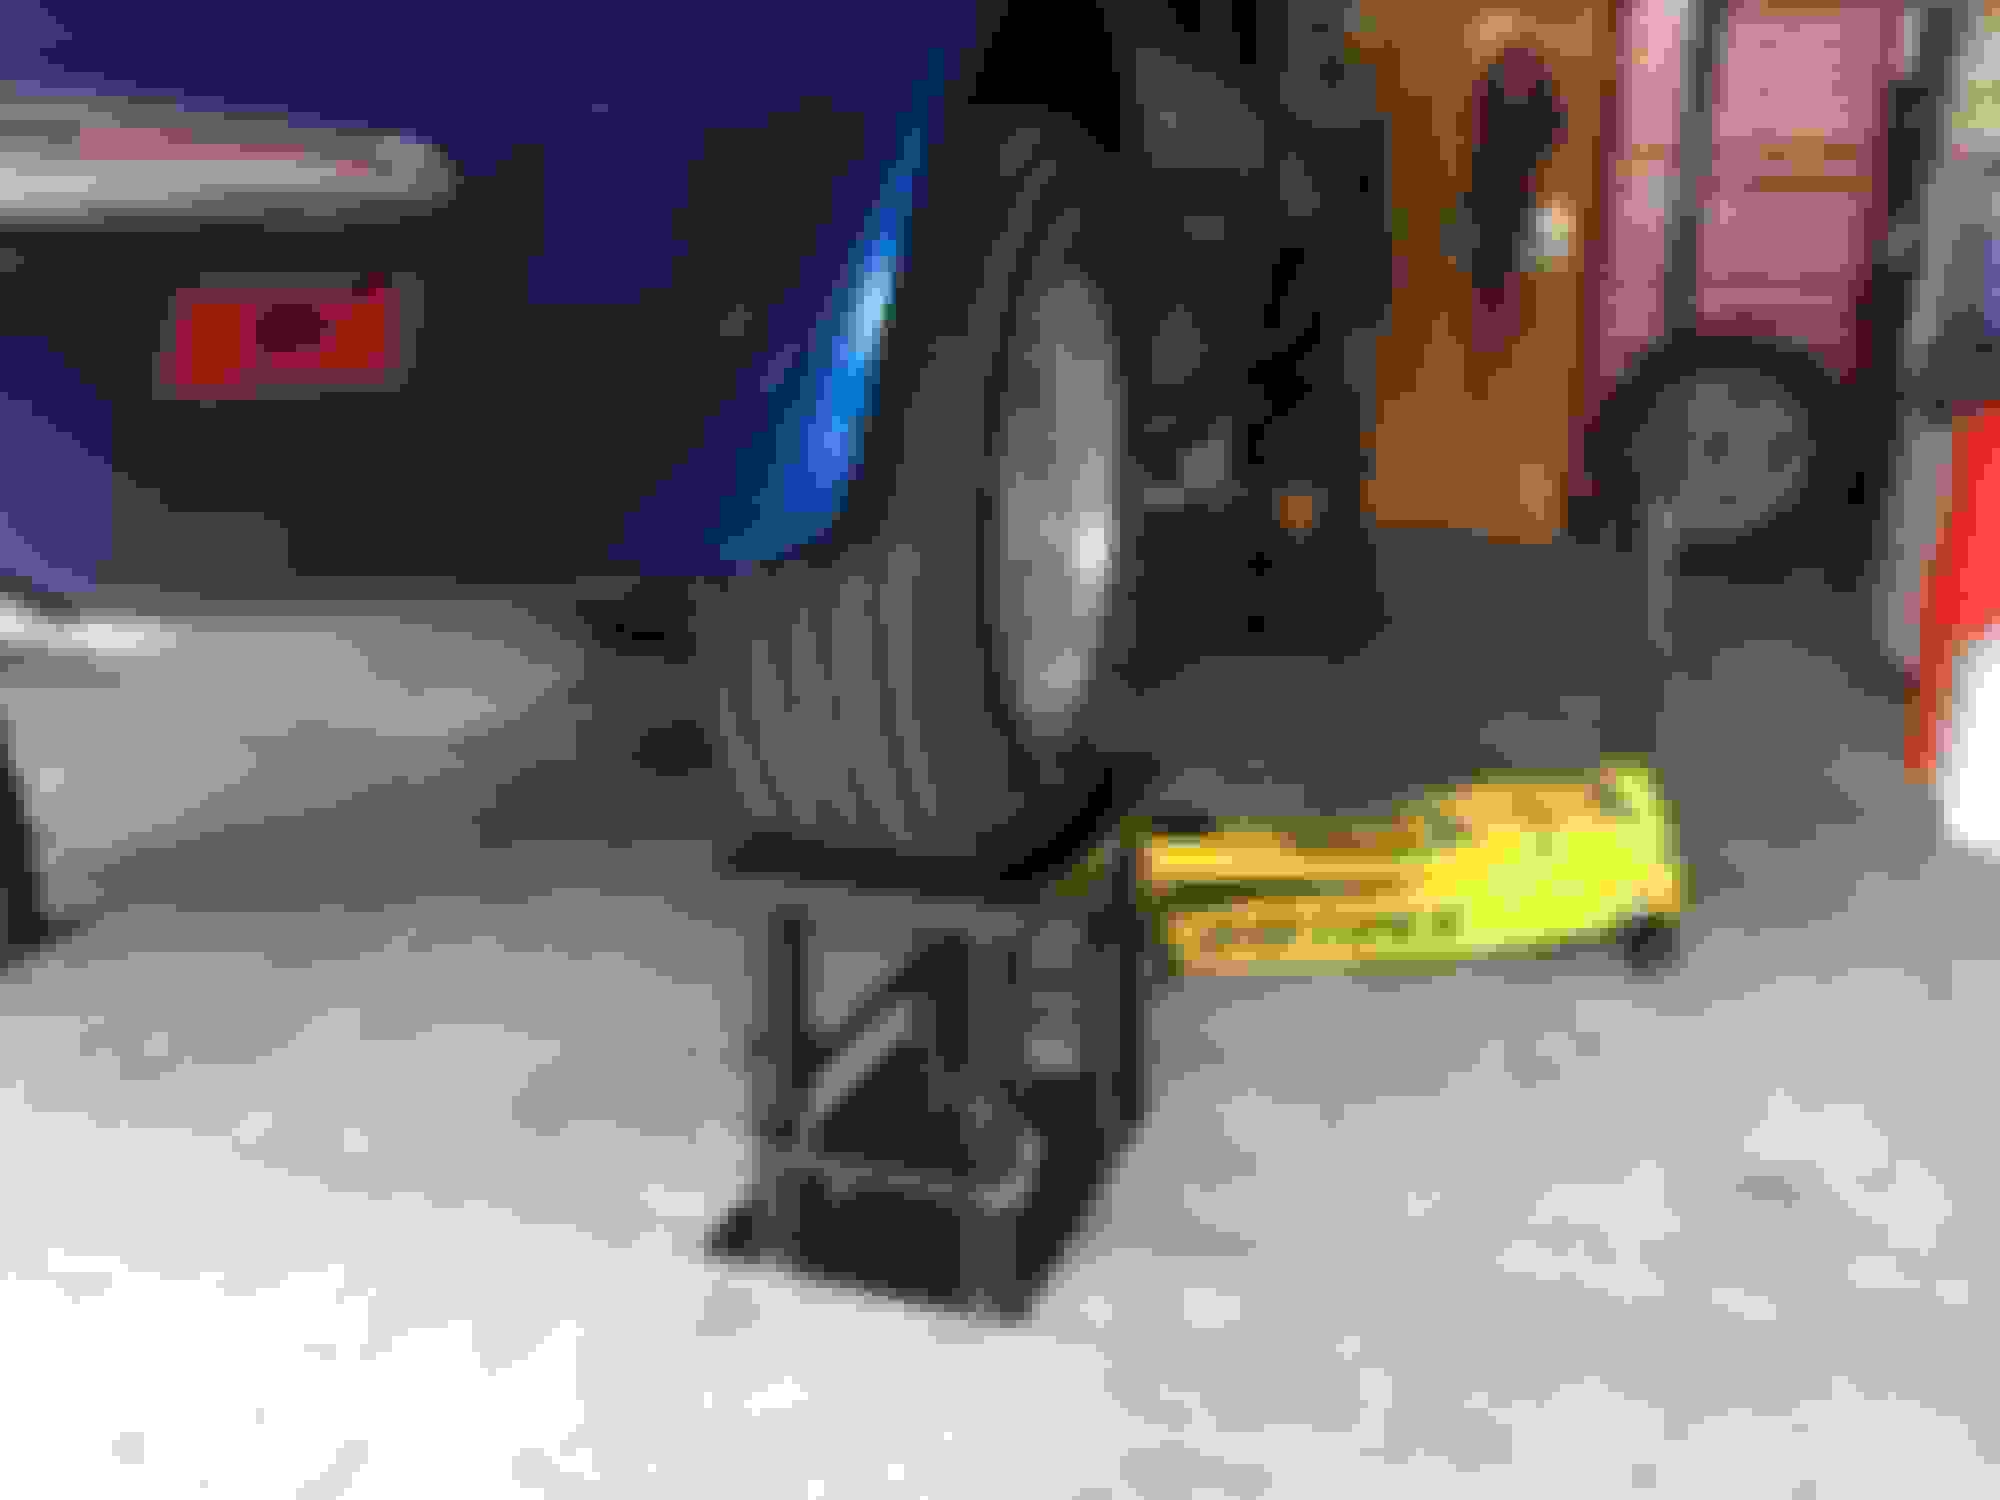
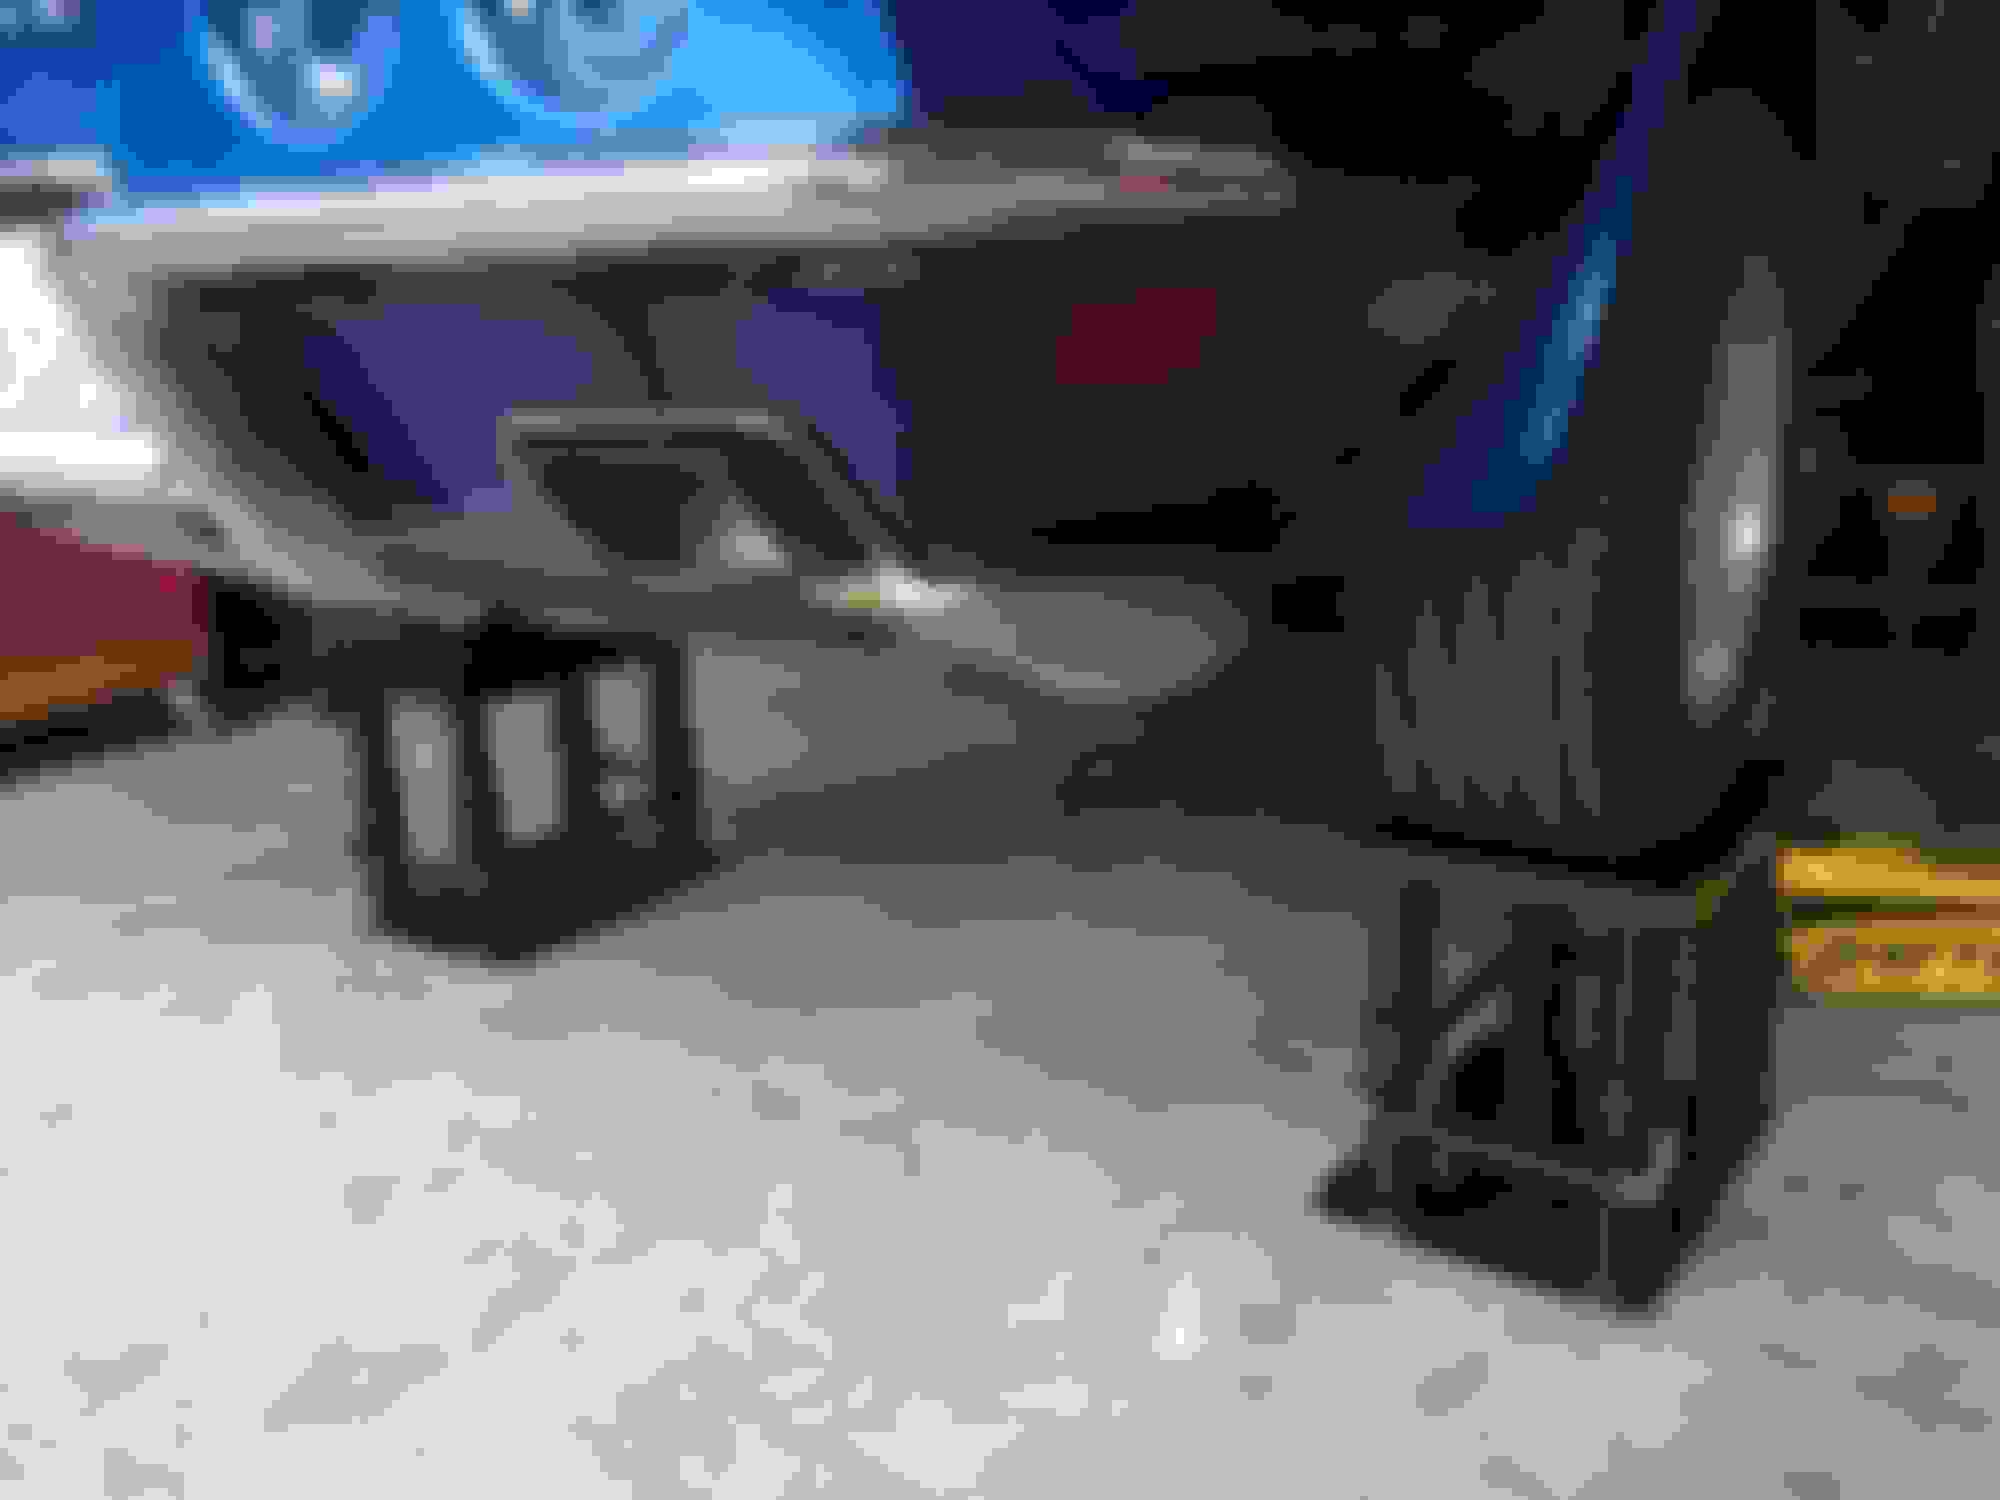
Just received my lift stands & new jack. Now I can further assess my project. Definitely leaking oil, not good but no surprise. More pictures forthcoming.
So investigating the undercarriage revealed "Bubba" must have been in a hurry. He forgot to hook up the backing cable assembly, how it stayed engaged was pure luck.
Hi c,
I guess God even looks after bubba!
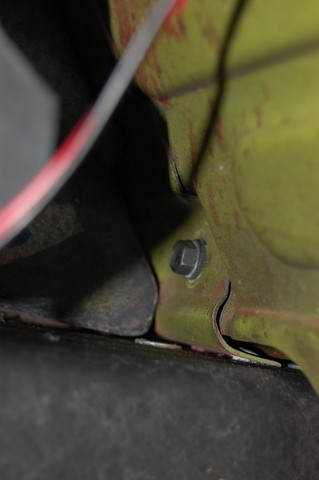
The parking brake console is fastened to the bulkhead behind the seats with a single bolt.
You reach the bolt by removing the storage tray from the jack compartment and reaching in with a small socket wrench.
Regards,
Alan
This is what you see (the bolt) when looking in through the jack compartment.
Hi Alan, the emergency brake bolt is removed but there is "something else" hanging me up. I'll get back to it shortly and of course post my finding. Stay tuned, much more to come.
And yes Bubba is a blessed soul.
Hi C,
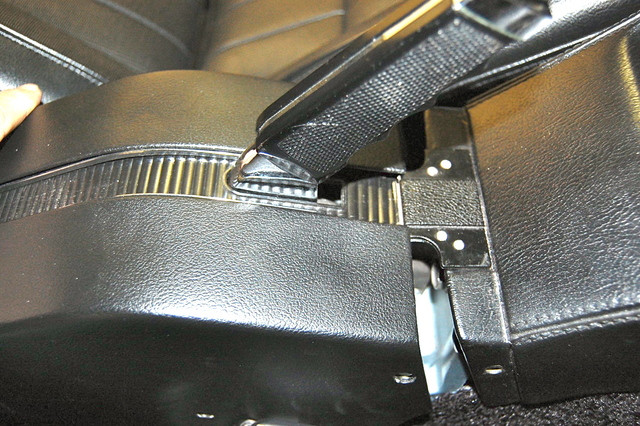
Are either the forward 'tab' or the slide preventing the console from being released?
It needs to be tipped up in the rear and slid backward.
Maybe
Regards,
Alan

 12-08-2016, 11:54 AM