Plastic Fantastic tew

 10-23-2018, 10:31 PM
#202


I started down this same road a while back , I was pointed at your thread when I posted that I am thinking about fitting a Camaro rear end in a c3 frame.
I have some info on the c5/6 suspension that I found on the net that are sort of legible.
I will email you a copy if you cant read it here , just PM me your address
Bfit
The following users liked this post:
SuperBuickGuy (10-24-2018)
10-24-2018, 10:08 AM
#203
Melting Slicks

I started down this same road a while back , I was pointed at your thread when I posted that I am thinking about fitting a Camaro rear end in a c3 frame.
I have some info on the c5/6 suspension that I found on the net that are sort of legible.
I will email you a copy if you cant read it here , just PM me your address
Bfit
I have some info on the c5/6 suspension that I found on the net that are sort of legible.
I will email you a copy if you cant read it here , just PM me your address
Bfit

 11-14-2018, 05:58 AM
#207
Melting Slicks

Is it just me and possibly my less than stellar internet connection but I can’t ever get all the images to load on this thread.
it. Looks like a great read and source of information.
are the images very high resolution, other threads seem to load fine.
Craig
it. Looks like a great read and source of information.
are the images very high resolution, other threads seem to load fine.
Craig
 11-14-2018, 12:04 PM
#209
Melting Slicks
it's even more annoying when you're uploading those pictures. Ah well, for the price I pay I'm not complaining.
11-14-2018, 12:05 PM
#210
Melting Slicks
11-22-2018, 11:44 PM
#211
Melting Slicks
ah turkey day.... not much accomplished other then driving 400 miles
but still time to talk ofsets
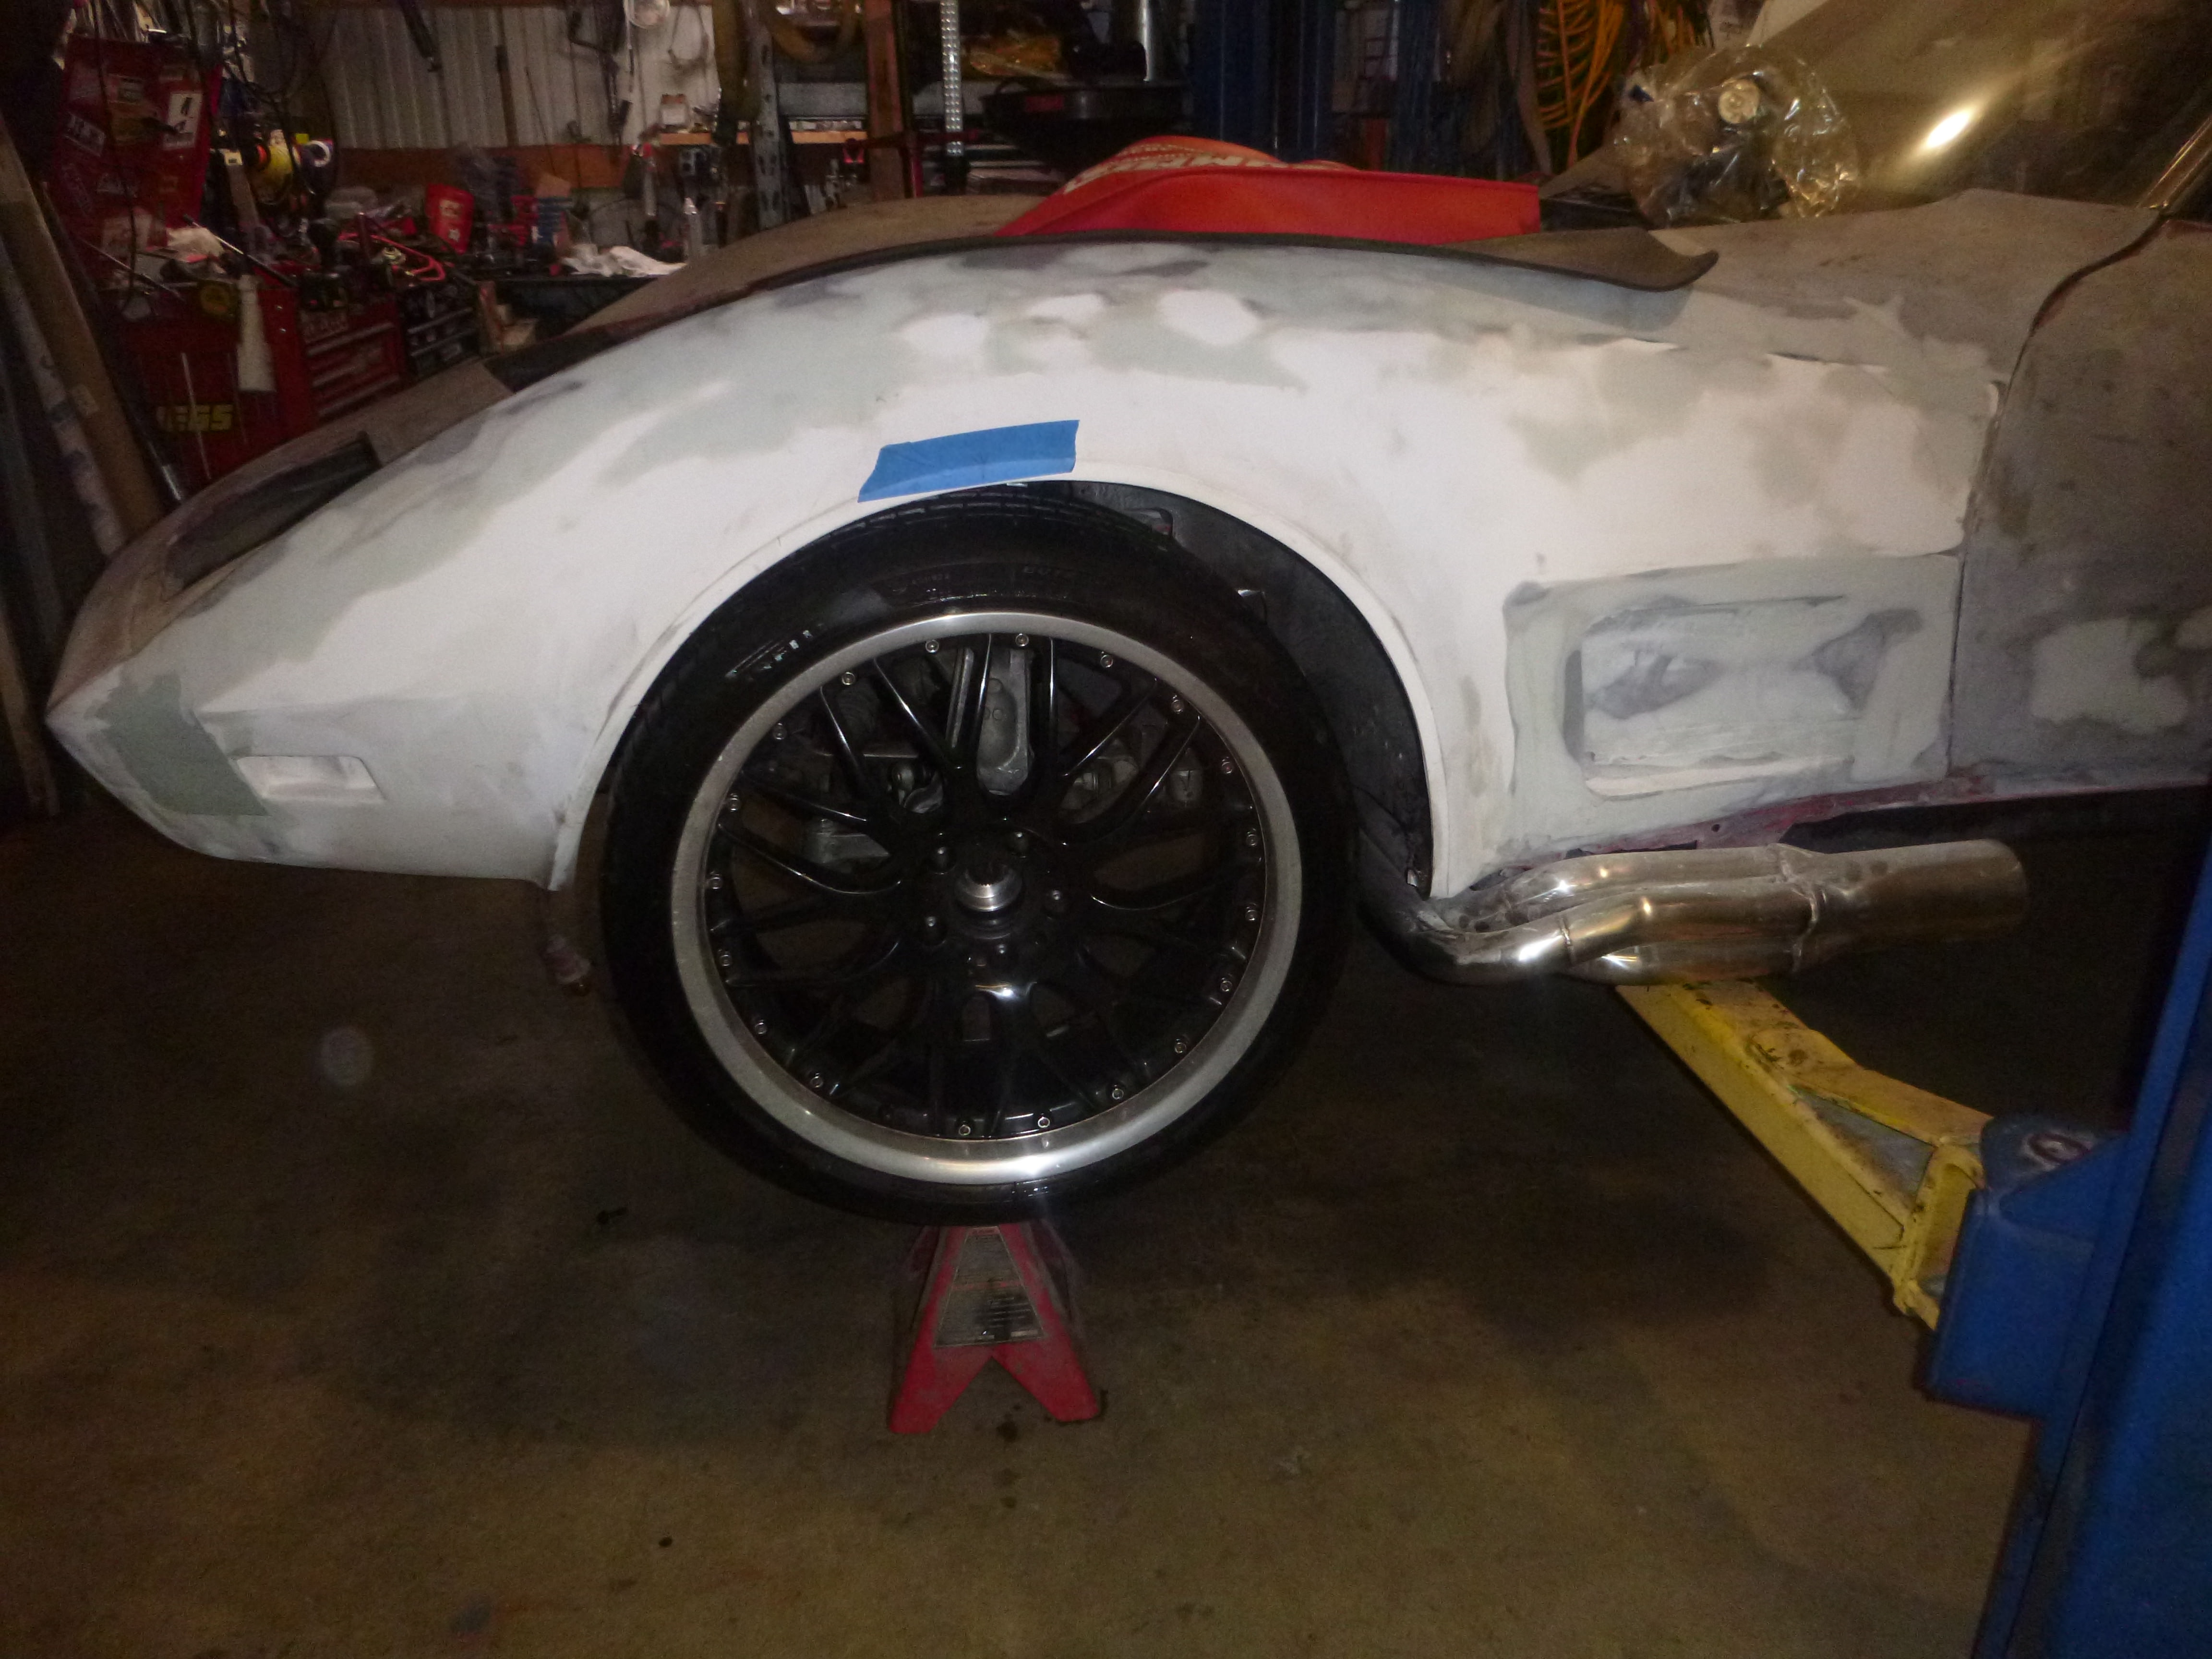
whether anyone likes it or not, 20s is all that fit... .20x10 front 20x12 rear (though this could go to 14 if I so choose)
front 2 3/4" = 69.85 mm, 20x10 - 254 mm width. divide by 2 = 127. 127-69.85= 57.15 mm or 58mm positive offset on a 10 inch rim (which is a custom size, the best I've found is in the 40s)
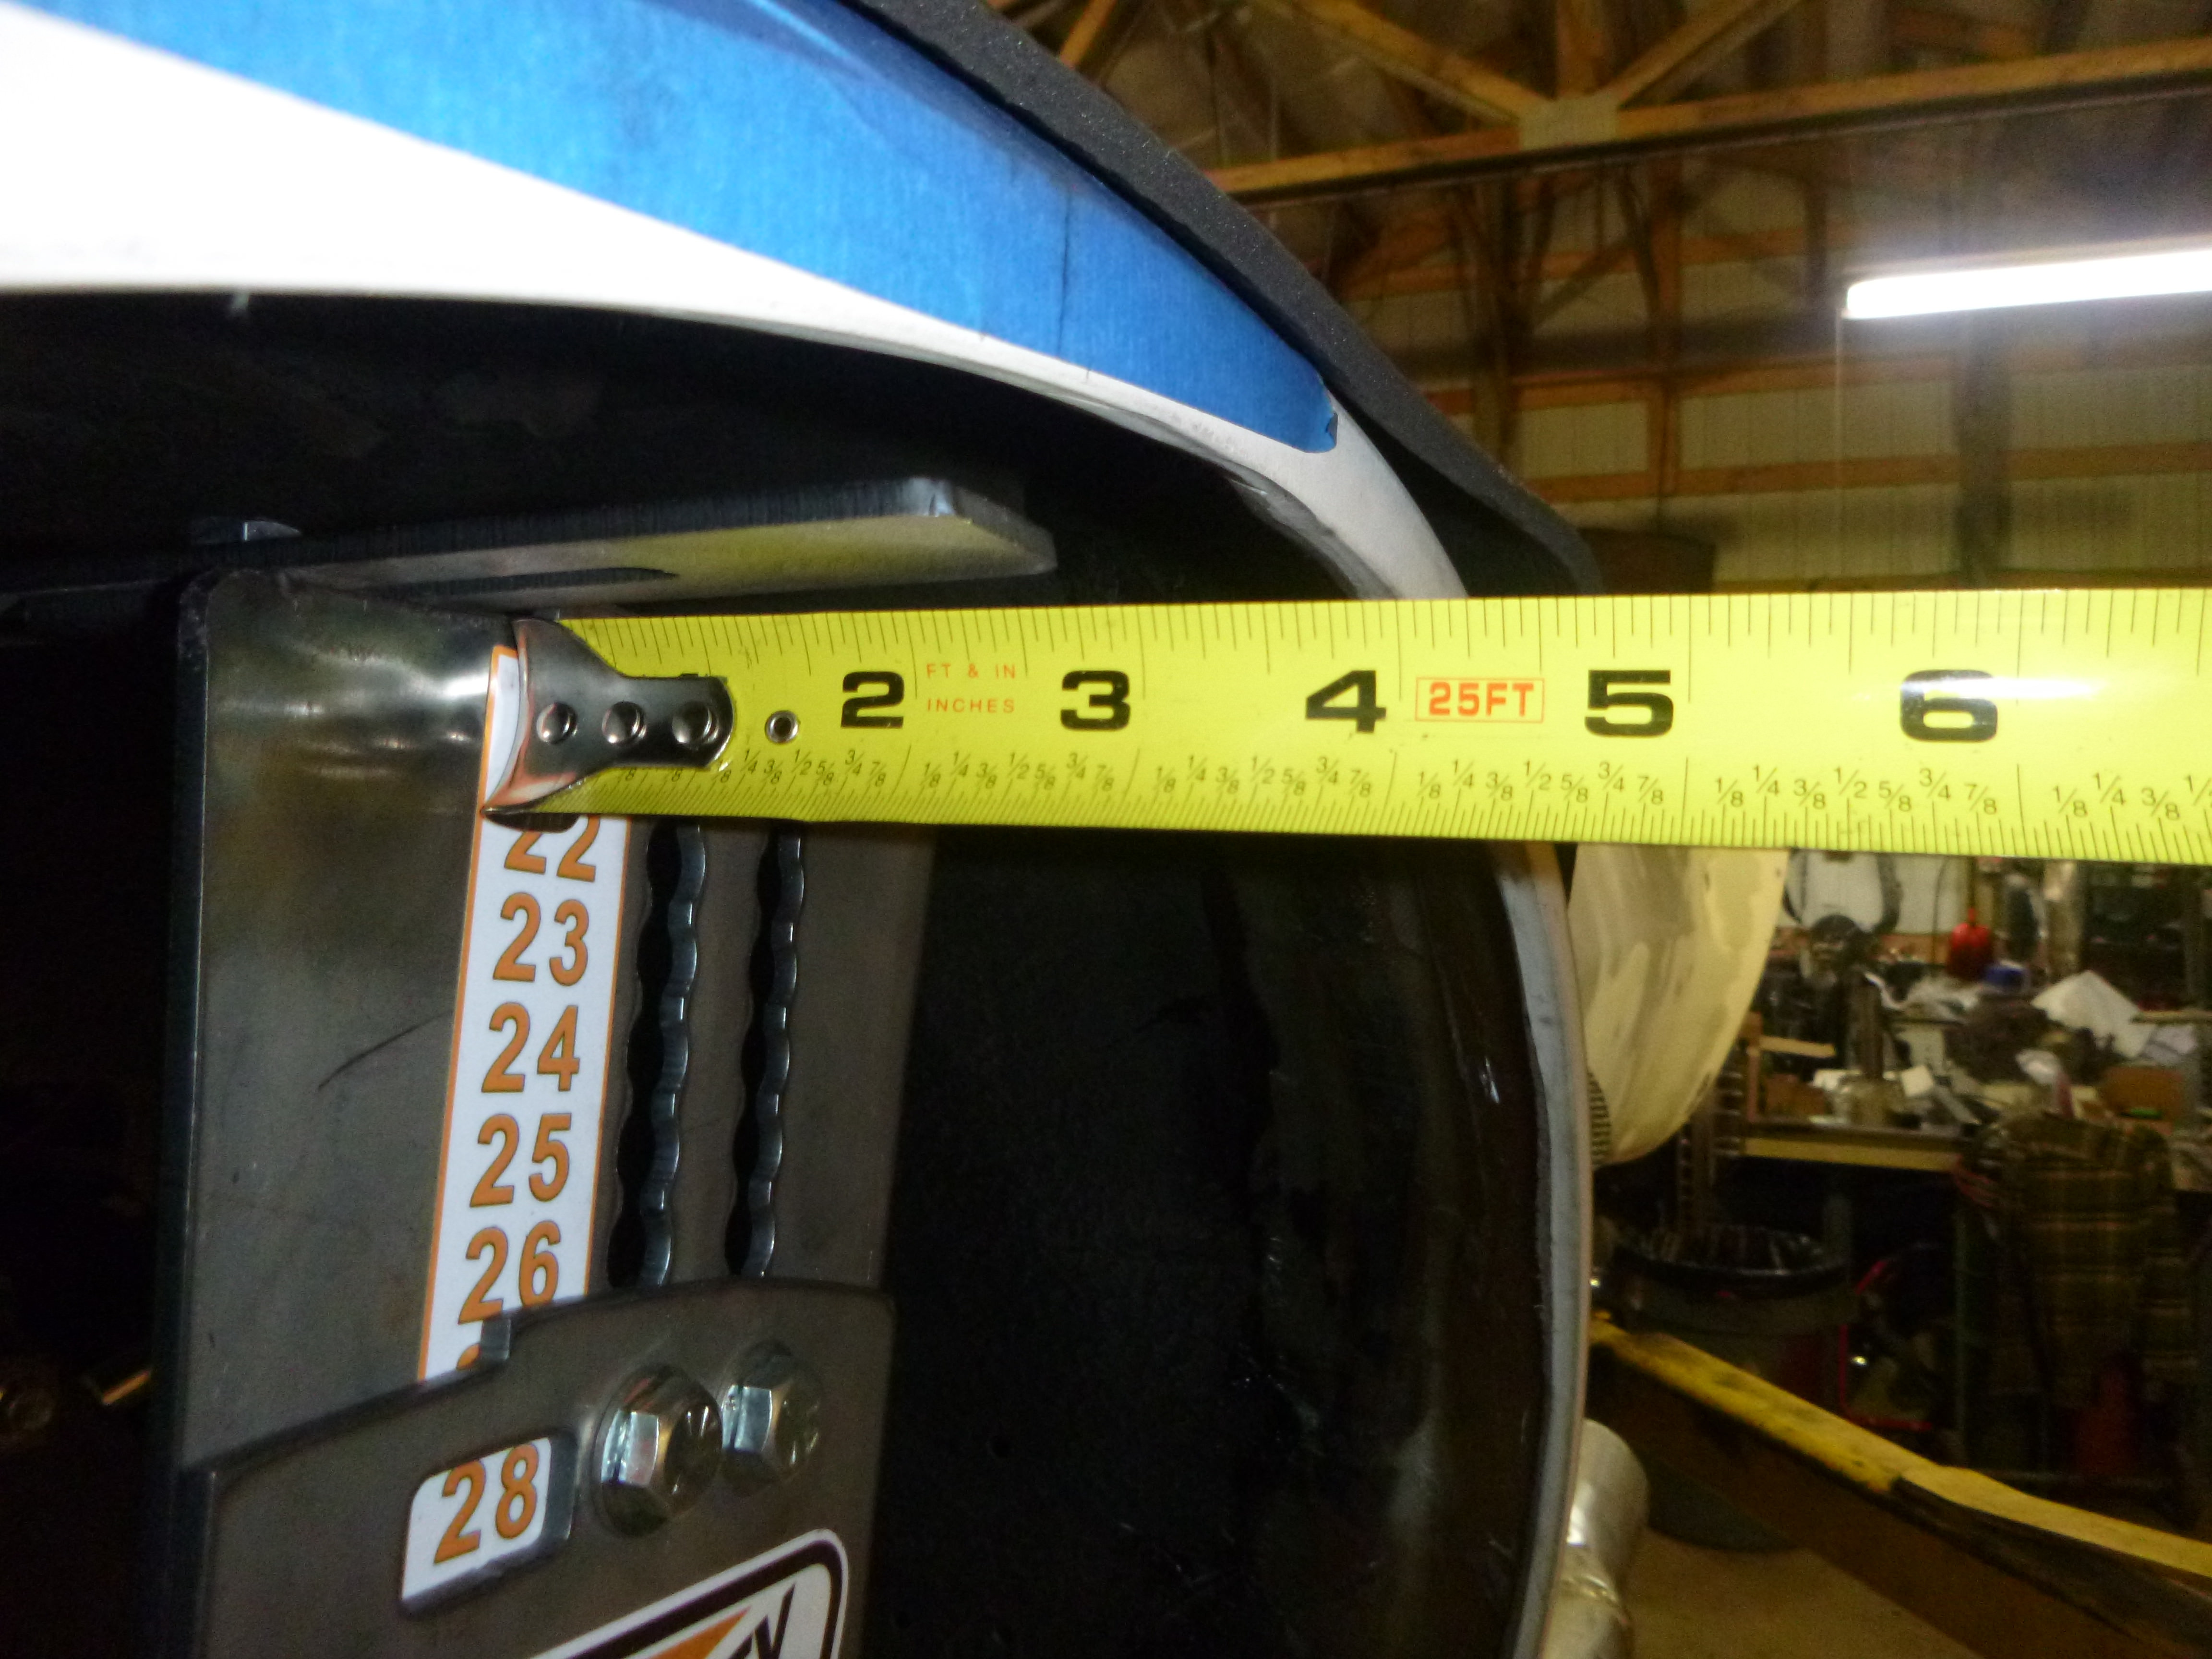
rear 4"
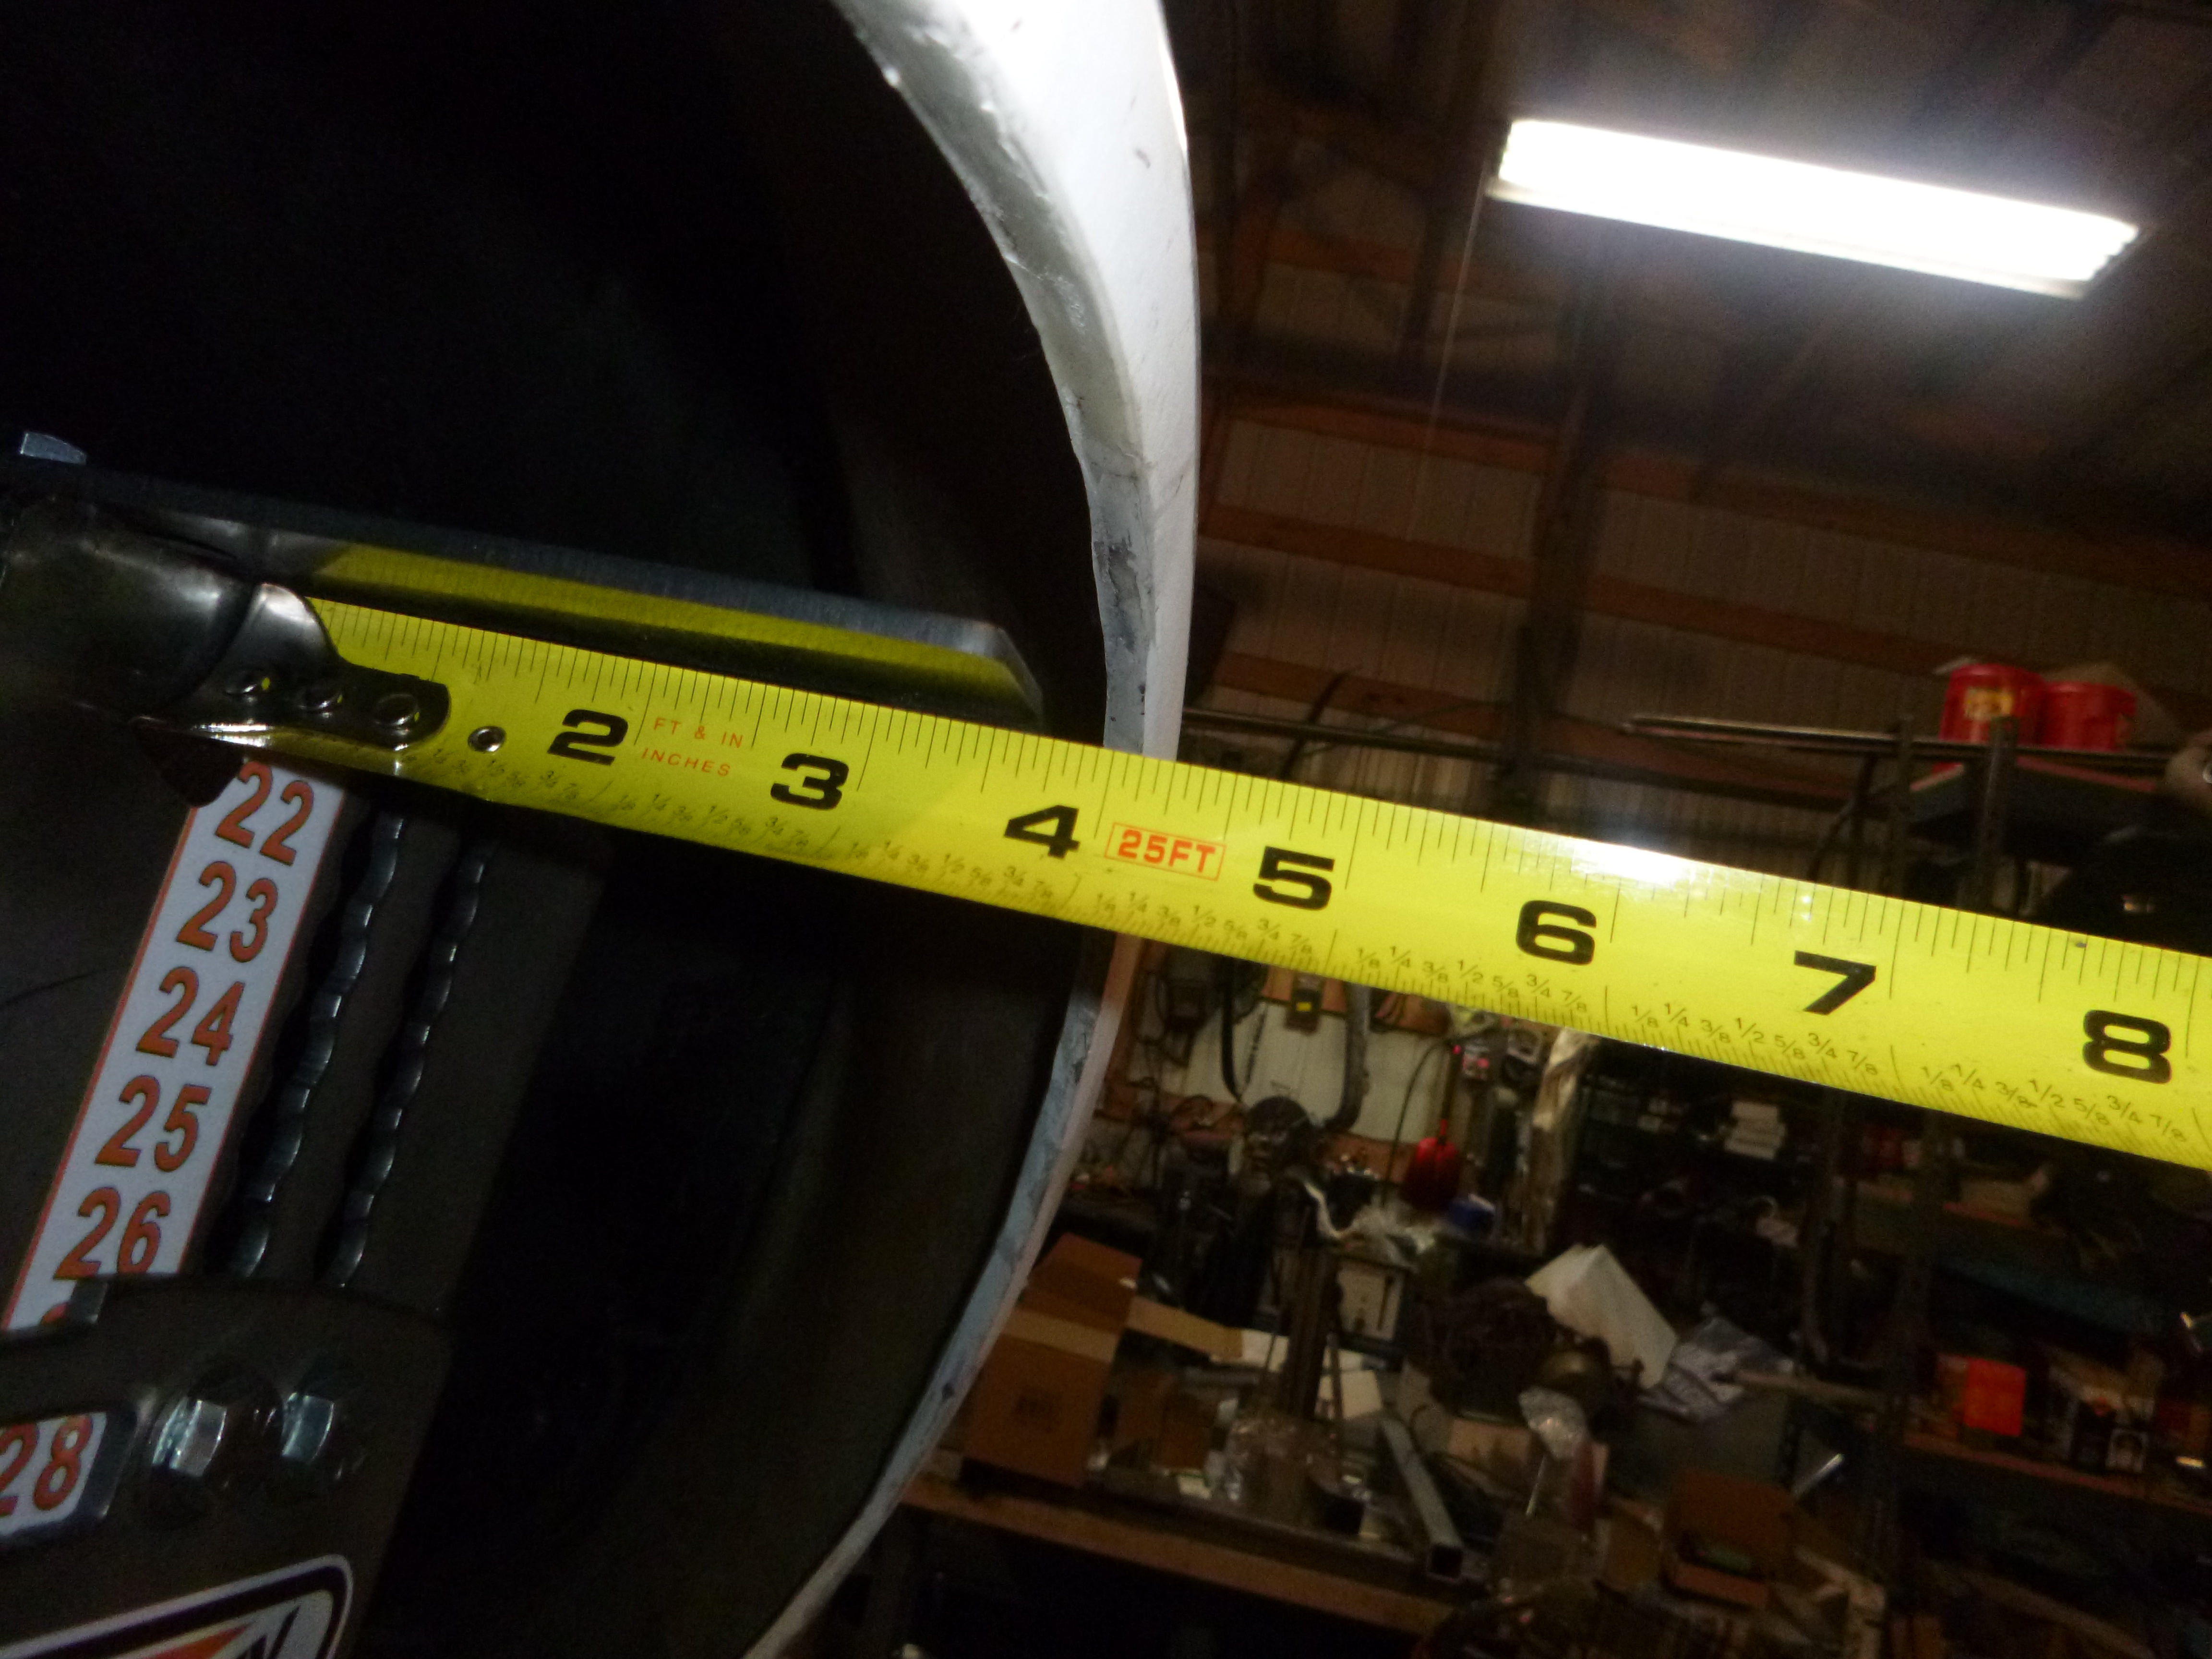
math 20x12 = 304.8/2 = 153.9-101.6 (4 inches) = 52.3.... interestingly, the rears tend to be nearer zero or further out in the 70 range.
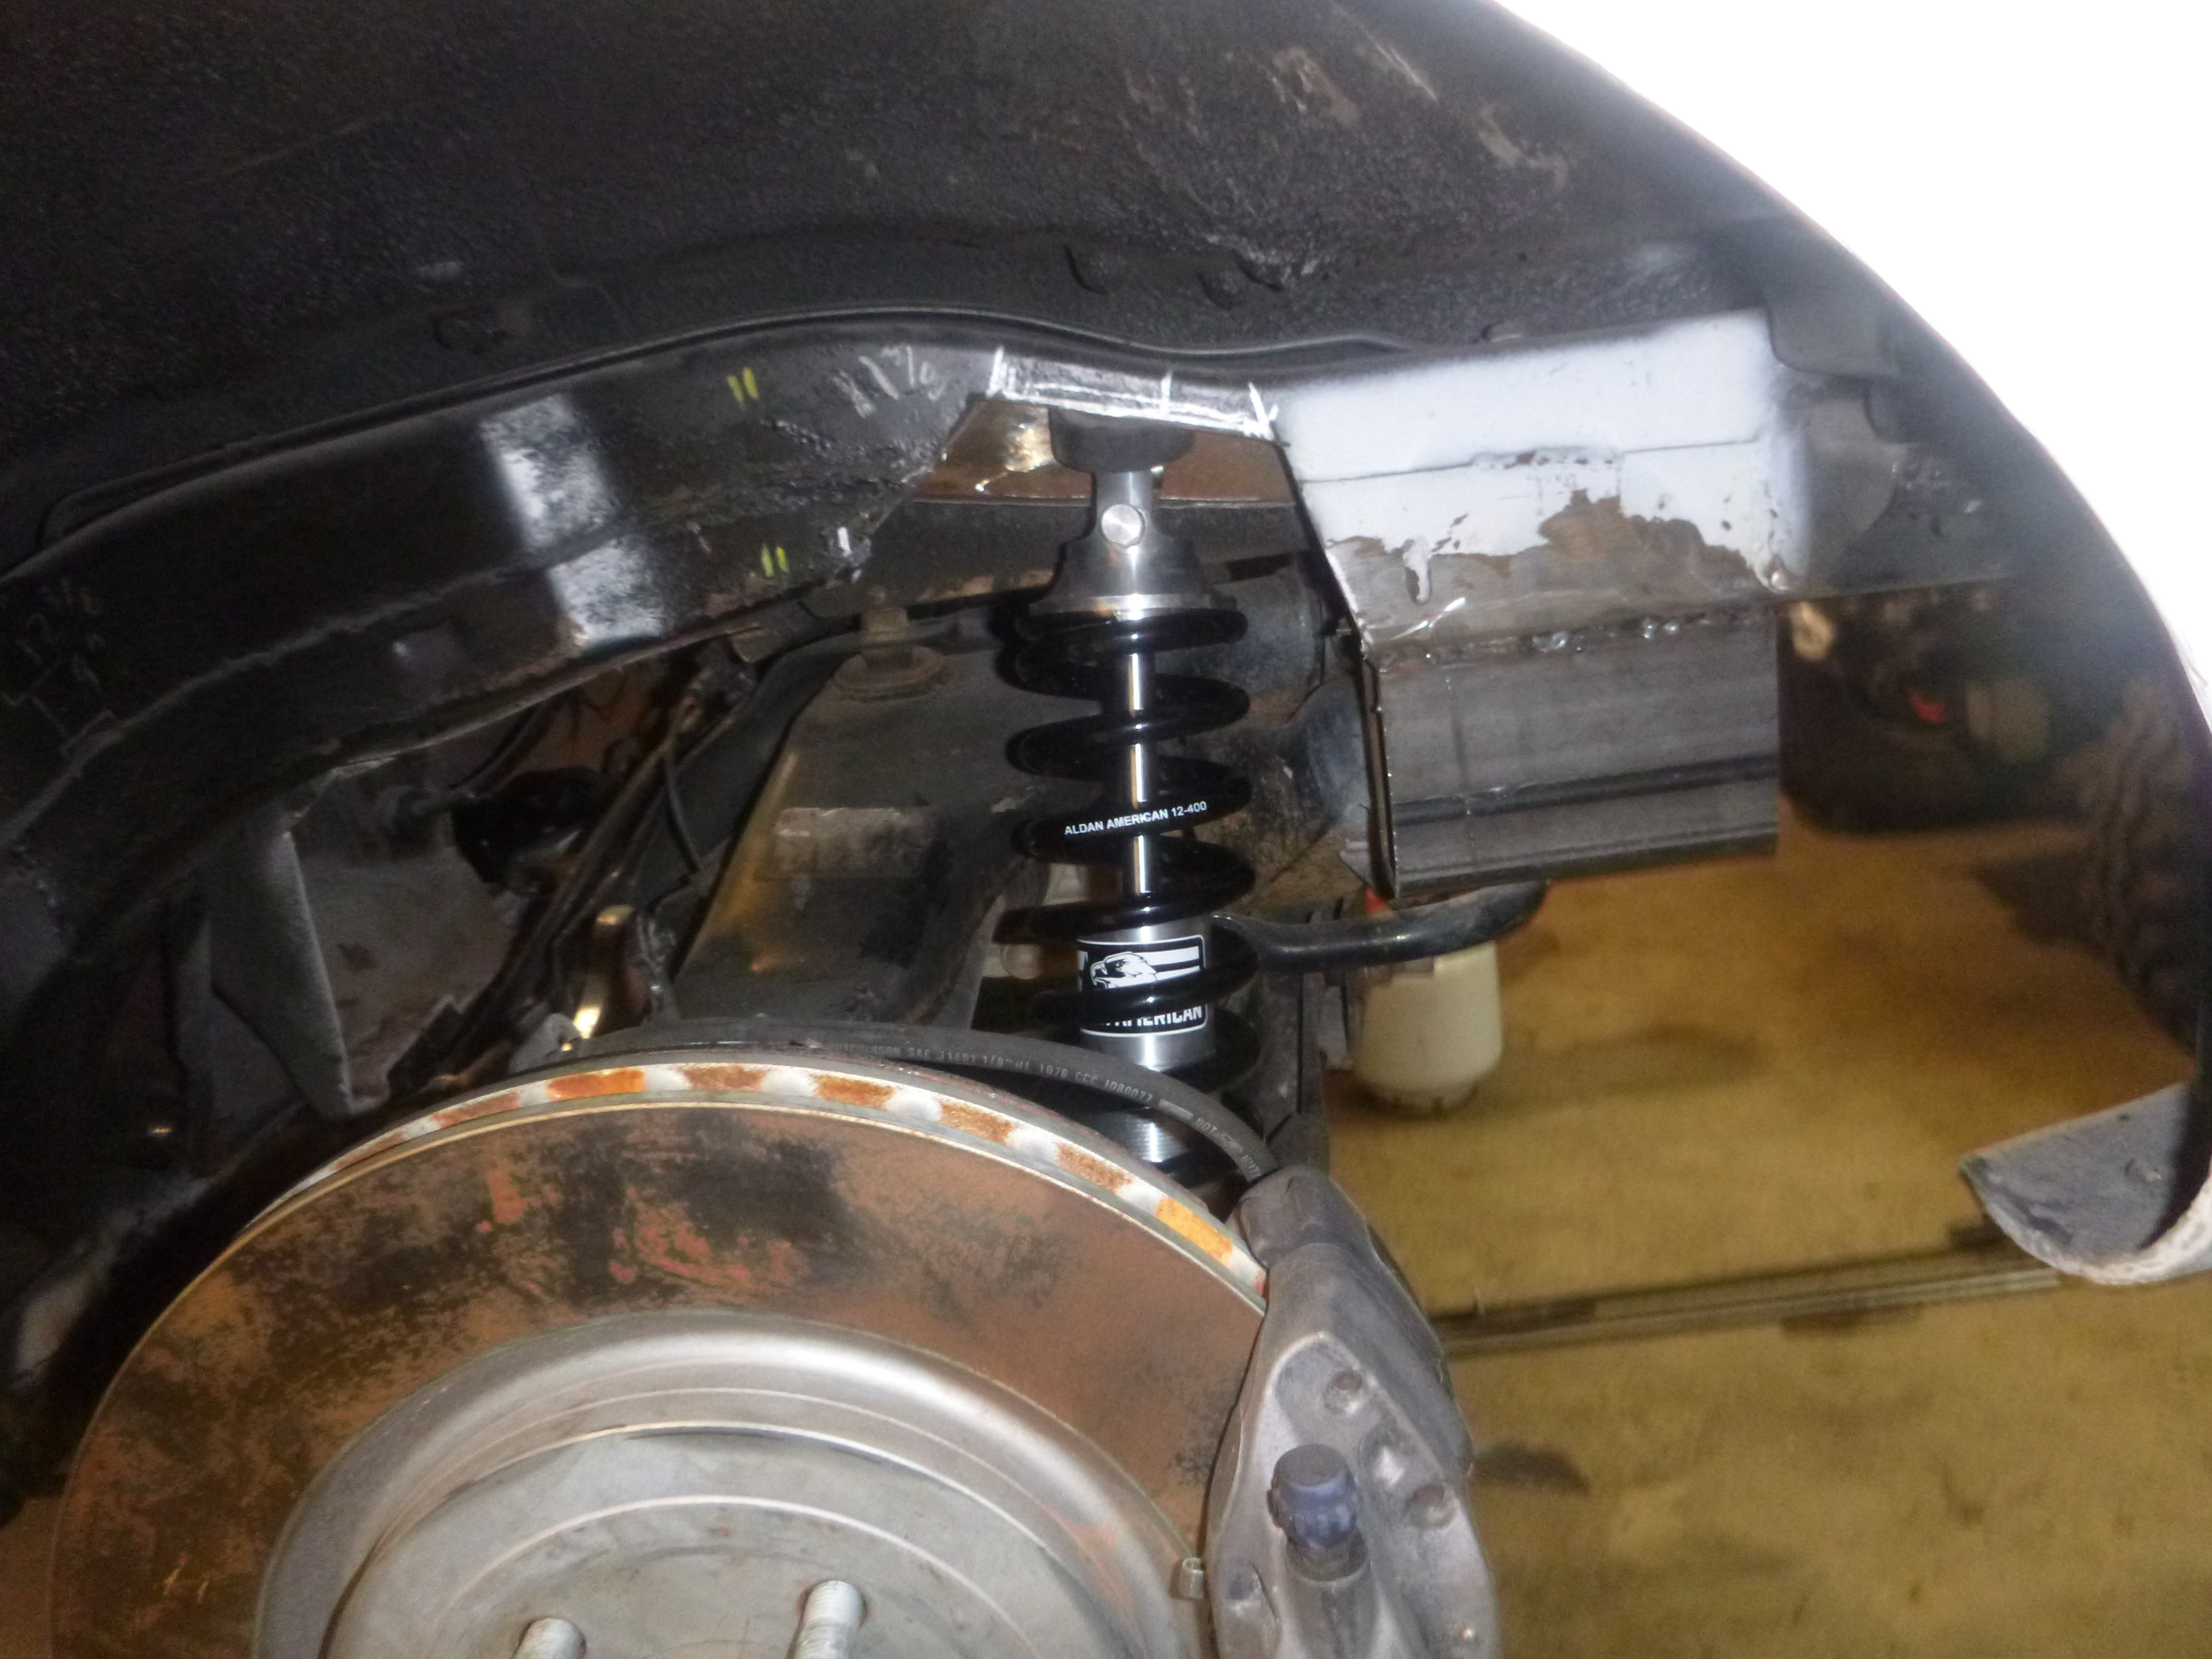
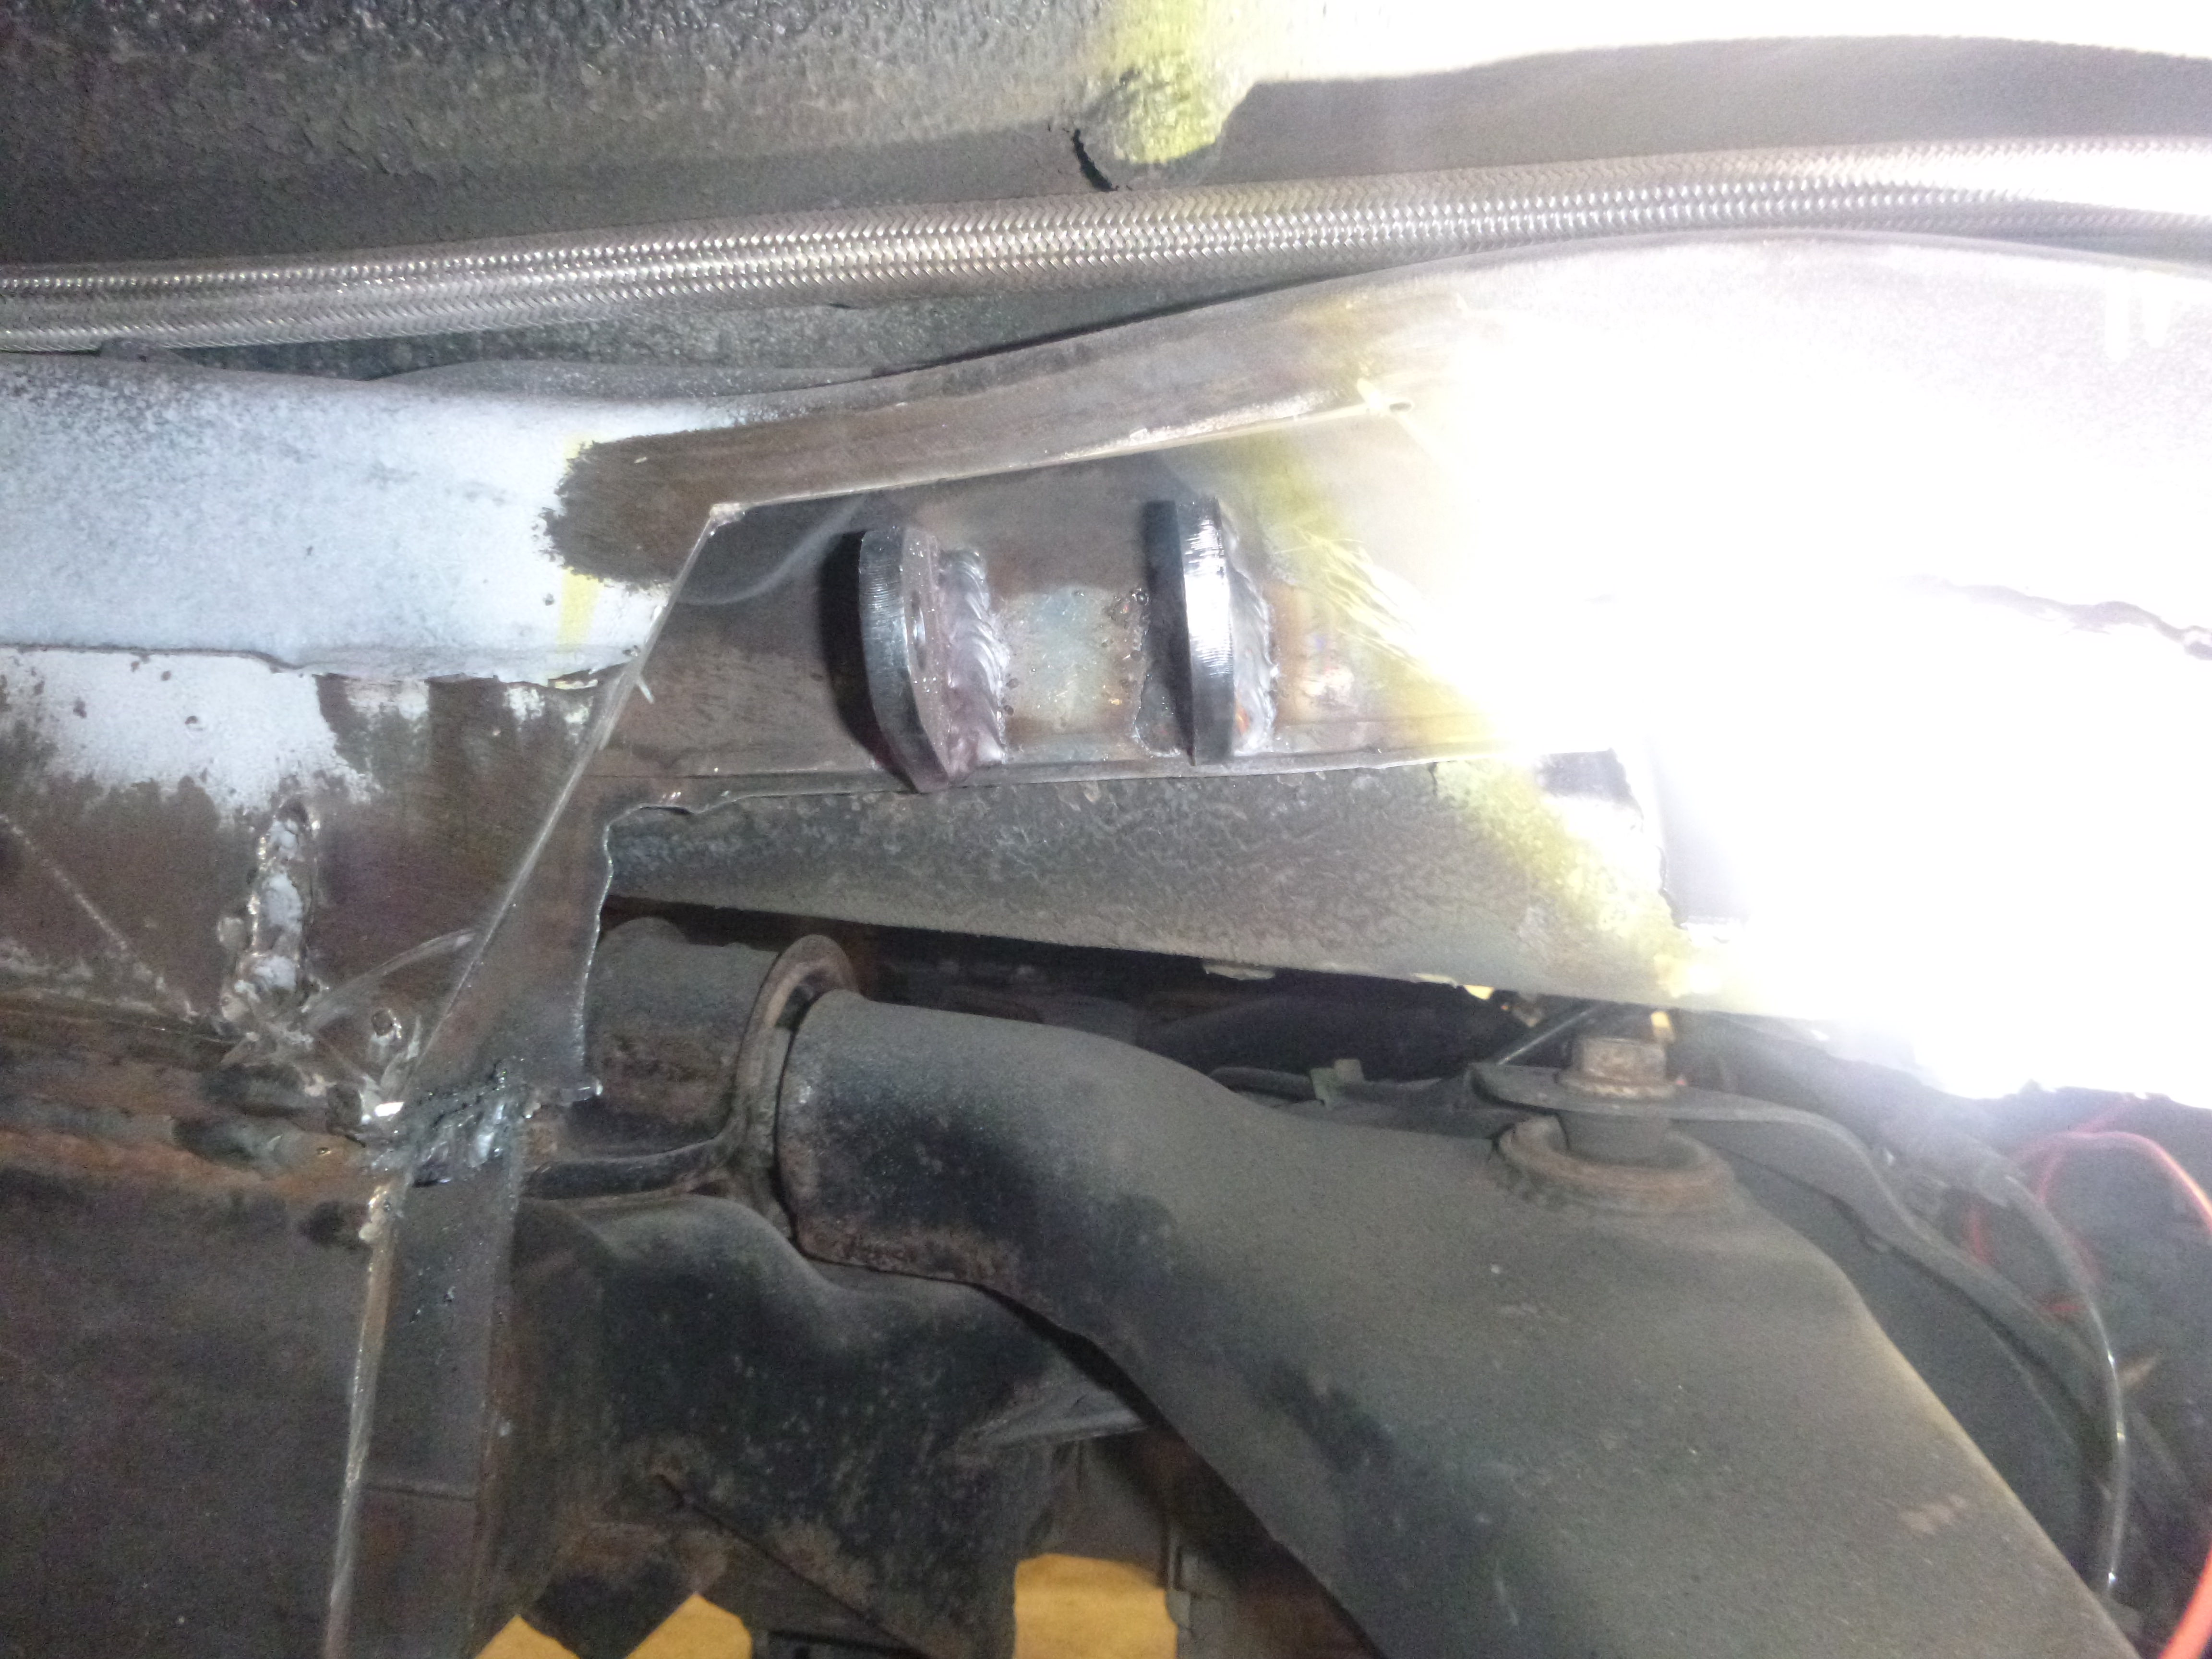
oh yeah and one more thing.... yes, that is suspended on the spring
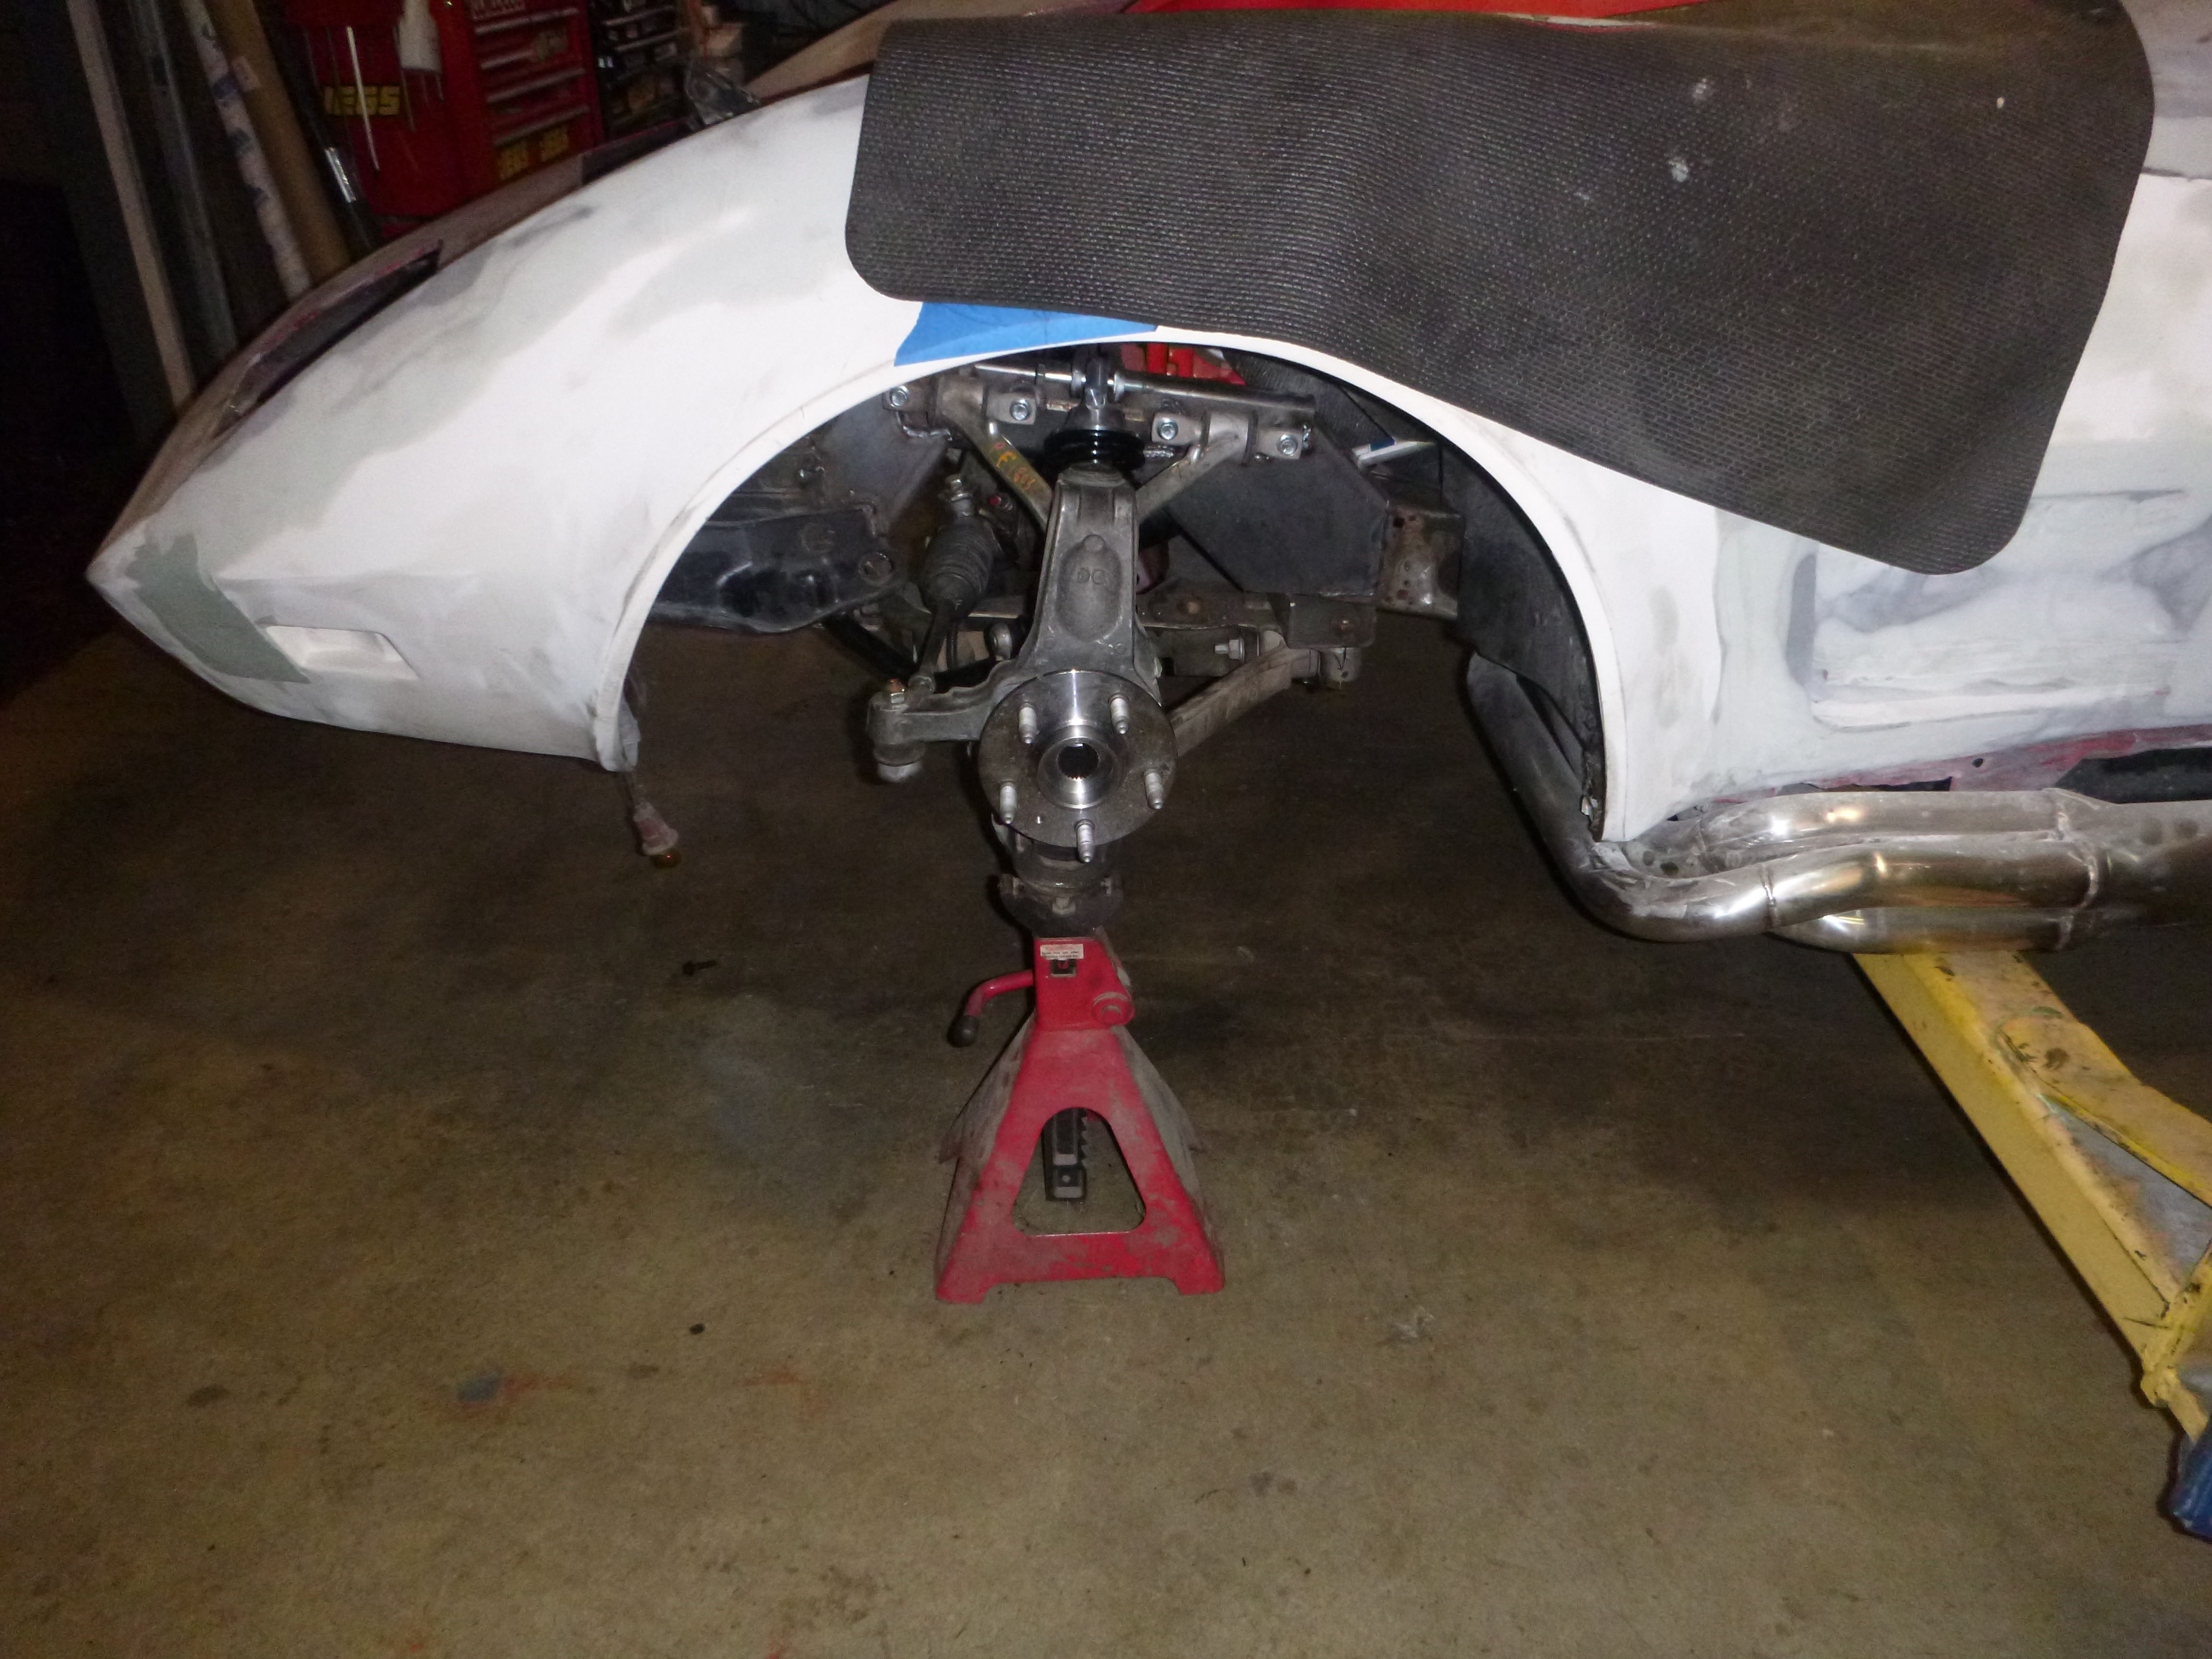
did that by welding tabs on the top
hopefully Sunday I can start making the rear suspended
but still time to talk ofsets
whether anyone likes it or not, 20s is all that fit... .20x10 front 20x12 rear (though this could go to 14 if I so choose)
front 2 3/4" = 69.85 mm, 20x10 - 254 mm width. divide by 2 = 127. 127-69.85= 57.15 mm or 58mm positive offset on a 10 inch rim (which is a custom size, the best I've found is in the 40s)
rear 4"
math 20x12 = 304.8/2 = 153.9-101.6 (4 inches) = 52.3.... interestingly, the rears tend to be nearer zero or further out in the 70 range.
oh yeah and one more thing.... yes, that is suspended on the spring
did that by welding tabs on the top
hopefully Sunday I can start making the rear suspended
11-25-2018, 09:20 PM
#212
Melting Slicks
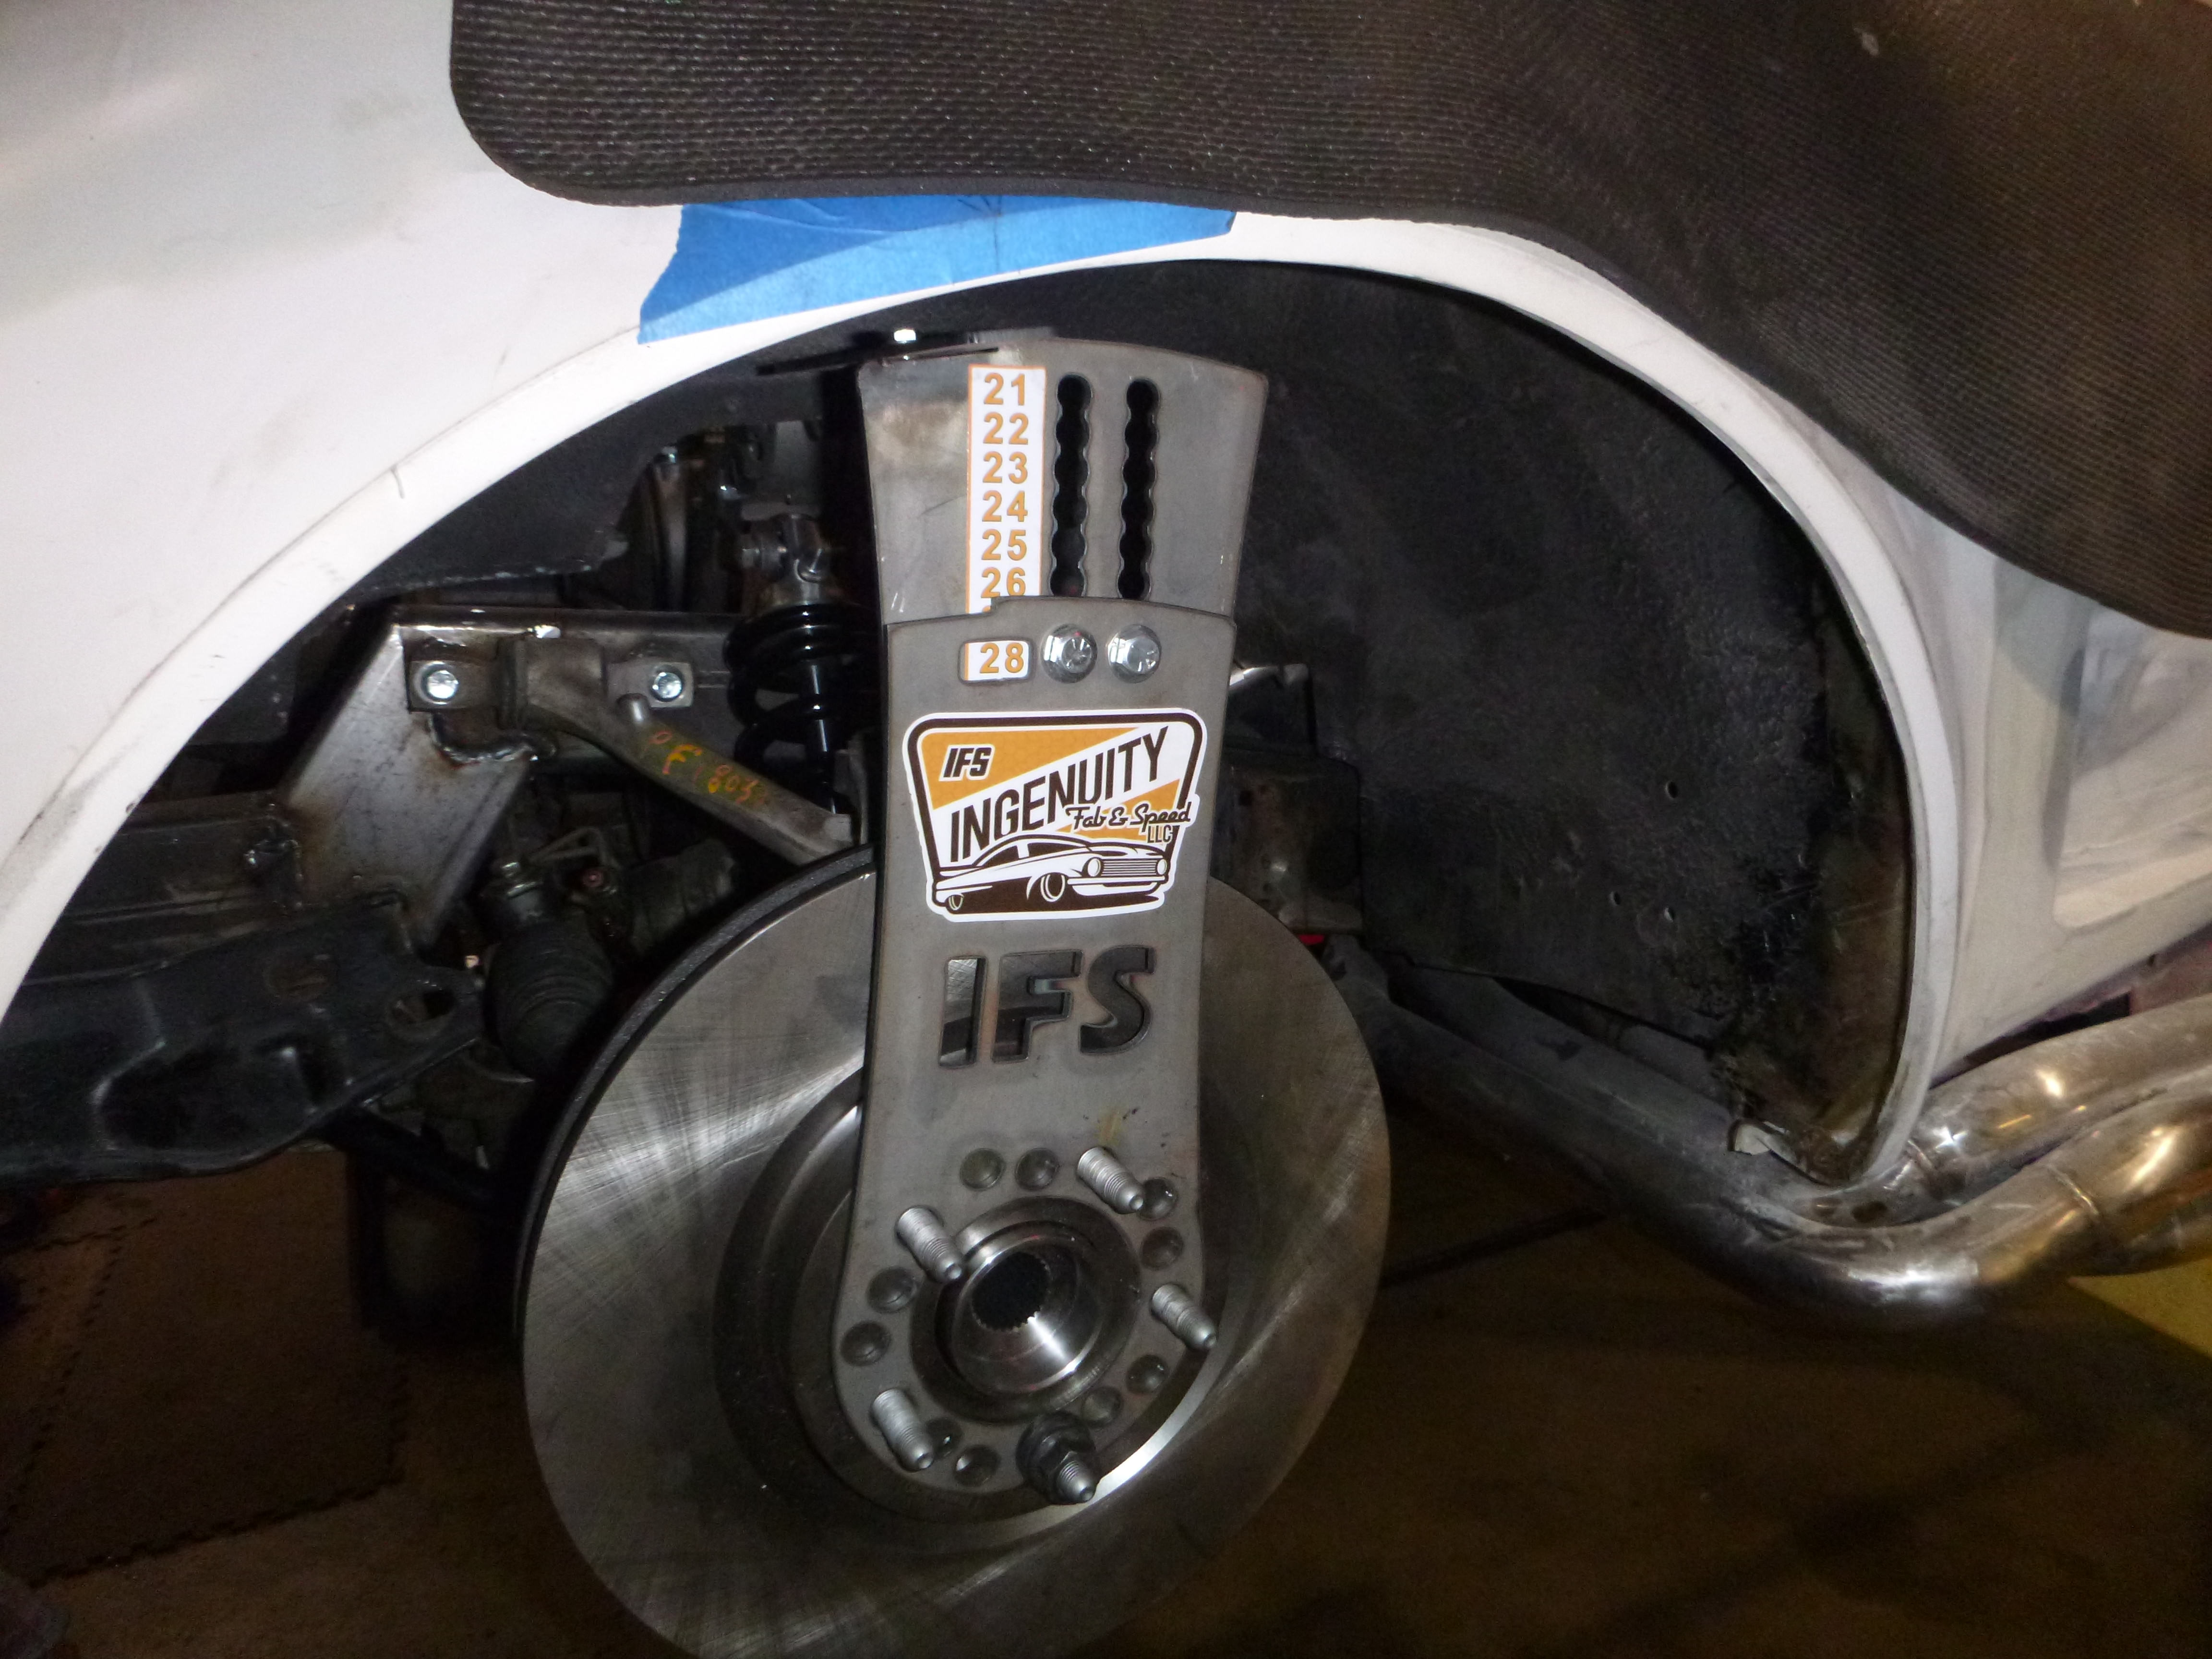
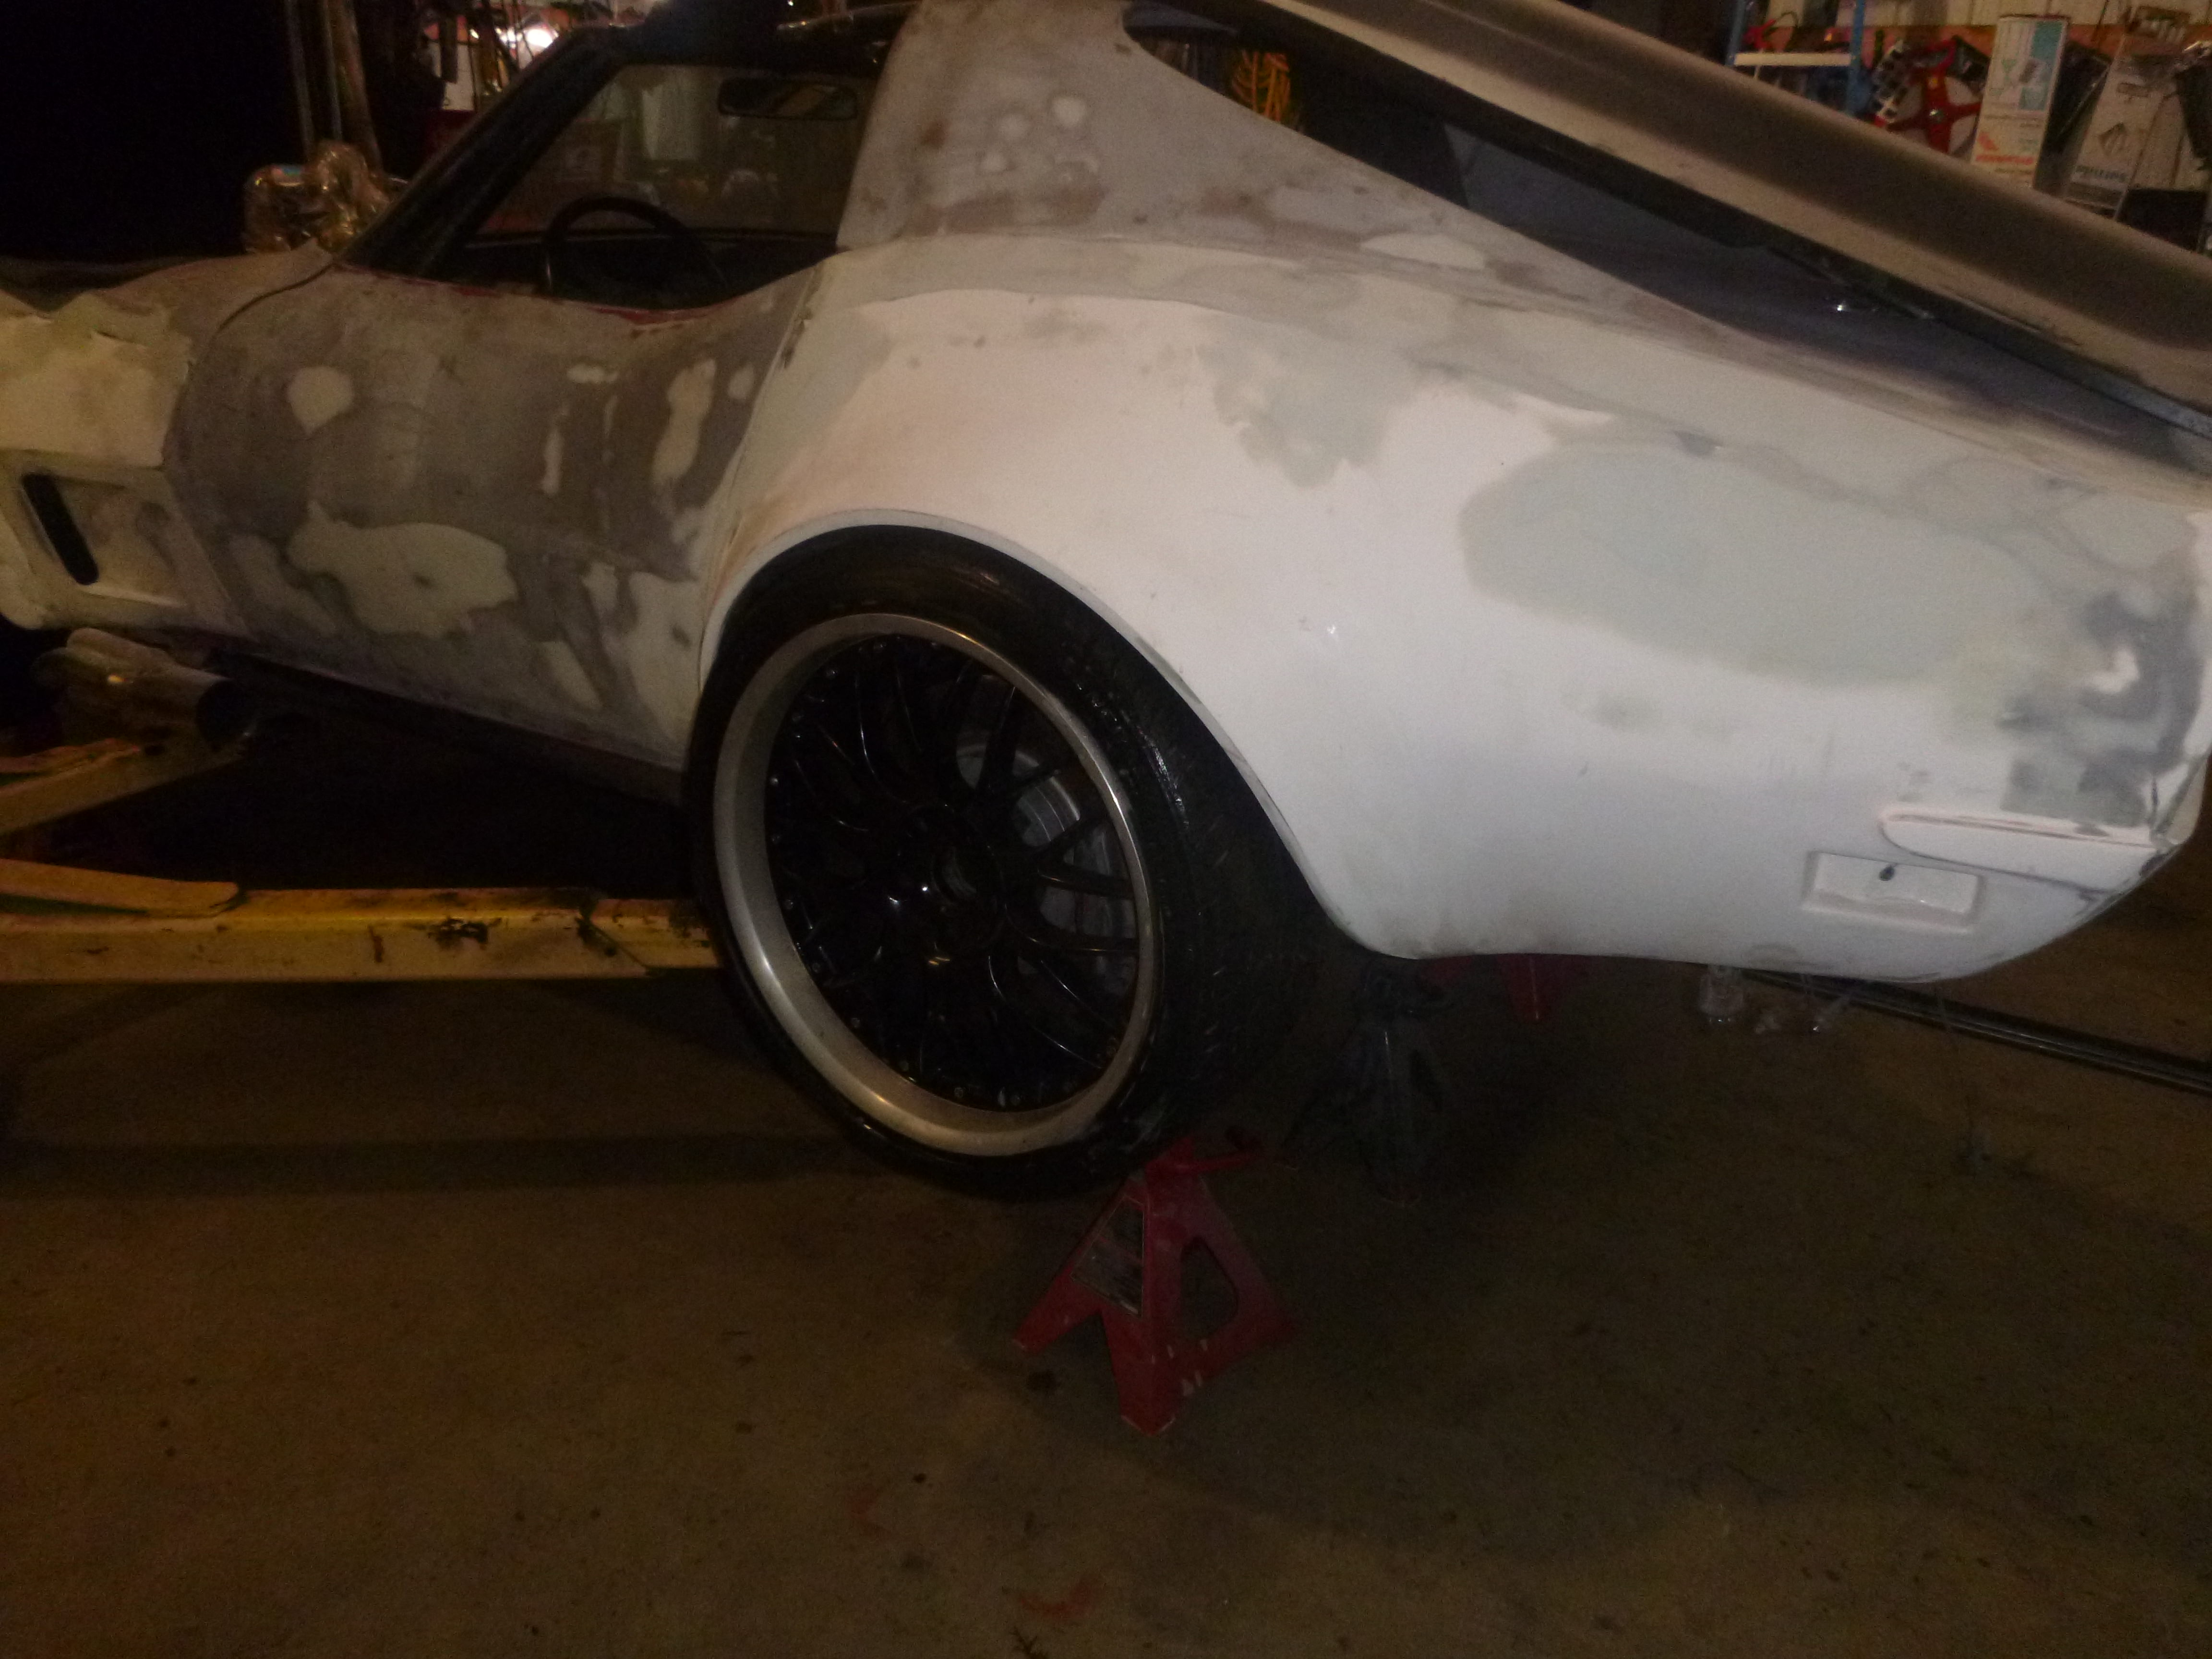
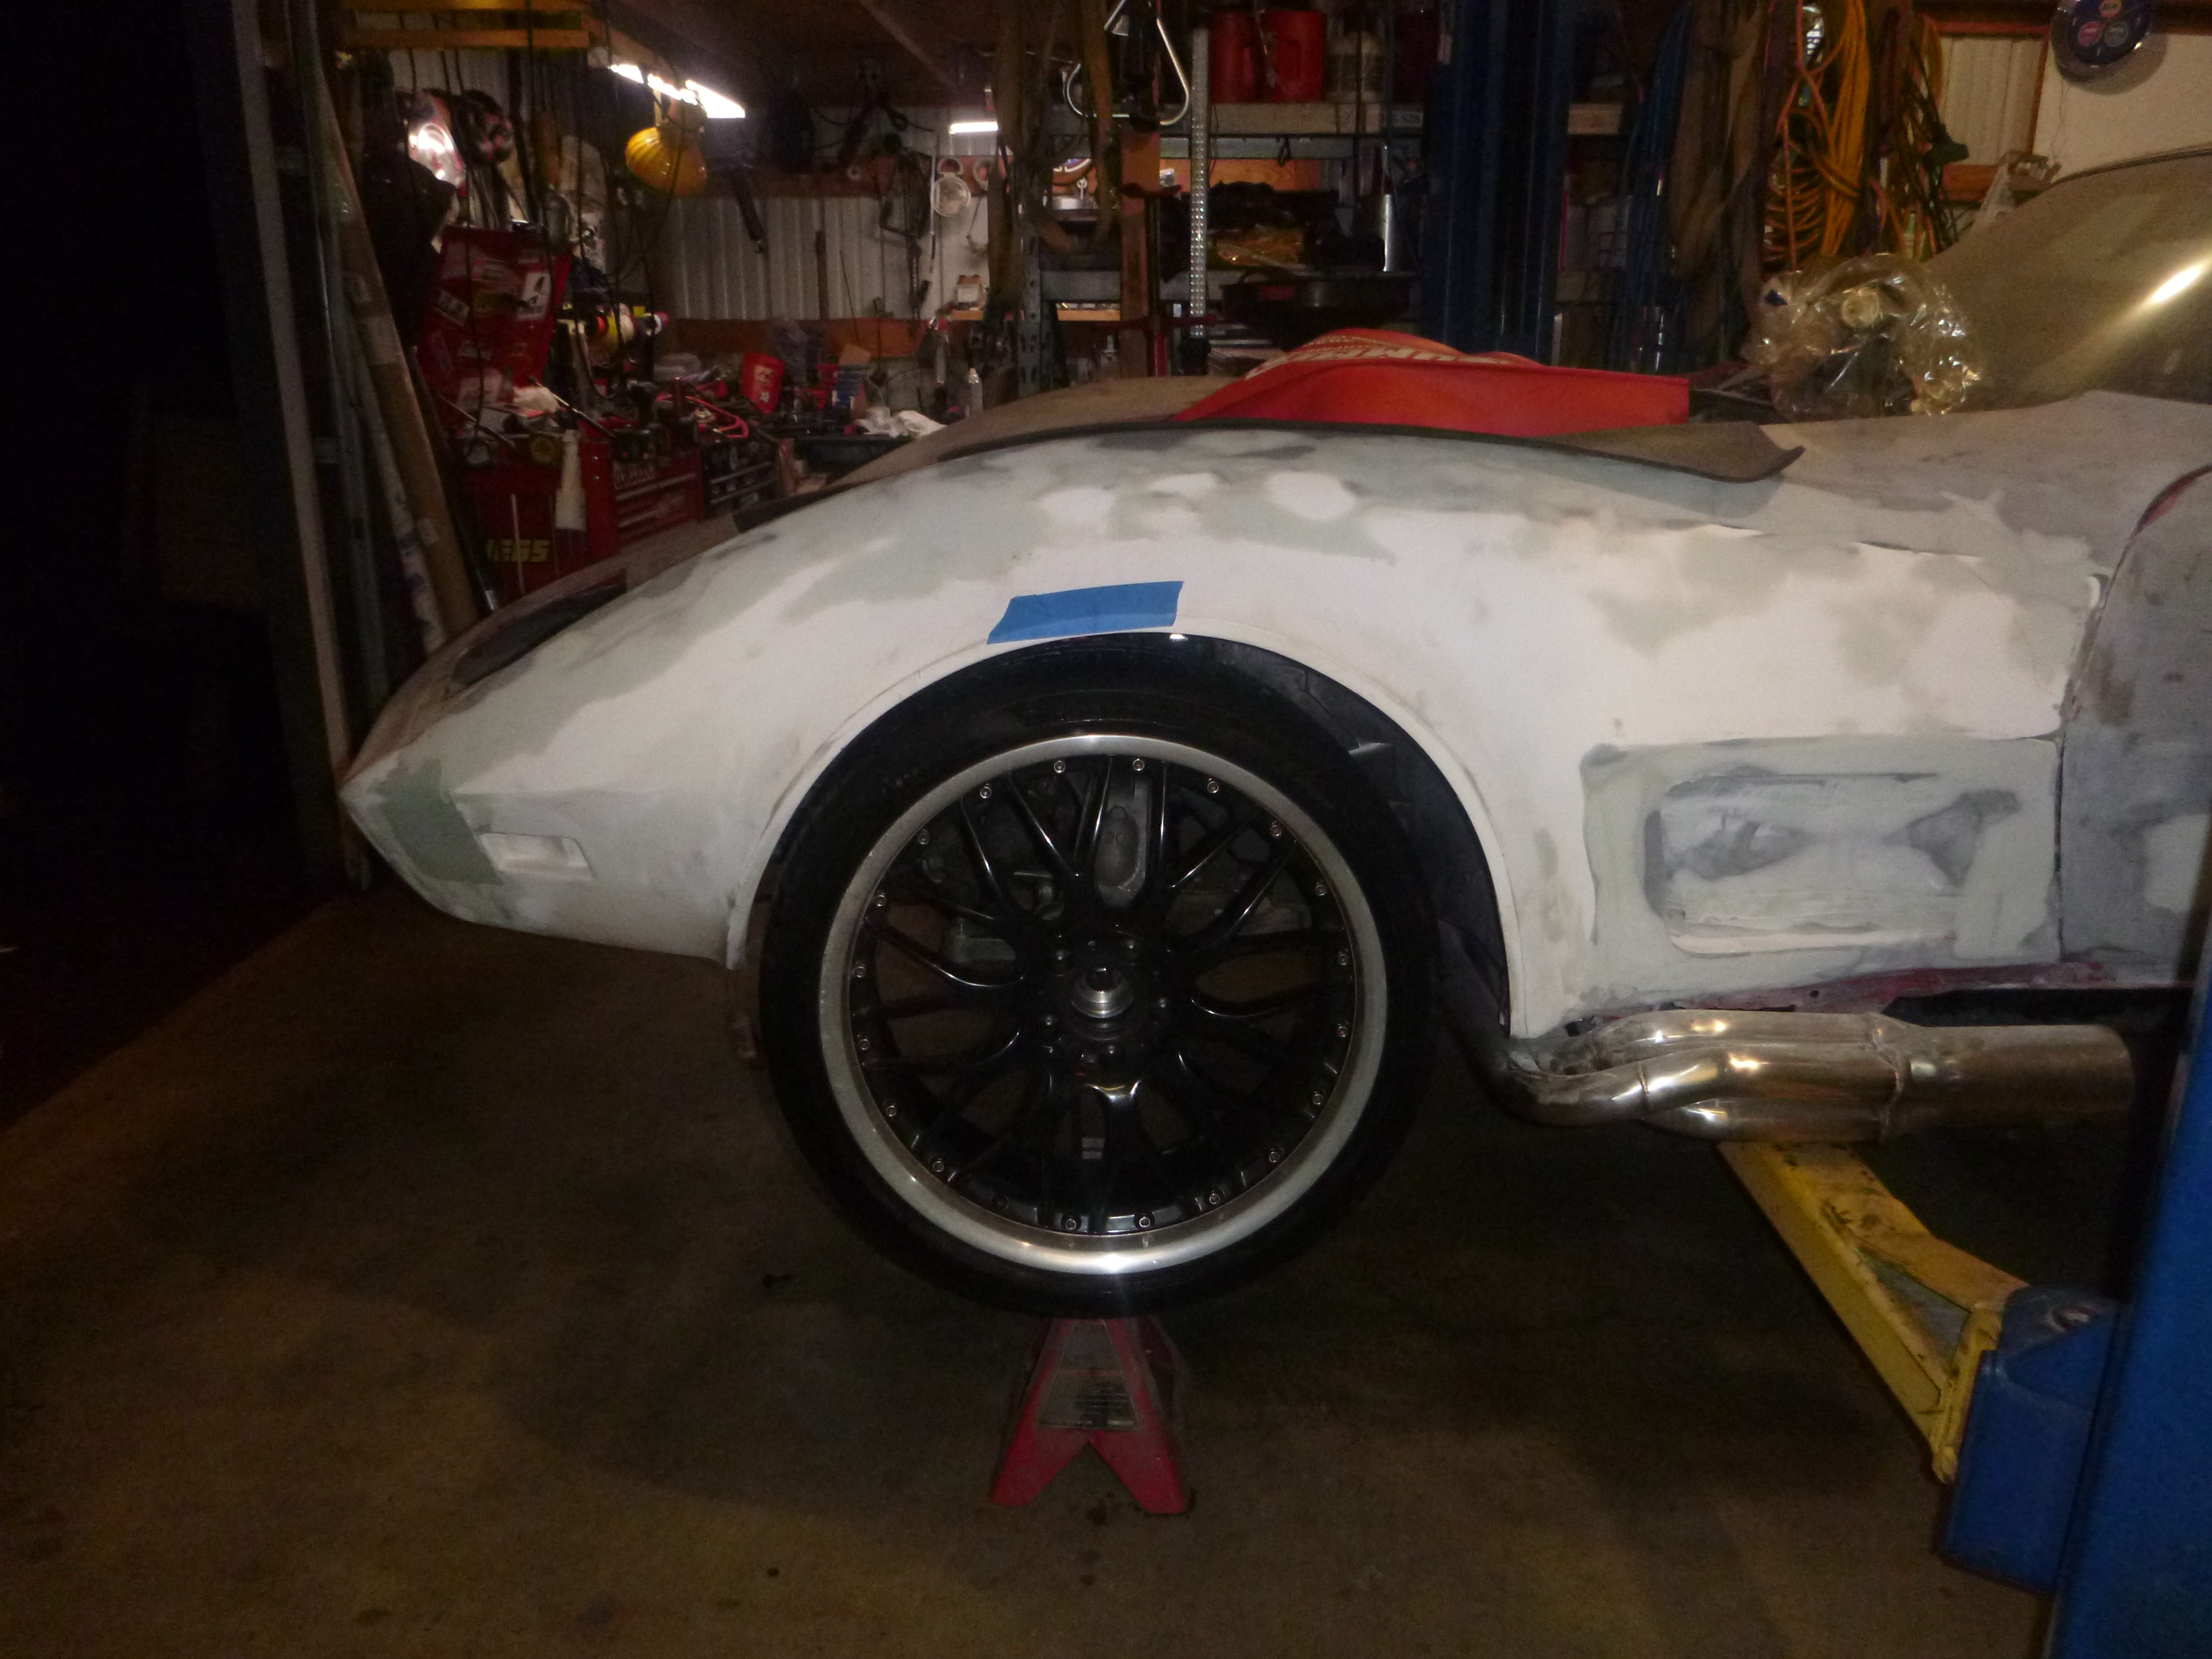
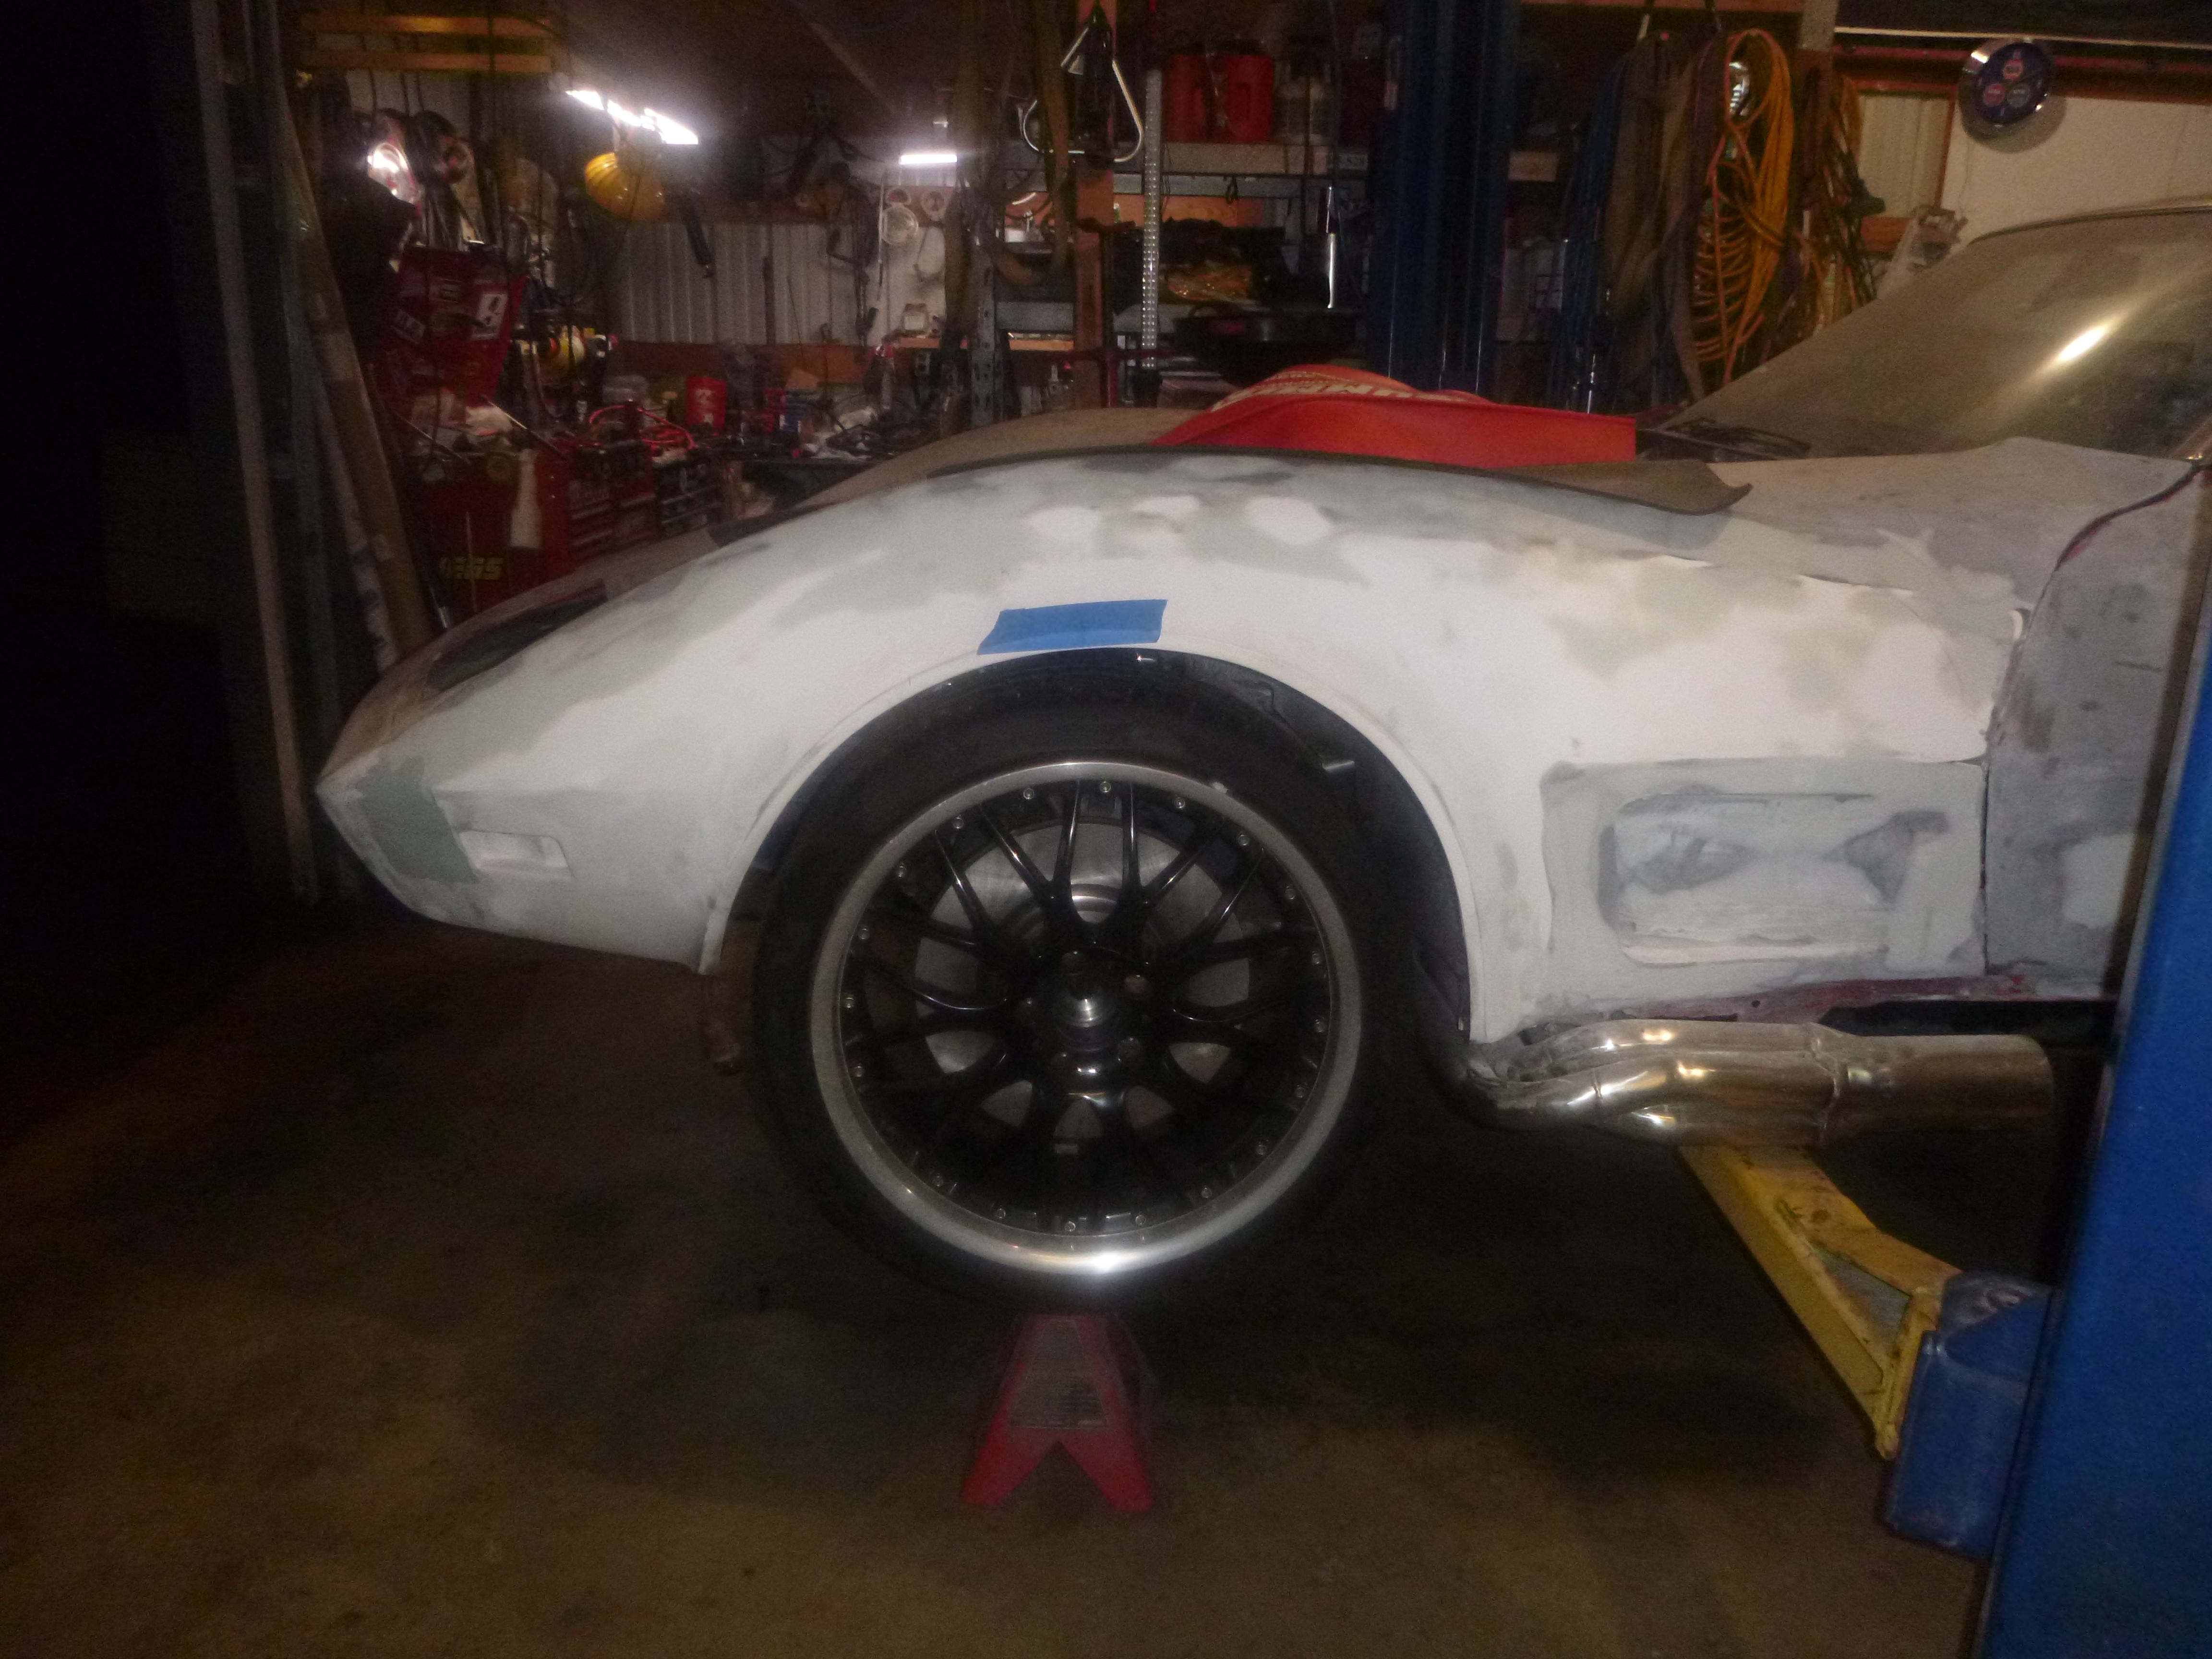
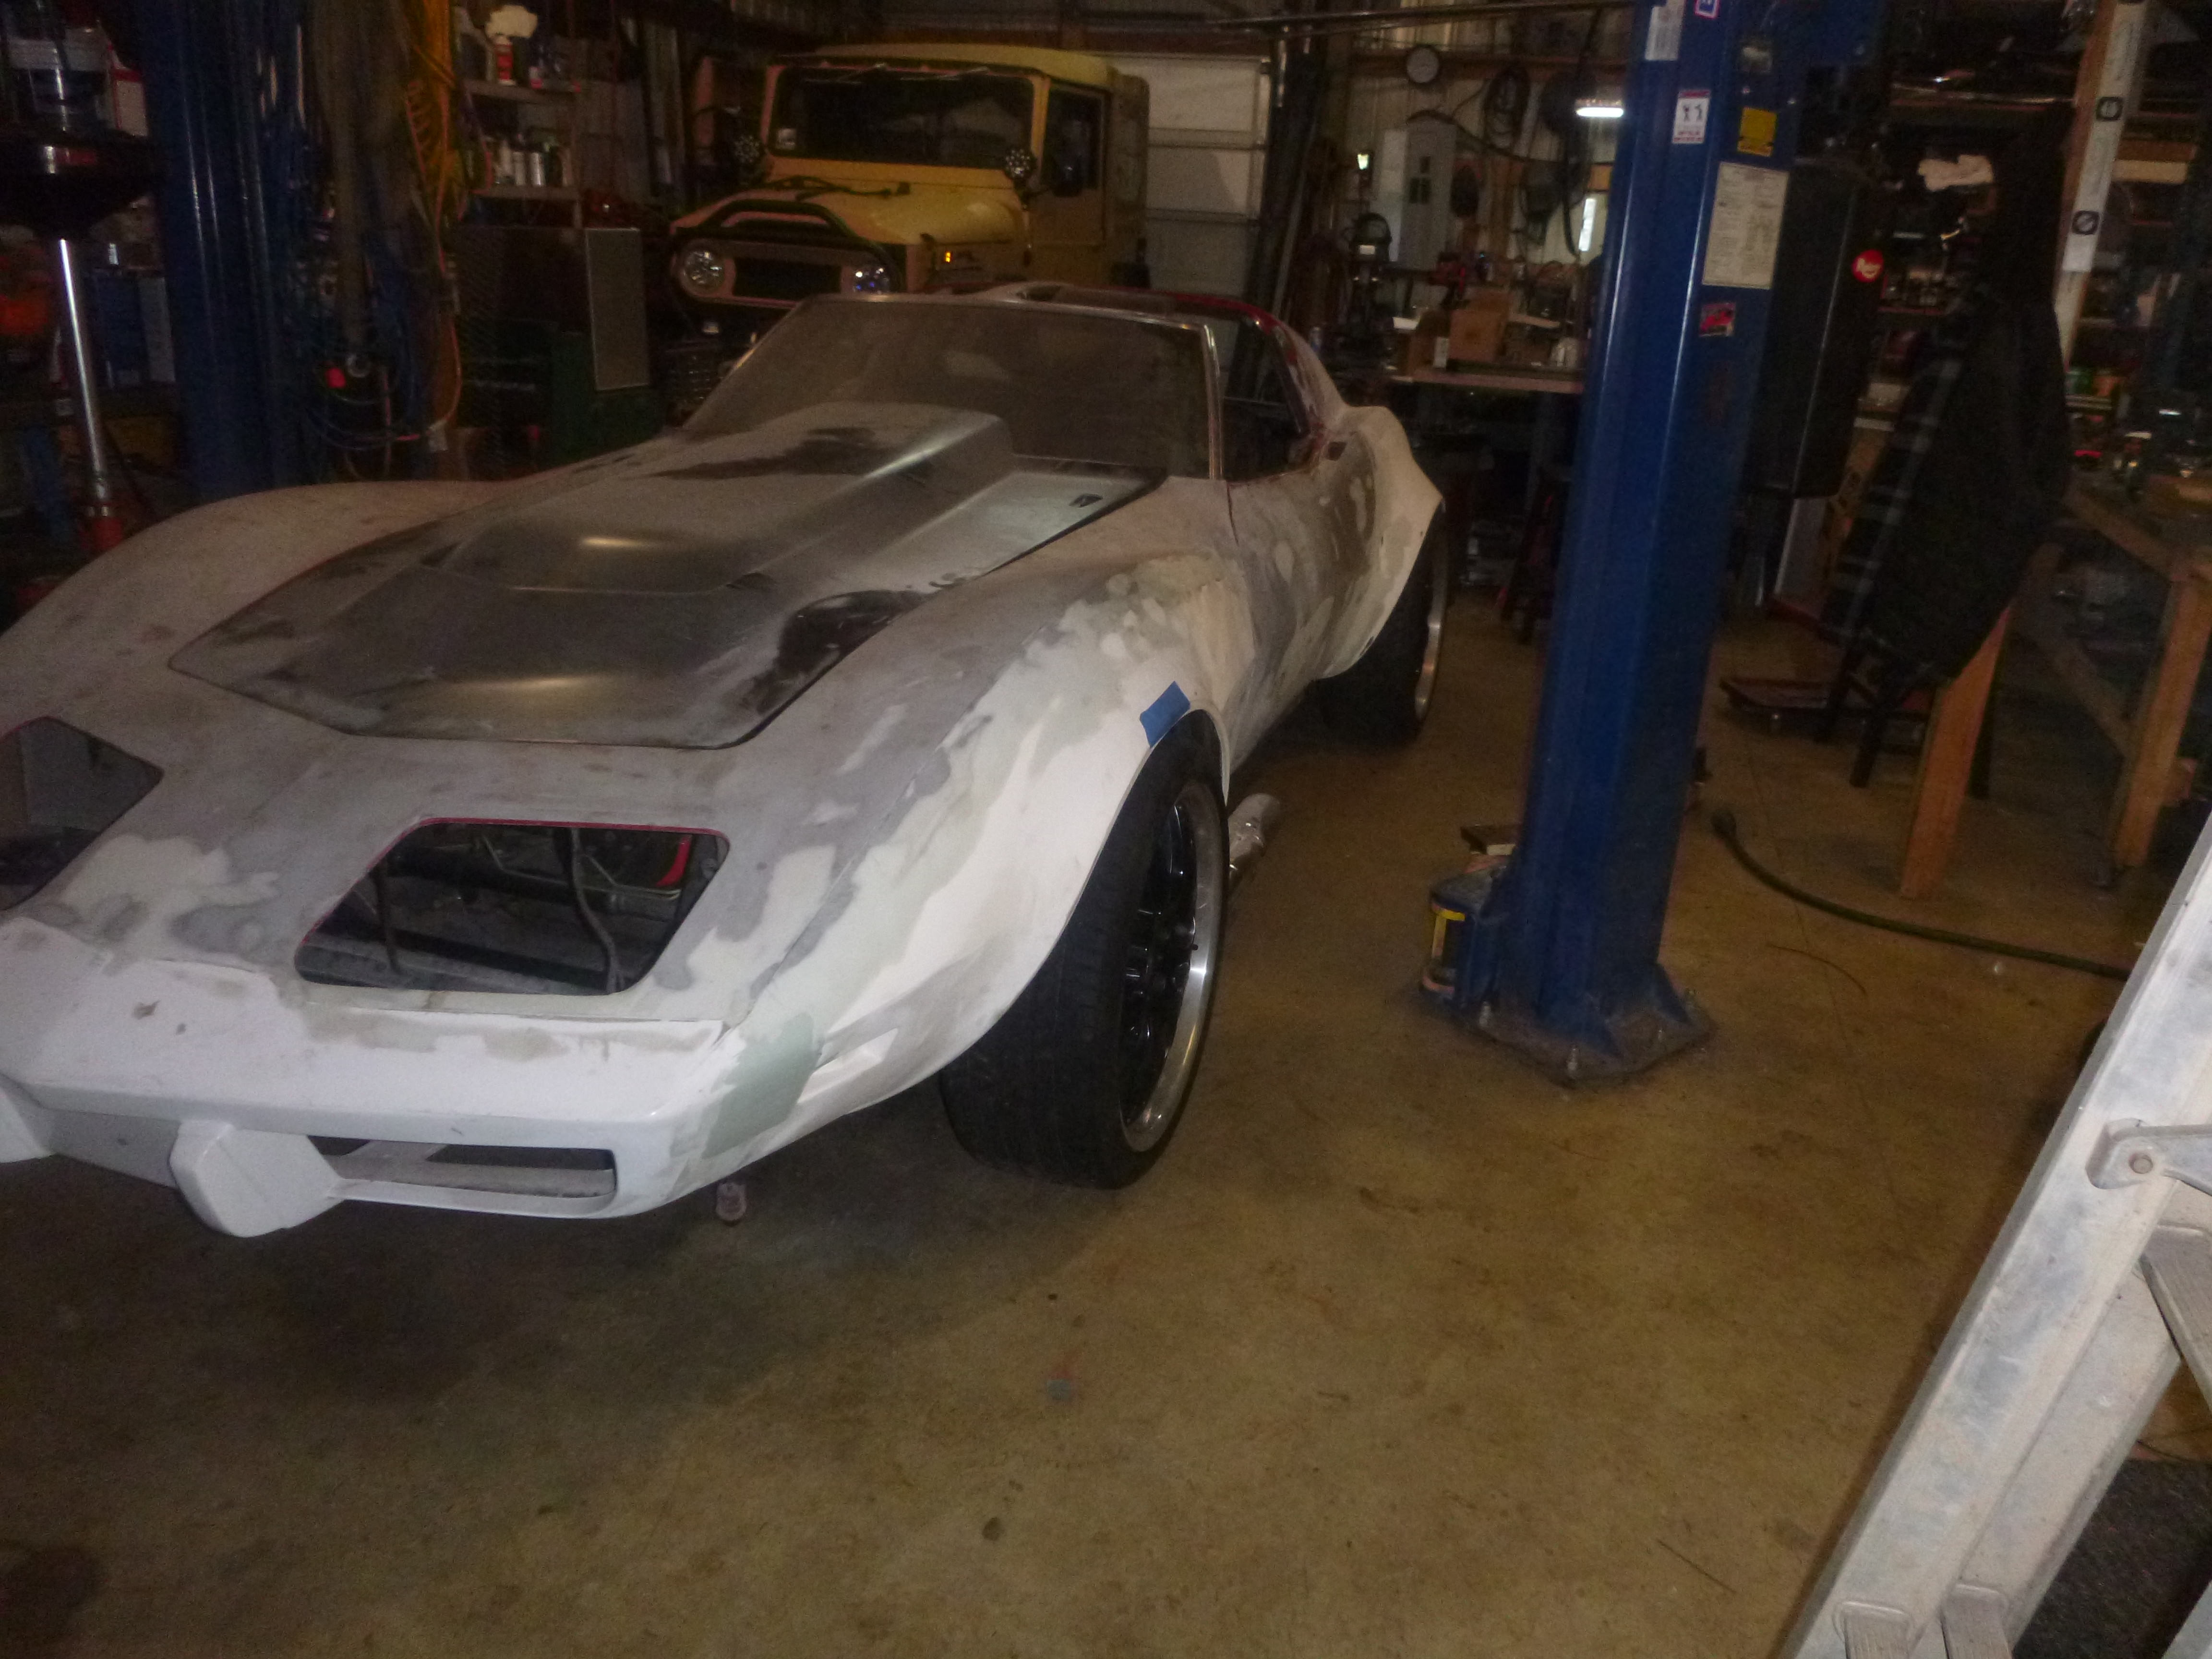
bmw 750il wheels work
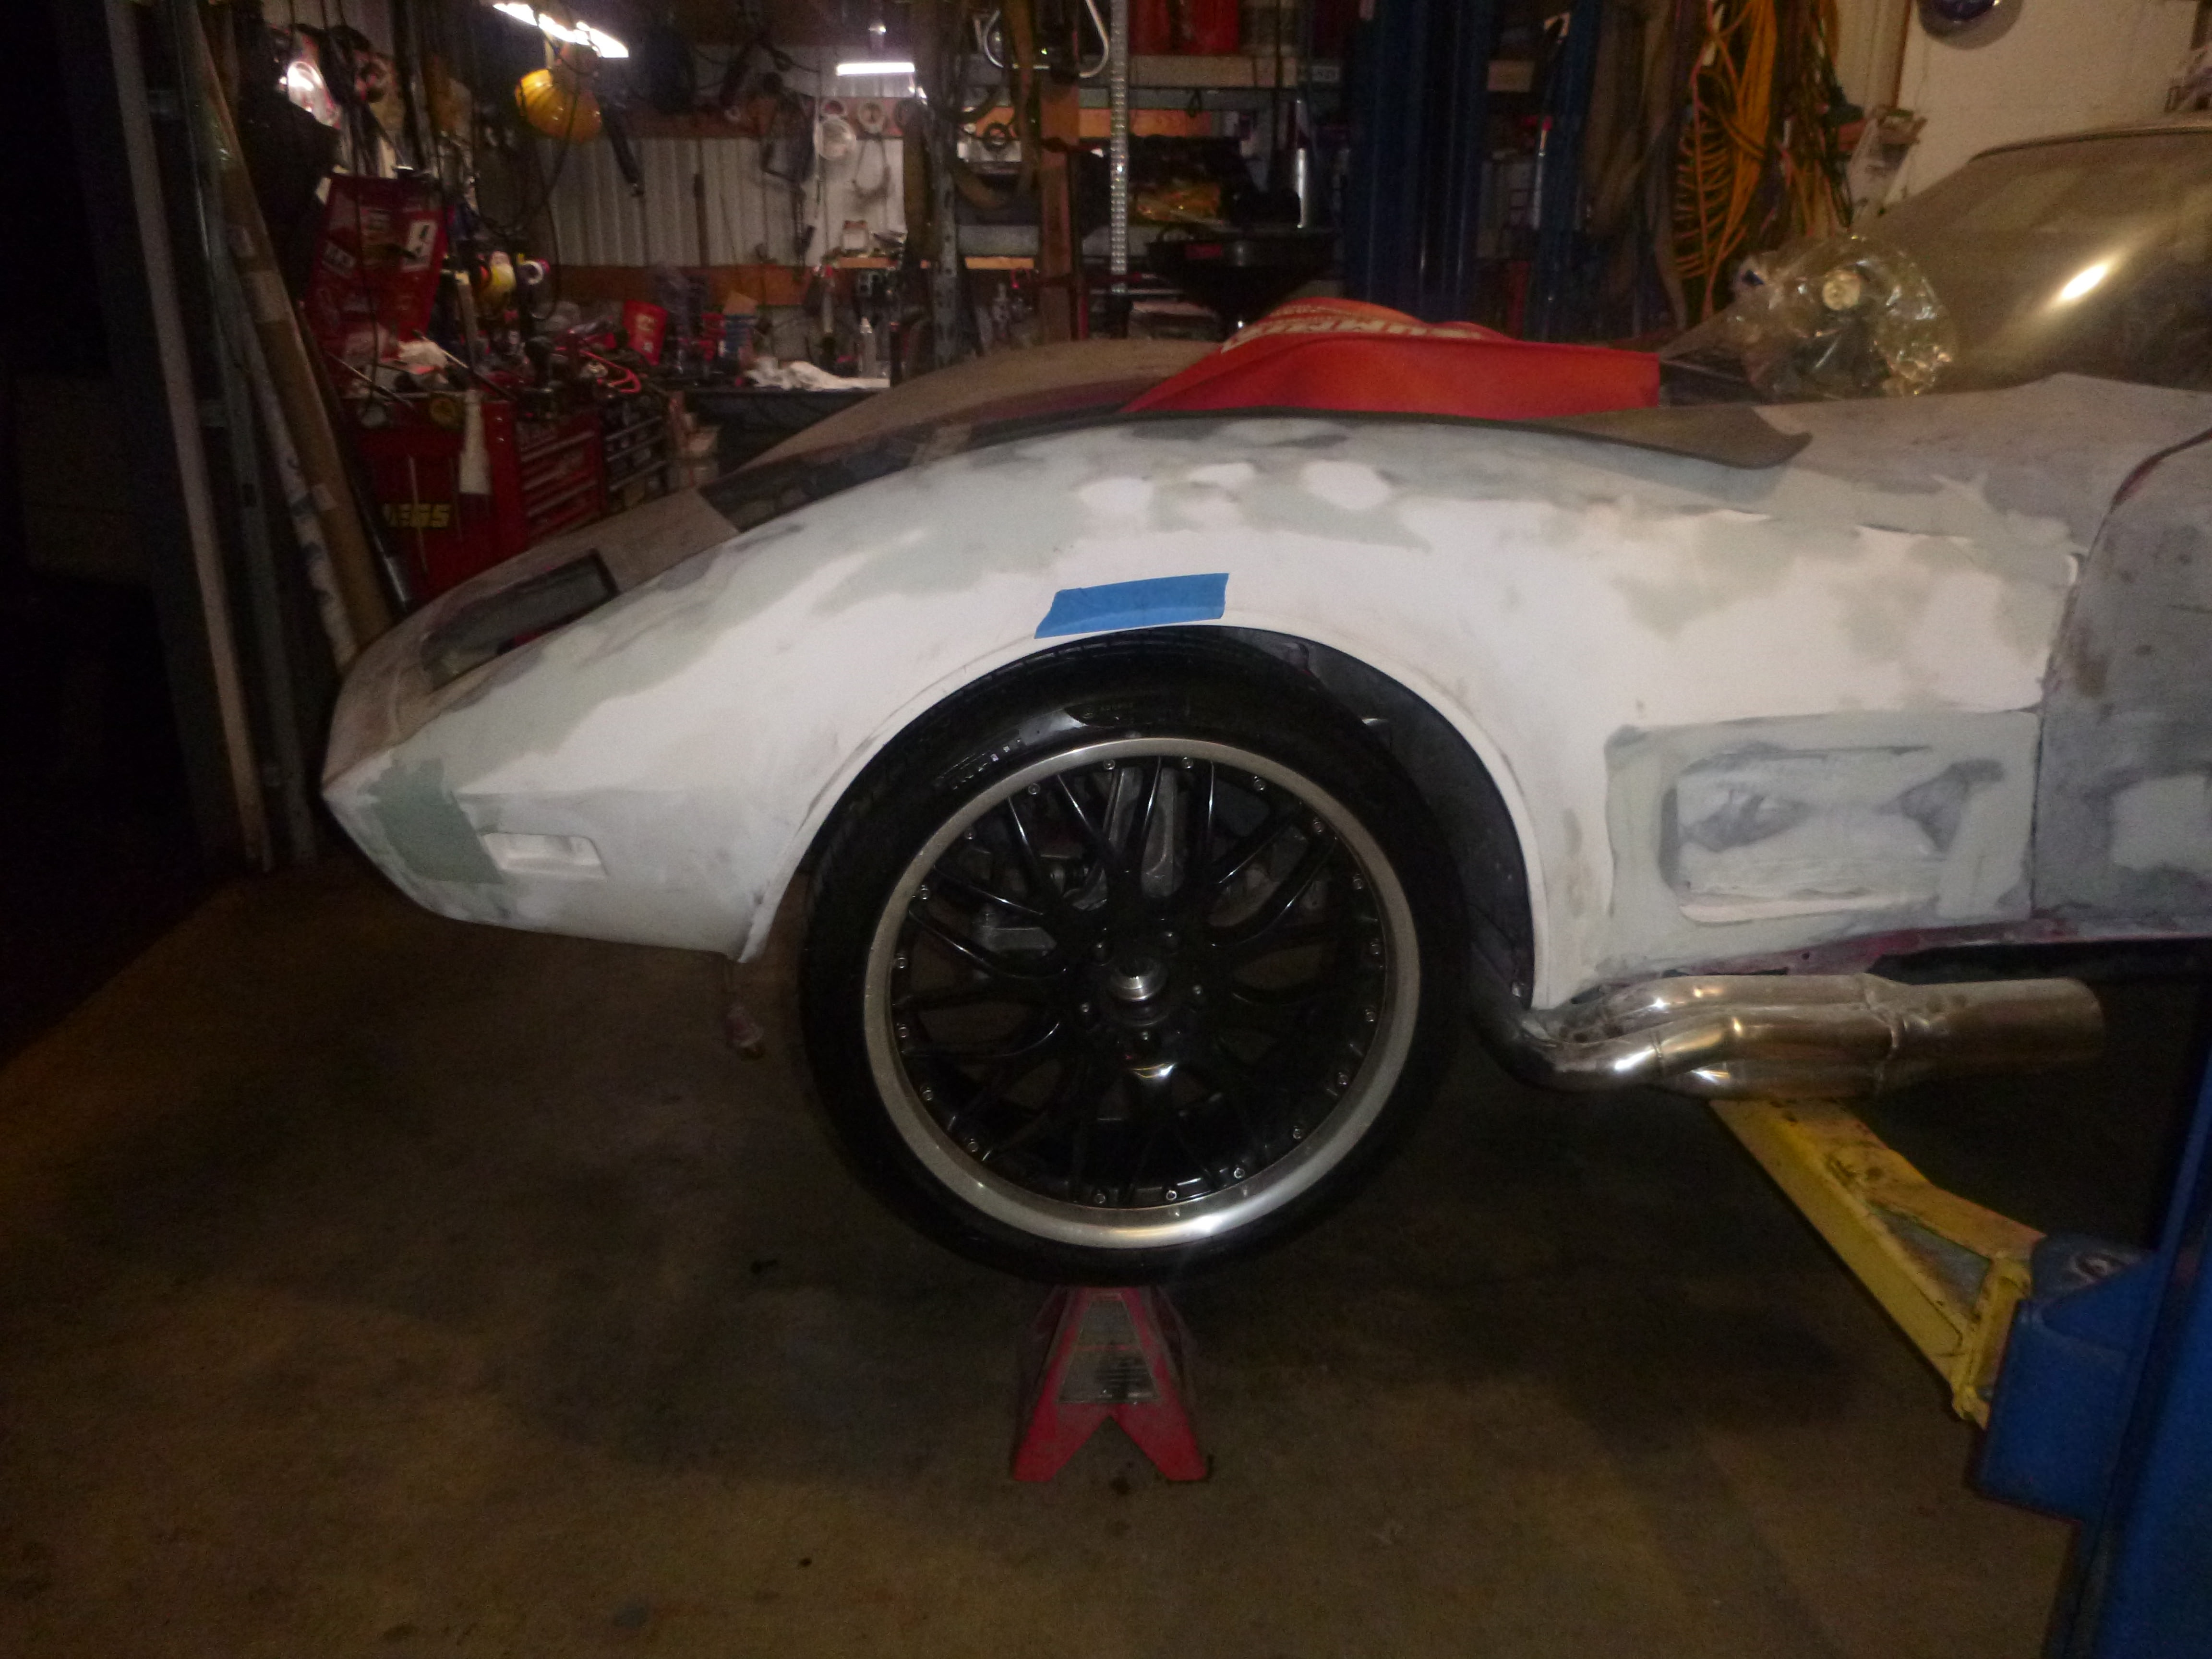
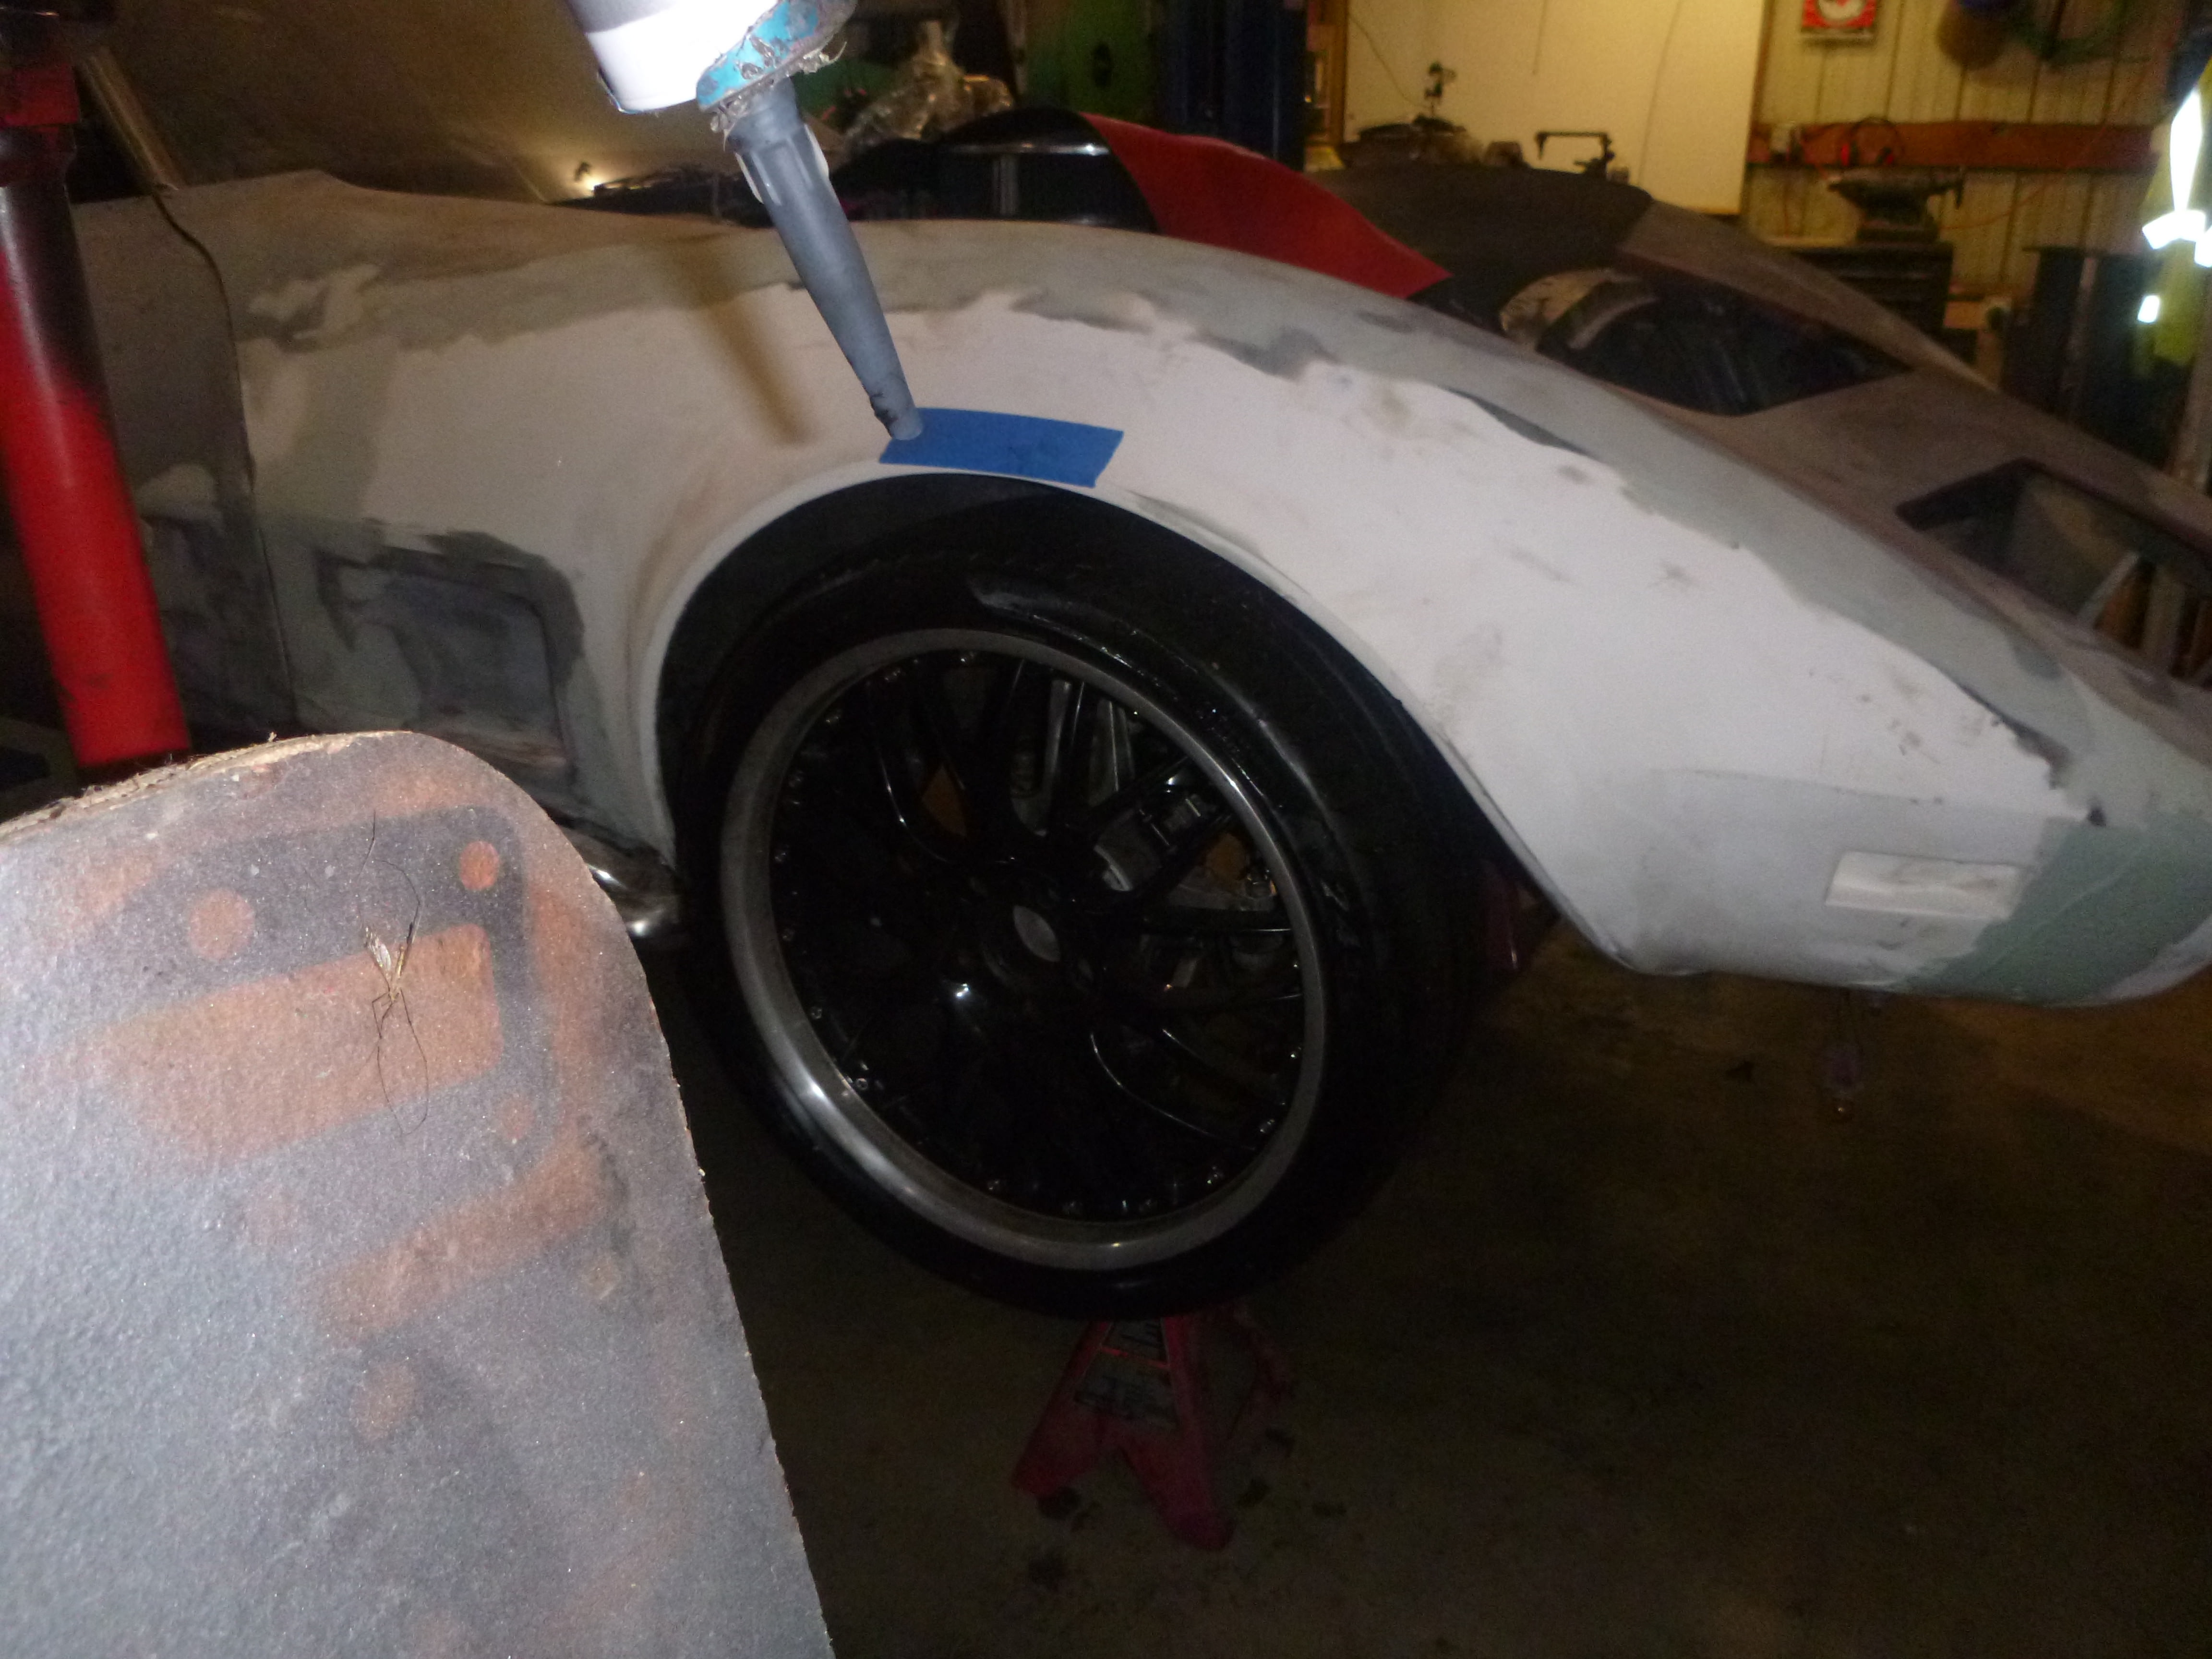
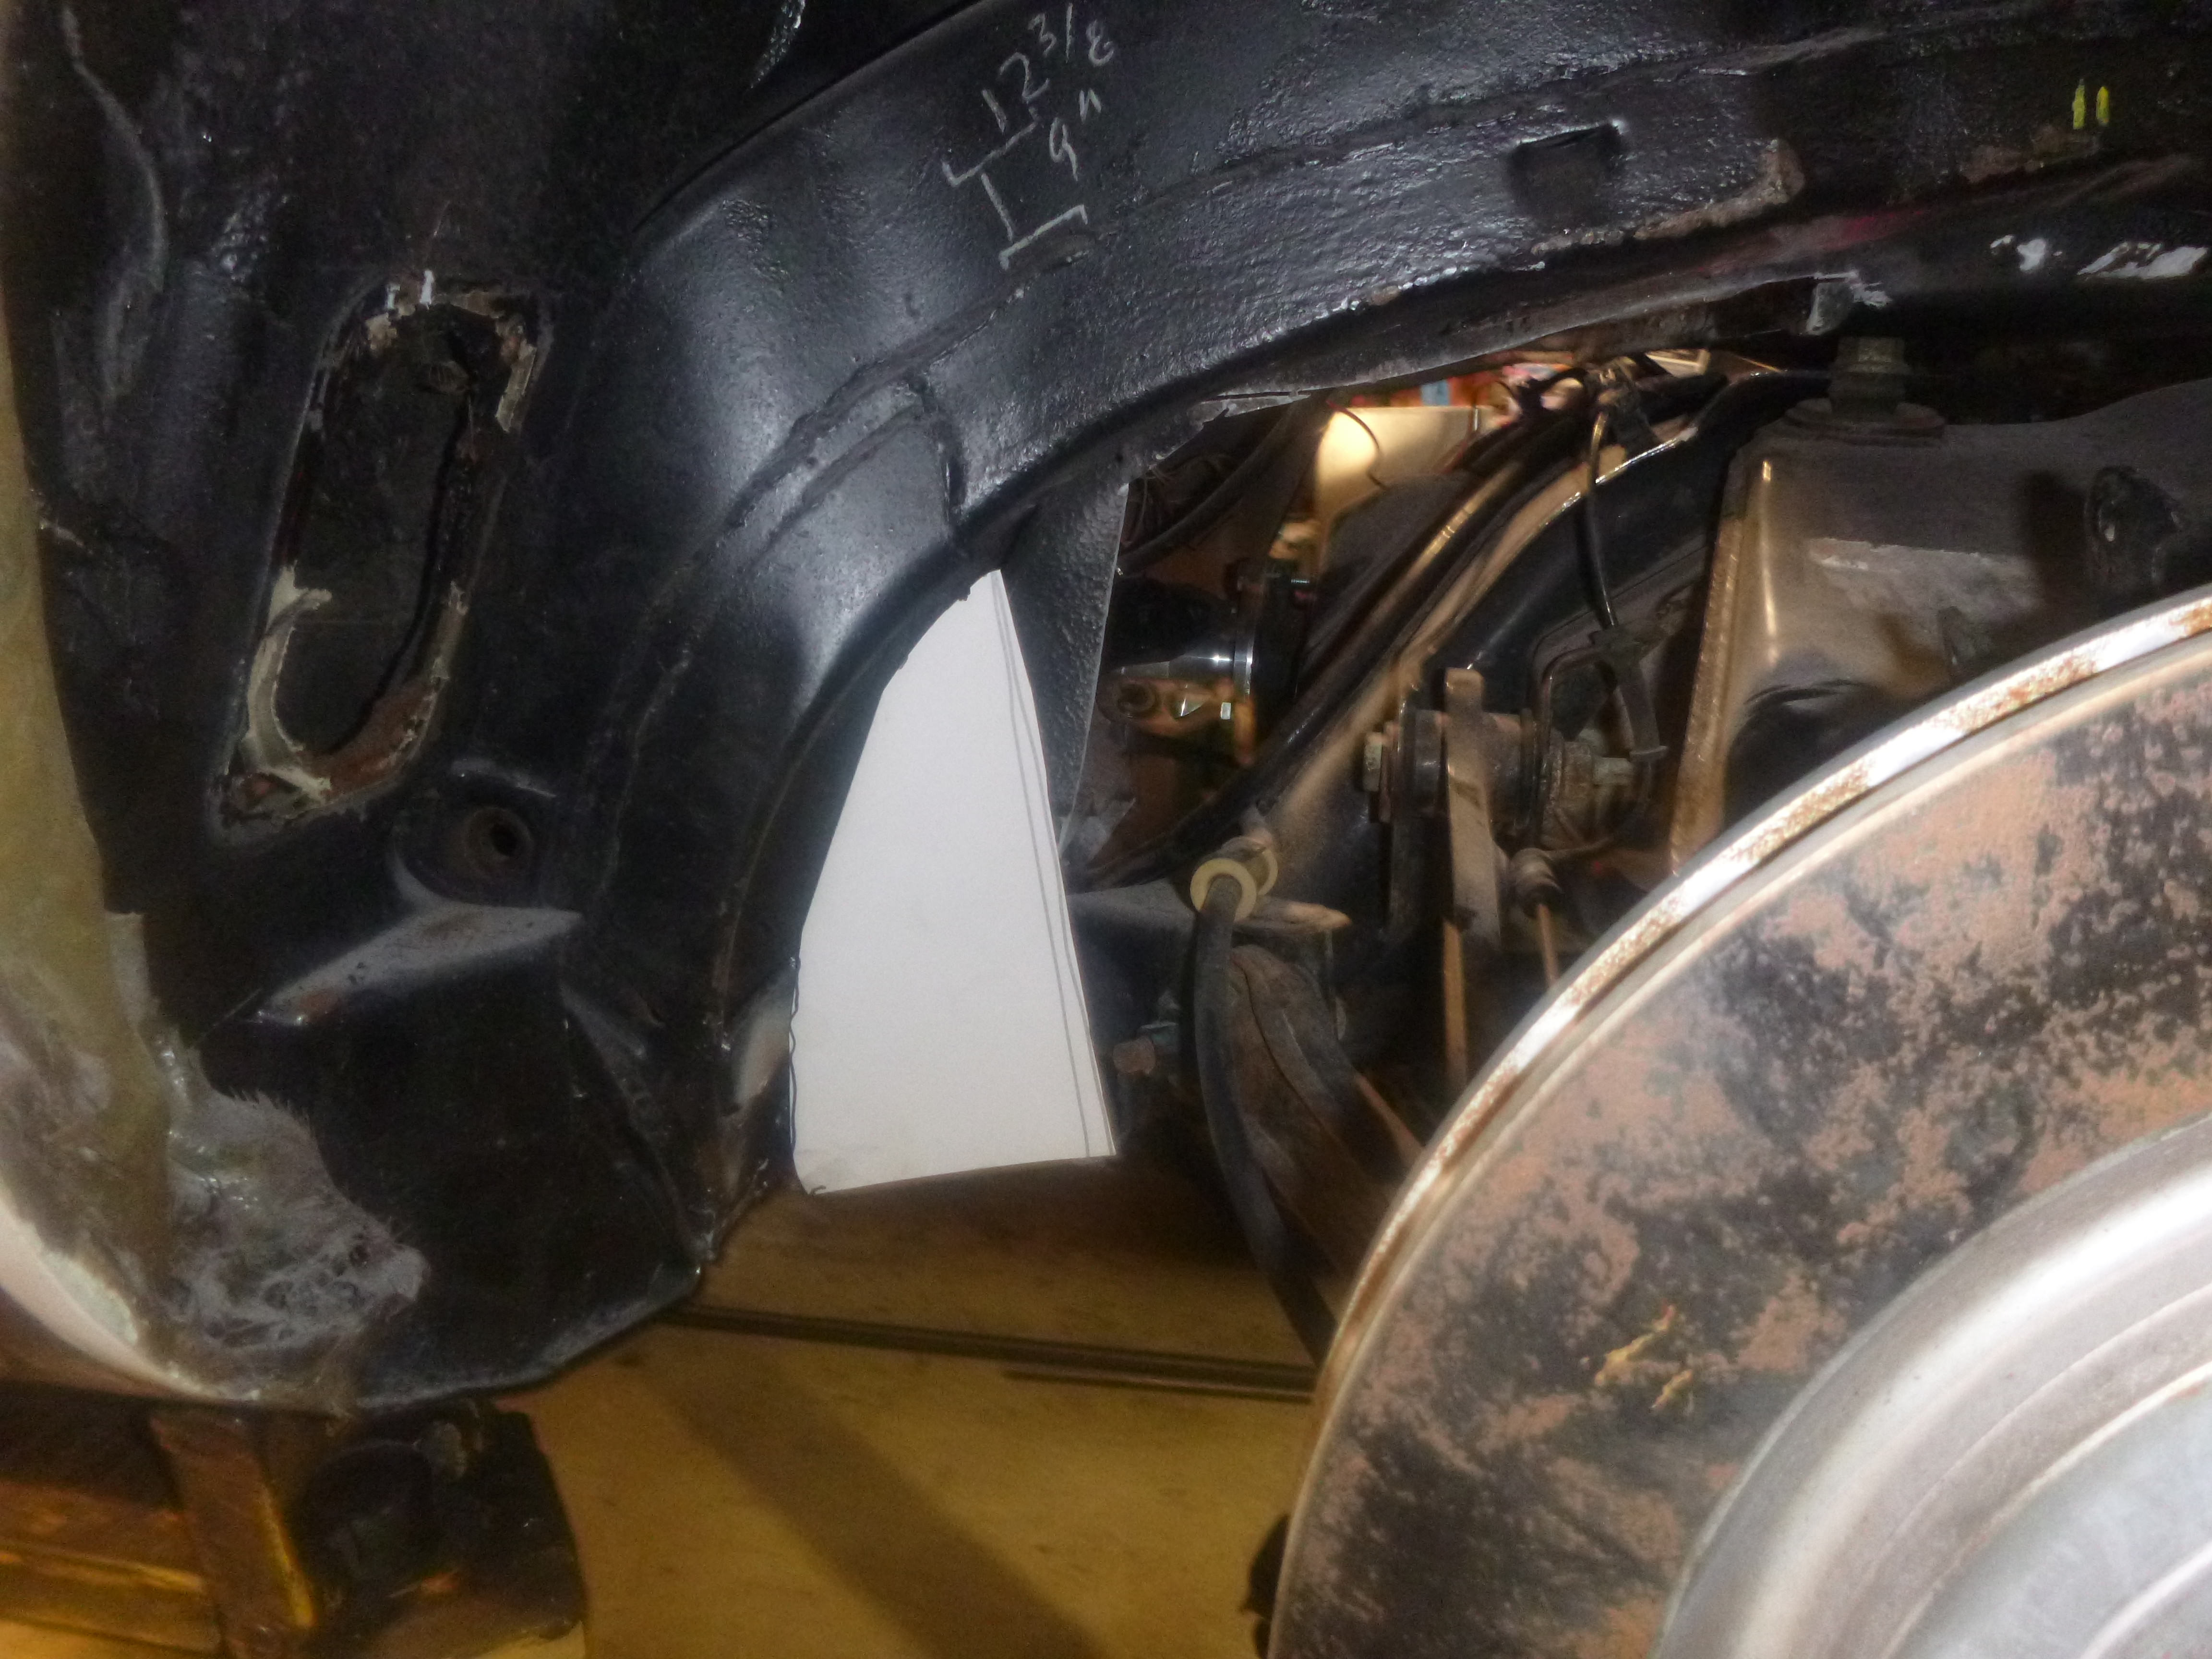
and yeah, Custom Image Flares got me again.... the opening isn't the same right to left; that said, it's not a huge thing to fix - but it does give flesh to the warning I got from the guy whose C3 was the template for the flares (don't finish the flares until you have the wheels)
but the offset works
and it doesn't hit the wheel opening when turning
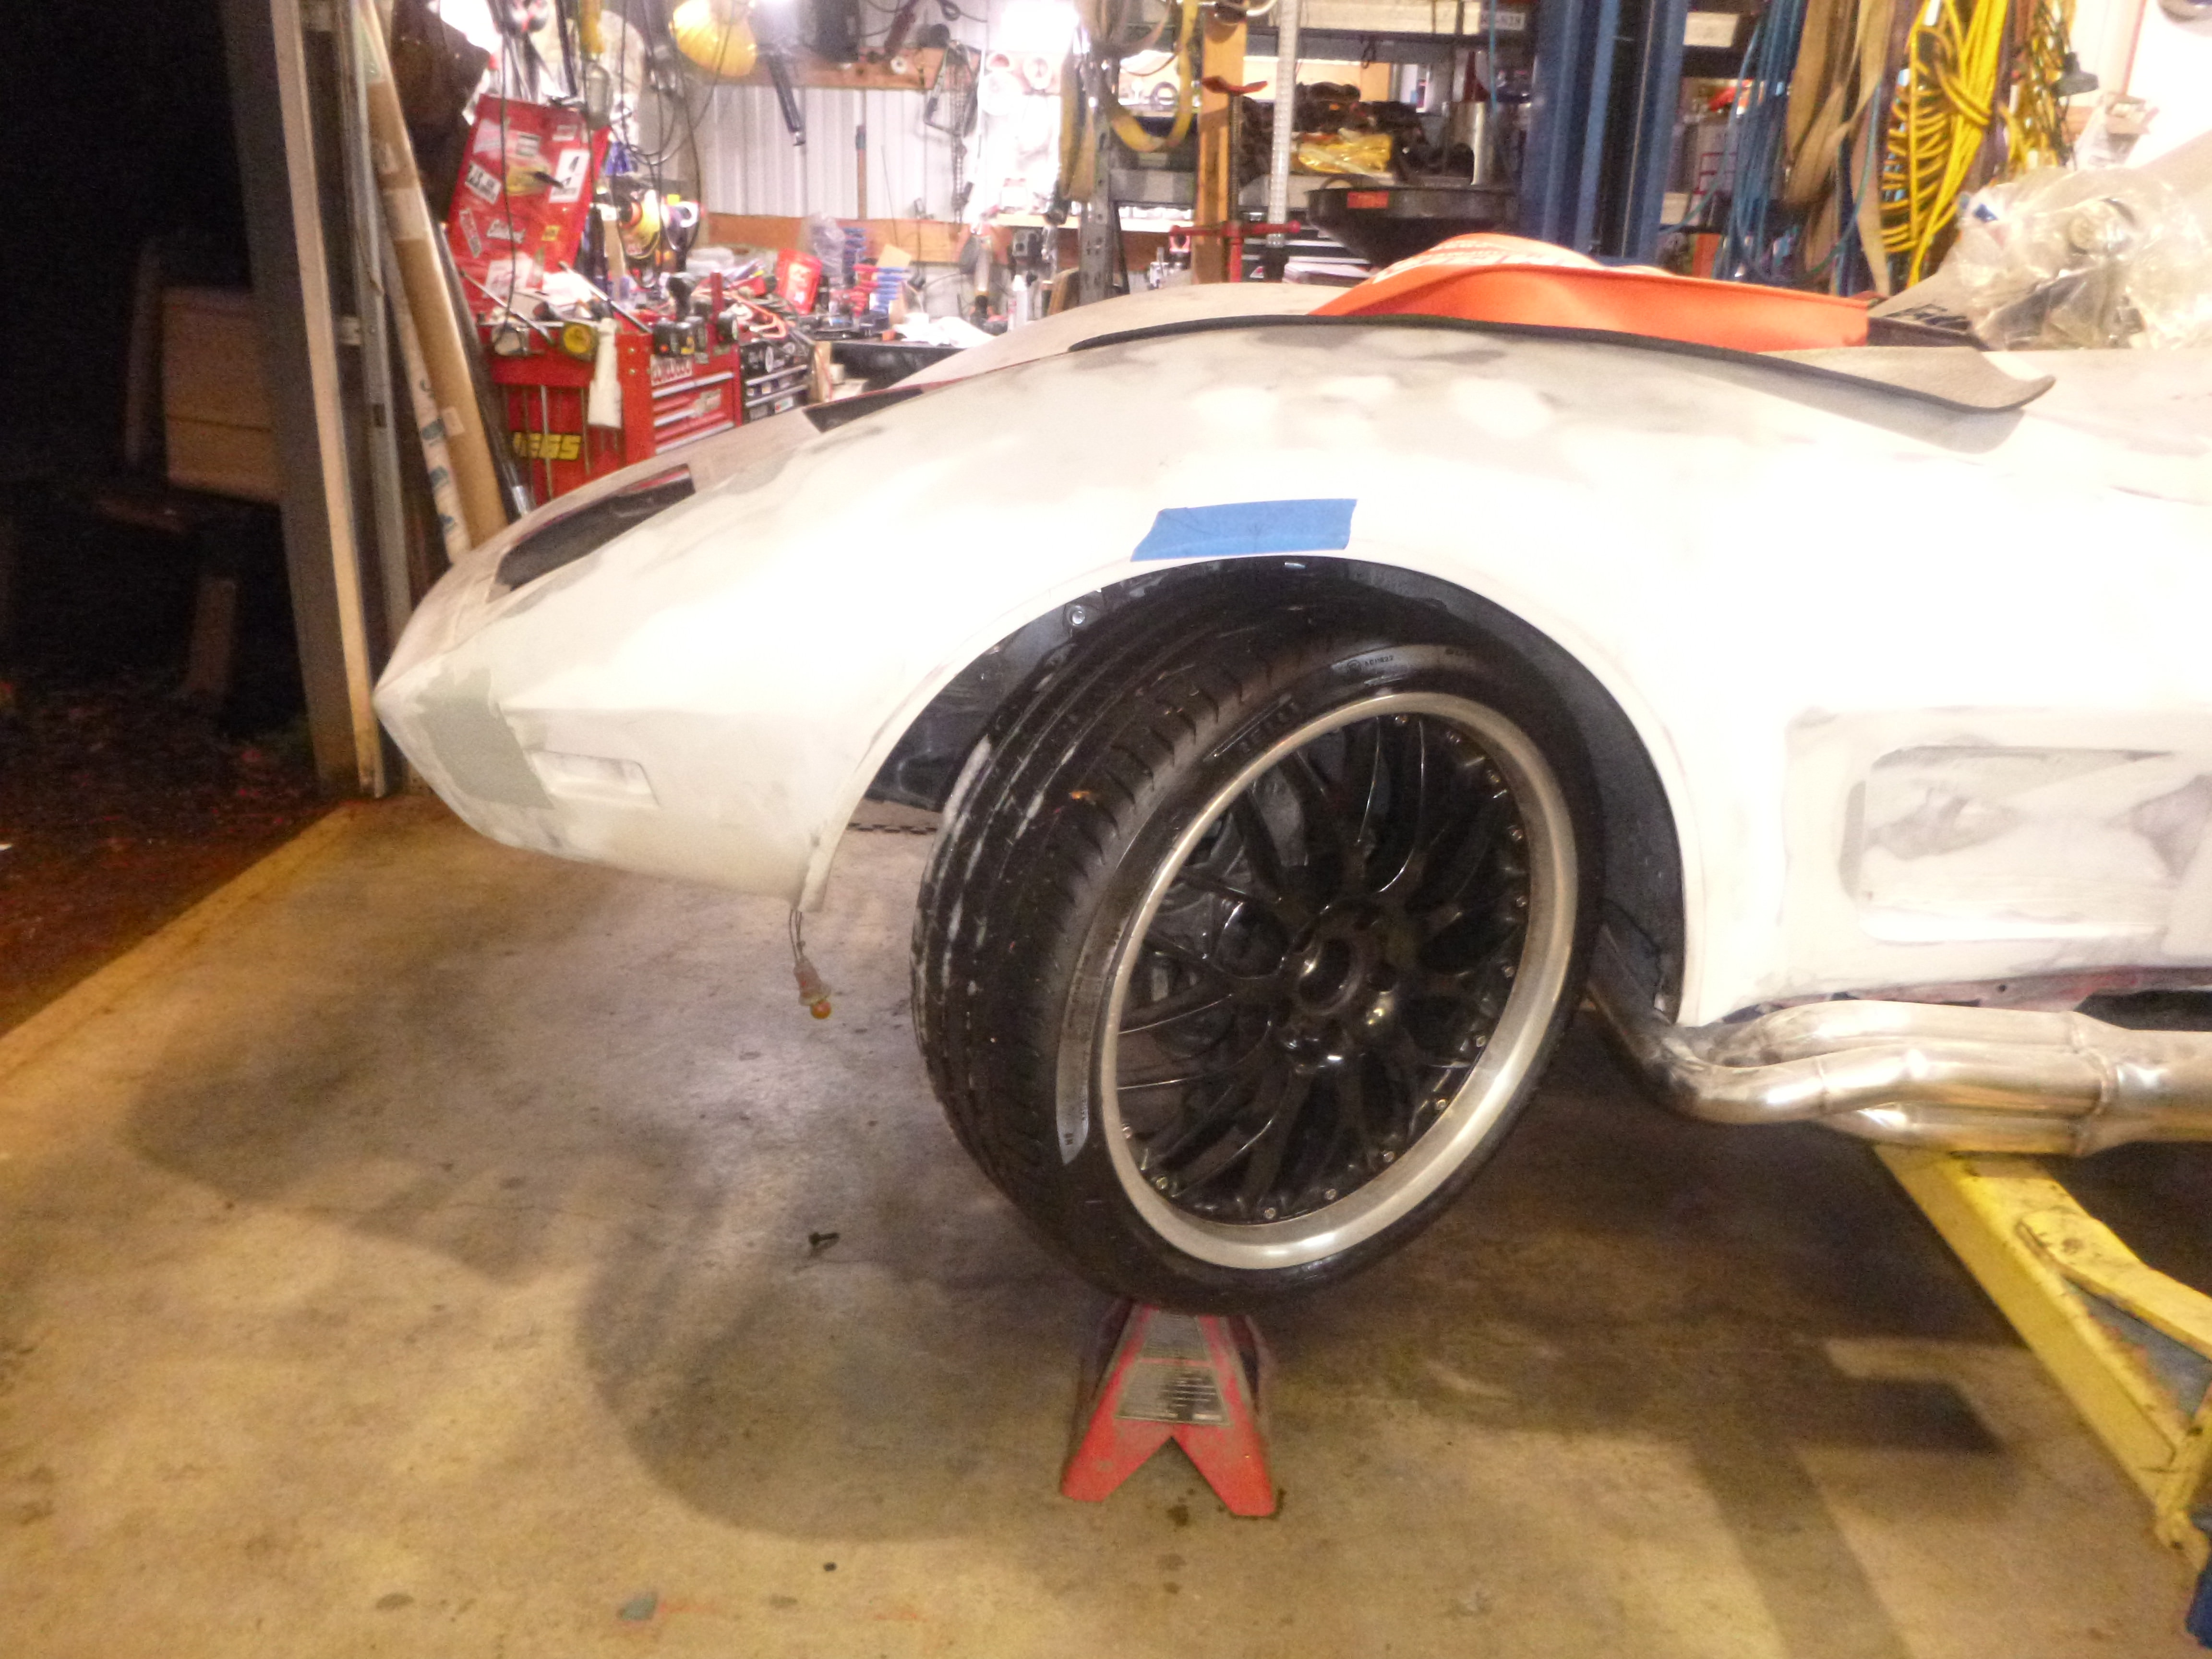
thankfully the right side is correct.... so it's just a matter of copying
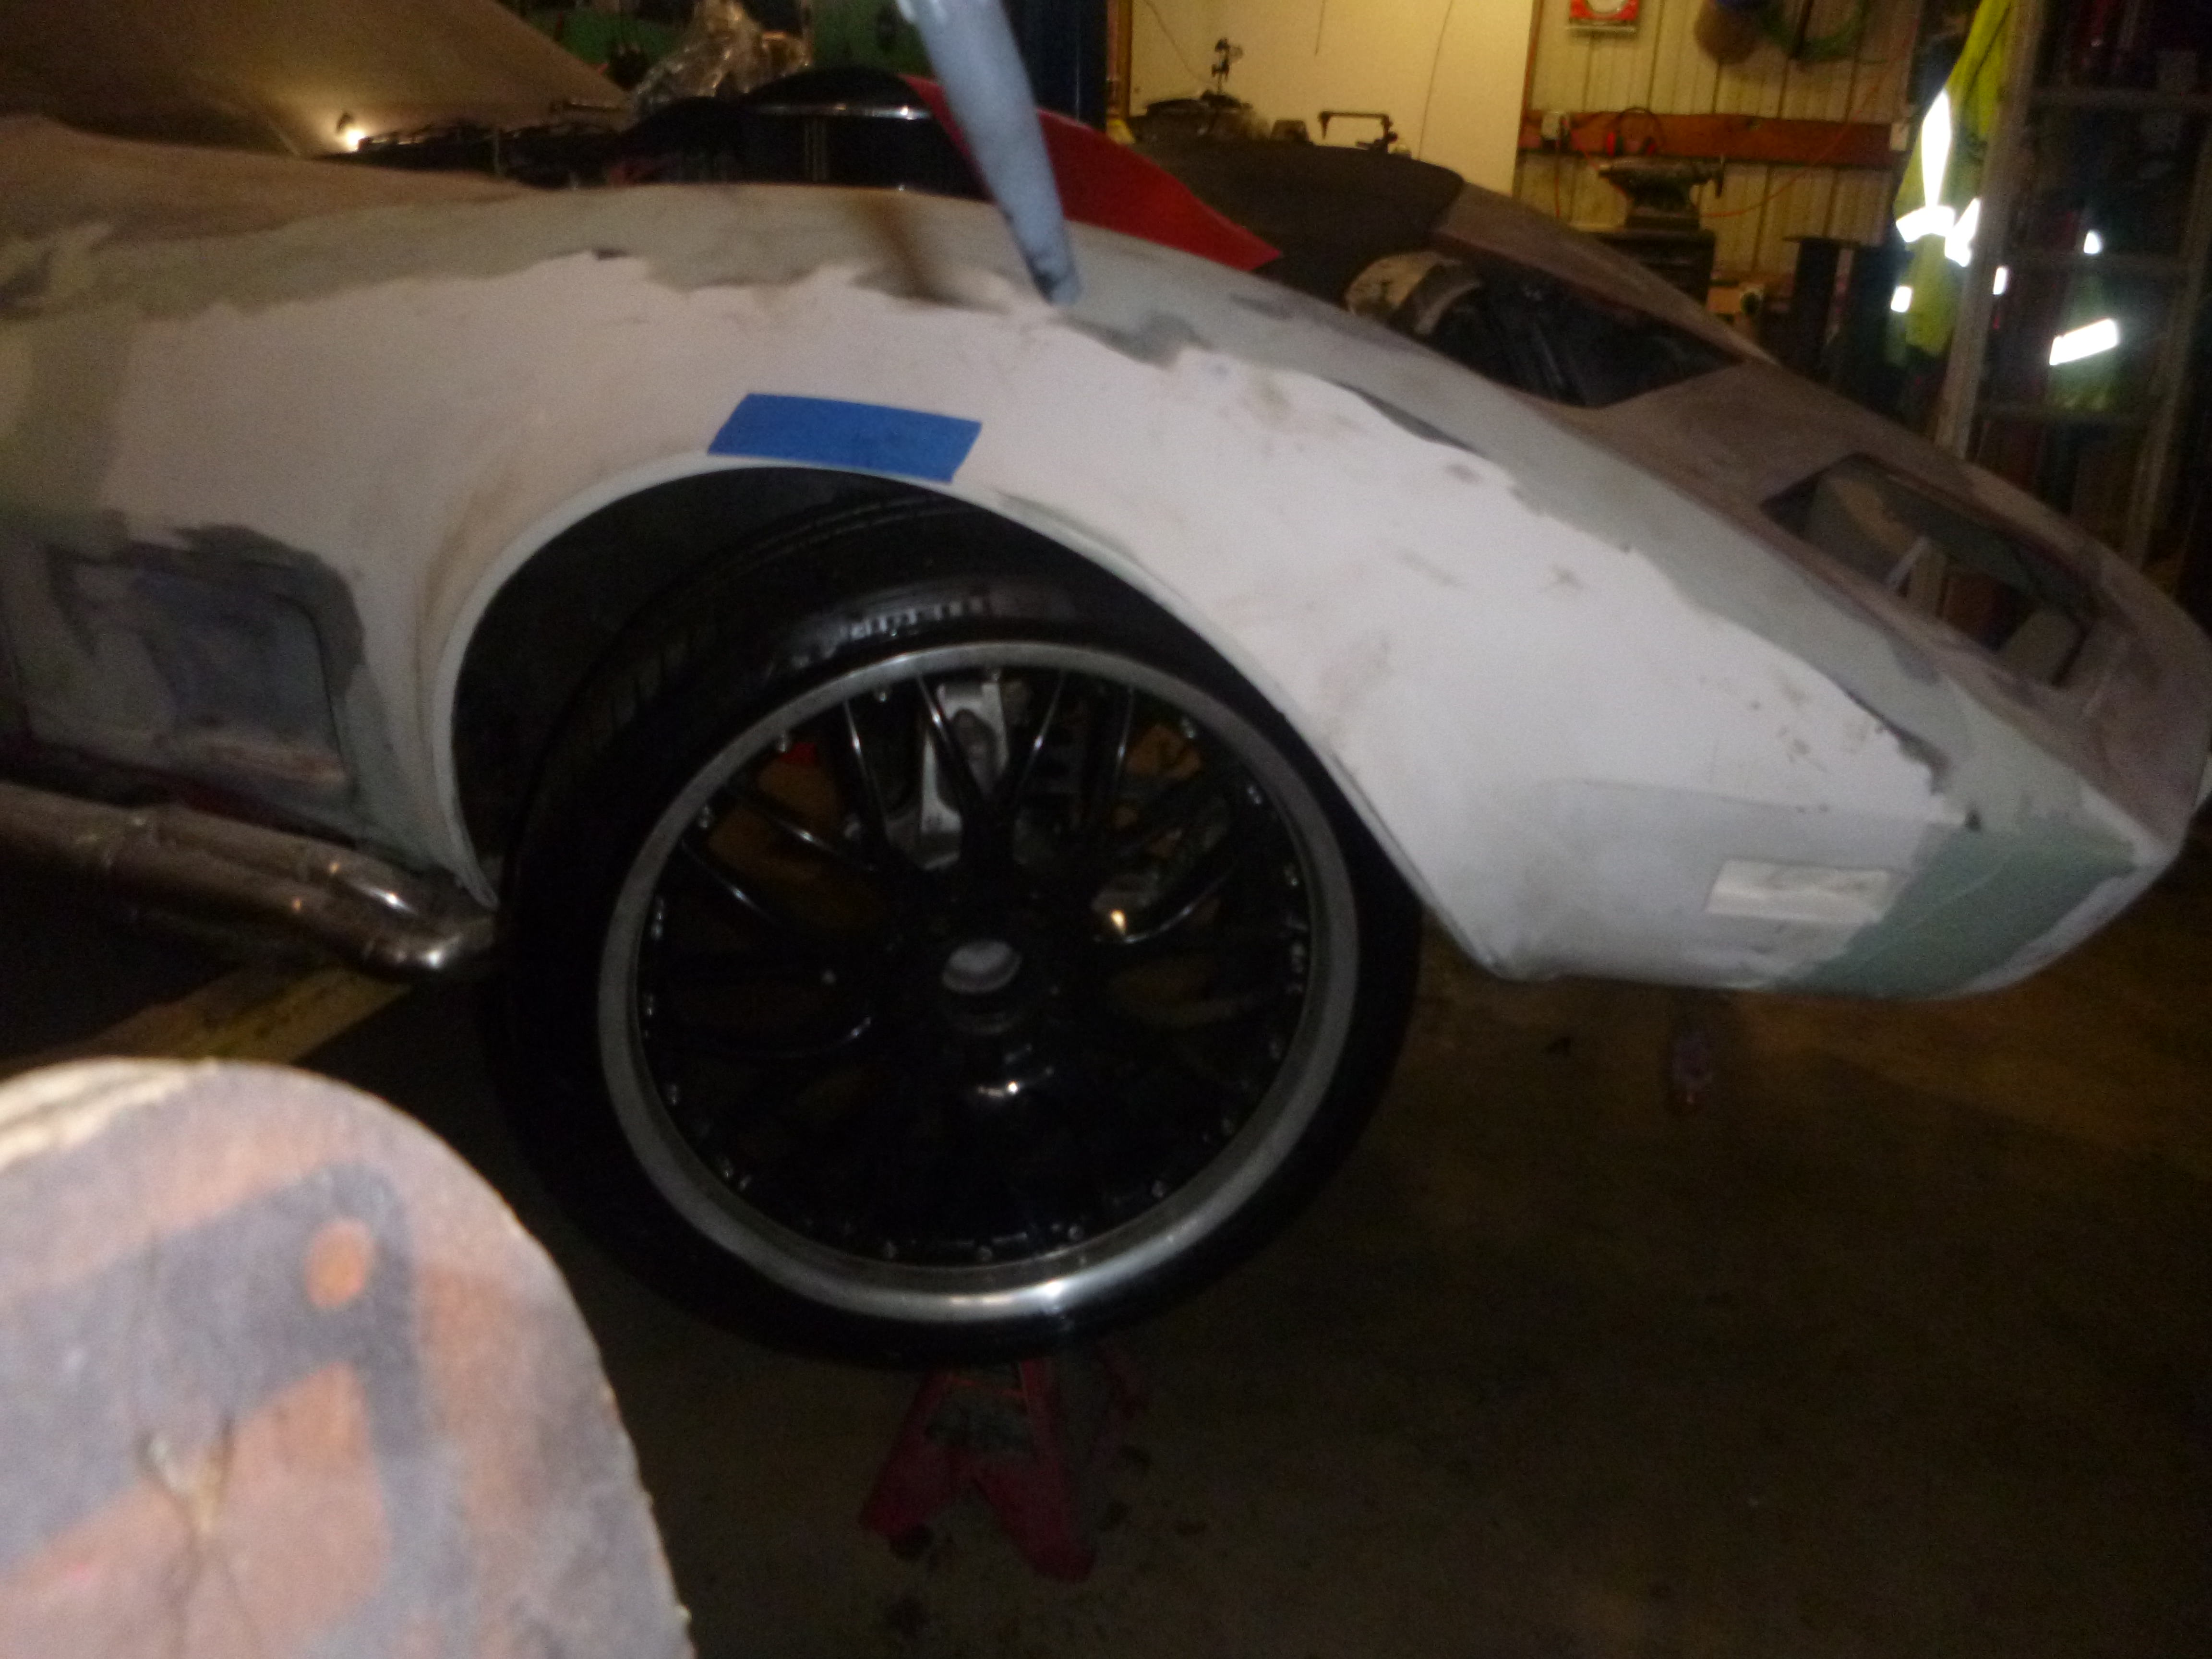
back side looks good.... the 'real' wheels will be wider, but this, for now, works
''
*sigh*
I should point out, that the wheel will be out about another 1/2" in the front - because of the rotor and the brake mounting bracket.... so it was going to get changed anyway
and yeah, Custom Image Flares got me again.... the opening isn't the same right to left; that said, it's not a huge thing to fix - but it does give flesh to the warning I got from the guy whose C3 was the template for the flares (don't finish the flares until you have the wheels)
but the offset works
and it doesn't hit the wheel opening when turning
thankfully the right side is correct.... so it's just a matter of copying
back side looks good.... the 'real' wheels will be wider, but this, for now, works
''
*sigh*
I should point out, that the wheel will be out about another 1/2" in the front - because of the rotor and the brake mounting bracket.... so it was going to get changed anyway
11-28-2018, 12:11 AM
#213
Melting Slicks
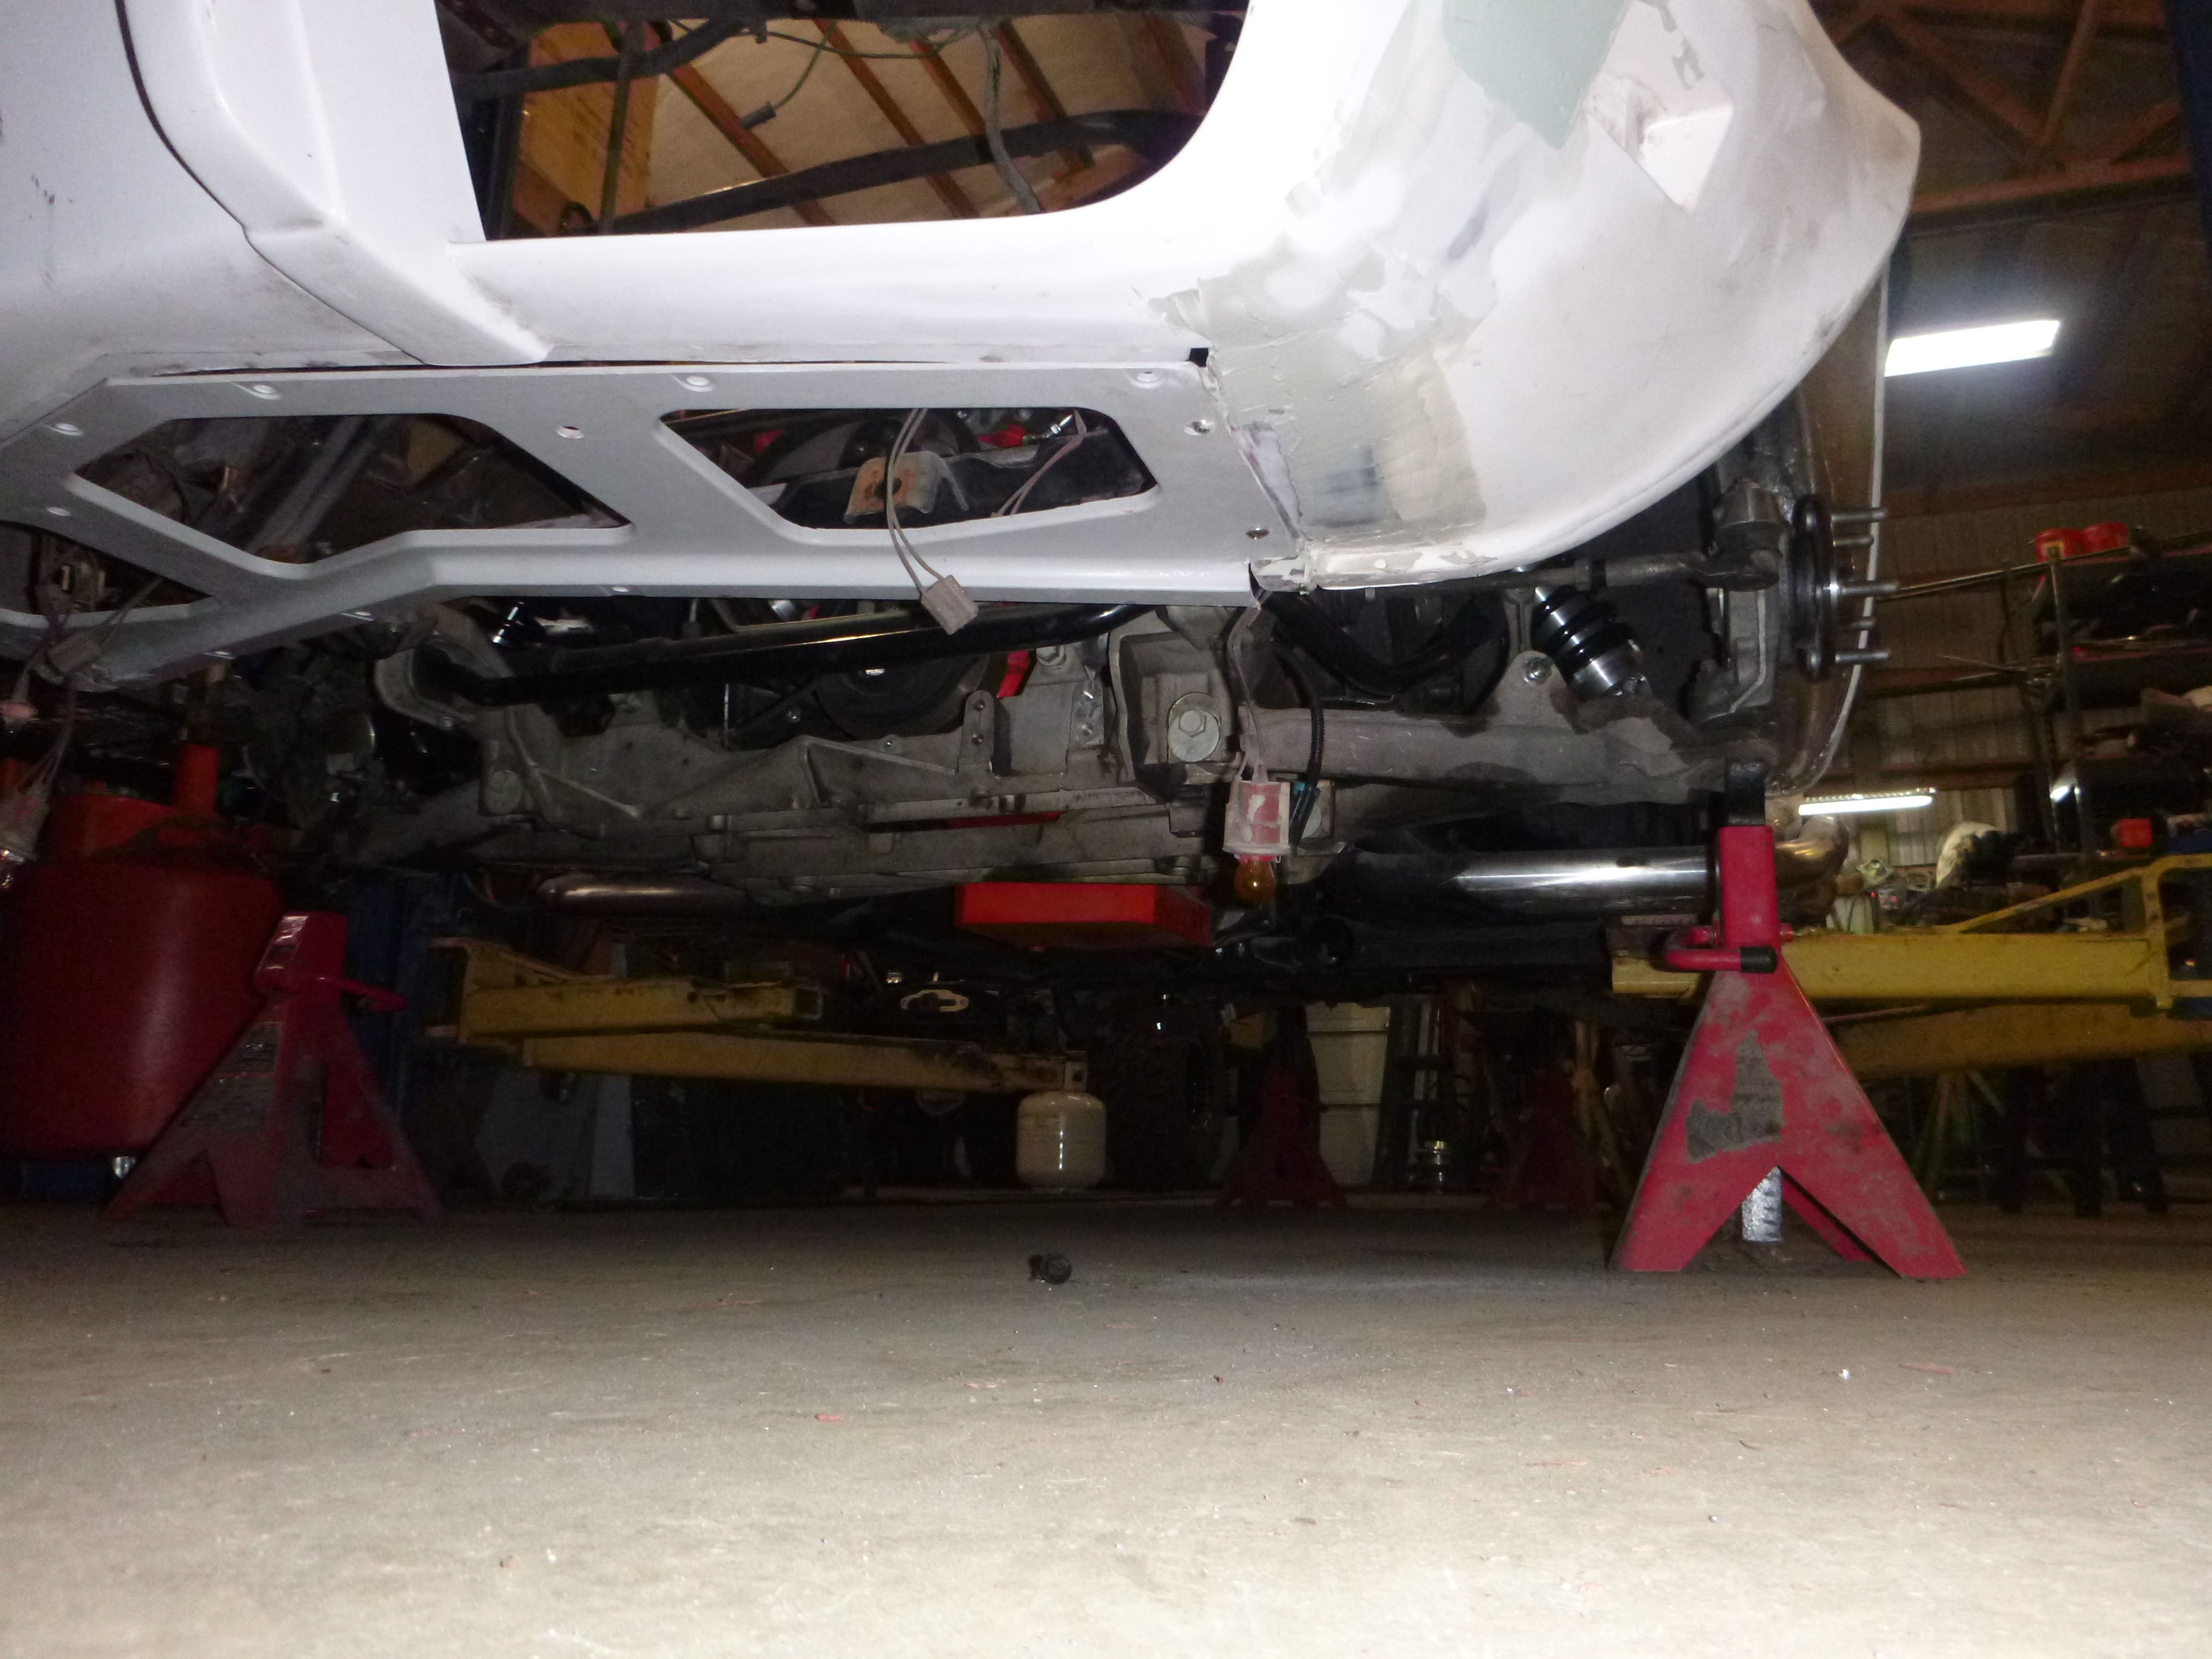
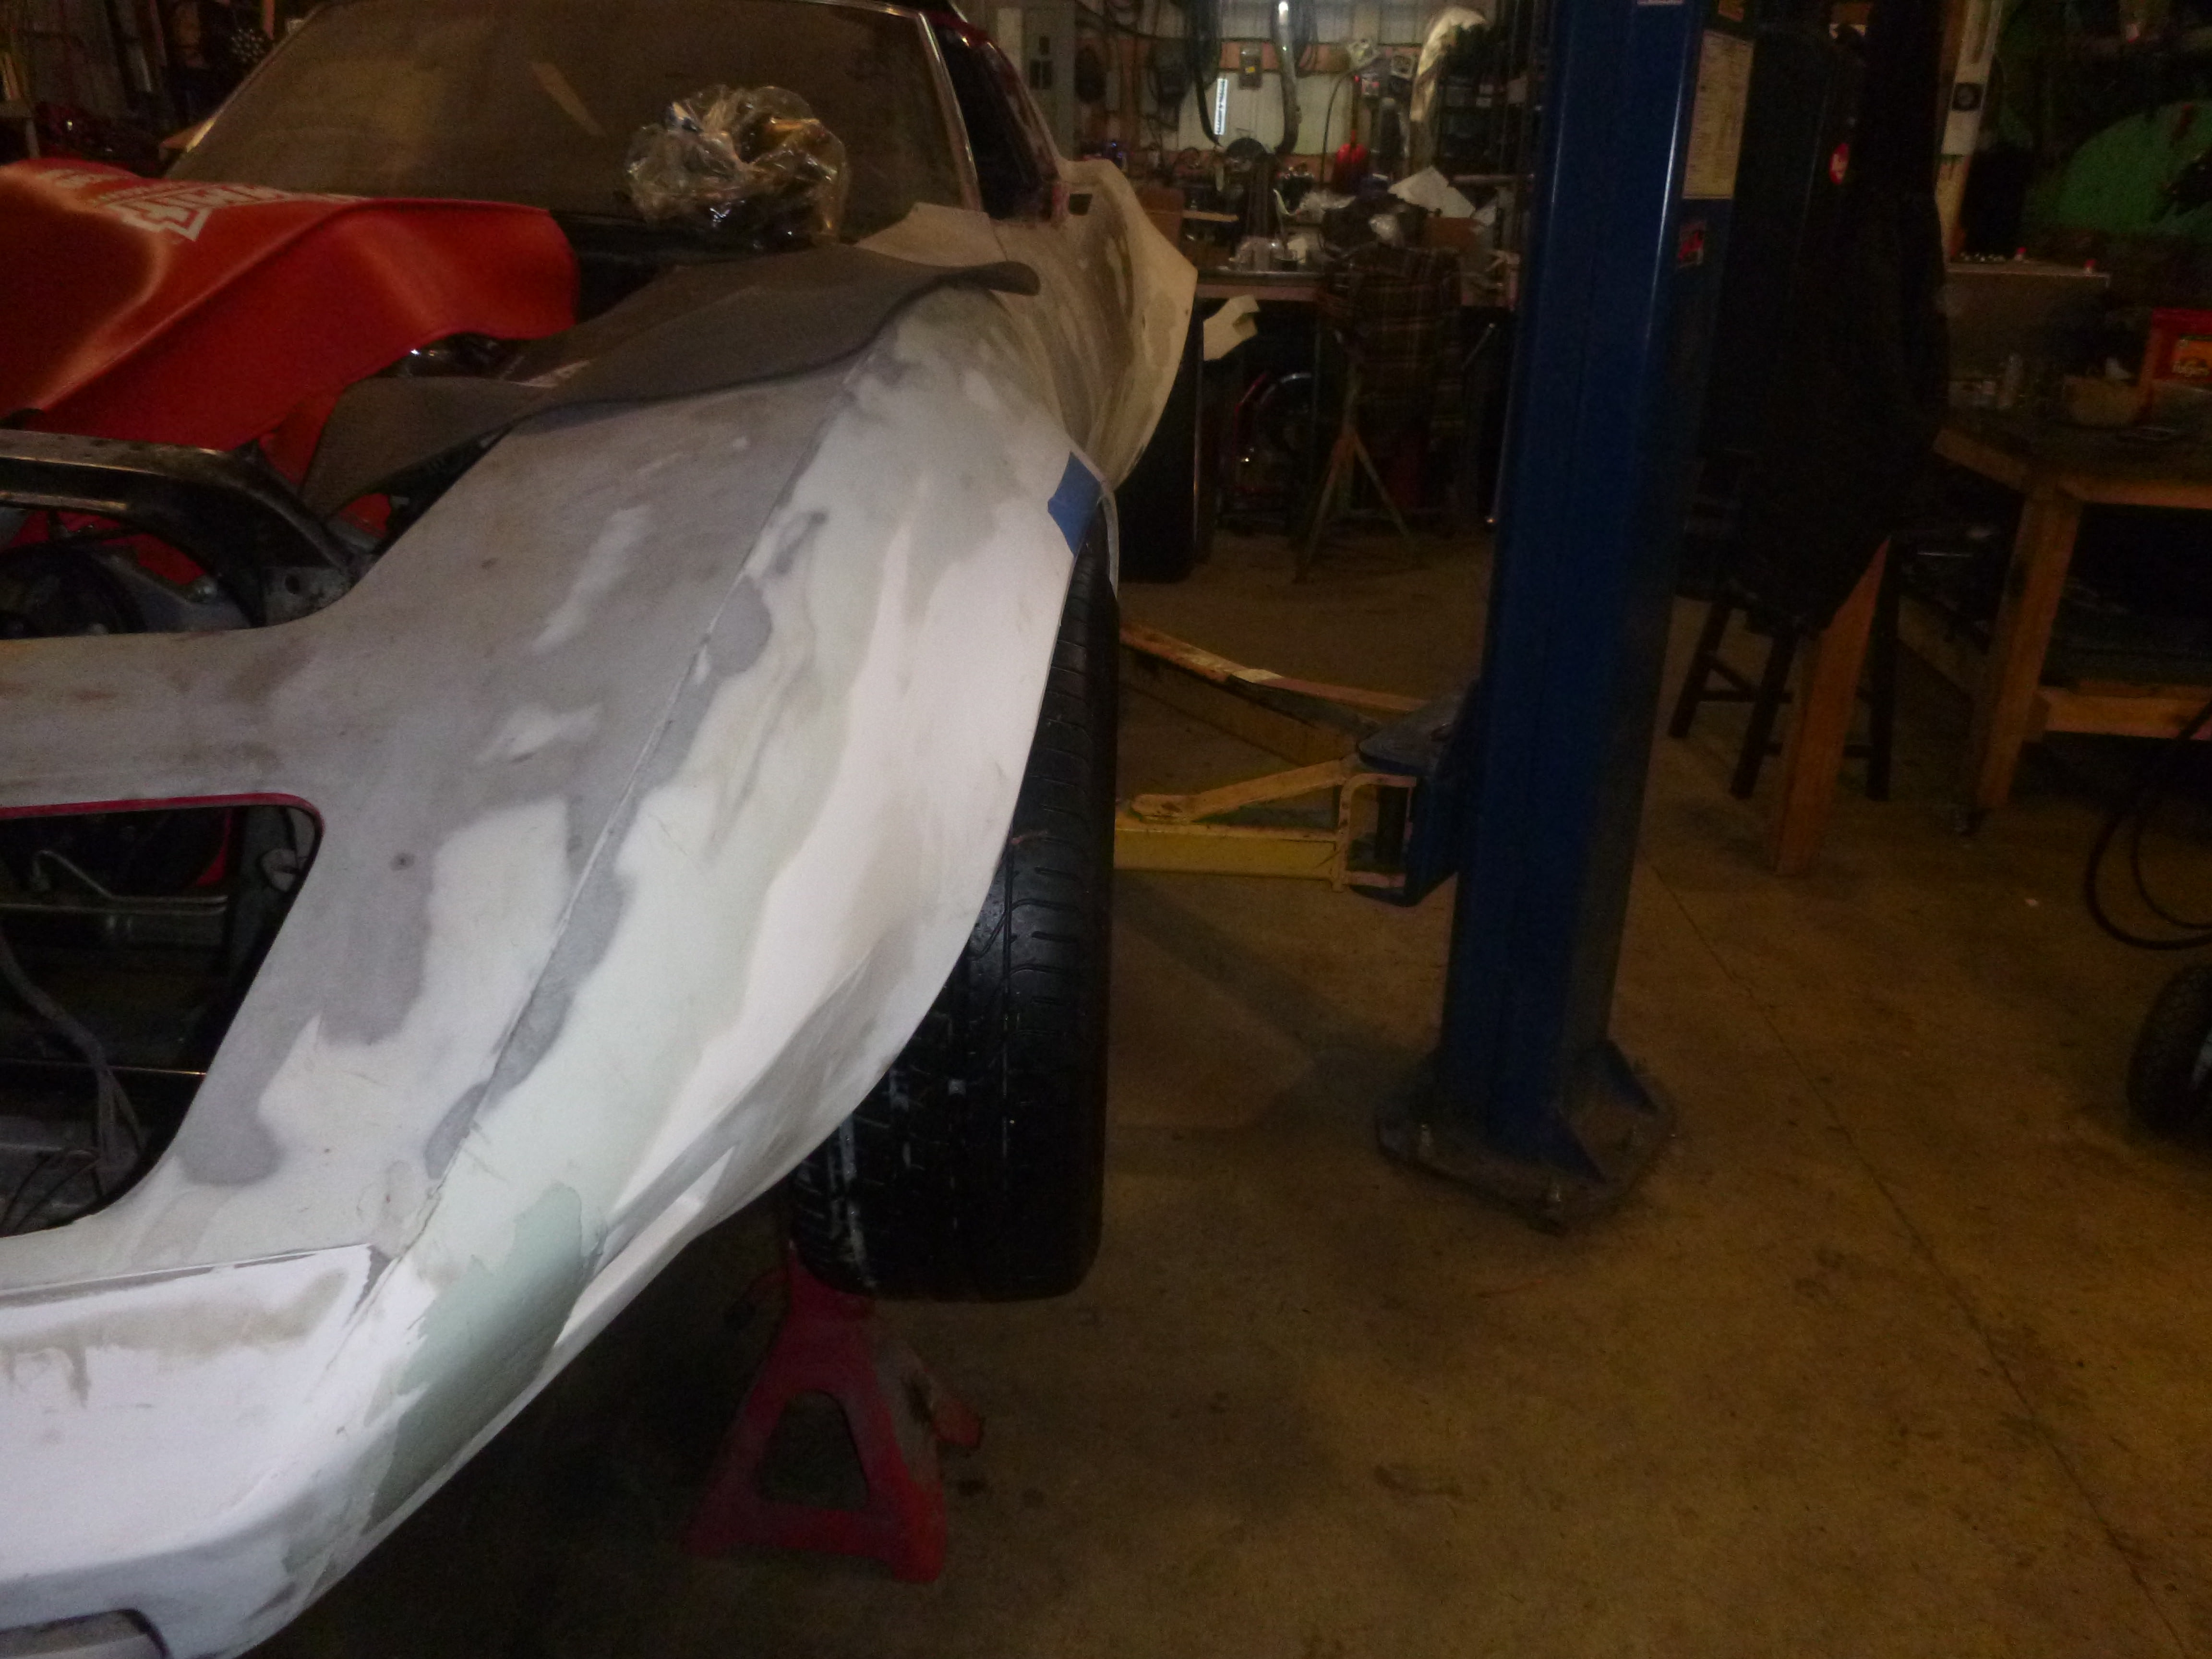
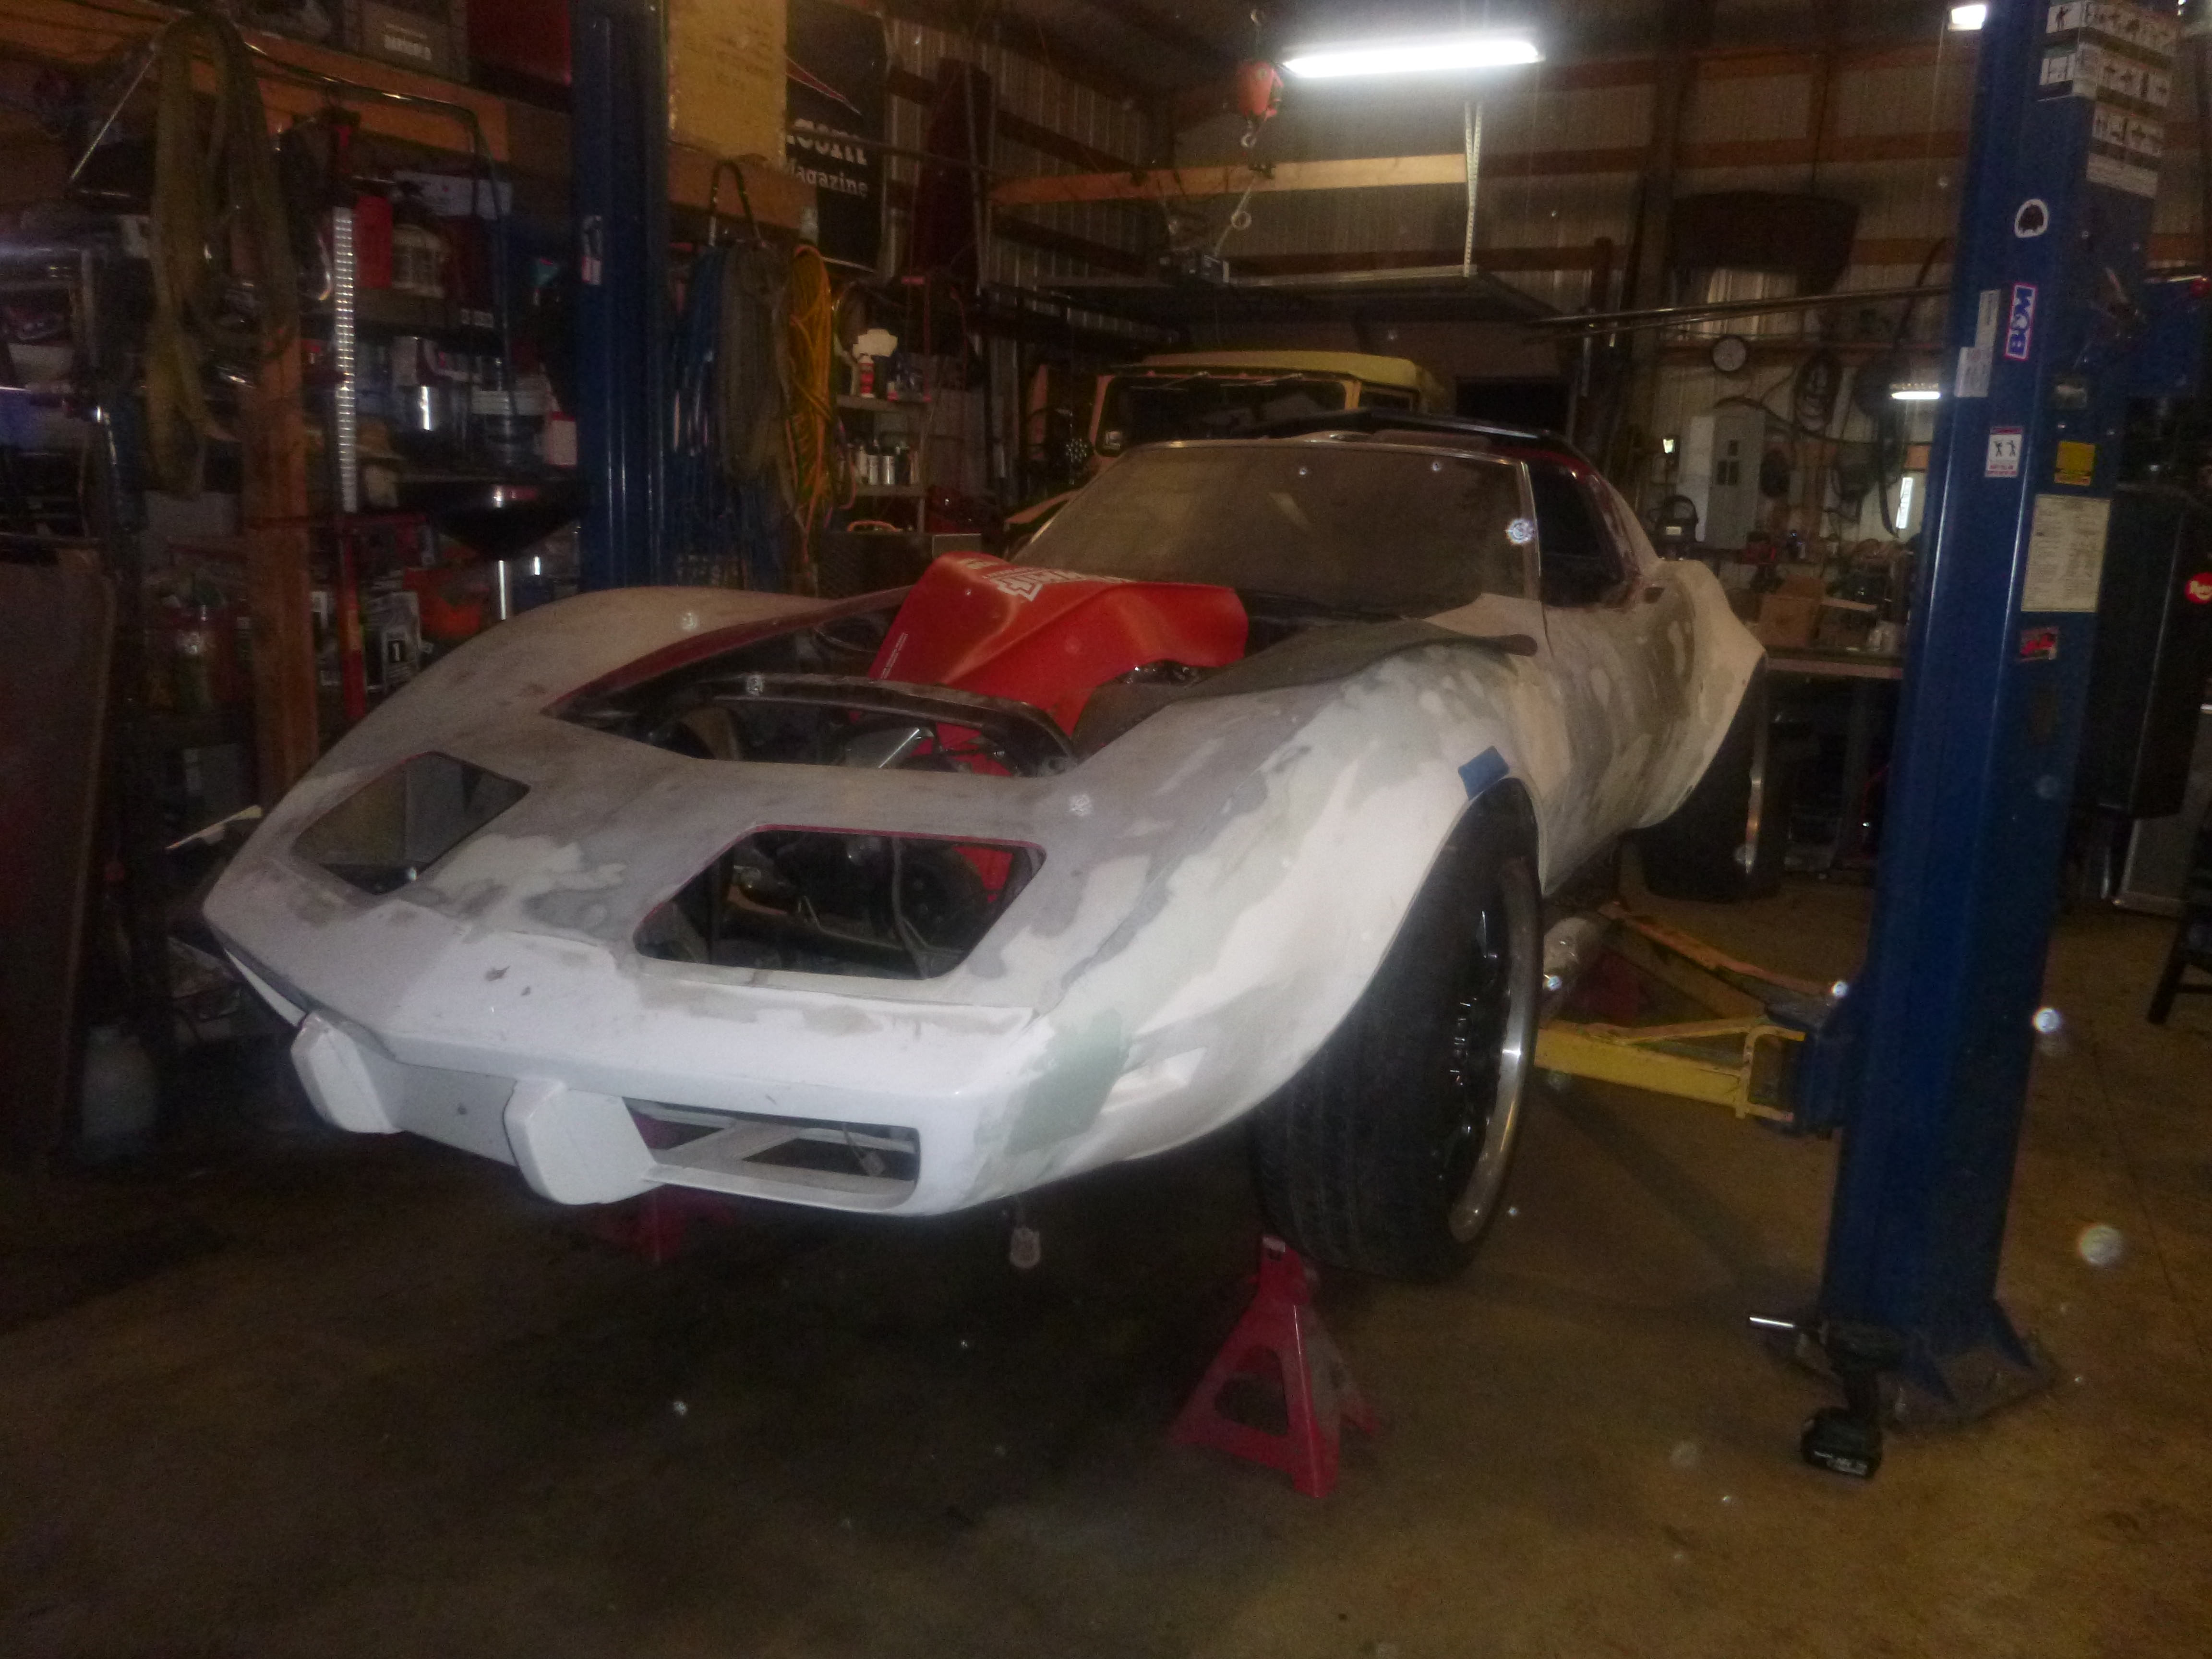
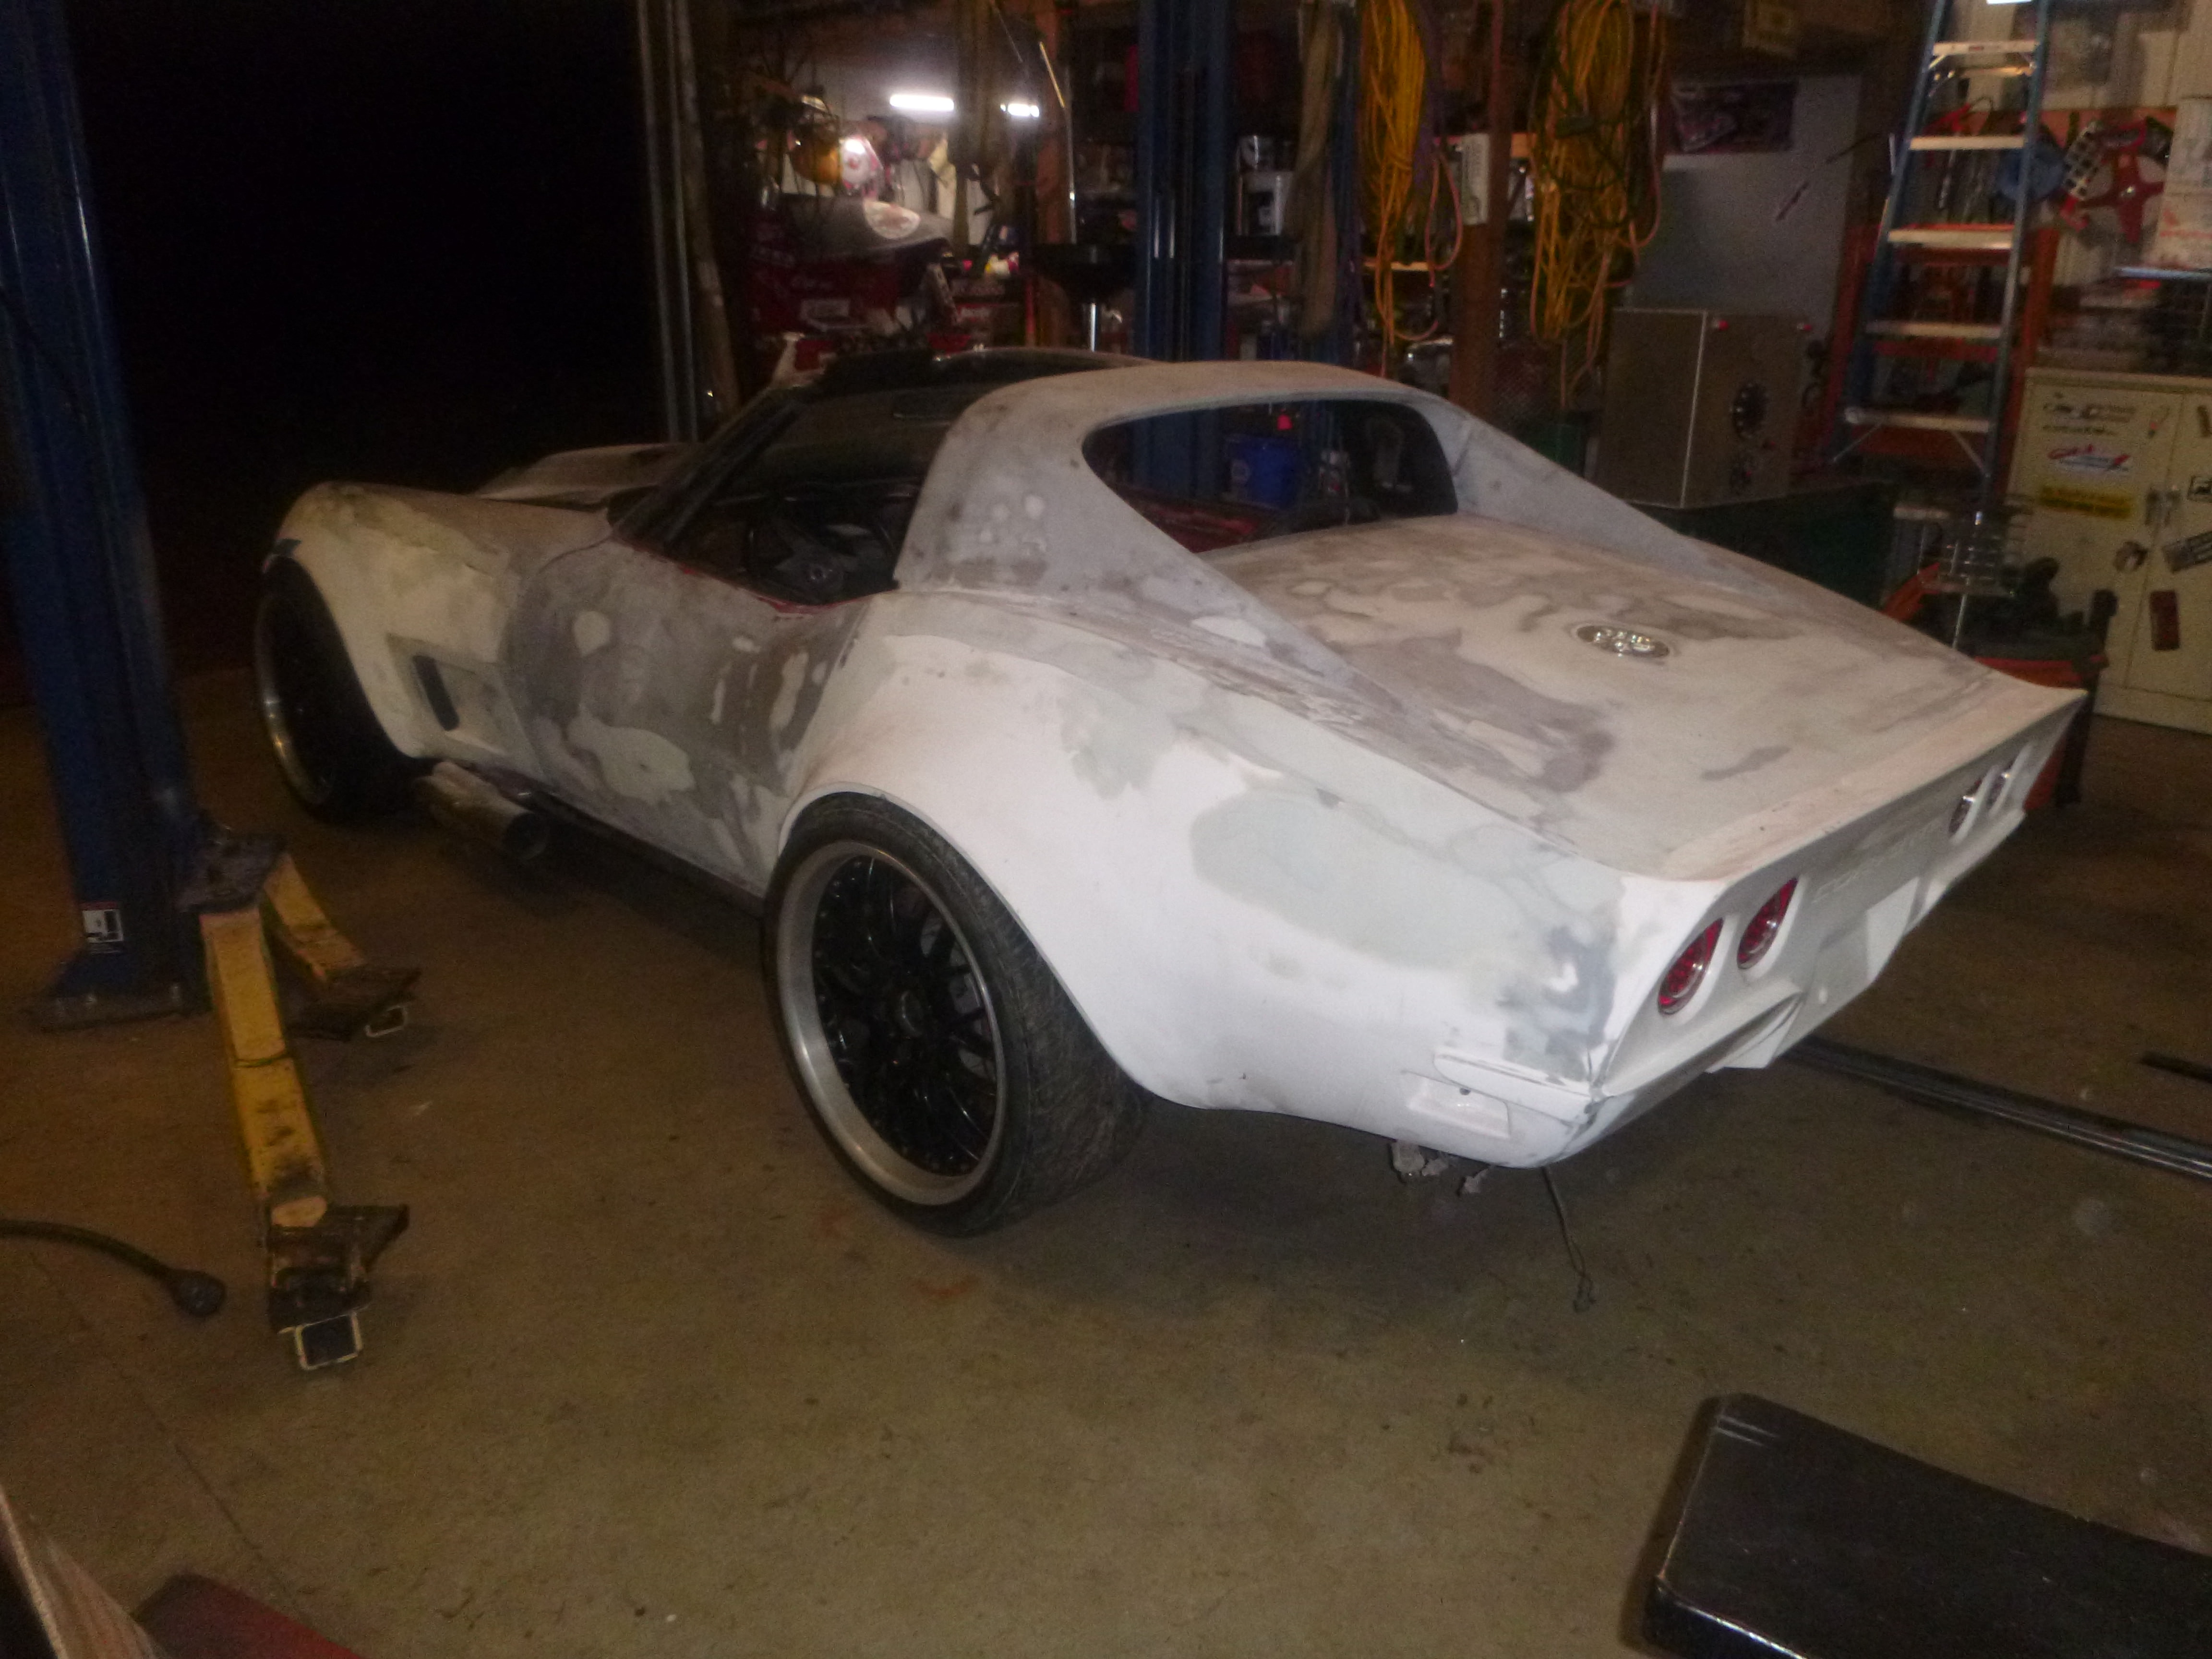
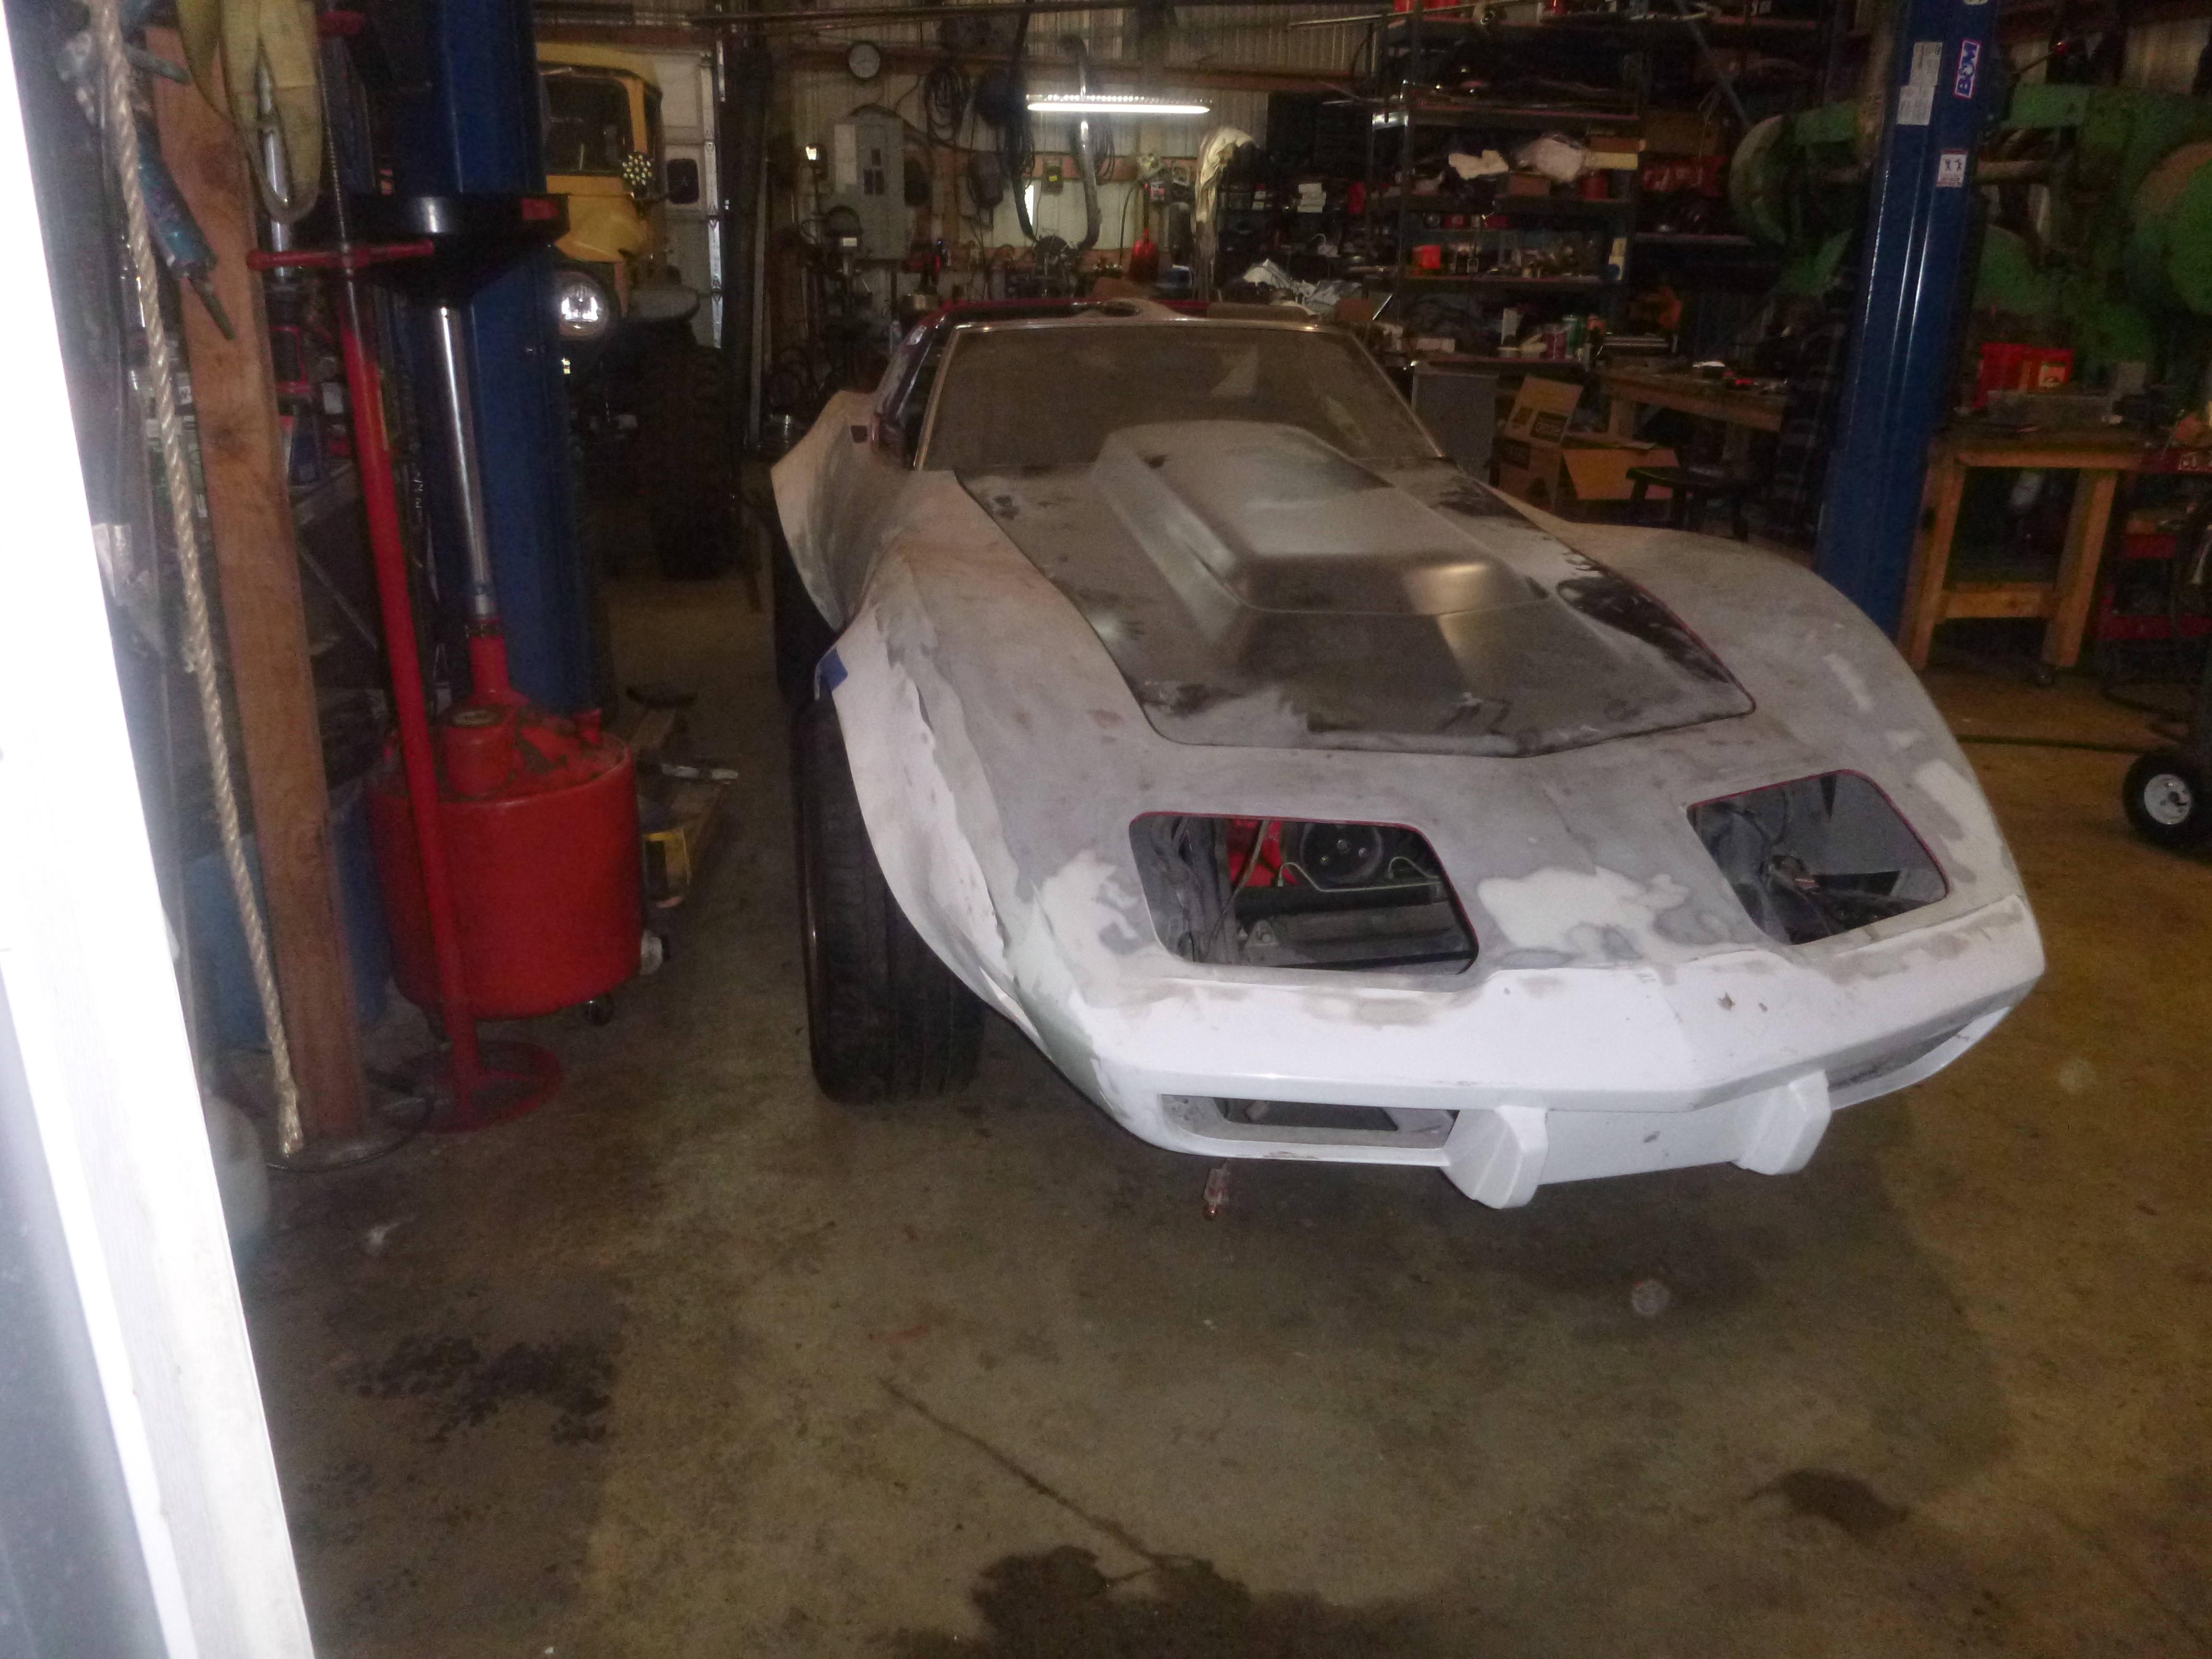
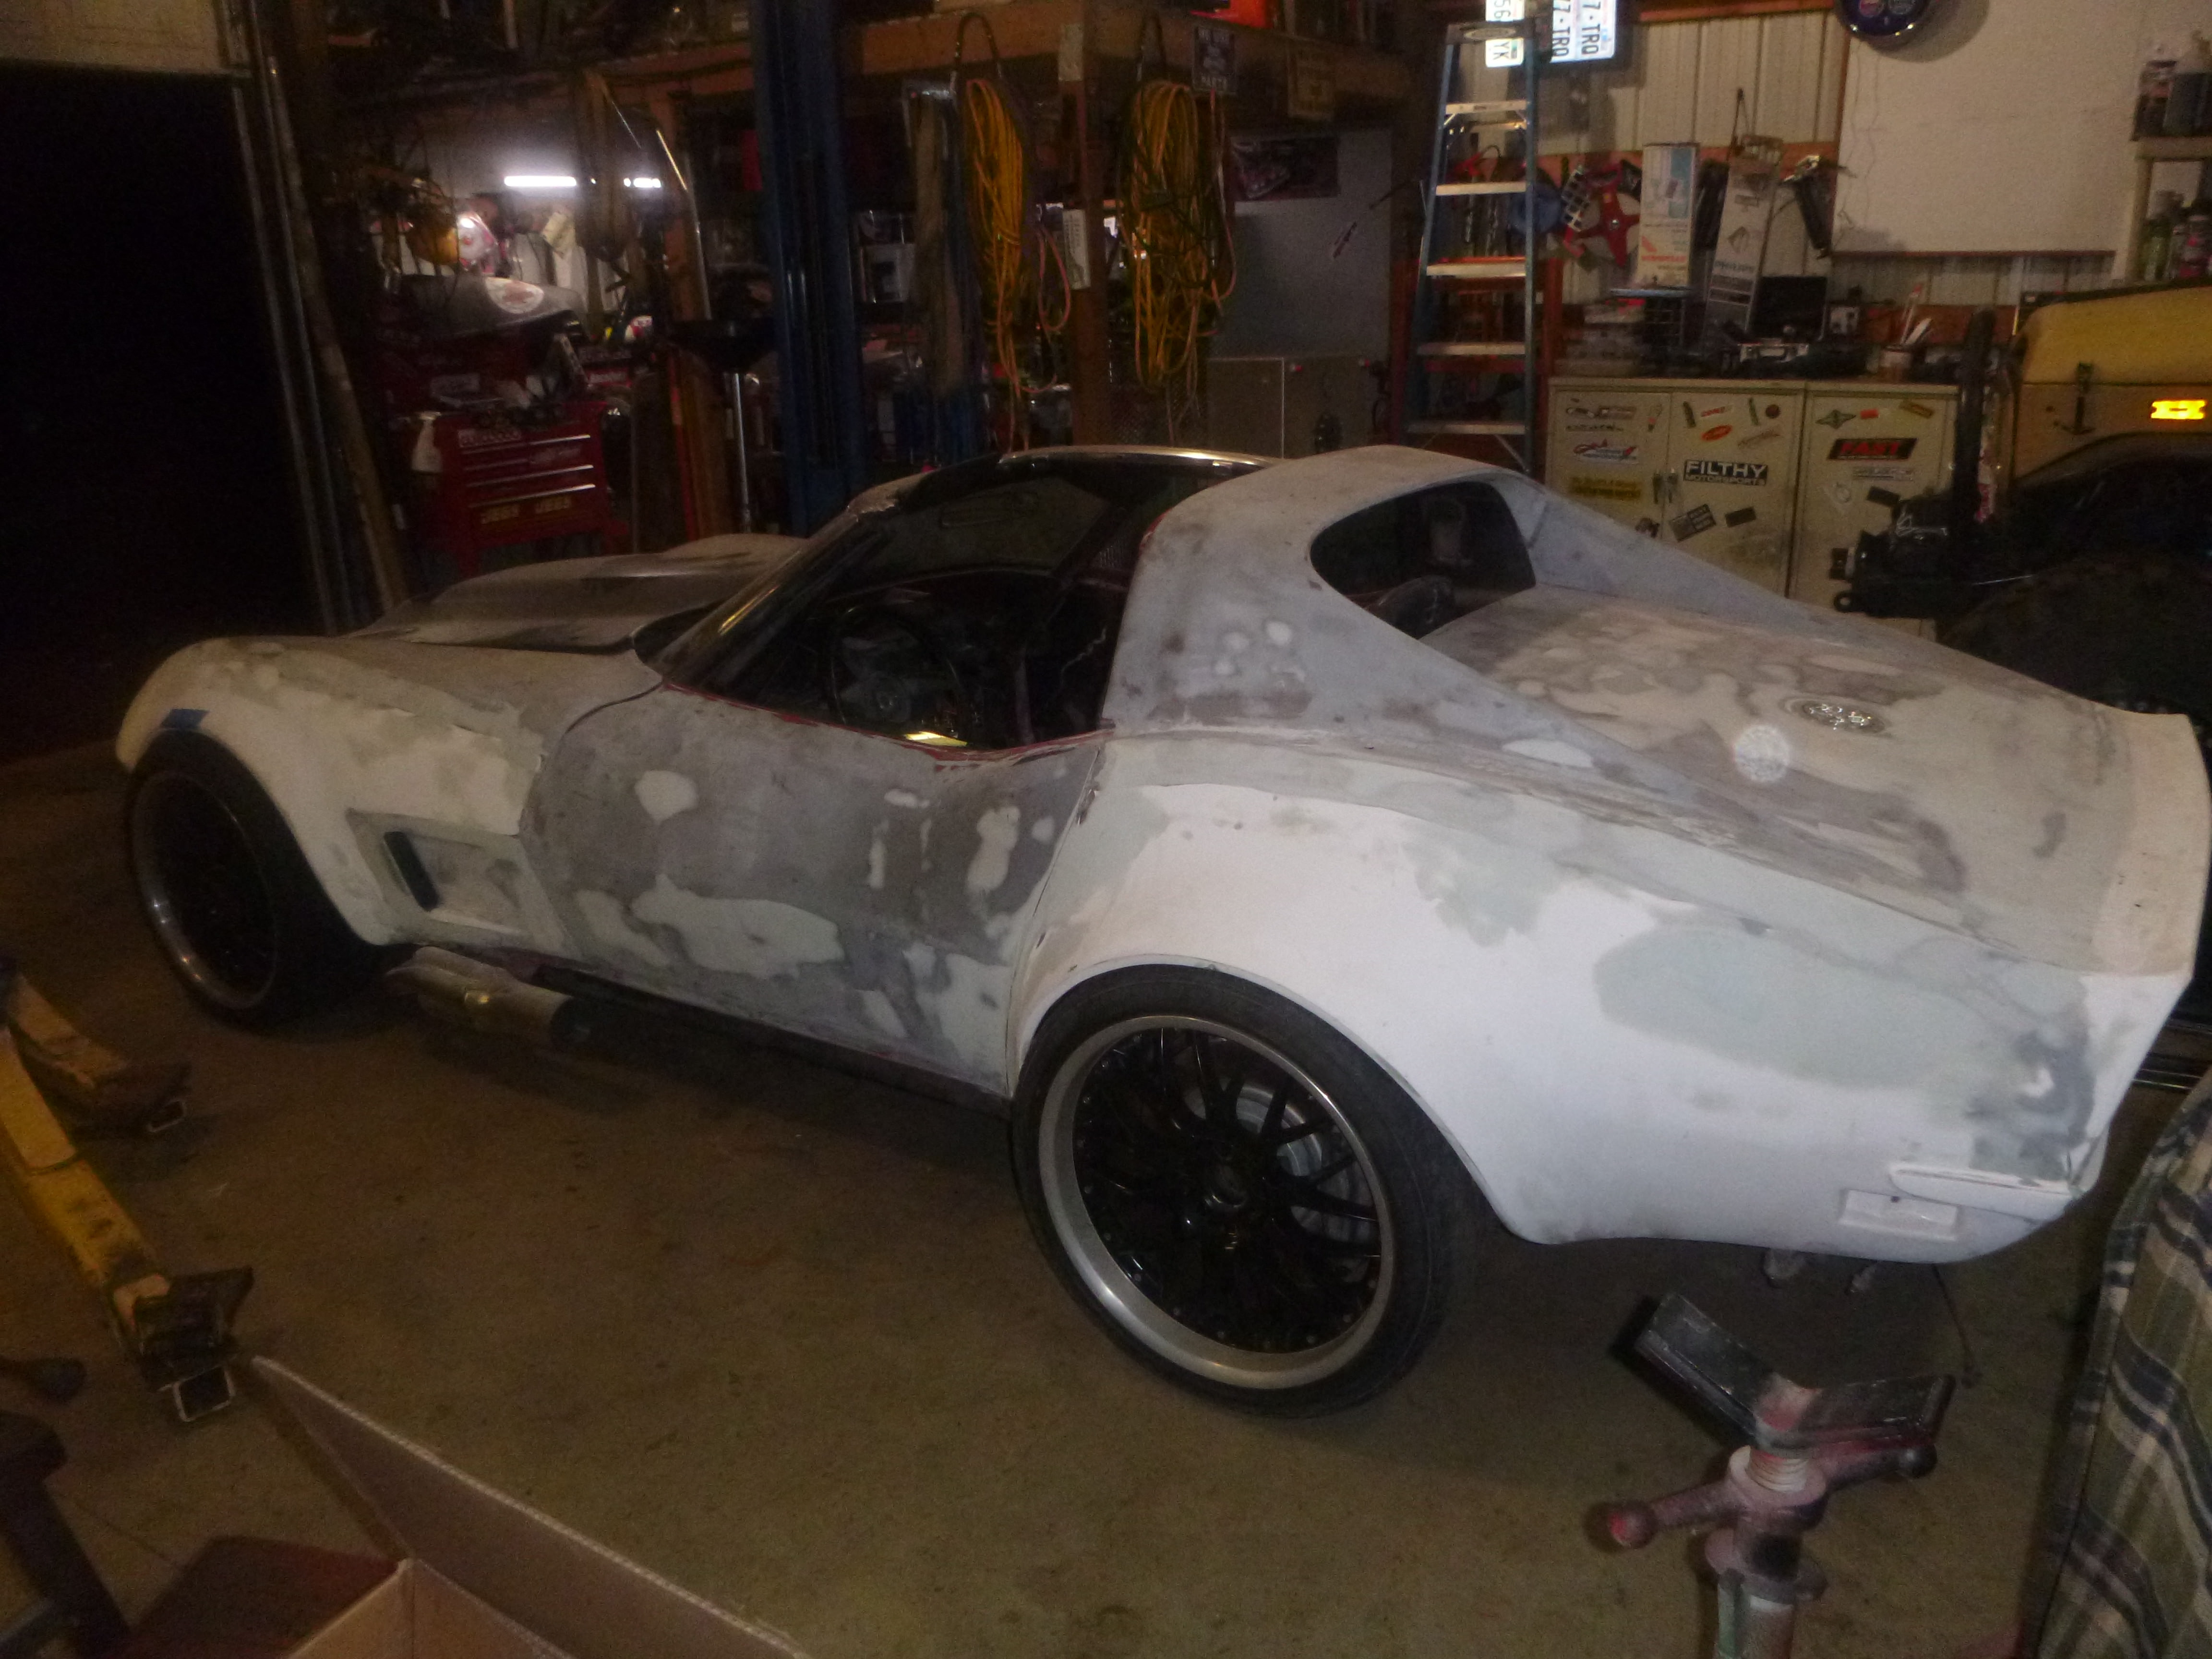
leveled the nose and it is close enough that I'm not going to mess with it - Keep in mind that I'm painting this black (or a dark color) so edges really blend
progress pictures
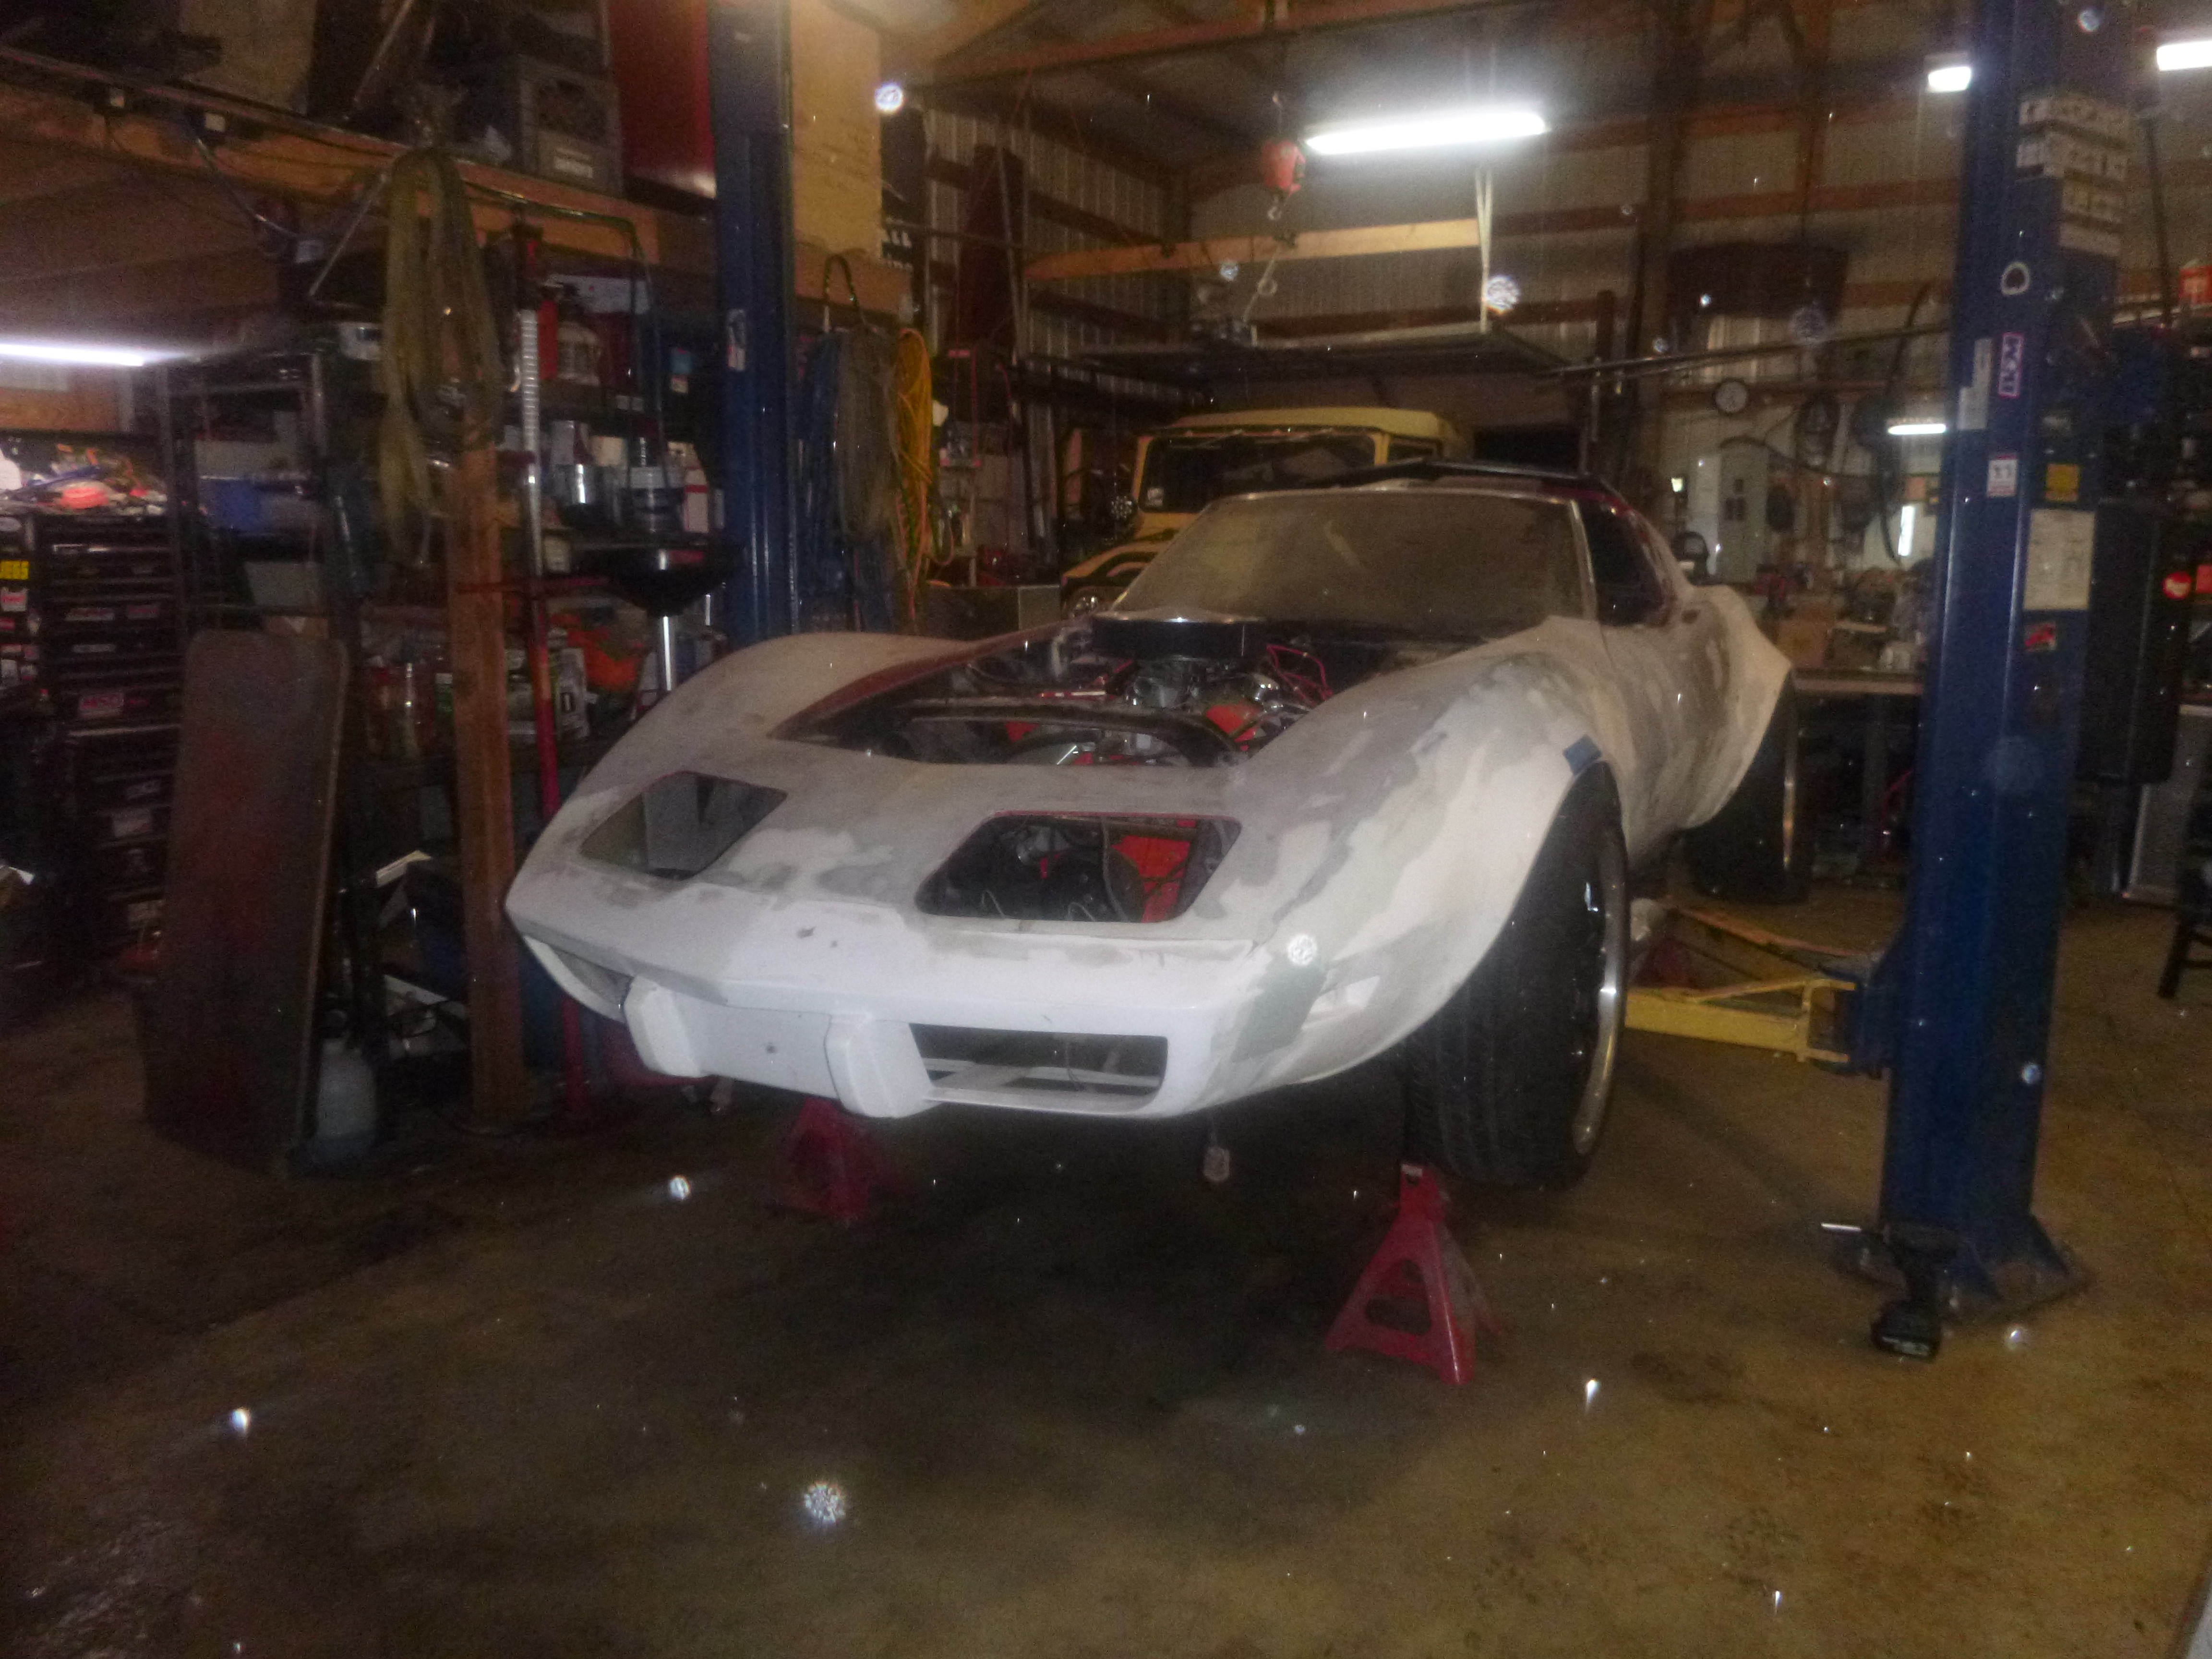
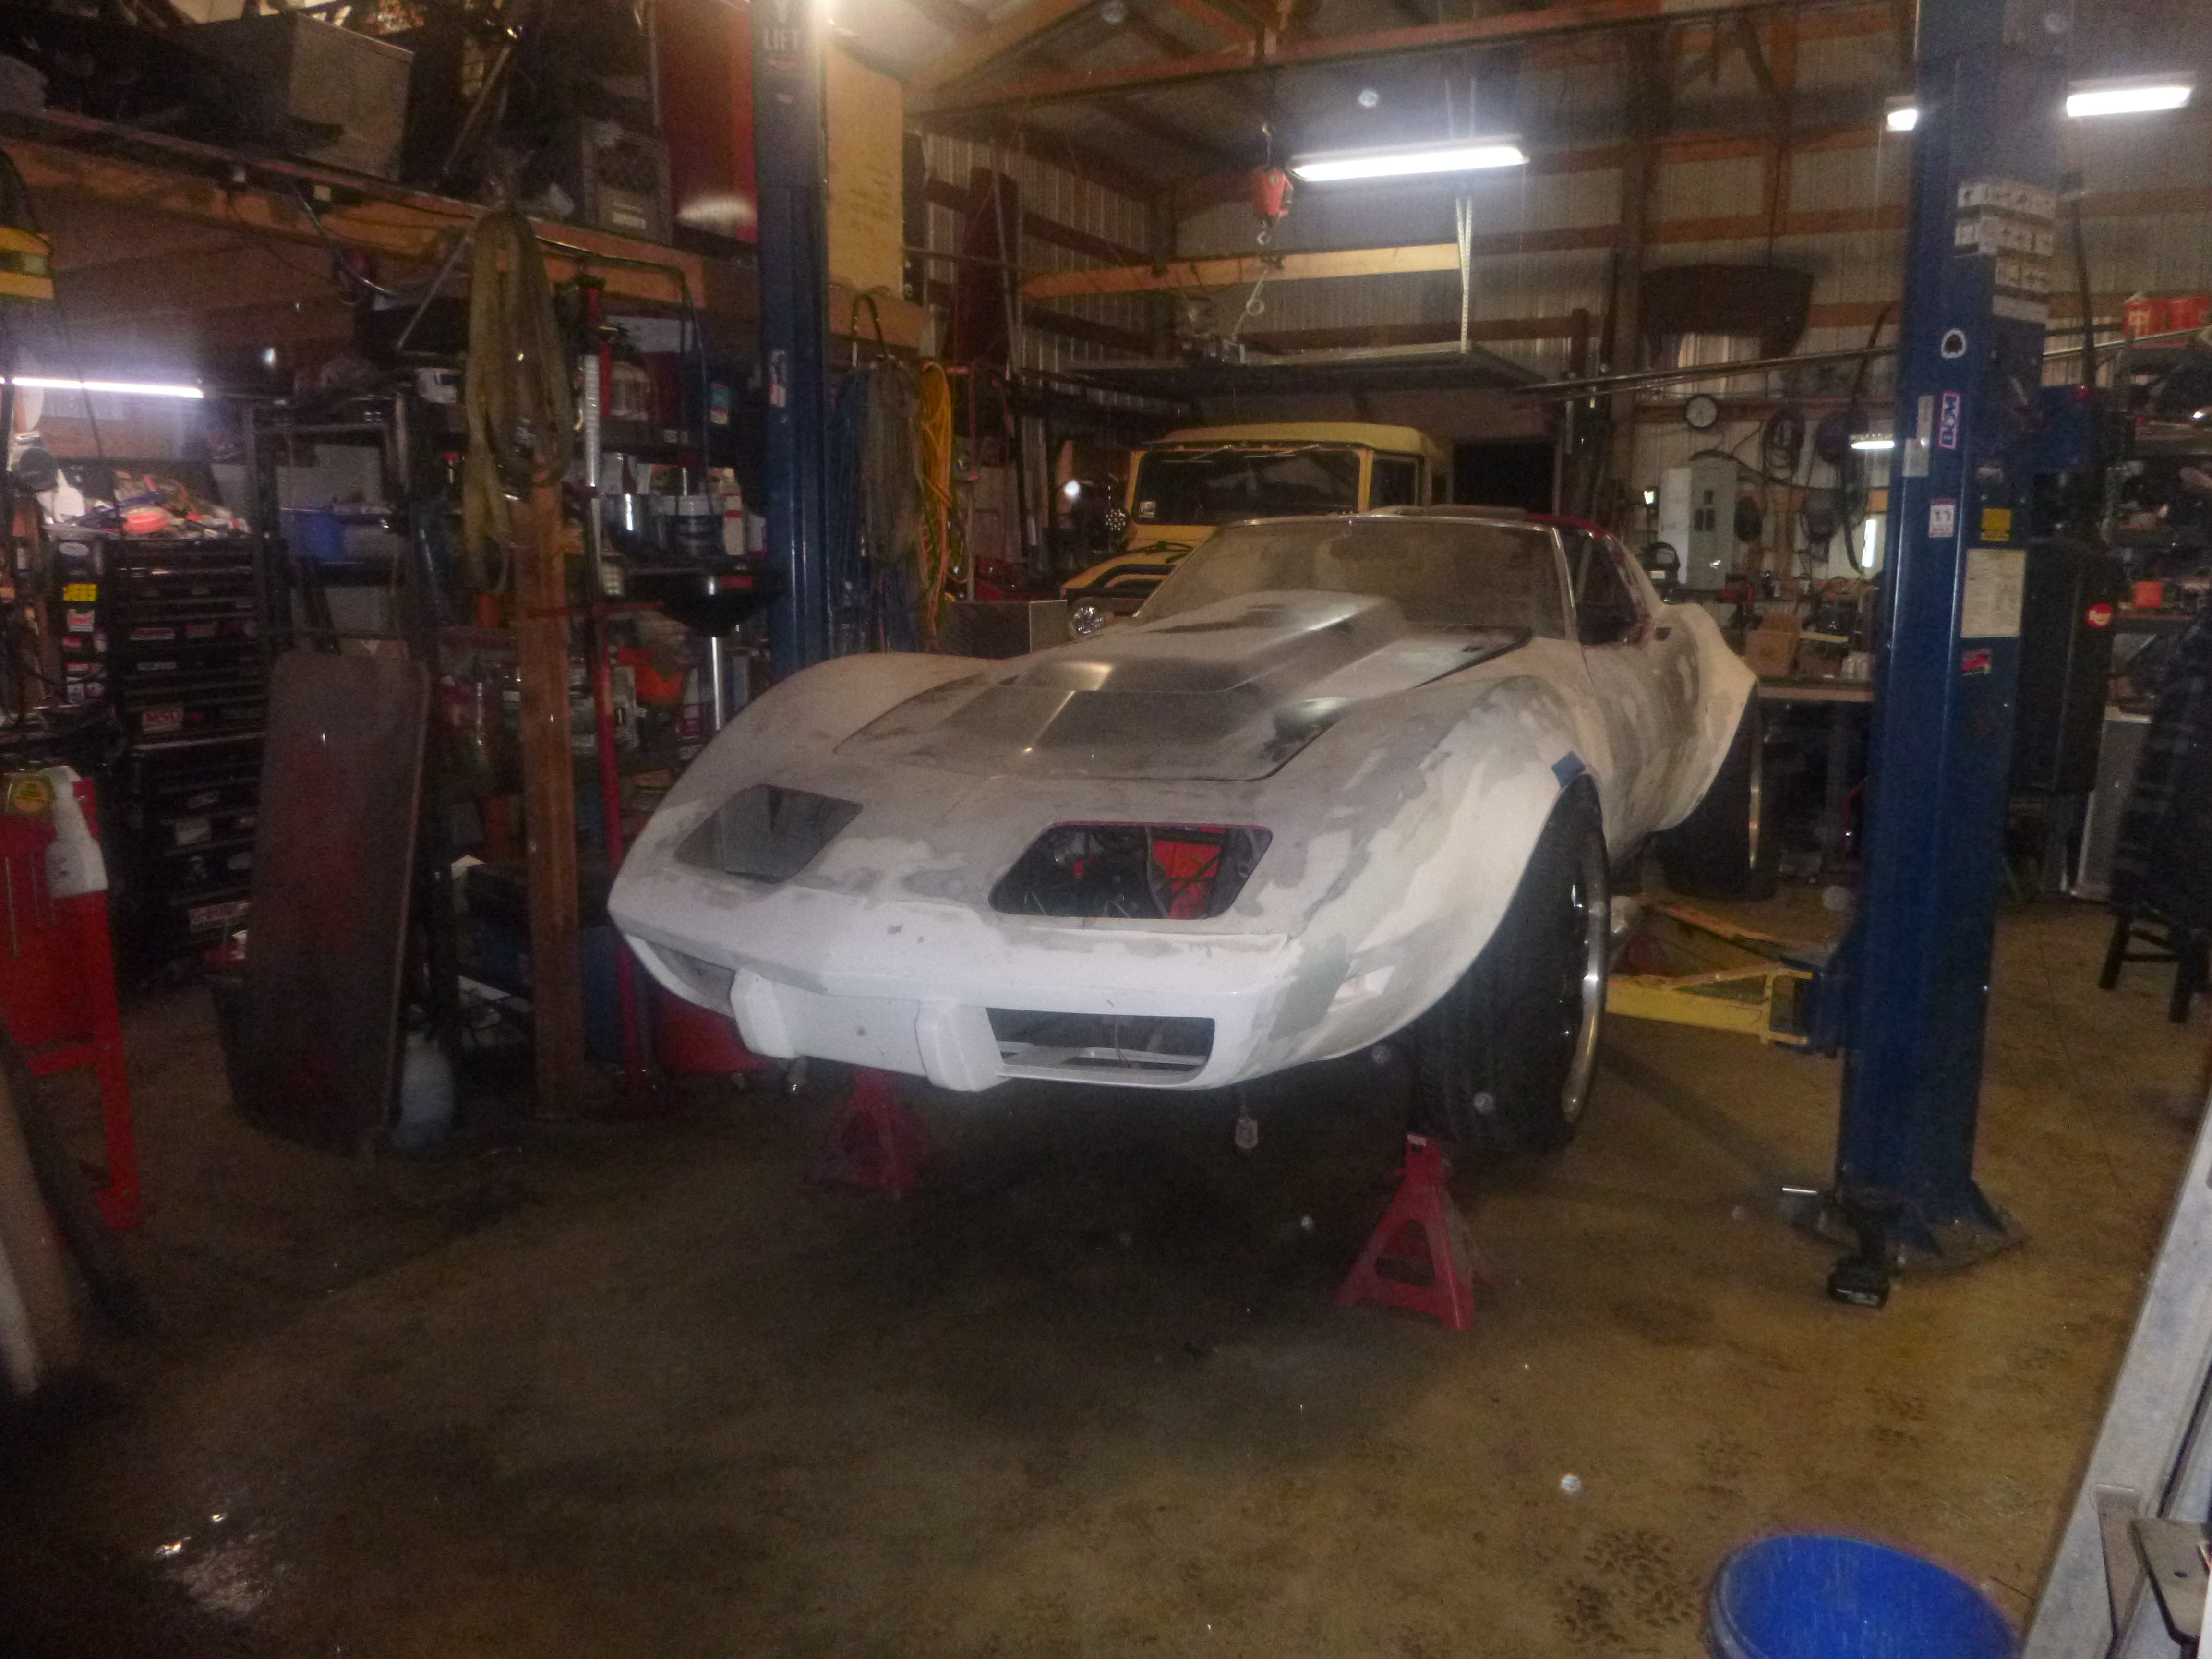

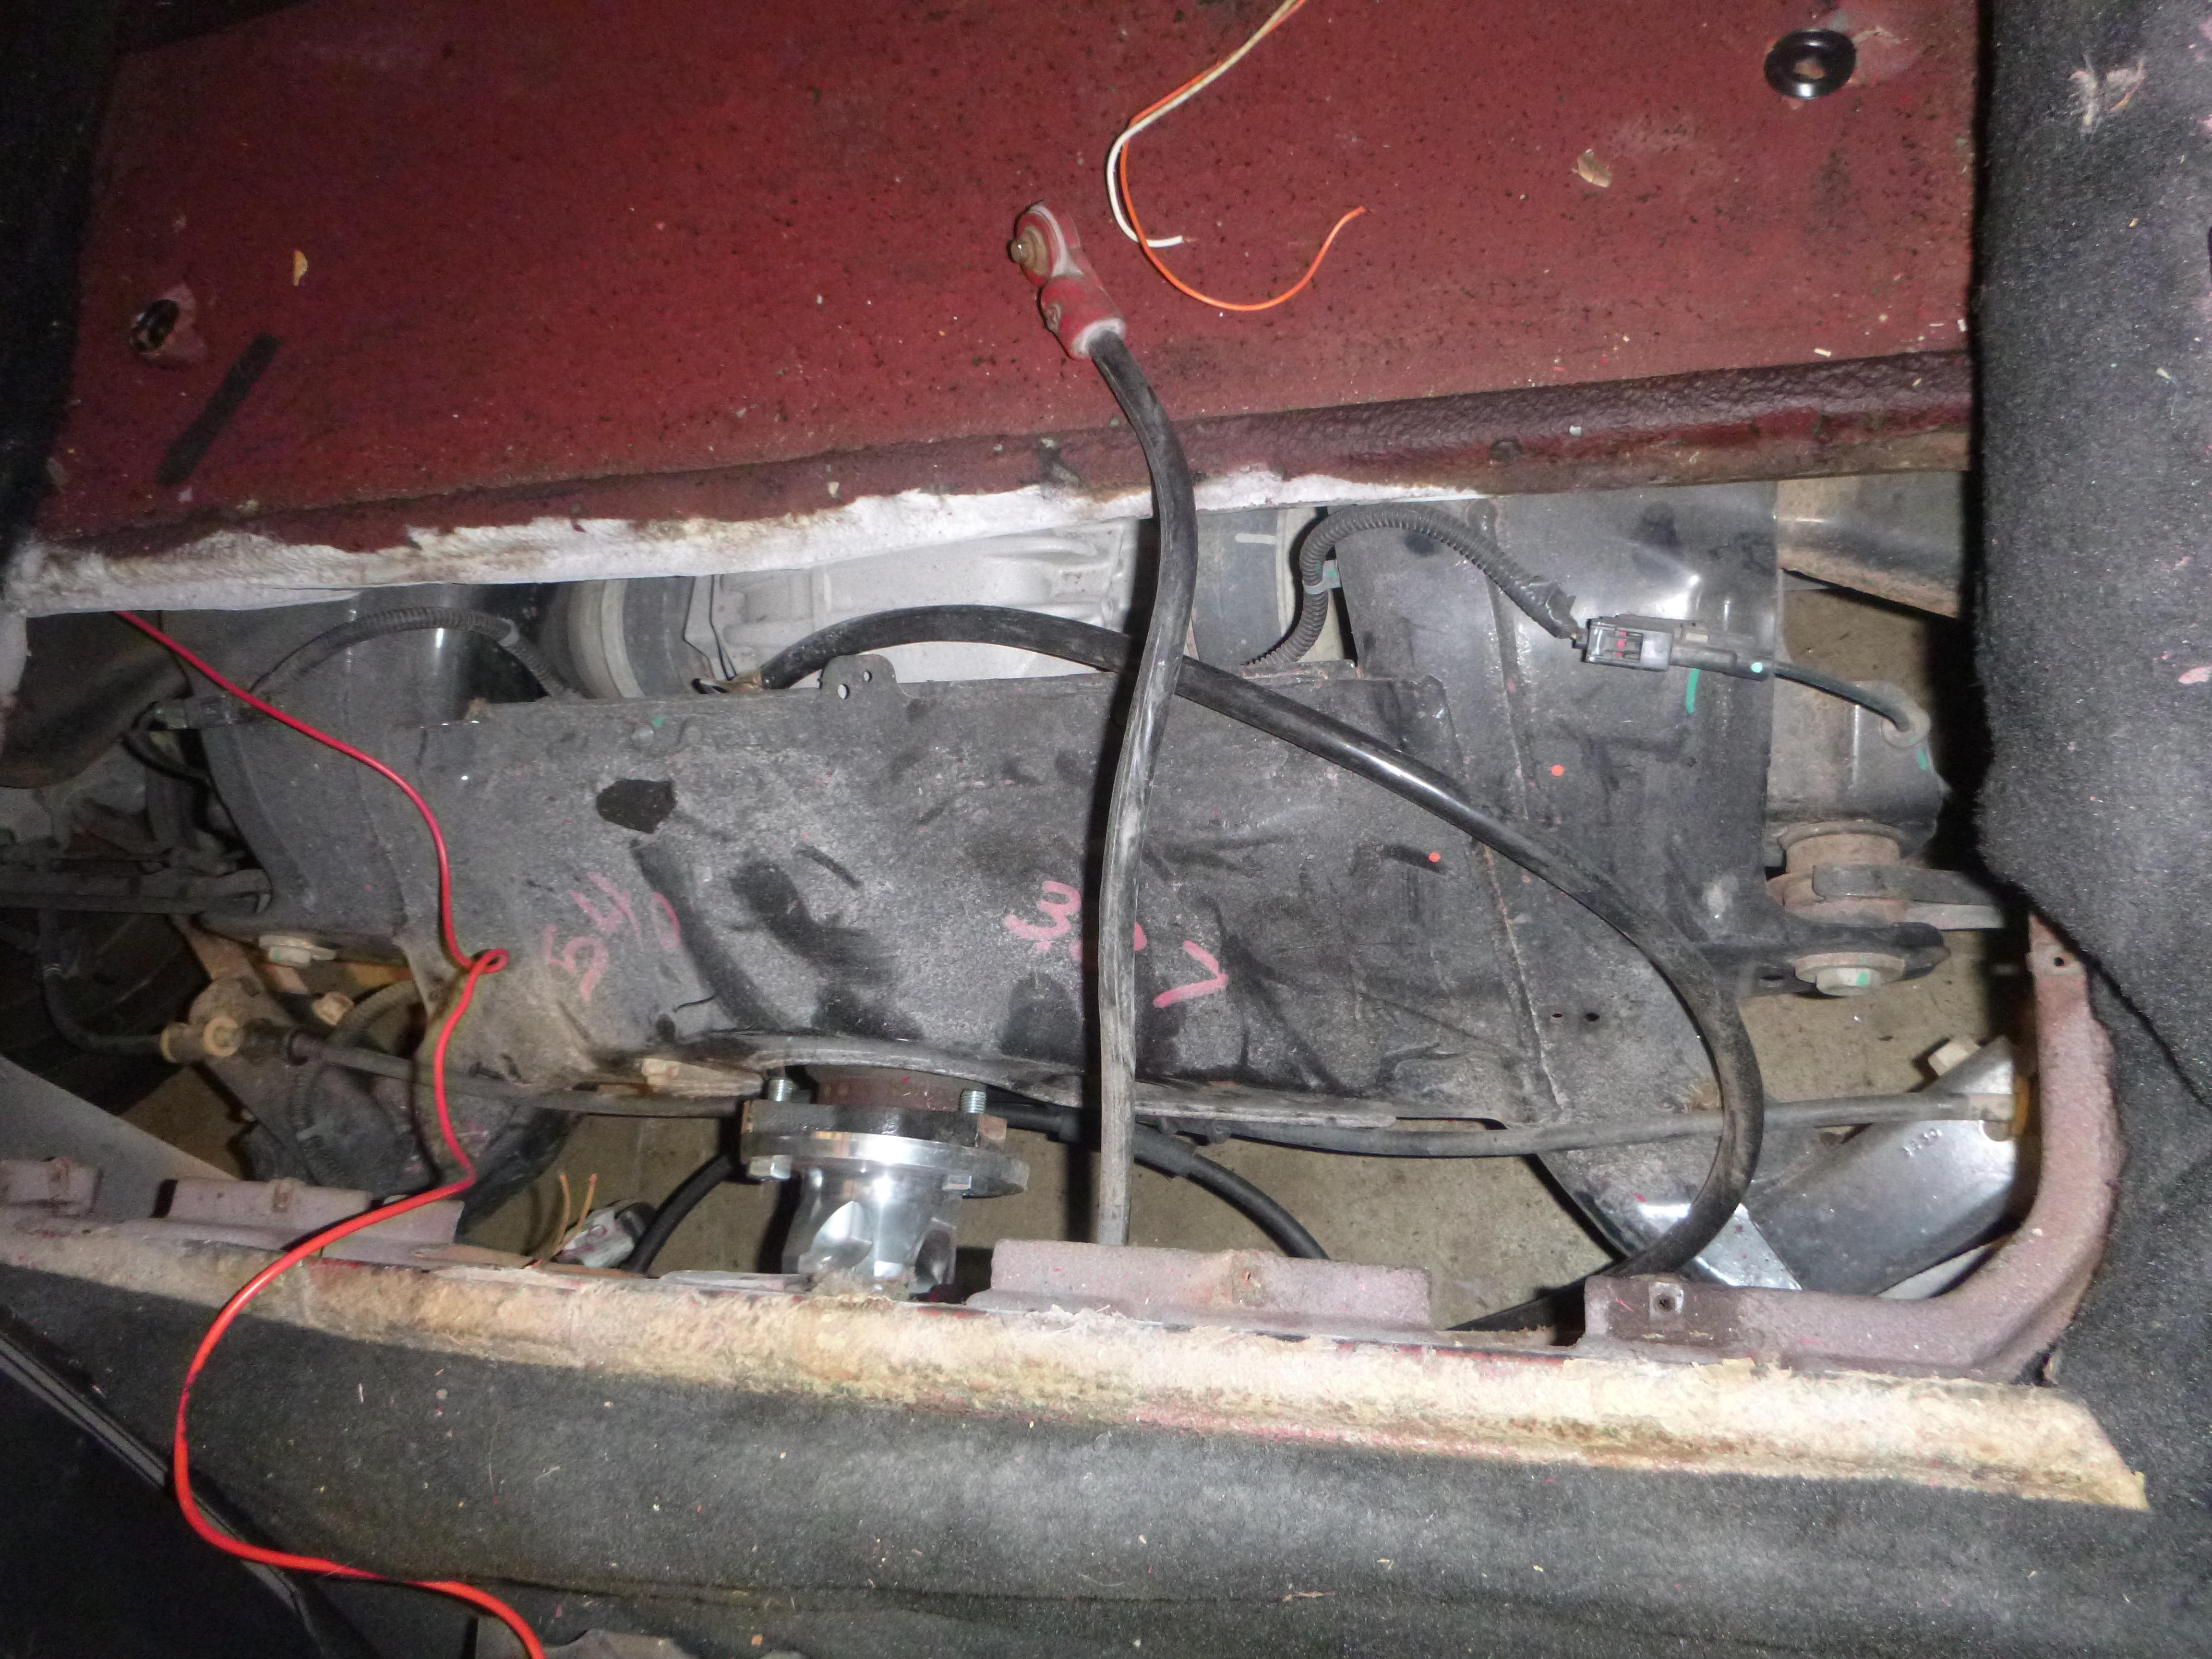
I need to brace the rear assembly, before the body lift
then I need to lay the coil over over... so that's a notch
how, in all that's holy, does fiberglass look like it rusted?
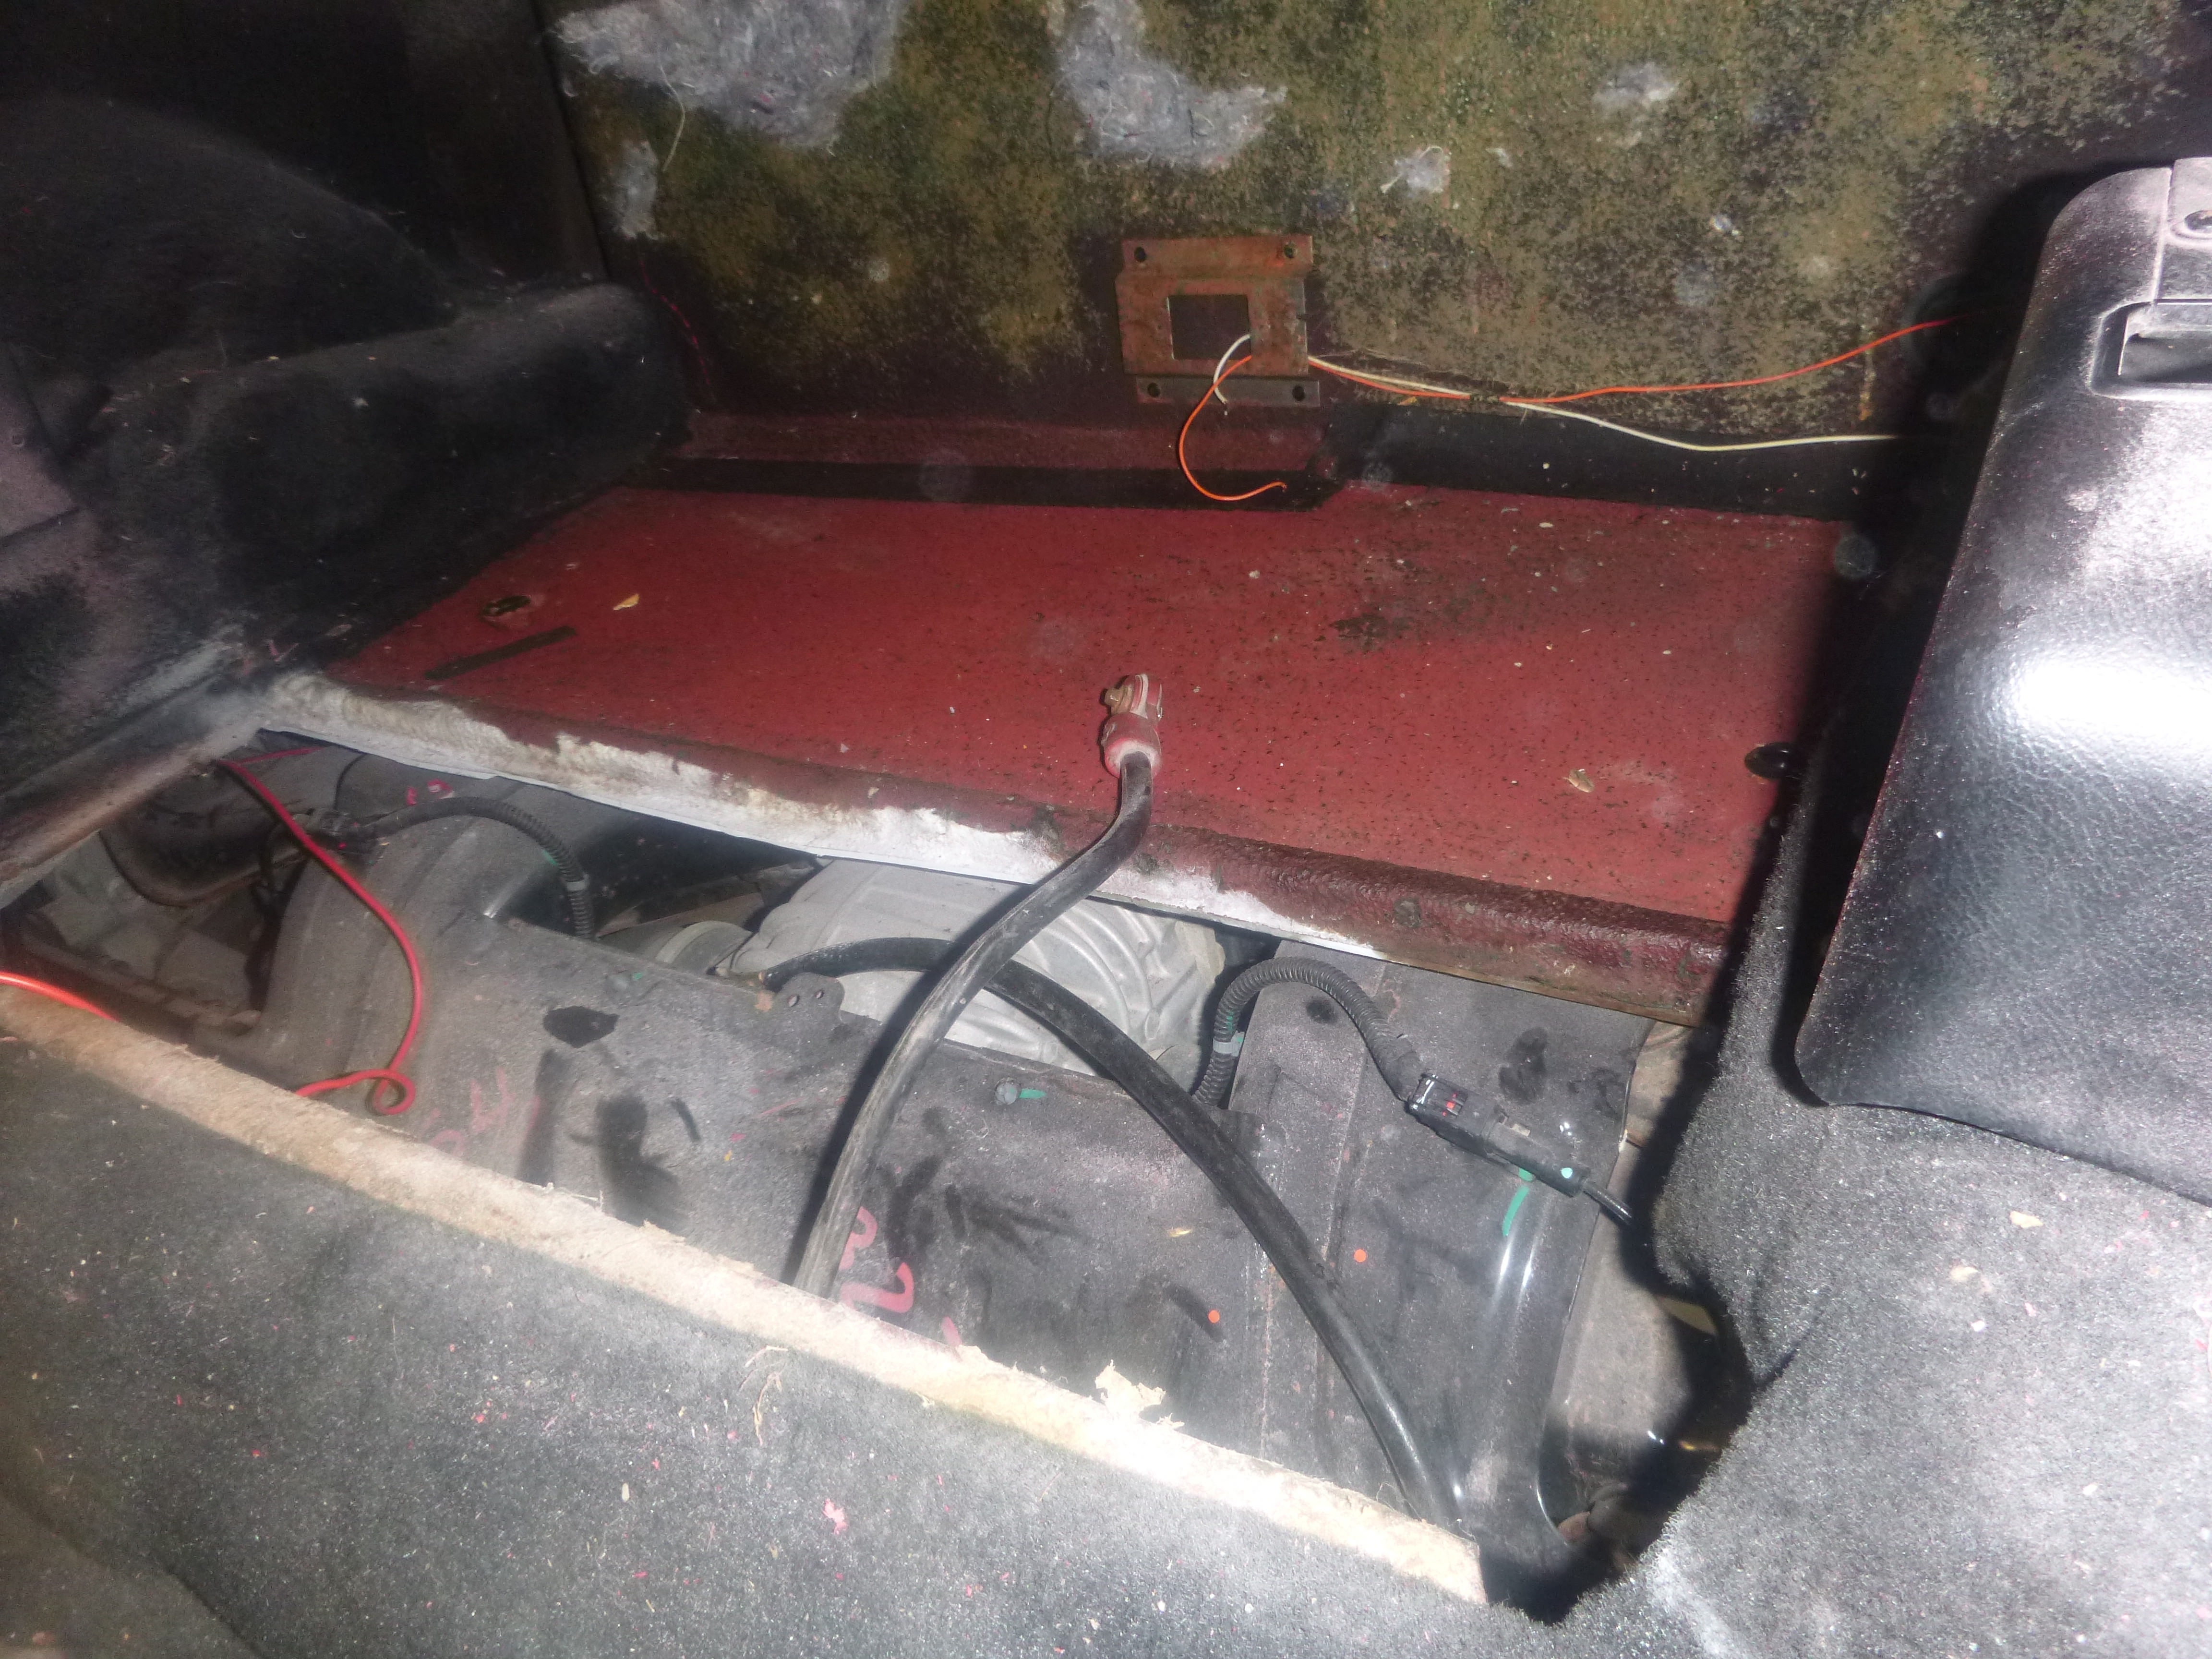
ugh
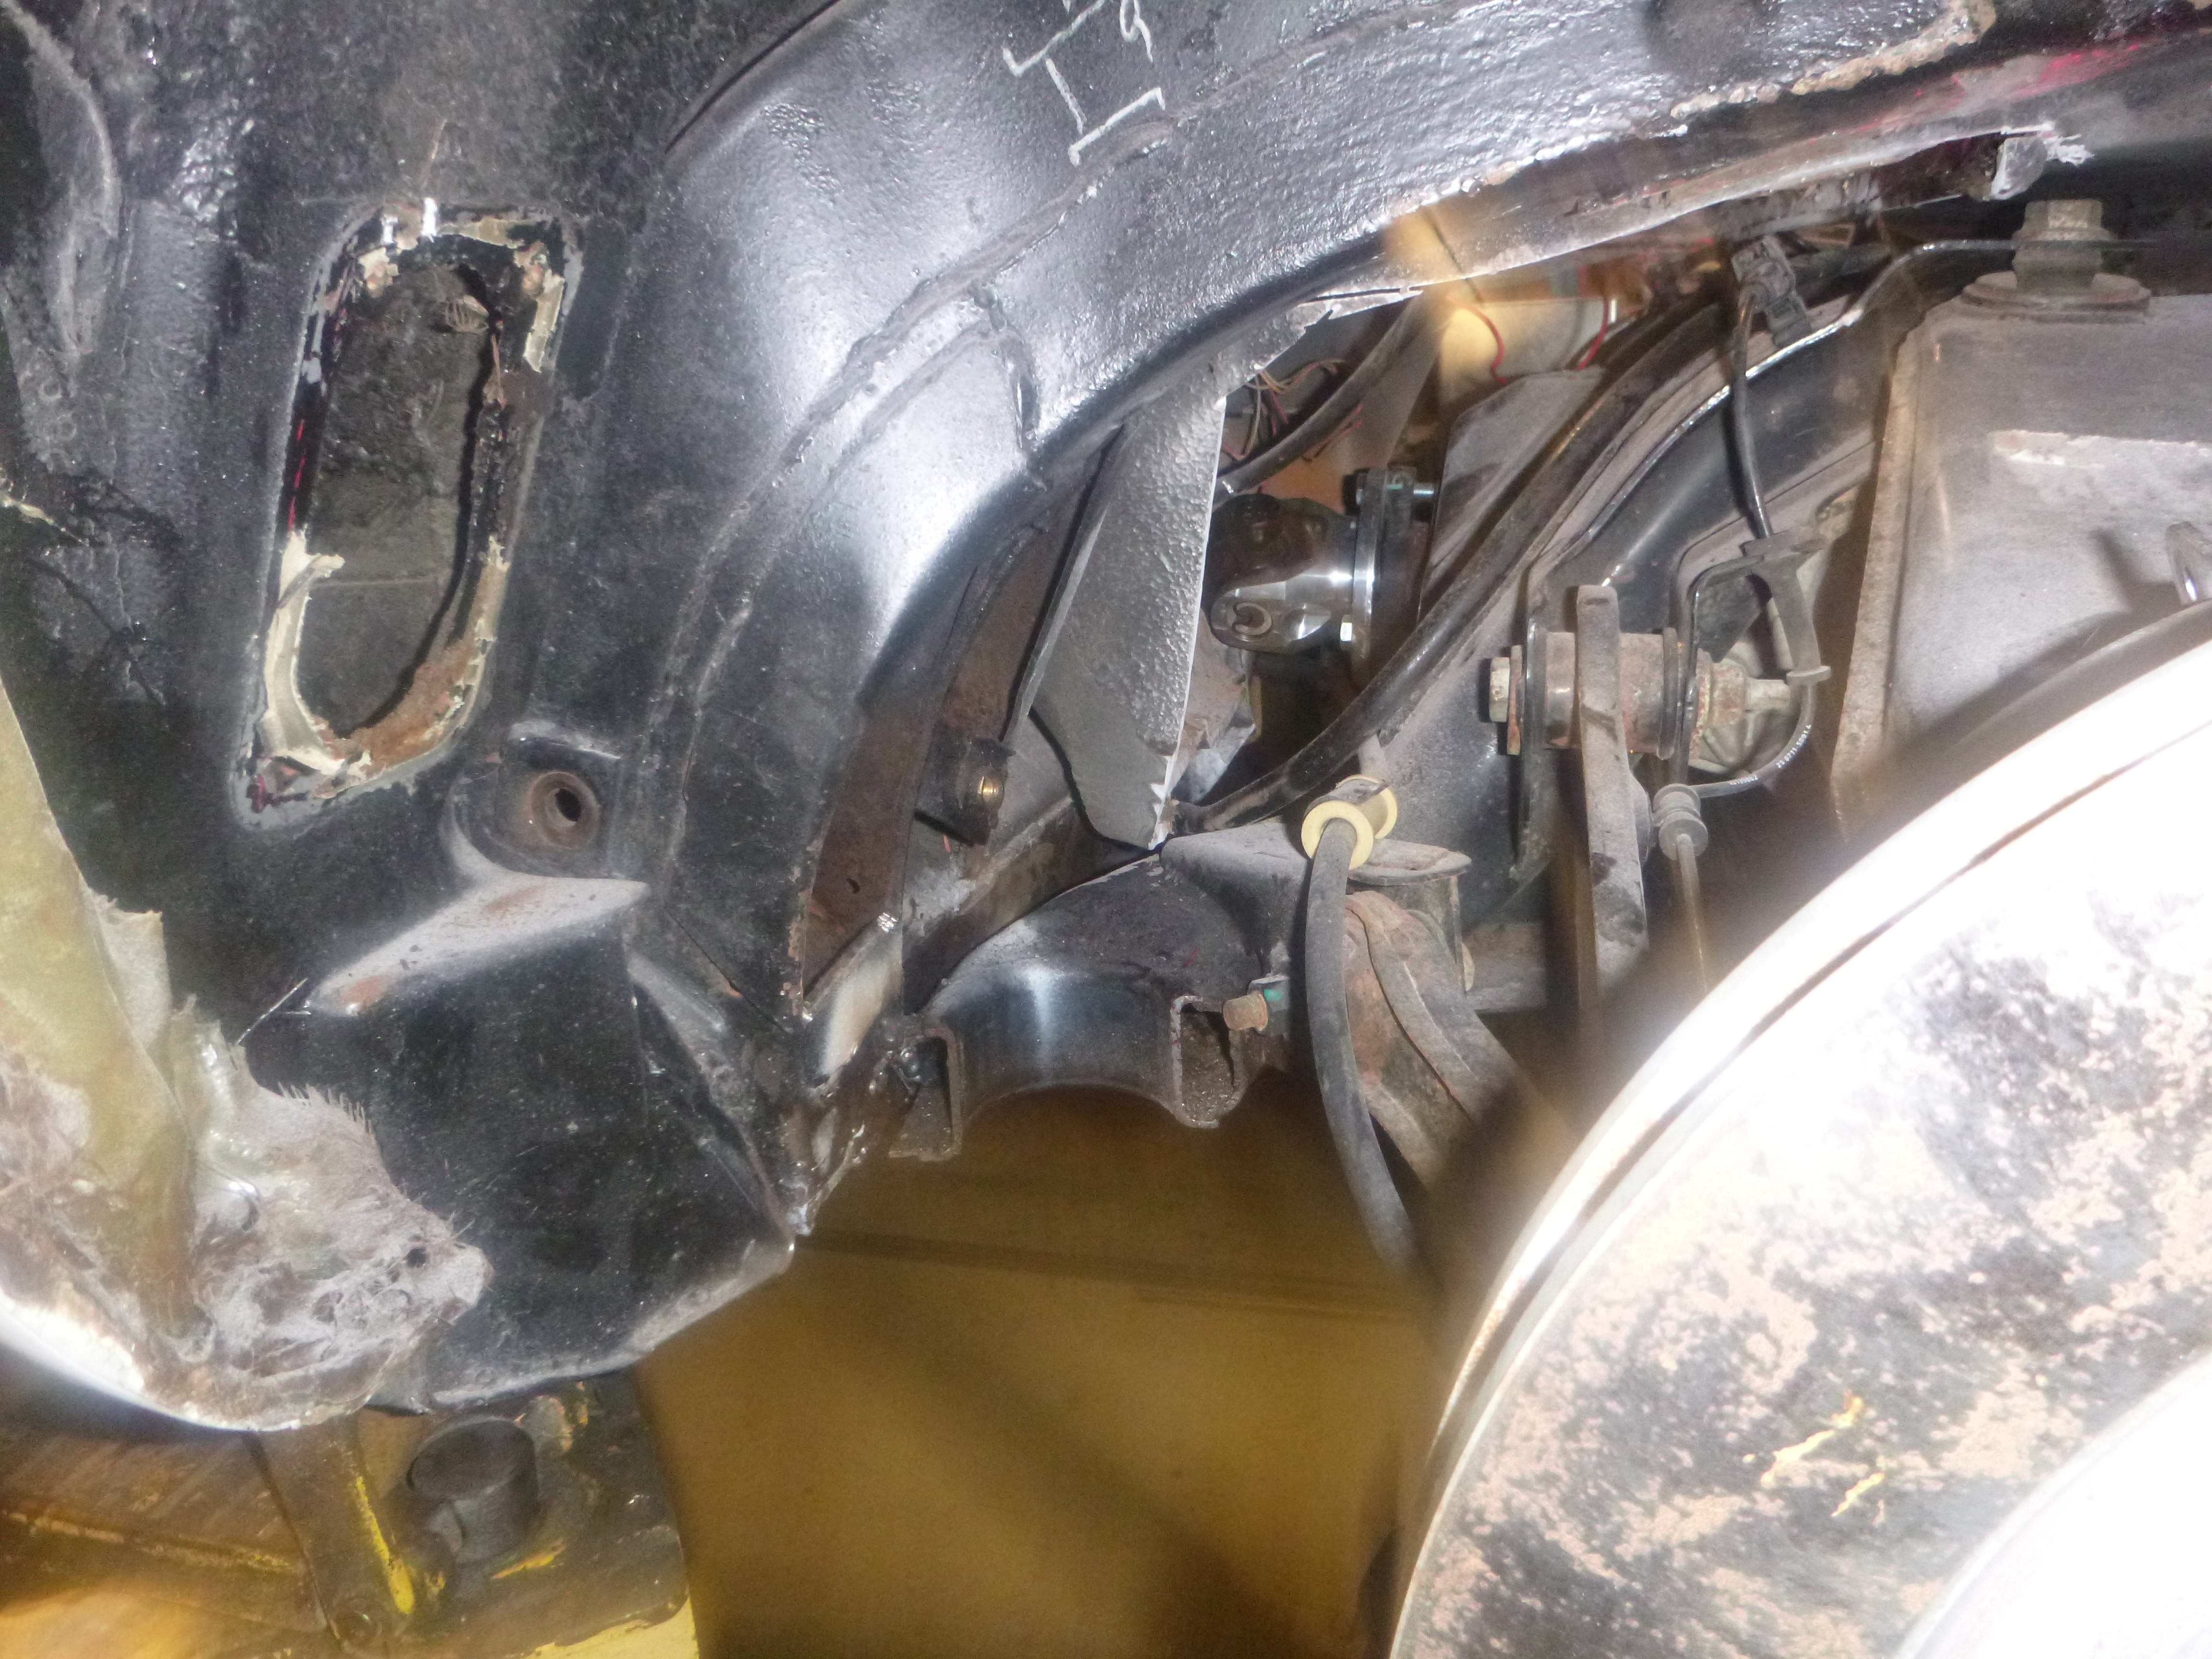
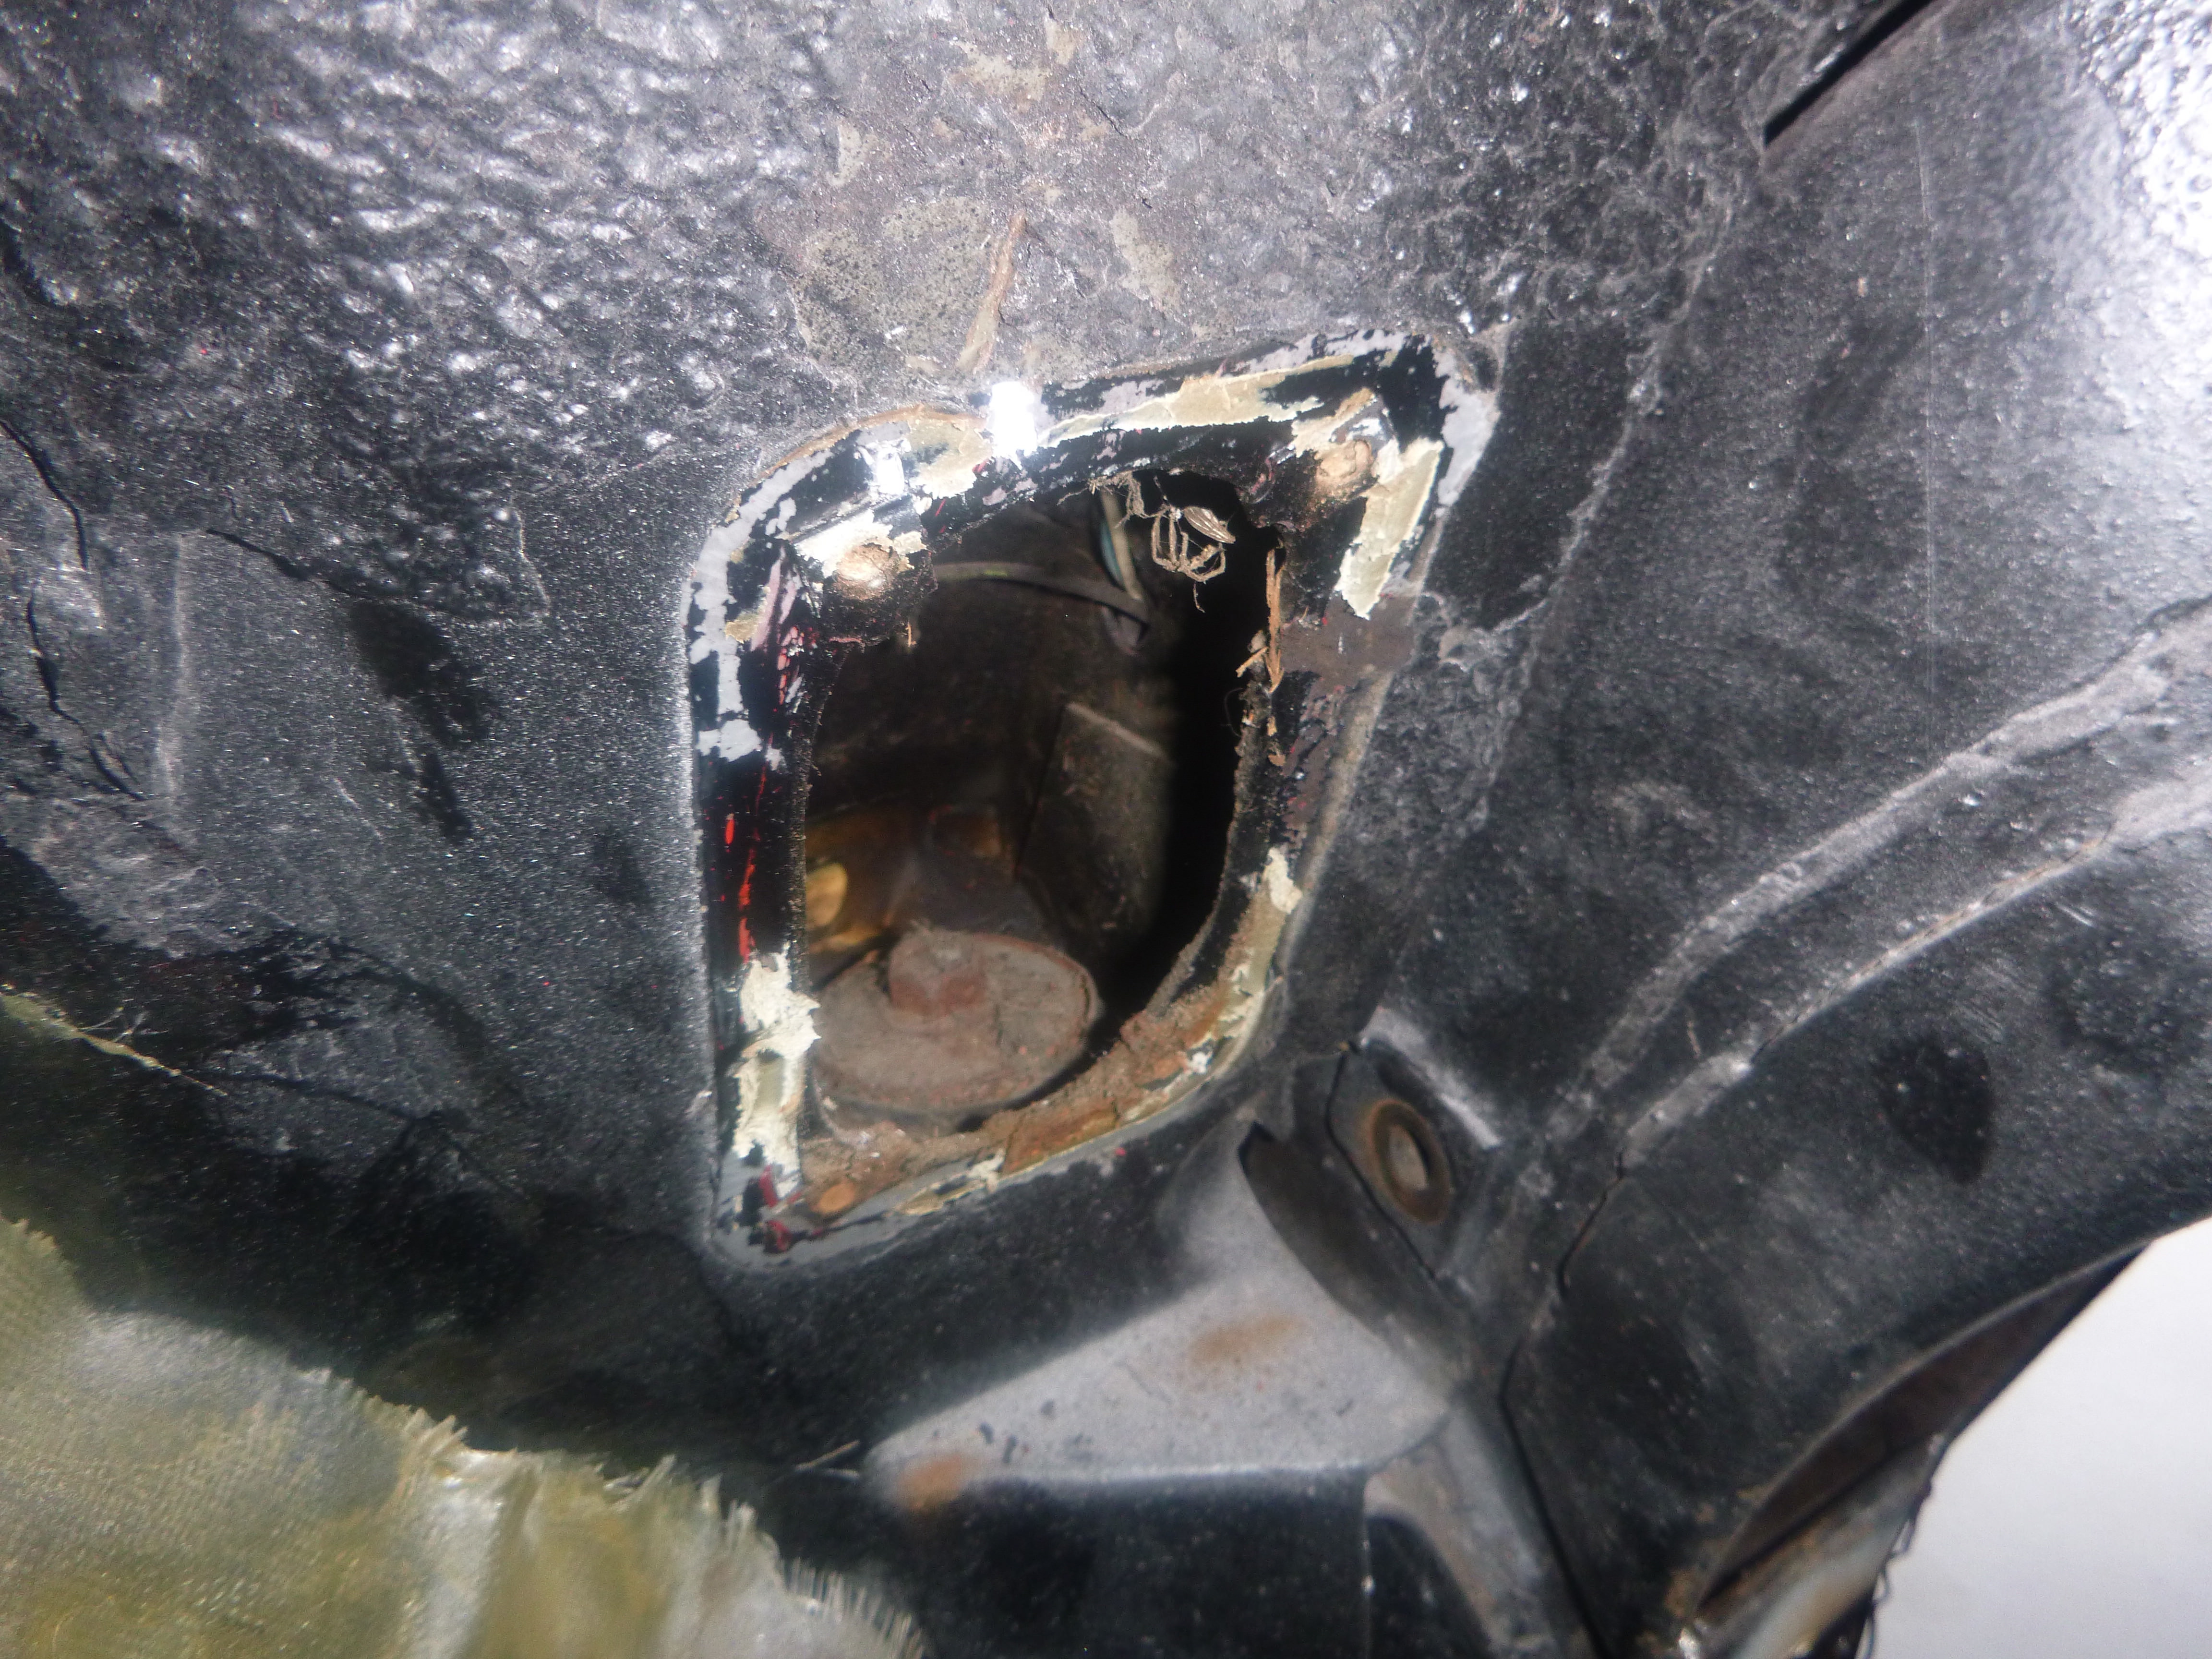
thankfully I have sawzall blades.
progress pictures
I need to brace the rear assembly, before the body lift
then I need to lay the coil over over... so that's a notch
how, in all that's holy, does fiberglass look like it rusted?
ugh
thankfully I have sawzall blades.
The following users liked this post:
Metalhead140 (12-02-2018)
The following users liked this post:
Metalhead140 (12-02-2018)
11-29-2018, 09:13 AM
#216
Advanced

That was easy!
11-30-2018, 12:44 AM
#217
Melting Slicks
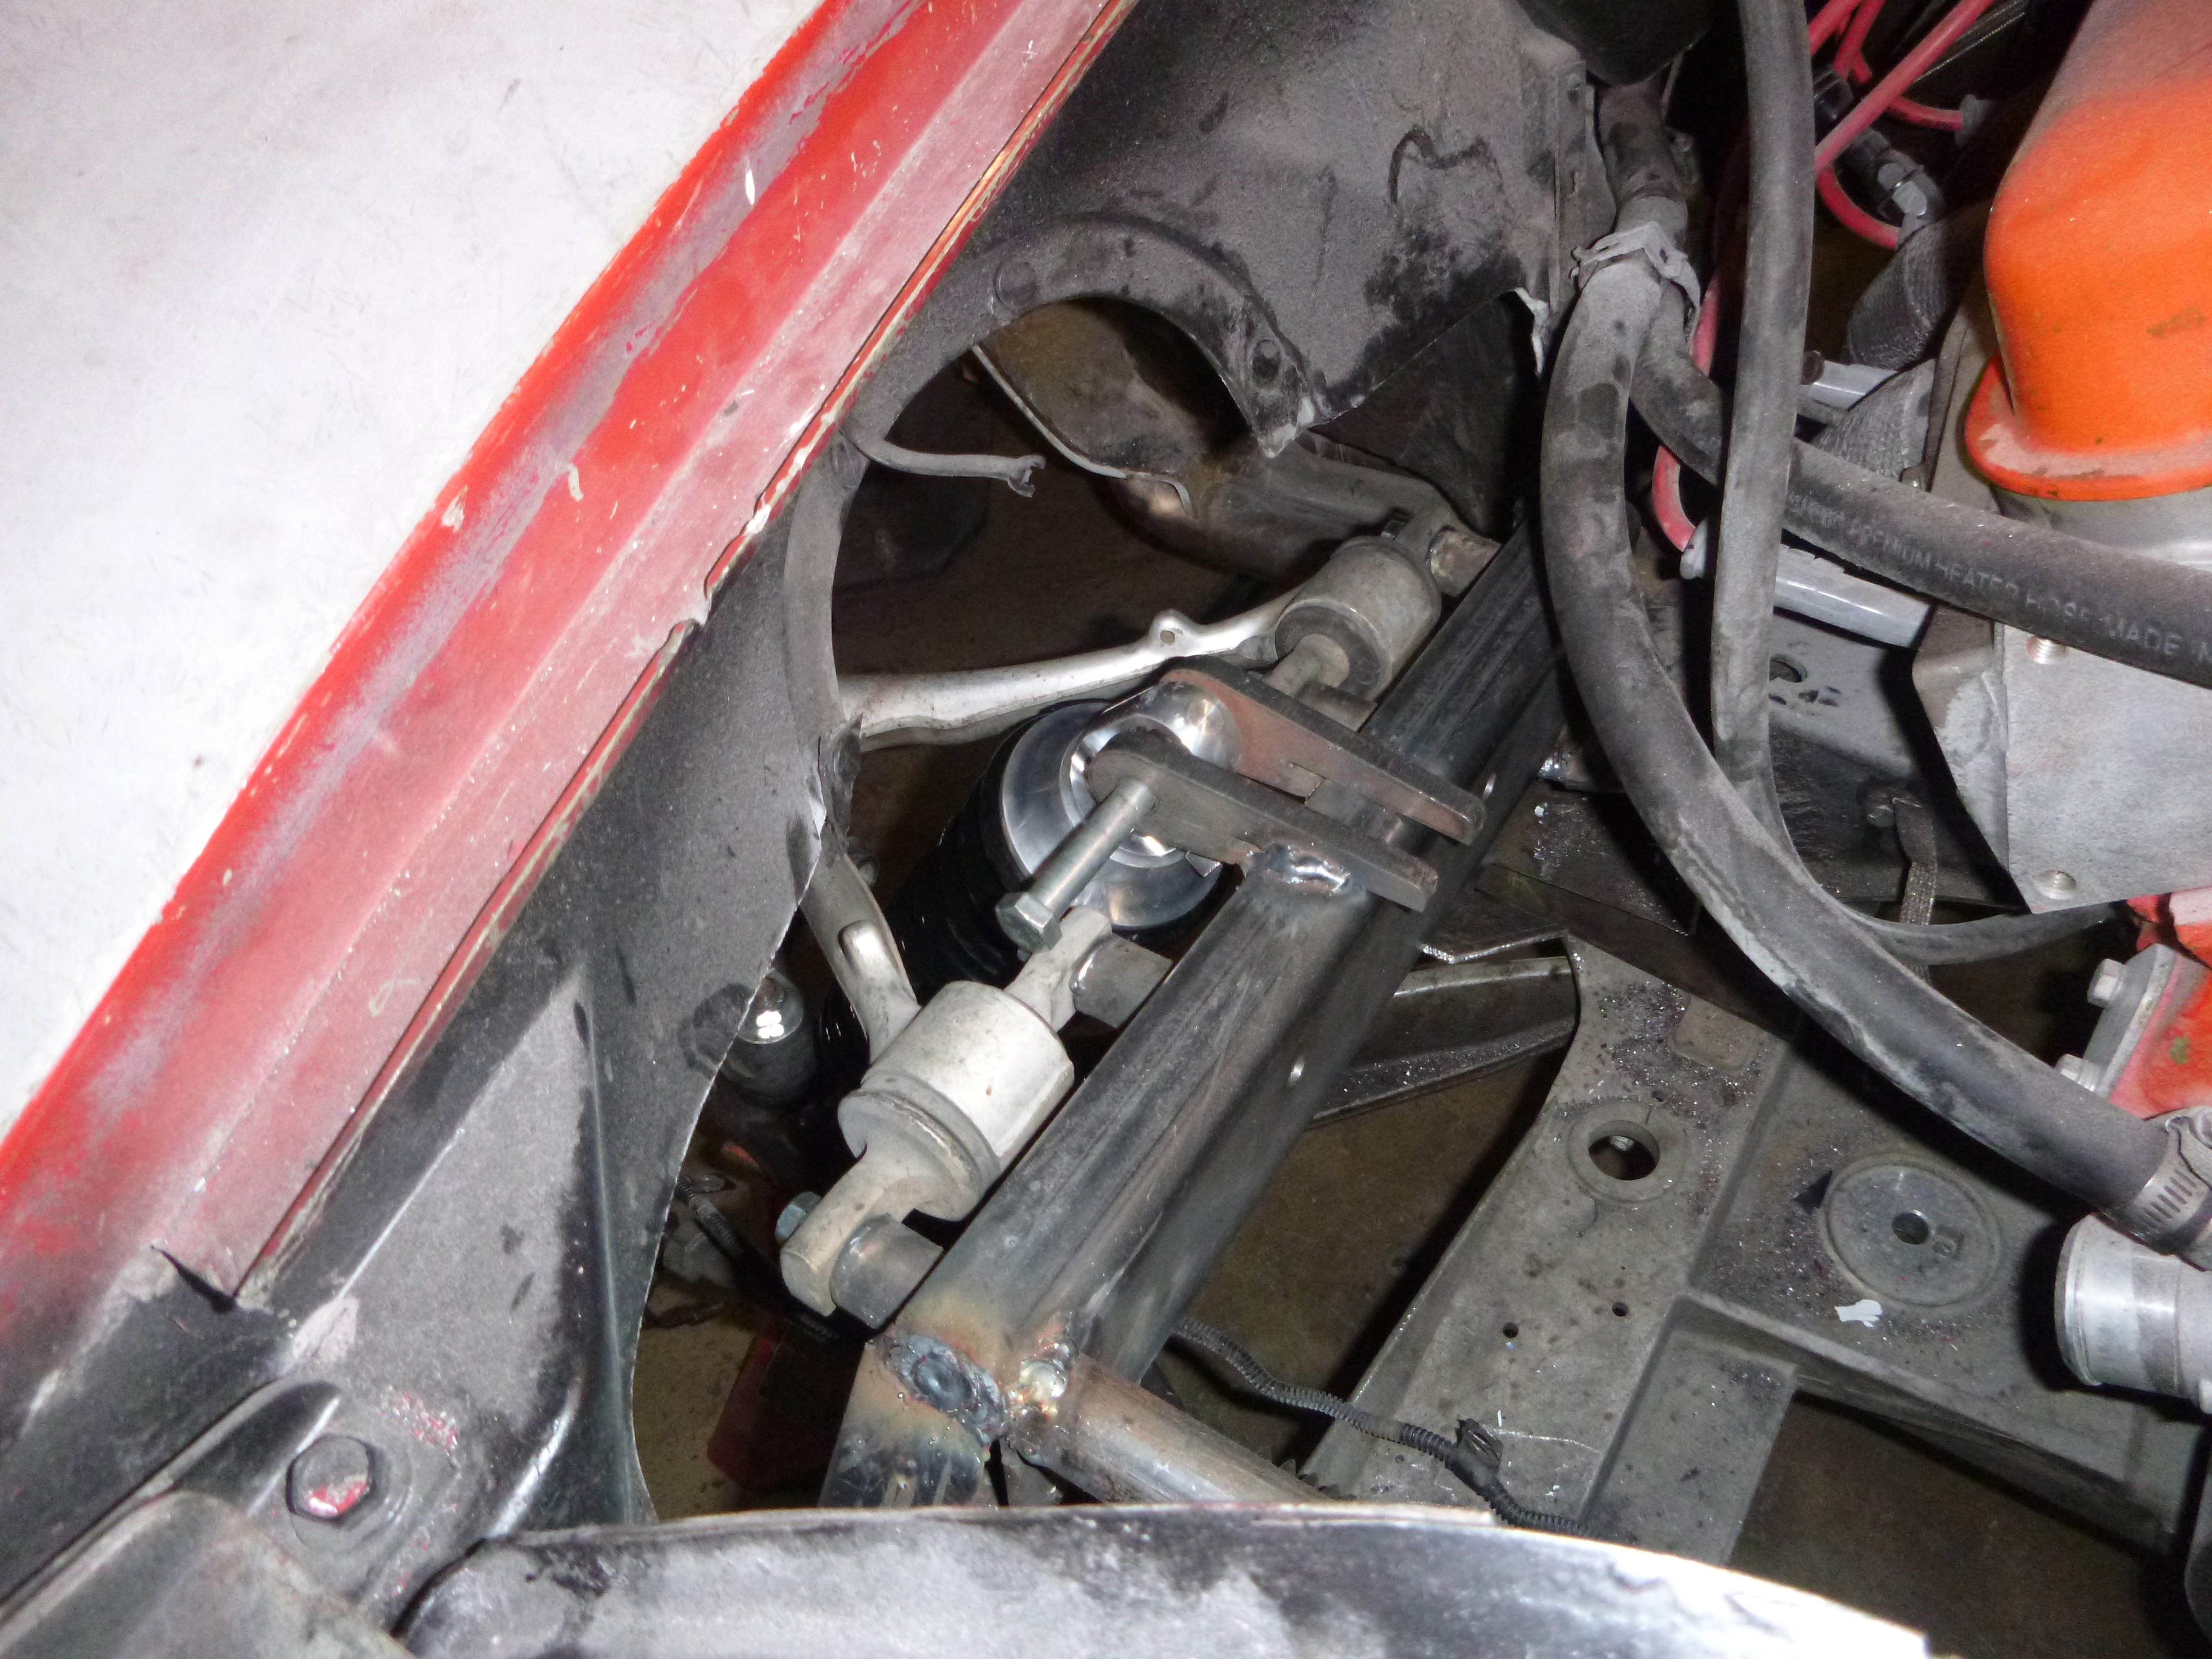
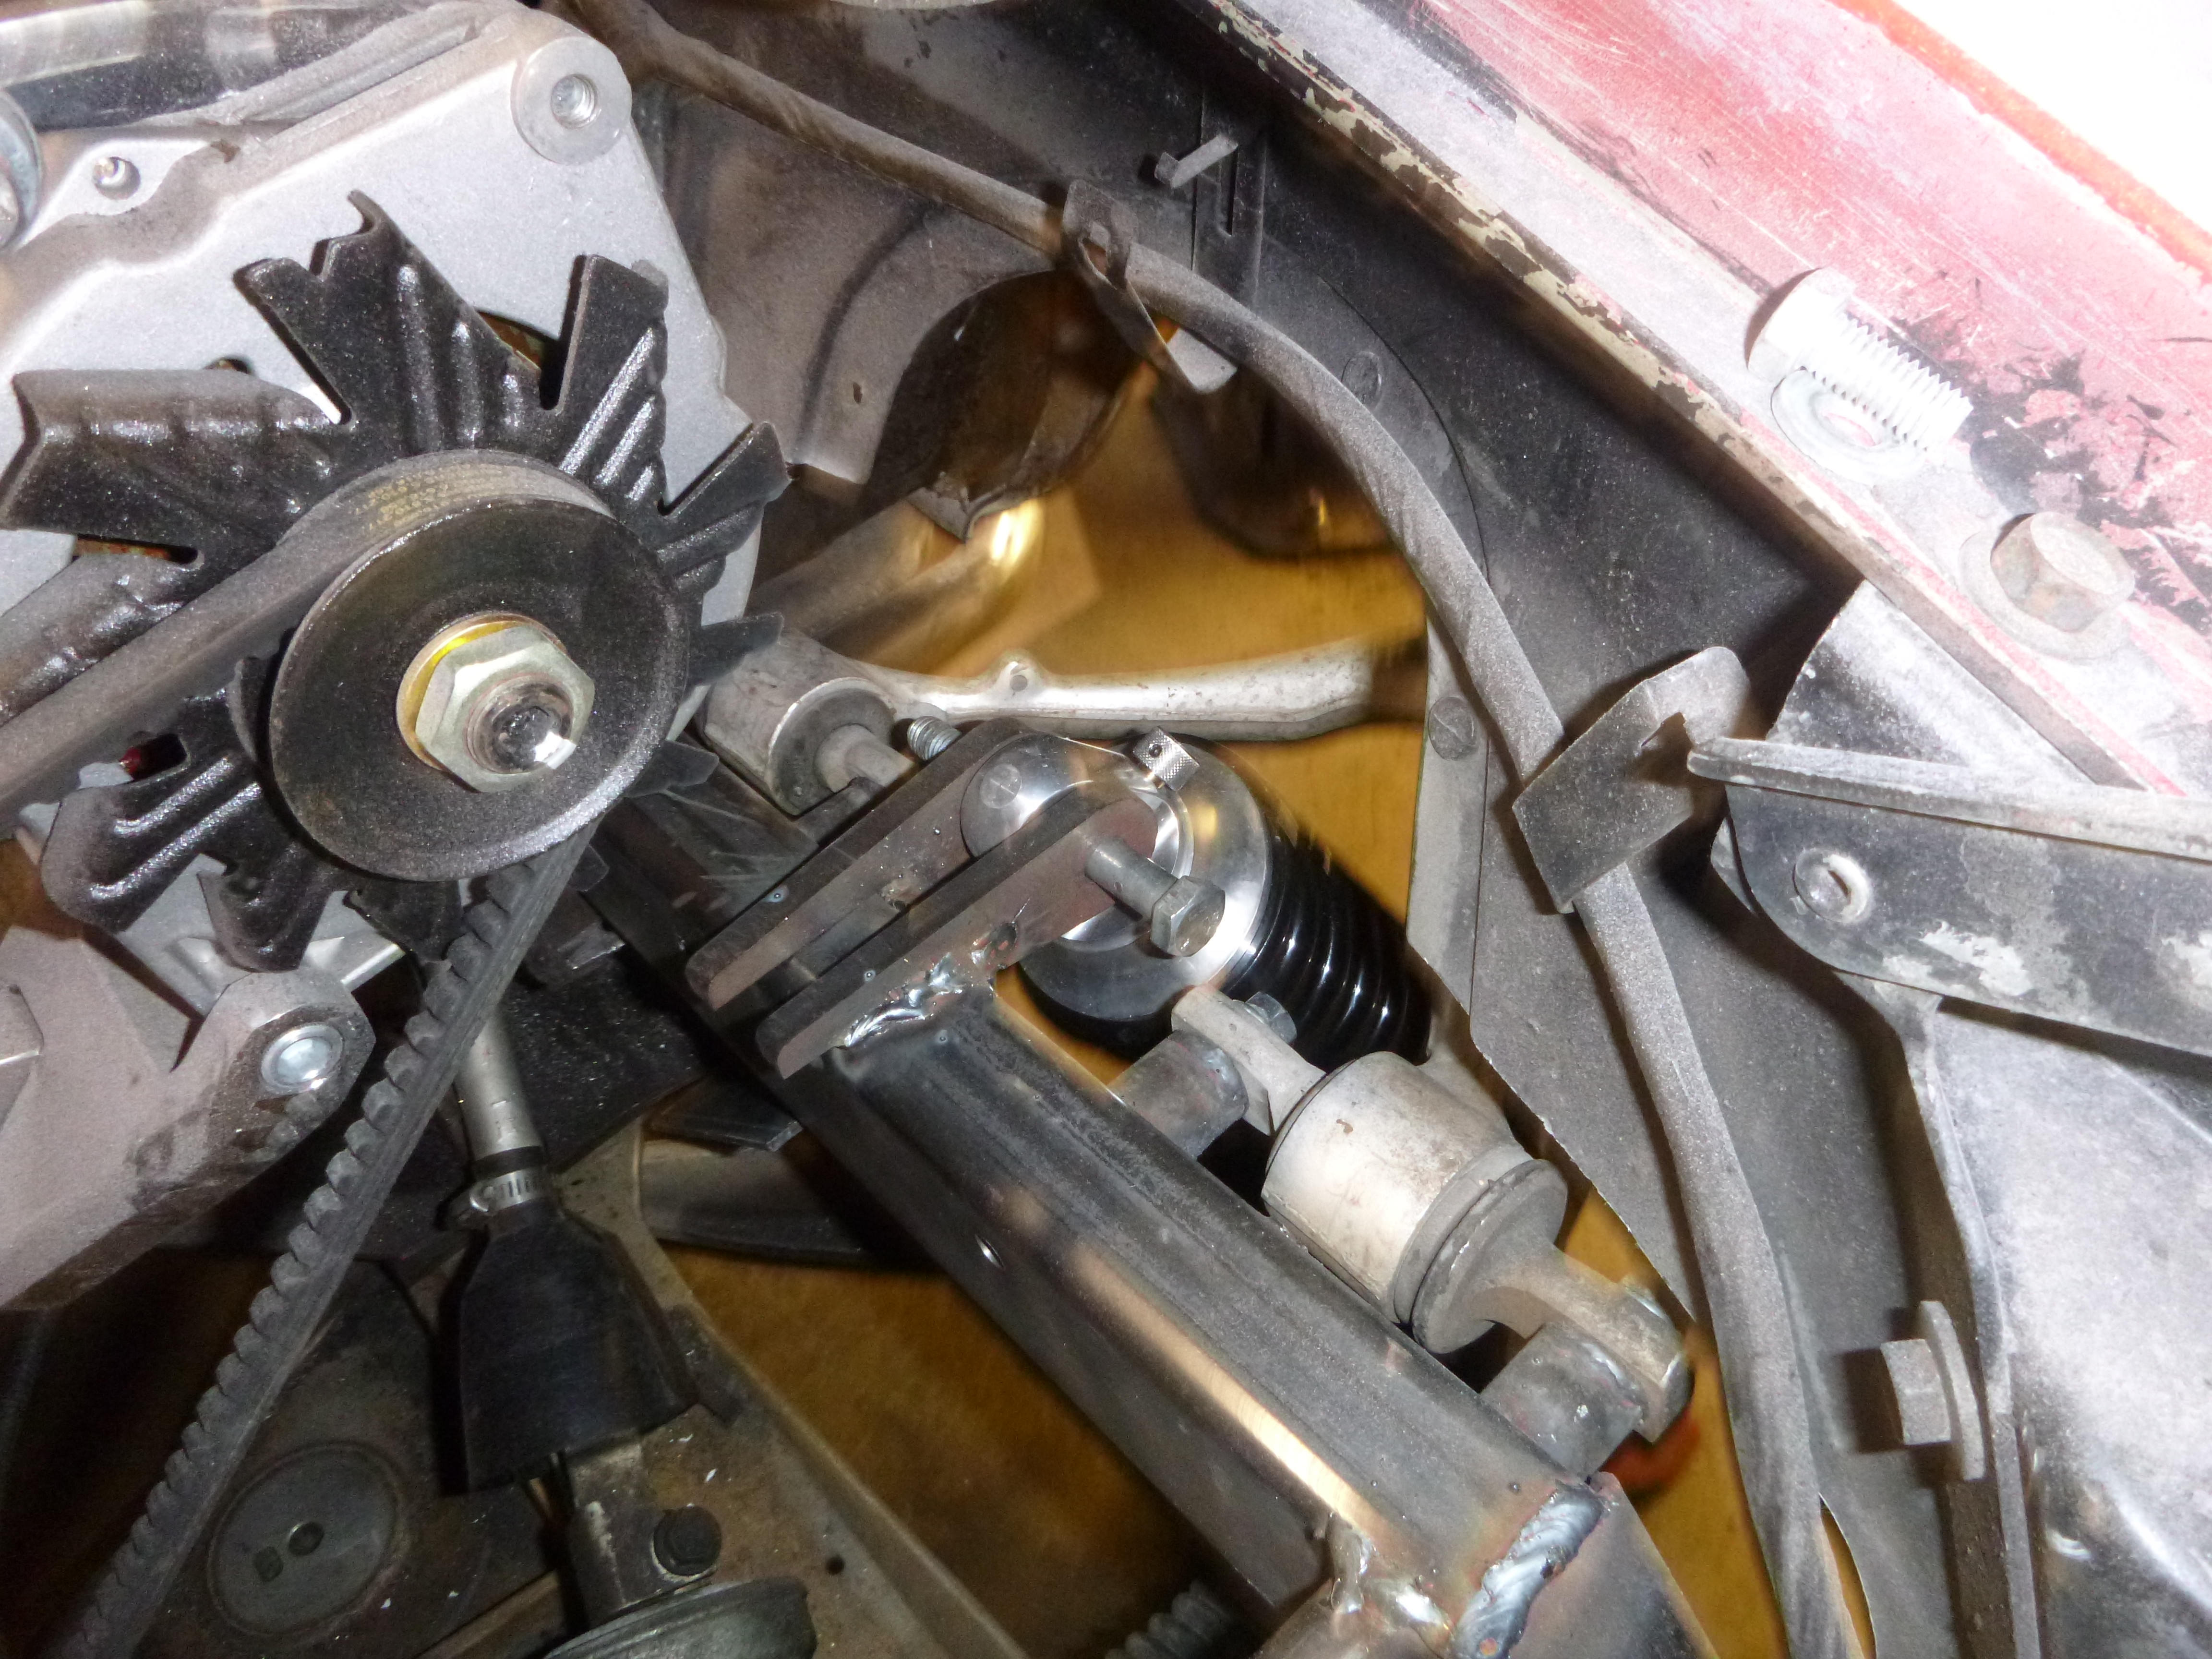
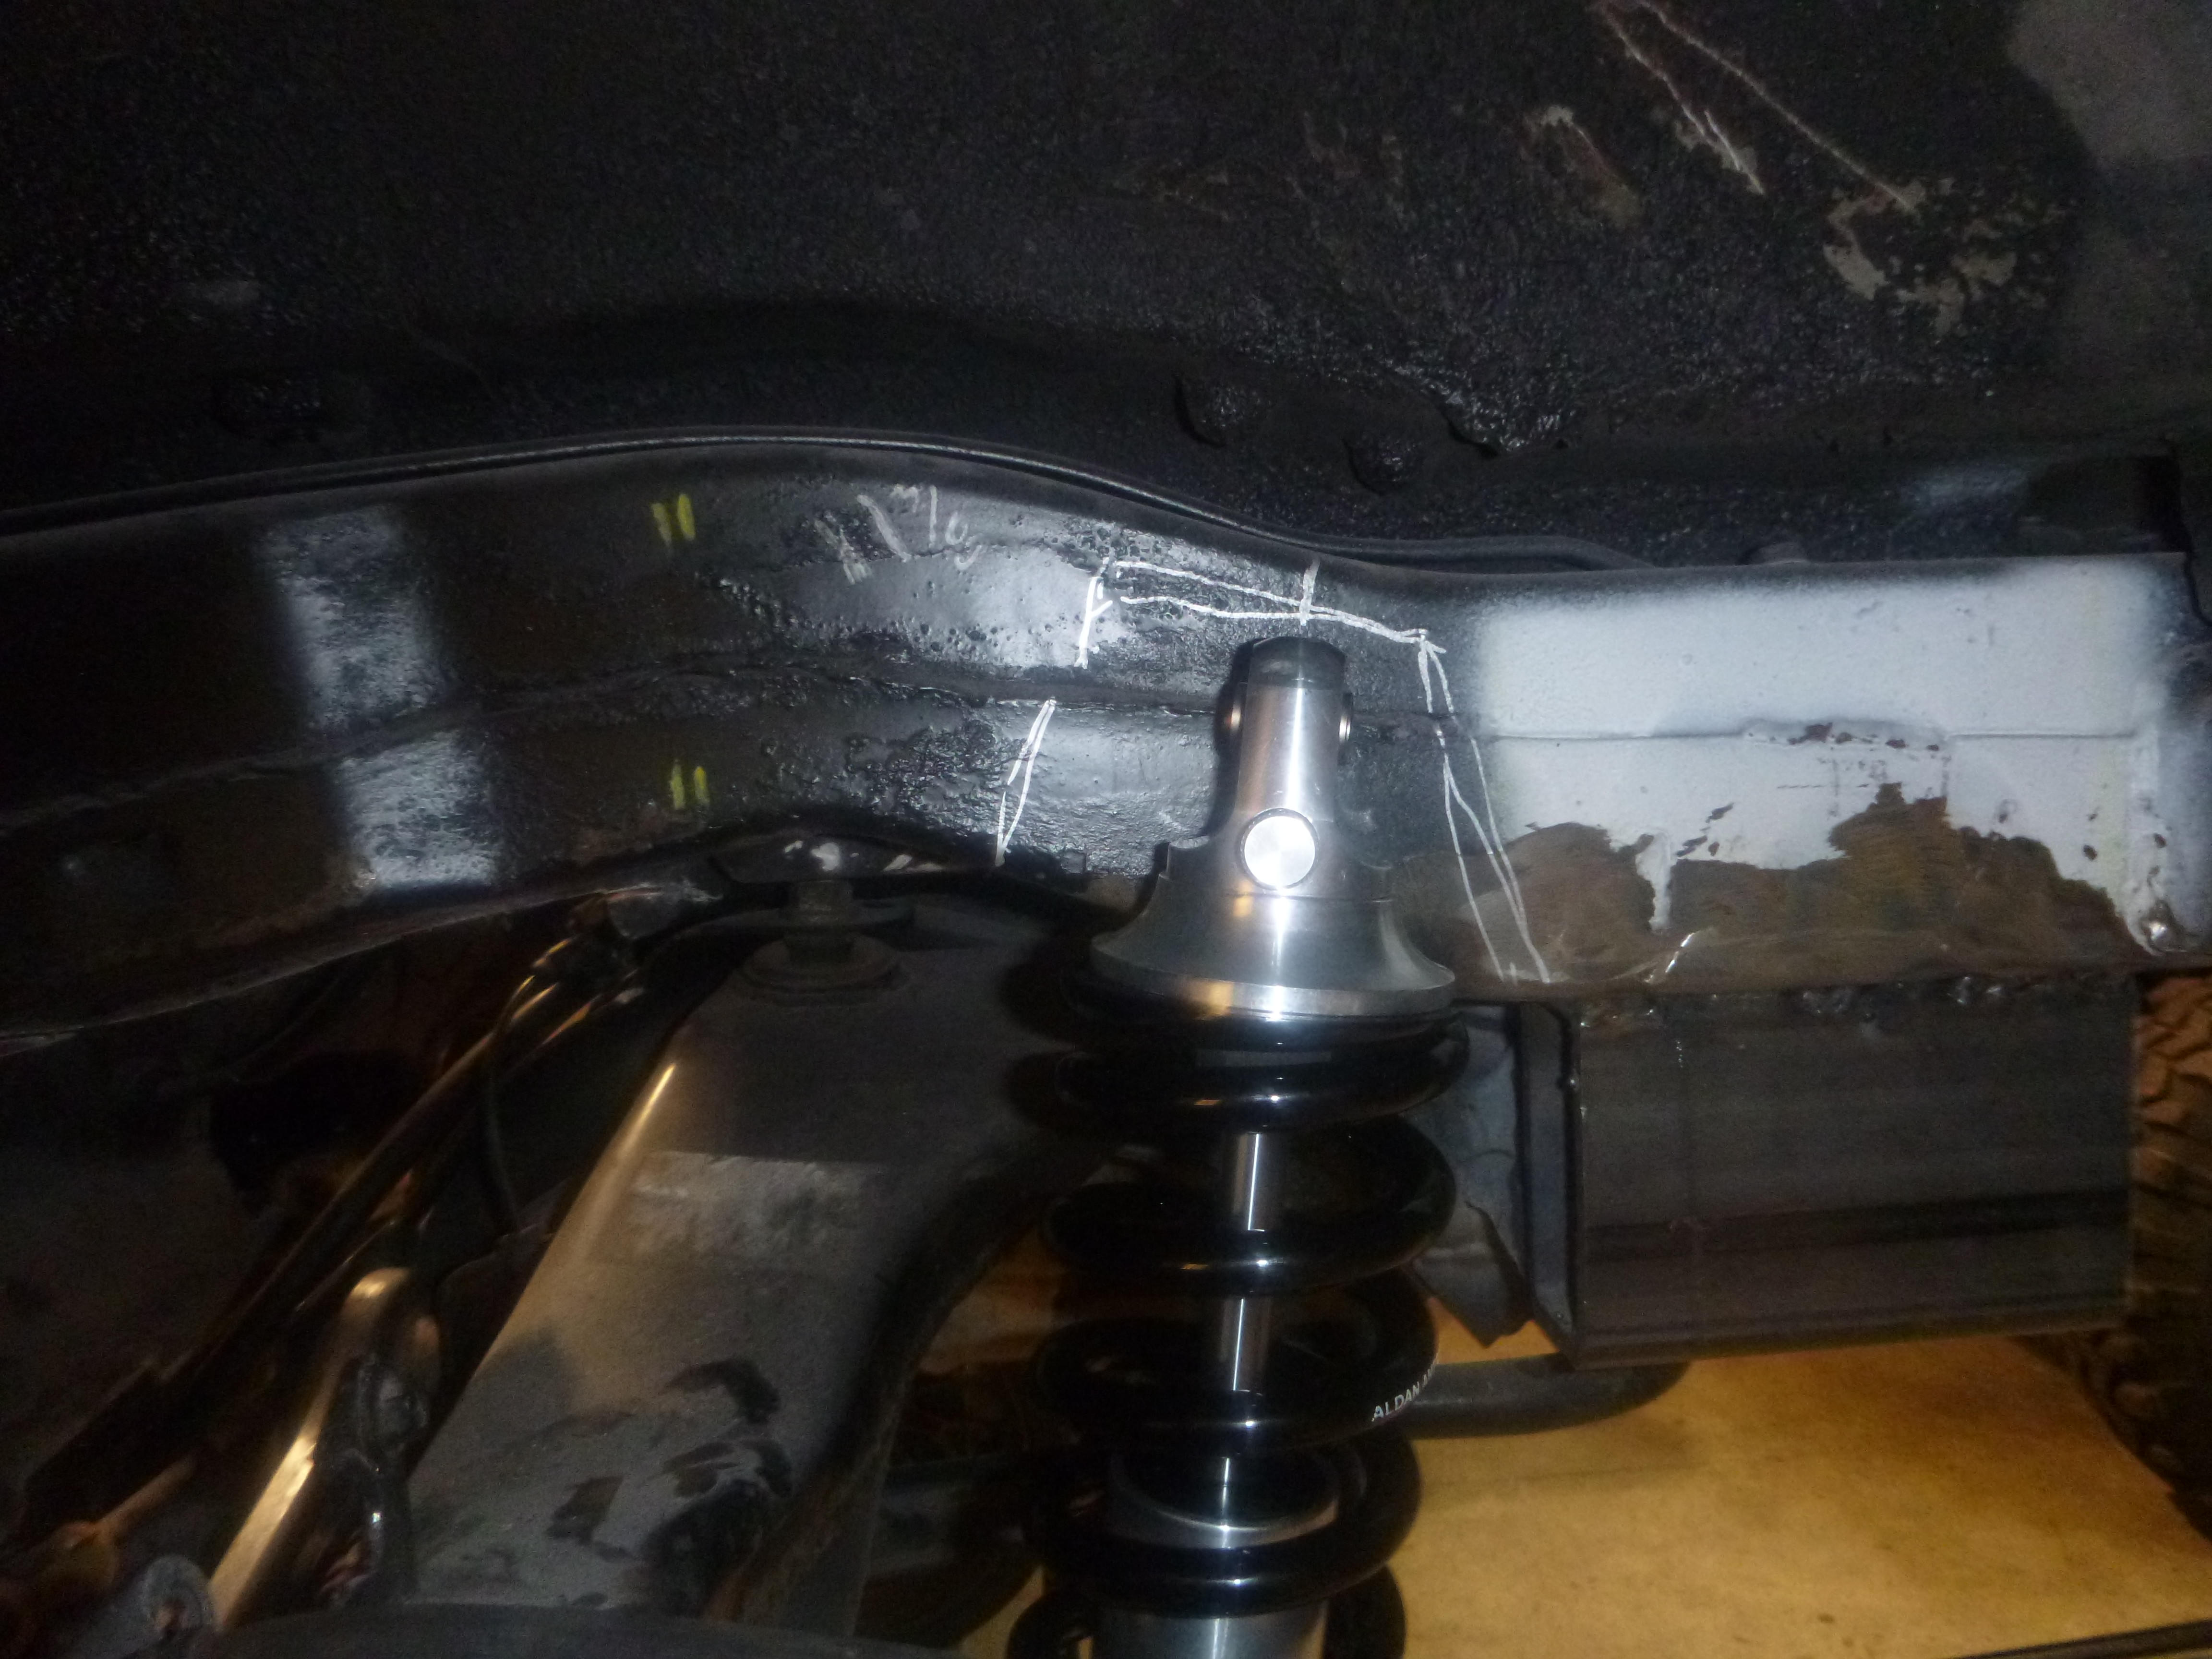
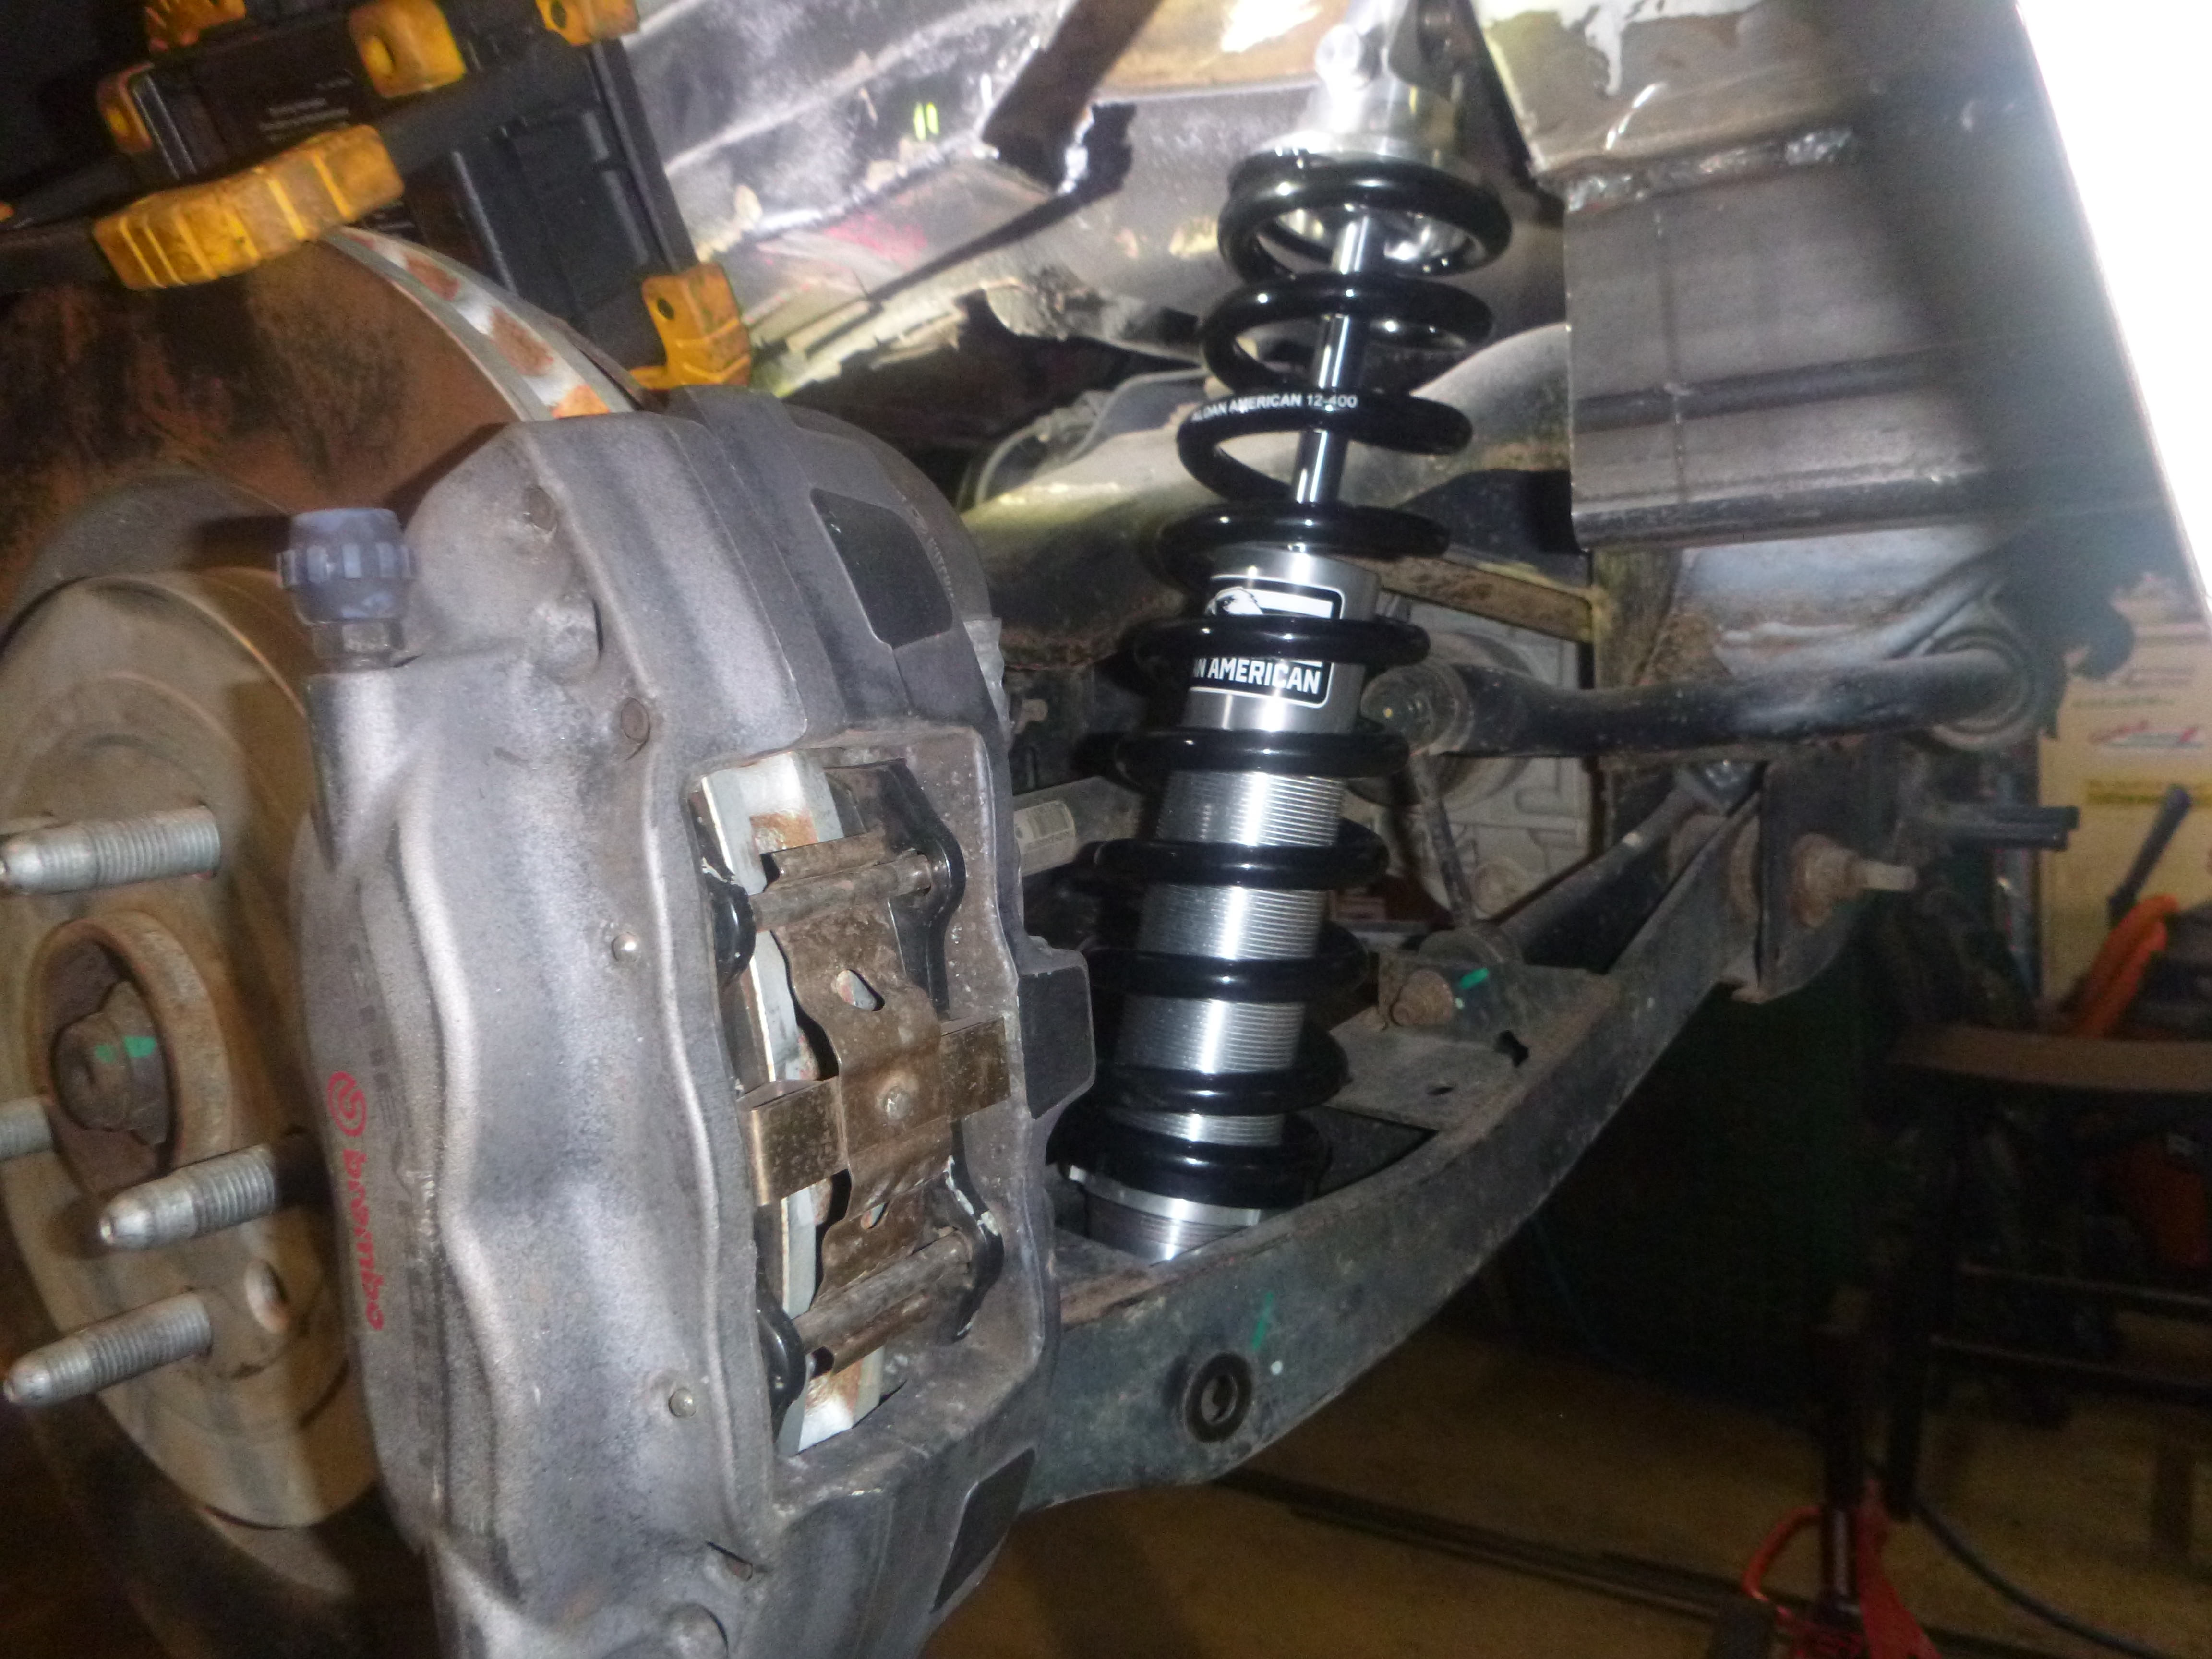
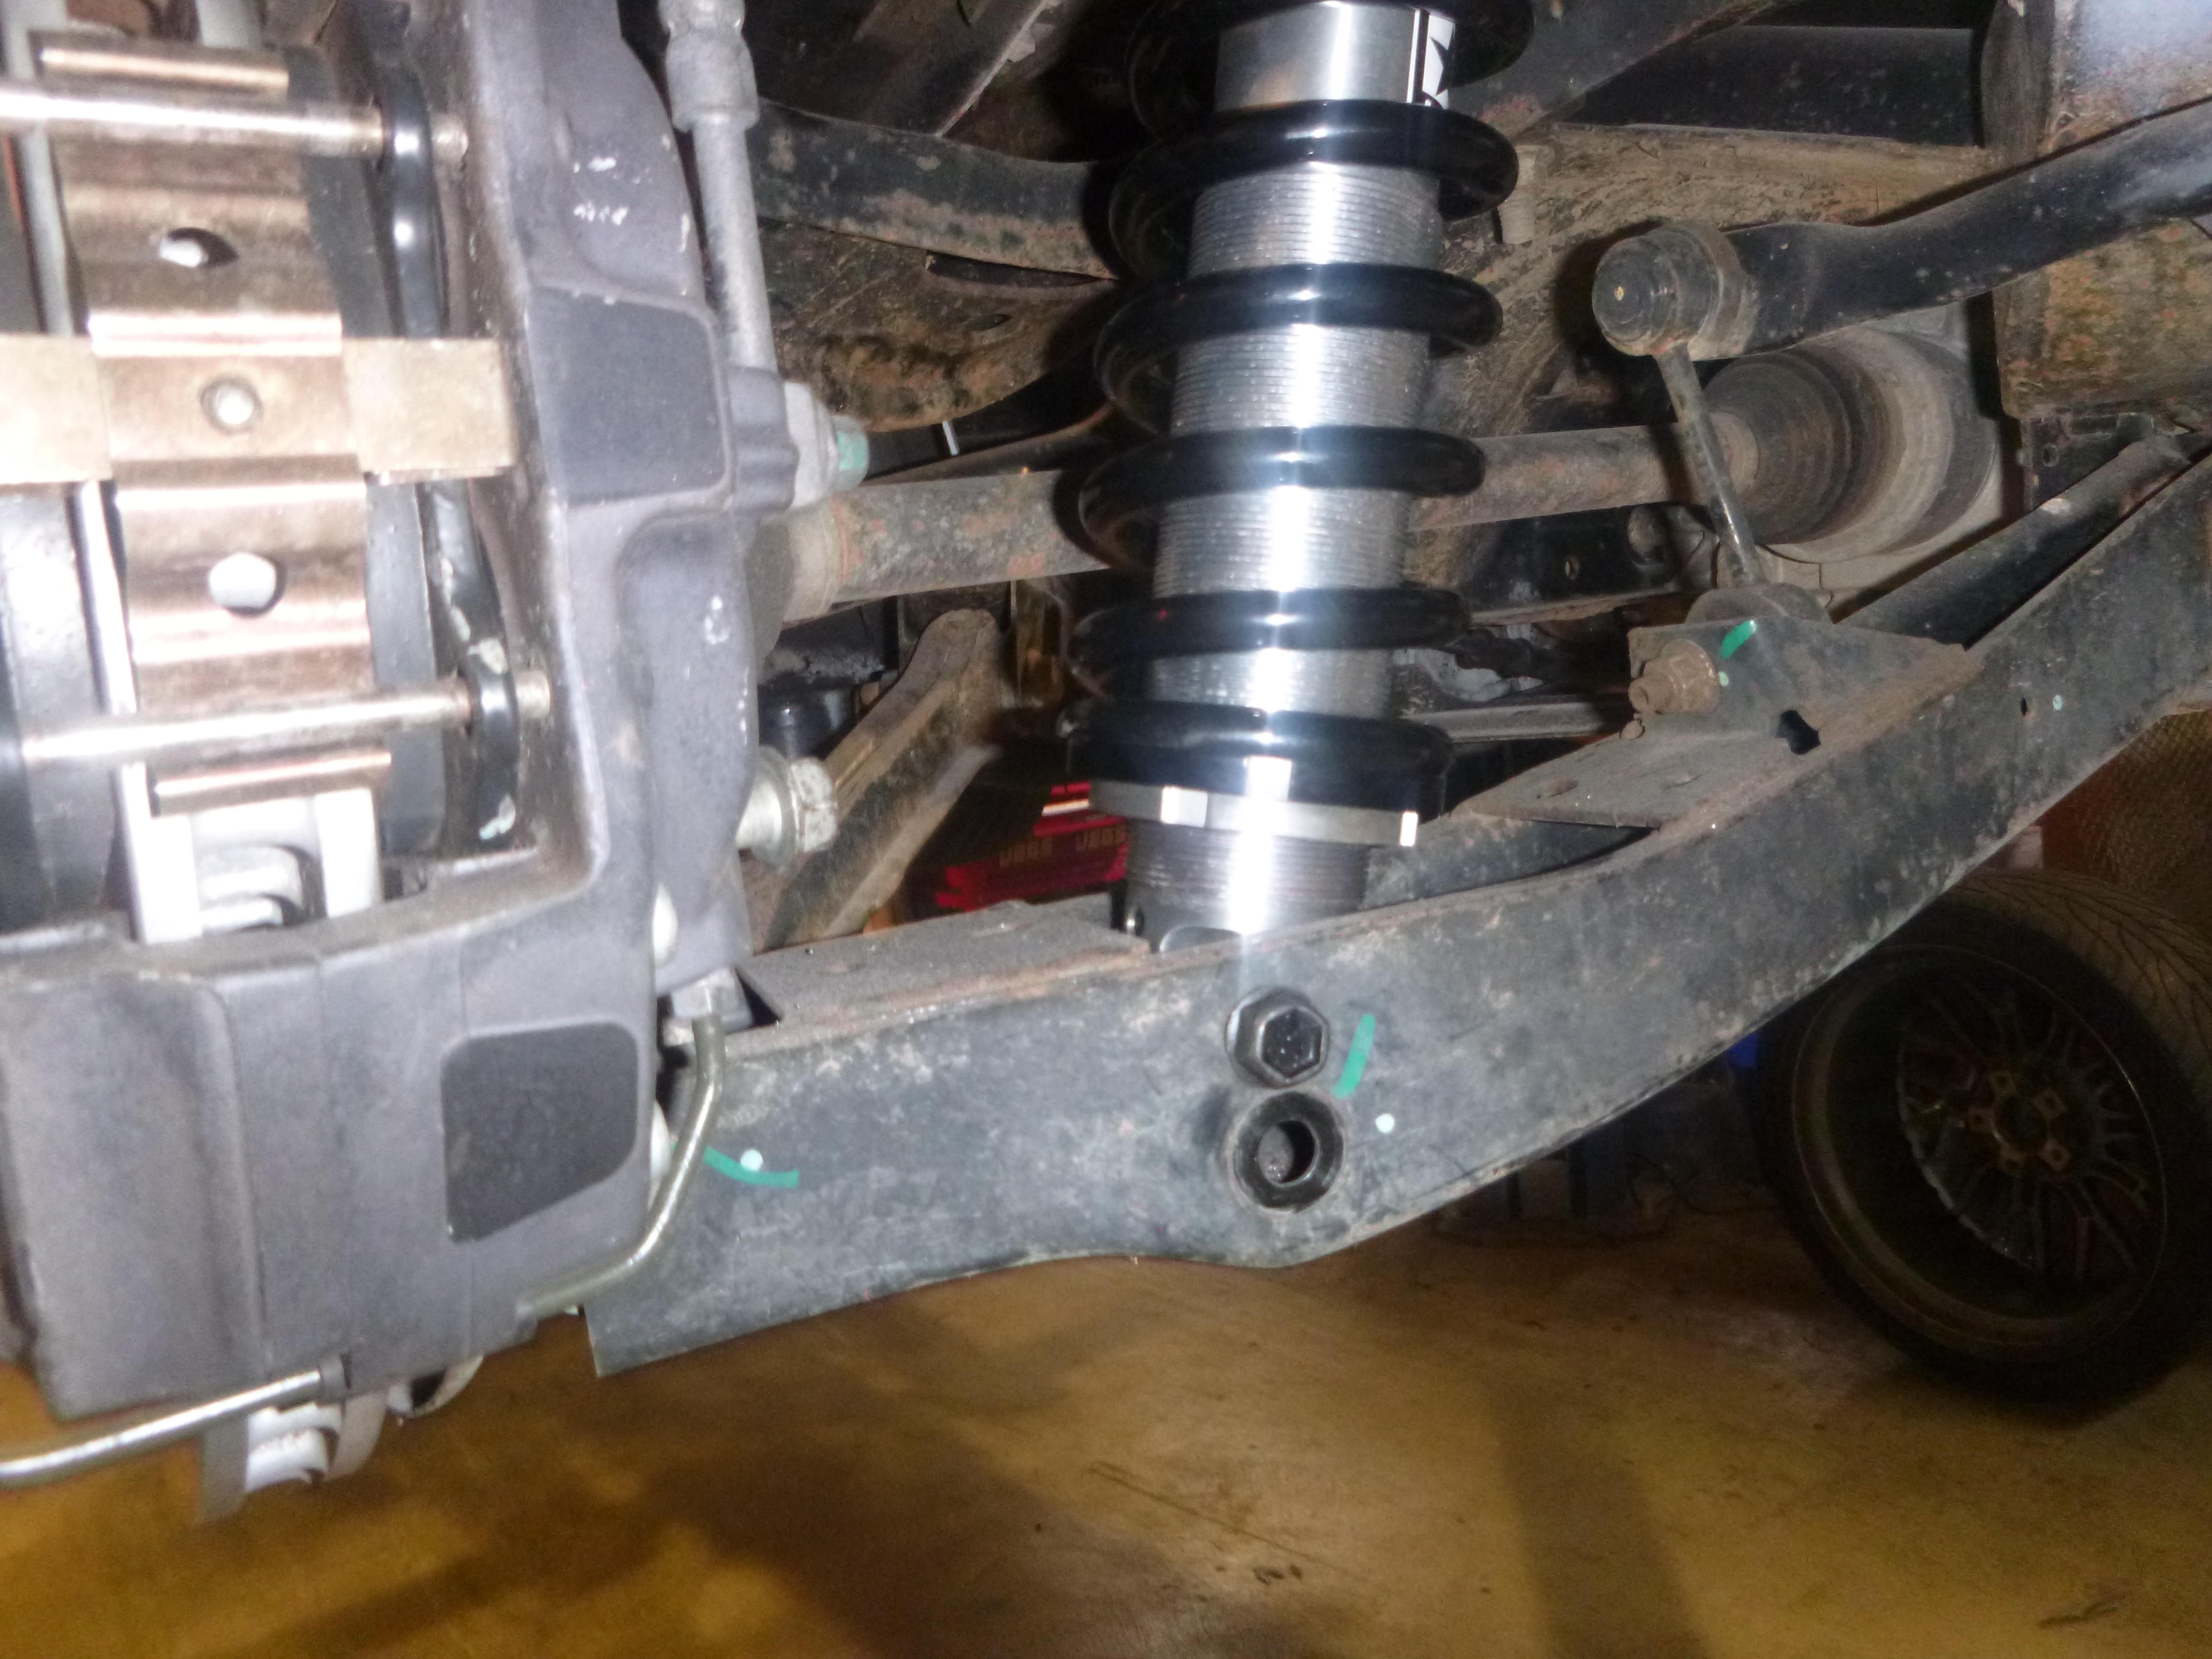
moving along time to make the coil overs permanent
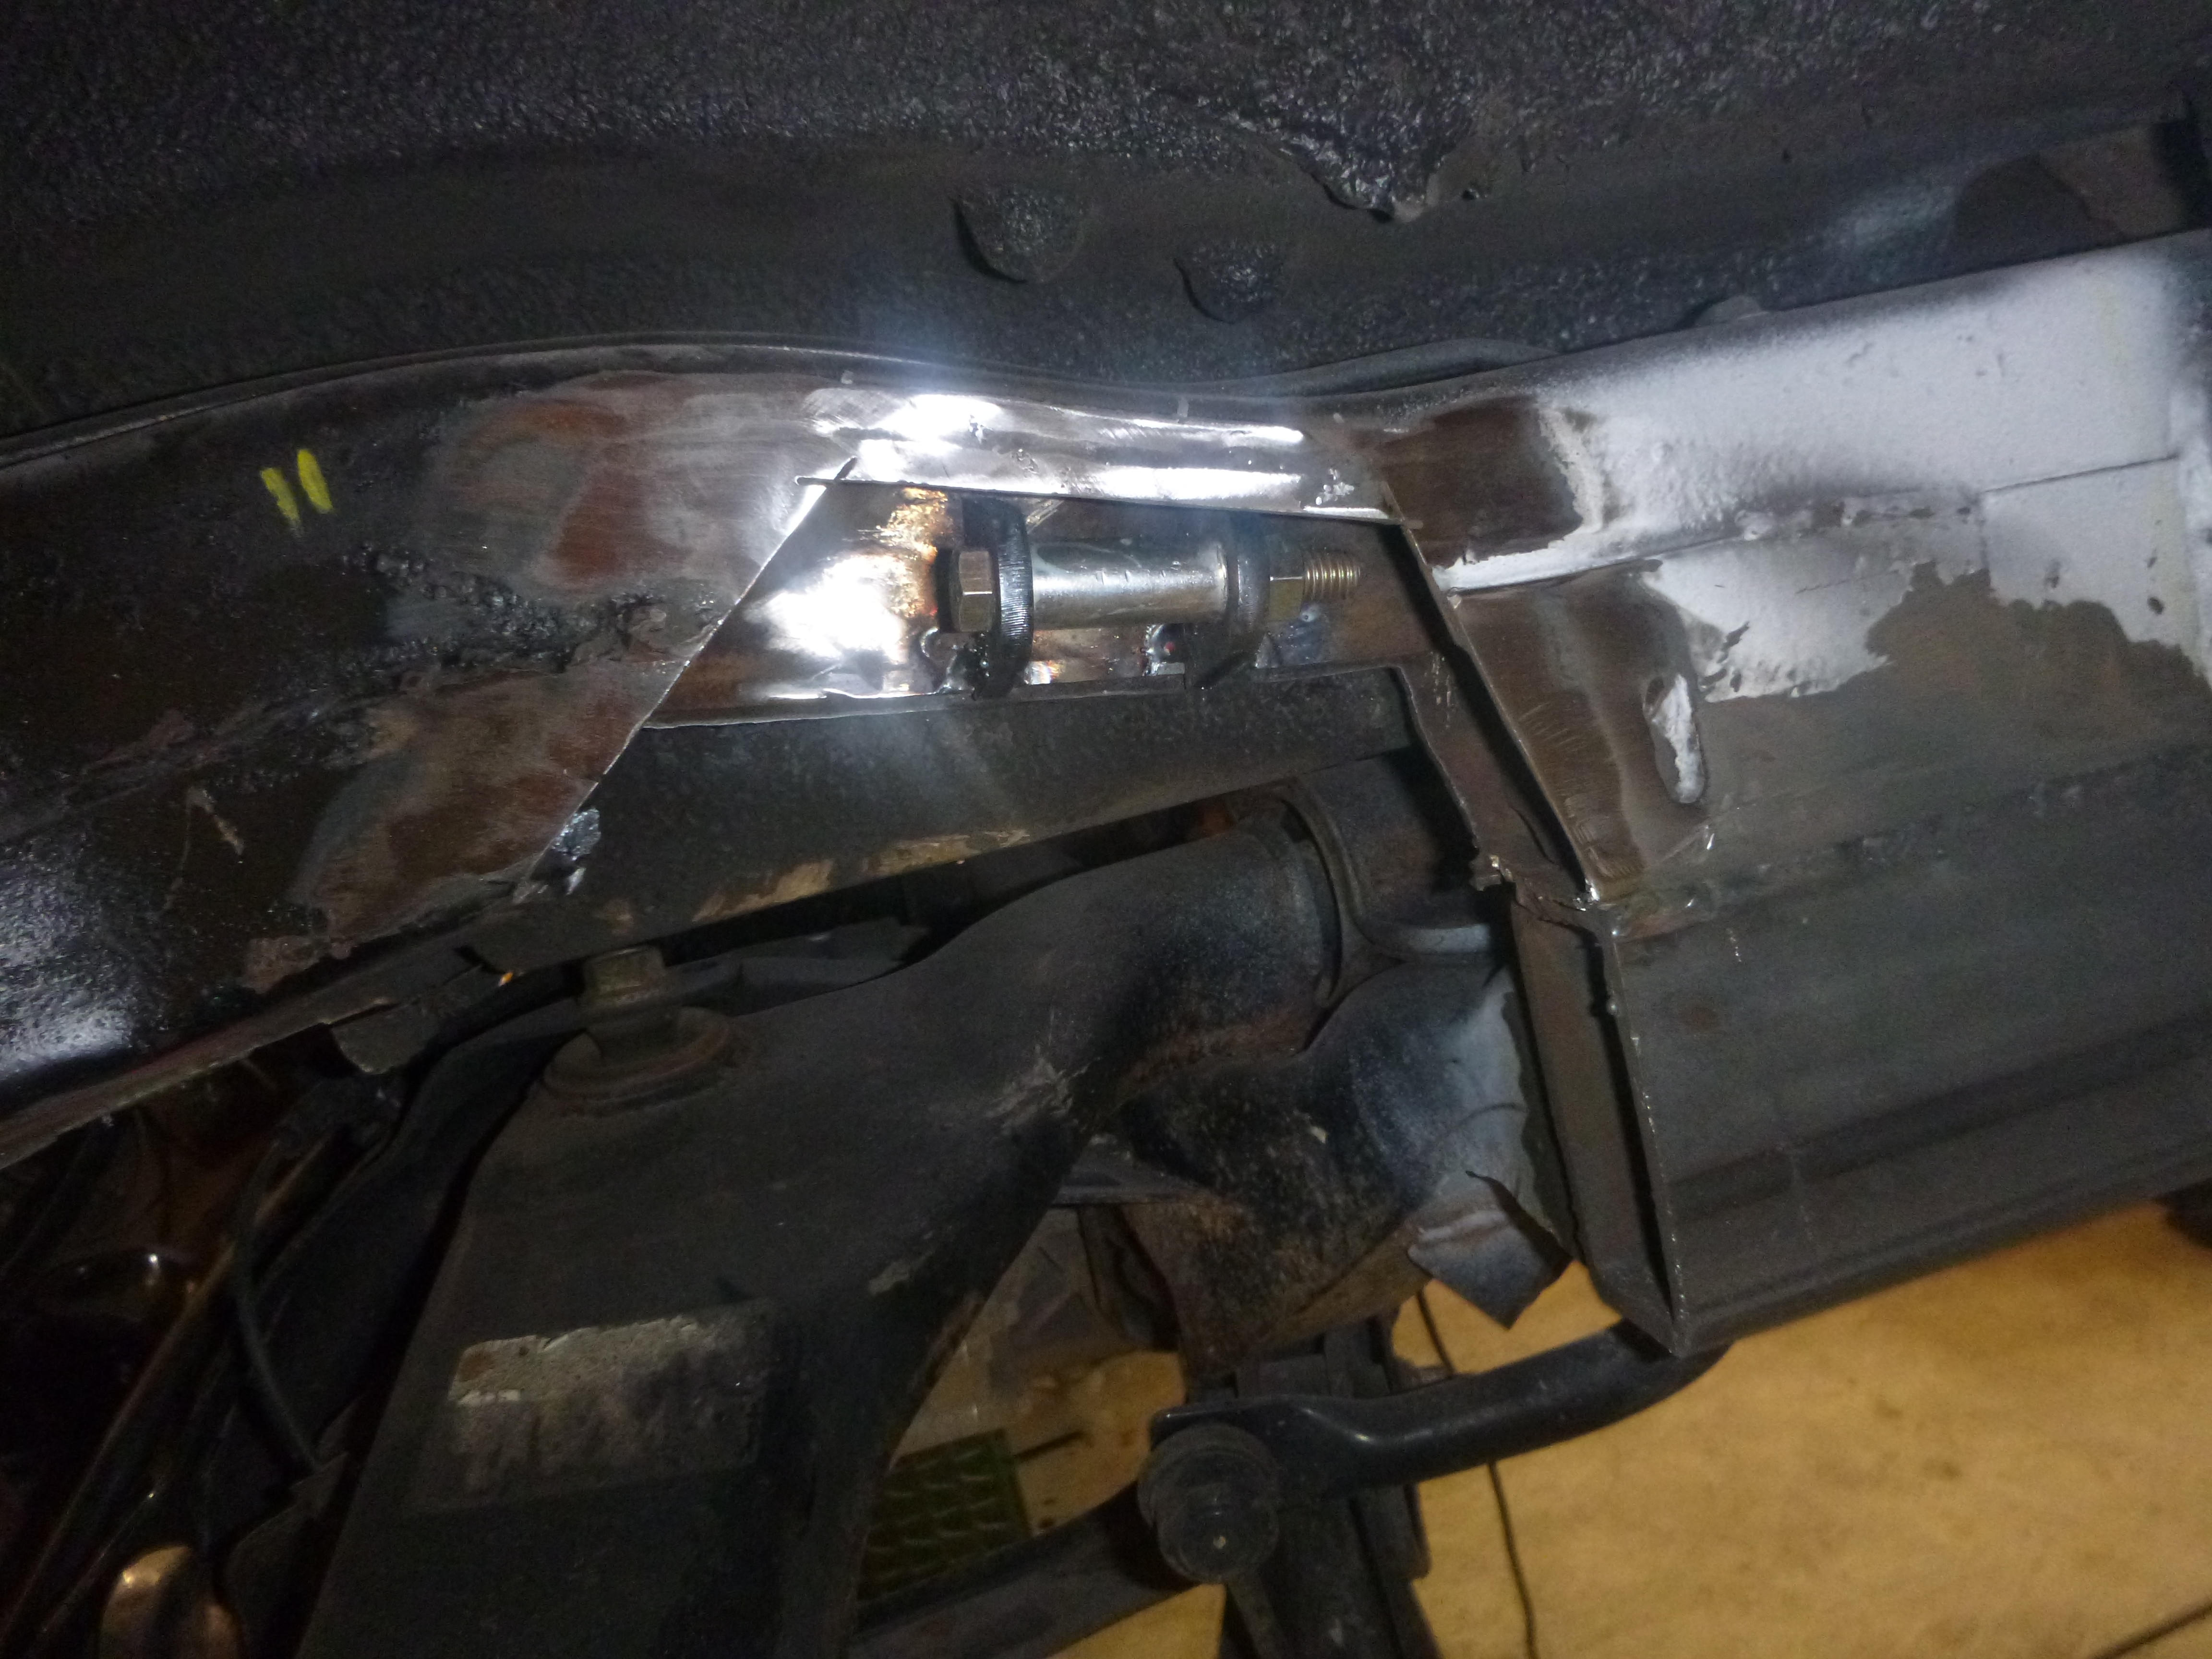
it's getting close to time to get a few more tab plates lasered out
so when I do the finish work, all this will get boxed and finished
for now it's strong enough to drive
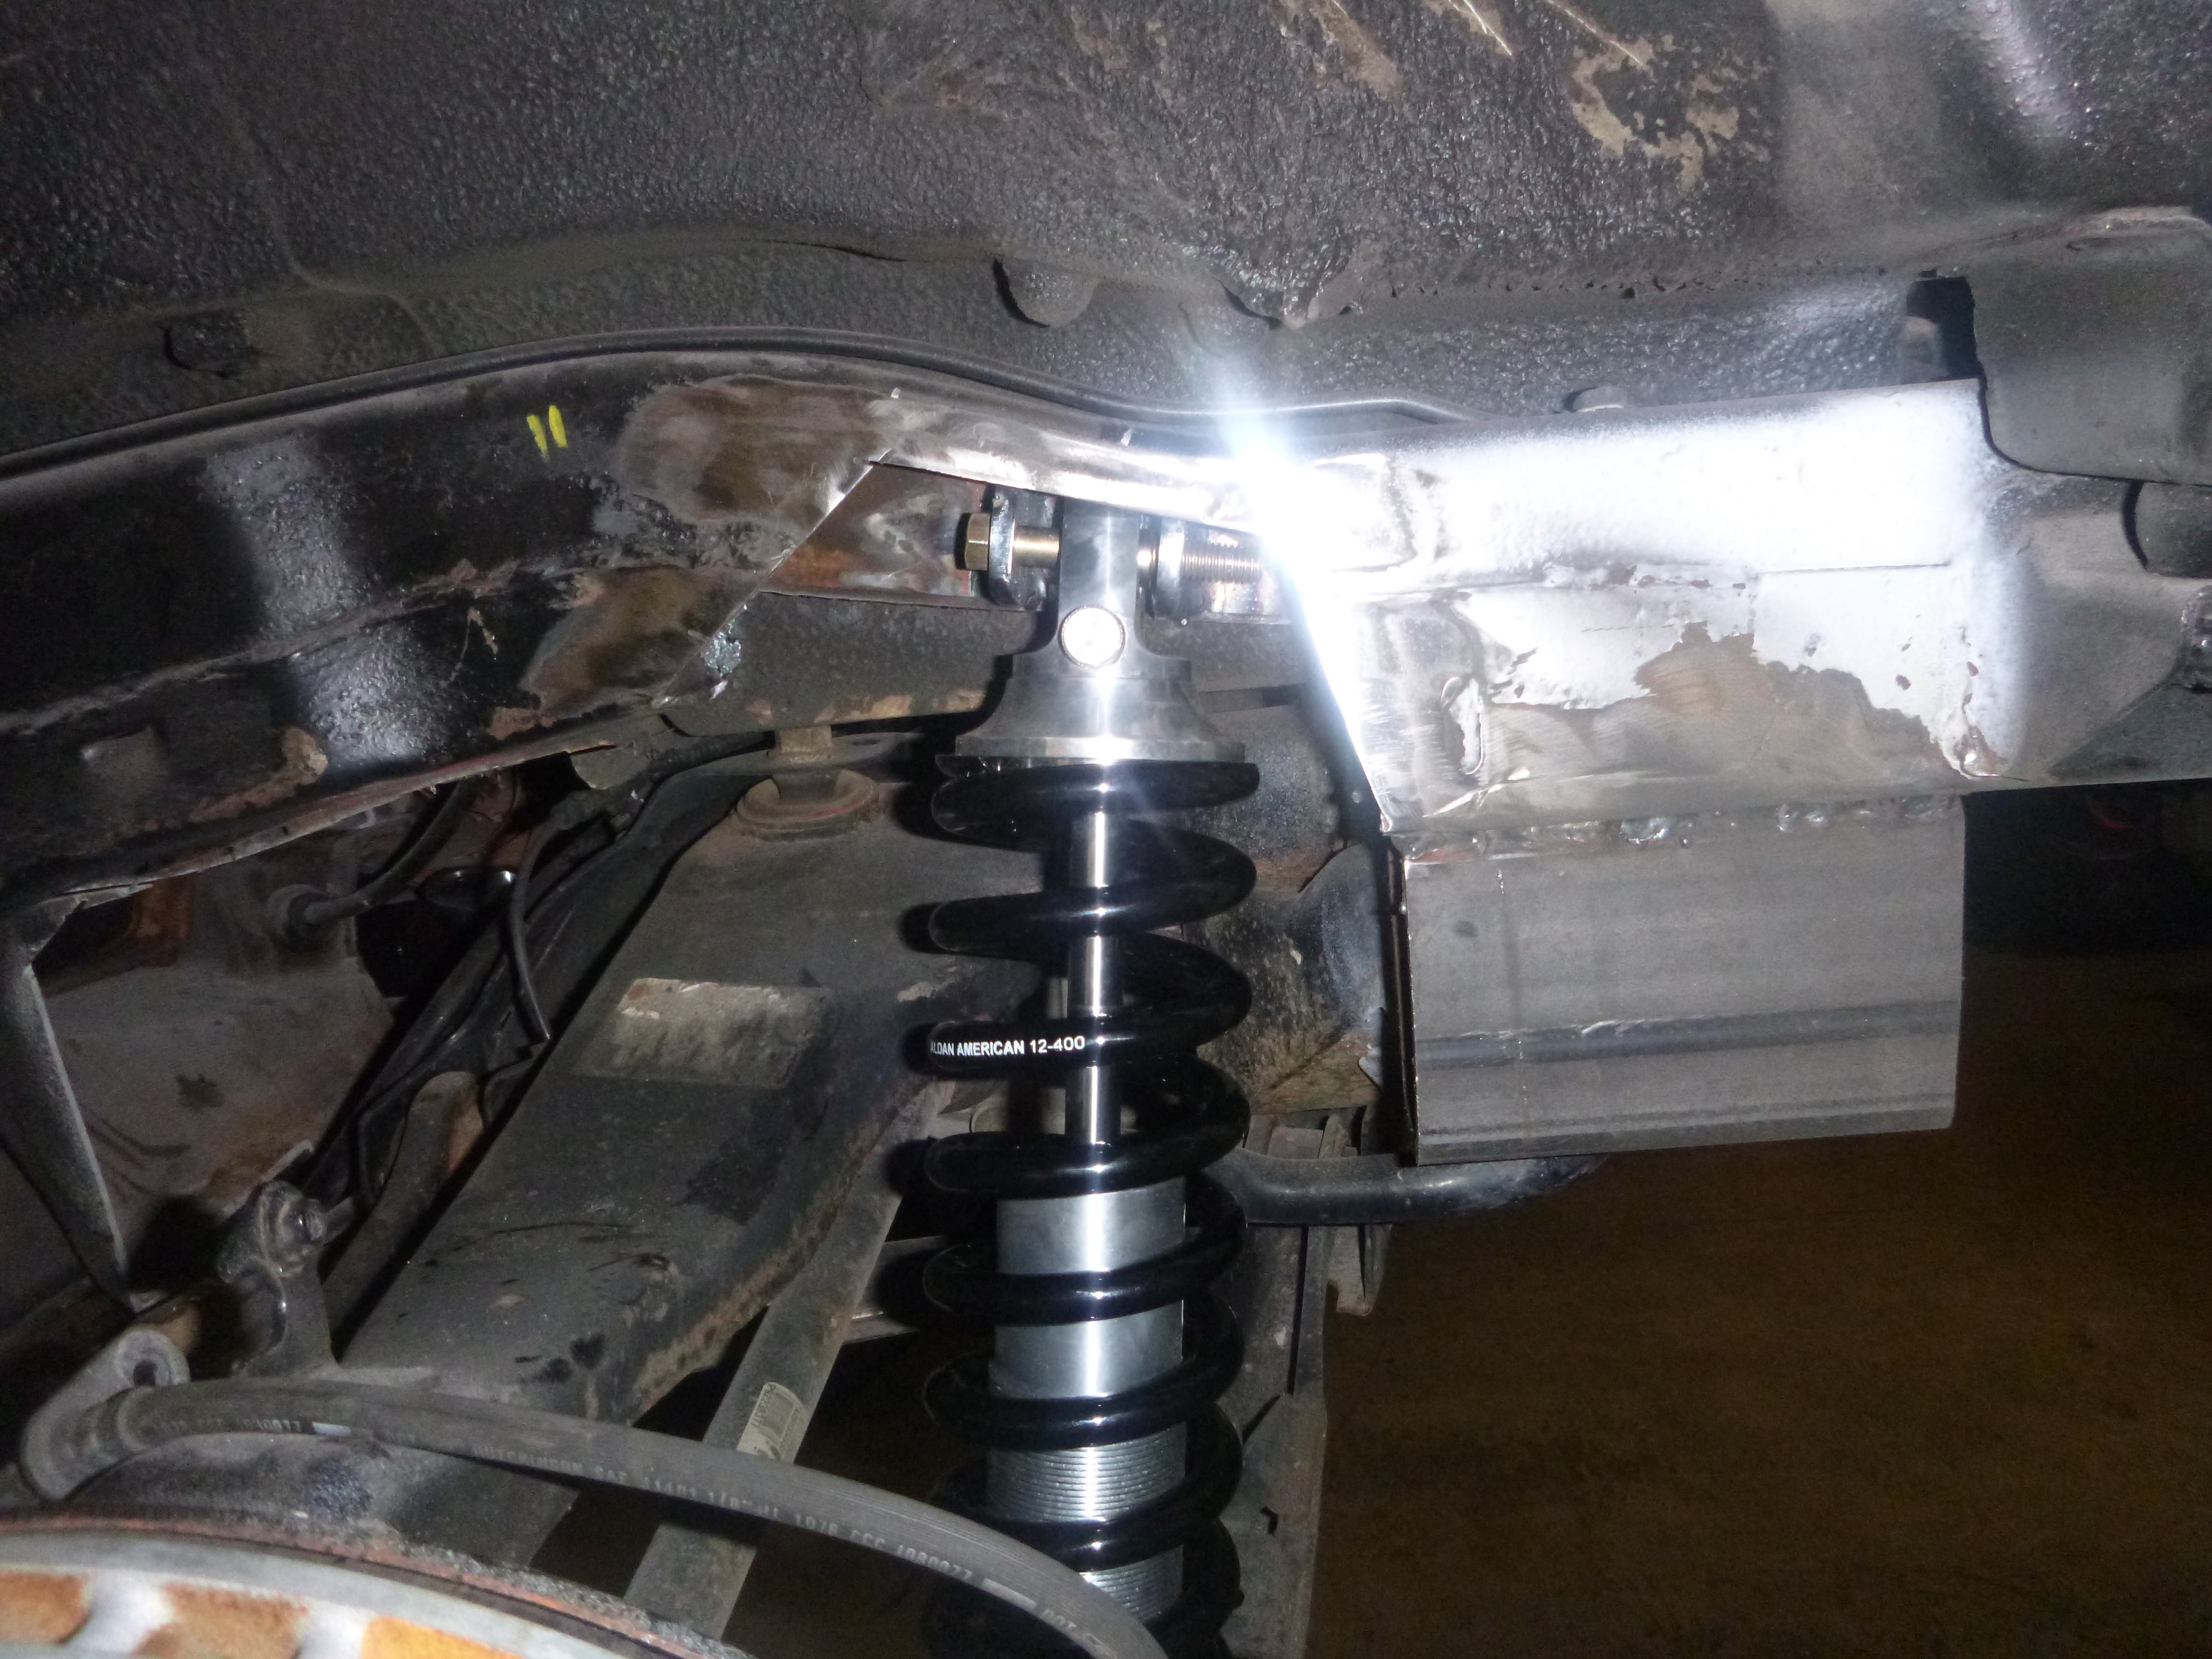
all I did on the lower arm was redrill the hole
now to connect the steering wheel to the front
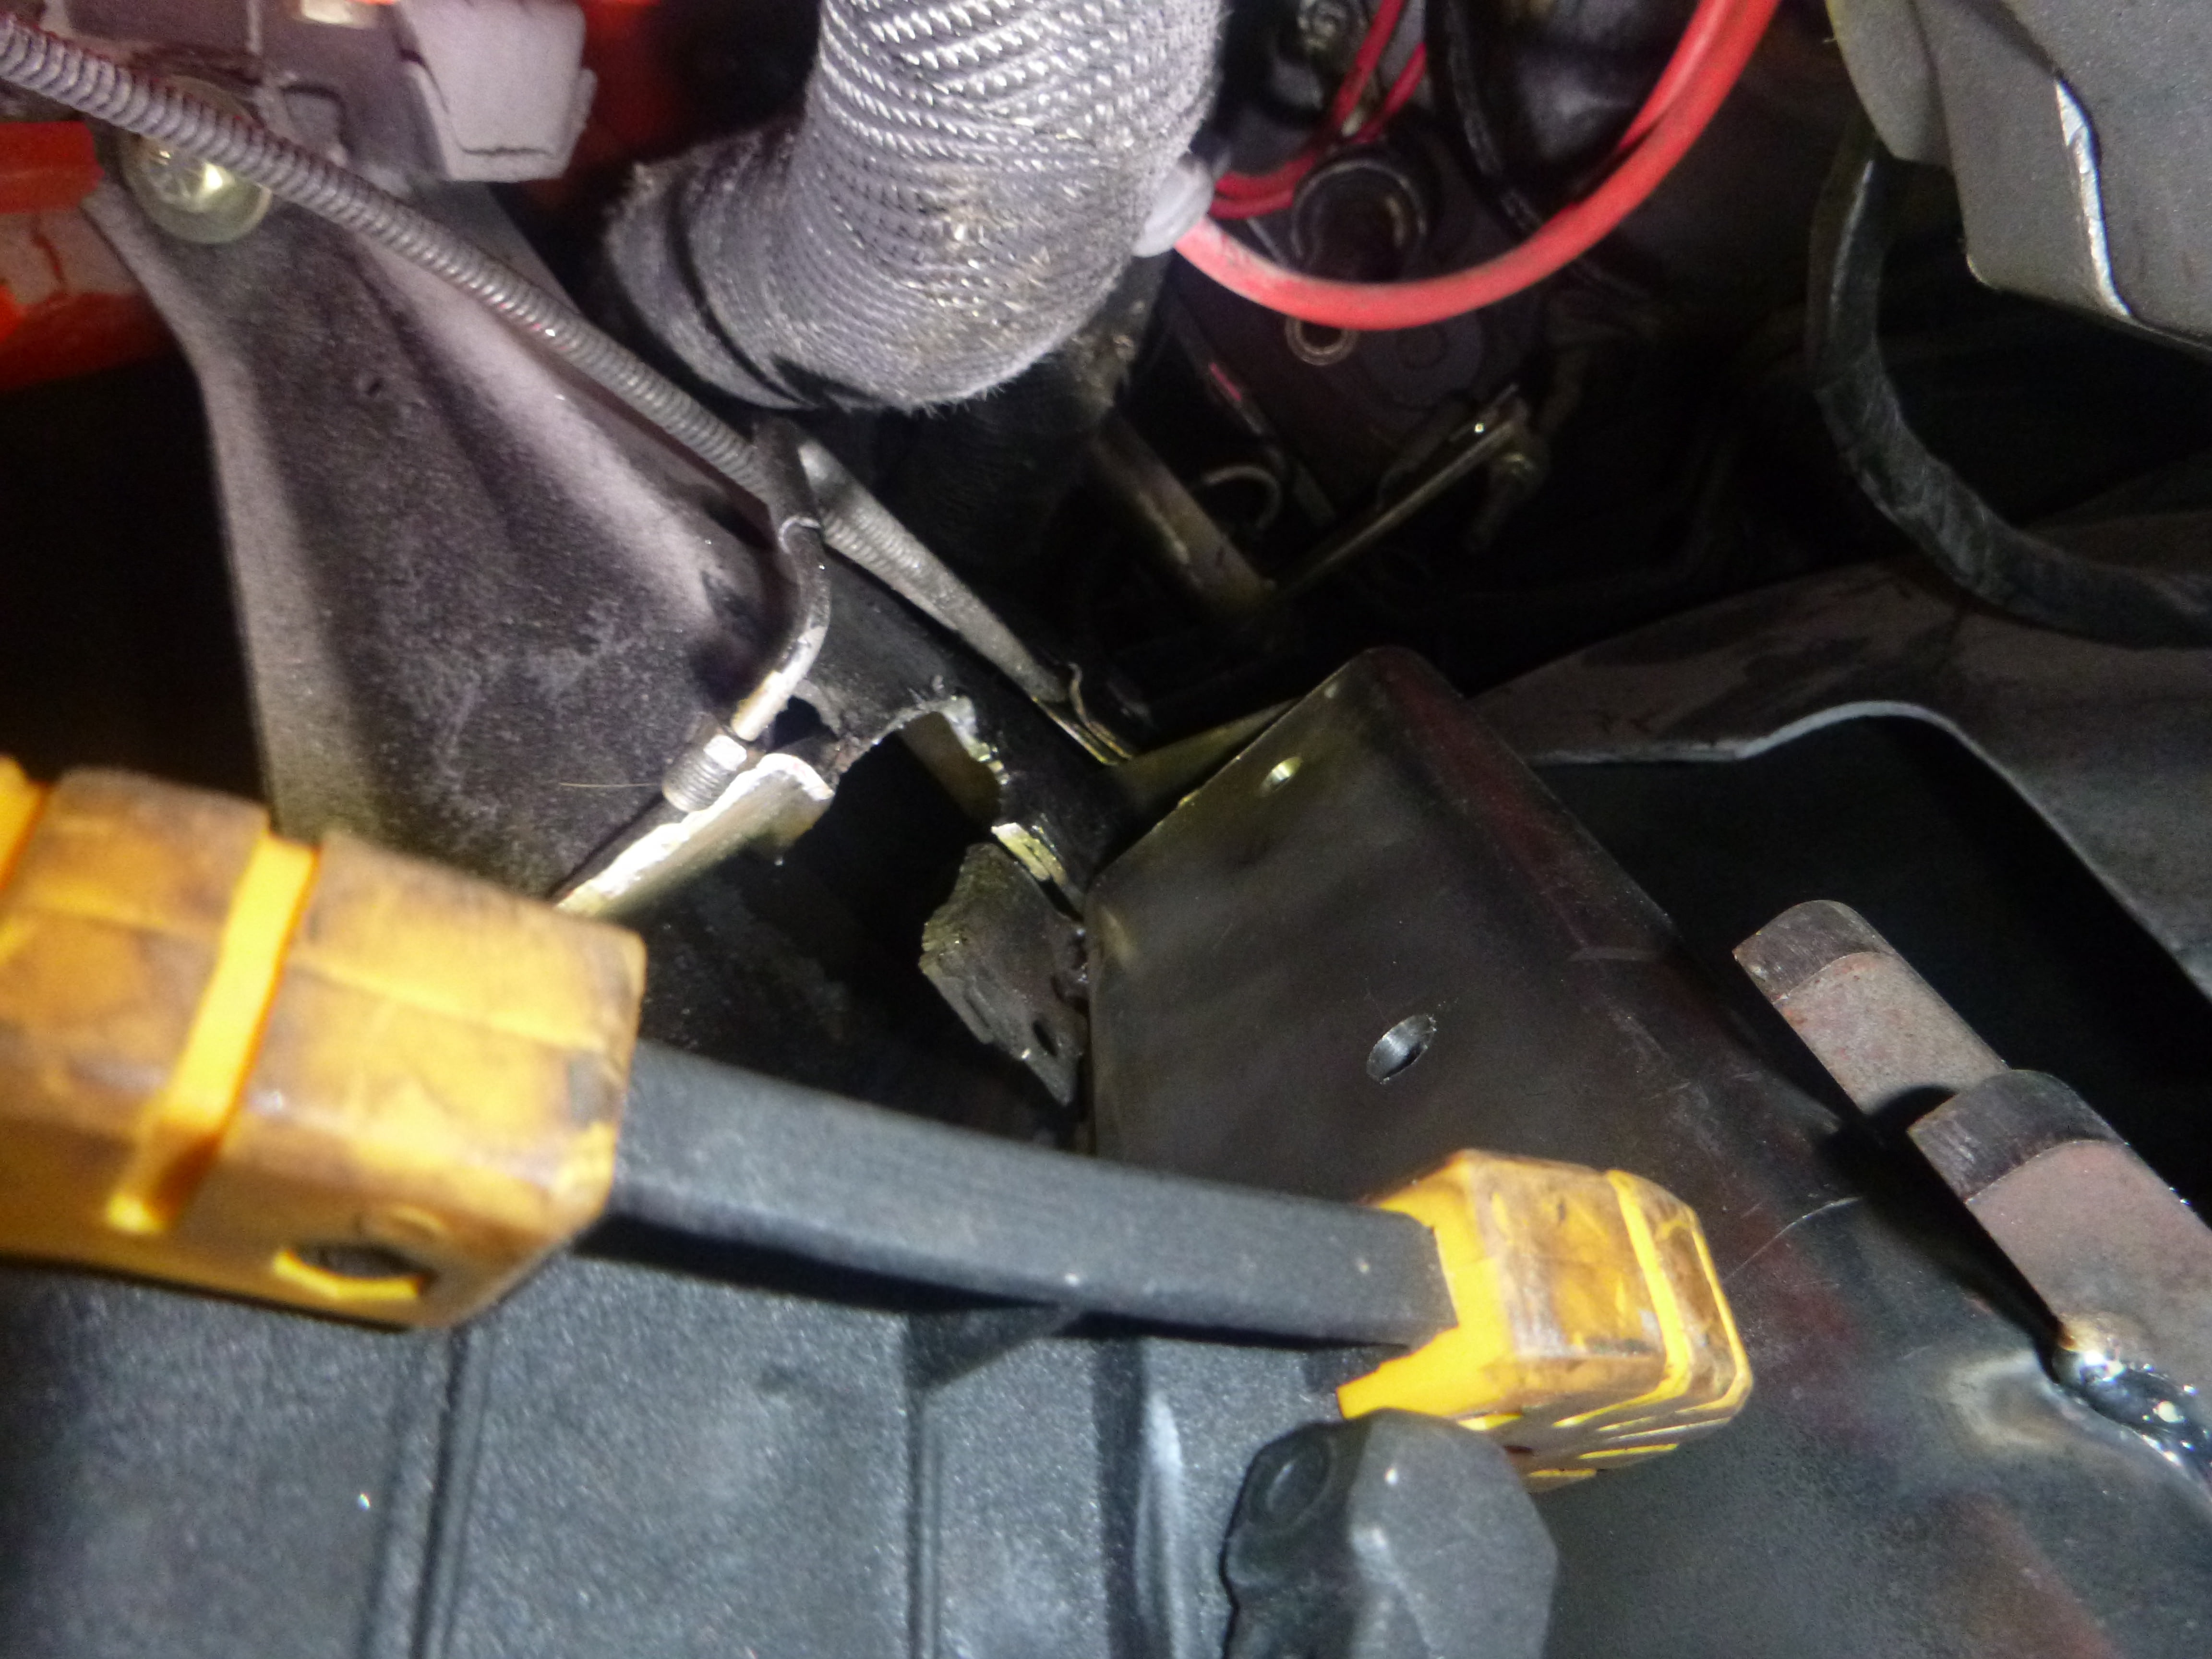
basically, take the u-joint off the top and replace it with the lower one.... and in this case, had I not had the u-joint, I may have done this a bit different....
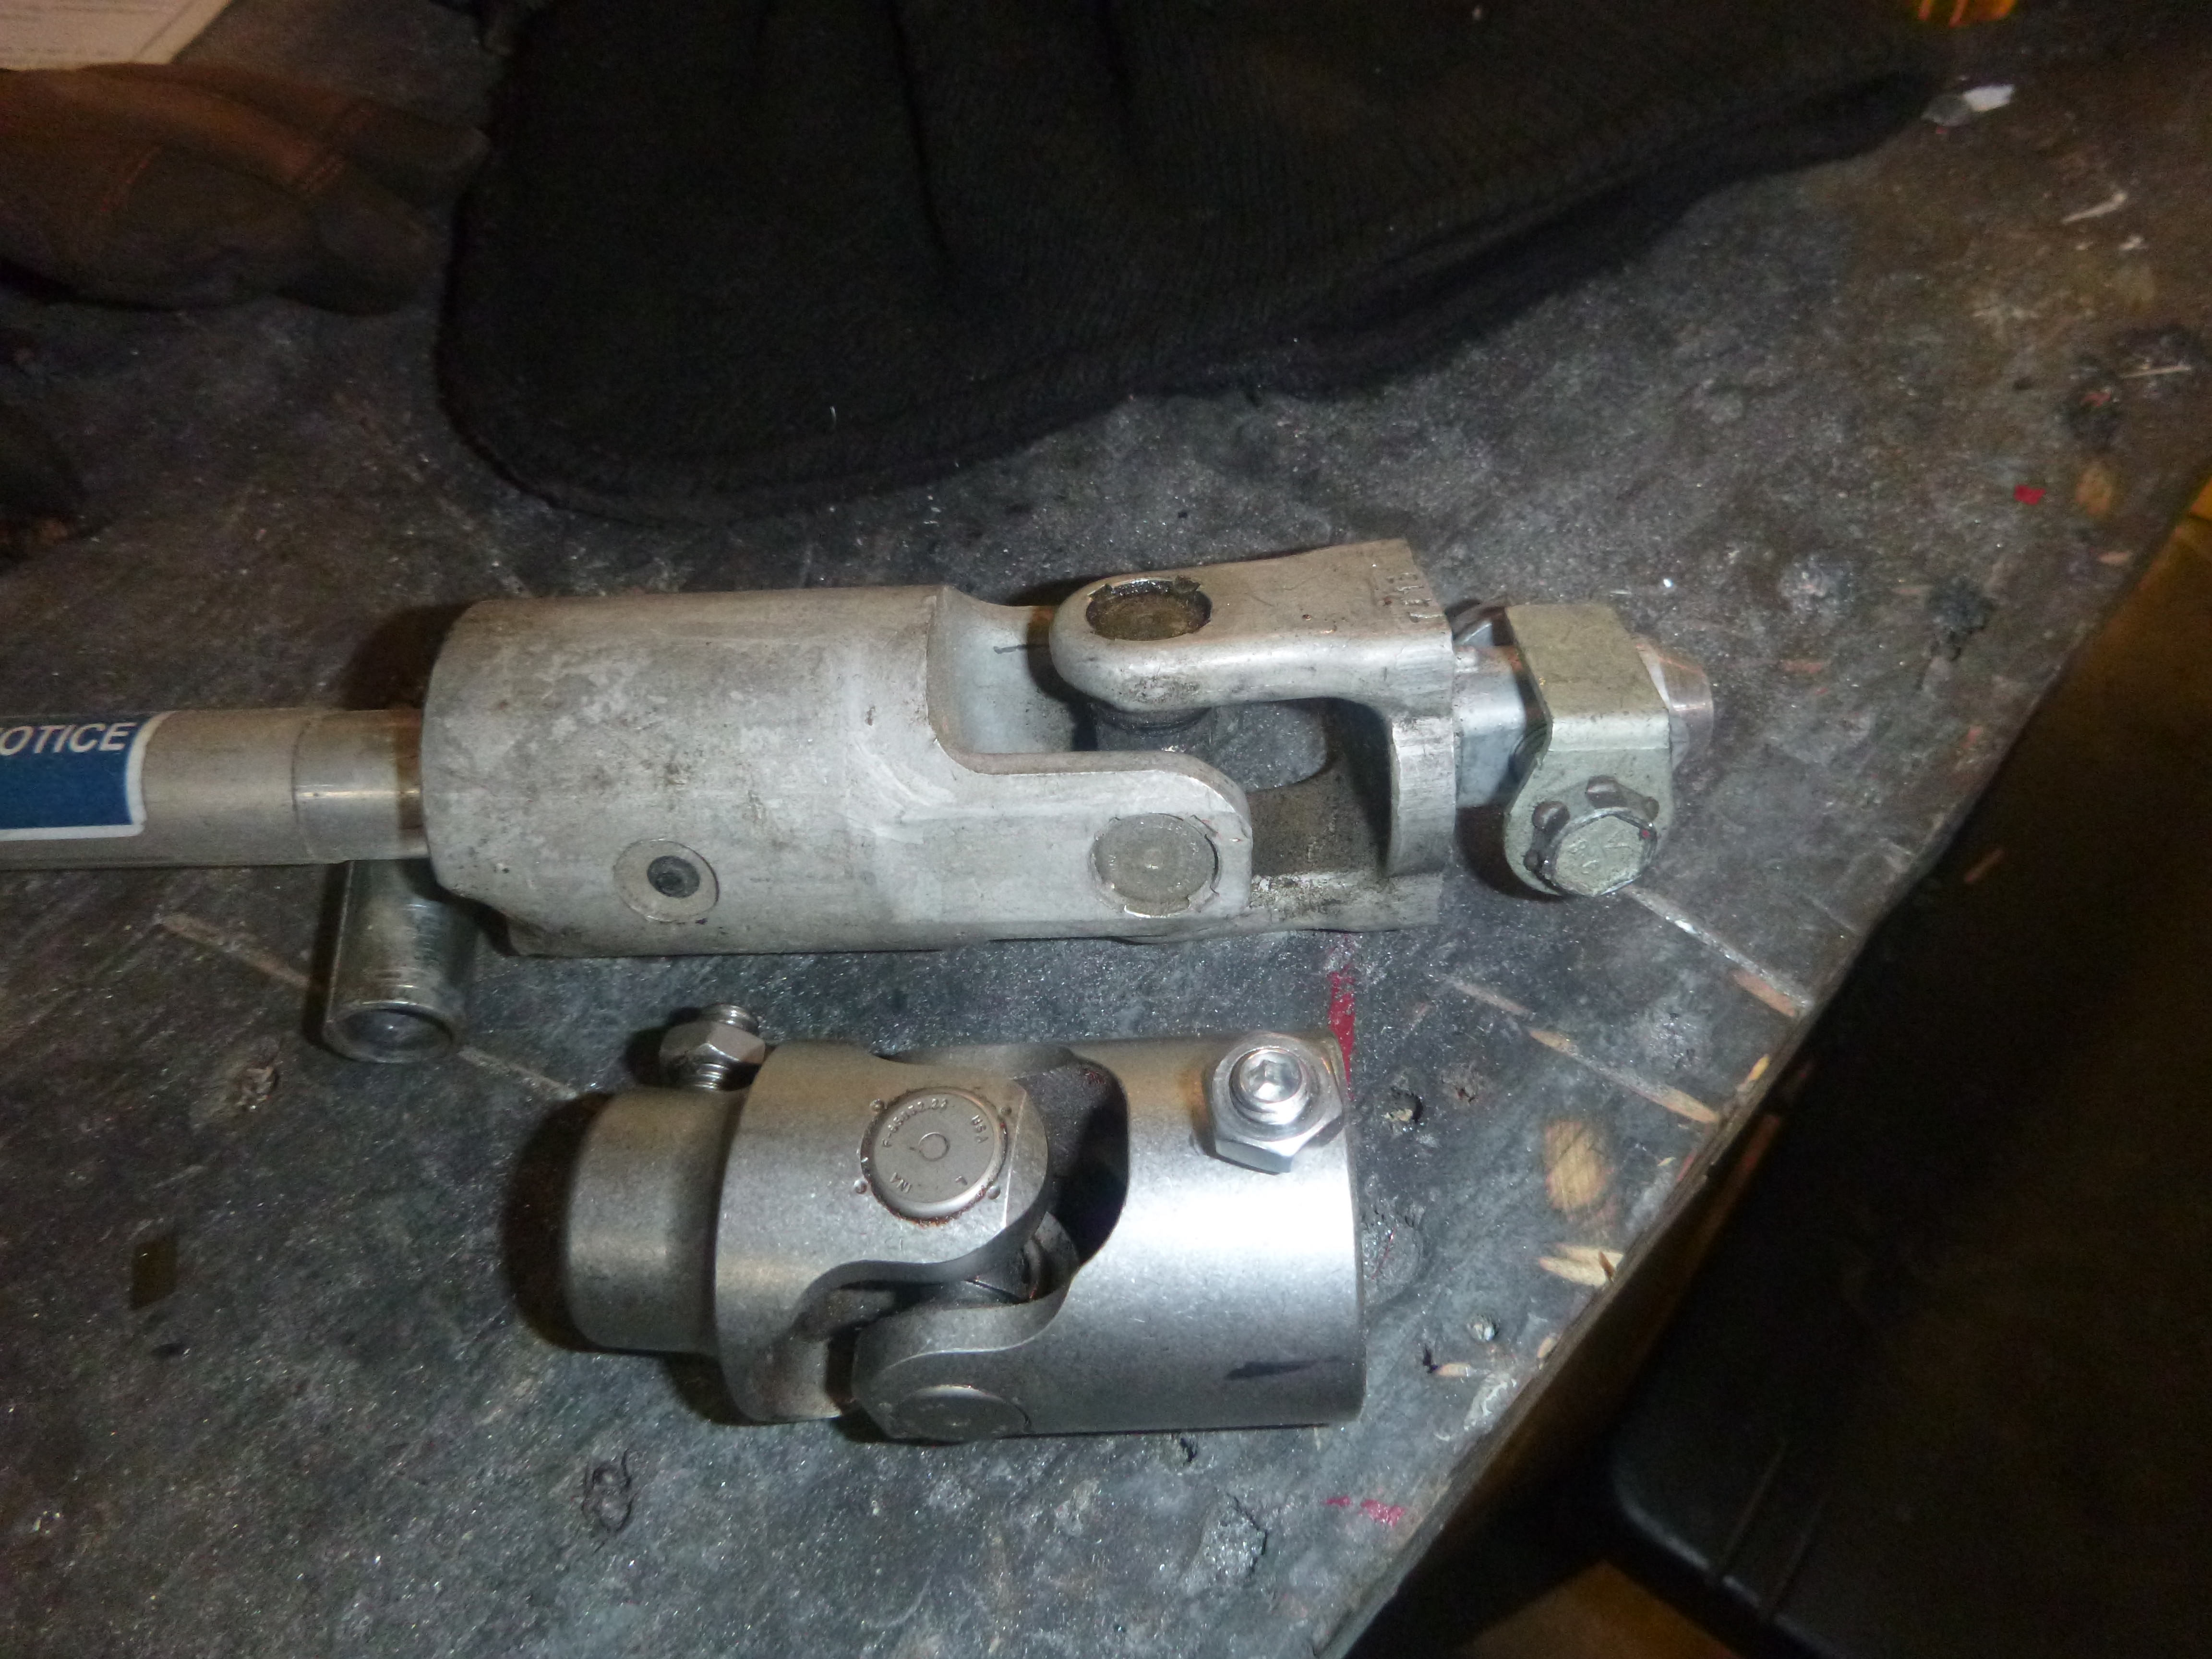
heat removes it
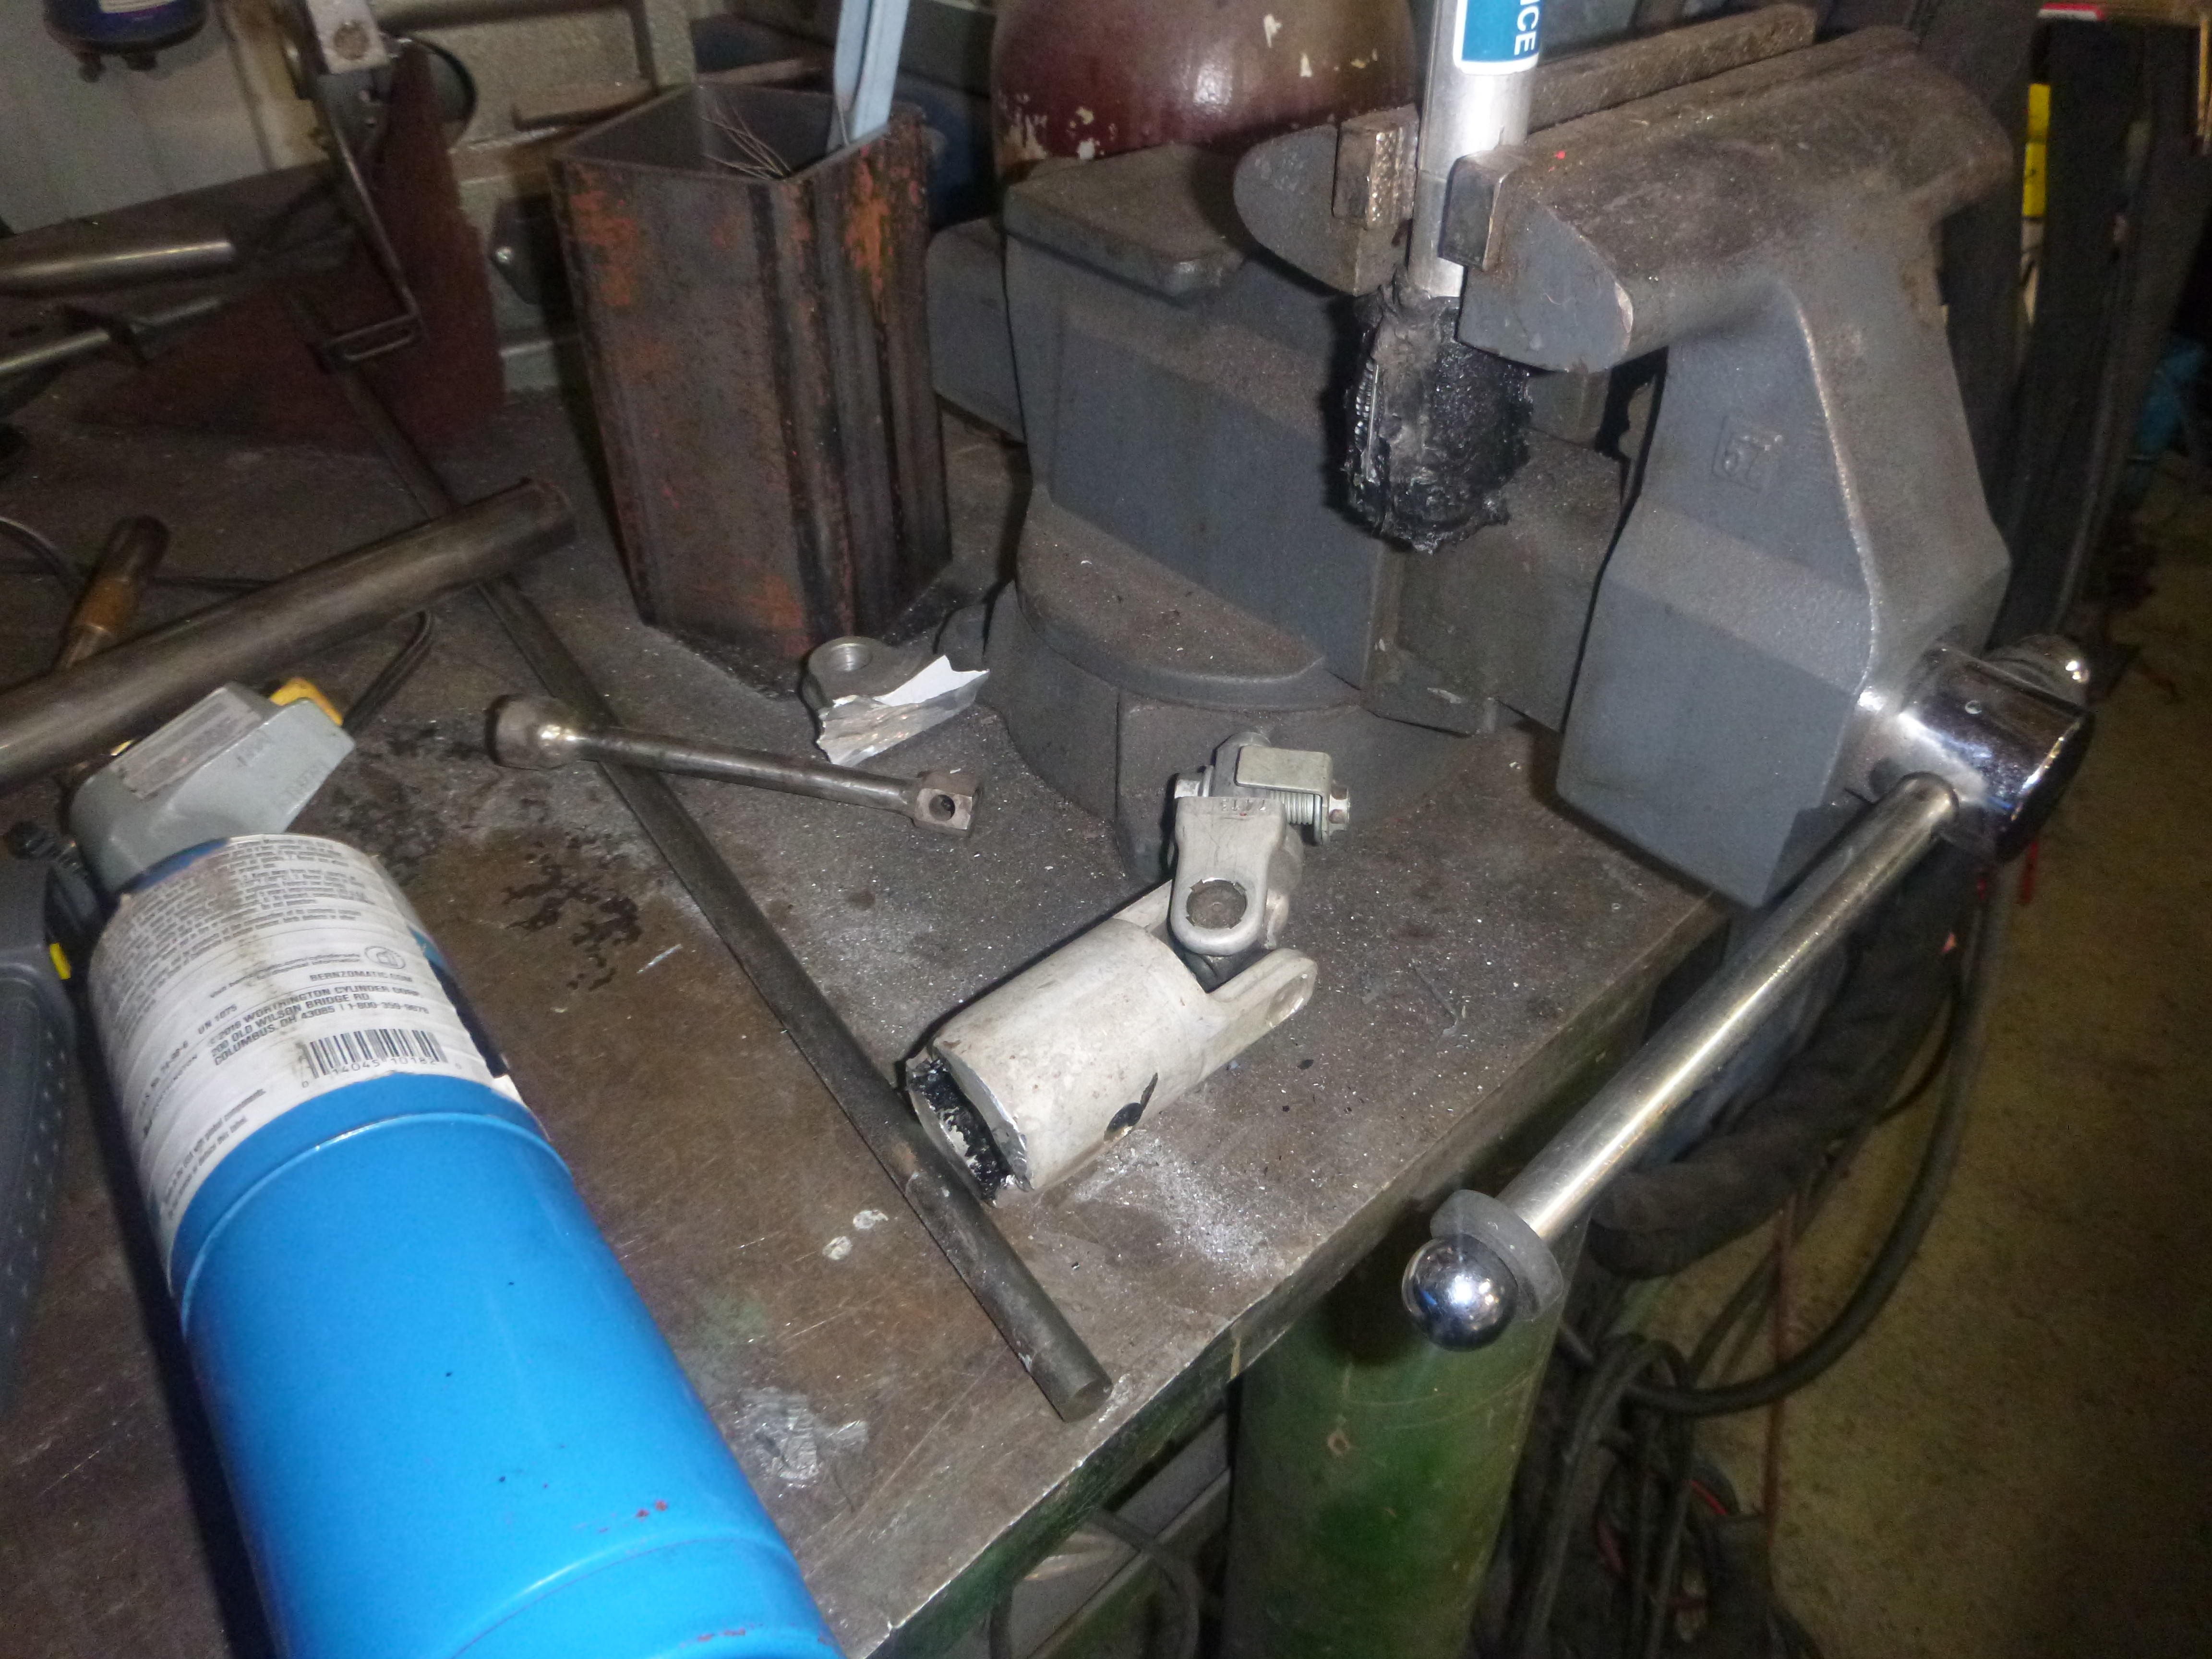
test
the issue
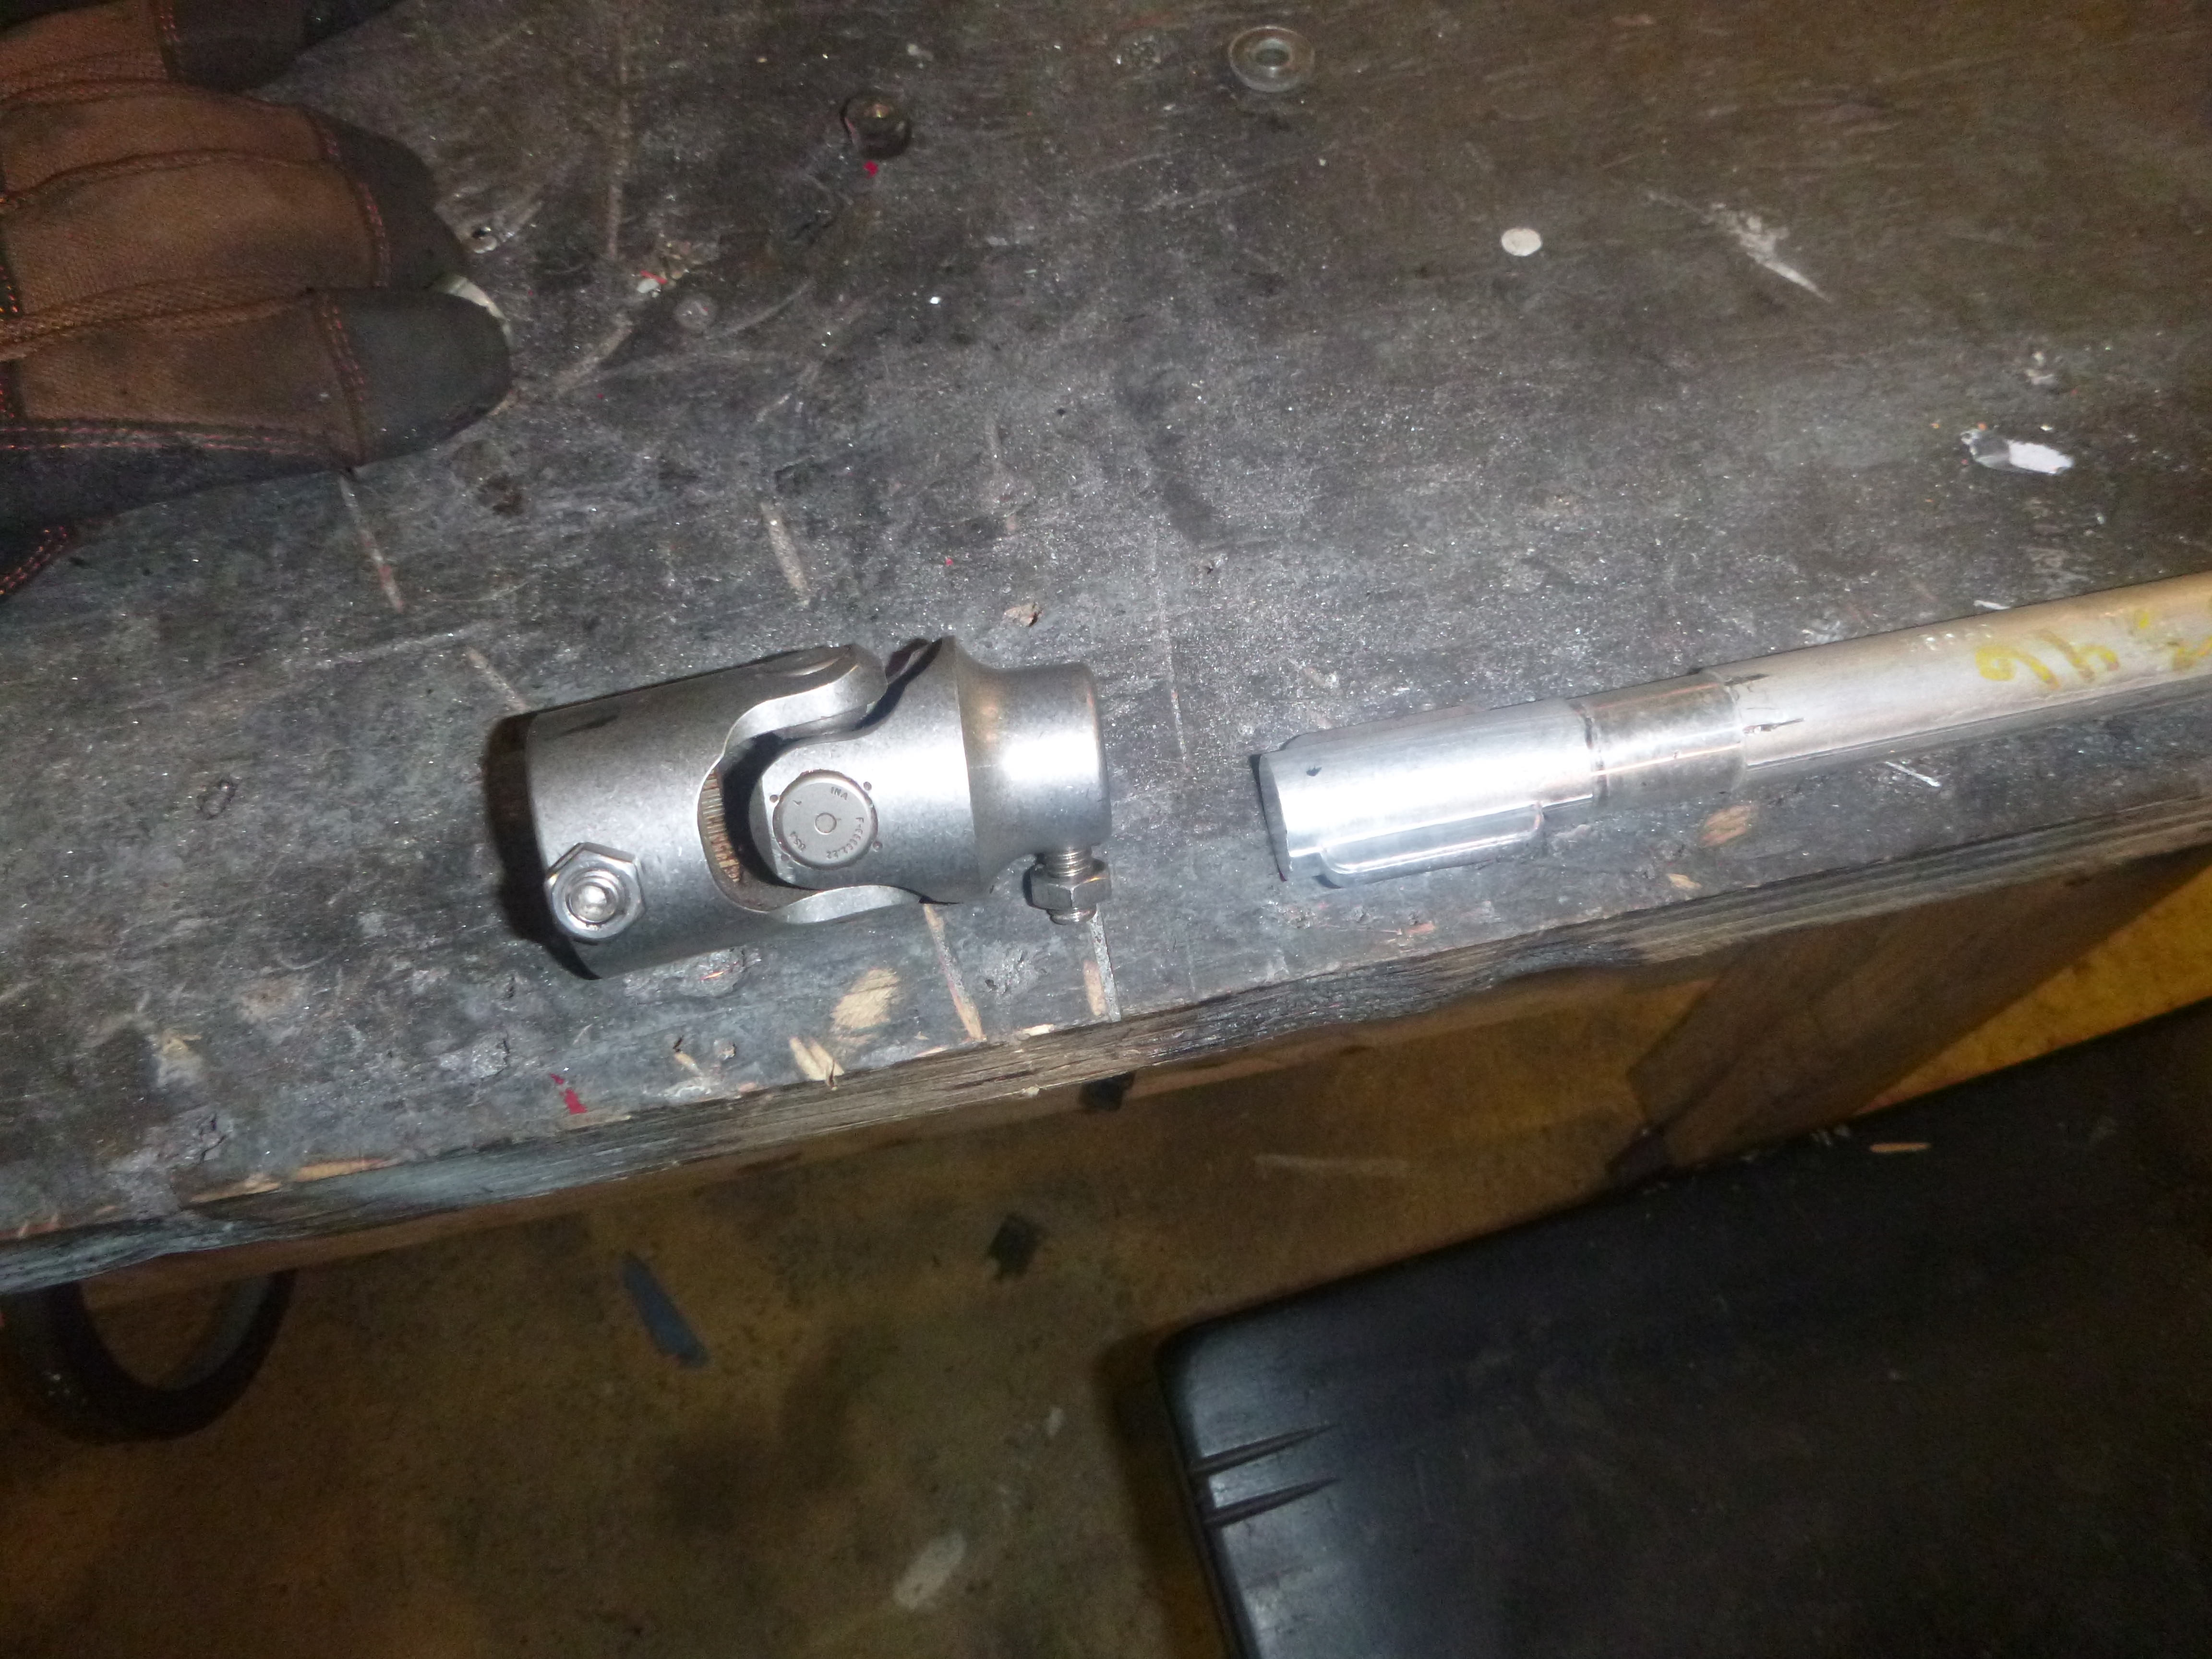
basically heat puts the new one back on....
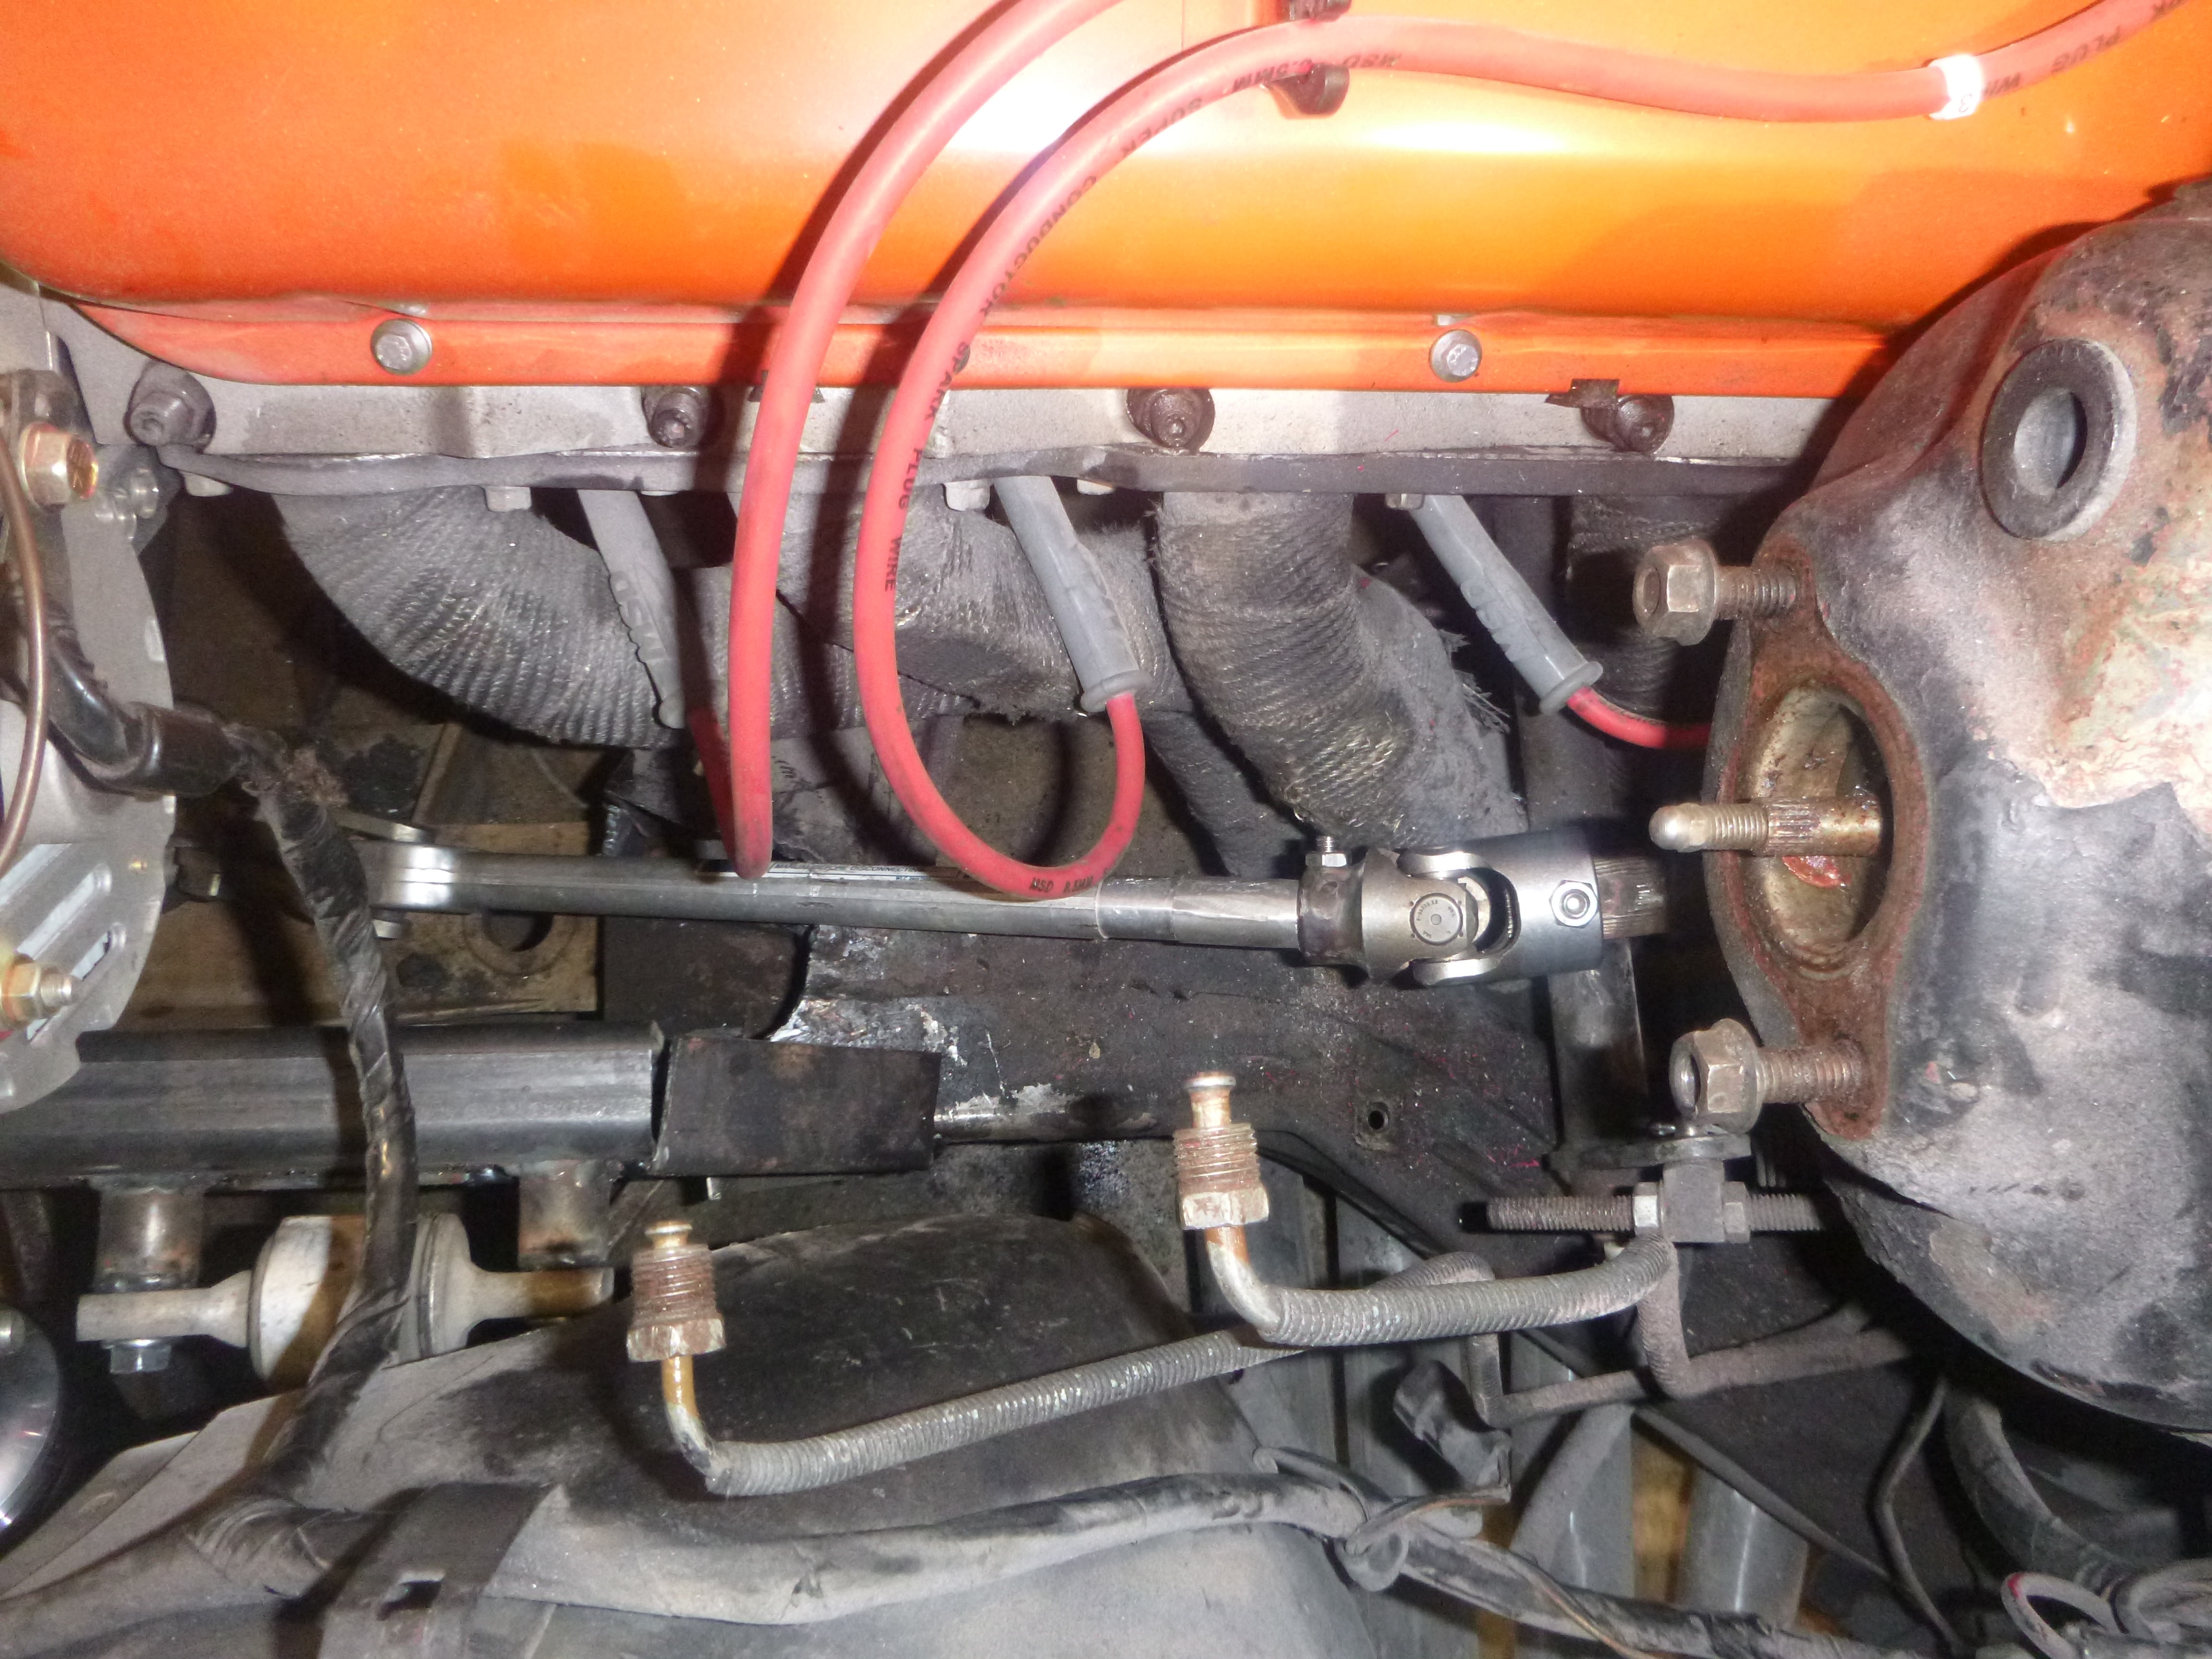
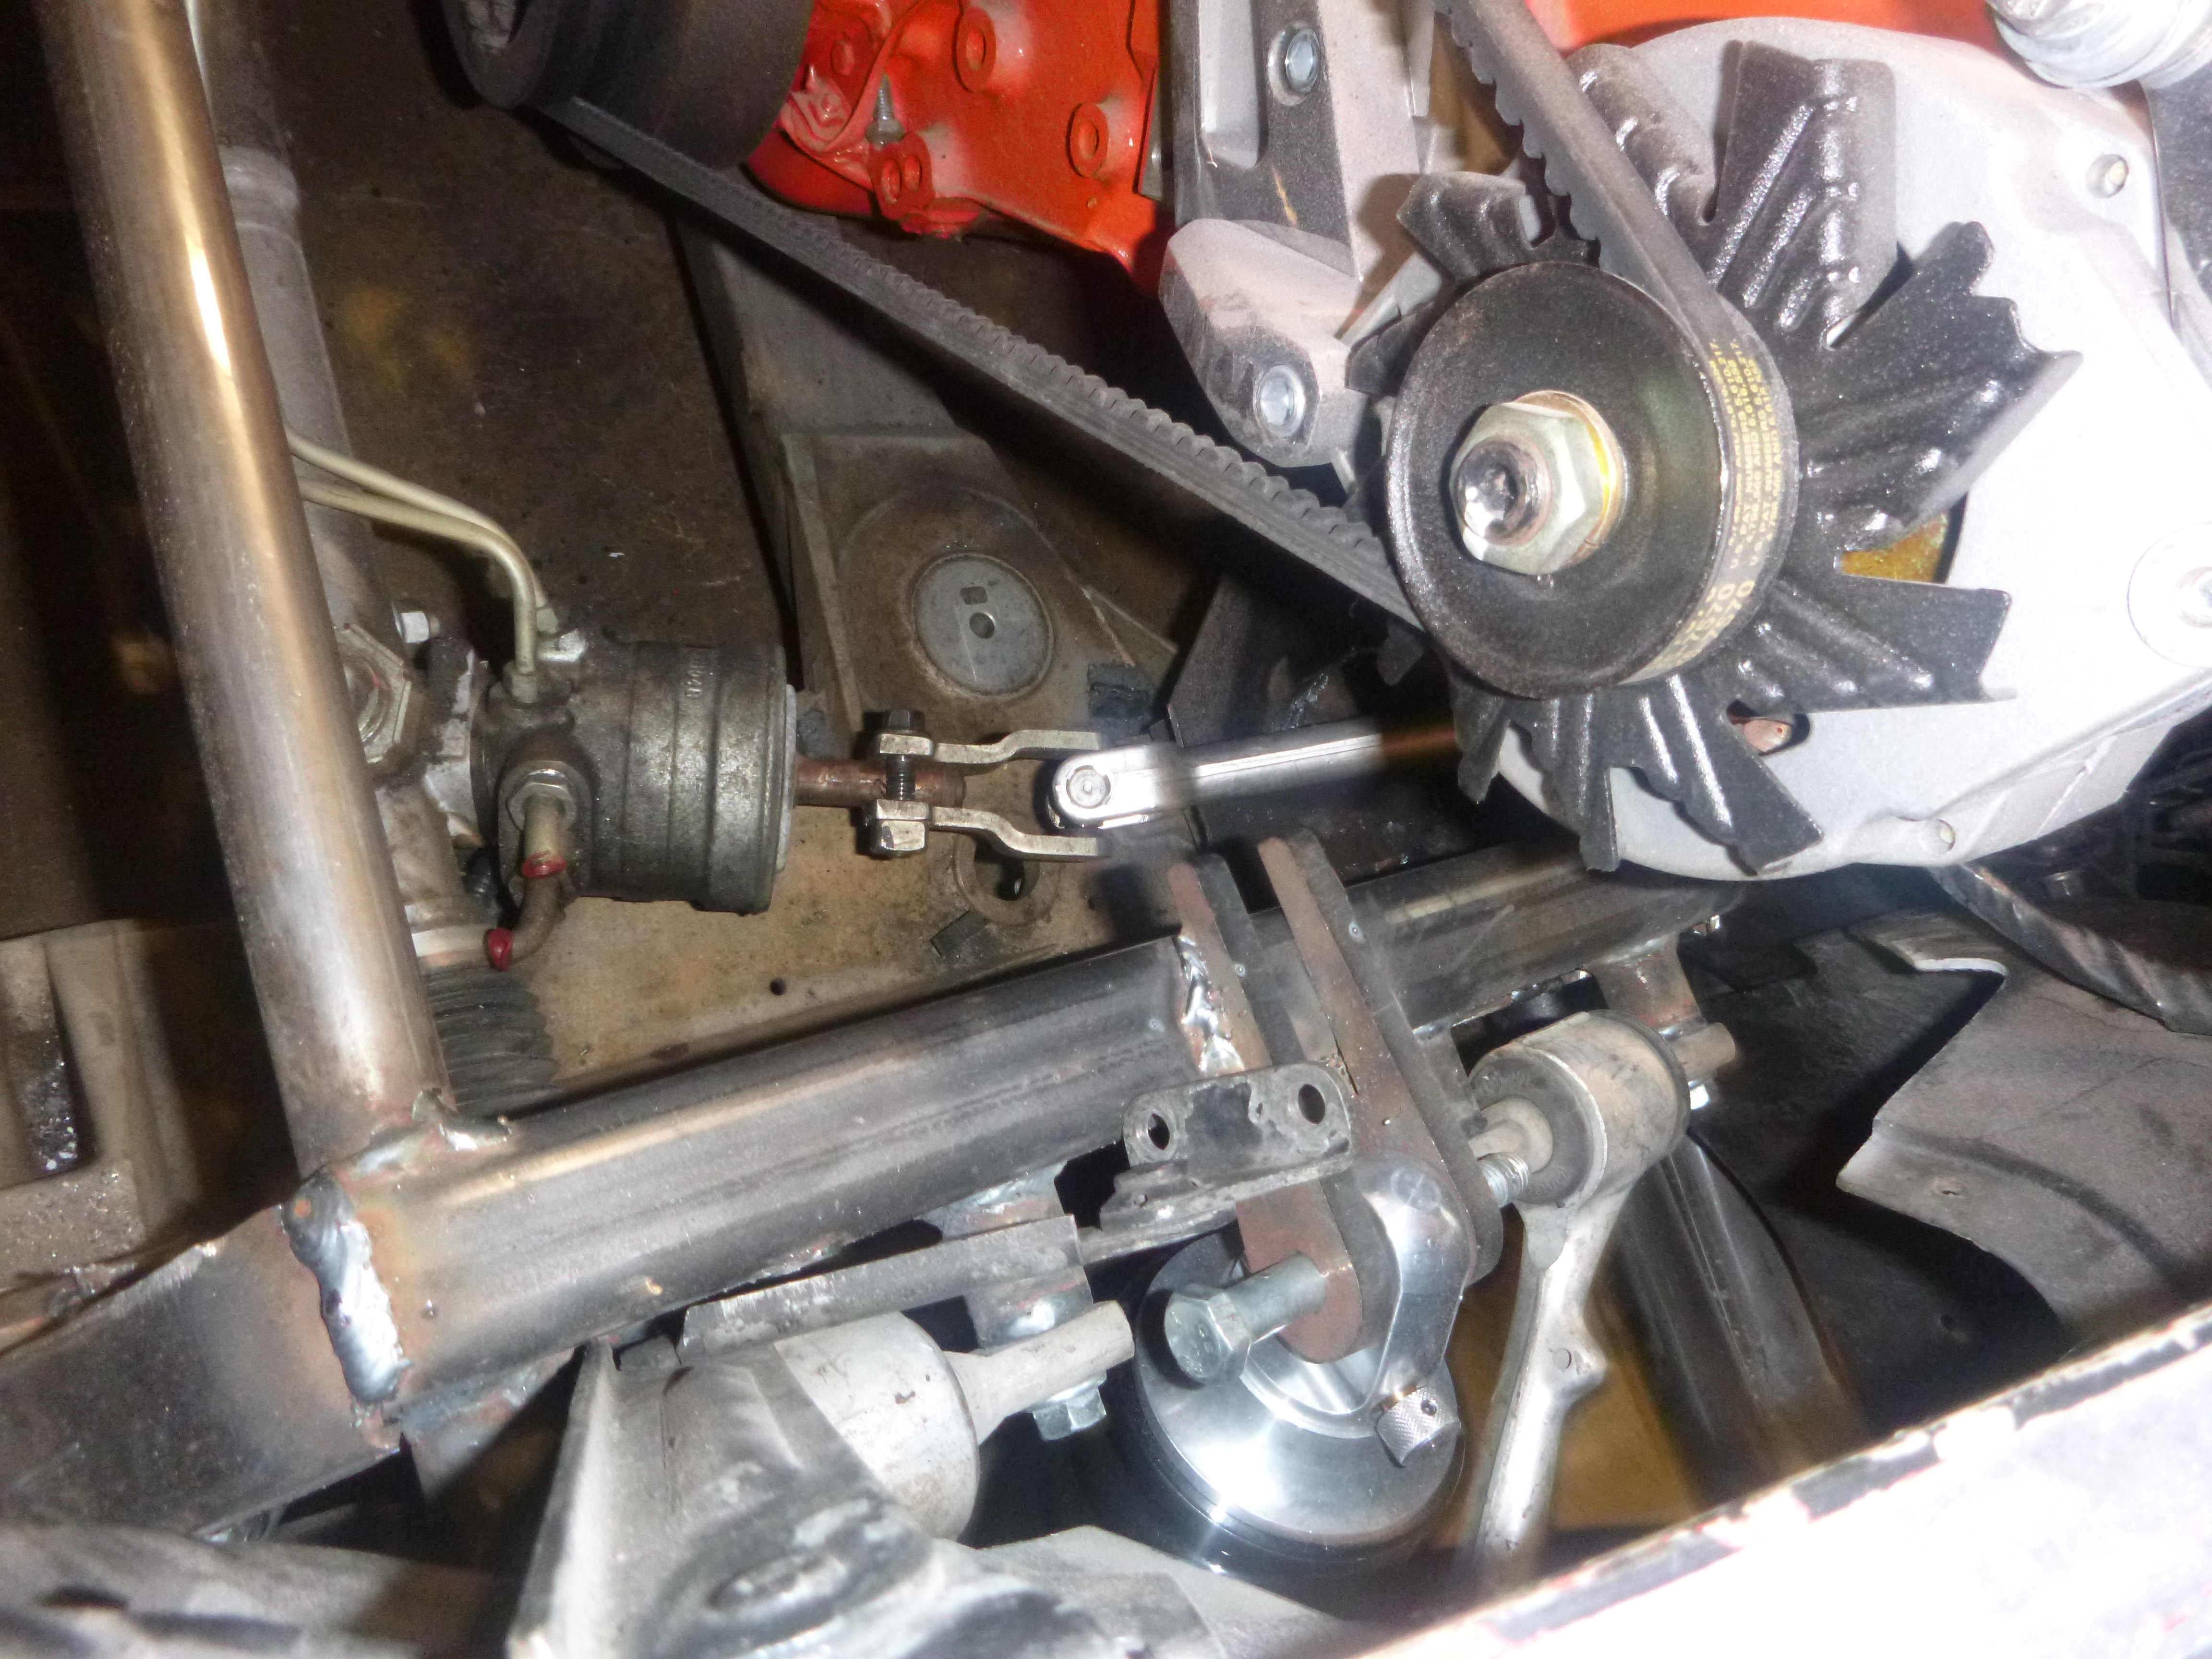
and now it steers.. what's left there is to replace the motor mount and clean up the frame... which I'll do when I pull the body off (likely Sunday)
it's getting close to time to get a few more tab plates lasered out
so when I do the finish work, all this will get boxed and finished
for now it's strong enough to drive
all I did on the lower arm was redrill the hole
now to connect the steering wheel to the front
basically, take the u-joint off the top and replace it with the lower one.... and in this case, had I not had the u-joint, I may have done this a bit different....
heat removes it
test
the issue
basically heat puts the new one back on....
and now it steers.. what's left there is to replace the motor mount and clean up the frame... which I'll do when I pull the body off (likely Sunday)
The following users liked this post:
Metalhead140 (12-02-2018)
12-01-2018, 05:27 AM
#219
Melting Slicks
with that said, there will be more metal work done where the frame of the C3 and the front of the Camaro frame meet - again, that will be once the body's off (which is soon).