
Plastic Fantastic tew


 04-01-2019, 11:03 PM
#282
Melting Slicks

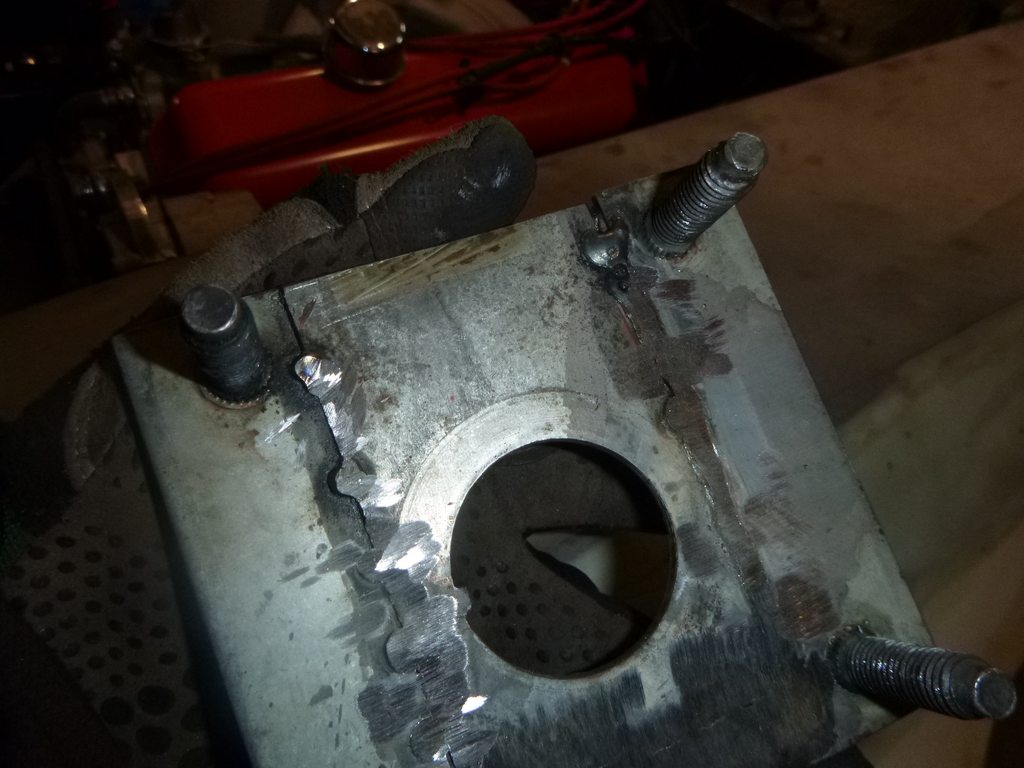
first, make holes (aka void warranties)
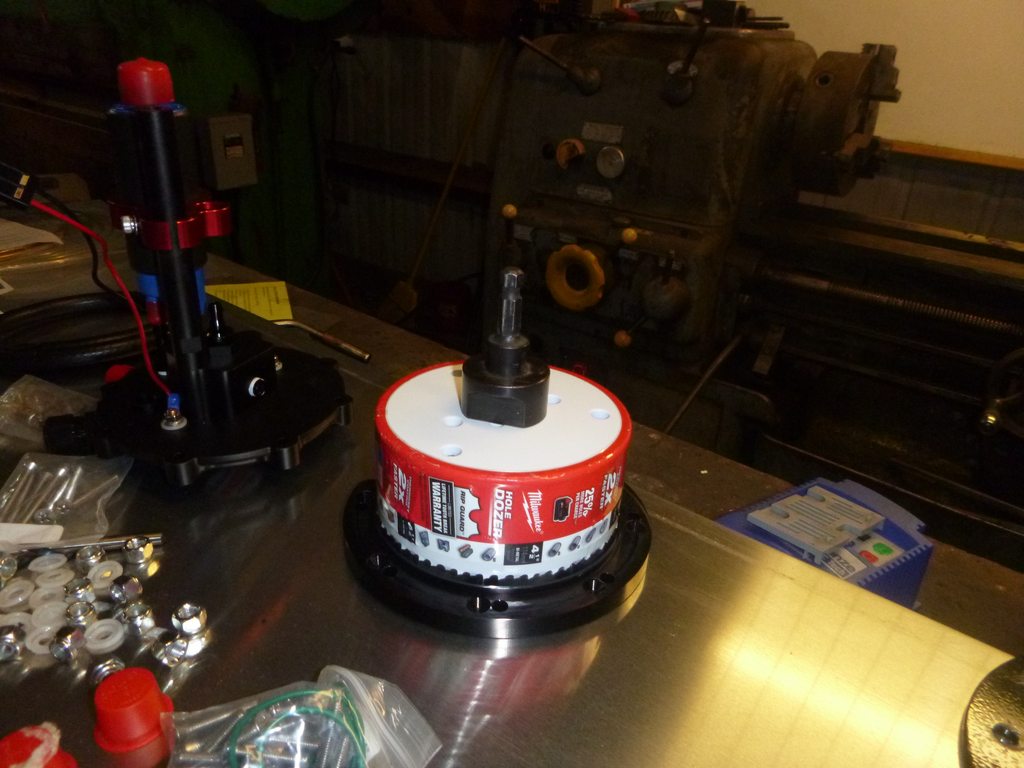
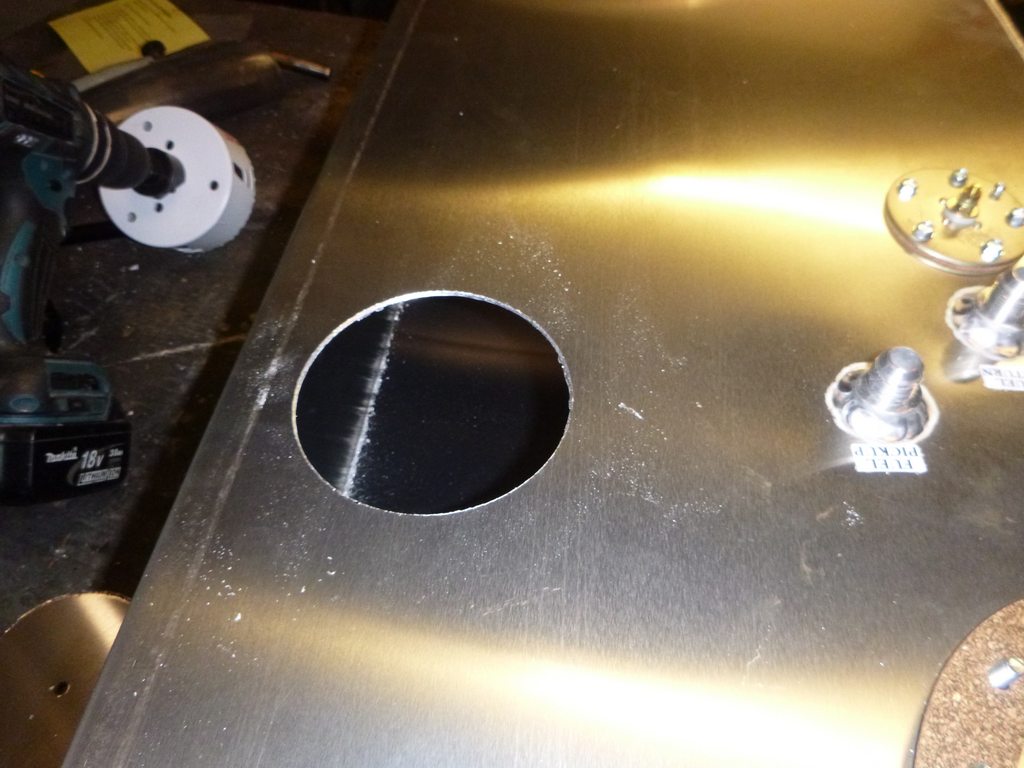
weld a bit of aluminum

dang, the appearance I know what I'm doing....
fit an Astro top
(I love these things)
weld a bit of aluminum
dang, the appearance I know what I'm doing....
fit an Astro top
(I love these things)
04-03-2019, 12:32 AM
#284
Melting Slicks
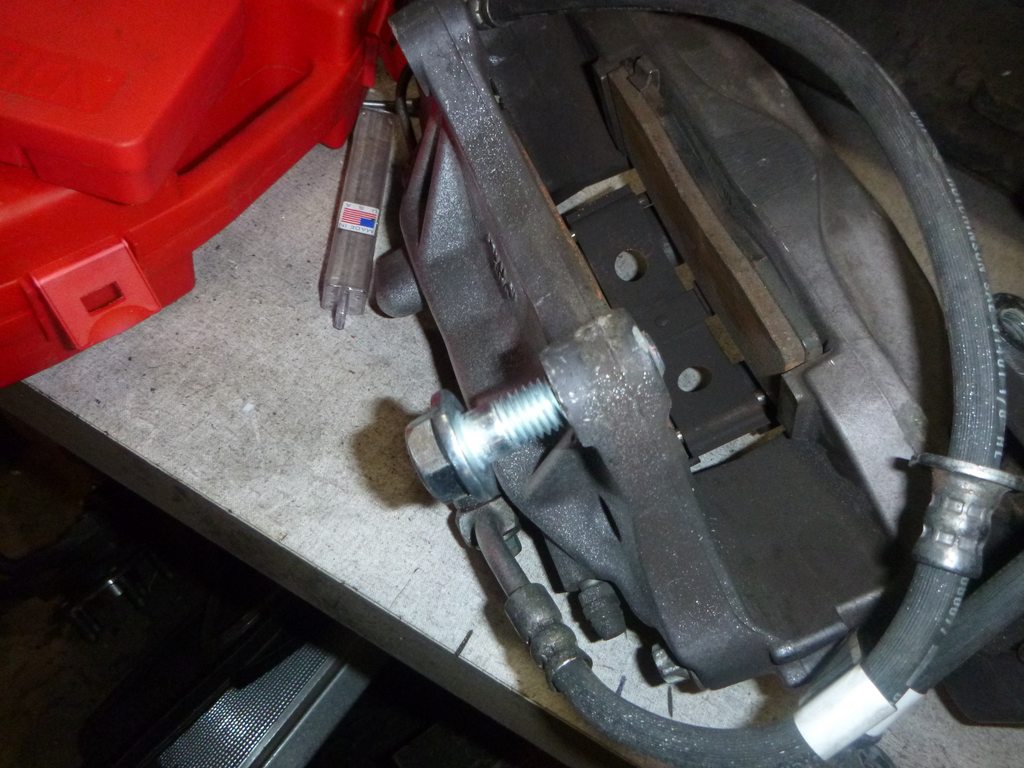
Brakes
Today I received the bolts for the front calipers.... time to finish this up
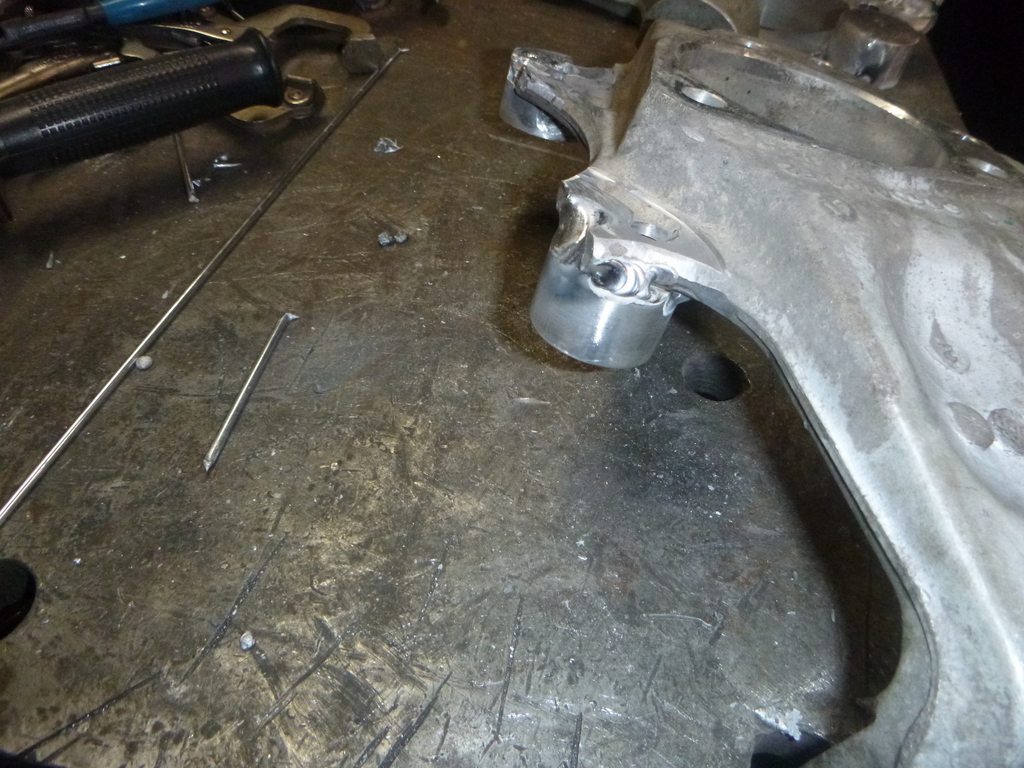
first a bunch of milling on what I welded yesterday
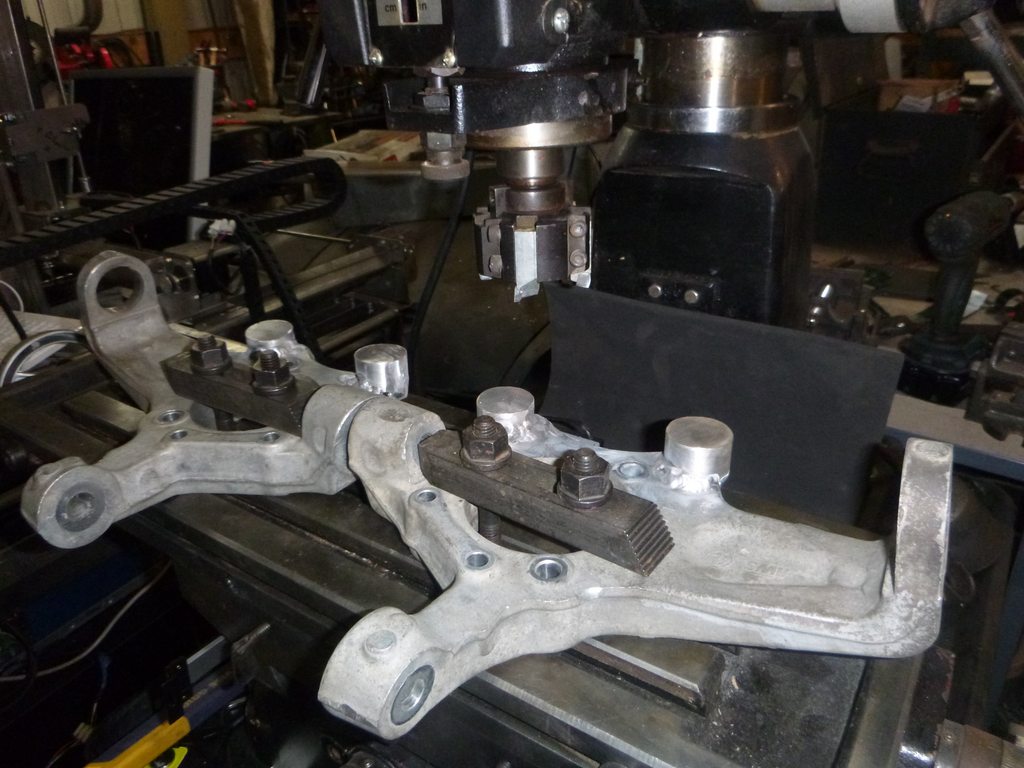
I resisted the urge to sharpen the carbide (I should have but it worked)
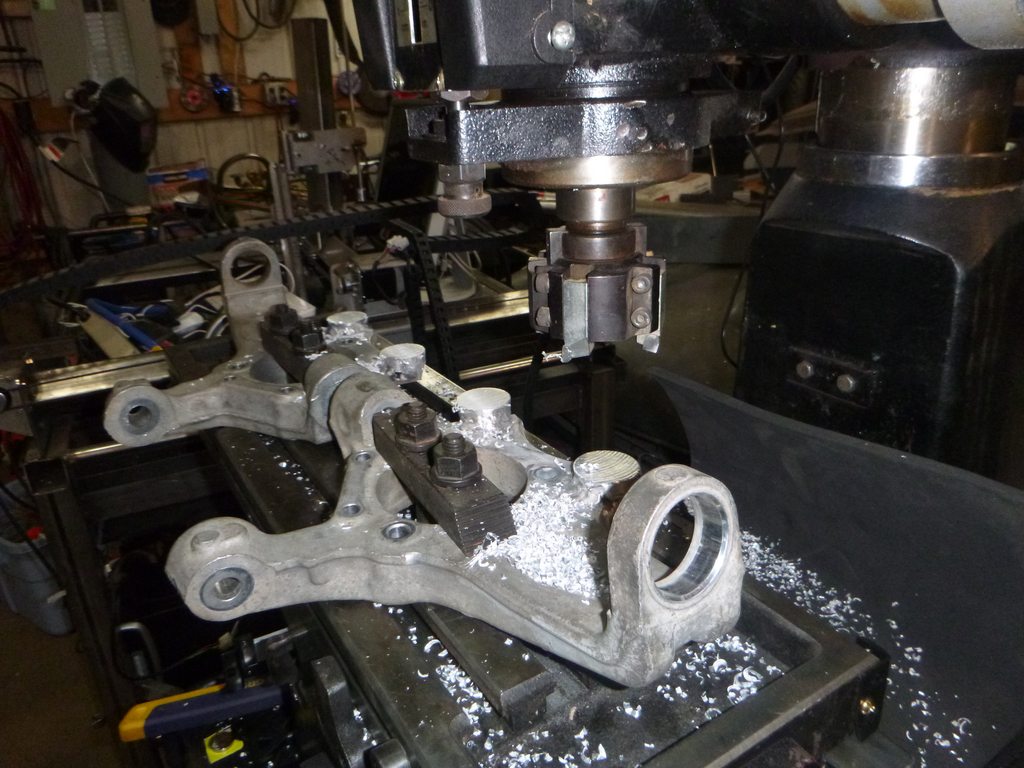
then drilled the holes
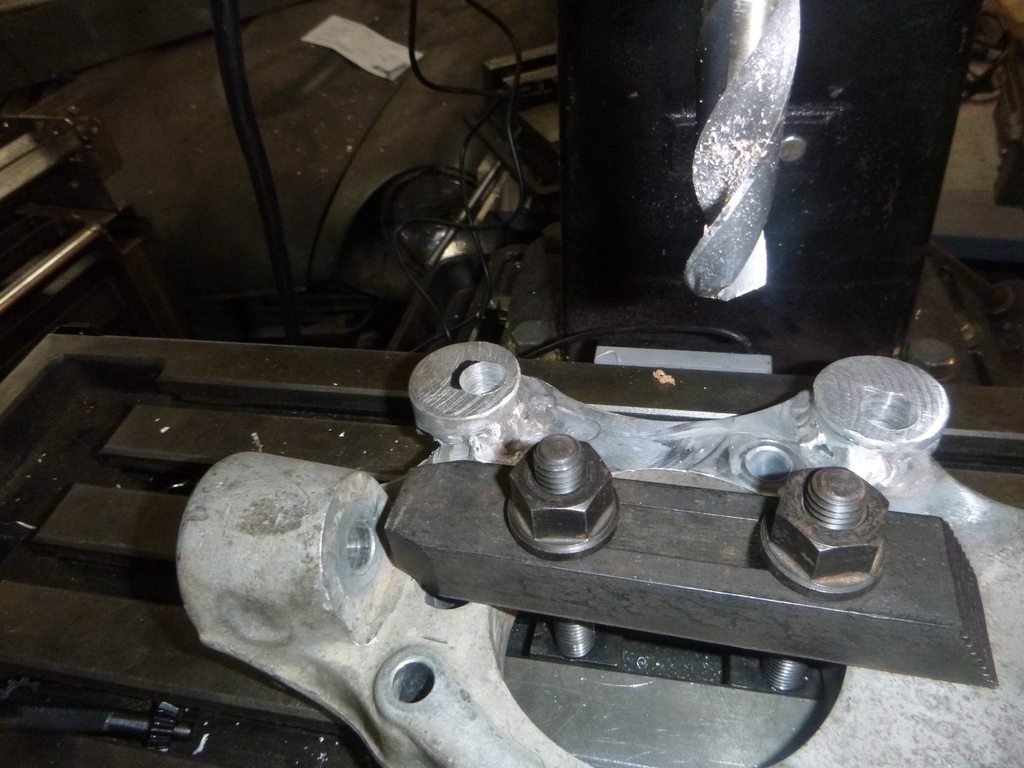
wow, it works, errr... well that's no surprise that it worked just like I planned
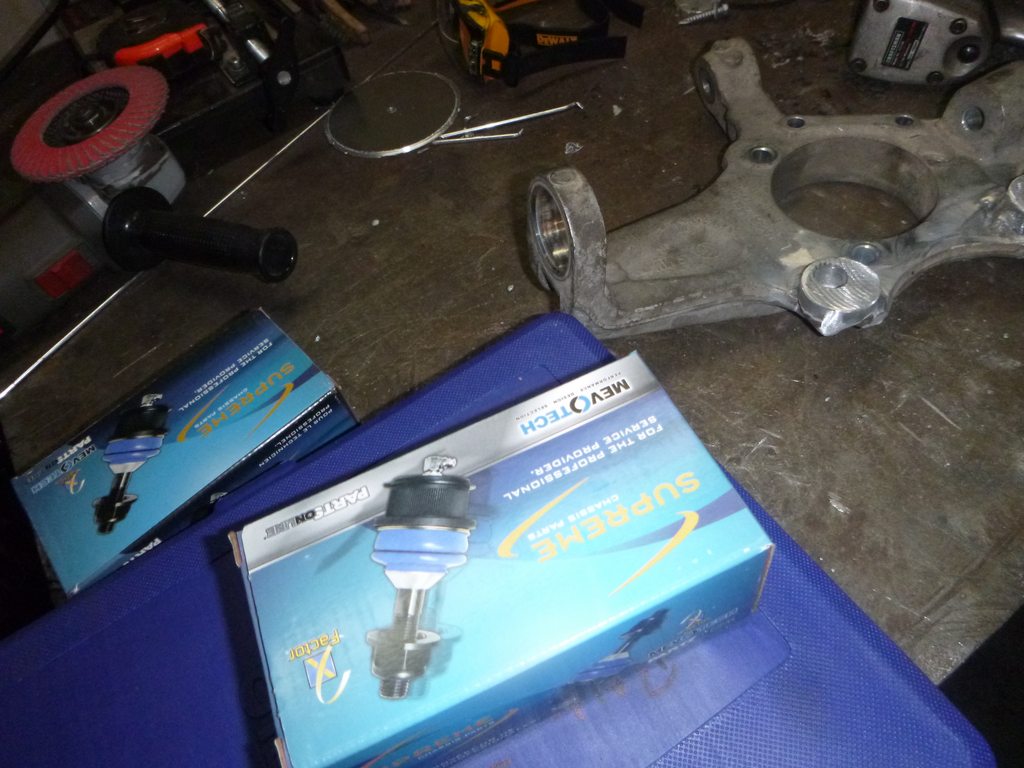
Installed new upper ball joints
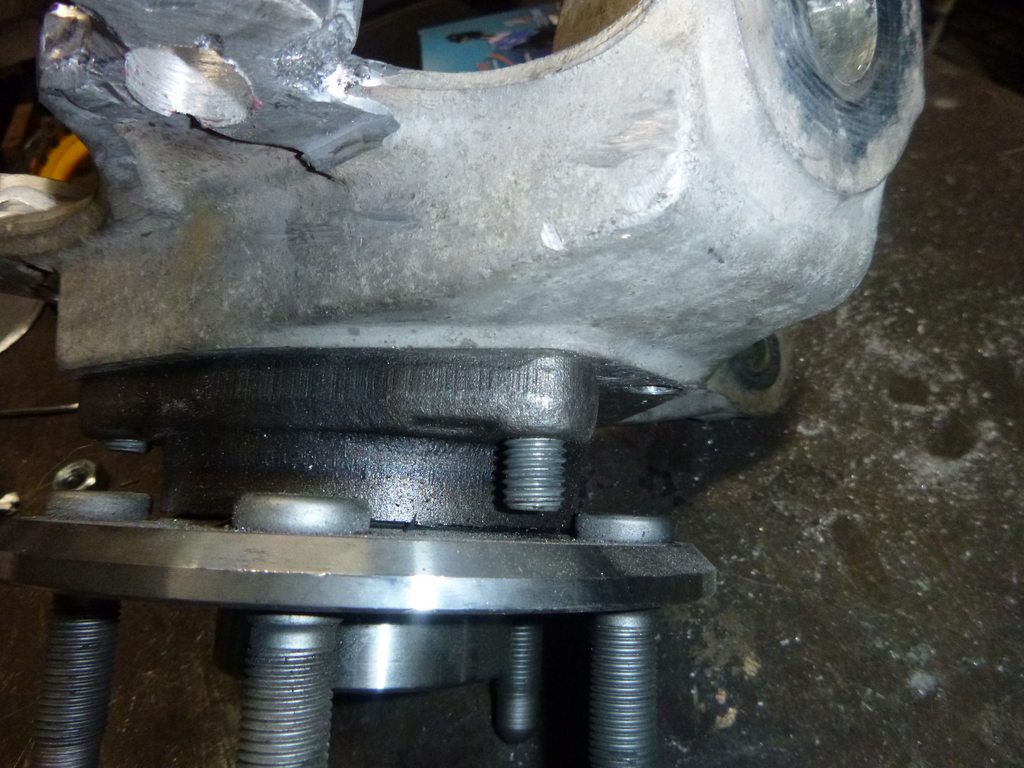
for the life of me, I can't figure out why this is an issue now - but one bolt should be shorter to attach the hubs.... thankfully, Mr. Cutoff wheel came to the rescue
and look, the rear
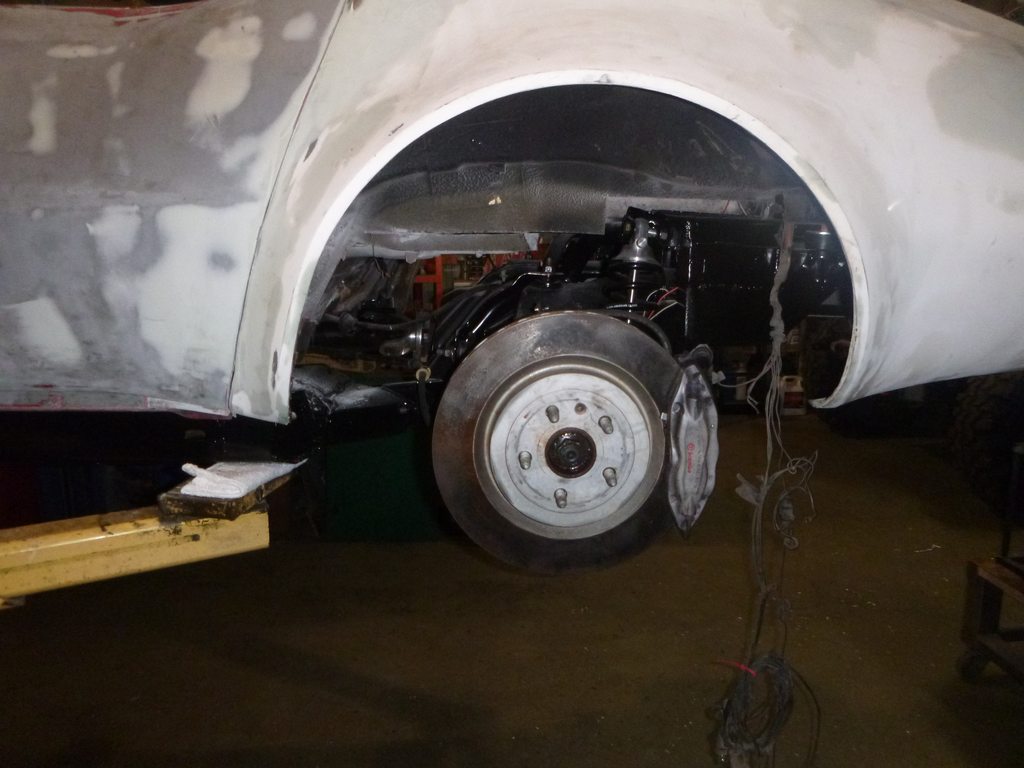
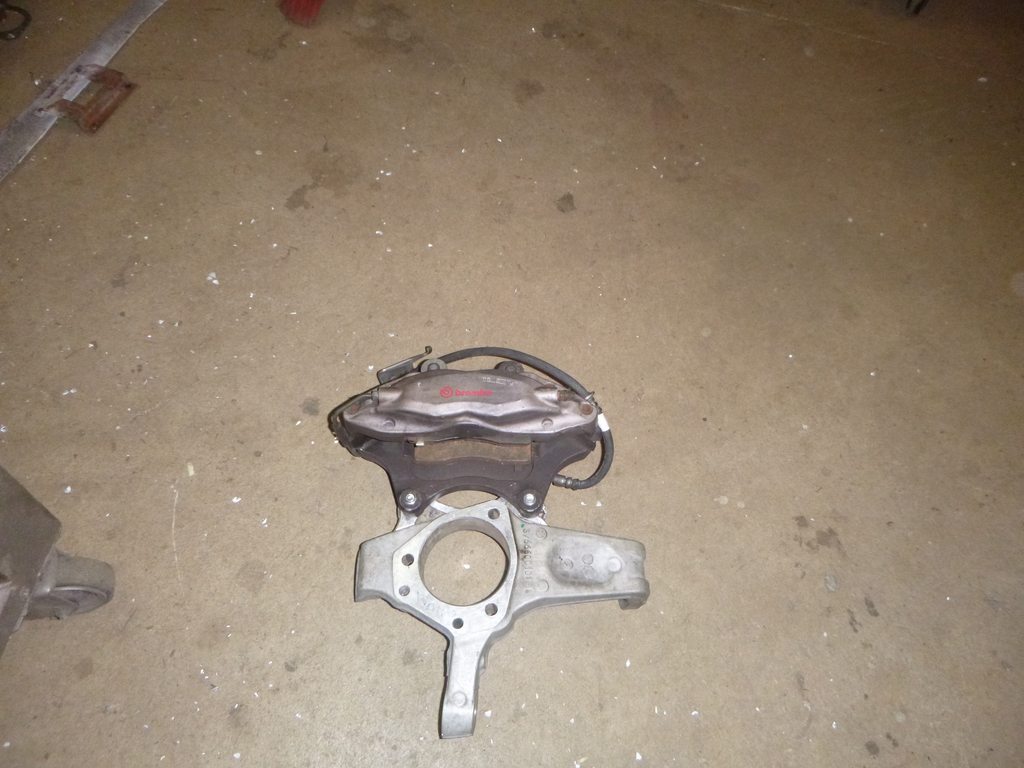
and the front - to be honest, I don't know of a 14" rotor for this application (the C5 uses a 13")...
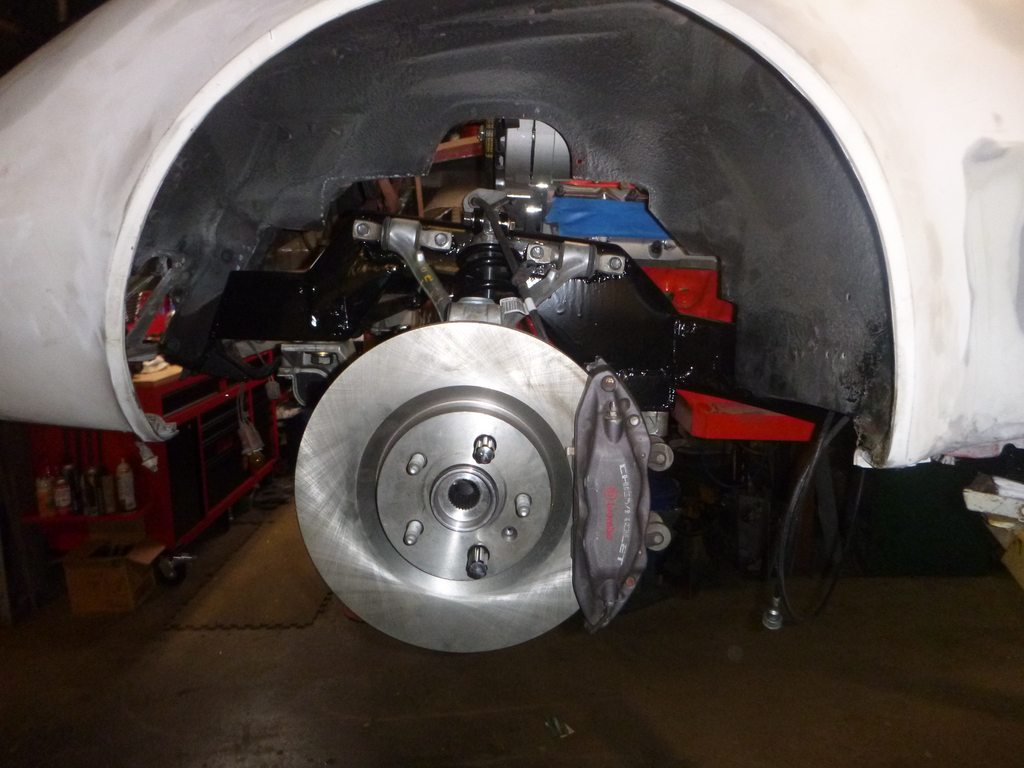
Getting close to final assembly

and the rear
Today I received the bolts for the front calipers.... time to finish this up
first a bunch of milling on what I welded yesterday
I resisted the urge to sharpen the carbide (I should have but it worked)
then drilled the holes
wow, it works, errr... well that's no surprise that it worked just like I planned
Installed new upper ball joints
for the life of me, I can't figure out why this is an issue now - but one bolt should be shorter to attach the hubs.... thankfully, Mr. Cutoff wheel came to the rescue
and look, the rear
and the front - to be honest, I don't know of a 14" rotor for this application (the C5 uses a 13")...
Getting close to final assembly
and the rear
 04-10-2019, 12:30 AM
#287
Melting Slicks
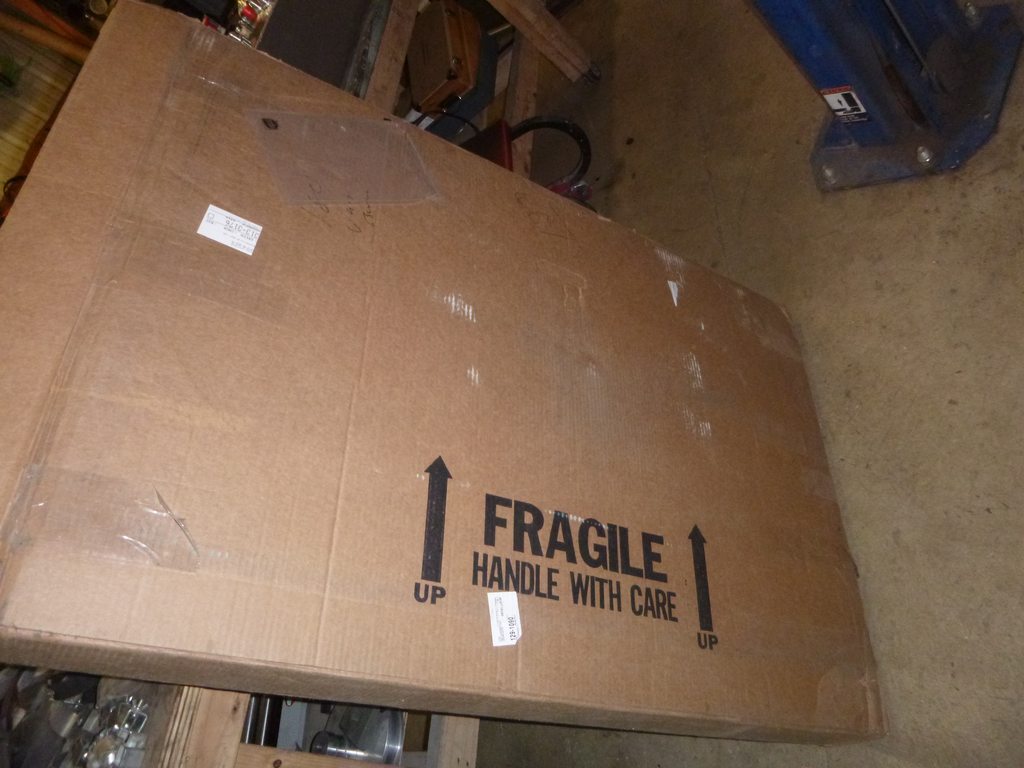
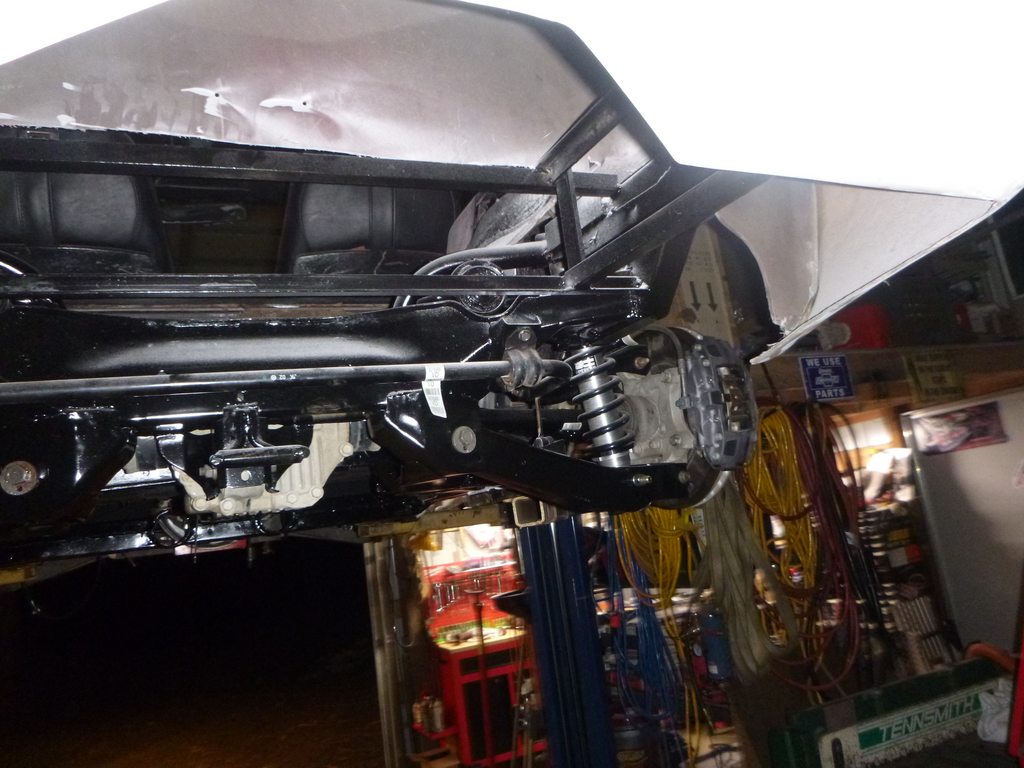
so I've been waiting on some parts to arrive so I can finish up the frame
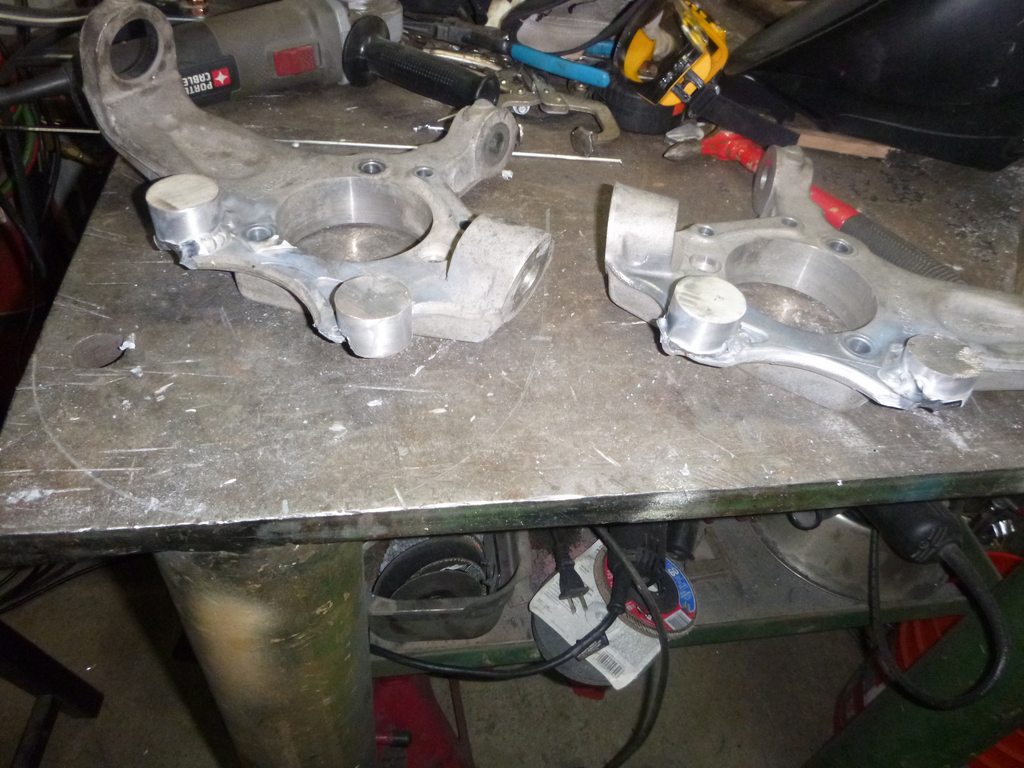
such as rebuild parts for the C6 front suspension
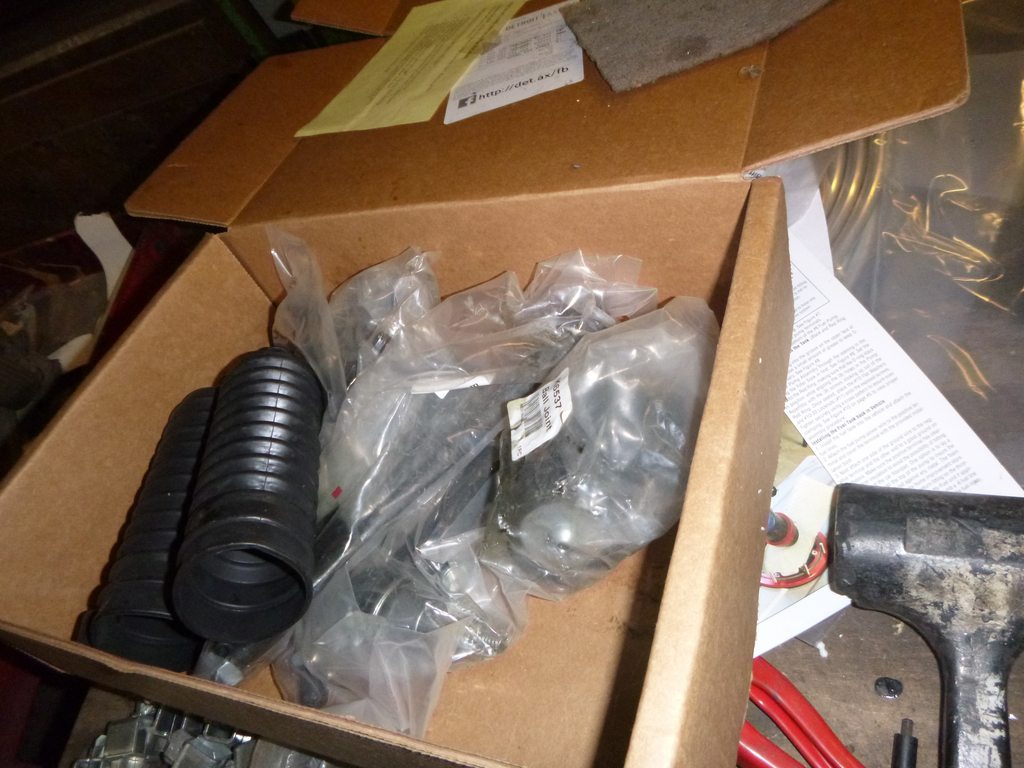
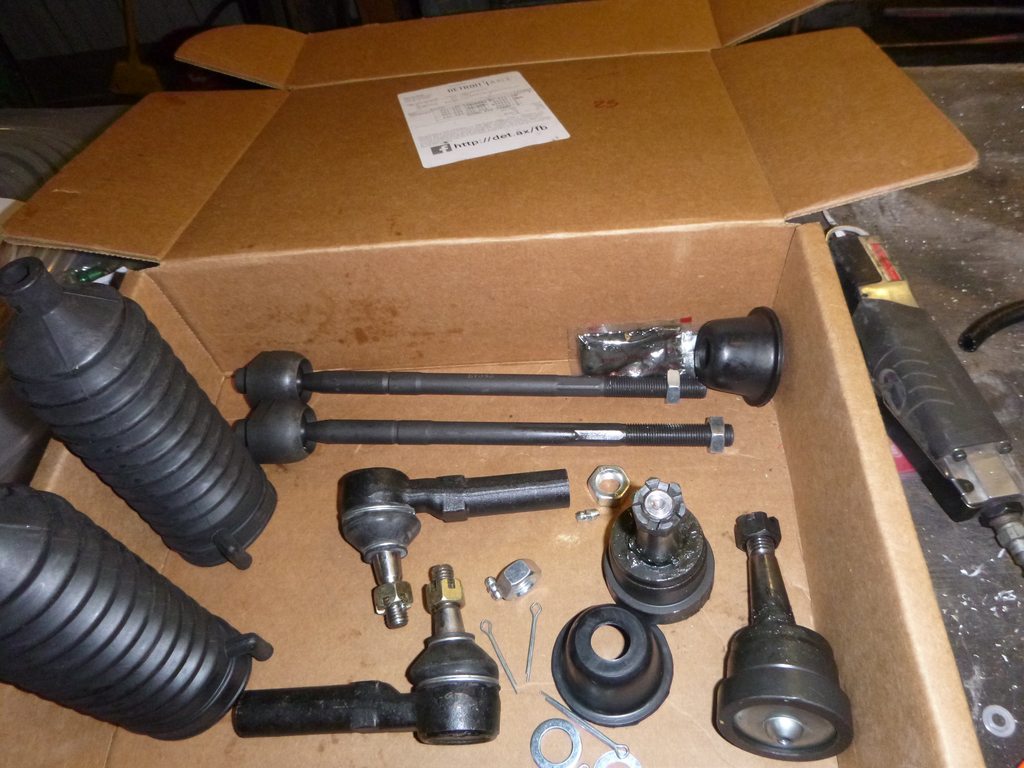
it was cheaper to buy this as a kit then individually... and hate on Chinese (like I do) but they put lube points on all the moving points... I guess we got too smart for that?
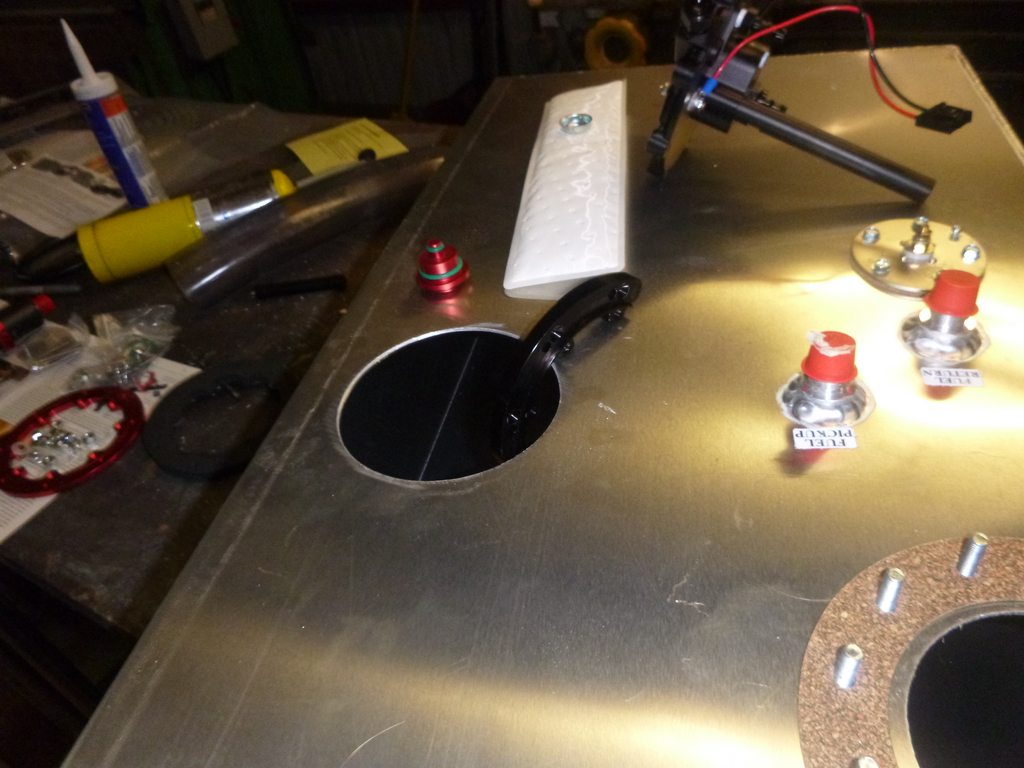
and fuel line....
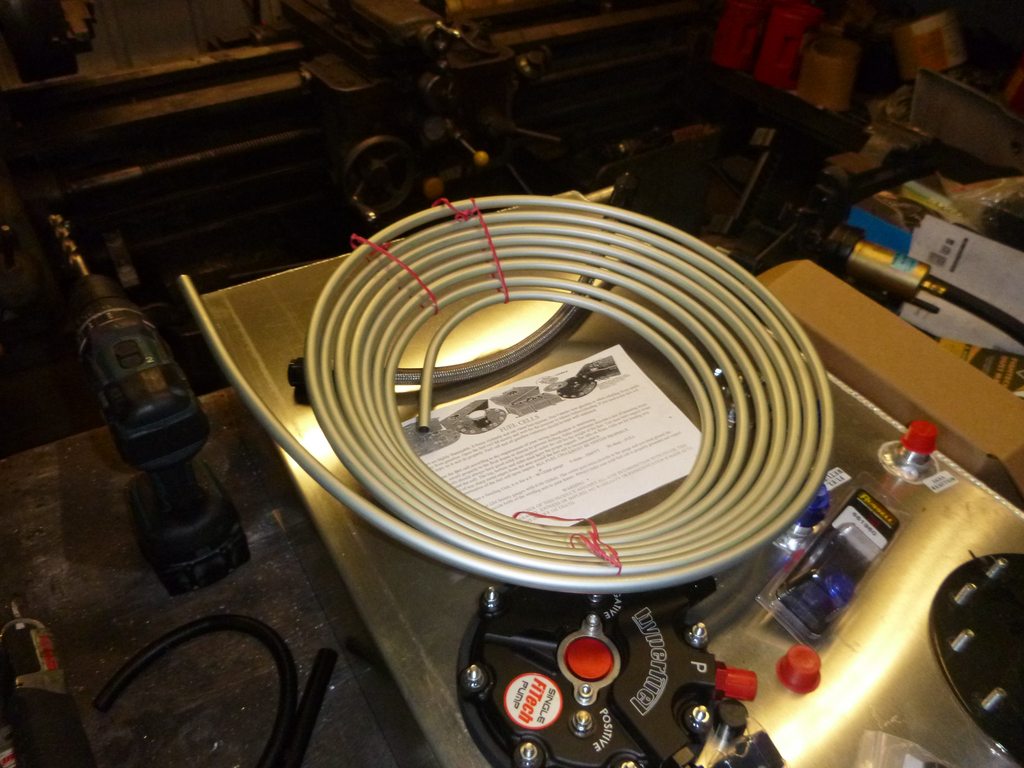
which I bought twice not knowing that aluminum is advised against by FItech.... ah well, it was really cheap and I'll use it for other stuff... new brake line is under that stack too
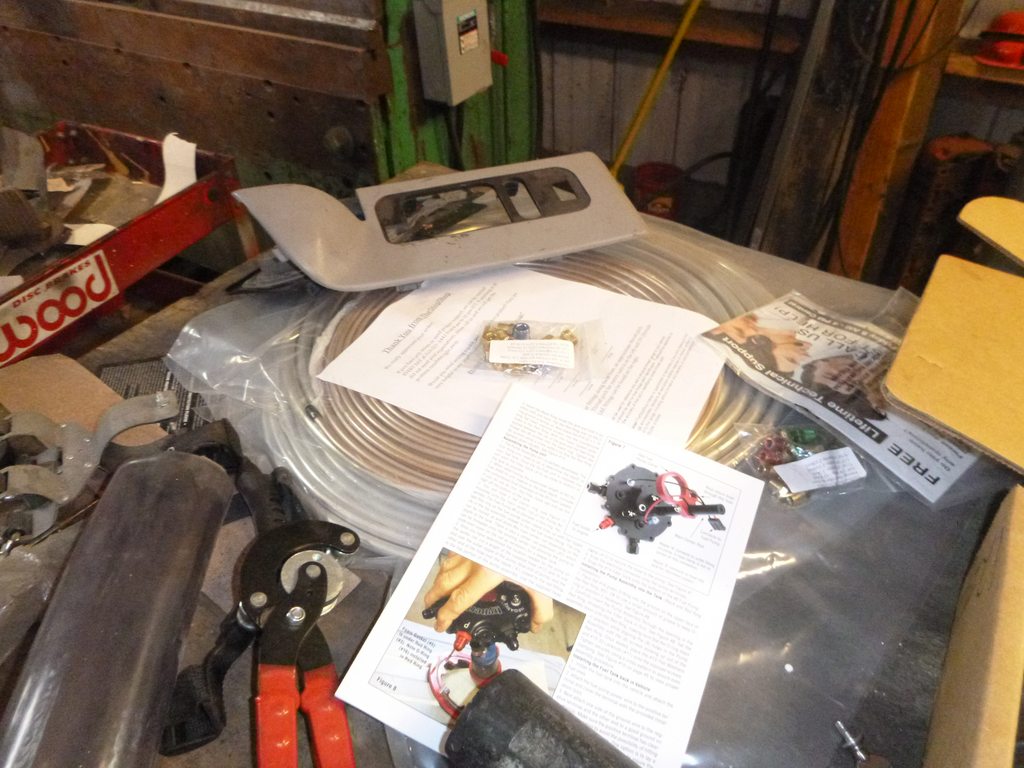
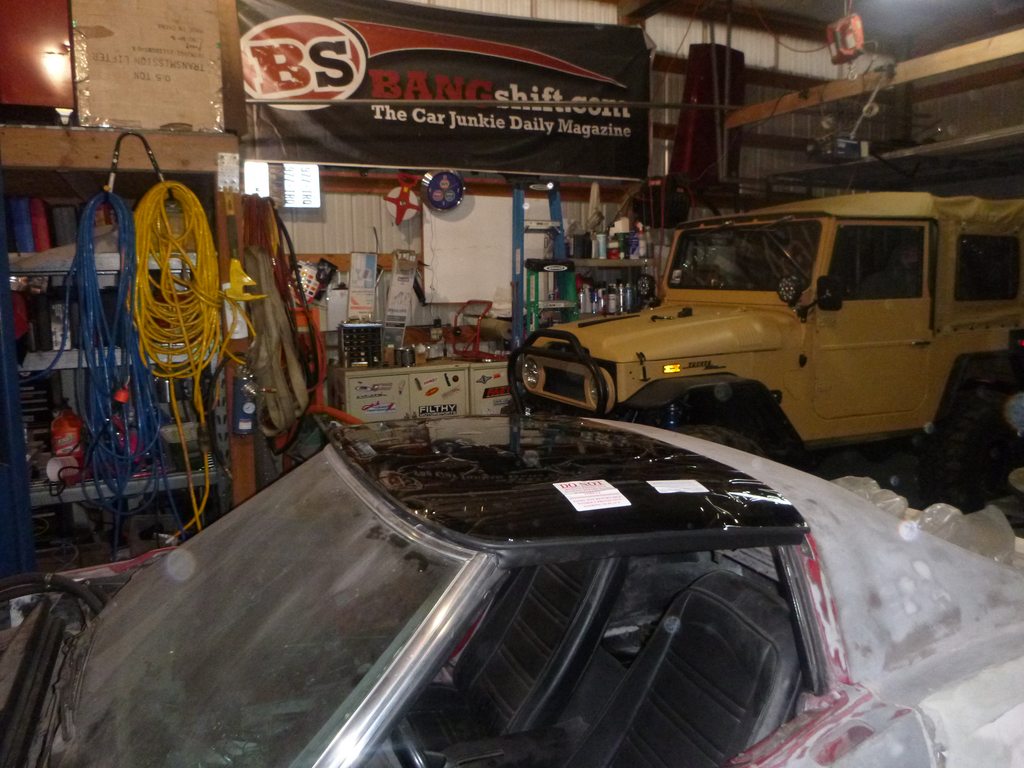
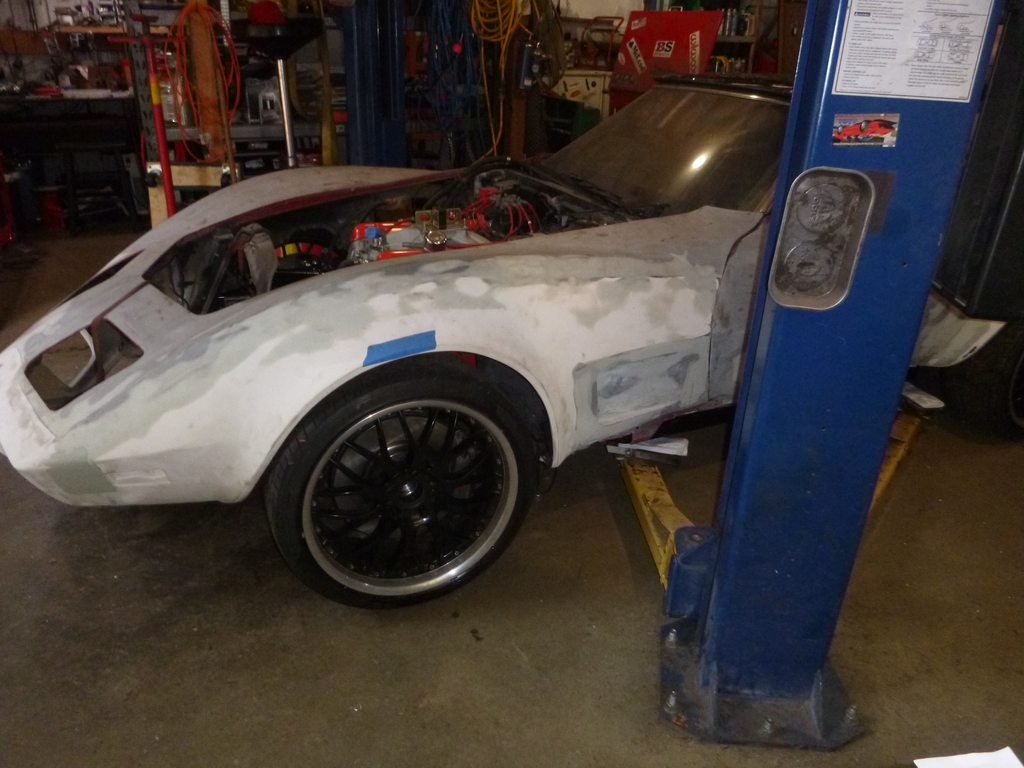
Got around to removing the seats and carpet for the next phase

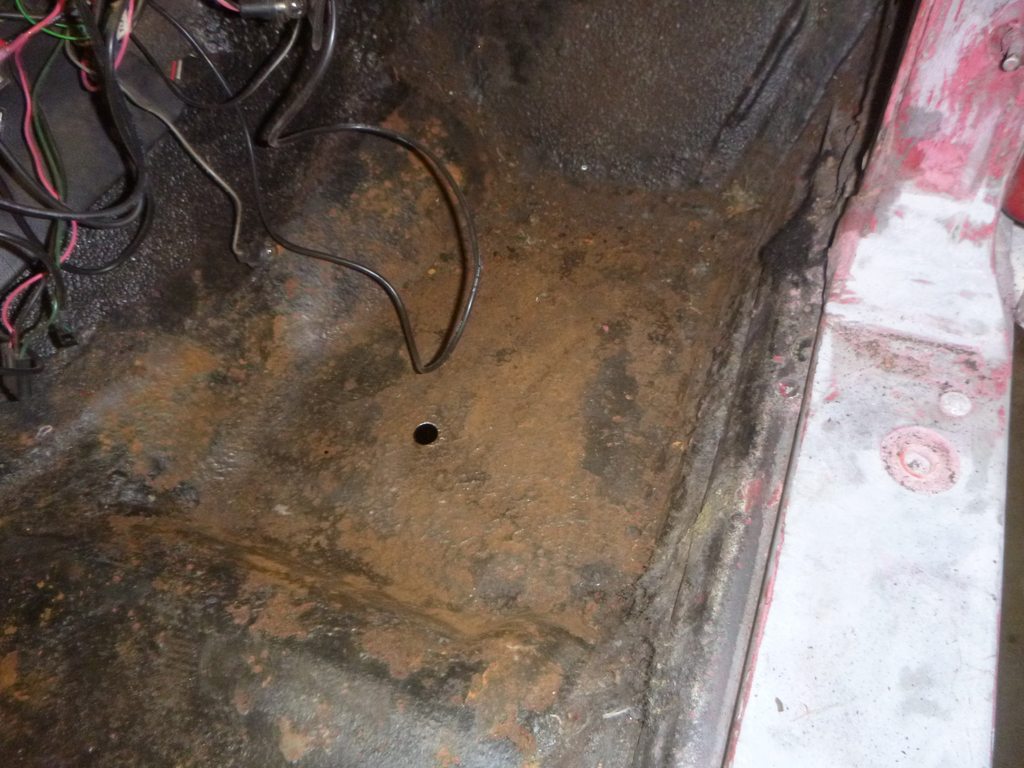
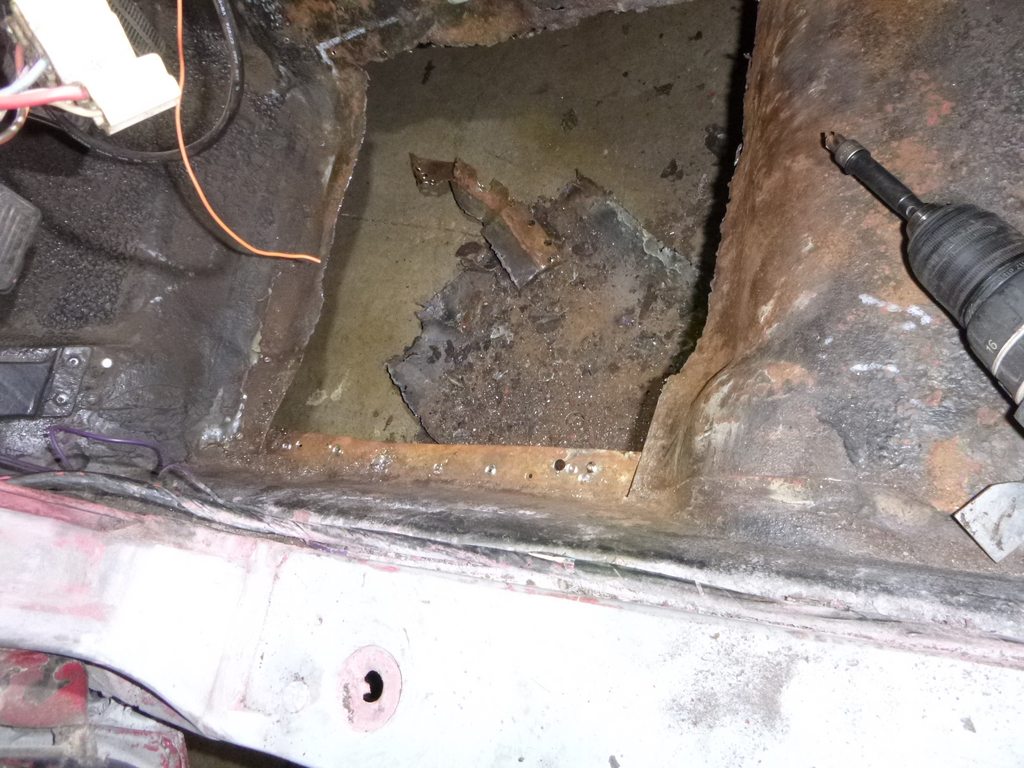
what I wasn't waiting for was more metal work inside.... this is why I like up to 75... no metal floors, or speedholes in the metal floor
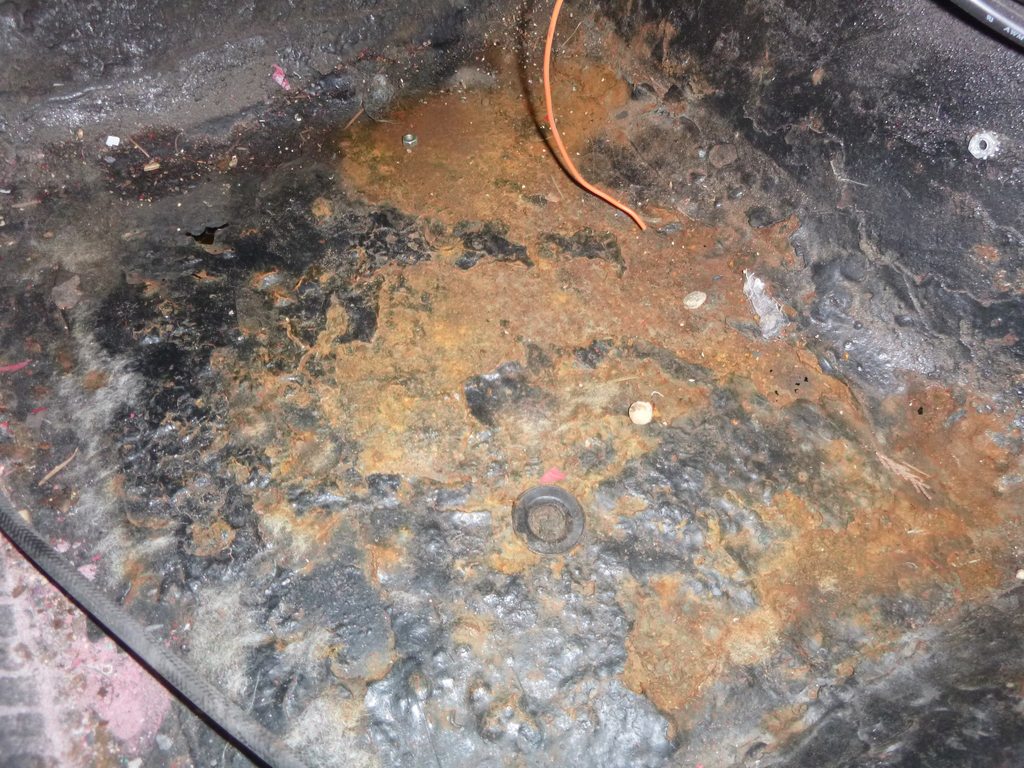
I'll get on fixing this Thursday... ah well. This year finish goal was more of a hopeful guess.
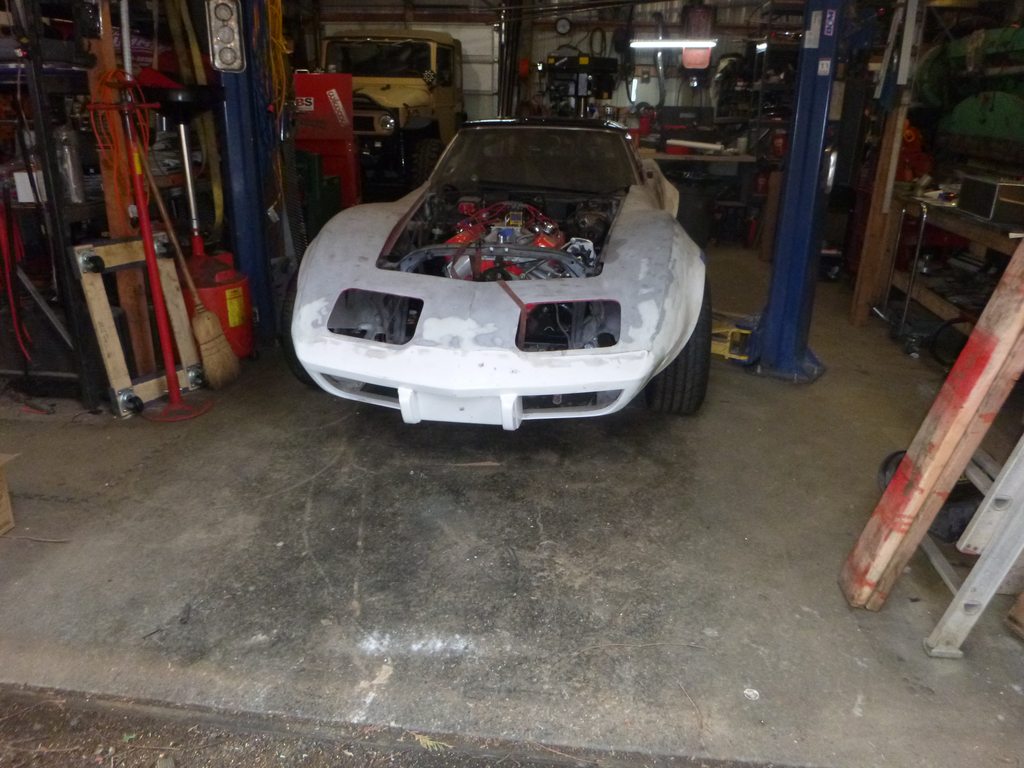
hopefully the readers enjoy the faster loading - I'm using "huge thumbnail" it loads light years faster at the expense of clarity.
such as rebuild parts for the C6 front suspension
it was cheaper to buy this as a kit then individually... and hate on Chinese (like I do) but they put lube points on all the moving points... I guess we got too smart for that?
and fuel line....
which I bought twice not knowing that aluminum is advised against by FItech.... ah well, it was really cheap and I'll use it for other stuff... new brake line is under that stack too
Got around to removing the seats and carpet for the next phase
what I wasn't waiting for was more metal work inside.... this is why I like up to 75... no metal floors, or speedholes in the metal floor
I'll get on fixing this Thursday... ah well. This year finish goal was more of a hopeful guess.
hopefully the readers enjoy the faster loading - I'm using "huge thumbnail" it loads light years faster at the expense of clarity.
The following 2 users liked this post by SuperBuickGuy:
gtmsomeday (04-10-2019),
Metalhead140 (04-10-2019)
04-12-2019, 09:40 AM
#288
Melting Slicks
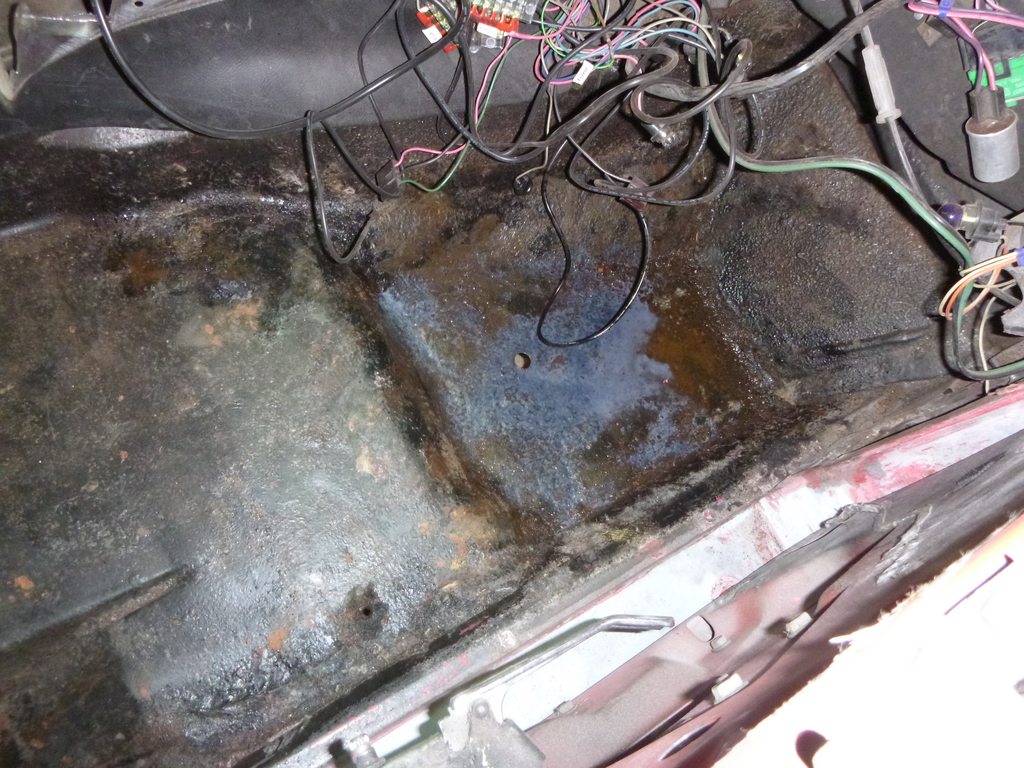
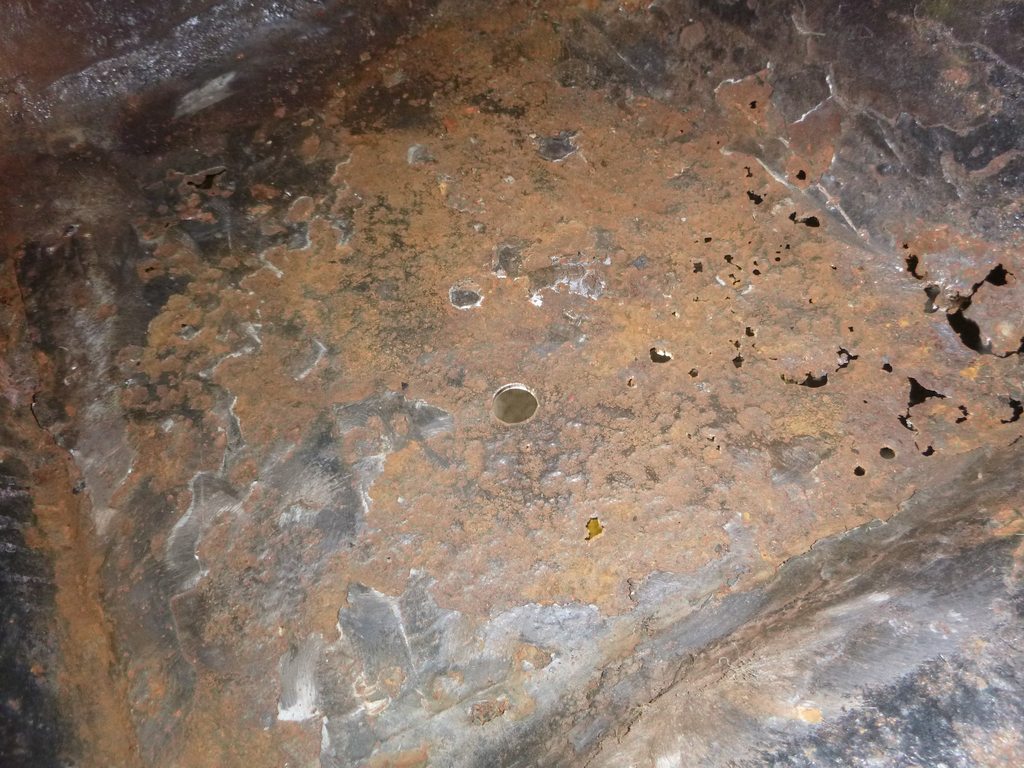
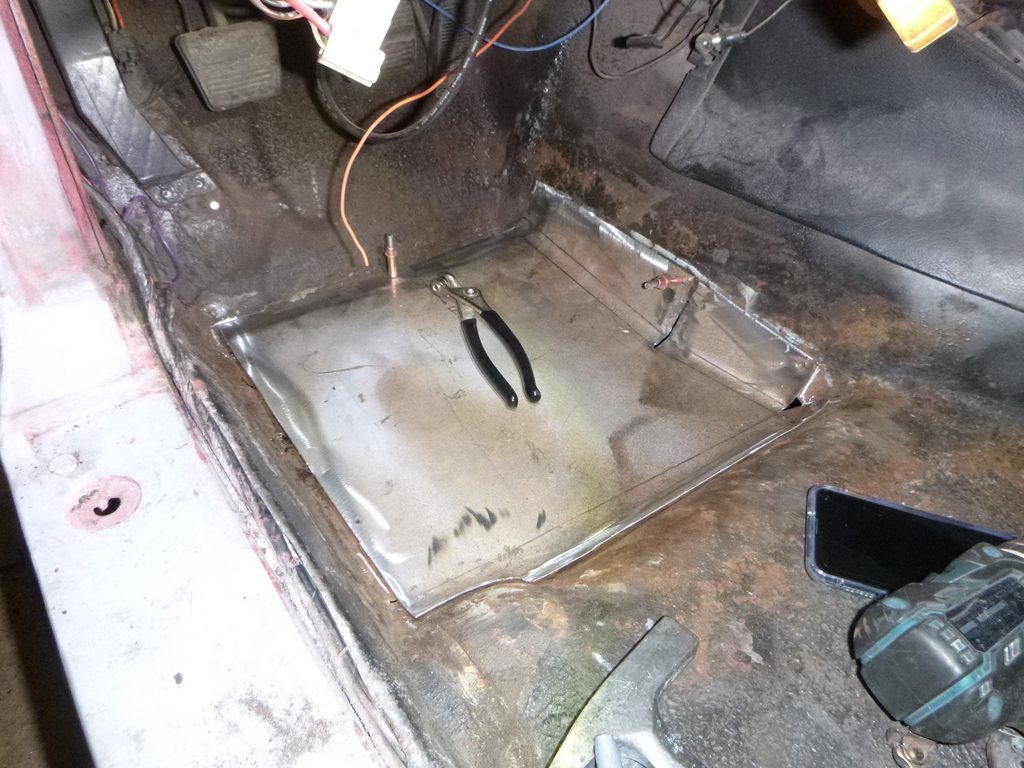
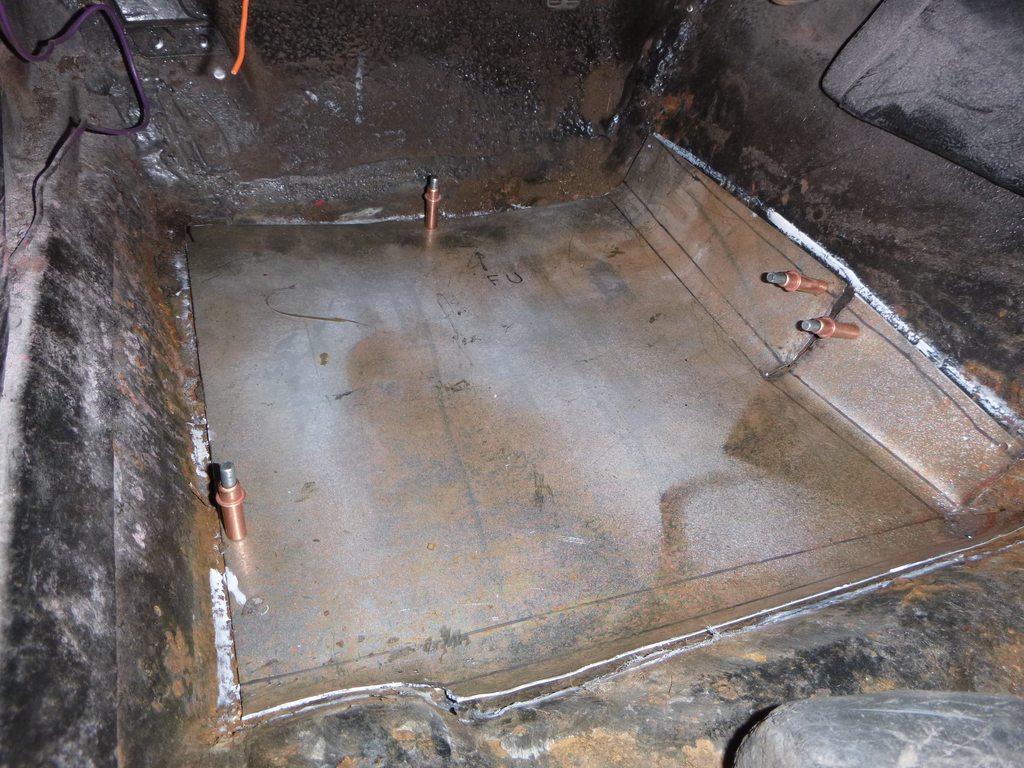
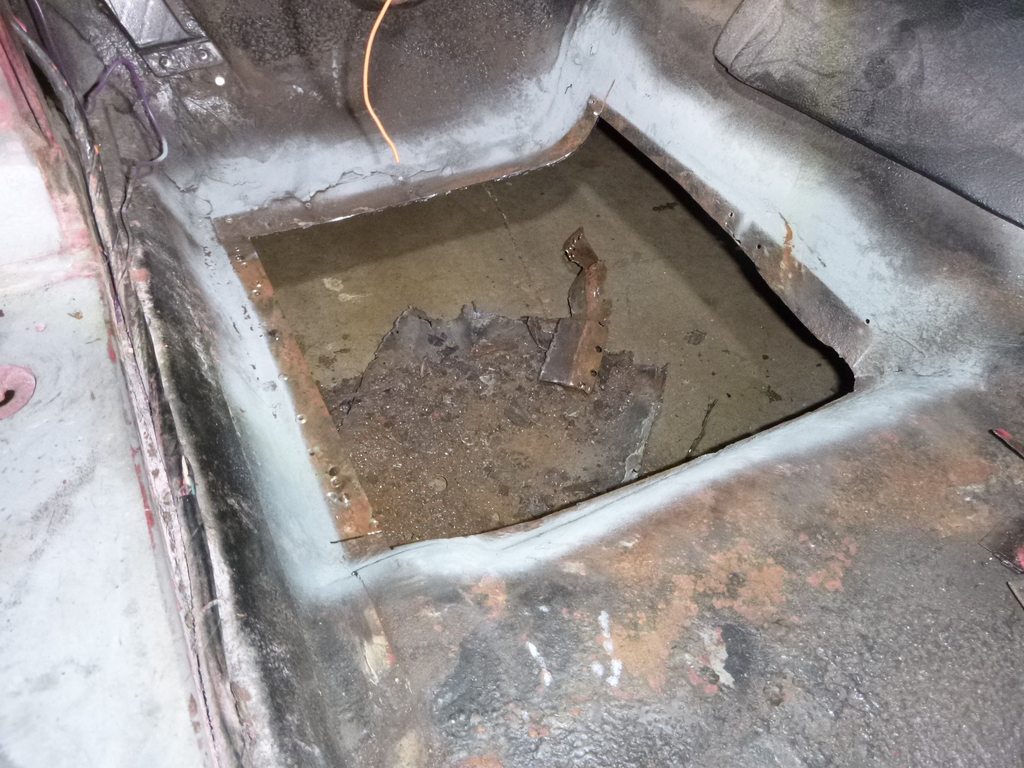
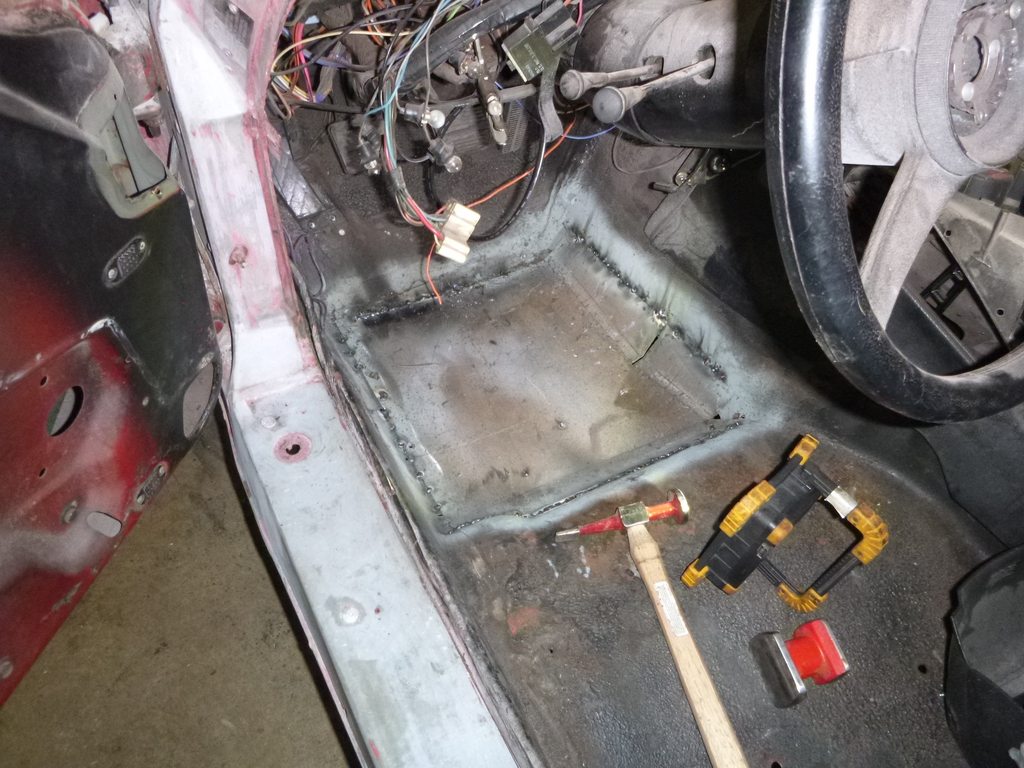
extent of the problem

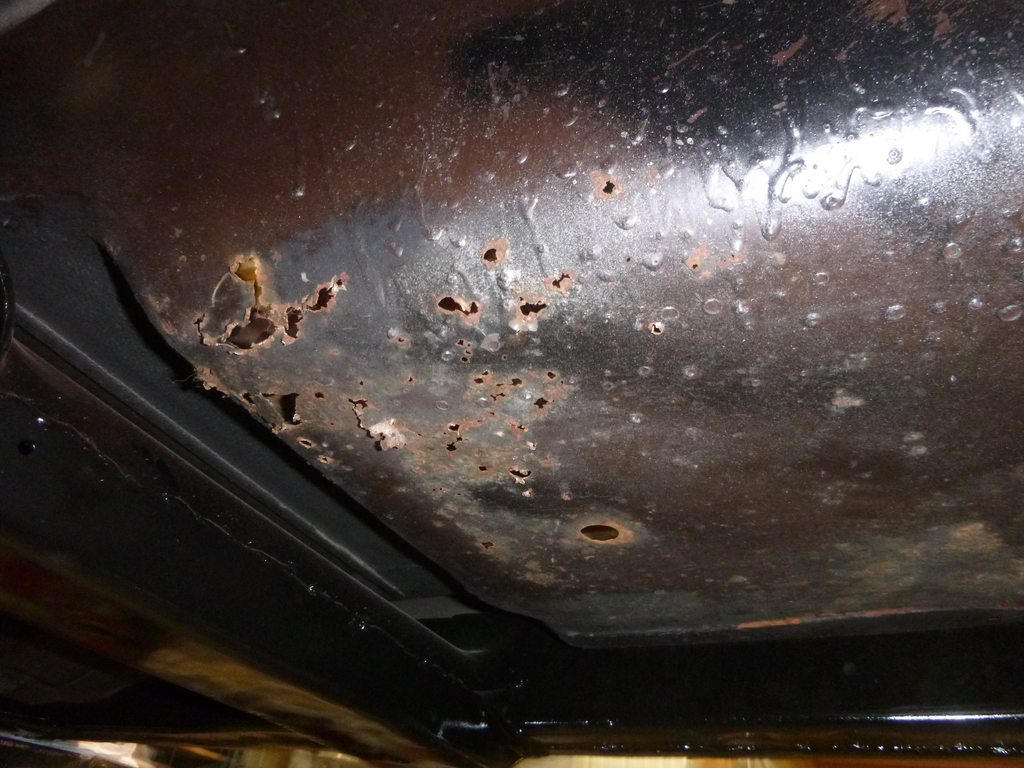
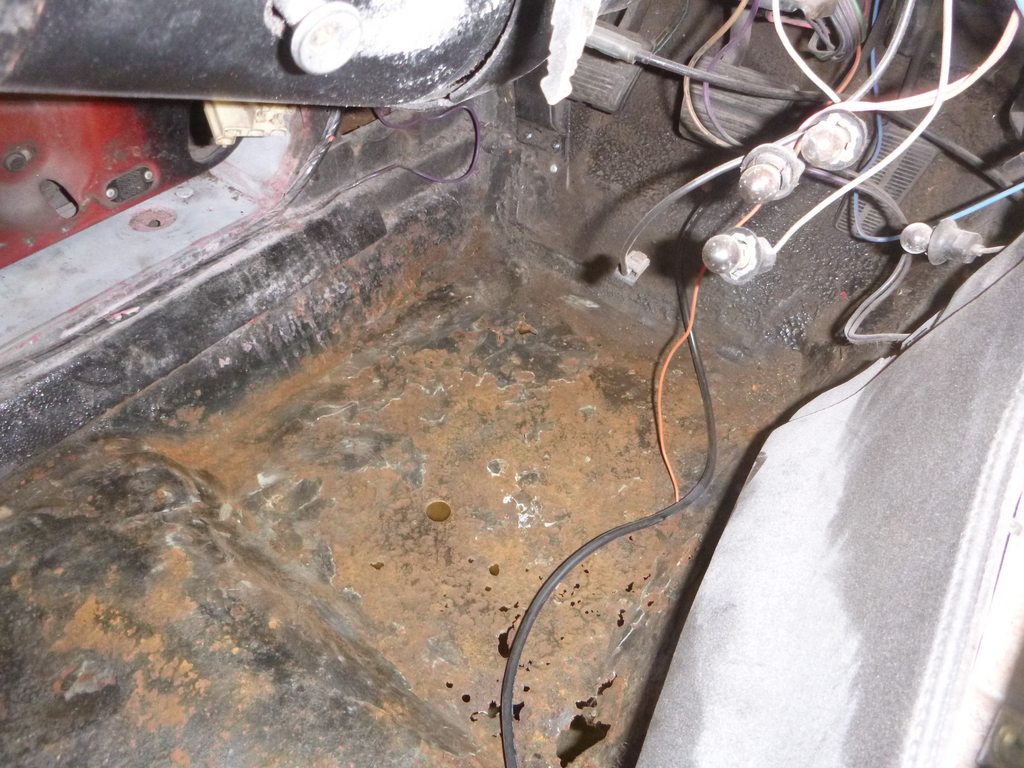
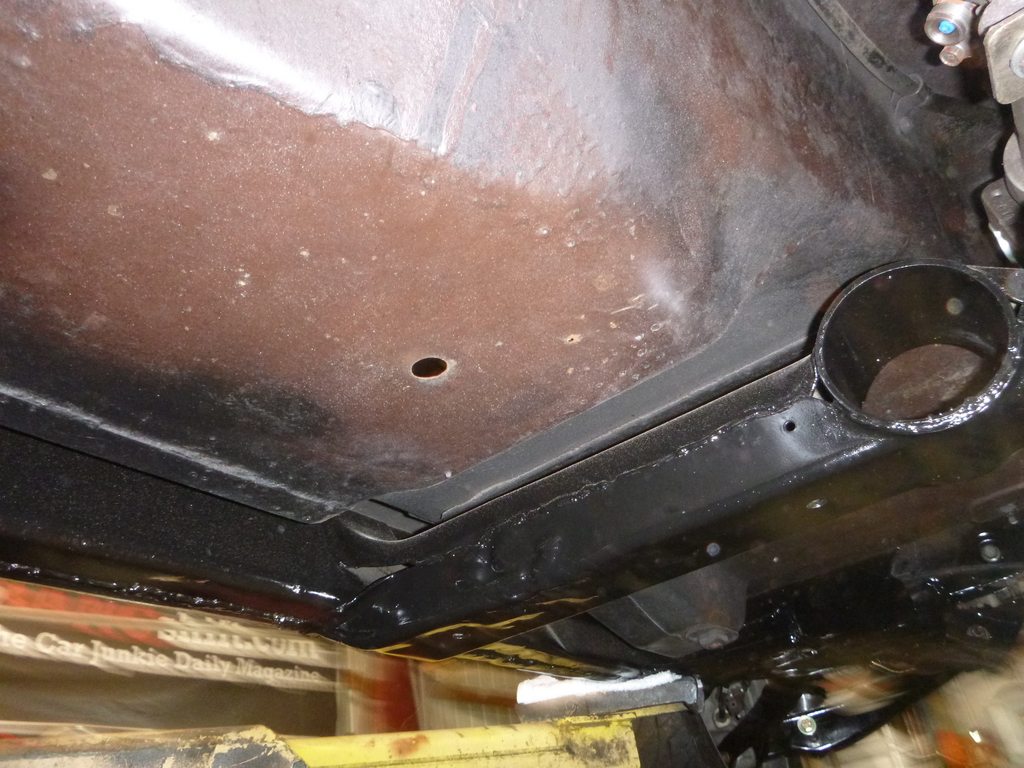
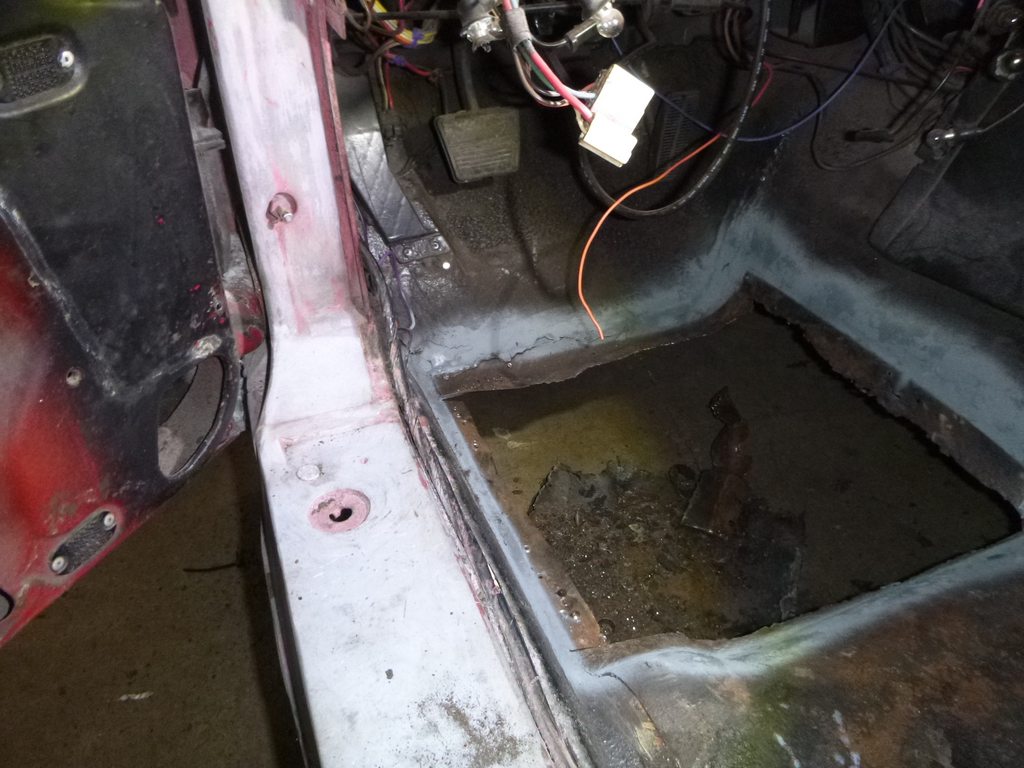
passenger side is fine

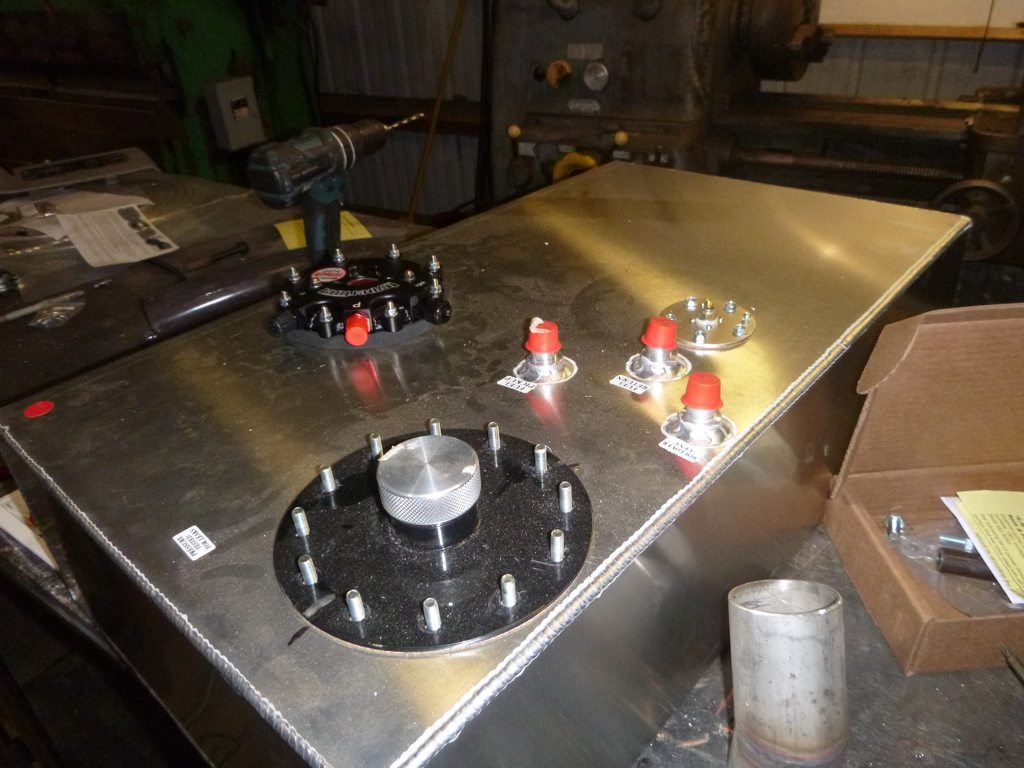
Needed bench space so put the tank roughly in place
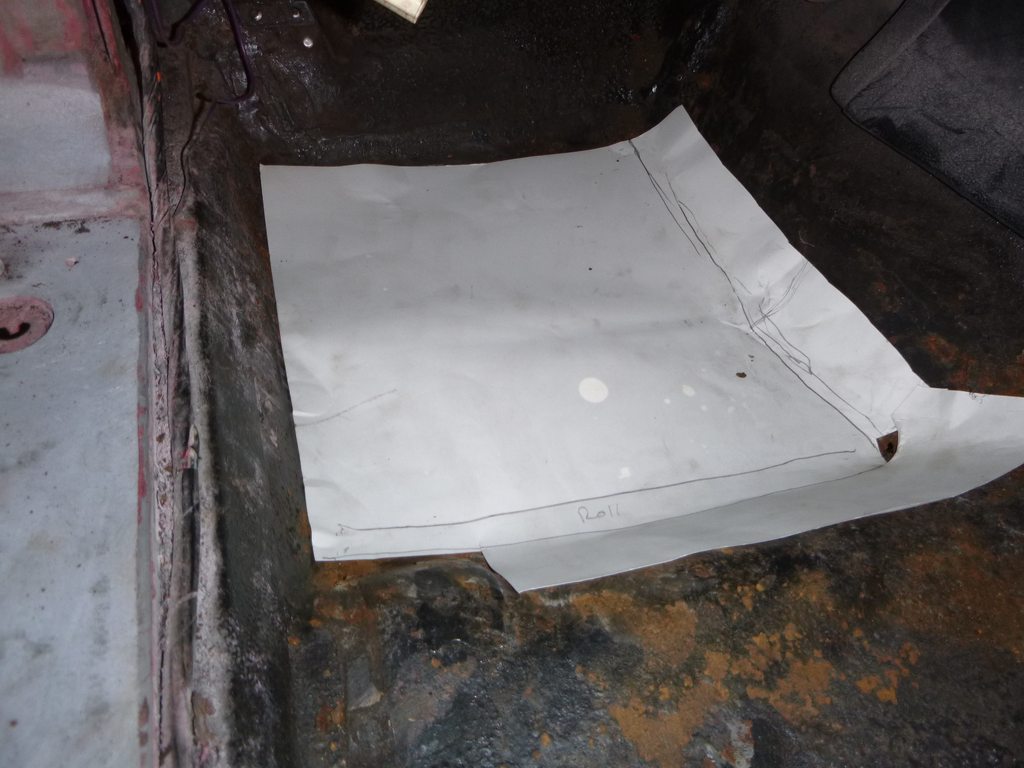
so the plan.... at $300 plus shipping, there is zero chance I'm not building a replacement part(s) myself for the floorpan...
passenger side is fine
Needed bench space so put the tank roughly in place
so the plan.... at $300 plus shipping, there is zero chance I'm not building a replacement part(s) myself for the floorpan...

 04-15-2019, 11:44 AM
#290
Dementer sole survivor


Member Since: Oct 2015
Location: YUPPY HELL Westford MASS
Posts: 16,445
Received 6,294 Likes
on
3,920 Posts
2020 C3 of the Year Finalist - Modified
2020 Corvette of the Year Finalist (performance mods)
2019 C3 of Year Winner (performance mods)
2016 C3 of Year Finalist
I did the same thing for an early 70's Jeep I had to rebuild. Welded in nicley and it was thicker and stronger than the original....
Good job
Good job
Last edited by Rescue Rogers; 04-15-2019 at 11:45 AM.
04-17-2019, 12:19 AM
#291
Melting Slicks
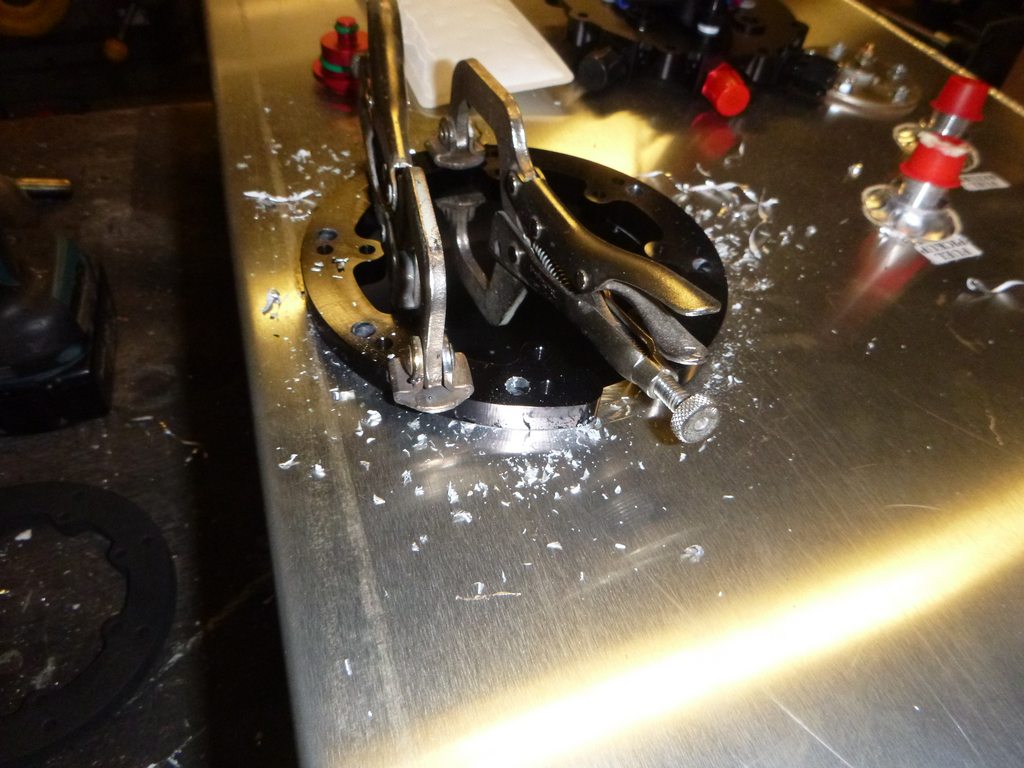
Foretaste of the Buick wagon that's coming next
cut hole, remove undercoating
remove metal from flange
spray with weld-through primer first to mark the edges
eventually I'll weld this on both sides, but this is a start
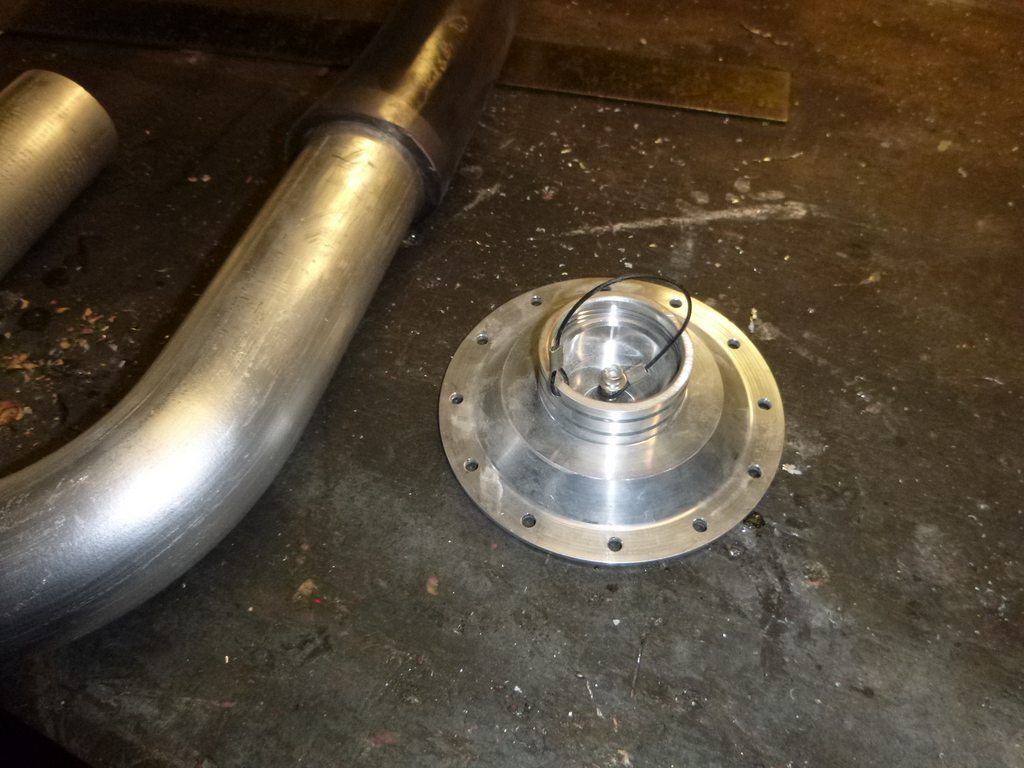
and finally another project in the wings
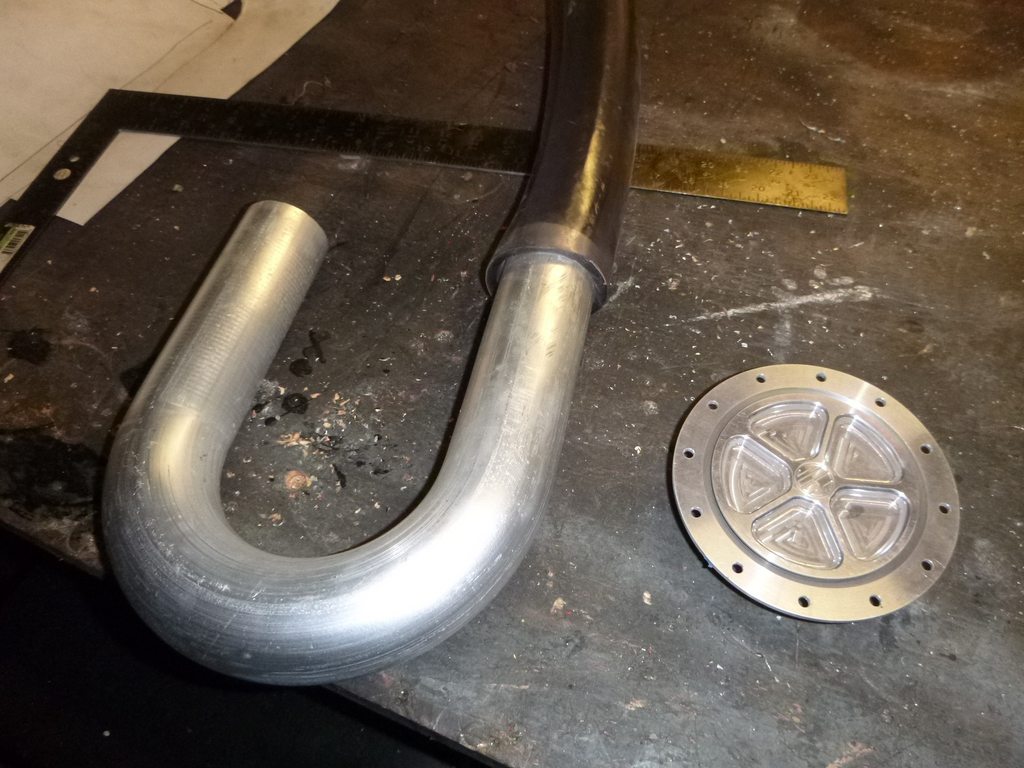
initially I was/may weld this - but the cap retainer would need another solution
cut hole, remove undercoating
remove metal from flange
spray with weld-through primer first to mark the edges
eventually I'll weld this on both sides, but this is a start
and finally another project in the wings
initially I was/may weld this - but the cap retainer would need another solution
04-17-2019, 07:22 AM
#292
Burning Brakes

love the innovation and attention to detail here. I really enjoy following your thread. Keep up the good work and that billet cap looks amazing =)
04-18-2019, 11:24 PM
#293
Melting Slicks
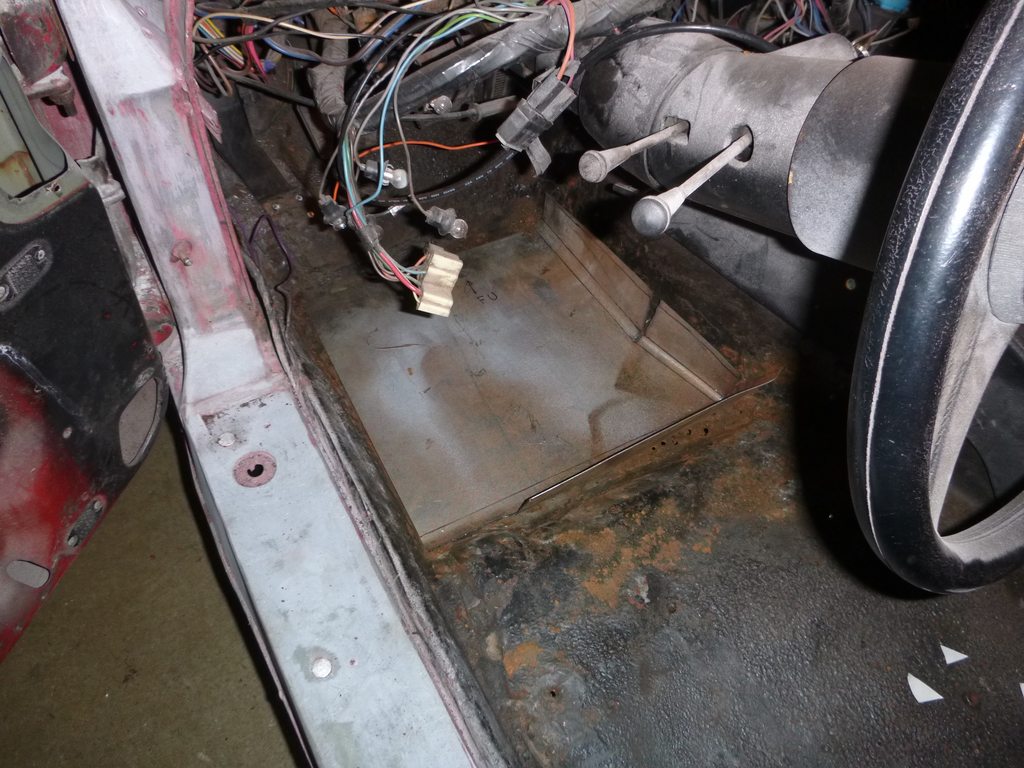
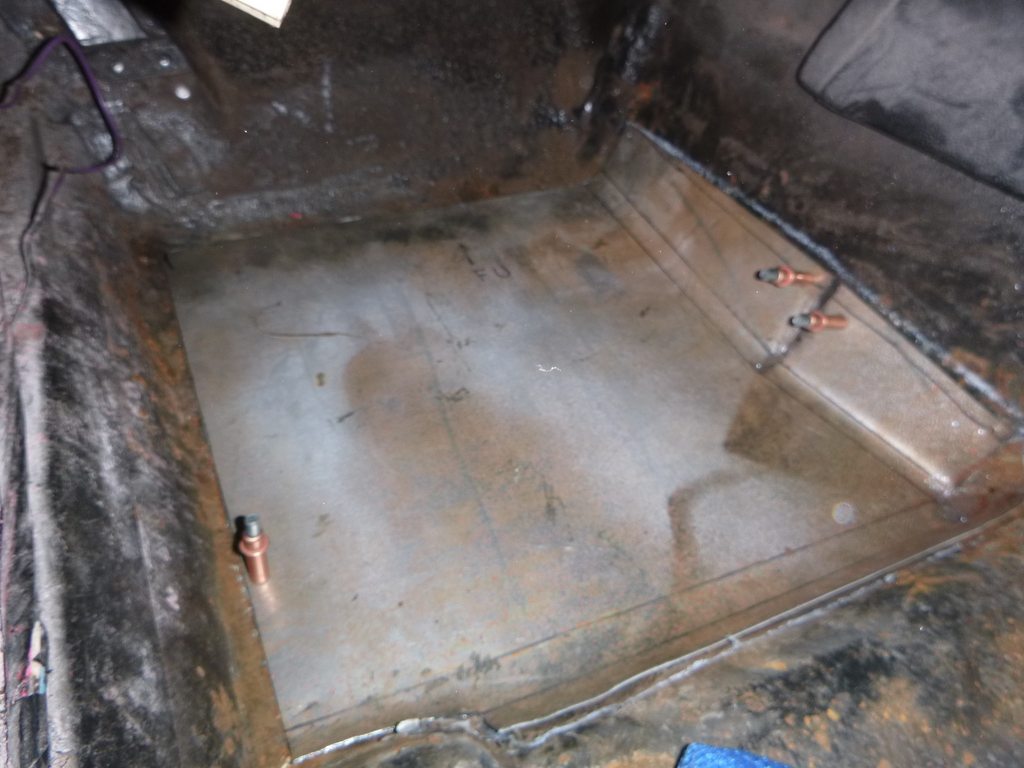
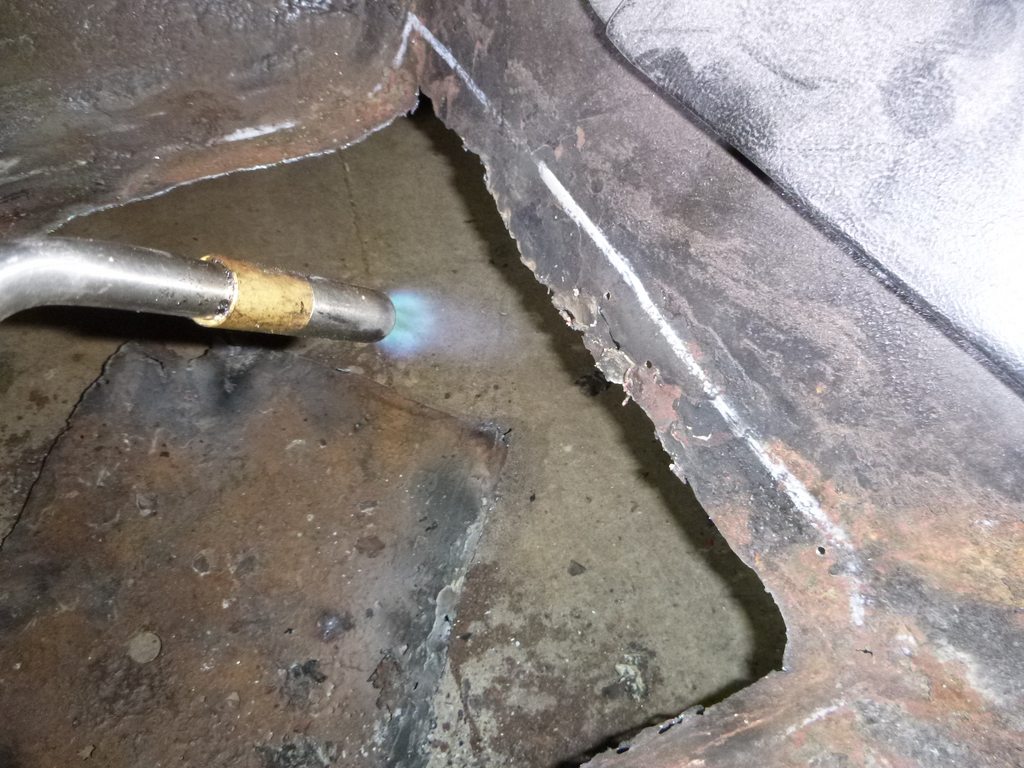
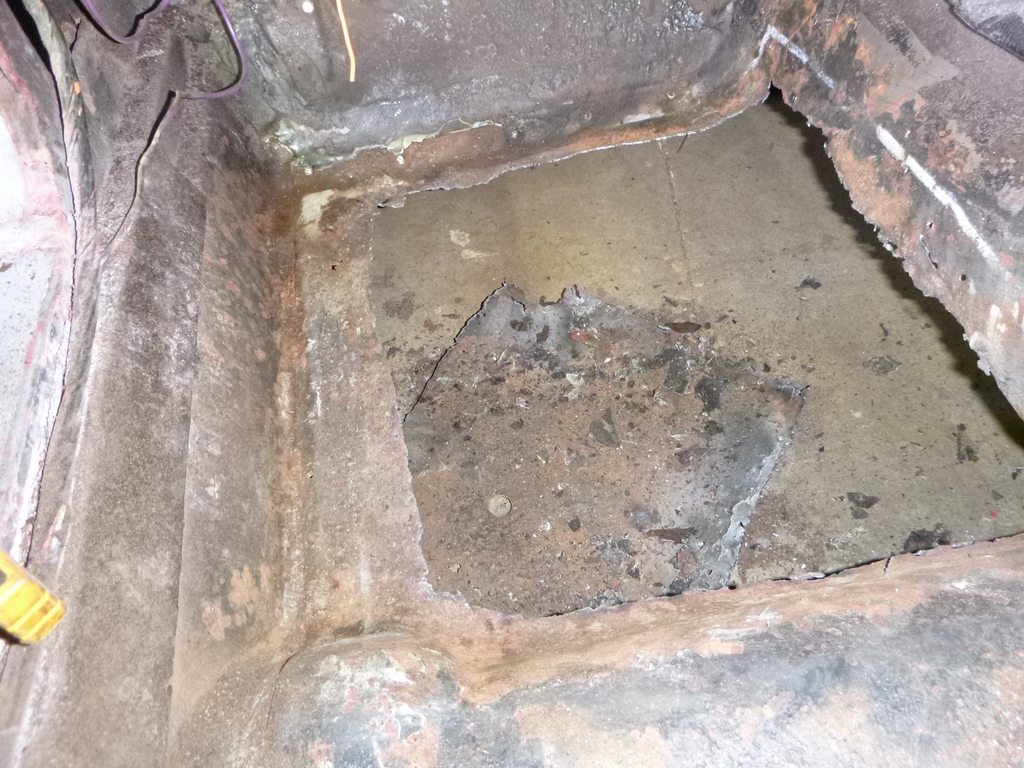
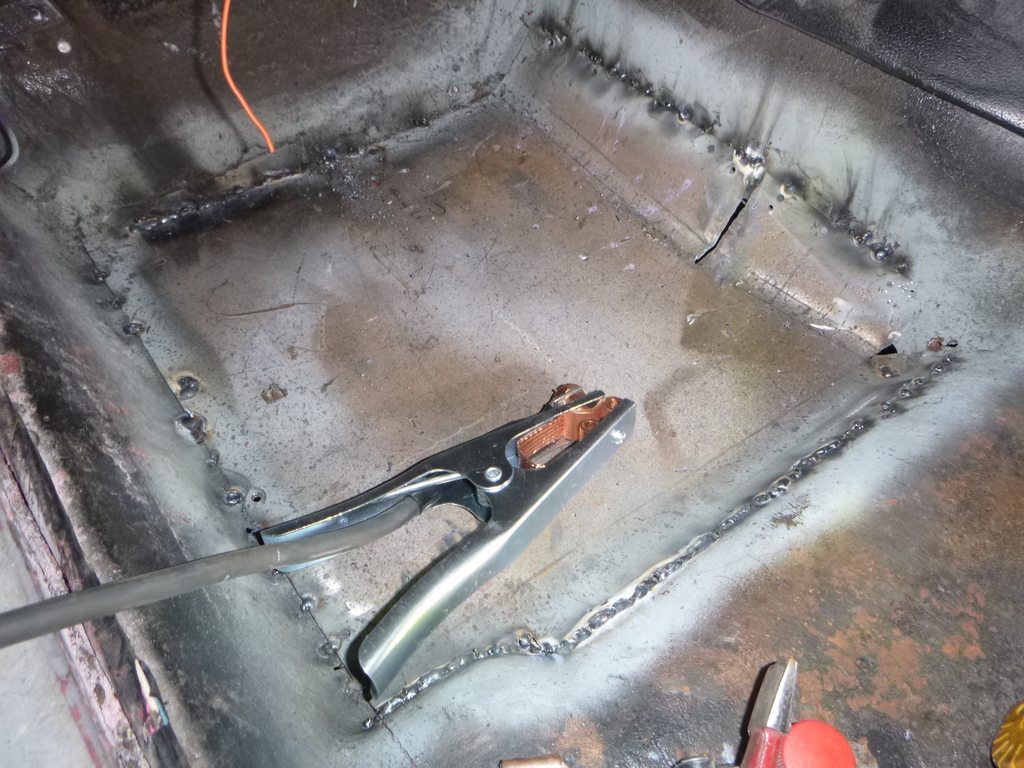
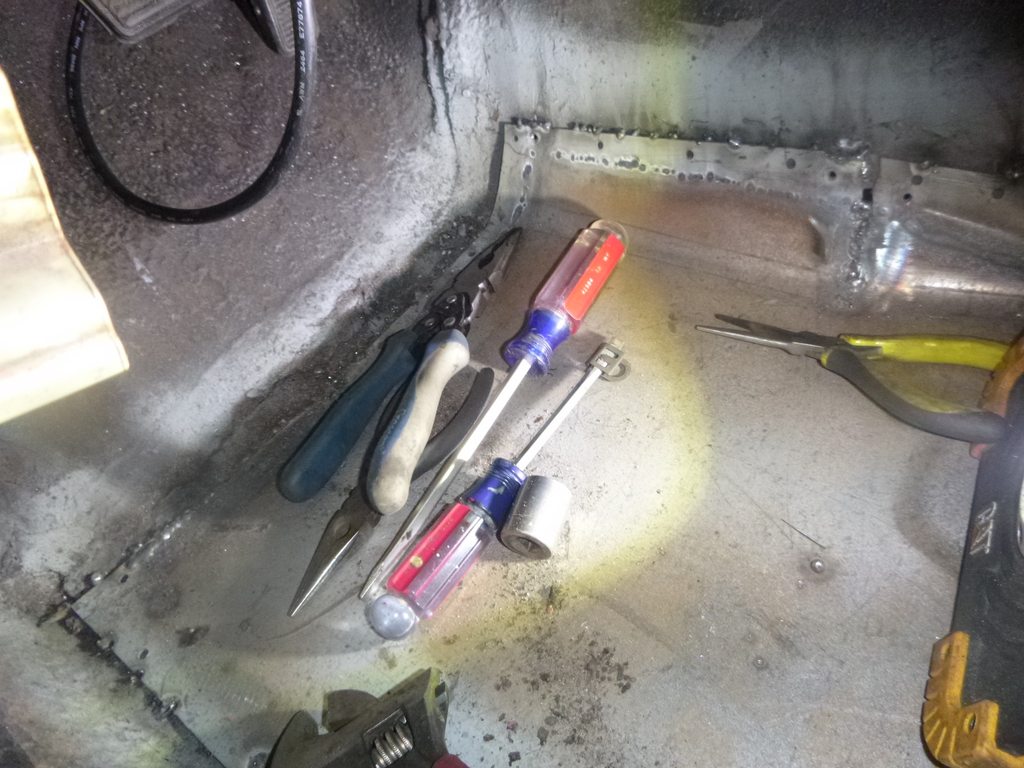
Finish up the floor detour
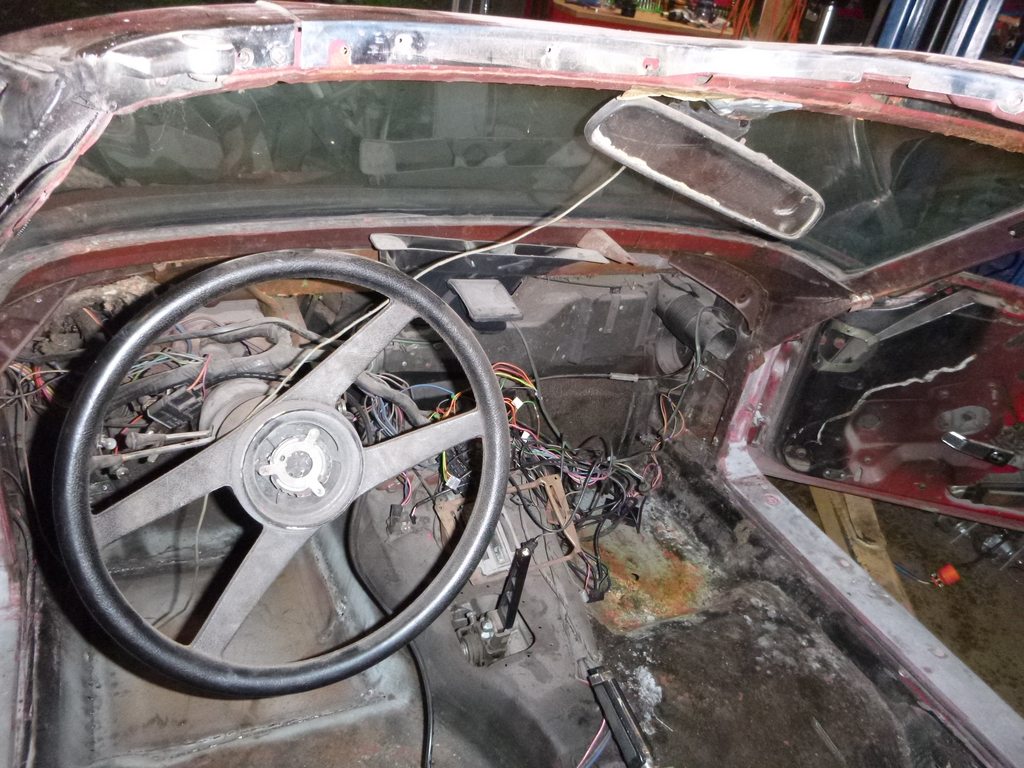
a few notes.
1) the floor is going to get the ceramic coating that the FJ40 got - it's 1/4" thick so those seams disappear as does the rust pits on the other side
2) underneath it gets undercoating so the patch will fully disappear (like it did on the '40)
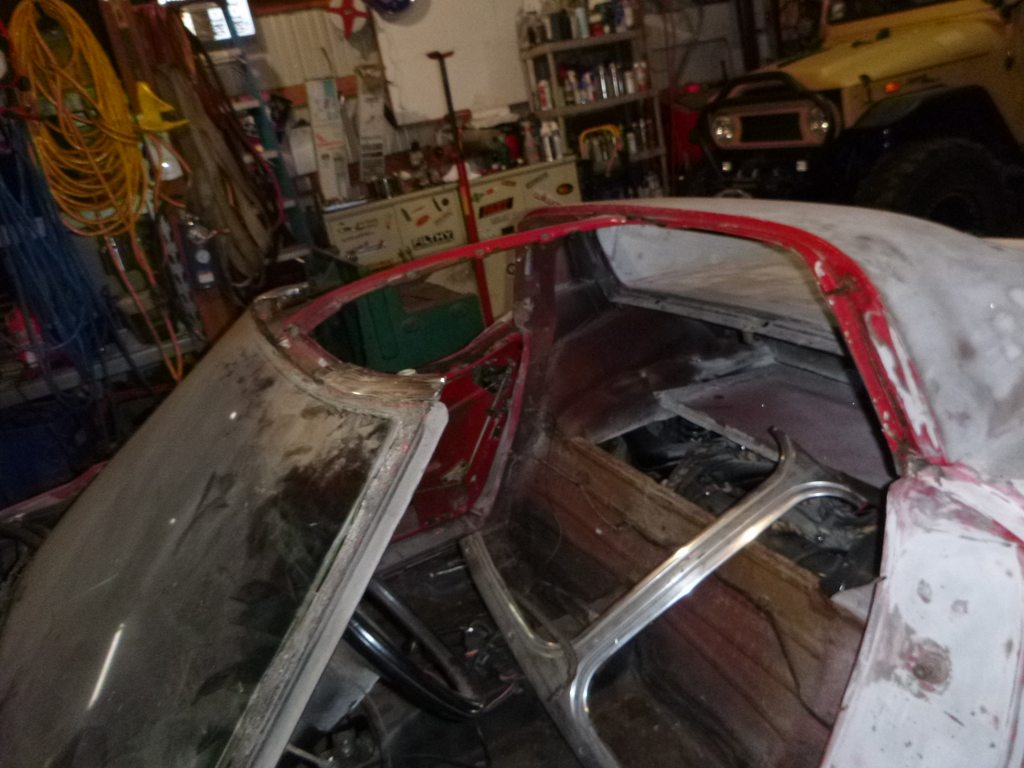
3) FOR THE LOVE ALL THAT IS HOLY STOP BLOCKING WINDOW CHANNELS WITH ADHESIVE WHEN YOU HAVE A LEAK... damn fools, GM designed the windshield system to allow the water to run under the molding then away from the car. The molding keeps water from being driven into the windshield frame. This car had a leak, and they plumb filled up the channels with window adhesive.... the leak is in the valley (below the window) .... just remember this, if I see you, Bubba, doing this I pray for your eternal soul to be damned to a hell where you do nothing but try to weld up pinholes, naked, and over your head. Prayer works, so you are now on notice there is an 11th commandment.
onto cleaning the body so I can complete the color change
and rebuild the rear floor... I think I'm simply going to raise it to clear.... there's little reason to give it huge luggage space and it's far easier to just bond it back 2" higher.
a few notes.
1) the floor is going to get the ceramic coating that the FJ40 got - it's 1/4" thick so those seams disappear as does the rust pits on the other side
2) underneath it gets undercoating so the patch will fully disappear (like it did on the '40)
3) FOR THE LOVE ALL THAT IS HOLY STOP BLOCKING WINDOW CHANNELS WITH ADHESIVE WHEN YOU HAVE A LEAK... damn fools, GM designed the windshield system to allow the water to run under the molding then away from the car. The molding keeps water from being driven into the windshield frame. This car had a leak, and they plumb filled up the channels with window adhesive.... the leak is in the valley (below the window) .... just remember this, if I see you, Bubba, doing this I pray for your eternal soul to be damned to a hell where you do nothing but try to weld up pinholes, naked, and over your head. Prayer works, so you are now on notice there is an 11th commandment.
onto cleaning the body so I can complete the color change
and rebuild the rear floor... I think I'm simply going to raise it to clear.... there's little reason to give it huge luggage space and it's far easier to just bond it back 2" higher.
Last edited by SuperBuickGuy; 04-18-2019 at 11:31 PM.
04-21-2019, 11:59 PM
#294
Melting Slicks
more.... I spent most of the day on honey-dos, so I had 2 hours tonight to get further....
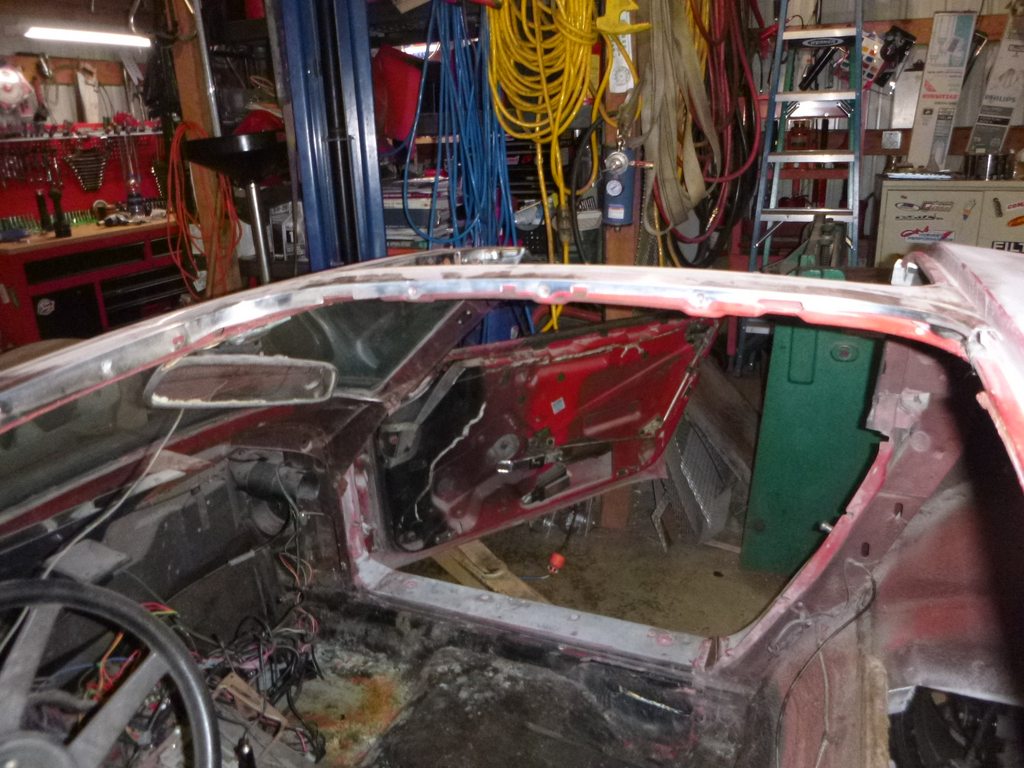
doors are off

I knew pulling the booster was a pain, double the pain for a true 4 speed car because there are more bits in the way
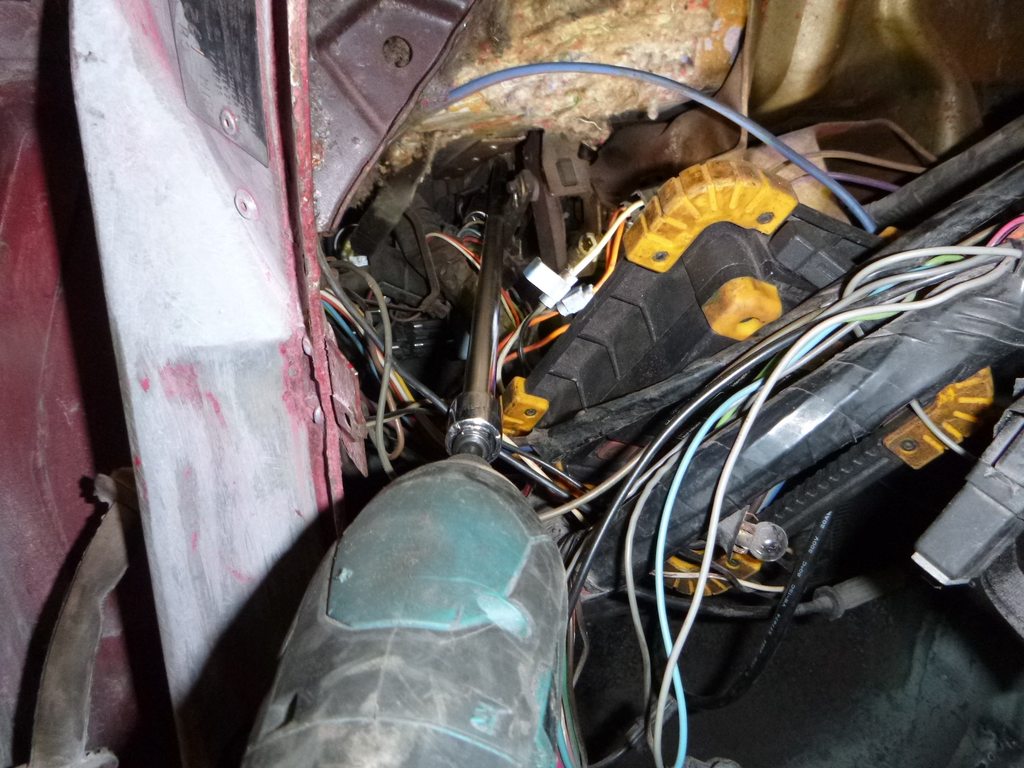
however, I won

ish.... I still have to put the other back in
ah well, having brakes that will suck the tailights through the gas tank will be awesome.
doors are off
I knew pulling the booster was a pain, double the pain for a true 4 speed car because there are more bits in the way
however, I won
ish.... I still have to put the other back in
ah well, having brakes that will suck the tailights through the gas tank will be awesome.
04-22-2019, 08:49 AM
#295
Nam Labrat

Member Since: Sep 2013
Location: New Orleans Loo-z-anna
Posts: 33,898
Received 4,178 Likes
on
2,738 Posts

"Ahhhhhhhh�..the thrill of restoring C3 Vettes.....it has to get real ugly before it gets real pretty"
04-23-2019, 12:37 AM
#296
Melting Slicks
not really restoration, the center of the frame is similar to stock and the top of the car, from the fender edges up is stock..... except the gas fill.... nose and tail are not.... lights won't be, hood is an idealized version, interior may have one or two bits... motor, not at all... trans is, for the moment stock.... but how bent and beat this was, this is the best use of it.
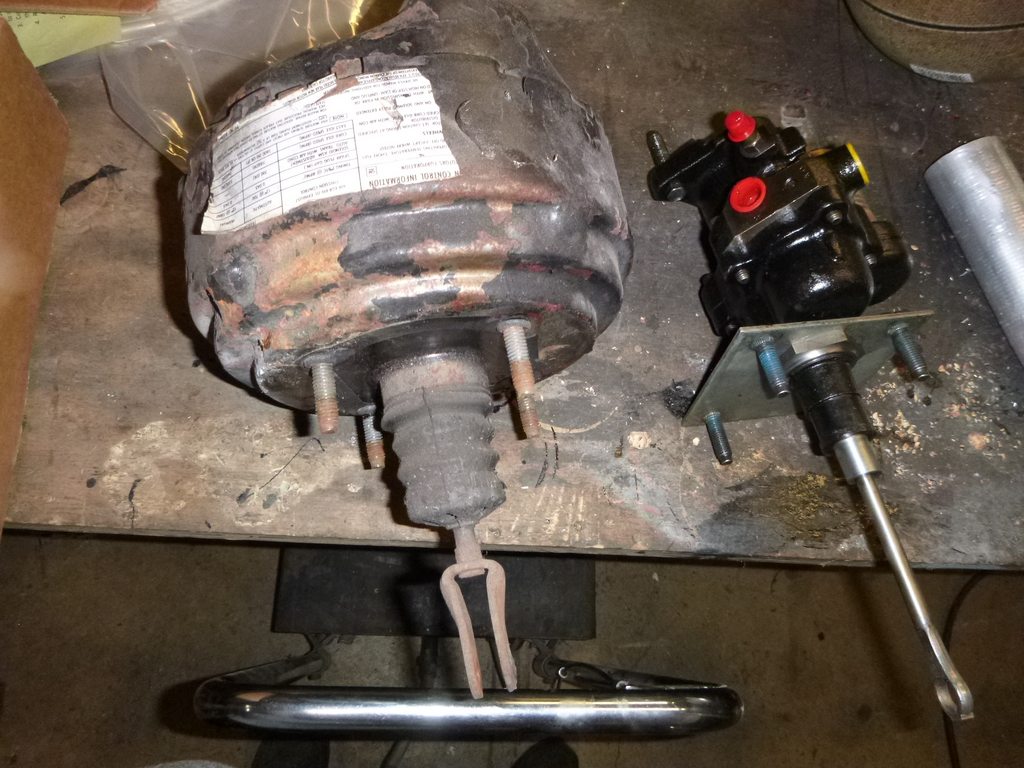
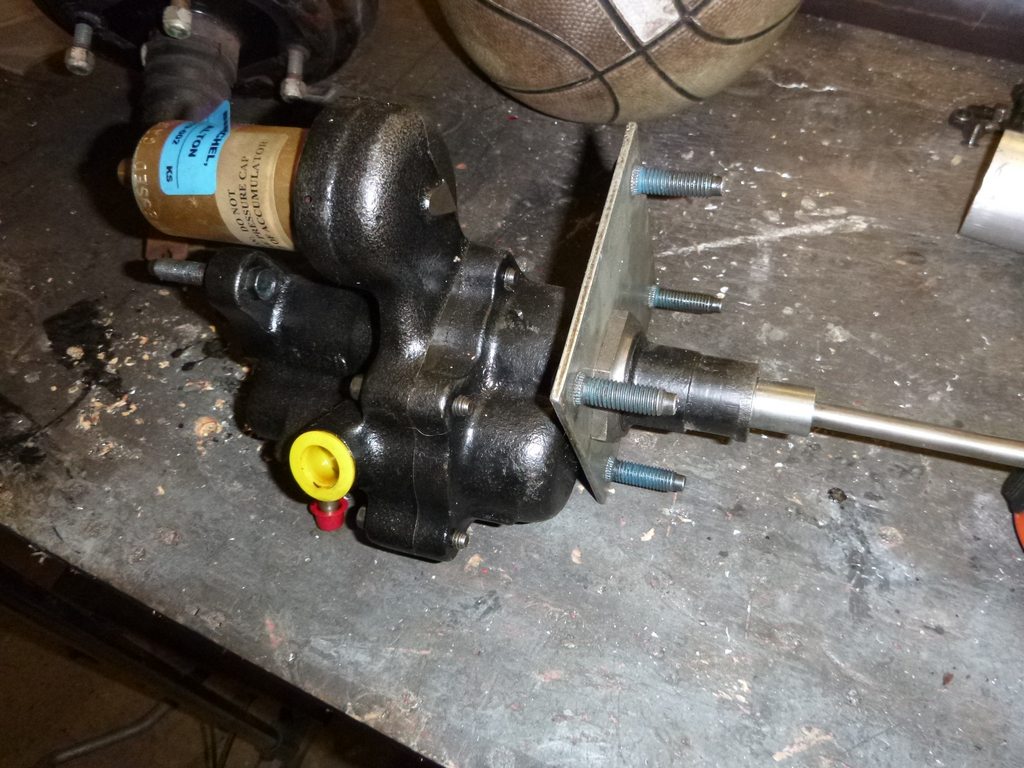
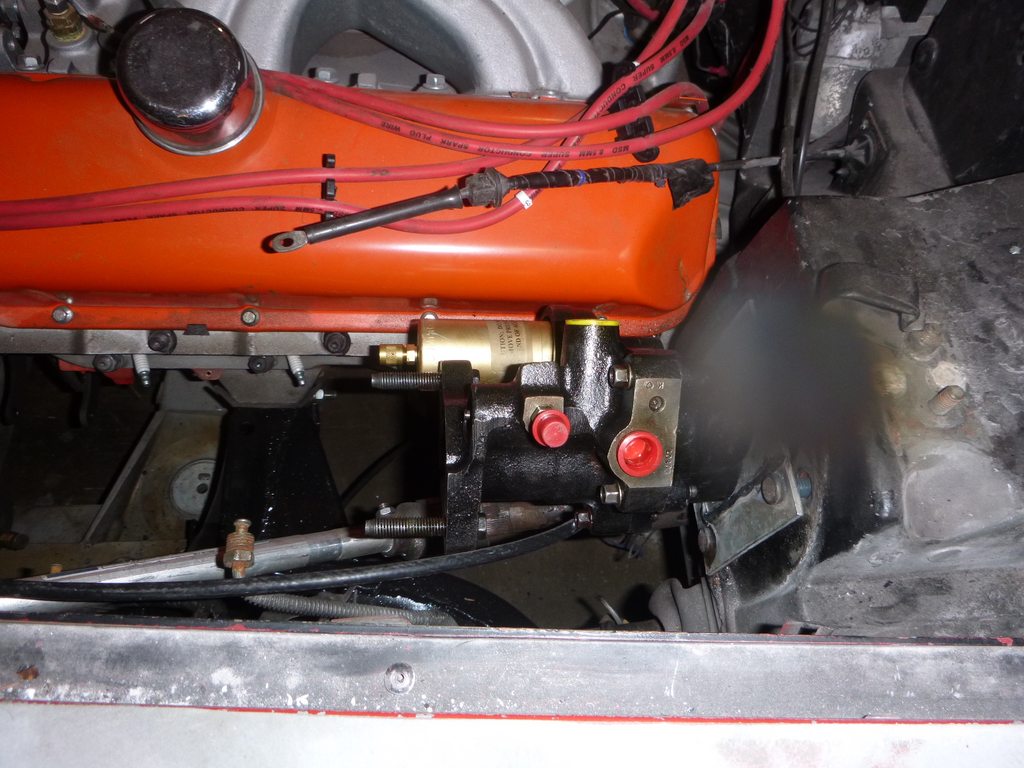
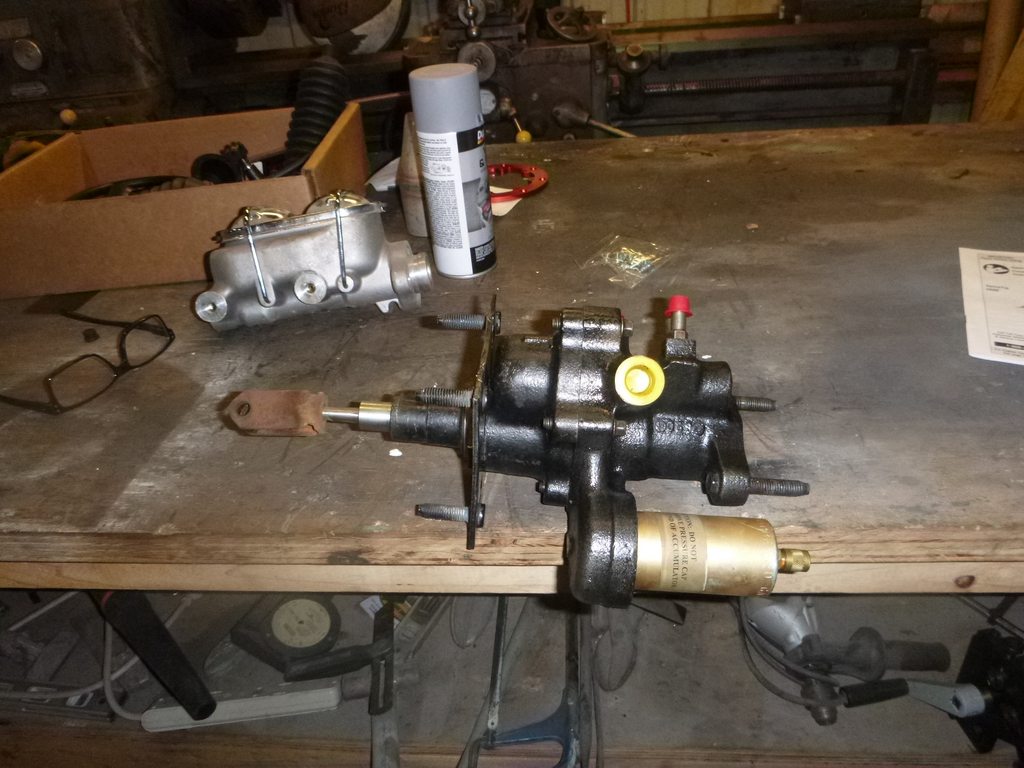
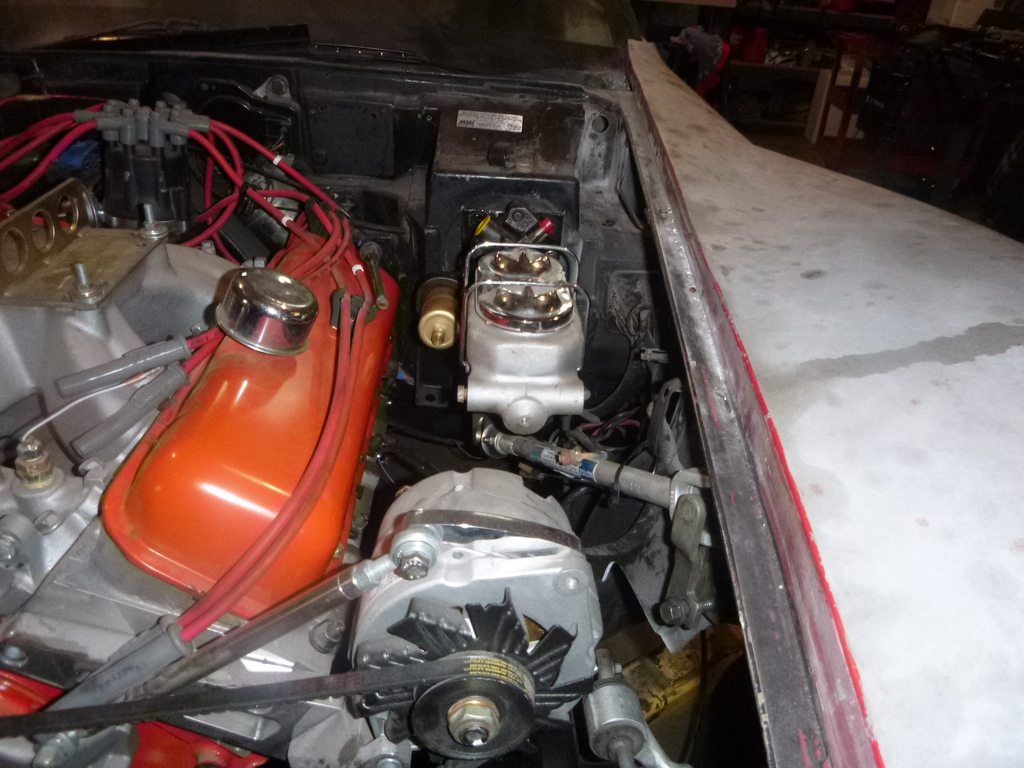
Hydraboost
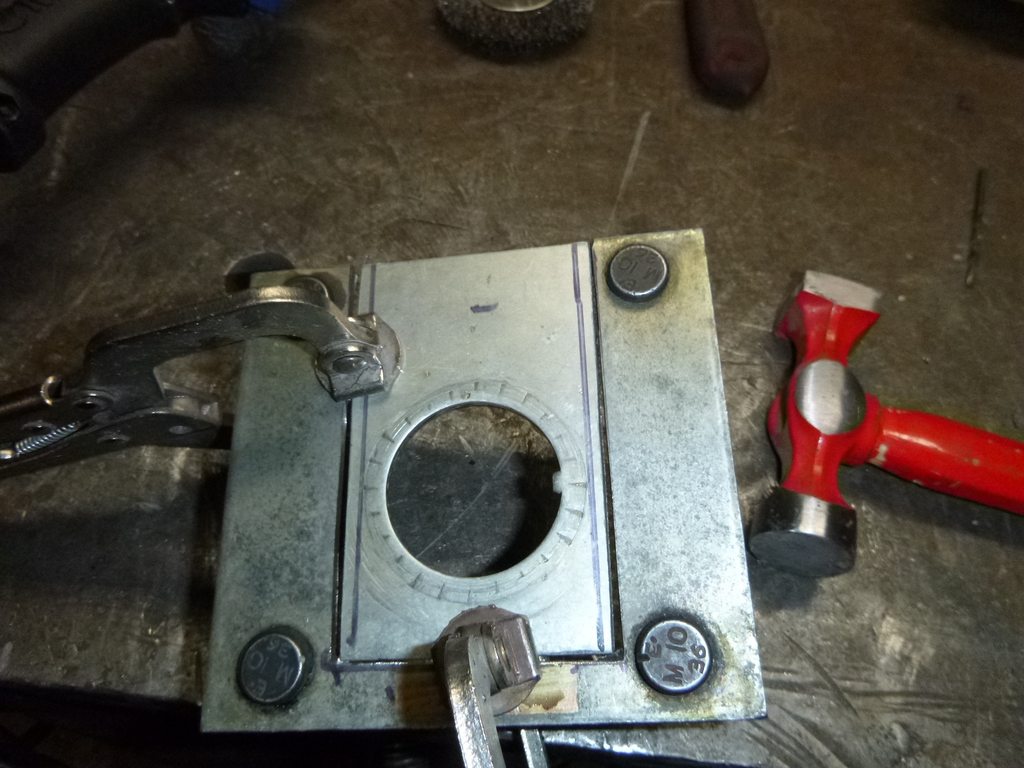
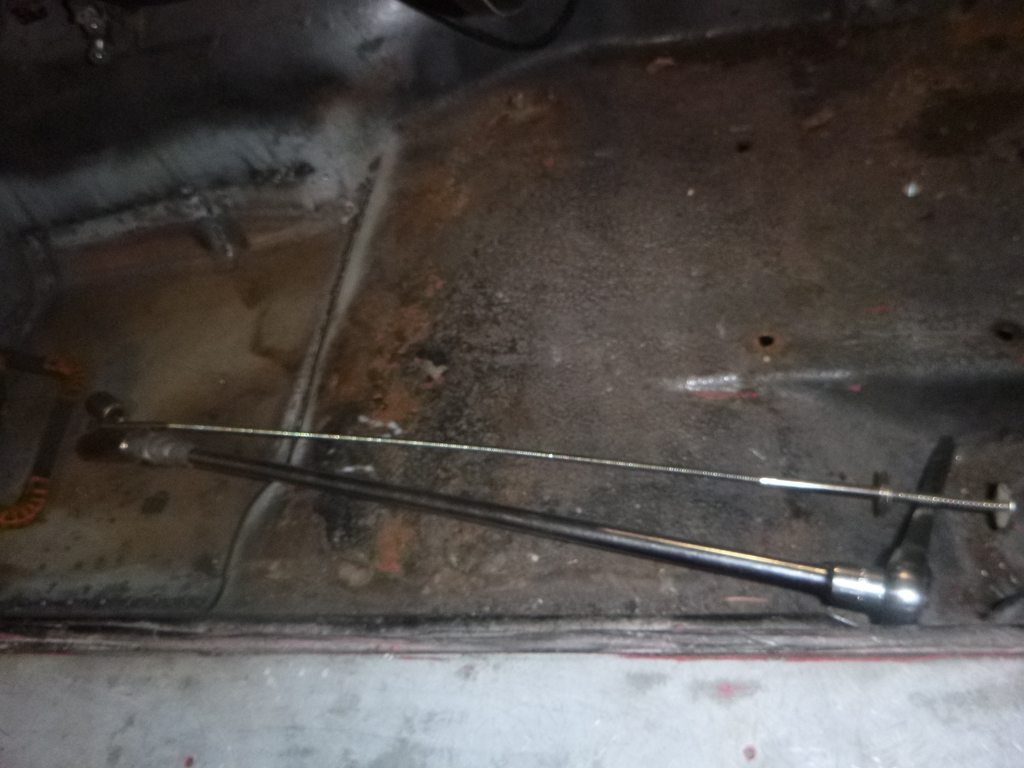
cut on the line
bright side is the plate fits, down side is the hole is too high
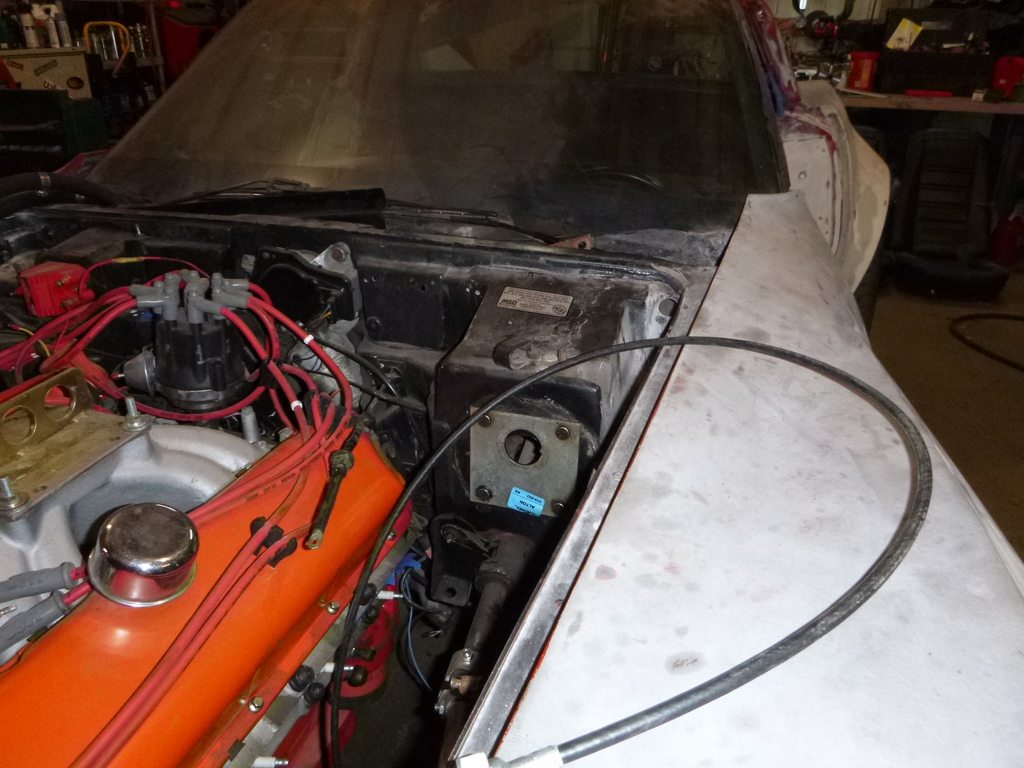
by an inch
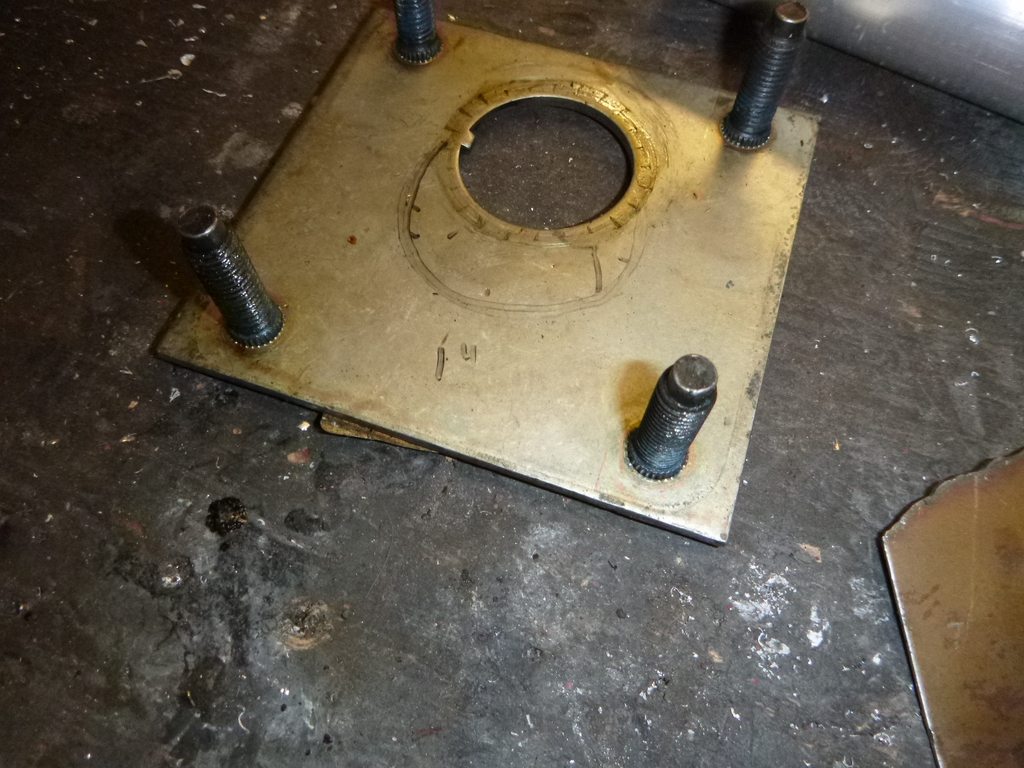
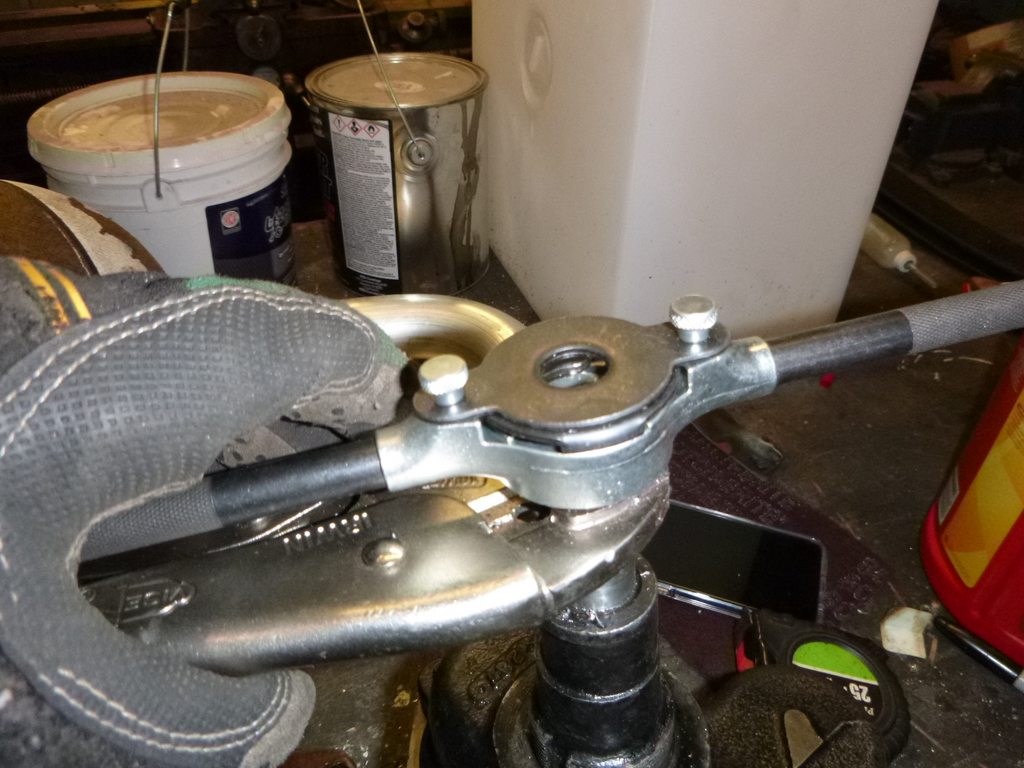
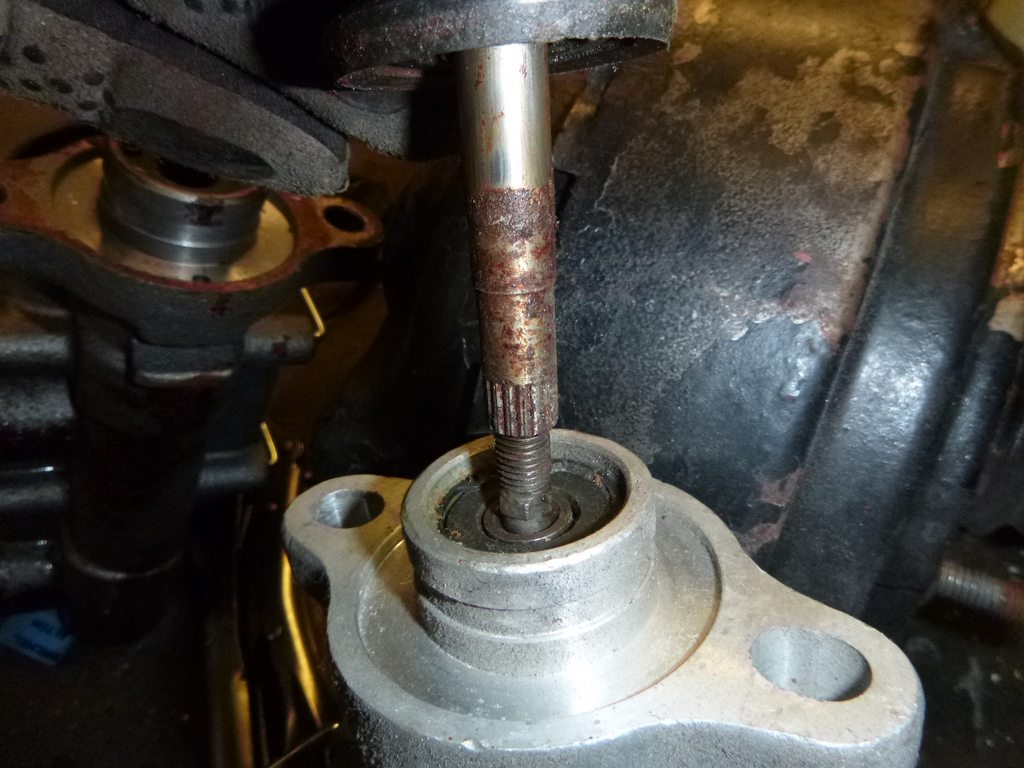
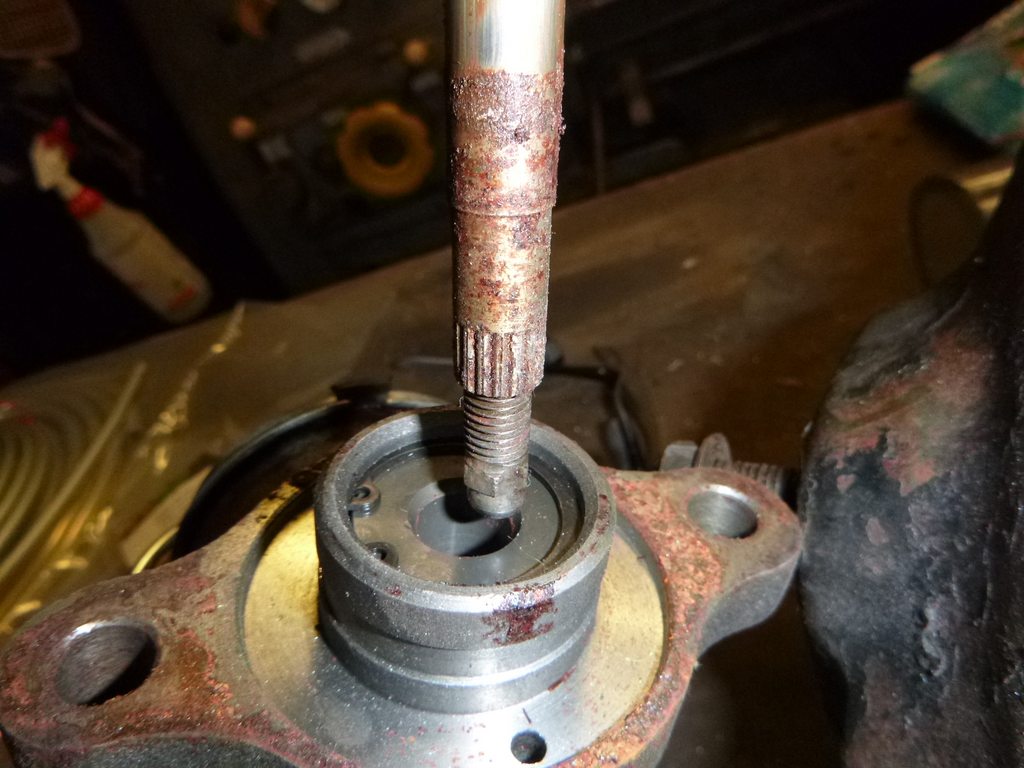
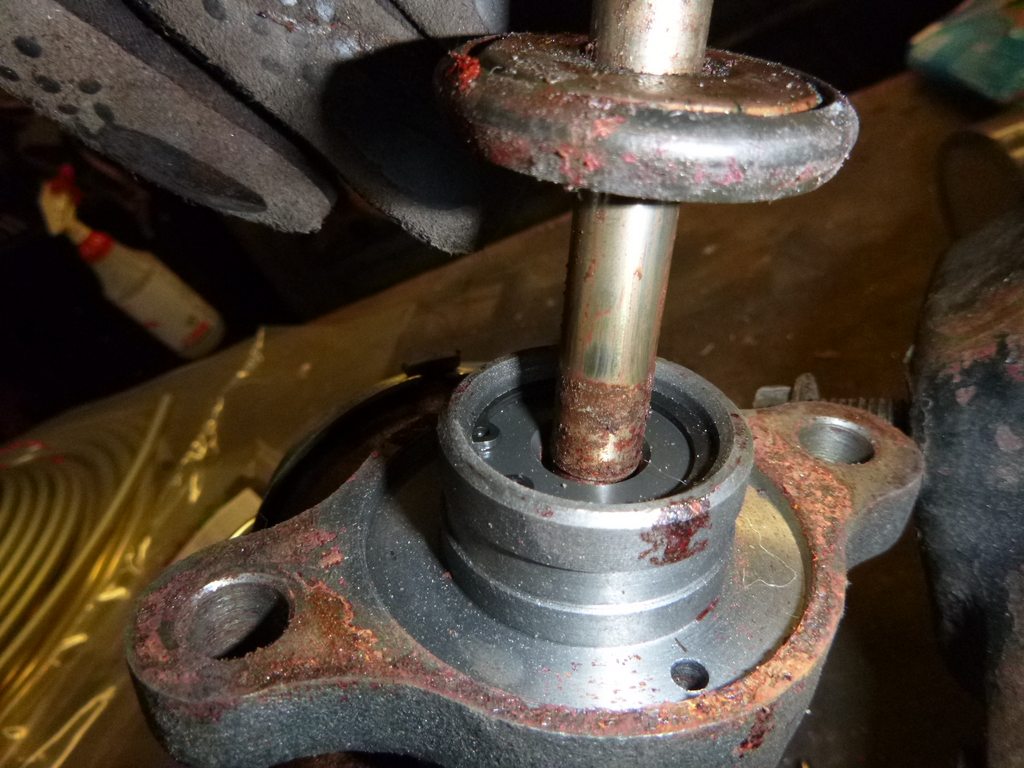
unthread brake pivot
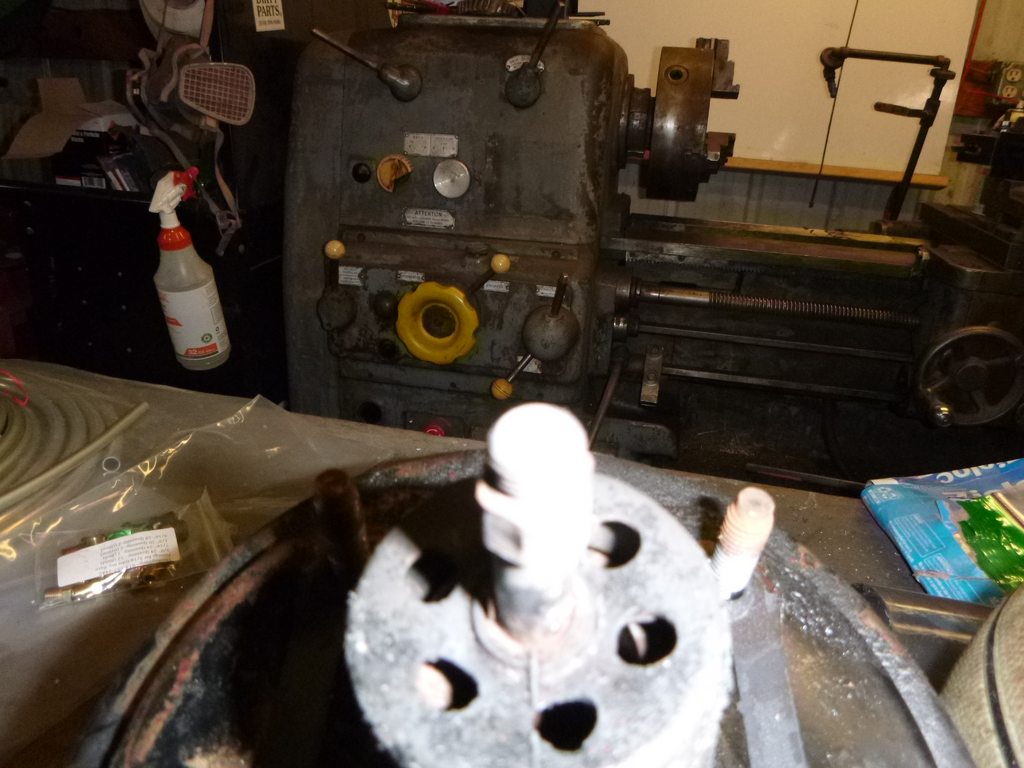
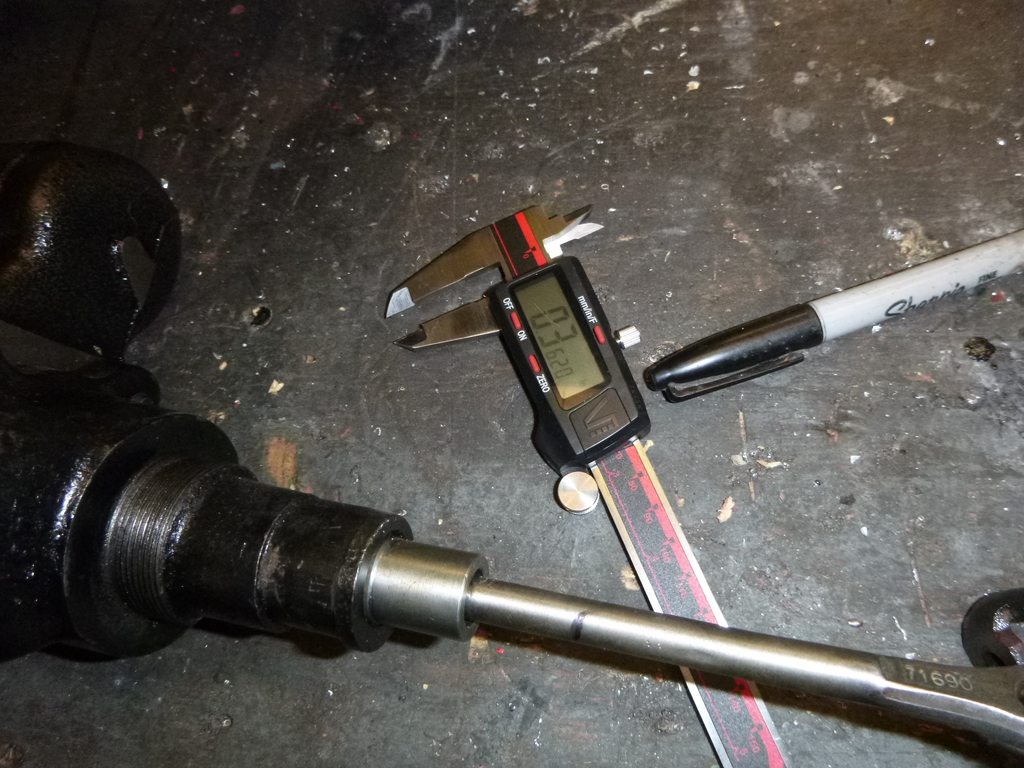
verify thread pitch
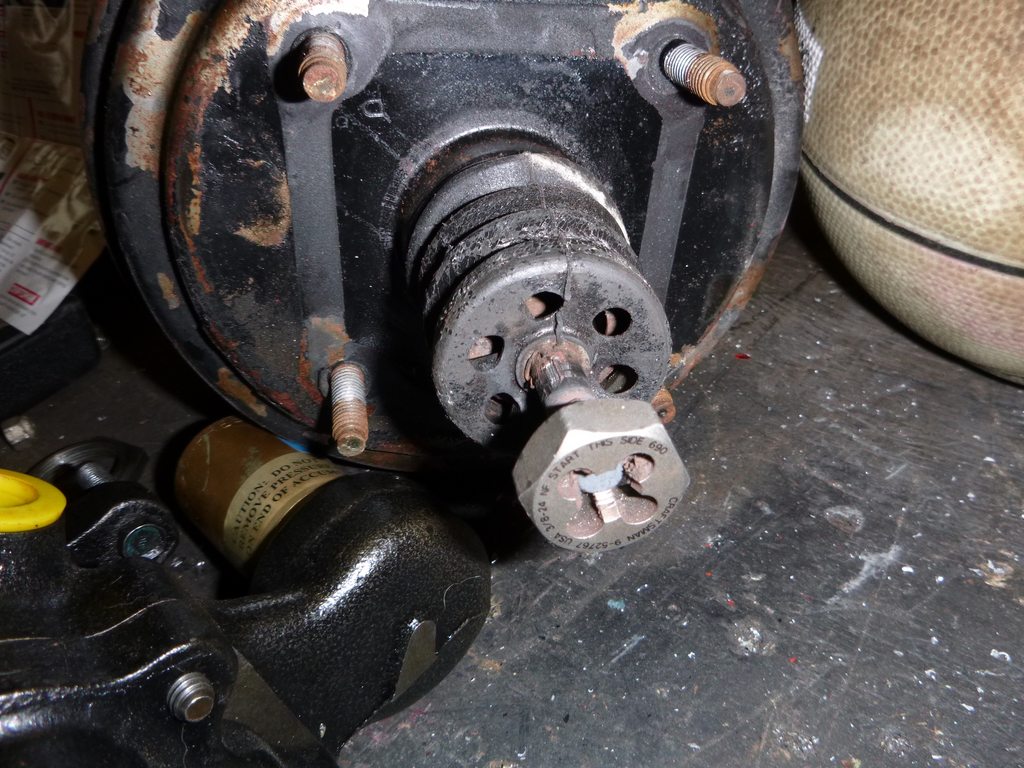
cut and thread
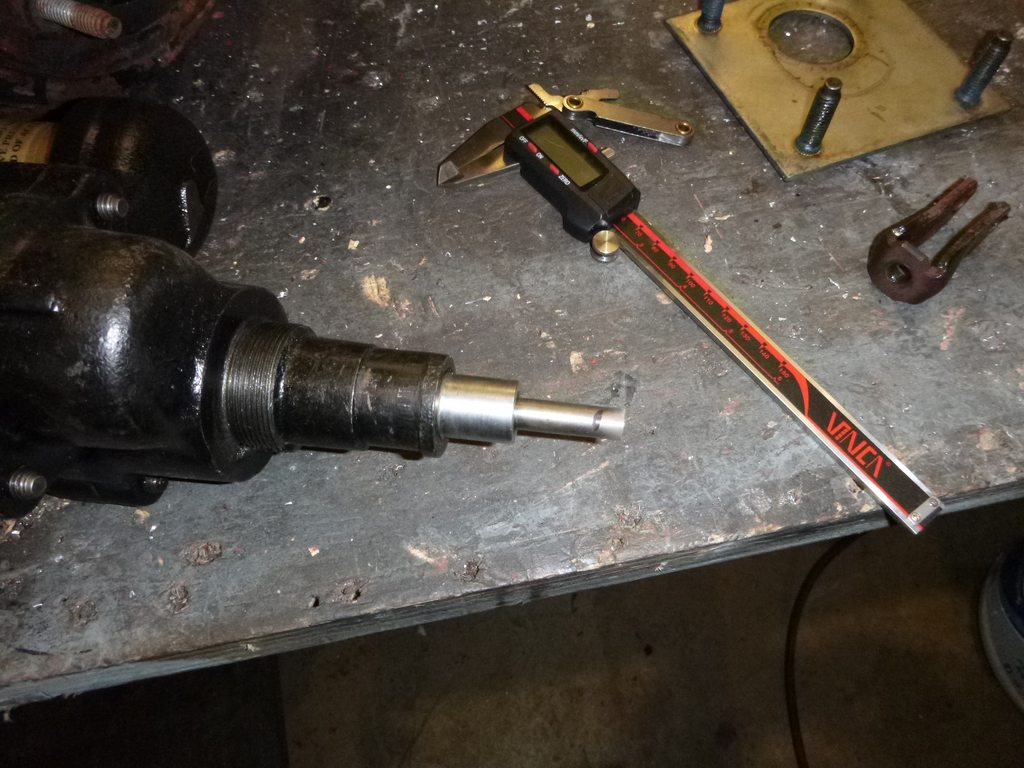
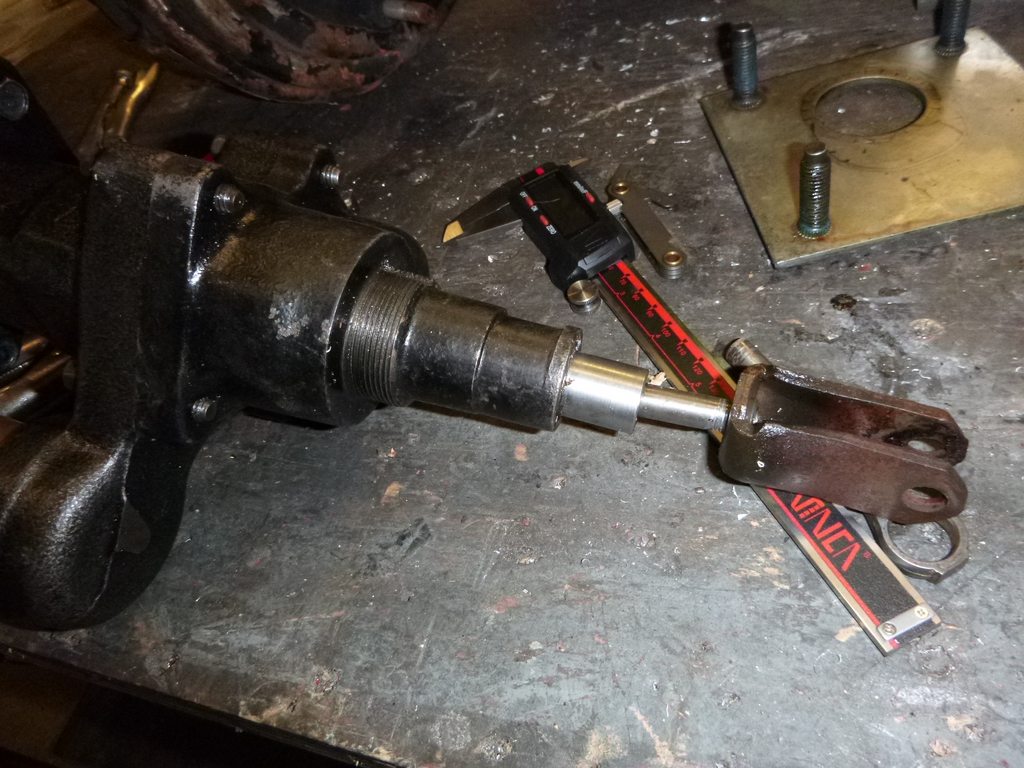
verify distance
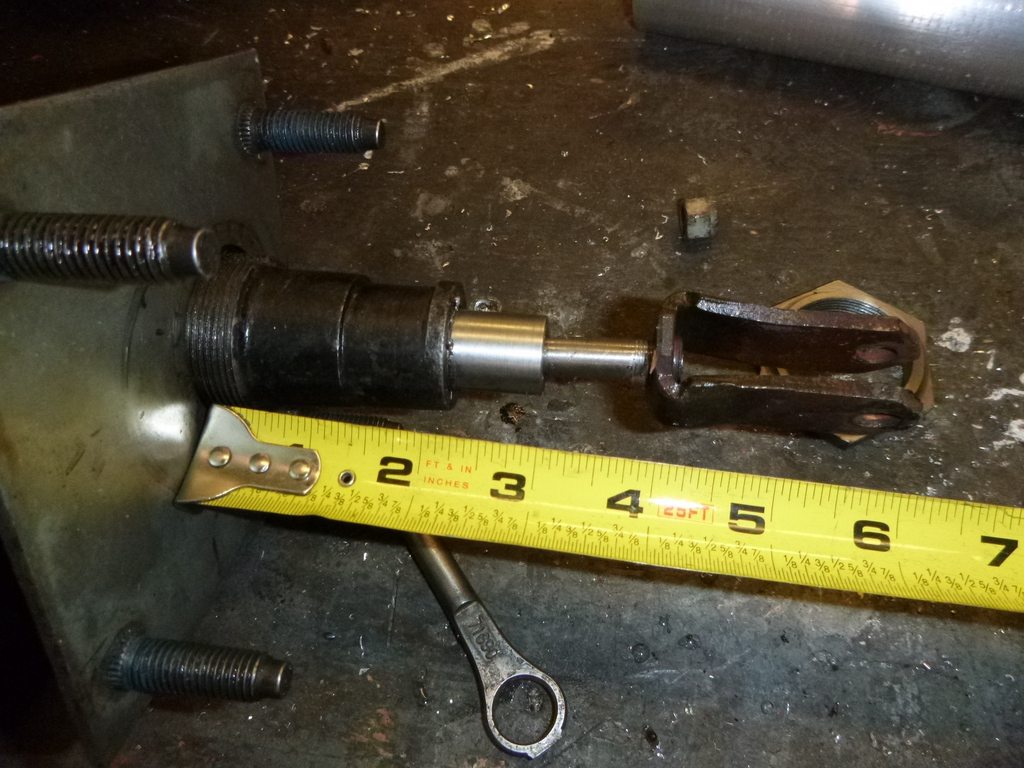
I've had this Corvette style MC forever, it has the right internals, but the thread pitch is completely wrong for anything I've had before... more likely it will continue to be a test part... but it's nice to have one to check before I buy.
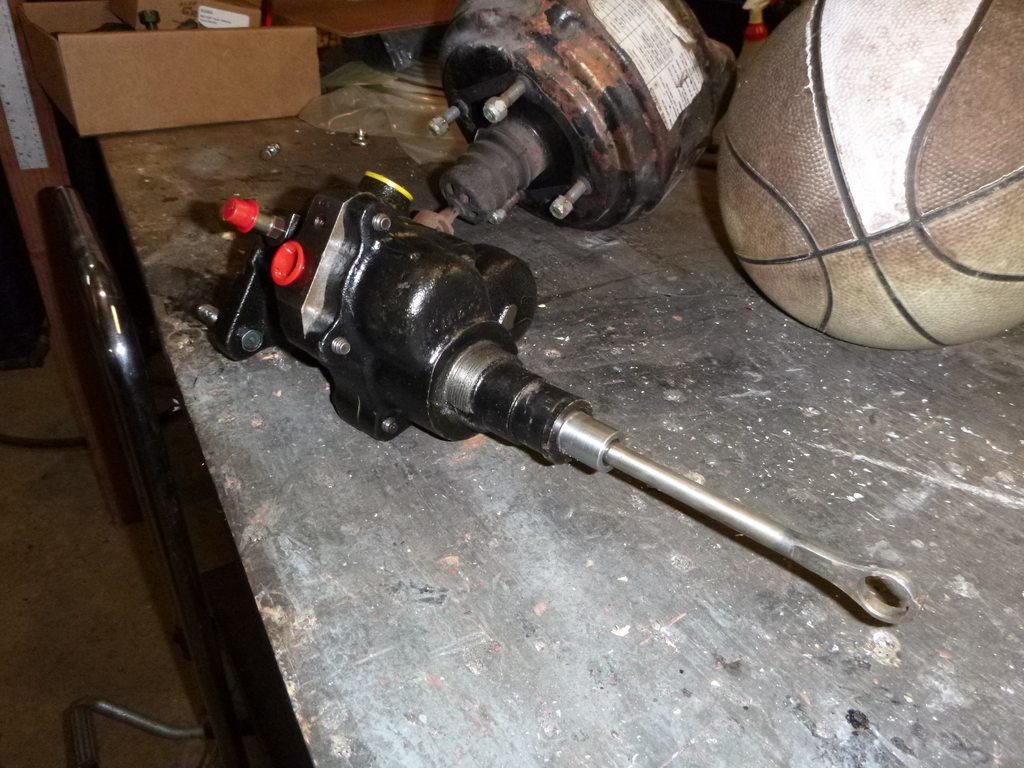
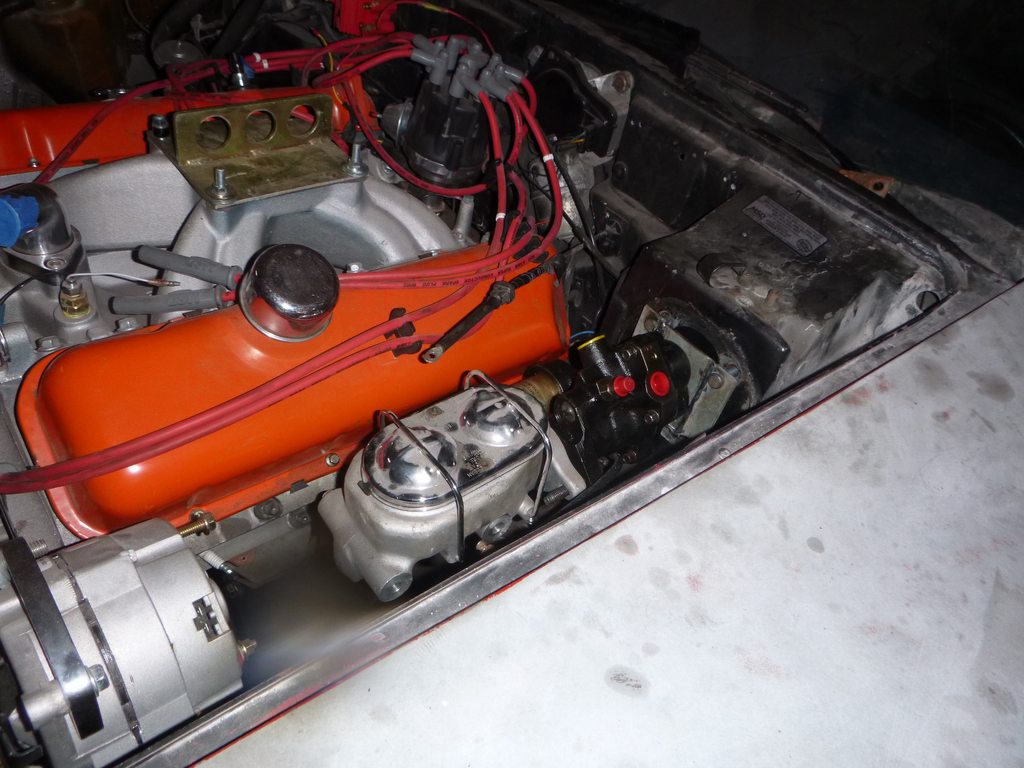
other end, using the right master cylinder
not the right one
Hydraboost
cut on the line
bright side is the plate fits, down side is the hole is too high
by an inch
unthread brake pivot
verify thread pitch
cut and thread
verify distance
I've had this Corvette style MC forever, it has the right internals, but the thread pitch is completely wrong for anything I've had before... more likely it will continue to be a test part... but it's nice to have one to check before I buy.
other end, using the right master cylinder
not the right one


 04-29-2019, 12:40 AM
#299
Melting Slicks
it feels slow from my chair... but thank you, I appreciate the compliment
I didn't get much done today, but a bit did get accomplished
like making a hole bigger
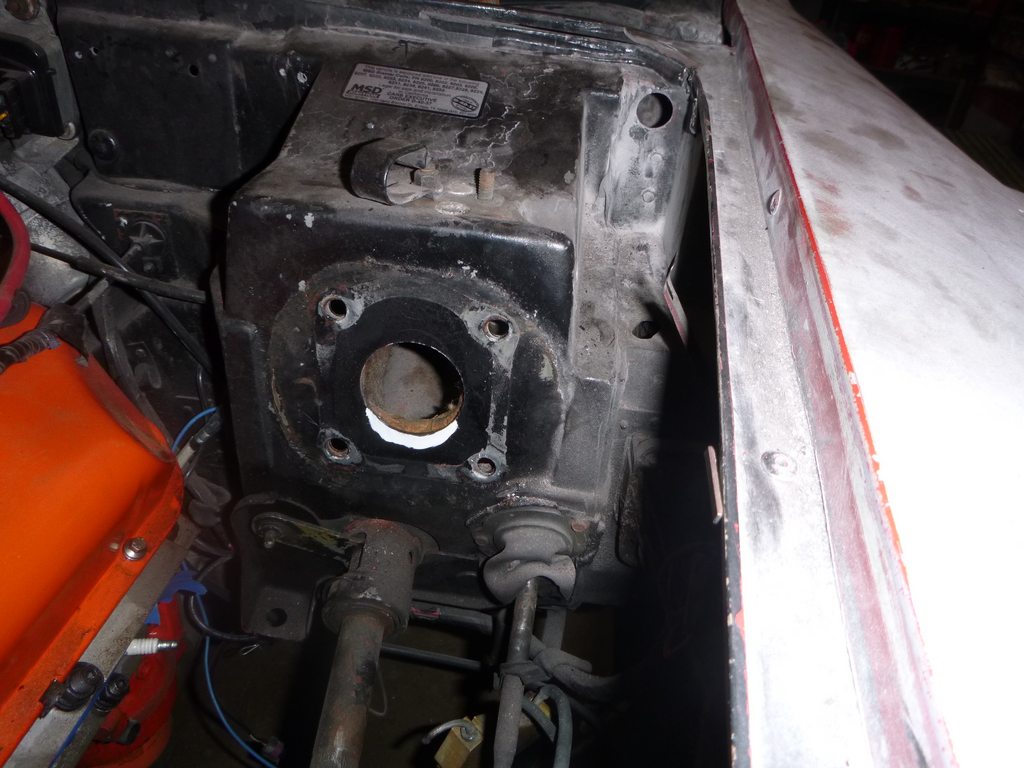
ground on this then painted it
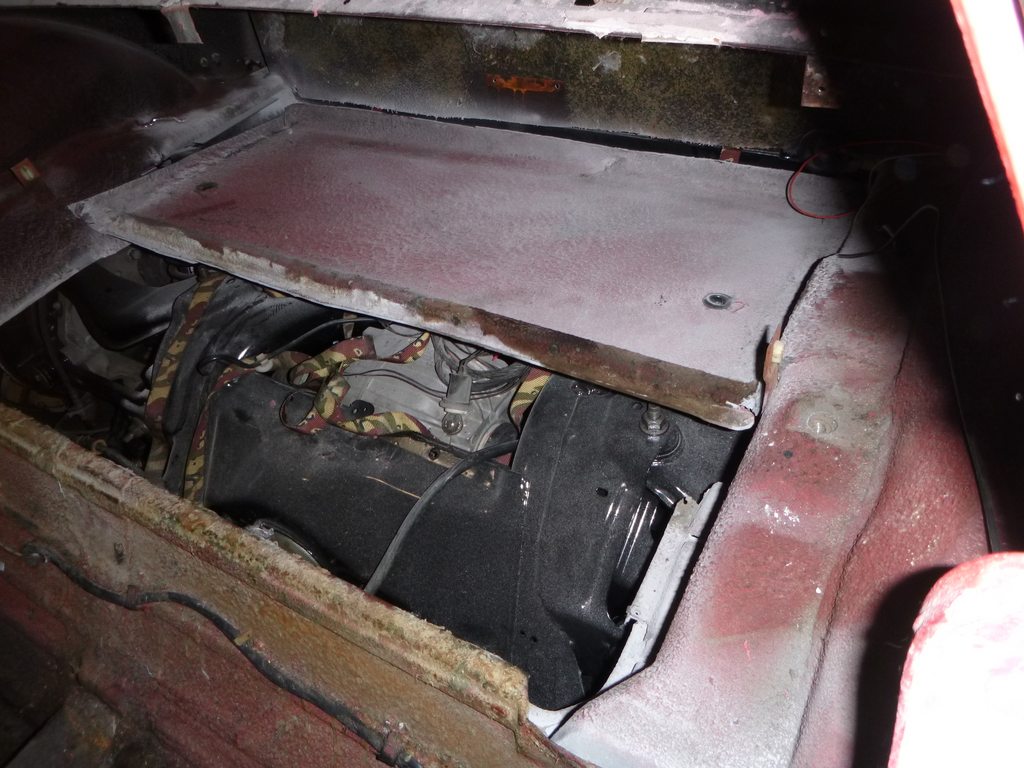
goal here was to set the height of shelft
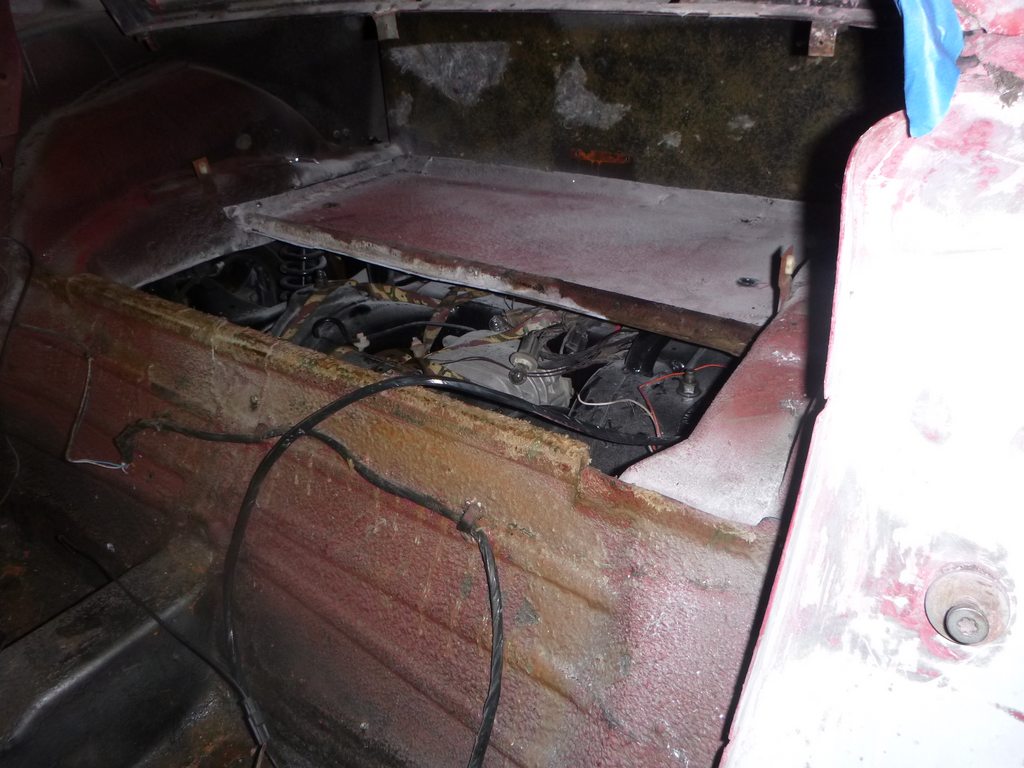
once I finish the booster, I'm pulling the body off again to glass the shelf, the inner wheel wells, and the inner fenders, then, of course, plumb the frame. Hopefully when done with that list the body goes on for permanent
I didn't get much done today, but a bit did get accomplished
like making a hole bigger
ground on this then painted it
goal here was to set the height of shelft
once I finish the booster, I'm pulling the body off again to glass the shelf, the inner wheel wells, and the inner fenders, then, of course, plumb the frame. Hopefully when done with that list the body goes on for permanent
The following users liked this post:
Metalhead140 (05-02-2019)