When you click on links to various merchants on this site and make a purchase, this can result in this site earning a commission. Affiliate programs and affiliations include, but are not limited to, the eBay Partner Network.
From: PHOENIX, AZ Yes, it's true. You are a good woman. Then again, you may be the Antichrist.
Bubba was here
Found my first evidence of Bubba.
Pulled the battery out to clean that compartment and didn't like the look of the cables. I pulled the negative one out, since it's easiest to reach.
Cables were cut, I assume to install new terminal clamps, and spliced using a piece of crimped copper pipe to make the connections. To be fair, it was well wrapped with electrical tape.
What type of terminal clamps were in use in 1969? Top post or side post?
From: PHOENIX, AZ Yes, it's true. You are a good woman. Then again, you may be the Antichrist.
Continuing to acquaint myself with my new convertible.
I fixed the negative battery cable. Got some NAPA 2 gauge wire and built a new cable. At some point I'll do the same to the positive cable, but due to it's location and routing, I'll leave that for another day when I'm feeling particularly frisky.
I've been working on the seat belts and found a ridiculous "Bubba" fix, where someone added an extension to the lap belt using some sheet metal and an anchor bolt that wasn't even the right size to thread properly!
I removed the extension belt and properly secured the seat belt. Next I'll be adding shoulder belts. Tonight I verified that the factory did install the shoulder belt mounting brackets in 69 verts.
My '75 coupe that I'm getting ready to sell generously donated it's white letter BFG radials to the 69. Took both sets of rims down to Costco and had them swap the tires. The 69 had BFG's, but they were smaller black walls and were directional.
Installed my new chin spoiler (thank you, Willcox).
And lastly, learned more about differences between year models of these chrome bumper cars. Can you pick out the difference between these two bezels? Which is original?
I believe on my donor 69 the headlight washer was on the lower front as in the 1st picture. Not sure in 75.
RVZIO
From: PHOENIX, AZ Yes, it's true. You are a good woman. Then again, you may be the Antichrist.
Originally Posted by rvzio
I believe on my donor 69 the headlight washer was on the lower front as in the 1st picture. Not sure in 75.
RVZIO
Bingo! The pics are of the 69. I had read about the headlamp washers and was under the car installing the chin spoiler. Started looking for them and found that the locations were different on the two bezels.
No idea why they'd change the location of the lower nozzle?
No headlight squirters on the 75. This feature was 69 through early 71, from what I can find.
From: PHOENIX, AZ Yes, it's true. You are a good woman. Then again, you may be the Antichrist.
Pics of some progress. New front spoiler and beauty plate. Arizona doesn't require a front license plate.
I'm also working on a power brake conversion. First step, drain the master cylinder. A syringe and some latex tubing made this mess-free.
Looks like a fluid change is way overdue.
Break the lines loose from the master cylinder, then remove them from the proportioning block.
This part required some line wrenches, which I didn't have, so I ran up to Home Depot and bought a set.
Remove the two nuts holding on the master cylinder and pull it off. The studs it was bolted to get knocked out and fall into the driver's floorboard. The two lower bolts get removed.
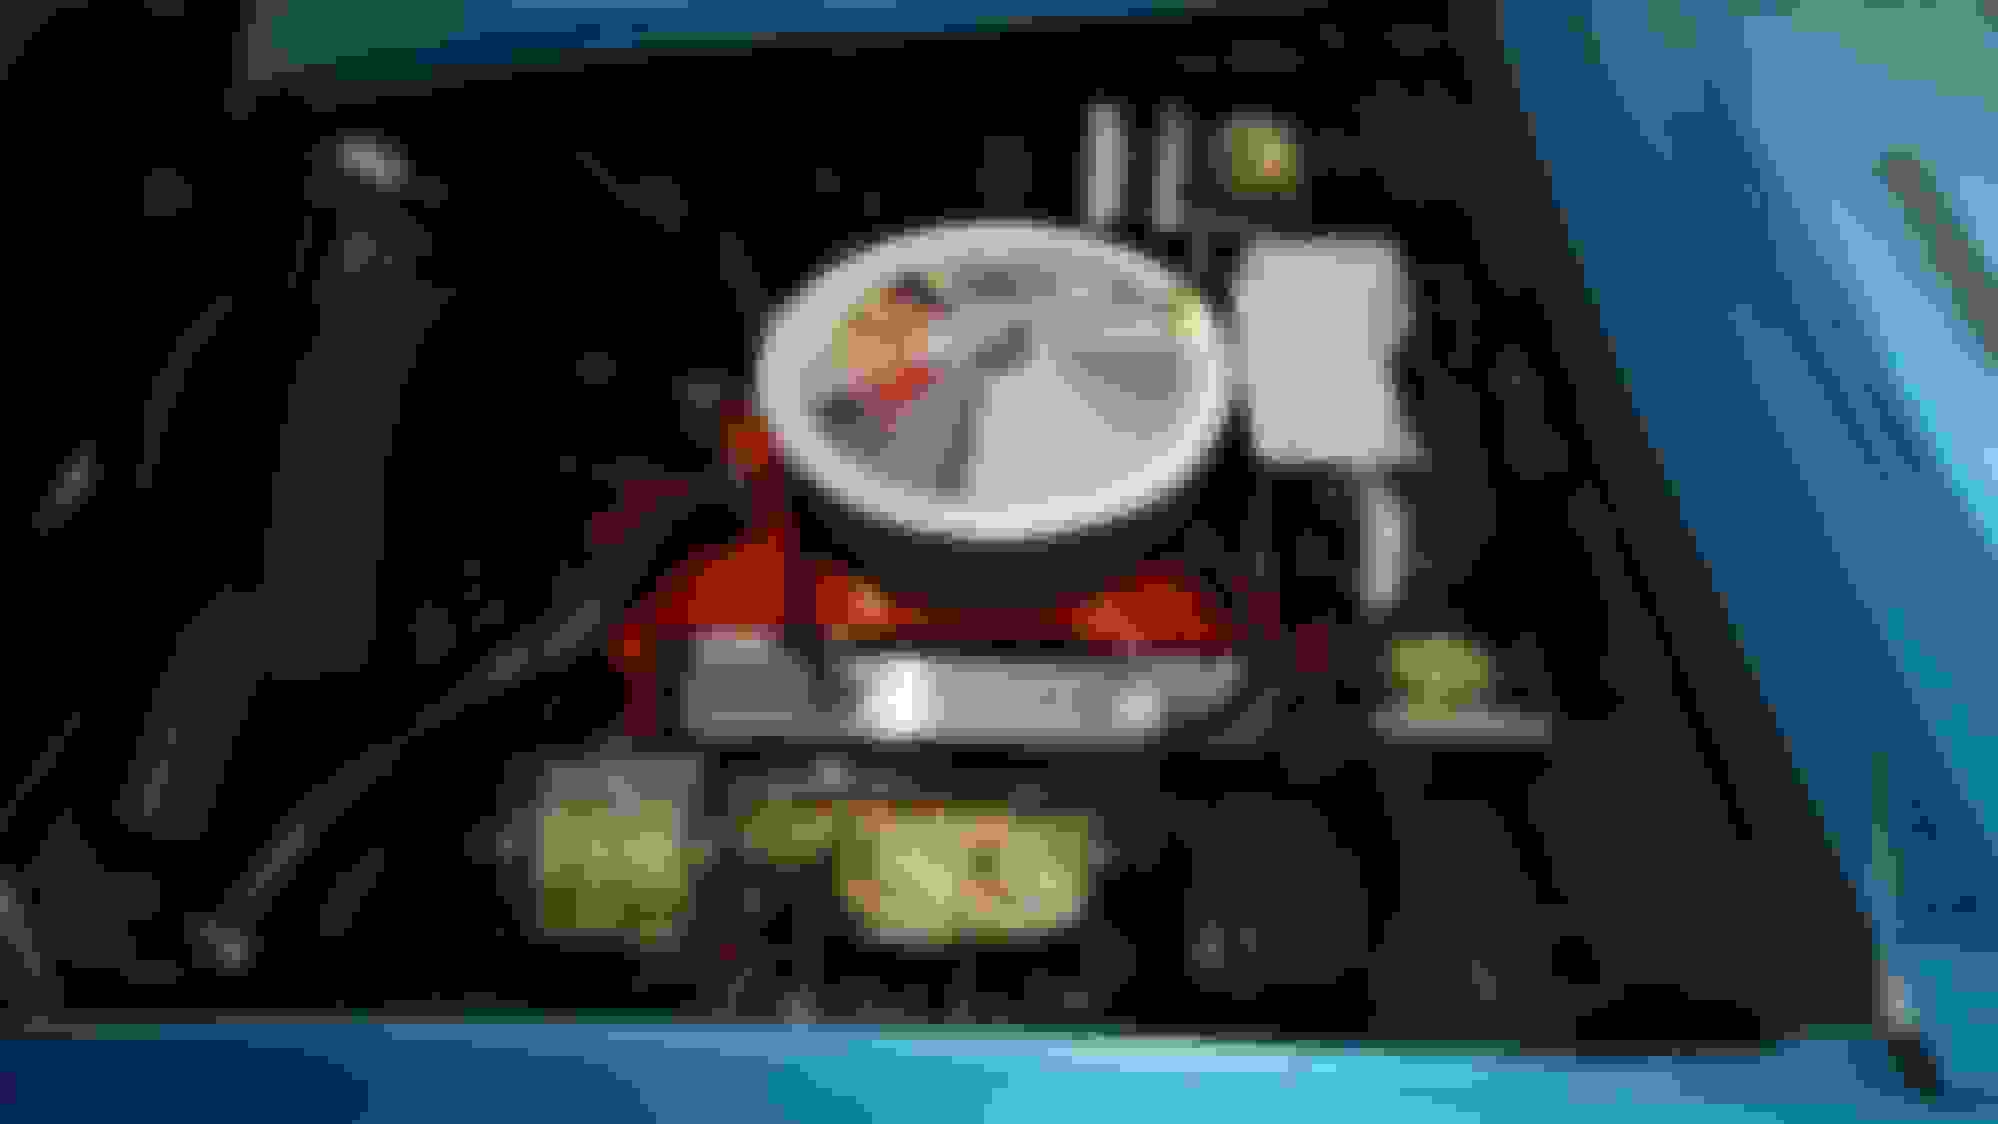
Next step is to use the gasket for the power booster to mark where new upper holes need to be drilled, as well as where to open up the large center hole. I used a hole saw and a utility knife.
Test fitting the new power booster. I had to remove the oil dipstick and bend it a little to get it to clear the booster.
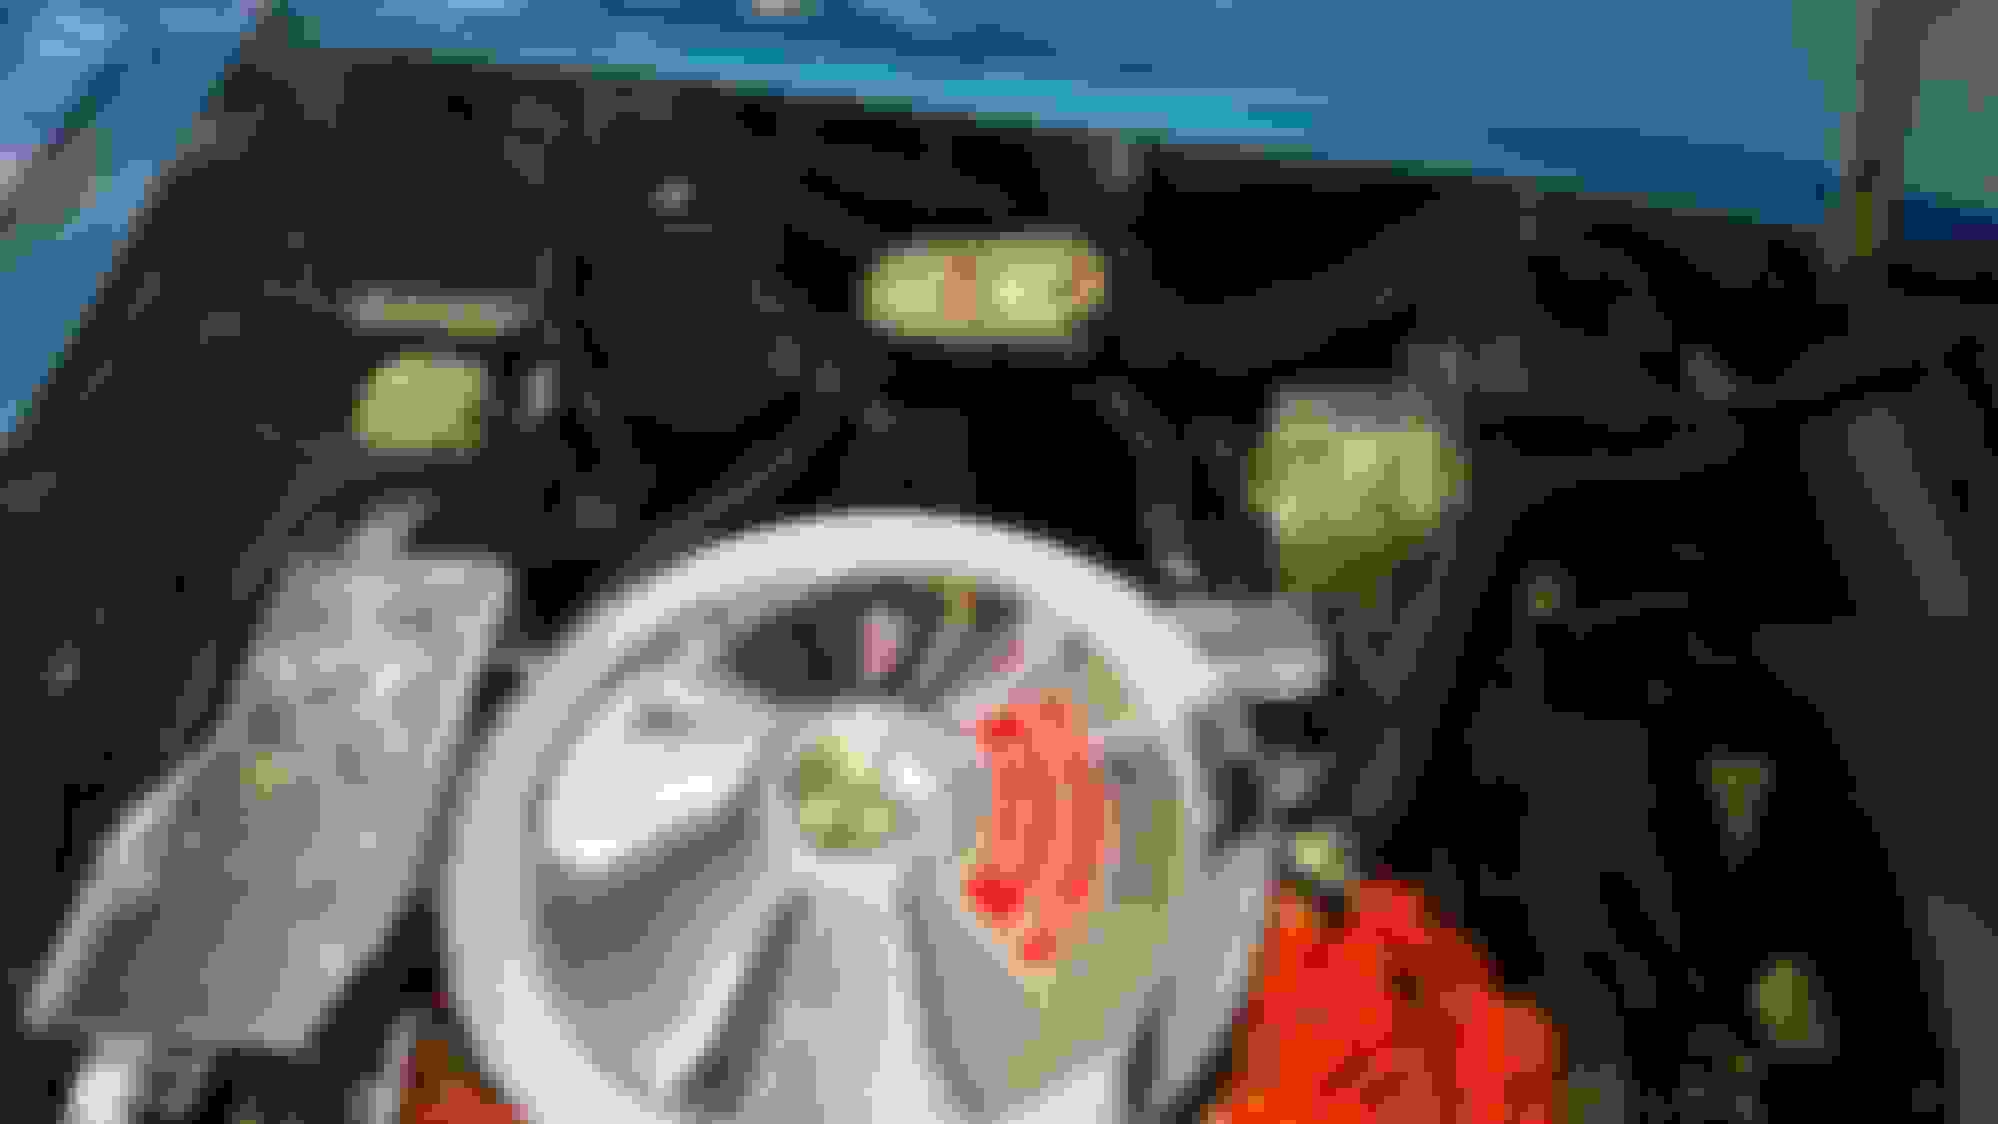
Definitely making progress on what look's to be some needed items. Thanks for the close up picture of the steering column. I was wanting to see if there was any sealant or gasket around the column on the outside part of the firewall. Looks like there is not. Cool.........................
RVZIO
From: PHOENIX, AZ Yes, it's true. You are a good woman. Then again, you may be the Antichrist.
Originally Posted by rvzio
Definitely making progress on what look's to be some needed items. Thanks for the close up picture of the steering column. I was wanting to see if there was any sealant or gasket around the column on the outside part of the firewall. Looks like there is not. Cool.........................
RVZIO
Glad it was helpful.
Speaking of gaskets, or technically grommets I guess, I found I'm missing some. You can see to the right of the power booster in the last pic that there's no grommet for the speedo cable. I noticed another one missing on the other side somewhere when I was bent up like a pretzel under the dash, getting the clevis attached to the brake pedal.
Definitely making progress on what look's to be some needed items. Thanks for the close up picture of the steering column. I was wanting to see if there was any sealant or gasket around the column on the outside part of the firewall. Looks like there is not. Cool.........................
RVZIO
FYI:
I cheated and used black silicone sealer where anything came through the firewall.....at night with a bright light under the dash the firewall looked like swiss cheese. Fuse block was just as bad......
Last edited by doorgunner; May 27, 2017 at 11:45 PM.
That looks great. I'm looking for something similar. What did you look at besides Craigslist? Did you look at local vette dealers or all dealers in your area?
From: PHOENIX, AZ Yes, it's true. You are a good woman. Then again, you may be the Antichrist.
Originally Posted by Hayes00
That looks great. I'm looking for something similar. What did you look at besides Craigslist? Did you look at local vette dealers or all dealers in your area?
Assuming you mean my '69...I found it on Craigslist, at a local Corvette dealer.
Yes that's what I meant. I was wondering what other websites I should be looking at in my quest. Mostly I'm just doing Craigslist and eBay. Seems to be where the majority of them are sold.
From: PHOENIX, AZ Yes, it's true. You are a good woman. Then again, you may be the Antichrist.
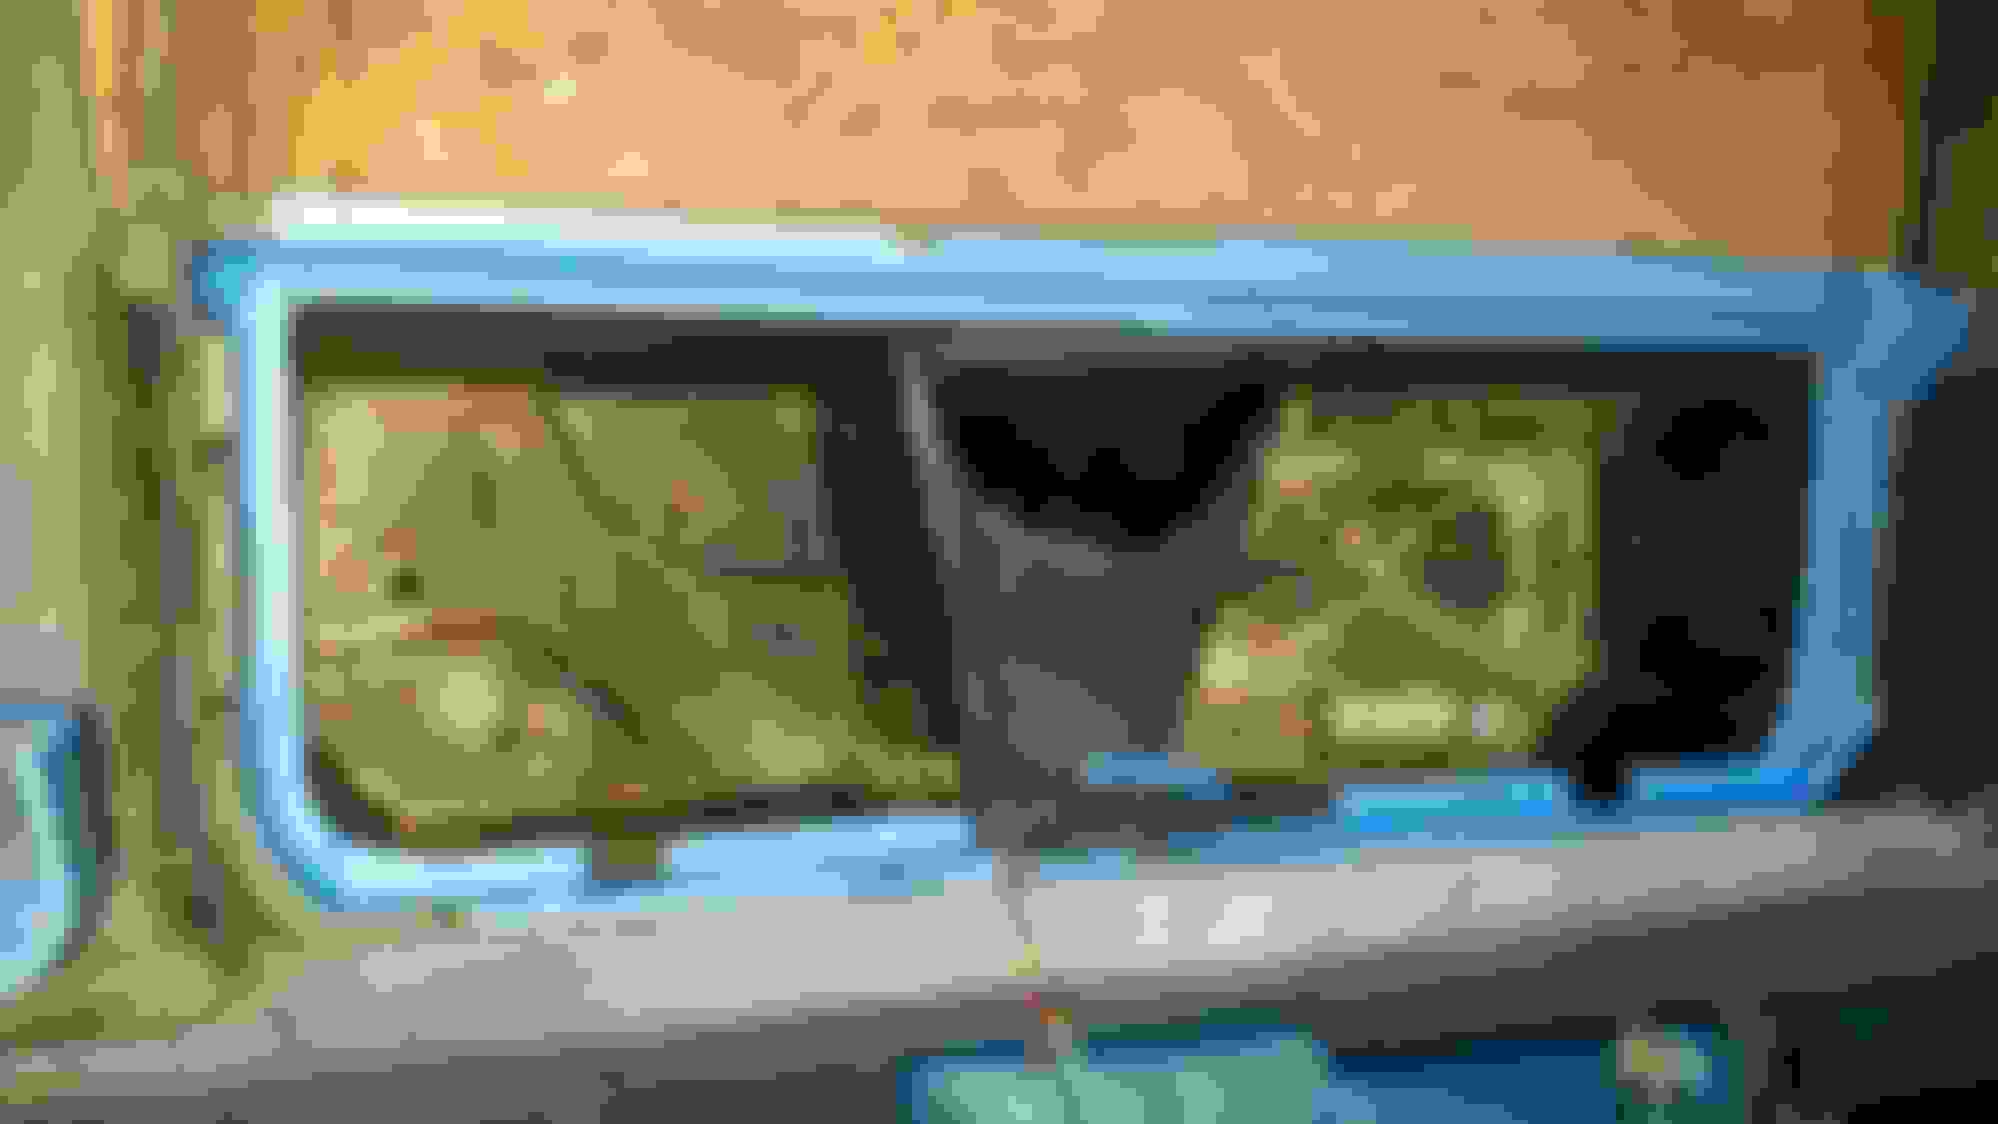
Well, I had originally planned to finish up the power brake install today, but that's not quite the way it worked out. I painted the master cylinder with Chevy Chassis Reconditioning paint (kind of similar to POR15), and it was still too tacky to handle this morning. So, I redirected and worked on the rear compartment area.
It wasn't in horrible shape, but it needed some attention. I pulled everything out of there and started cleaning. First, with some baking soda water in the battery area to take care of any battery acid that might be present. Then I followed up with more standard cleaners, followed by a good rinse and dry.
Here's the before shot.
I had picked up a can of spray in bed liner that I wanted to use for the compartment.
Here are the after shots.
I was pretty pleased with the results. The stuff sprays much like any spray paint. I was worried it would be too thin, so I used up most of the can. Got a few runs, but due to the location, I wasn't too worried about that.
It has a rough, grainy texture, just like you'd expect from bed liner material. I like it, for this particular application.
From: PHOENIX, AZ Yes, it's true. You are a good woman. Then again, you may be the Antichrist.
Today I was able to wrap up the power brake conversion.
Got the new master cylinder installed, along with the new lines to the proportioning block. Bled the M.C., then bled all four calipers.
Got everything buttoned up and took her out for a test drive. Night and day difference! She stops when I tell her to now. Before, it felt like I'd need to do a Fred Flintstone and put the pedal through the floor to get stopped. Not that the manual brakes didn't work, and the pedal was firm, but they sure didn't feel safe. Loving the change!
Here's a pic after getting back home. Another safety item I addressed can be seen on the passenger door. I have no idea why they didn't put a mirror on there to begin with. Maybe it's my O.C.D., but having just the driver's mirror makes the car look lopsided.
And since I still had a couple hours of light left, I got started on the next project on the (ever growing) list! Ever feel like you've opened a can of worms?
Lookin' good! I'm loving that color, it's breathtaking! Looks like you're in the Phoenix area as well, I'm right around Central. Would love to see your car in person one day.
From: PHOENIX, AZ Yes, it's true. You are a good woman. Then again, you may be the Antichrist.
Originally Posted by dannyzabolotny
Lookin' good! I'm loving that color, it's breathtaking! Looks like you're in the Phoenix area as well, I'm right around Central. Would love to see your car in person one day.
Sure thing! I'm around 83rd Ave and Deer Valley. Shoot me a PM sometime. I'm usually around on the weekends.
From: PHOENIX, AZ Yes, it's true. You are a good woman. Then again, you may be the Antichrist.
Didn't get a lot done today. Had to get the trees trimmed in the front yard and mow the lawn early in the day, before it got too hot.
But I did get all the carpet fitted in the rear area. I took it slow...I had visions of cutting too much off of one piece of carpet and then having to buy another set.
The two wheel well pieces were the most work. I'd get a piece laid in, measure, remove, trim, rinse and repeat about a hundred times. In the end, it fit nicely and didn't need any adhesive, with the exception of one area where I used a piece of double sided gorilla tape.
Here's the finished product. Tomorrow, hopefully, I'll be able to knock out the front pieces.