When you click on links to various merchants on this site and make a purchase, this can result in this site earning a commission. Affiliate programs and affiliations include, but are not limited to, the eBay Partner Network.
I have a 1974 coupe and bought three new case cylinder assemblies to replace the rusted ones. Figured I would swap the buttons etc into the new case. Problem is that I cannot find any information about how to get the old one apart. I bought the cases since they were mush cheaper than all new parts, but going to a locksmith will be even more expensive! Any thoughts would be appreciated.
Hi a,
Welcome!
I'm unsure just what you bought.
I though the latches were just available as complete unit… aren't they crimped together?
What did you buy?
Only one is a lock so just one should have to go to the locksmith to be re-keyed.
Regards,
Alan
I think he's trying to replace the center buttons which is do-able... However only an old fart like me would probably know how to get in there.
In the old days we used to re-key all our own locks and cylinders because it was cheaper than getting the locks (from GM).
Briggs and Stratton, who made the locks... at one time serviced just the center button and I'm sure it's available now as well and probably at a cheaper price than the entire lock.
However, I'm surprised that he's replacing them because they are stainless steel and in most cases can be buffed to like new luster. Below is the post in my tech page on how to remove the center RCU lock buttons.
**************************************** ******************* The rear storage compartment buttons can be removed and exchanged for either a new button or a keyed button by doing the following. But before you go through this process make sure the button head can not be buffed out. The covering on the button is stainless steel and in most cases you can buff it to a like new luster.
In the picture below on the left side you’ll see a small rectangular hole and if you push the button slightly you’ll see a brass keep. Depress this brass keeper with a small pick and the button will jump upward. If you wish to retain this keeper hold your hand over it because it is not secured and once released it will jump out of the cylinder. Then you have to maneuver the button so that you can see the lower retainer shown in the picture to the right. Once you depress this keeper downward the button can be removed.
Willcox
Last edited by Willcox Corvette; Sep 7, 2017 at 05:03 PM.
It is GM part number 8869811. 2 of the 3 storage latches are buttons and the middle one is a lock. Mine are a little rusted around the edges and sticky on the inside. Ecklers was selling the empty cases for $4 on clearance so I figured I'd be out $12 worst case ;-)
There must be a way to get the guts (plain button or lock mechanism) out of the old and into the new or they wouldn't make empty cases! (I have seen these on ebay and other corvette sites too). But it isn't obvious to me.
Thank you very much for the diagram! I was able to remove the keyed button. Which is good because that was the worst one. The other two plain ones however, have something in the little slot, but it doesn't move and it looks to be the same metal the case is made from rather than brass. Was there a different procedure the plain ones? I fiddled around with both of them with different picks but could not get anything to happen.
Had a new windshield for today but the glass guy pulled the old one and low and behold, I may have found some of the leaks. The fiberglass firewall was broken on both sides at the far most rivet. Could see light through the crack. Looks like someone tried to seal the entire junction from side to side with bondo. I figure black silicone is the answer.
So windshield on Sat once I get all of the stuff repaired. At least the frame was solid enough to clean the rust off...
Willcox, do you happen to have any scratch and dent seat covers? I noticed the passenger side was messed up on the seat, but the back is fine as well as the drivers side. I have dye so not too picky on color. Just don't want to spend the full freight on all new seat covers.
Thanks!
Last edited by activ; Sep 8, 2017 at 12:05 AM.
Reason: remove quoted text
Thank you very much for the diagram! I was able to remove the keyed button. Which is good because that was the worst one. The other two plain ones however, have something in the little slot, but it doesn't move and it looks to be the same metal the case is made from rather than brass. Was there a different procedure the plain ones? I fiddled around with both of them with different picks but could not get anything to happen.
Had a new windshield for today but the glass guy pulled the old one and low and behold, I may have found some of the leaks. The fiberglass firewall was broken on both sides at the far most rivet. Could see light through the crack. Looks like someone tried to seal the entire junction from side to side with bondo. I figure black silicone is the answer.
So windshield on Sat once I get all of the stuff repaired. At least the frame was solid enough to clean the rust off...
Willcox, do you happen to have any scratch and dent seat covers? I noticed the passenger side was messed up on the seat, but the back is fine as well as the drivers side. I have dye so not too picky on color. Just don't want to spend the full freight on all new seat covers.
Thanks!
The lock in the picture was a plain one without the key. Are you saying the hole is not there? Or that you can't see the brass... You have to push the button inward to see the brass keeper, sometimes they get crud on them and are hard to make out. But you should feel the pick hit it if you insert it into the hole.
We have seat cover singles, but they are not on the site. You'd have to call sales at 812-288-7103 and they can get you a price.
Willcox
It has the same holes, and on the left one as in the pic I can see a slight gap/ledge between the bottom of the button cap and the piece it is mounted on. But no brass keep. Both non-keyed are the same.
The button is about halfway down in the pic, you can see the cap, a small gap, and then the main part of the button mech. The other hole is blank unless you push the button. All of the cases (keyed and non-keyed) have the same "B1" stamped on them. Not sure what to do now.
Thanks - I will call the shop re the seat.
Your just not hitting the keeper... it's in there and may not look like brass because of crud.... Keep fishing and you'll find it. Then you have to deal with the second one located at the bottom.
Your just not hitting the keeper... it's in there and may not look like brass because of crud.... Keep fishing and you'll find it. Then you have to deal with the second one located at the bottom.
Wilcox
I just followed the instructions and the center came right out!
THANK YOU WILCOX!!
I have an extra center lock button but did not have a key or know the key code. Popped it out in 5 minutes and the code was stamped into button case. Just some good info to know. I guess I'll get a key made while its fresh in my mind.
Thanks again,
Ed
Last edited by ed427vette; Sep 9, 2017 at 09:01 PM.
I just followed the instructions and the center came right out!
THANK YOU WILCOX!!
I have an extra center lock button but did not have a key or know the key code. Popped it out in 5 minutes and the code was stamped into button case. Just some good info to know. I guess I'll get a key made while its fresh in my mind.
Thanks again,
Ed
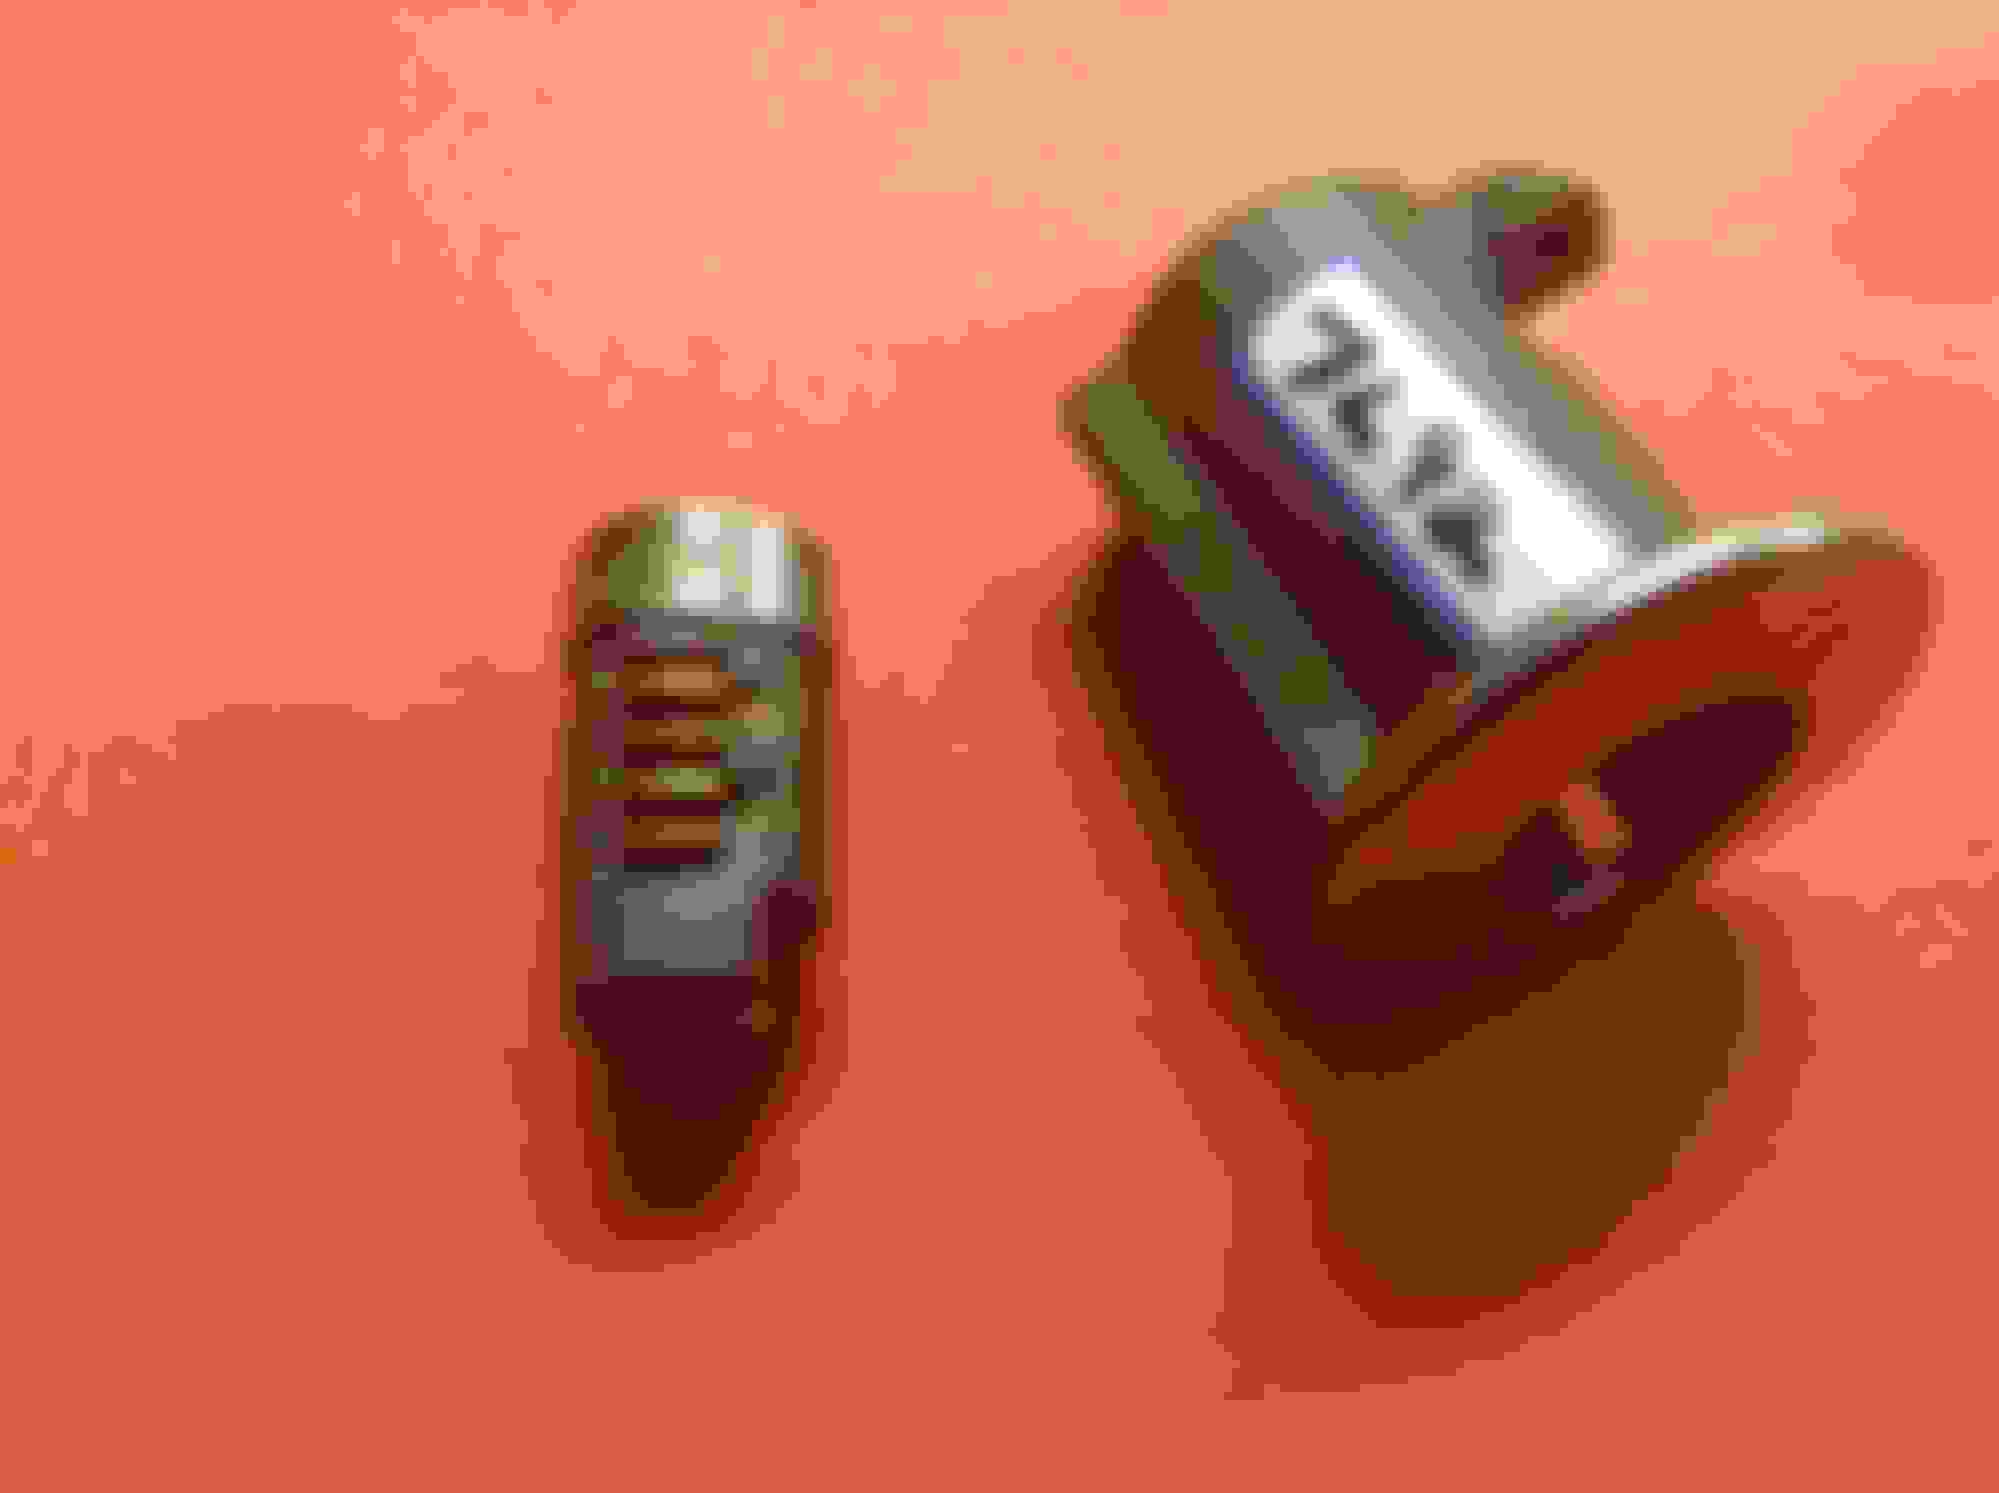
Here is a pic of the lock removed from the cylinder.
Note the key code stamped into the bottom of the button case.
I know this came from a 69. Also the key codes for 1969 all have the second digit as a letter between J thru M and they use the H key.
Here is a pic of the lock removed from the cylinder.
Note the key code stamped into the bottom of the button case.
I know this came from a 69. Also the key codes for 1969 all have the second digit as a letter between J thru M and they use the H key.
Awesome pic...
The code was struck on only the keyed lock cylinders.. on the non keyed cylinders the housing button was blank...
Funny.. I still have the old key code books here too... and the GM factory key cutter... My god I hated coding cylinders.. On the door lock cylinders they had a tumbler retainer that was mercy-less to get out of the cylinder. The dang thin had teeth that you'd spend an hour getting loose some times and the once you got it out you'd then have to replace the tumblers and then crimp the retainer back in place.. I'd spend an hour on one lock cylinder sometimes.. I hated them with a passion.
But.. once you had the code, you would look it up in the key code book (off the cyliinder or button, depending on what you were working with) and then you could cut the key based off the code.
Now days it just seems easier to just replace then to re-cut or re-key... unless your going NCRS..
Your just not hitting the keeper... it's in there and may not look like brass because of crud.... Keep fishing and you'll find it. Then you have to deal with the second one located at the bottom.
Wilcox
Thanks for all your help. I gave up though on the non-keyed buttons. Went out and got better picks and kept messing with it. My guess is that someone may have dissembled it the past and put it back 180 degrees out. The part of the button body in the "correct" keeper hole is solid, sticks out into groove and hits the top stainless button ring. It isn't budging a bit. The "other" hole is essential blank and the button body is hollowed out. I can rotate a pick in there as deep as half the button and nothing anywhere in there. Is is possible to put them back together wrong? My buttons will likely shine up decently, but the mechanisms are dirty and sticky hence the new cases. I figure I will dump graphite down in there until it works best it can.
Hate to HiJack this but the info here could NOT have come at a better time....
I want to remove my spare tire. I have a 68 - have read EVERY thread about the locks, keys and spare tire lock (which has been soaking in Blaster for 2 days)
My Square key fits in the Ignition and starts the car - fine.
The Square key is the only one that fits the door lock but will not turn it - round one doesn't go there (But I've read that its supposed to)
My Round key fits in the storage box behind the passenger seat and WILL turn the lock if I push the 'teeth' toward the center - its pretty worn. It also fits the Spare Tire lock but will NOT turn it with the wiggle trick.
I removed the Storage lock and will take to a locksmith tomorrow - (GREAT PICS of that assembly - THANK YOU!) hopefully, there's a code stamped there and he can help me.
Is this all correct? Square = Ignition and Door -- Round = Storage / spare tire?
Or, Am I in trouble here?
Thanks - sorry for the HiJack. Yell at me if needed