When you click on links to various merchants on this site and make a purchase, this can result in this site earning a commission. Affiliate programs and affiliations include, but are not limited to, the eBay Partner Network.
I am really torn with this header thing. I love the look and sound they have but I think something is off with these old ones I have. From what I have read this isn't a new issue. It doesn't make sense to me why after more than 50 years these C3 big block cars have been around that you can't get a set of side pipe headers that don't interference problems??
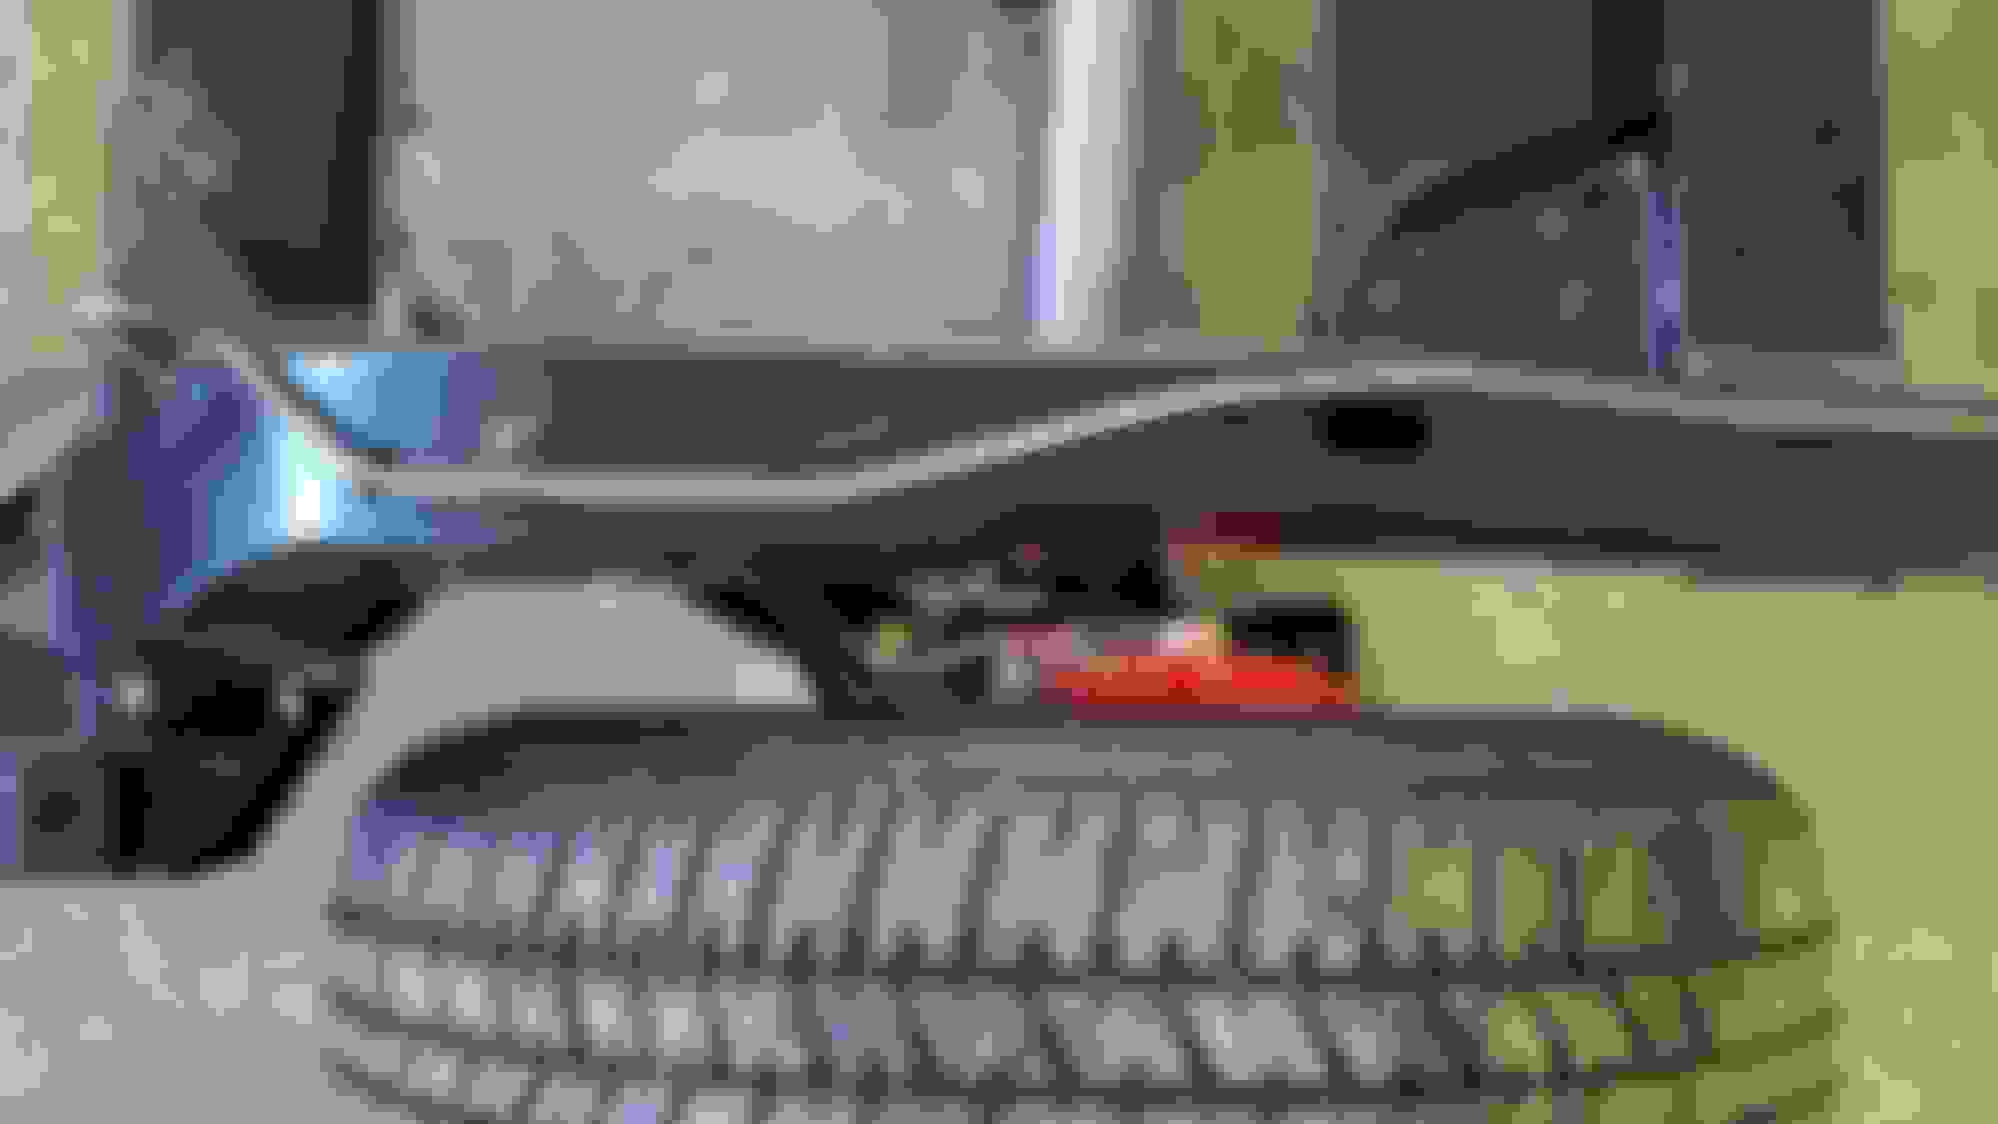
It seems like there are more clearance issues related to big block headers over small block headers and the availability of manufactures for big block headers is very limited.
I looked at long tube BB headers and then decided to go with a set of Sanderson short tube BB headers.
According to Sanderson they fit with no clearance issues and I won't have to dent a tube for clearance with the Borgenson steering box.
They come with 1 7/8" primary tubes of 16ga mild steel, 3/8" flanges, 3" collectors, they are aluminum ceramic coated inside and out and will eliminate ground to collector clearance issues as well.
My research showed that short tube headers will produce more tq/hp below 3500 rpm, about equal 3500 to around 5500 and that the long tube headers only make more hp above 5500 rpm.
Thanks for the info, I hadn't even considered Sanderson. How much better do they flow than the stock BB cast manifolds? I have just about given up on the side pipes at this point so the Sanderson or the stock manifolds are looking like the path I will take.
Header systems deliver more horsepower/torque due to their ability to scavenge more exhaust gases from the exhaust port over stock exhaust manifolds, thus producing more horsepower.
I would run a good header system any time over a stock exhaust manifold any time.
Just my opinion.
Hi All,
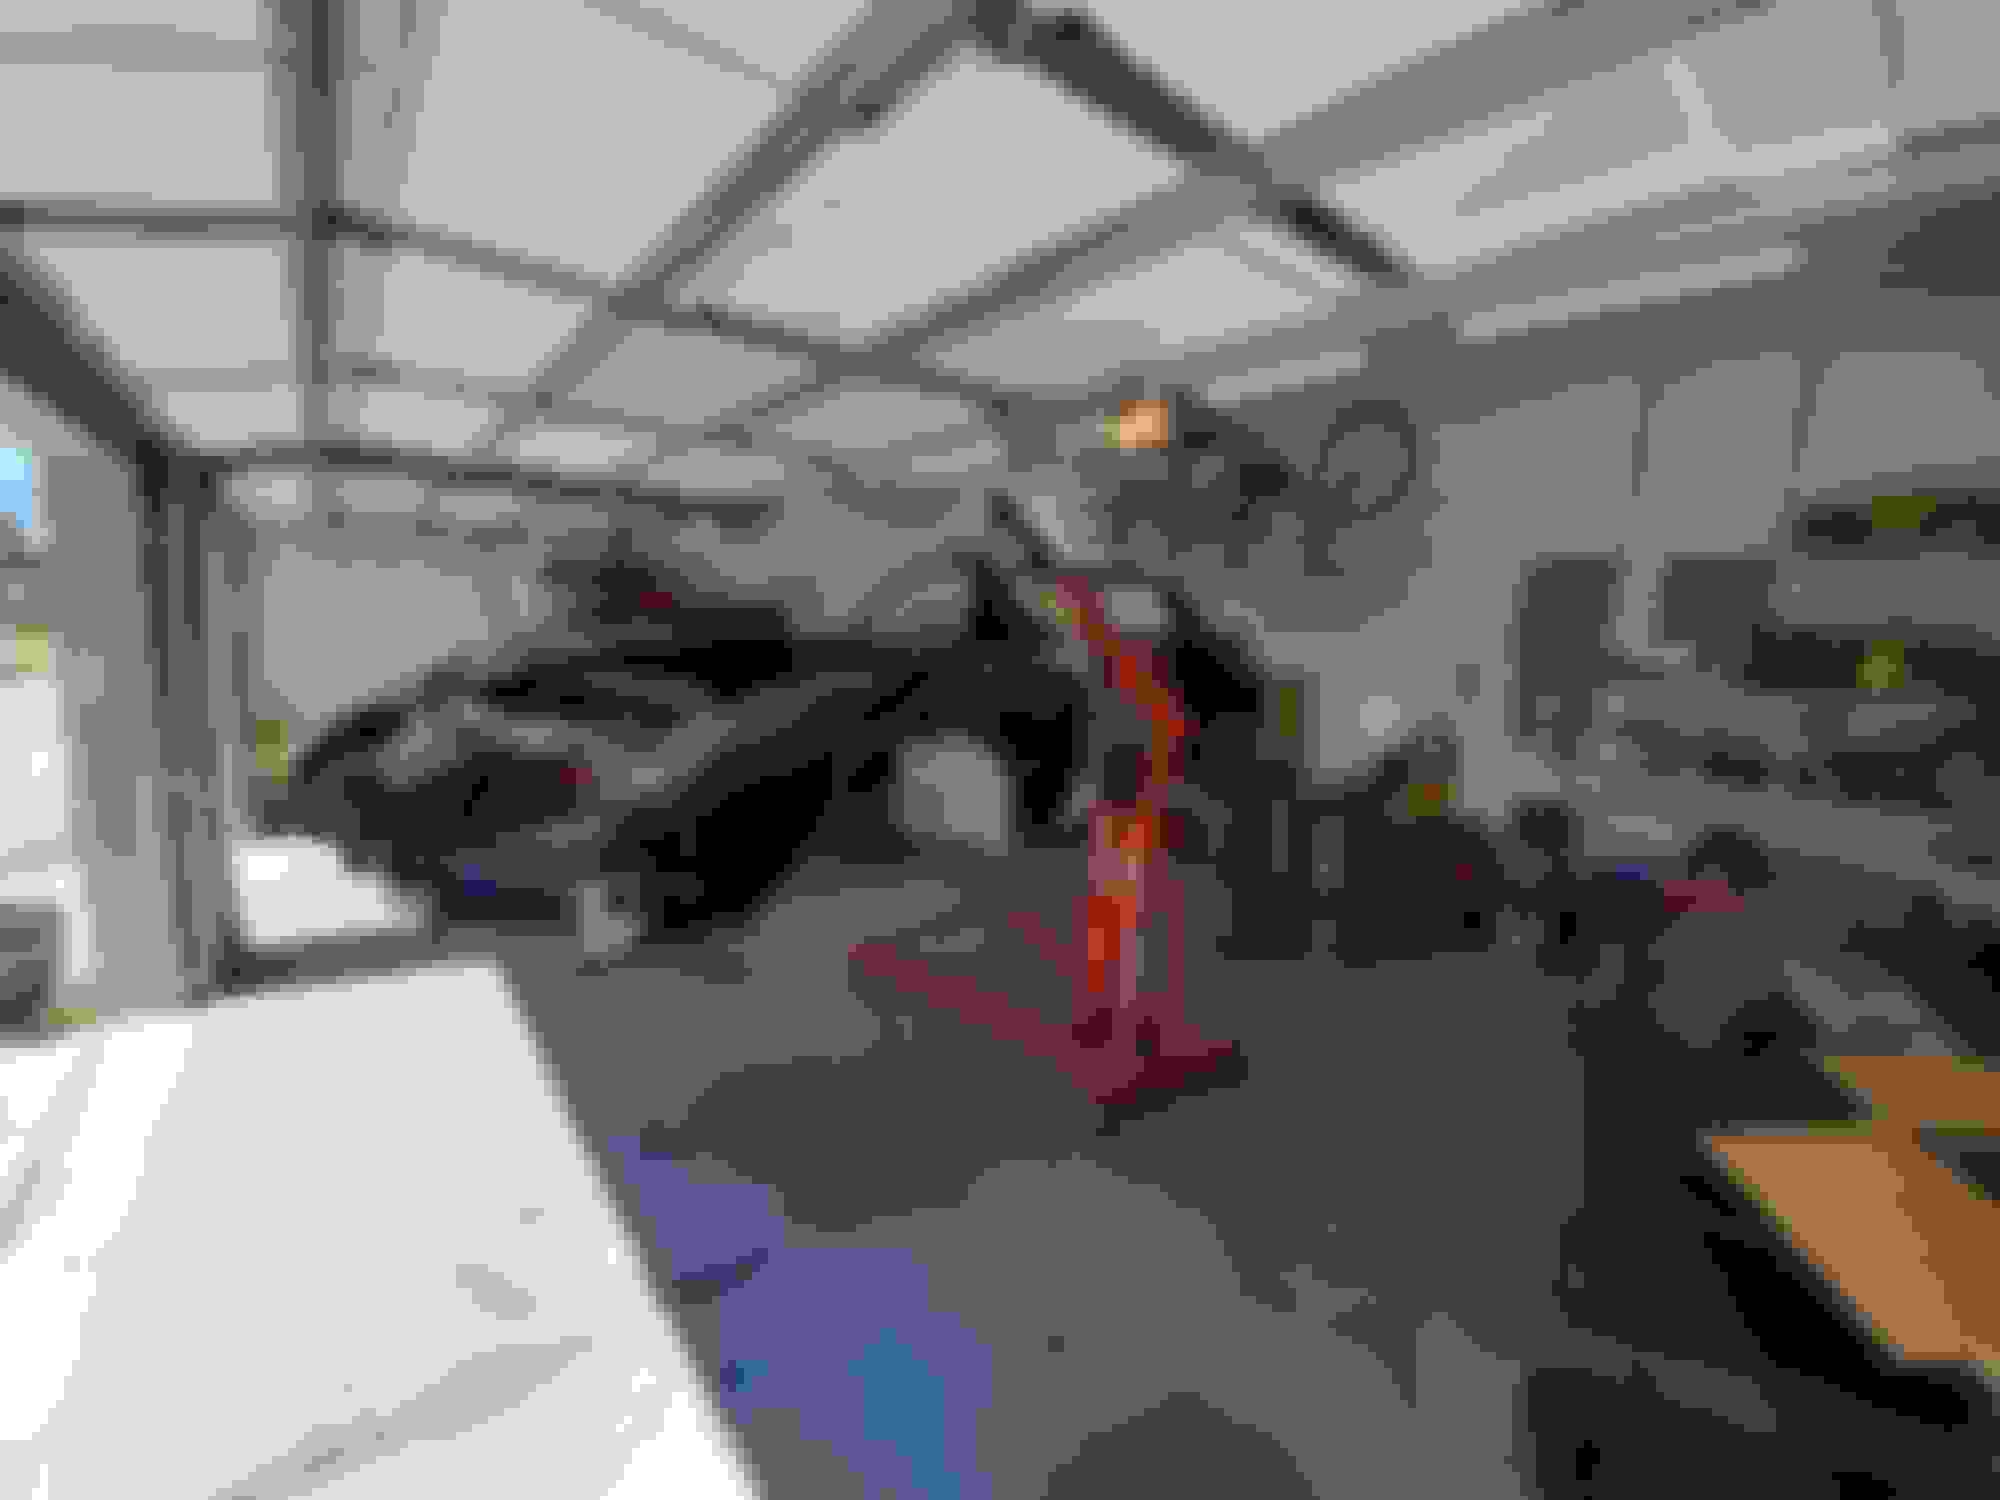
Been a little slow in getting some new pictures uploaded lately but, here are some to catch up to where I am today. Finished assembling the rear Van Steel Suspension and mounted the wheels.
I will be setting the chassis aside for a while and focus on the body.
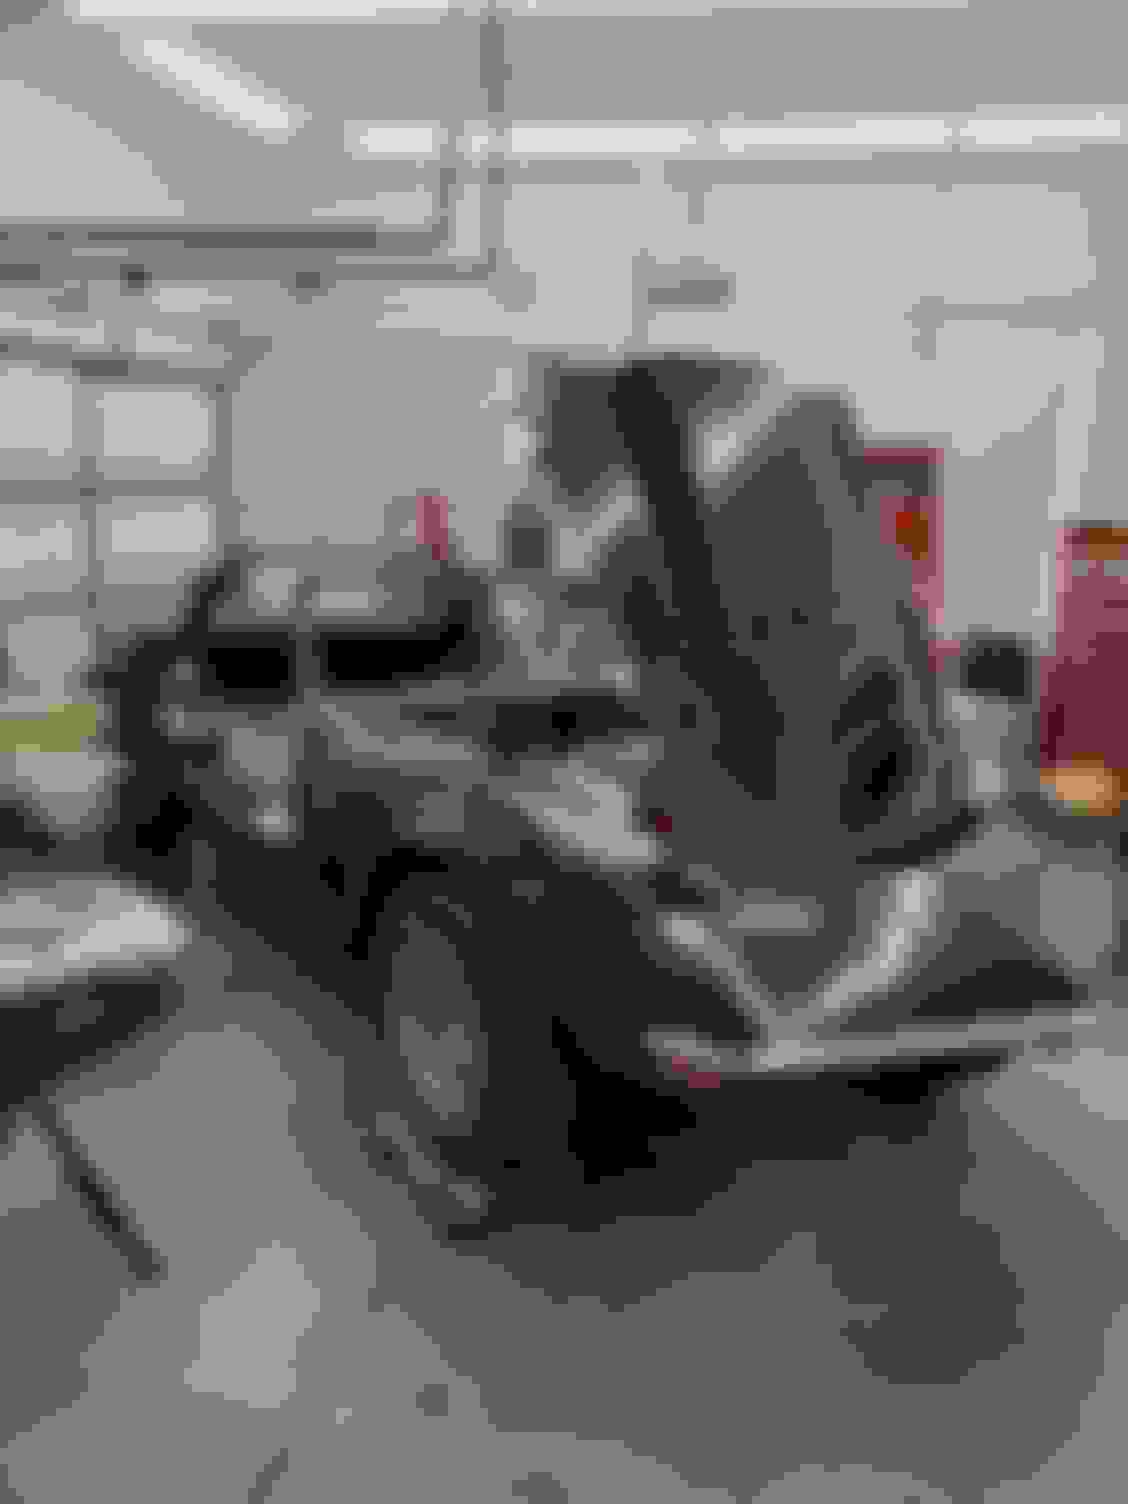
Body back on to do some body work. I found some rust in the lower right hand windshield corner that will require removing the front clip to correctly repair. I wanted to have everything bolted down and aligned before I remove the clip so I can ensure everything lines up correctly when I bond it back on.
I am also going to get all the gaps and seams perfected while the body is back on the frame. I will then pull the body back off to clean up the underside and do most of the blocking and priming. At least that's the plan. .
Last edited by Willforce71; Jul 22, 2018 at 09:25 PM.
Here is a quick update on progress. I've been working on the body and some windshield frame clean up. For more detailed coverage of the body work you can follow my thread over in the Paint and body section. Sorry these pictures are out of order but I thought you guys out there might enjoy them.
Thanks for posting. Great pics detailing progress. These types of threads are so educational, and inspirational to others as well. Great work. Will be following progress.
Well a lot has happened in the last few months. I have taken a new Job down in Florida back in April and have been strait out busy getting moved down and settled. I foolishly sold a lot of my shop equipment to save a little on the move so I had to set up a new garage all over again.
Enough about me here is the status as of today. I was able to get the bodywork finished up and Primed with both Epoxy primer and Poly. Block sanding of most of the panels is coming along well. I decided to pull the body back off the chassis to make cleaning and prepping the bottom and wheel wells easier. I had to make a new Dolly as well because the original was sacrificed in the move. The new one is taller and allows better access to the bottom areas.
I will be working hard over the next couple months to prep the body and all the painted bolt-ons for paint over the Thanksgiving Holiday. More to come.
New Body Dolly allows a lot better access to the bottom of the car.
Managed to get the piece parts in final primer today. Went well I guess? I also thought some of you might enjoy a few pictures of my homemade paint booth. Its really simple and quick to set-up and take down.
Its essentially three ropes stretched across the garage just under the doors. I build end walls out of 2x3 and attached them to the ropes to hold them up. Masking plastic finished things up. I used a 24" fan blowing in and 2 20" box fans to blow out. I added a third fan blowing out to regulate the pressure. So with the big fan on high and the two 20's on high I can use the 3rd out fan on low and add speed as the filters start to clog up.
Everything worked well and I should get the body done Thanksgiving day?
Ropes and end wall frames Input Fan As you can see I was able to get a nice positive pressure inside the booth. This keeps the dirt on the outside. Output fans
Well I guess its time for a quick update. I finally started to reassemble the care after a very long period of body off work and painting. Link to Body work thread: https://www.corvetteforum.com/forums...-stripped.html
As you can see I decided to go with Black! I deliberated about this for a long time and felt that doing what I like is what this car is all about.
Body Lift went very smooth. I have done it now several times so practice makes perfect. Headlights and hood went ok as well. Don't worry, I did have tape around all the edges. New wiring harnesses and Vintage Air install has been slow. Seams like one step forward two steps back but I am slowly getting it together.
The hoses are definitely a tight fit. Vintage Air should consider a molded plenum similar to the factory one for the center vents. It is easier to do with the dash pad and windshield out of the car though.
I have made a lot of progress assembling this puzzle. I have a few little details left to install but am mostly complete. All systems are working great except the wiper system. I will start troubleshooting that in the next week or two but I am not too worried about it because I can't see this thing in the rain any time soon. A/C works great which is very important here in Florida.
I just shipped the numbers matching block and crank to Mark Jones at VortecPro for him to do his magic on. Can't wait to swap it in and finish this thing up.


 .
.


 That is one project you finally after time and patients have completed one beautiful looking C3, just in time cooler weather cruising around town.