When you click on links to various merchants on this site and make a purchase, this can result in this site earning a commission. Affiliate programs and affiliations include, but are not limited to, the eBay Partner Network.
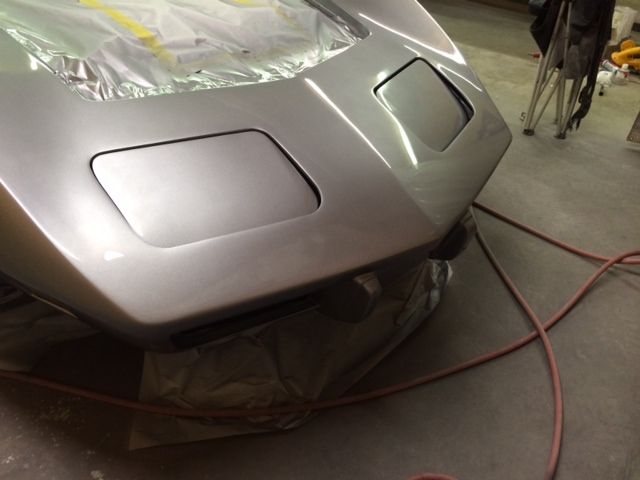
Got my fiberglass bumper on my 76 and had to tweak it a bit in some places for a decent fit. Right now it's bonded on with the fusor 127ez and bolted on as well. Now I'm at the molding in step and not sure how to proceed. Do I just grind out about the thickness of the fiberglass mat a couple of inches on both sides of the seam, or just lay the mat over the seam and feather it in with filler? Just looking for the best way to tackle this.
Thanks.
I cant help you .this is for the body guys.But when your done these cars look great .The value of these cars would be higher if g m would have done this.Good luck on the car.
Not to put words in his mouth by any means, but if I remember correctly DUB is not a big fan of molding in bumpers. I'd bet he will likely comment in. Either way it is a good idea to also post this type of stuff in the body work section of the forum.
You are committed and it sounds like your plan of attack seems pretty good (to me), grind it down and back, glass it, then VPA over.
Last edited by Ibanez540r; Dec 27, 2015 at 10:01 PM.
I highly recommend you grind out the thickness of the fiberglass mat a couple of inches on both sides of the seam. I ground out a couple of inches on both sides of the seam in the front but took shortcuts on the rear bumper. It has been about 13 years since I glassed in my bumpers. The front is just as I finished it, but the rear developed a hairline crack on the drivers side in the first few years visible in the second picture below:
You should definitely grind at least 1 1/12 inch wide bevel into the seam you bonded.. lay in Glass .. Be sure to get all air bubble out with a roller.. Be sure to Use a resin compatible with SMC fiberglass panels .. your new bumper is old style hand laid but your car is not. Tape off bumper 1 inch below your work, the resin will drip and make more work for you . Build up any areas that you can t get to line up with body perfectly .. Take your time..grind level and then finish off with filler.. When you think you ve got it perfect....go over it AGAIN!.. This is a good time to fill the seams on fenders too ..you don t need glass unless its cracking .. If you do it right, it will last a lifetime... if not, road vibration will eventually start showing your bumper seams ..It will look great if you put in the effort . Good luck
Last edited by fishslayer143; Dec 28, 2015 at 07:23 AM.
Reason: dropped my beer
You should definitely grind at least 1 1/12 inch wide bevel into the seam you bonded.. lay in Glass .. Be sure to get all air bubble out with a roller.. Be sure to Use a resin compatible with SMC fiberglass panels .. your new bumper is old style hand laid but your car is not.
Thanks for the input. I have read that this is a good resin to use so I have some on order.
Thanks for the input. I have read that this is a good resin to use so I have some on order.
That's the resin I used on my bumpers. I used fiberglass tape instead of cutting strips from cloth because the finished edges of the tape are thin. I also added Microlight to make epoxy fairing compound.
I did this on front and back couple of years ago. I used fiberglass kitty hair I think its called.
I used panel adhesive between the two mating surfaces then tightened the hardware. Then ground out the seam and filled with the fiberglass strands and resin.
Last edited by donnie1956; Dec 28, 2015 at 11:05 AM.
Not only you have to grind first, but you got to use painter tape all around the glassed area to be sure you retain the shape.
Here is pic I made to explain how I glassed the body seam, in your case there's no back plate, but the technique is similar concerning the tape (in green in the drawing)
First grind in
(of course the depth in your case is different, but idea is the same)
Then surround with painter tape and glass the groove.
Sand the excess. My pic is a little misguiding because you're done when you also have ground out the tape itself.
This allow you to make sure you're not making any buildups.
Worked wonders for me.
Sorry if I'm stating the obvious, for me there was an before and after this technique.