When you click on links to various merchants on this site and make a purchase, this can result in this site earning a commission. Affiliate programs and affiliations include, but are not limited to, the eBay Partner Network.
This is very similar to the post I saw before, thanks! I like how you sanded away for the recessed hole, I guess you could also mount your sanding disk on a drill motor. Could you explain how you tested for volume, and what did you mean by "10L, 9L, 8.5L"? Cubic liters? Also, I'd be interested in info on your homemade hot wire cutter.
I actually tried putting the disk on a drill at first but it gripped too much (I'm using 80 grit) and was hard to handle. With the handle, it only took me about 30mins to sand the recess.
To test for volume, I fill a basin with water, enough to dip the foam part, mark that baseline at 0. Then I add the desired volume with a measuring cup, mark another line and bring it back to 0 by removing what I just added. Then I dip the part in and cut pieces until I hit that line.
The tricky part in my case is that the foam part fits exactly so I cannot add the 1/4" - 3/8" of fiberglass I need on the exterior, it needs to go inside which will reduce the volume I calculated with the water.
In my case, the subwoofer manufacturer recommends 8.5L volume, I made the foam part 9.25L volume, thats an approximation of the final volume (8.5L) plus the extra fiberglass I will put inside (750ml) to achieve the thickness I want.
The subwoofer size is 8". I don't think you could fit anything bigger back there... maybe 9"... anything bigger would really stick out.
I spent some time on it last weekend but didn't take pictures. Essentially, finished sanding the foam parts, measured them, added an external port and applied the first layer of epoxy. I want to add a couple more layers of plain epoxy this week and a layer of fiber so I can work on removing the foam next weekend. I'll probably have more pictures by the end of next weekend.
So the foam doesn't absorb any water when you submerge it?
No, none at all. I'm using XPS foam though, never tried with other foam types. It's the pink or blue boards you find at your local hardware store. Only disadvantage of XPS is that you can't use normal polyester resin, has to be epoxy or the foam will melt.
Yeah sorry, like I said, I don't have a lot time to spend on my hobby but got some progress done.
So I removed the foam shapes after 3-4 layers of plain epoxy and 1 layer of mat. Was able to scrape most of it using a drill with a hole saw and a putty knife. The rest was dissolved with acetone. To be honest, removing the foam was harder than expected... Probably a lighter foam would of worked better.
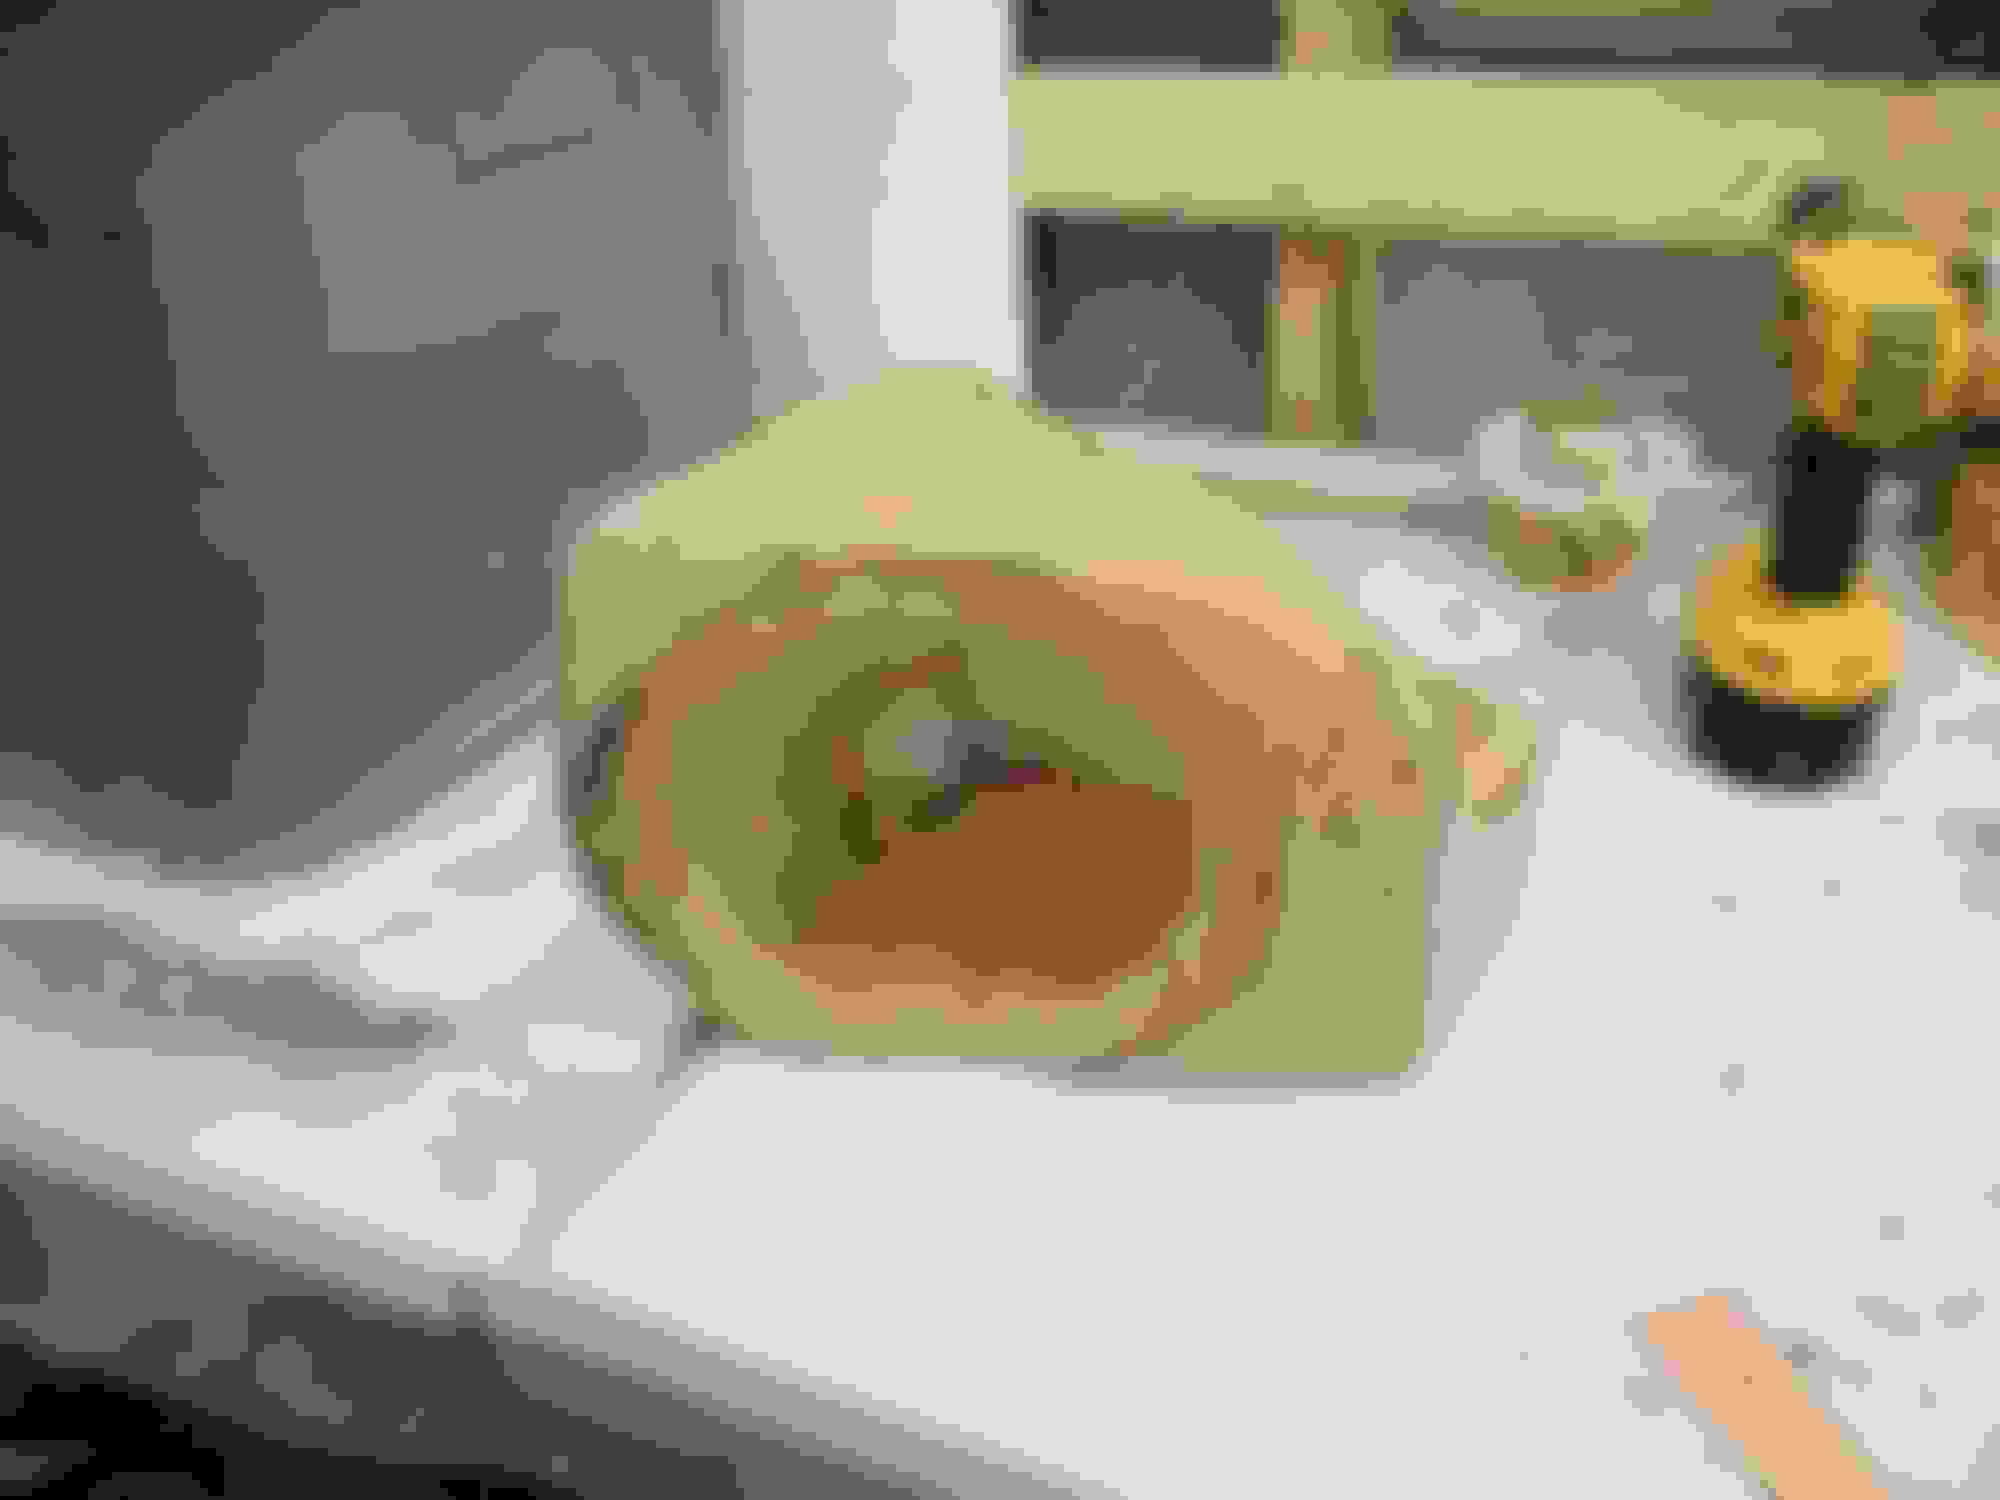
I started adding layers inside on one of them. The one in the picture below was just cleaned with acetone, hence why the black residue. The rim is chipped a bit but it really doesn't matter as I will be adding the MDF ring once I'm done filling to the correct volume. Looking at the picture it doesn't give it justice, I'll take another picture this week when its all cleaned up.
I'm sorry Richard. Life caught up to me in the past months. Left my job to start a company and the project got side tracked. To answer your question, if it is still relevant, I guess you could melt the whole thing but it will create a LOT of black residue which is really messy and sticky.
Anyway, took a picture of where I left it at, the MDF rings are glassed in and the threaded inserts are in place as well. I added the anchors to the body and I made a first attempt at making the back wall with fleece but my idea of holding it in place with a mix of double face tape and super77 didn't work out since the resin just ate through the glue releasing the fleece.
My next attempt, whenever that might be, will be more mechanical so everything stays put while the resin dries.
Those came out really nice. I bought a box that goes all the way across and the tops still fit back there, but I haven't installed speakers or radio yet. Maybe someday I'll do like yours if what I have isn't up to par.
So I got back on track and made progress over the past few weekends. I'm not sure if anyone is still interested but I'll keep posting for completeness.
So here's the mechanical approach I was talking about in my previous post. I bent a rod to contour the bottom and soldered on support rods to hold everything in shape. The bricks are to add weight to help stretch out the fleece. I had to drills holes in the top bezel to hold the fleece in place which I'll fix once I'm done. I reused the sanding disks I did for the recess to hold down the fleece flat with the enclosures.
Here's another view from the side.
At this point I have 4 layers of resin (no fiber) on the fleece and it is ready to be removed from the car.
I added fiberglass to the back side until I got around 3/8 thickness which I find sturdy enough. I then removed the support and cut the excess.
This is the part that took me more time than expected. I sanded everything down smooth, glassed in a curve in front, added two anchor points in front and filled in the gap between the part and the original bezels so they fit seamlessly. The white stuff is ceramic dust with resin mixed to a paste.
I coated everything with gelcoat using a foam roller to give it a texture similar to the original bezels. I trial fitted with everything in place, everything lines up perfectly!
You can see up close the texture I was aiming for. I really didn't want a mirror finish as it would've brought out any imperfections and wouldn't look right.
Next step is to add the ports to the enclosures and fit the exits on this wall. Then everything will be ready to be painted in black like the original bezels.
Please continue as your time alows. You have a lot of patience and determination. It shows in your ability to take an idea and turn it into a finished product. Thanks for sharing it with us.
Yes that's right, especially since I'm making ports that'll come out the center, I wanted something to hide everything. Still working on the ports, I'll post pics when its further along.
I can't believe you are reluctant to post what you are doing. Most of us on this forum are amateurs, but that's the beauty of this forum. We all learn from one another. You obviously have a lot to share. Please continue to post. Great project!
If you haven't you should make molds of your finished product and market it. Very nice job and I don't know why you'd be embarrassed by your work. Top notch in my opinion.
Don't get me wrong, I am not embarrassed by what I do. I've been adding/modding this car for the past 15 years and I like doing custom work to it because I learn so much every time. In the early days I tackled more mechanical aspects and even though some ideas worked, some didn't pan out as expected which is expected due to my lack of experience.
I guess what left a sour taste about posting my mods here is when I did a custom 5-link rear suspension. I didn't have a lot of money back then so machining parts was out of the question and had to make them all by hand. I couldn't get the precision required but still went on with it. I posted everything as I was going and the replies, even though mostly positive, made me worry and second guess my work.
It's all a mindset you see, I don't gain anything from posting here but stand to lose confidence and in turn motivation to finish. In the end I did finish the 5-link and drove it for a while. It really improved the handling as I was hoping but eventually swapped it out for the vansteel 6-link because I was seeing signs of binding somewhere in the suspension travel and didn't like the wear patterns I was seeing.
As for making molds out of what I'm doing now, I don't see it happening. The body of these cars have a lot of variation from one to the other and I'd have to make the part fit more loosely for resale. That's on top of the fact that mine was built with the 3/8" undercarpet in mind which is not factory. I might add pictures with all dimensions once I'm done to help out anyone wanting to make their own but thats it.
So here's where I'm at on the ports. These are the horn pieces that will be visible in the center section. I used XPS foam again to shape the horns just like I did for the enclosures. Then I covered them in epoxy resin, a few layers, and then a few layers with fiberglass mat.
Second picture is with the excess removed and some sanding to make it all smooth inside. Third picture I set them down on a flat surface (plastic for easy removal) to fill in any gaps or unevenness on the matting surface and added the inserts that will hold the horns to the back wall. I used shrink tubing to close the top end of the inserts so I wouldn't fill them with epoxy.
This first layer is light as everything is placed by hand and I didn't want to disturb it too much. Once settled, I'll add more layers to solidify everything.
Designer Imagines A Corvette That Looks More Like a Corvette Than the Corvette
Slideshow: A Jaguar designer's personal project imagines what a modern front-engined Corvette might look like if Chevrolet revisited the golden age of the Stingray.