When you click on links to various merchants on this site and make a purchase, this can result in this site earning a commission. Affiliate programs and affiliations include, but are not limited to, the eBay Partner Network.
I'm slowly piecing my car back together after a year and half at the body shop. If someone can provide picture on the lower corner of the windshield depicting the lost trim/cowl corner detail, that would be greatly appreciated. Also, I don't see how it is humanly possible to attach the corner molding to the fiberglass with the small clips that I purchased from Zip. What am I missing? When I took the car apart the prior painter basically glued them on with some type of silicone adhesive. Thanks for your help.
If you`re talking about the trim that goes on the fender.... between the hood and the door....those clips have a small dimple on them, and there should be a corresponding tiny hole in the fiberglass for that little dimple to pop into when you push the clip on....
If you`re talking about the trim that goes on the fender.... between the hood and the door....those clips have a small dimple on them, and there should be a corresponding tiny hole in the fiberglass for that little dimple to pop into when you push the clip on....
Is that hole supposed to go all the way thru the fiberglass in that area? I was putting mine on last night and boy let me tell you! The are a pain in the butt! They keep popping off when I slide the molding into place!
Hi Tom,
The clips have a top and bottom.
The bottom of the clip is the part with the small 'prong' stamped into it.
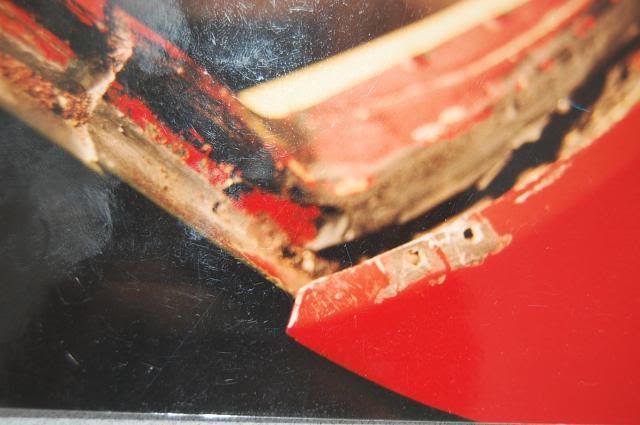
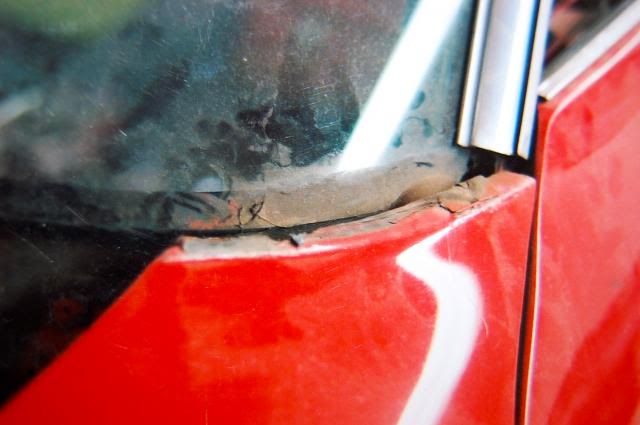
Originally the fiberglass has 2 small holes drilled into it. Both clips are near the outer end of the trim piece because the small screw holds it's inner end securely.
The clips slipped onto the fiberglass from the back (near the windshield) and the 'prong' settled into the hole to hold the clip in place while the trim was slid into place. (The 'prong' prevented the trim from pushing the clip off the fiberglass).
Pictures� some ugly!
Regards,
Alan
The AIM shows where to drill the holes for the clips.
UPC1 ASM, Sheet F8
Bottom side with 'prong'.
Top side, note 2 'cut's to grab the trim piece and hold it.
Position of holes for the clips as shown in the AIM.
They are tricky little things. My car had them glued on. The big thing is to get the eyebrow trim lined up correctly. Assuming you didn't remove the front clip or any other major work they should go back where you had them. How is the tricky part. Got small fingers?
RVZIO
Hi Tom,
The clips have a top and bottom.
The bottom of the clip is the part with the small 'prong' stamped into it.
Originally the fiberglass has 2 small holes drilled into it. Both clips are near the outer end of the trim piece because the small screw holds it's inner end securely.
The clips slipped onto the fiberglass from the back (near the windshield) and the 'prong' settled into the hole to hold the clip in place while the trim was slid into place. (The 'prong' prevented the trim from pushing the clip off the fiberglass).
Pictures� some ugly!
Regards,
Alan
The AIM shows where to drill the holes for the clips.
UPC1 ASM, Sheet F8
Bottom side with 'prong'.
Top side, note 2 'cut's to grab the trim piece and hold it.
Position of holes for the clips as shown in the AIM.
I was a little confused. The AIM appears to show 2 holes for each side but only 1 clip. When I got my new surround, it came with 4 clips. Thanks for the pics Alan! It really cleared up a lot for me.
Hi Scott,
Yes, the AIM drawing is more than a bit misleading.
In the detail View 'C' the 2 holes are clearly shown, but the drawing would lead you to believe just one clip is used!
Regards,
Alan