When you click on links to various merchants on this site and make a purchase, this can result in this site earning a commission. Affiliate programs and affiliations include, but are not limited to, the eBay Partner Network.
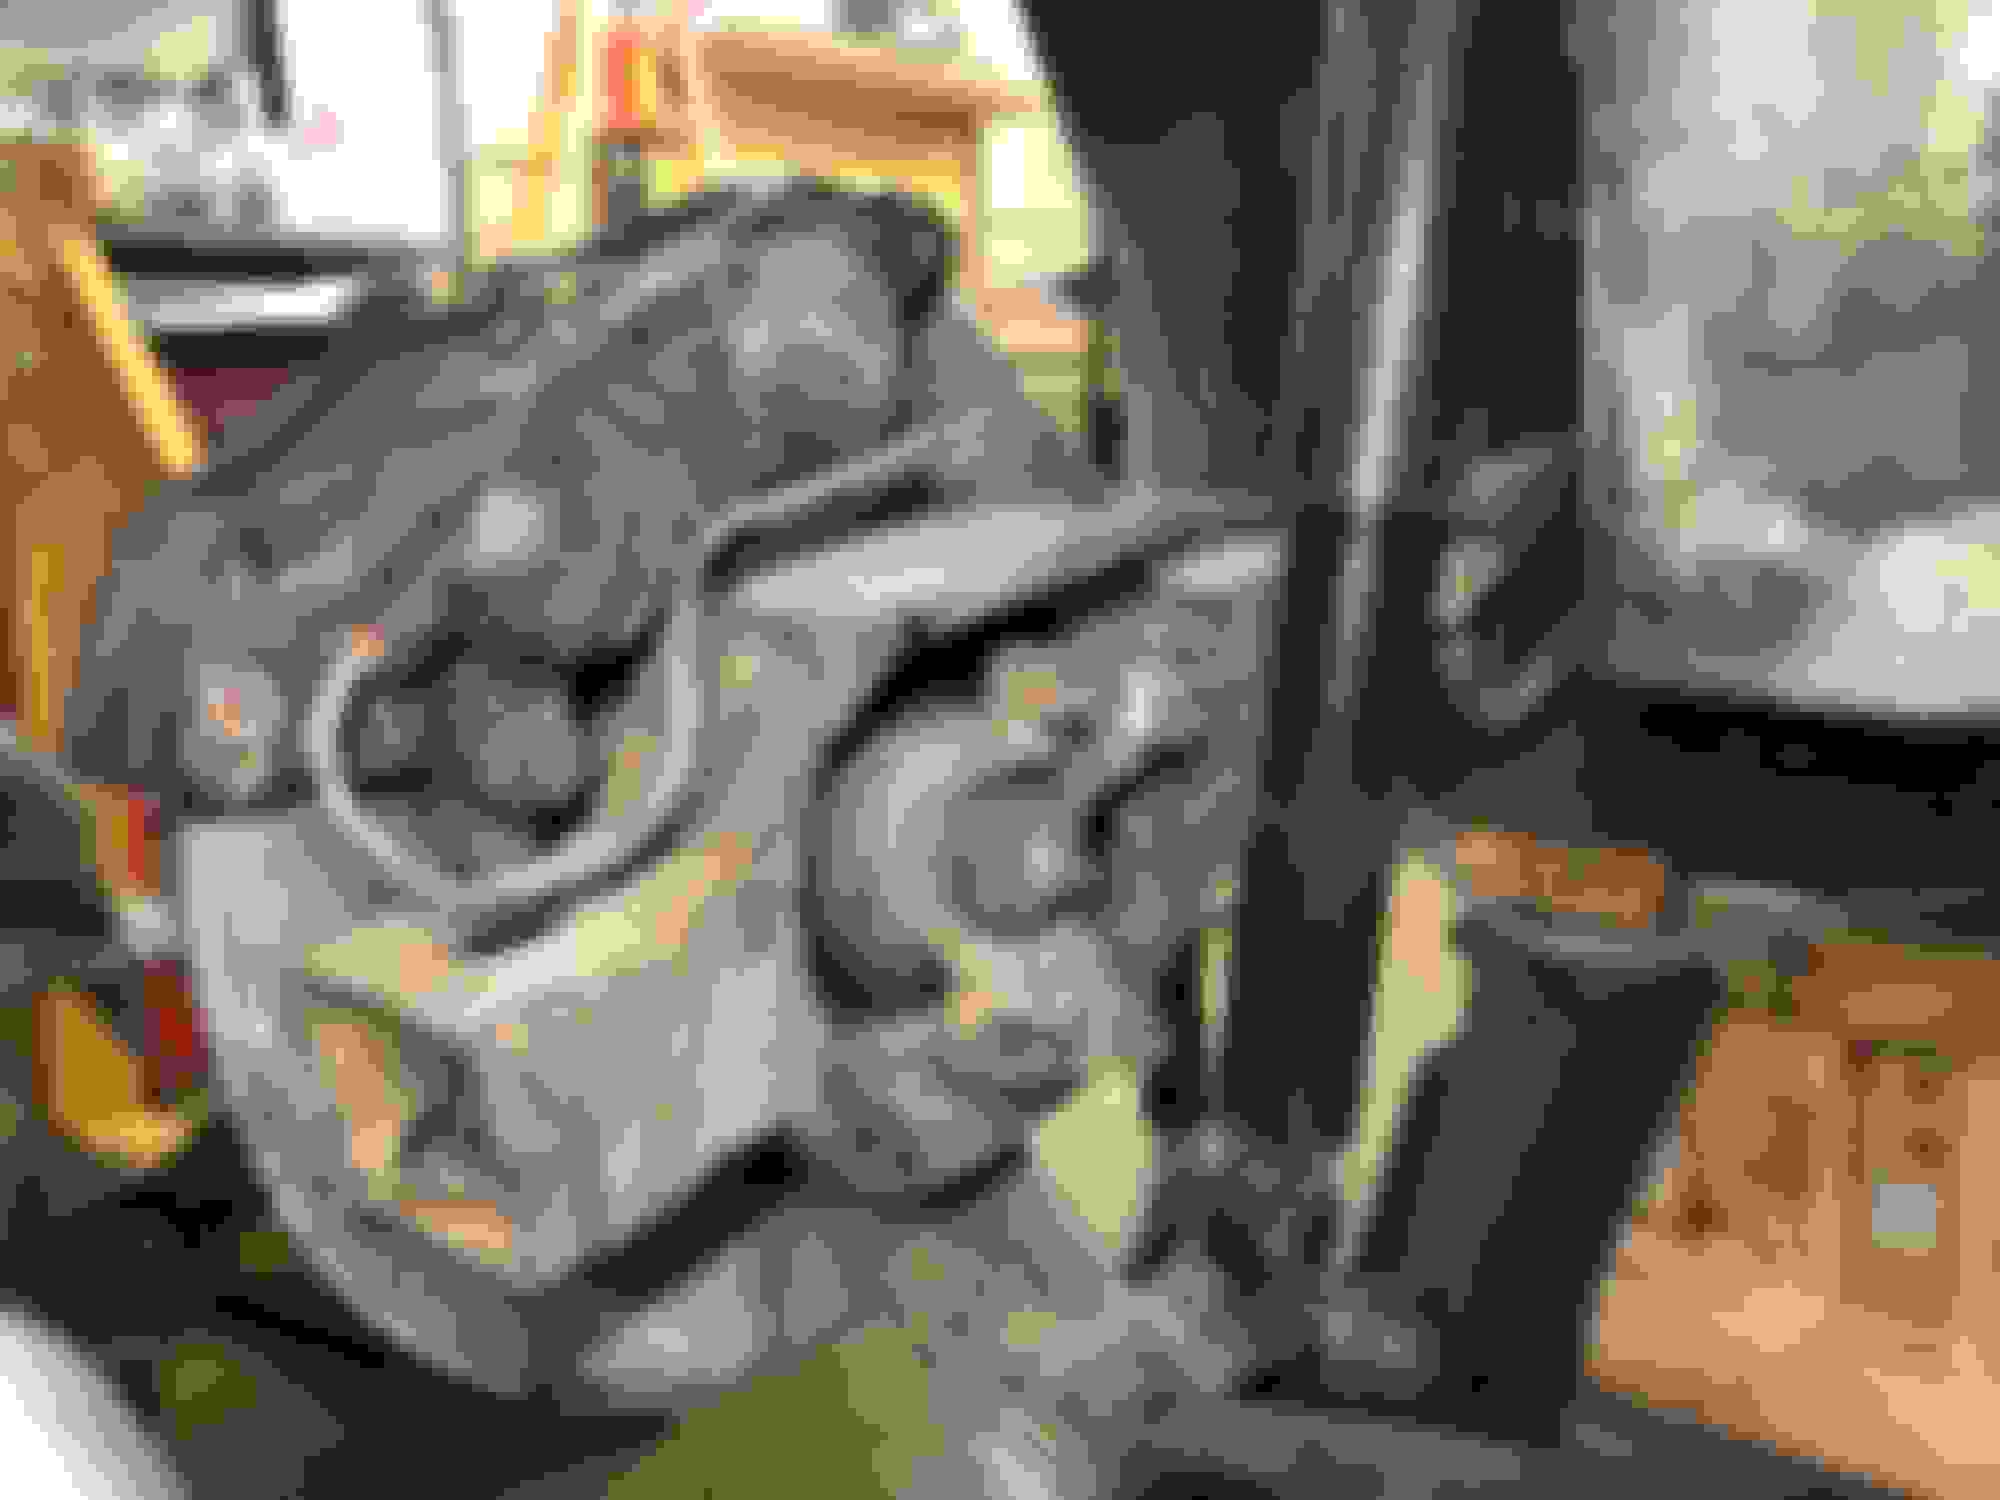
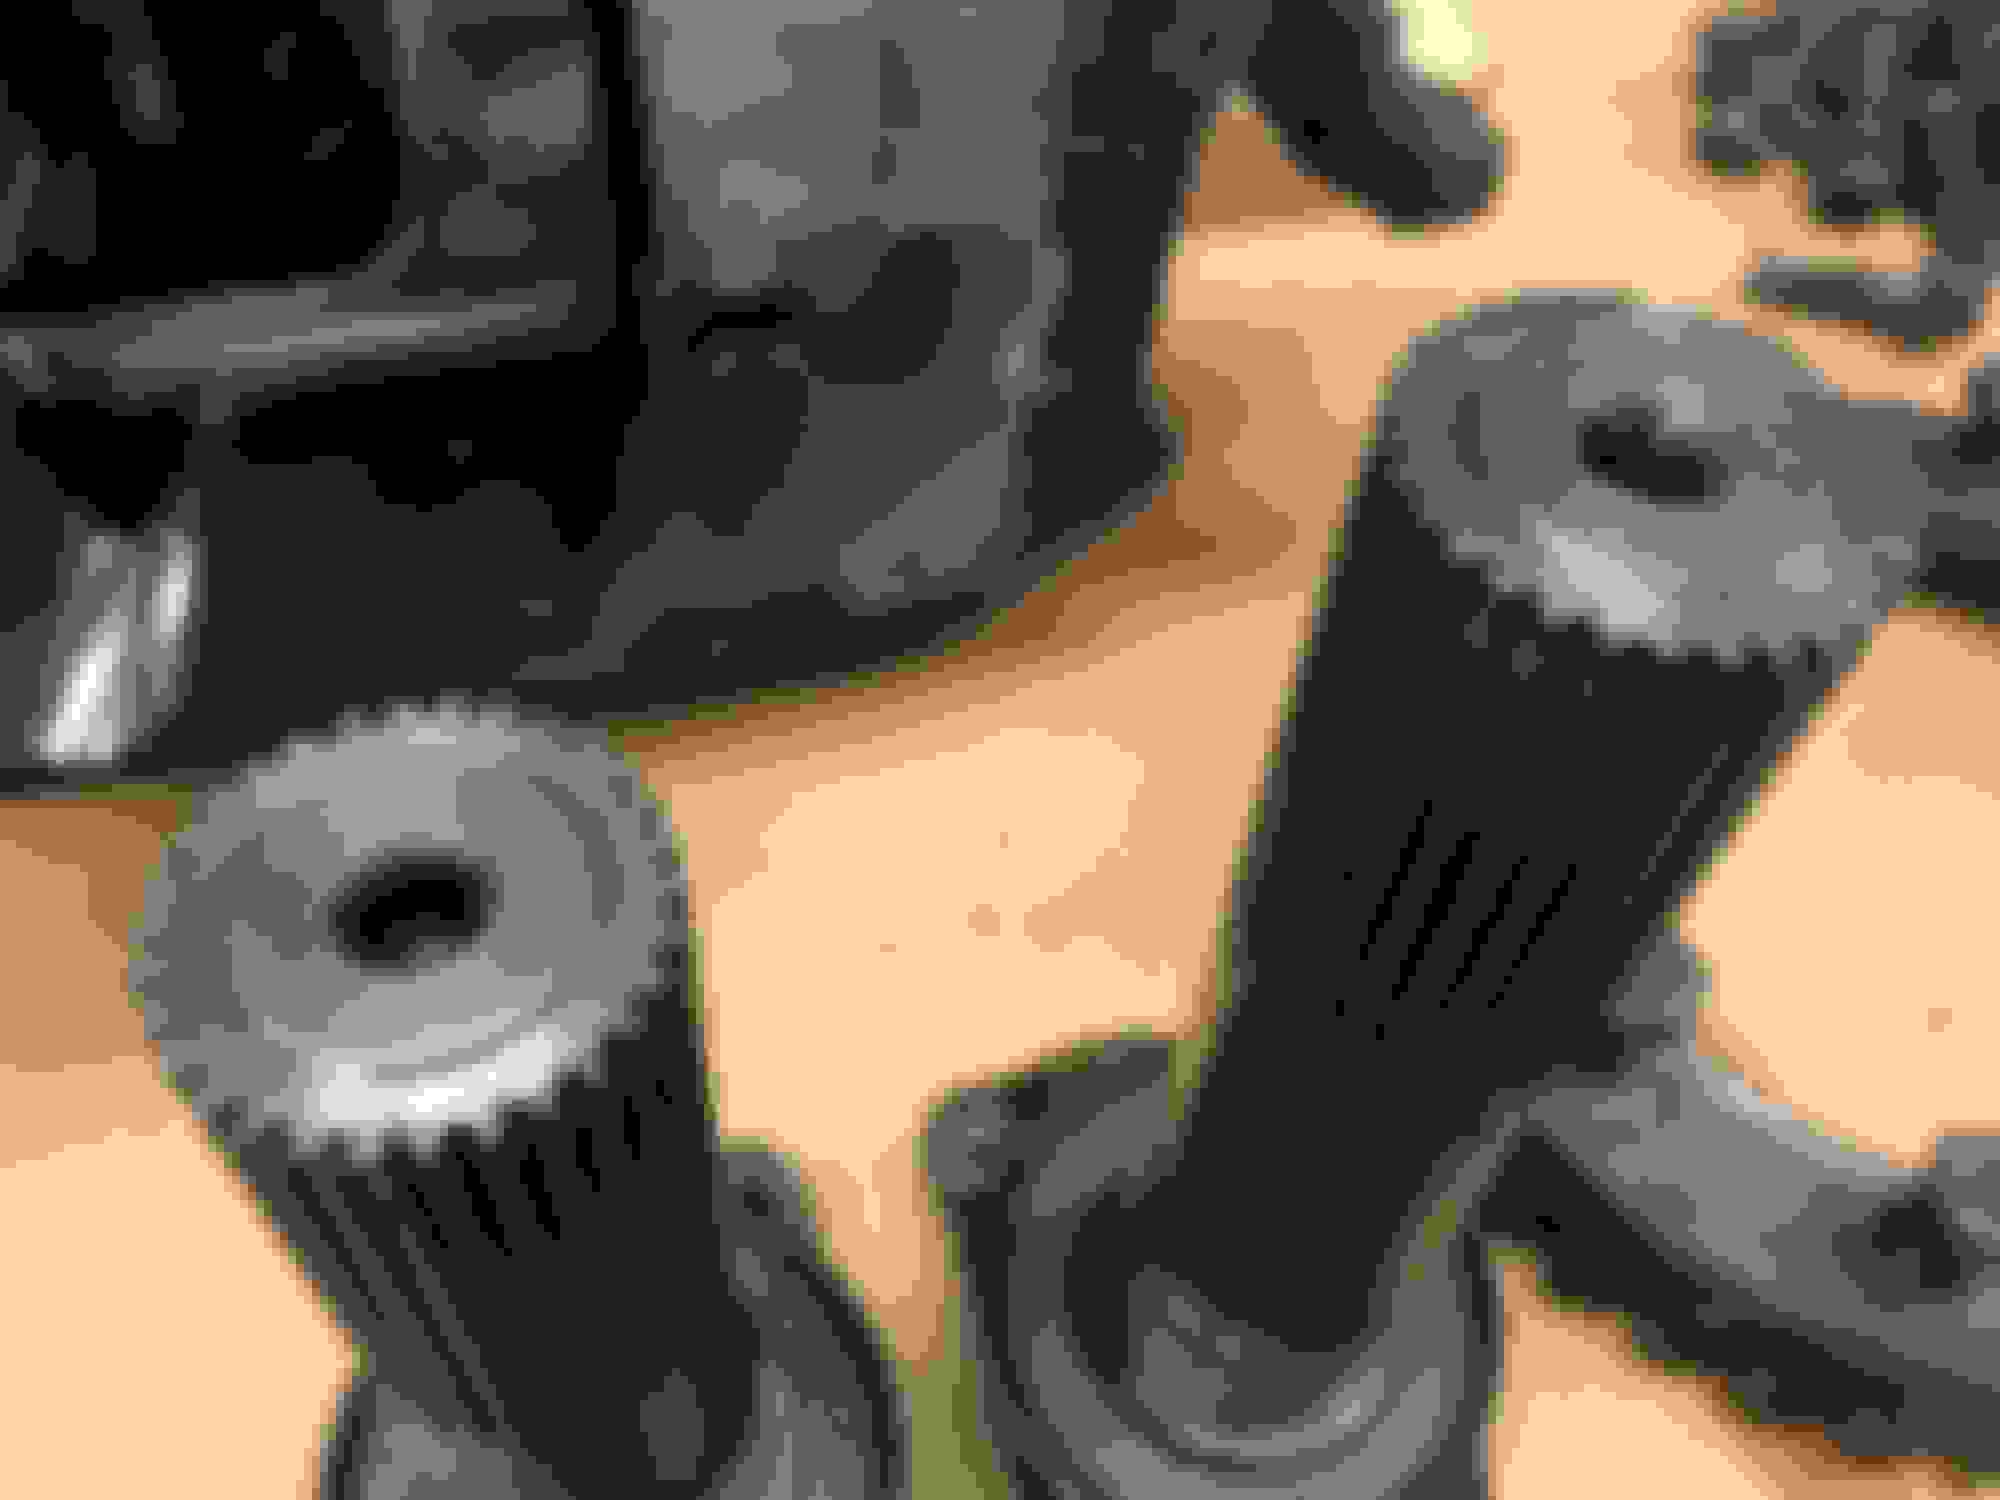
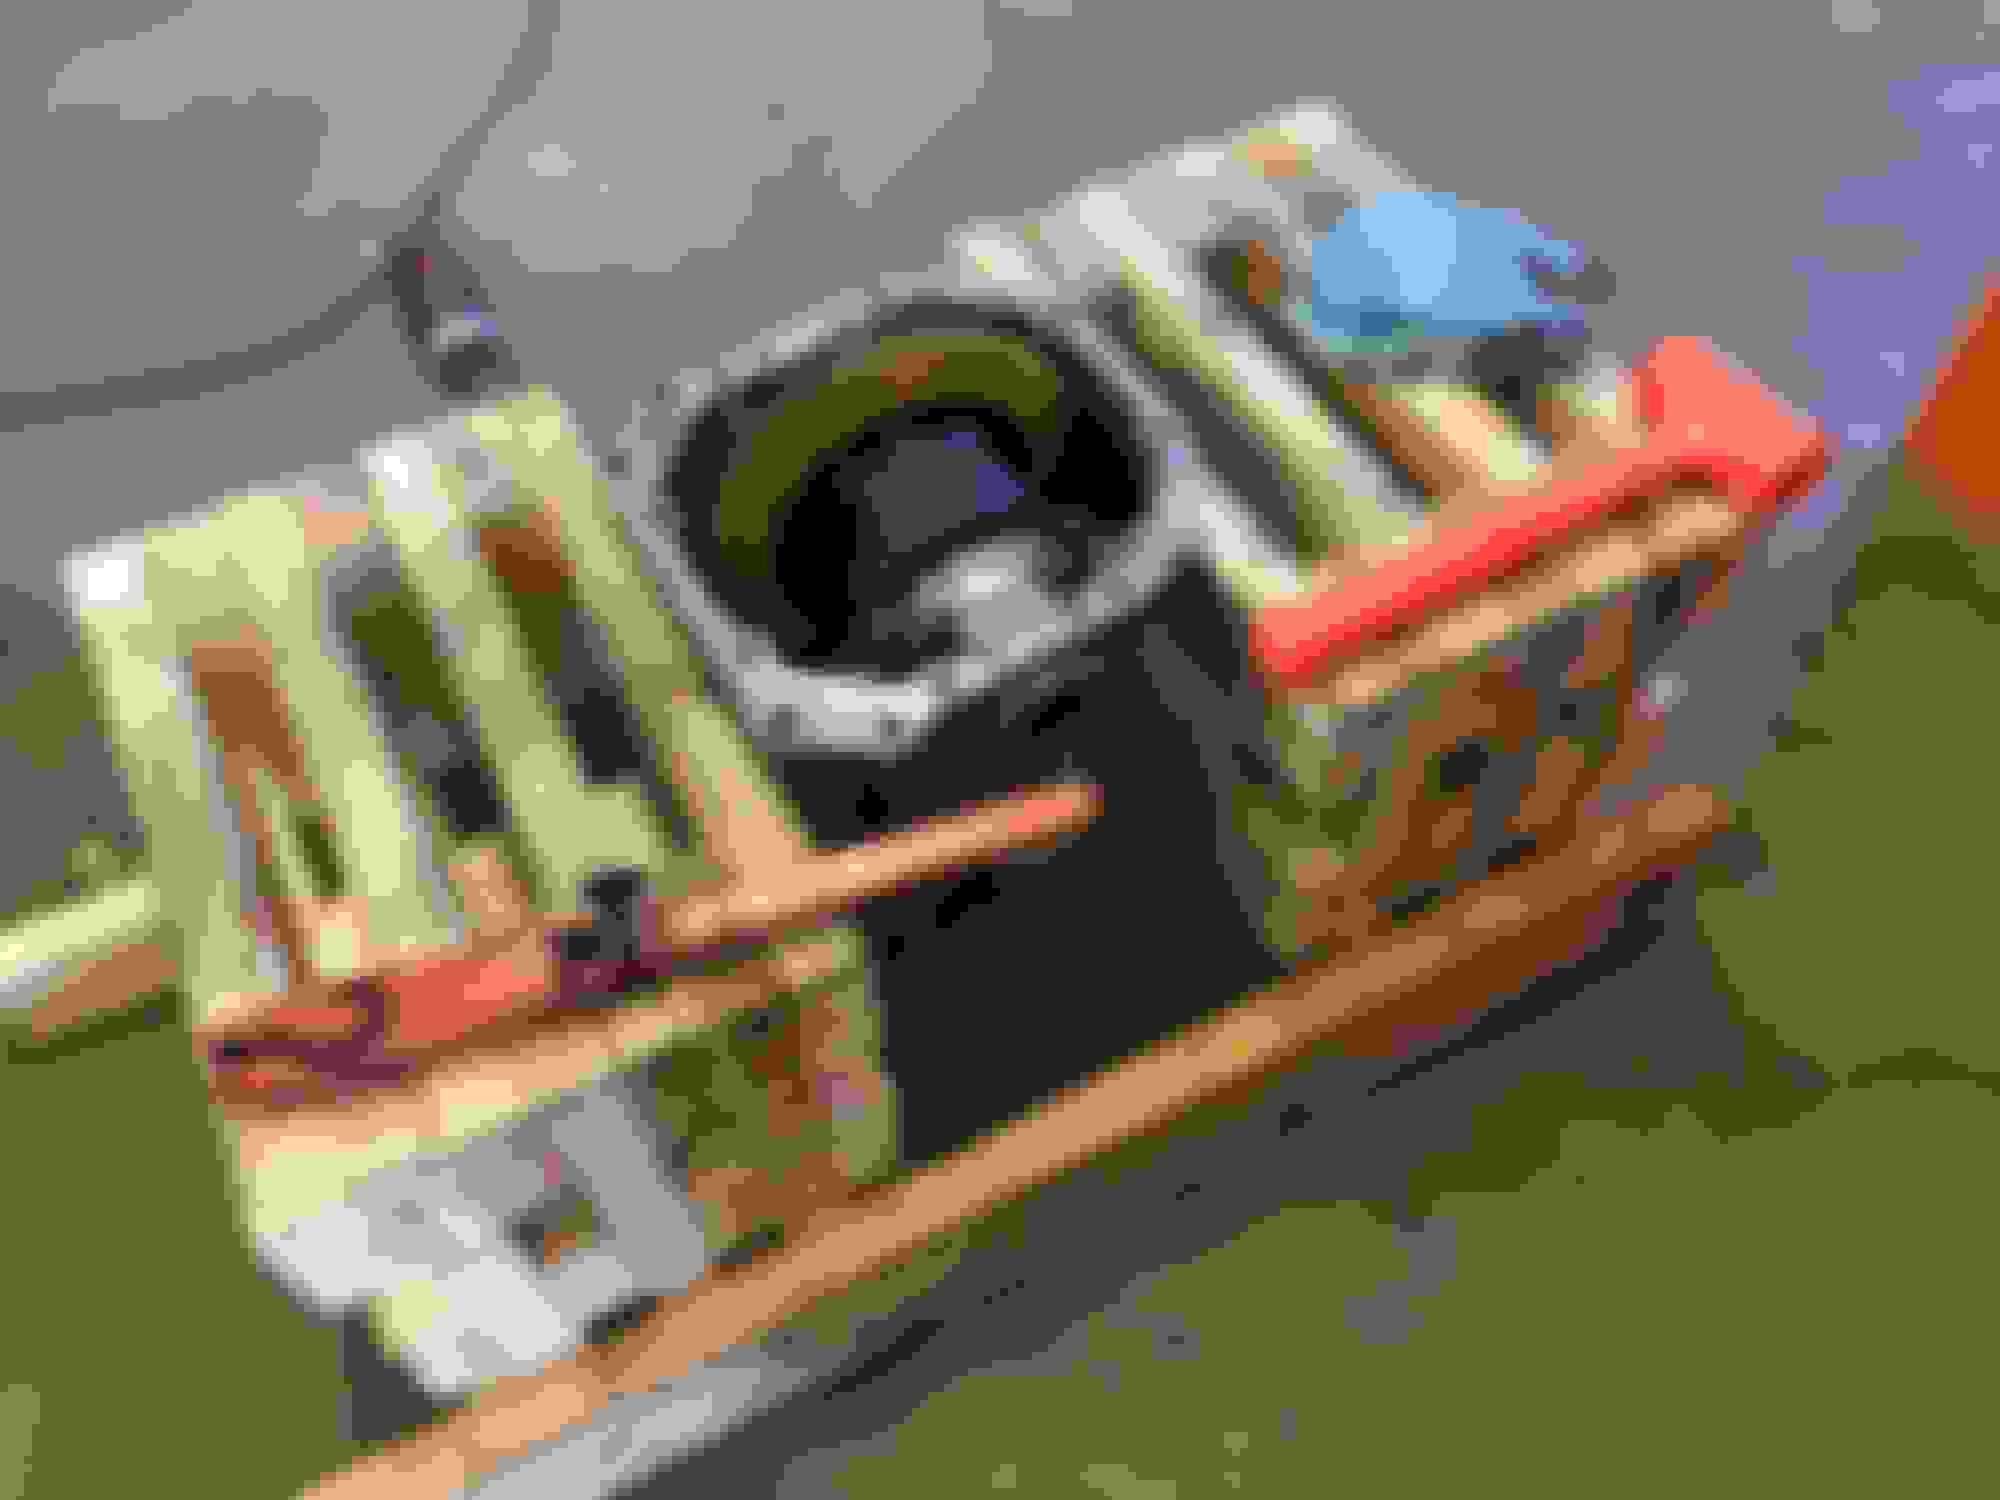
Big day today. I got the batwing muscled out, and removed other neighboring components. One of the universal joint cap bolts was stripped and I had to grind off the head to remove it, but besides that, no real hiccups. As I expected, there was excessive play in the stub axles, and the heads were so mushroomed they wouldn't come out without persuasion. The center pin is also very worn. All this means lots of new parts in the diff.
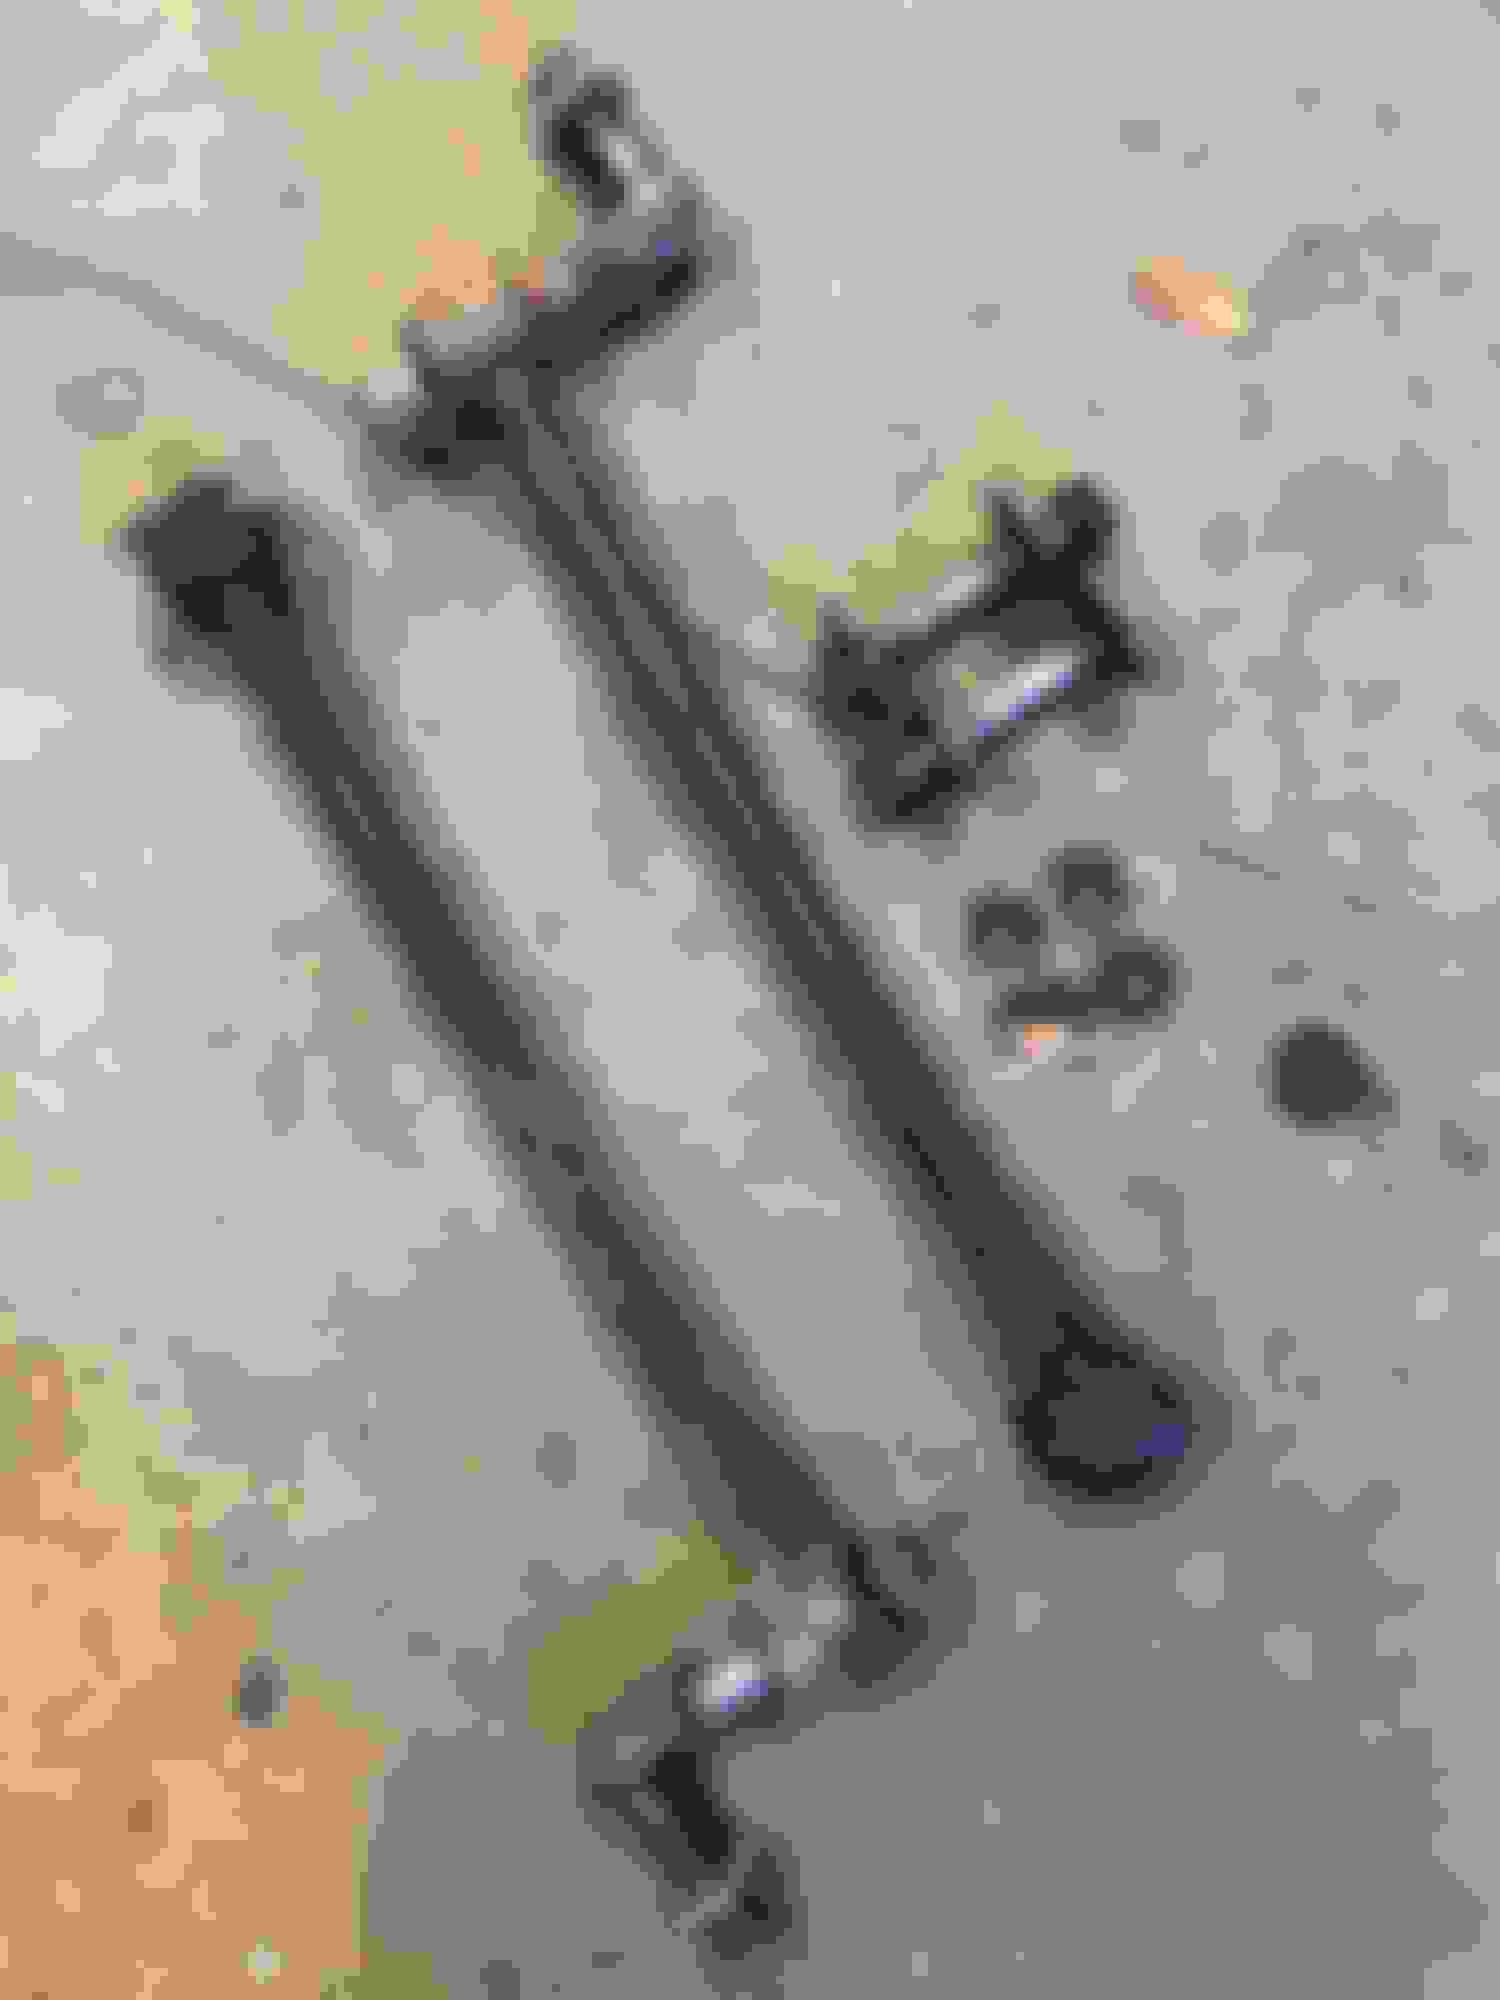
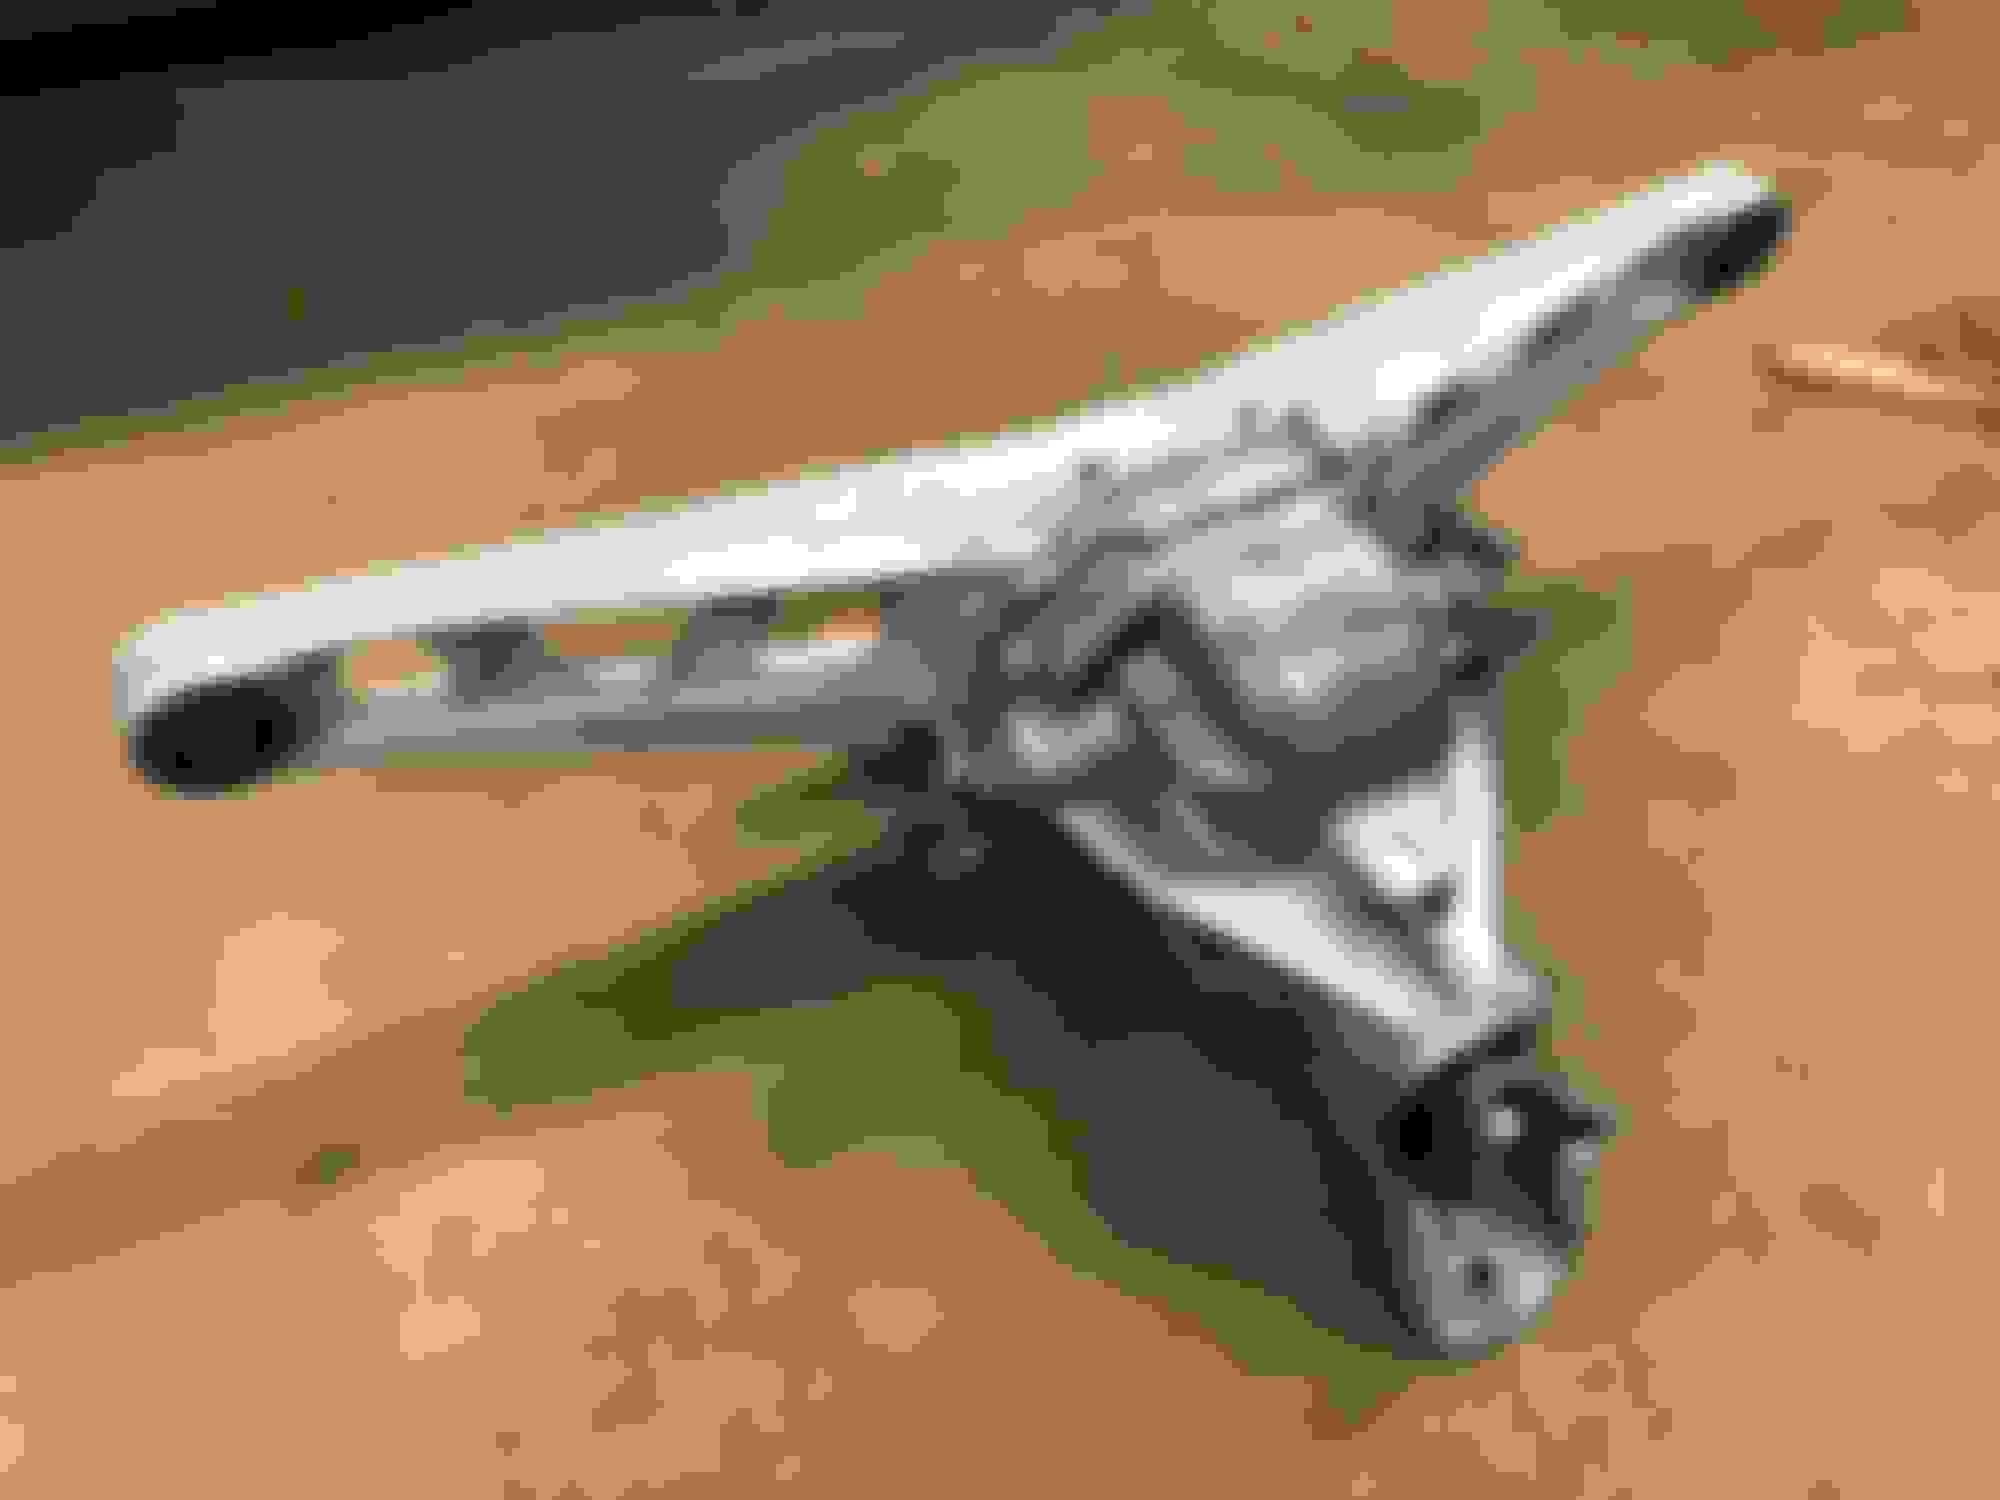
My strut rod bushings are also basically toast, and one of them is slightly bent. I know it's probably not a huge deal, but I keep thinking about a heim joint replacement set. Anybody know of any downsides to using the heim joint rods?
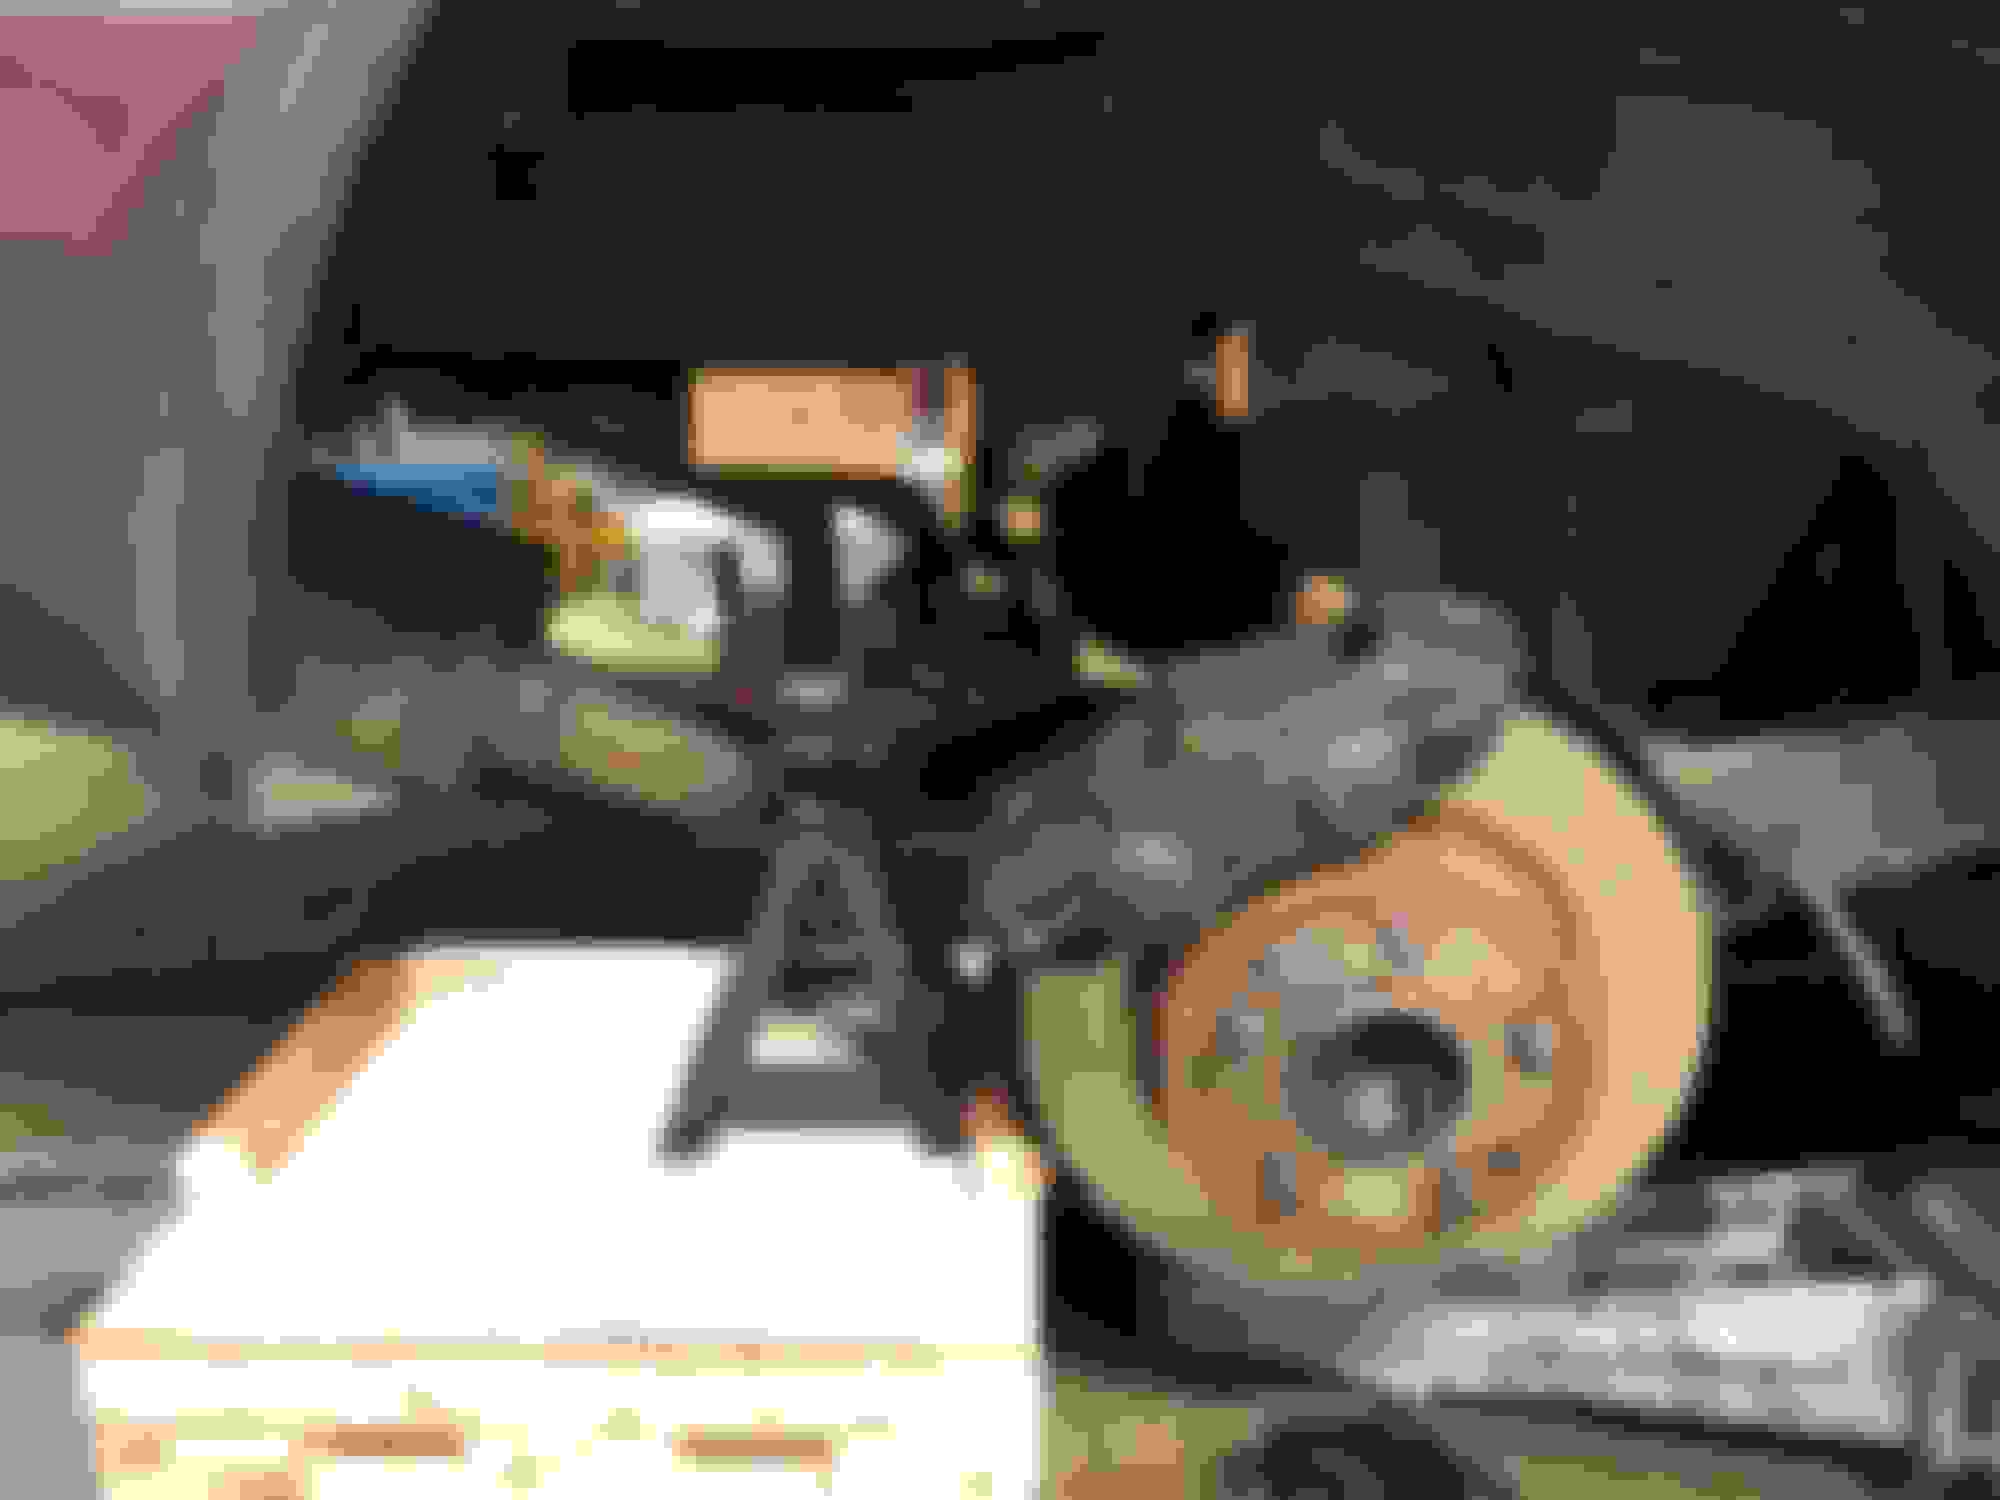
The passenger side control arm has been done fairly recent, as that bushing looks new compared to the driver's side. Do you think that one warrants a replacement? I'm confident I'll be able to remove the bolts from both sides. The nuts look fresh and aren't rusted.
As always, I appreciate the comments and advice. I'll continue to post as I make progress.
My strut rod bushings are also basically toast, and one of them is slightly bent. I know it's probably not a huge deal, but I keep thinking about a heim joint replacement set. Anybody know of any downsides to using the heim joint rods? I use the re-greaseable heim jointed adjustable strut rods an never have a problem with them. In my opinion....they are some of the BEST money a person can spend on their suspension.
The passenger side control arm has been done fairly recent, as that bushing looks new compared to the driver's side. Do you think that one warrants a replacement? I'm confident I'll be able to remove the bolts from both sides. The nuts look fresh and aren't rusted.
When the trailing arm is still bolted in the frame. I take it and twist it in and out and feel for how easy it is to do just that.
Something does not look right in the second photo of POST #62. There is something between the outer special tapered washer and the outer shell sleeve for the trailing arm bushing.
Something does not look right in the second photo of POST #62. There is something between the outer special tapered washer and the outer shell sleeve for the trailing arm bushing.
Any thoughts? I don't really want to break the bank... From what I've seen, it's easy to spend $500 on strut rods, but these seemed more reasonable. I admit I am concerned with the "not recommended for street use" disclaimer.
For the trailing arms, they both feel solid, and require the same amount of force to twist. I'm going to leave them be for now, and avoid the inevitable "scope creep" of these kinds of projects! Oh, and I see what you mean in that photo. I think it's just an optical illusion from the angle of the photo I took. For some reason it makes that special washer look like two washers.
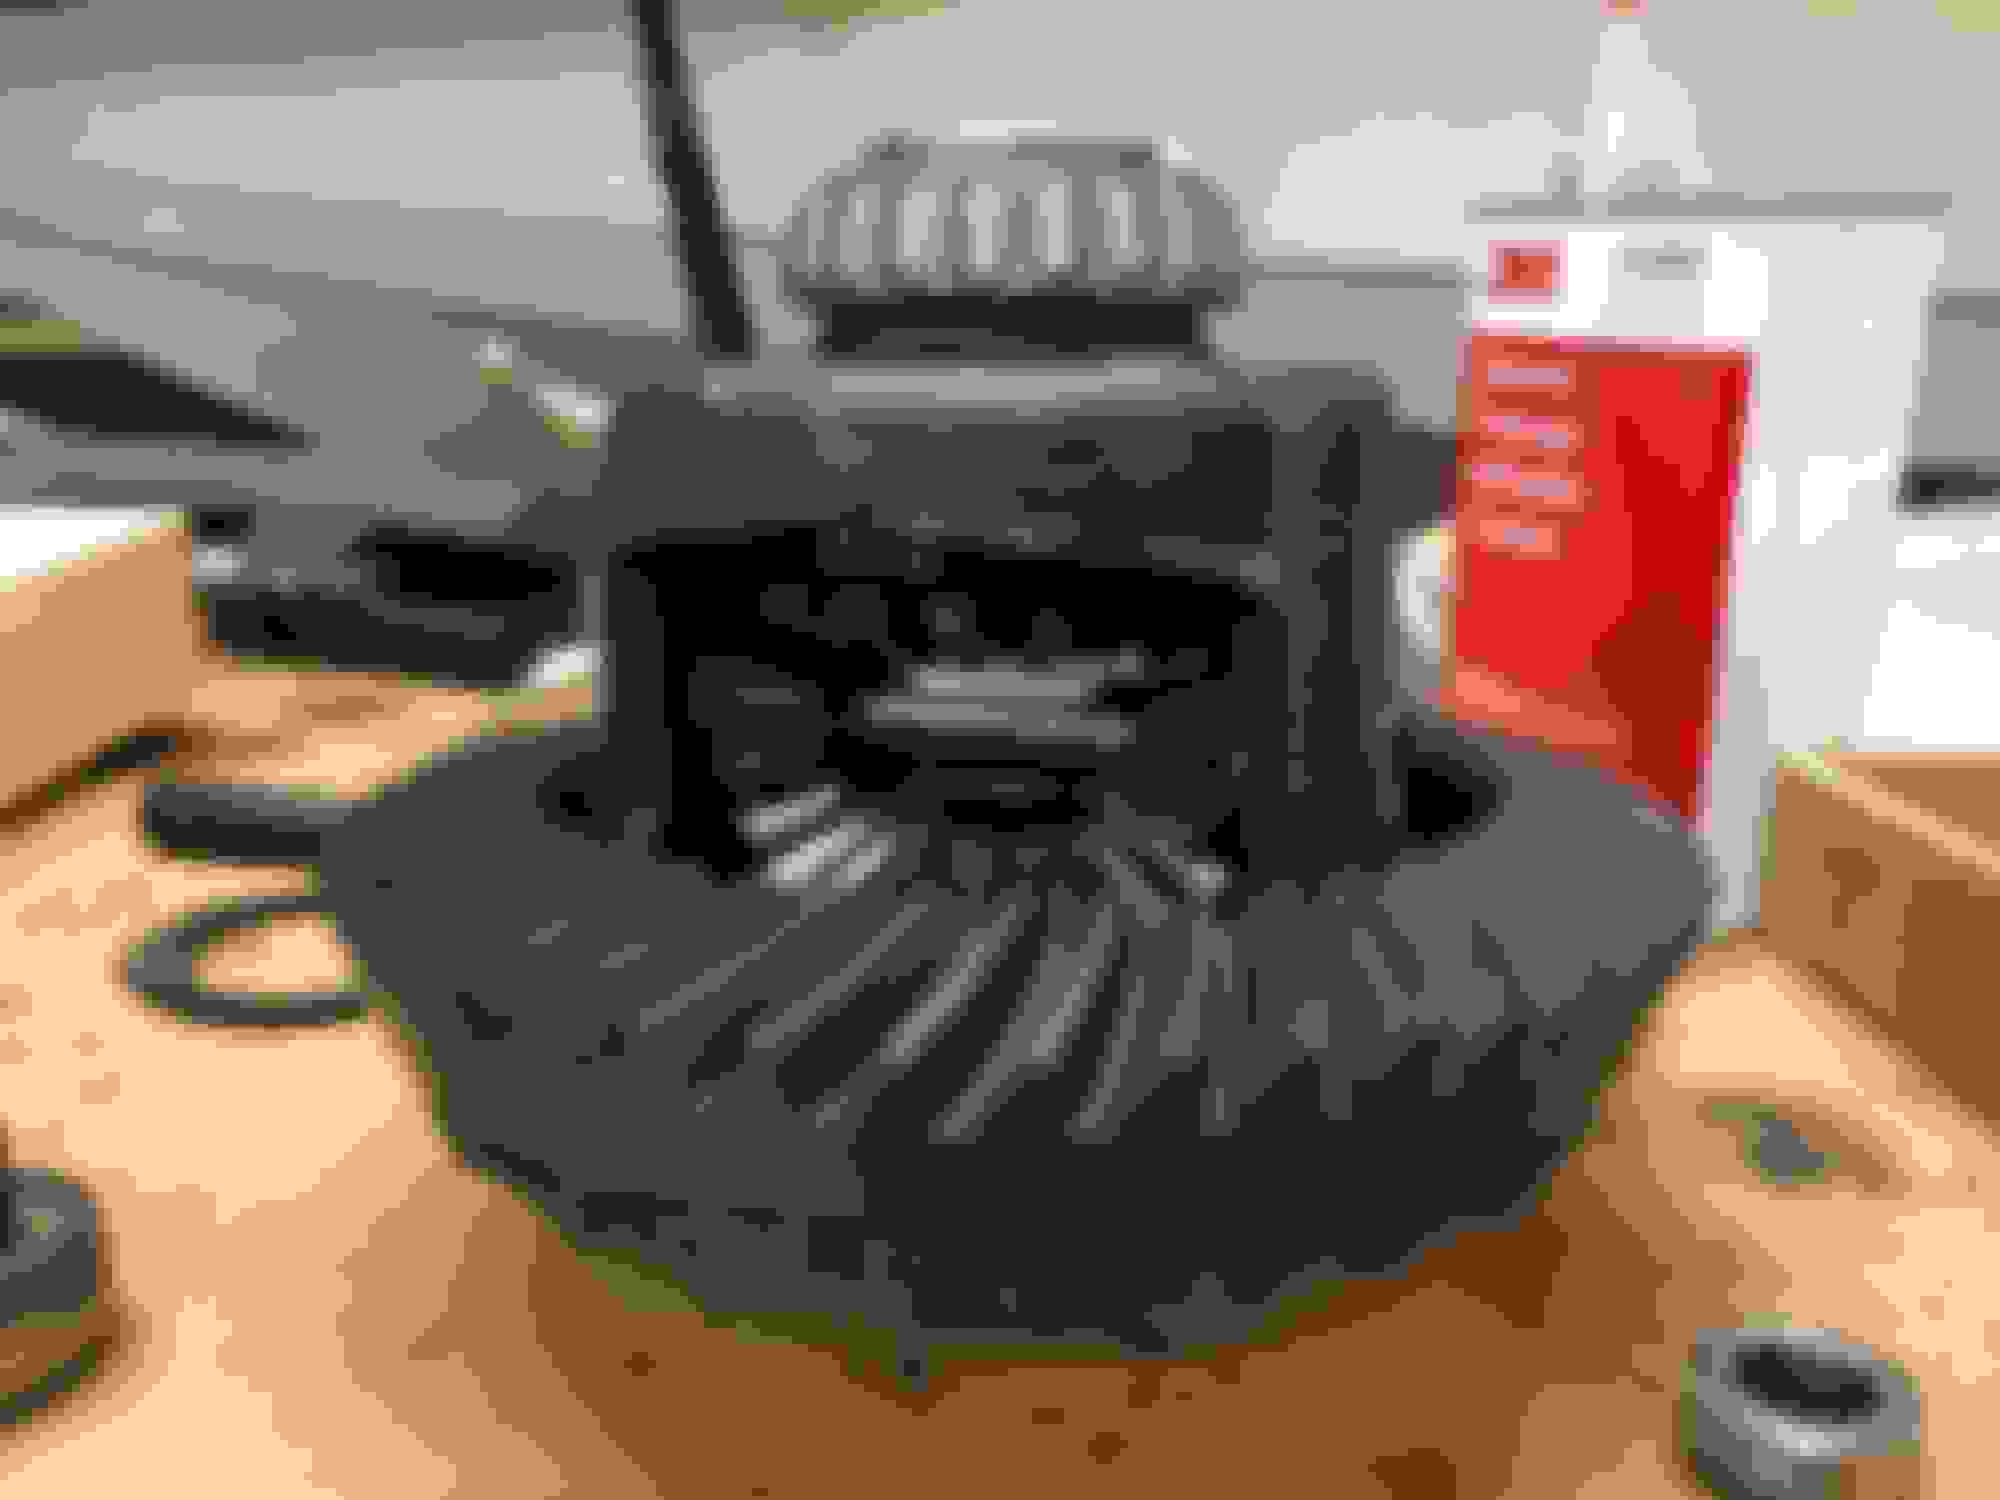
Here are a few more photos from continued disassembly. What blows my mind is that the pinion depth adjustment shims are not behind the bearing on the pinion, but instead behind the race in the housing. Fingers crossed that I'll only have to pound that race in and out a few times to get things right...
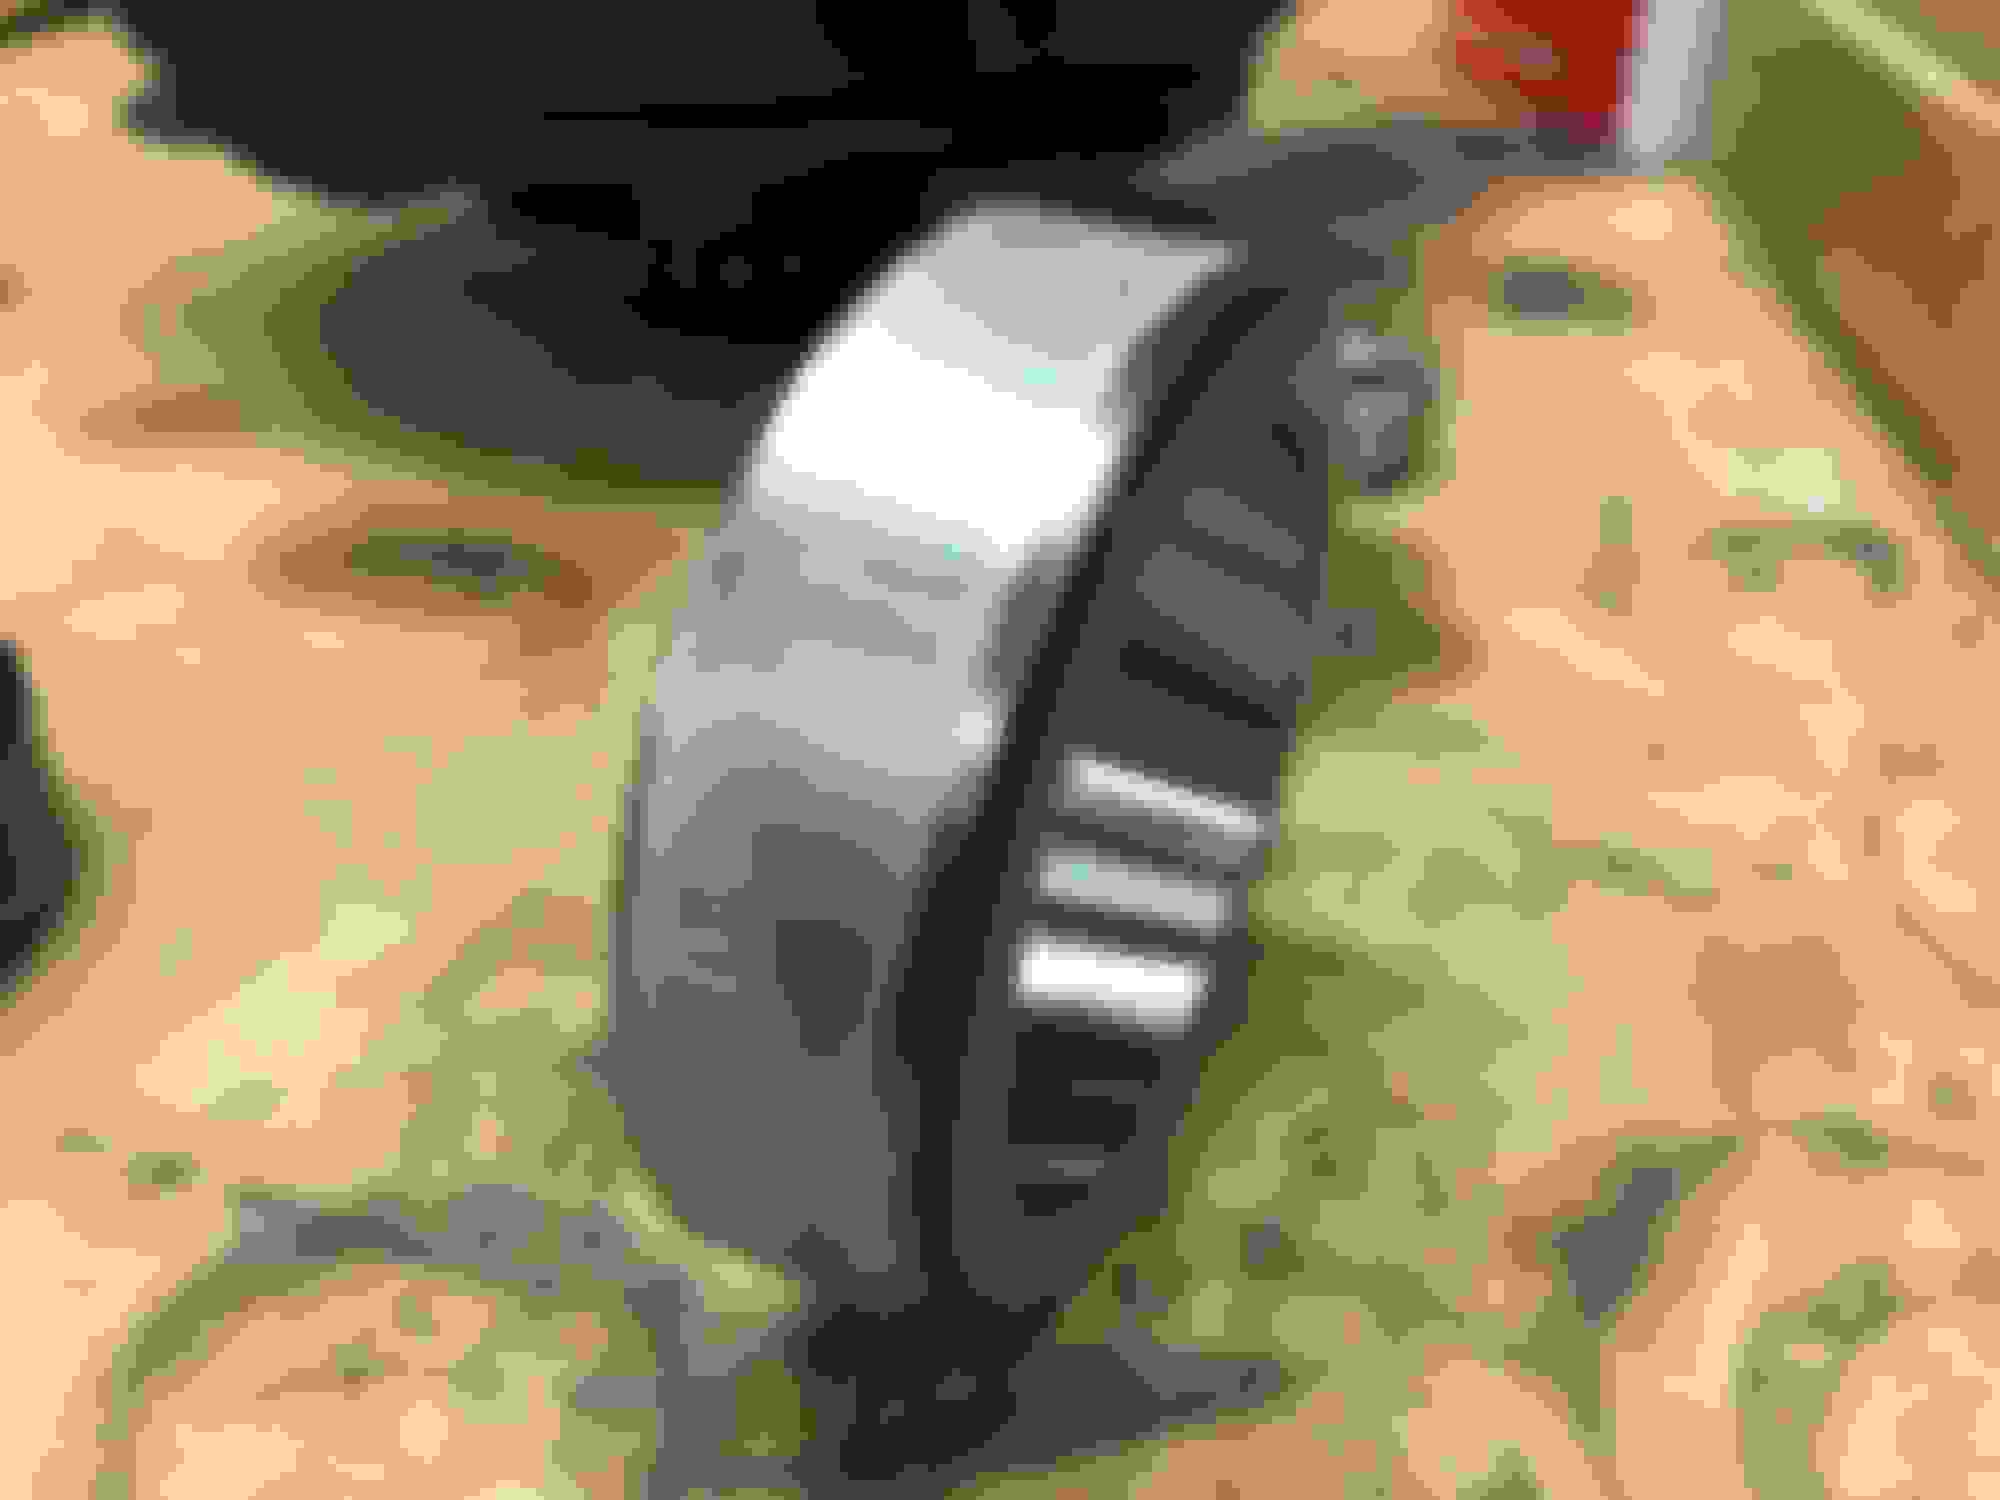
I am not sure if it was the cause for my noise, but I am sure it couldn't have helped. The passenger side carrier bearing race is very scored, and does not rotate super smooth. All the other races have some small pitting and wear, but none were as bad as this one. The wear pattern on the pinion looks somewhat even, but it is hard to see the wear on the ring gear. Oh, and check out those toasted axle ends!
I still haven't made up my mind whether I want to buy a new gearset or reuse one of my existing. If anyone wants to try and convince me one way or another I'm all ears.
All I can say...and trust me..I am NOT the guru on rear differentials. Is that the guy who set up my rear gears would always run his finger across the outer circumference surface of the ring gear and feel for metal burrs. If he felt them..then the ring gear was shot. Then if there were no pitting or obvious signs of wear in the teeth...he would feel the ring gear was good to go.
This was all done with the carrier still in place....and he had not looked the pinion at that time.
I did a little cosmetic work yesterday. When I bought the car, the rear window trim paint was peeling off, so I took it all off. Turns out I just couldn't get used to the chrome on a late C3, so black it is. I used a SEM trim and bumper paint. "Euro Jet Satin" is the type if I remember right.
I also got the driver's side interior trim panel dyed. I bought a set from a silver interior car a while back, and finally got around to doing something with it. I also did the horn button... because why not.
Strut rods are painted and have new bushings installed. The old rubber basically "fell out". I really wanted to do some heim joint adjustable rods, but after looking at what the differential will cost me, it just wasn't in the budget. Looking back, I could have saved so much money buying a car with all this work already done to it, but where's the fun in that?!
Can you tell the difference between the original side panel and the new one?
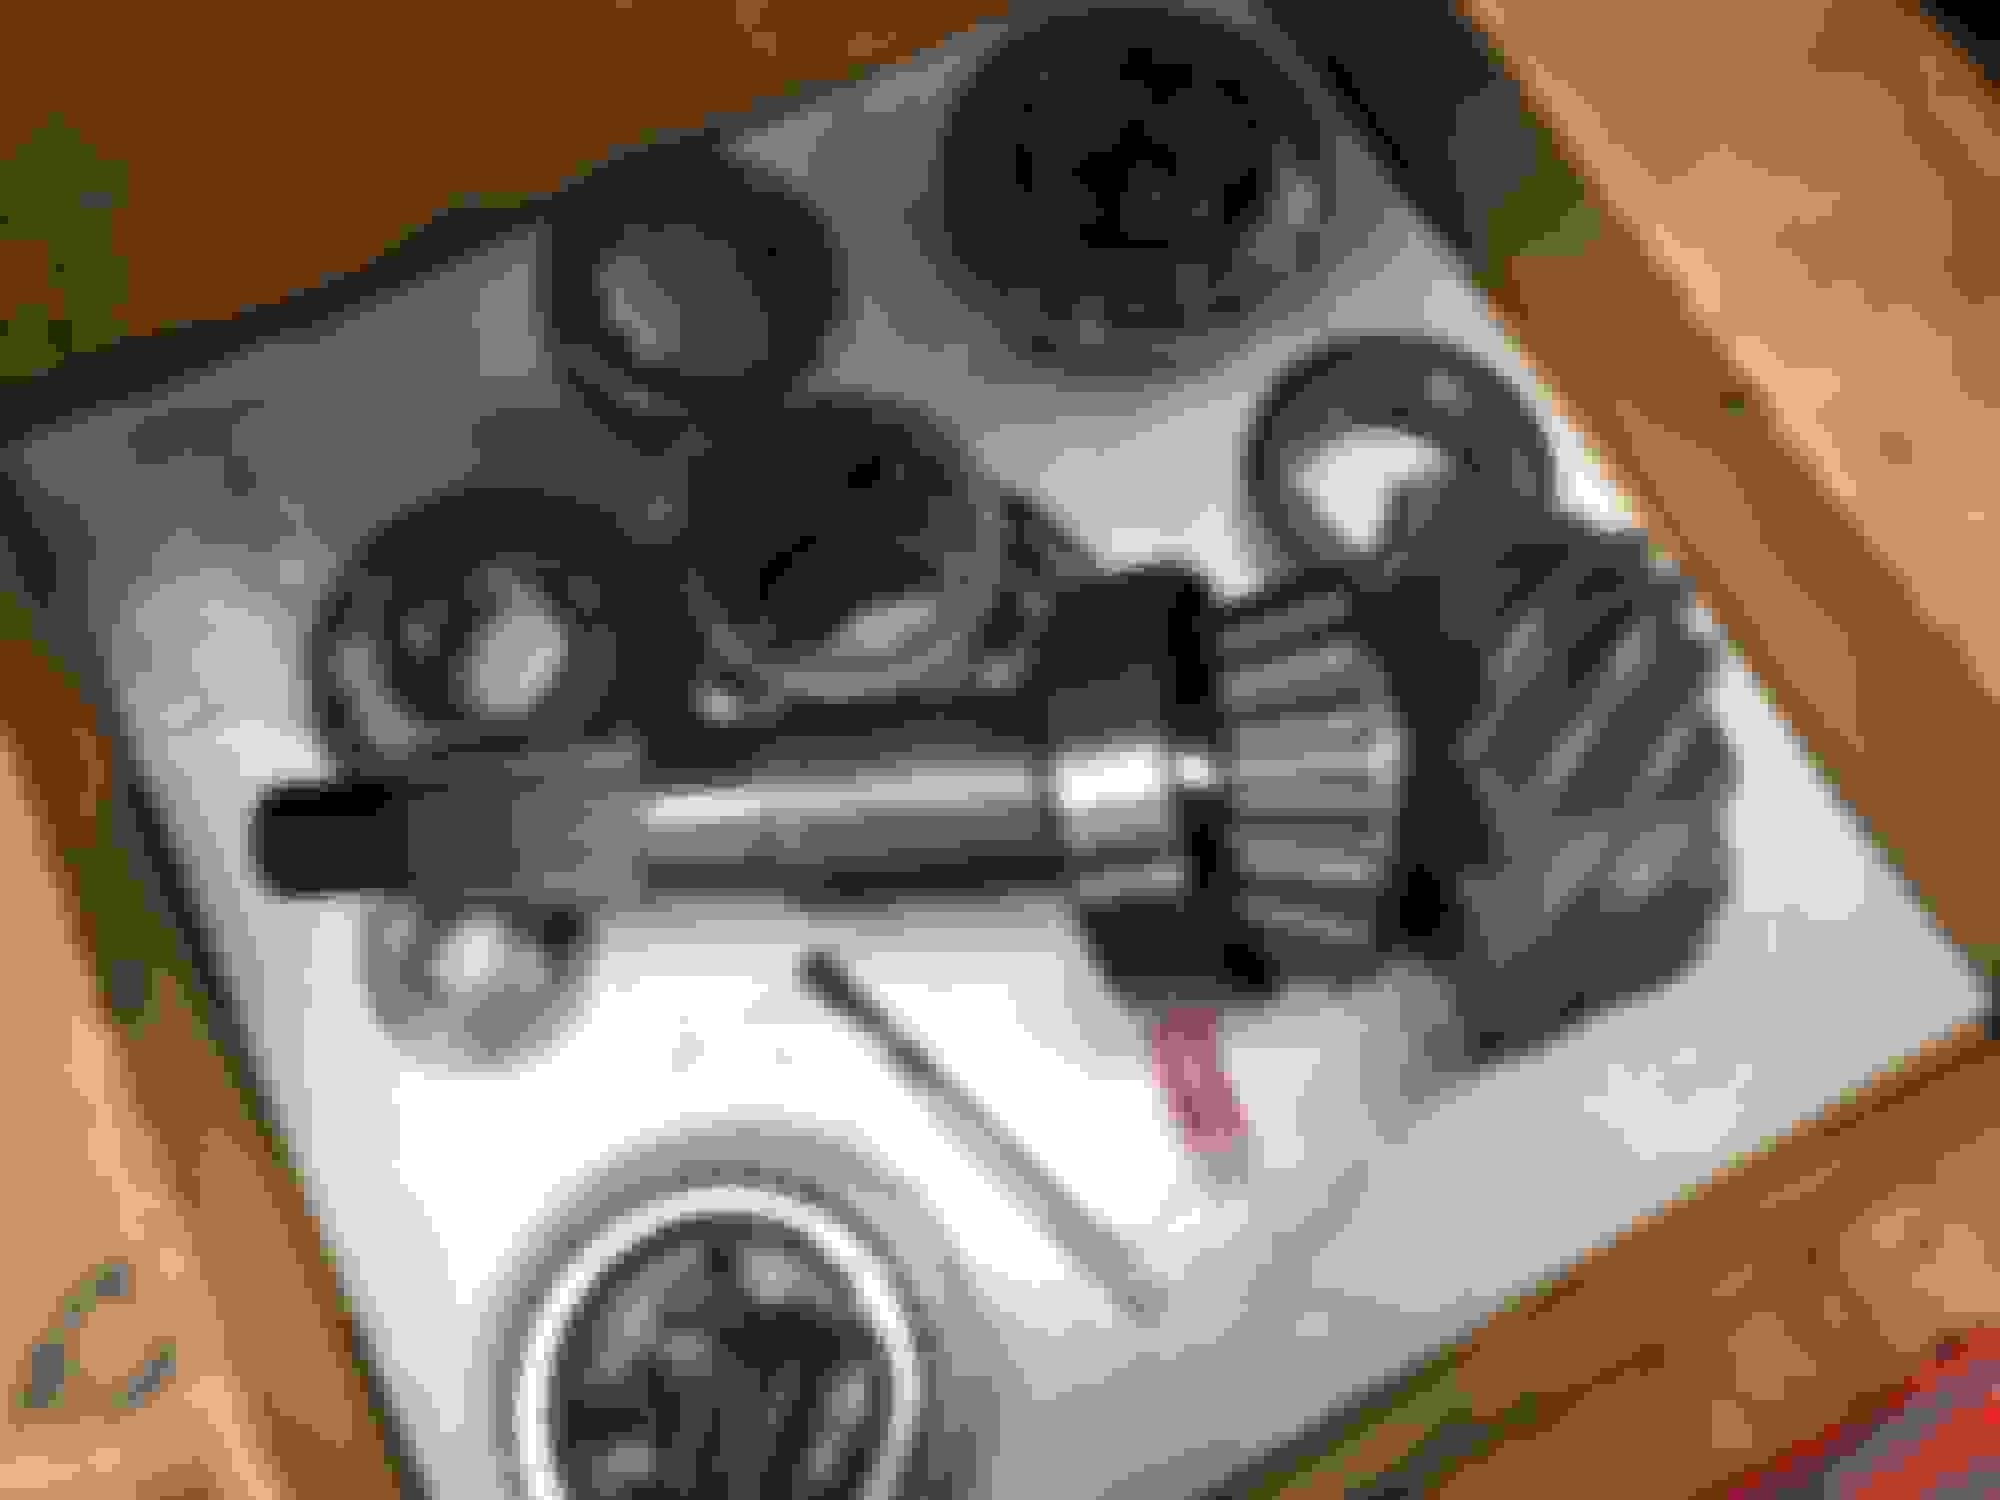
New gearset arrived yesterday. I am still waiting on my stub axles, bearings, and such. These are 3.54s. They're real Dana gears, manufactured in 2013. I think they're NOS, because there is a bit of surface rust from sitting, but they should clean up well. I spoke with Mike Dyer for probably two hours last weekend about my build. He taught me more in that amount of time than I ever would have learned by reading my manual. These new gears should help "wake up" the car a bit. With an OD trans, I should be fine for cruising on the interstate as well!
Garrett, I have an off topic question for you.. I noticed in the background you have a pair of mercury outboard motors, what are they for? I used to pick up non runners and fix them, right now I'm working on a 1964 85 horse merc..
Garrett, I have an off topic question for you.. I noticed in the background you have a pair of mercury outboard motors, what are they for? I used to pick up non runners and fix them, right now I'm working on a 1964 85 horse merc..
Hi Jeff
You're right! I've always had a thing for the "tower of power" Merc straight sixes. One of them is actually a factory short shaft, which I bought because those are hard to come by. I was actually into boats long before I knew anything about cars.
When I was 14 I restored a 1959 Tomahawk, then sold that and bought this Glastron (which has since been sold as well). I used to think that working on an old boat was complicated. Now this Corvette makes all that look like child's play!
If you're into the real old stuff, I also did this 1950 Super 10 Hurricane in high school. This one is a real speed demon! I have two more KG7's in pieces that need some attention, but I just haven't had any time to get to them yet.
Good luck on your 850. I really like the chrome accents on those models!
I had an old Martin. Made by... National Pressure Cooker Co. Neutral was shut it off. Reverse was spin the motor around the other way. Super hi-tech for mid-50's.
Some days it's about a 50:50 success to failure ratio. Oh well, it's all a learning experience. New batwing bushings installed, pinion bearing installed, ring gear/cross shaft installed, and my axles are painted. I wasn't planning on painting the axles, but I thought I might as well while things are apart. I also hadn't planned on changing universal joints, but because I found scoring from heat on a few of the original ones, I figured it was time. They put up a hell of a fight coming out. So much so that one of the caps actually shattered. Real scary when you apply lots of force, and then everything lets go at once! I'm at a standstill now, because the new ones bind when the caps are pressed in enough to allow clip installation. More "adjustment" will be required I guess. They're MOOG, and I know I should have bought Spicer. Maybe I still should. Have I mentioned I hate doing u-joints?!
Tomorrow I am going to pick up some bearing splitters, and work on making setup bearings for the carrier. My old Dremel tool died the other day, so I am hoping the new one arrives in time, just in case the splitter doesn't do the job.
This race made a perfect press tool for the large bushings.
Setup race finished for the pinion depth shims. In and out with a few taps!
Carrier bearings removed, and the setup bearings were installed. Using all my original shims, I did a quick test pattern. Looks like I need a thicker pinion shim. Stay tuned!
I ran through about five more set-ups today before I called it quits. They all start to look the same after a while. I am going to come back to it tomorrow and see if I still like what I have. Right now my backlash is around 0.009", which is on the high end of the spectrum. I'll see if I can get that number down a bit tomorrow. Removing and reinstalling the carrier has to be the hardest part of this whole job. It has to be dropped in just so, or the races will get cocked and not want to fit. Here are some photos of what I ended up with today.
I'm 90% done with the differential! All that's left now is to install the stub axles, and then reattach the housing to the batwing. I need to do a little more research on how to remove material from the ends of the axles, because the clearance is so tight that I am unable to seat either snap ring.
I was able to dial in backlash to 0.005", and achieve a rotating pinion preload of 20 in lbs. This took many different tries with different shim thicknesses. It's amazing how little shim adjustment is needed to drastically change the preload! At 205 ft lbs of pinion nut torque, I was lucky to have a sturdy vise to hold everything. When I pressed the carrier bearings on, I added approximately 0.003" to each side to preload the bearings as much as I could without a case spreader. Once installed, this increased my total rotating pinion preload to about 25 in lbs, which I am pleased with.
I'm sure I will have more photos tomorrow. I still need to remedy my half-shaft u joint situation, and then eventually swap both my driven and drive gears to make my speedo accurate. One step at a time.
Permatex #2 sealant to prevent leaks.
Homemade differential stand... I should really buy a welder
Side seals installed. RTV along the OD. These actually installed easiest by hand.
Before final assembly, I decided to give everything a quick check. When I got to the clutch pack clips, I found a crack that I must not have noticed before. OOPS! Out came the carrier, and off came the ring gear. Although it wasn't as bad as it could have been, it would have been stupid of me to reinstall with clutch pack retainers ready to fail. If I have one bit of advice to anyone attempting to rebuild one of these, always replace the clutch packs and clips! Turns out my clutch plates were a little worn as well. The old ones came out a lot easier than the new ones went in. I also replaced the spider thrust washers while I was in there, although the old ones looked acceptable.
Once the gears were realigned, I also discovered that the side yokes slid in and out much easier than before, and I now have a slight bit of endplay that I did not have before. I found some slimmer snap rings as well, which may have helped in that regard. Needless to say, I didn't have to grind anything, which I was very pleased with! The differential is back in the car, and right now I am working on installing the rest of the rear suspension. The next project will be removal of the transmission tail housing to swap both the drive and driven gears so my speedometer will be accurate, and computer won't be confused. I am thinking I can get it done without dropping my exhaust, but that may be wishful thinking. That's all for now!
Nice and clean! Night and day difference from when it was removed from the car.
Homemade clutch removal tool. It's two thick washers, two nuts, and a long bolt. This is a spare carrier I had. My retainers weren't this bad!
New clutch pack and retainers. When these wear out, the clutch plates will be shiny and thinner because the friction material has been worn away.
Everything is assembled, and I got my 500 miles of break-in completed. I drove to Minnesota to check out a few options for housing when I move to start my new job. What a perfect chance to rack up some miles on the car. I stopped for 20 minutes approximately every hour to let the differential cool a bit. Very smooth trip overall. Fuel economy was right around 17- a little disappointing. All my center gauges were right at the middle, and stayed there. Cruise control made the trip a breeze, but the lack of A/C made the inside a little uncomfortable I was driving too fast for the tops to come off. The wind noise would have gotten to me.
The one issue I did discover while on the trip was that my throttle bodies stick when the engine is hot. I believe this is due to the expansion of either the bushings or the shafts themselves. REALLY annoying though. Holding this car at a stoplight while the engine is revving at 1400 RPM is difficult. Not only that, but the increased TV pressure causes the transmission to downshift really hard when slowing down. If I blip the throttle it will come down, but it's a hassle. Oh well, it's always something isn't it? I'm going to change the gear lube, and ponder what options I have for smoothing out the throttle linkage.
One more question. I have done about every speedometer gear calculator there is, and after changing gears, my speedo is fast by 4-5 mph, and my odometer is rolling over quicker than it should as well. What gives? It's more of a nuisance than a real problem, but frustrating nonetheless.

 04-14-2018, 10:20 PM


 I was driving too fast for the tops to come off. The wind noise would have gotten to me.