When you click on links to various merchants on this site and make a purchase, this can result in this site earning a commission. Affiliate programs and affiliations include, but are not limited to, the eBay Partner Network.
A related question.
I've never done this before and would like to know now:
Is it easier to replace the forward Differential Bushing (Snubber) with the Crossmember/Carrier attached or without the Crossmember/Carrier attached (and supported with a jack)?
A related question.
I've never done this before and would like to know now:
Is it easier to replace the forward Differential Bushing (Snubber) with the Crossmember/Carrier attached or without the Crossmember/Carrier attached (and supported with a jack)?
Thank you in advance.
Steve
The crossmember isn�t so much the issue as is the spring. Once th place, the spring will make replacing the snubber bushing harder. If your differential is very well supported, doing it before attaching the cover and crossmember would be easiest. Otherwise, I�d do it after attaching the cover and crossmember but before attaching the spring.
Thanks very much for the advice! I'll tackle that job before proceeding with the Carrier installation.
BTW, I've been reading many threads about replacements, and it seems NO ONE, that I could find anyway, is a fan of Polyurethane for the snubber. The thread that really bothered me was the report of Universal Joint interference with a body structure because of the polyurethane bushing's shorter height than the rubber OEM's height.
I've got the information, just not the experience with it.
Steve
P.S.; I noticed #13 described as L. Washer, believing it to mean Lock Washer. I removed flat washers there. Digging deeper, found GM 446212 was superseded with GM 120395, a Flat Washer.
I'm going with new flat washers.
It looked so good from the outside, I wasn't going to bother changing it. But I thought "Hell, I'm in it this far: I'm changing it no matter what it looks like."
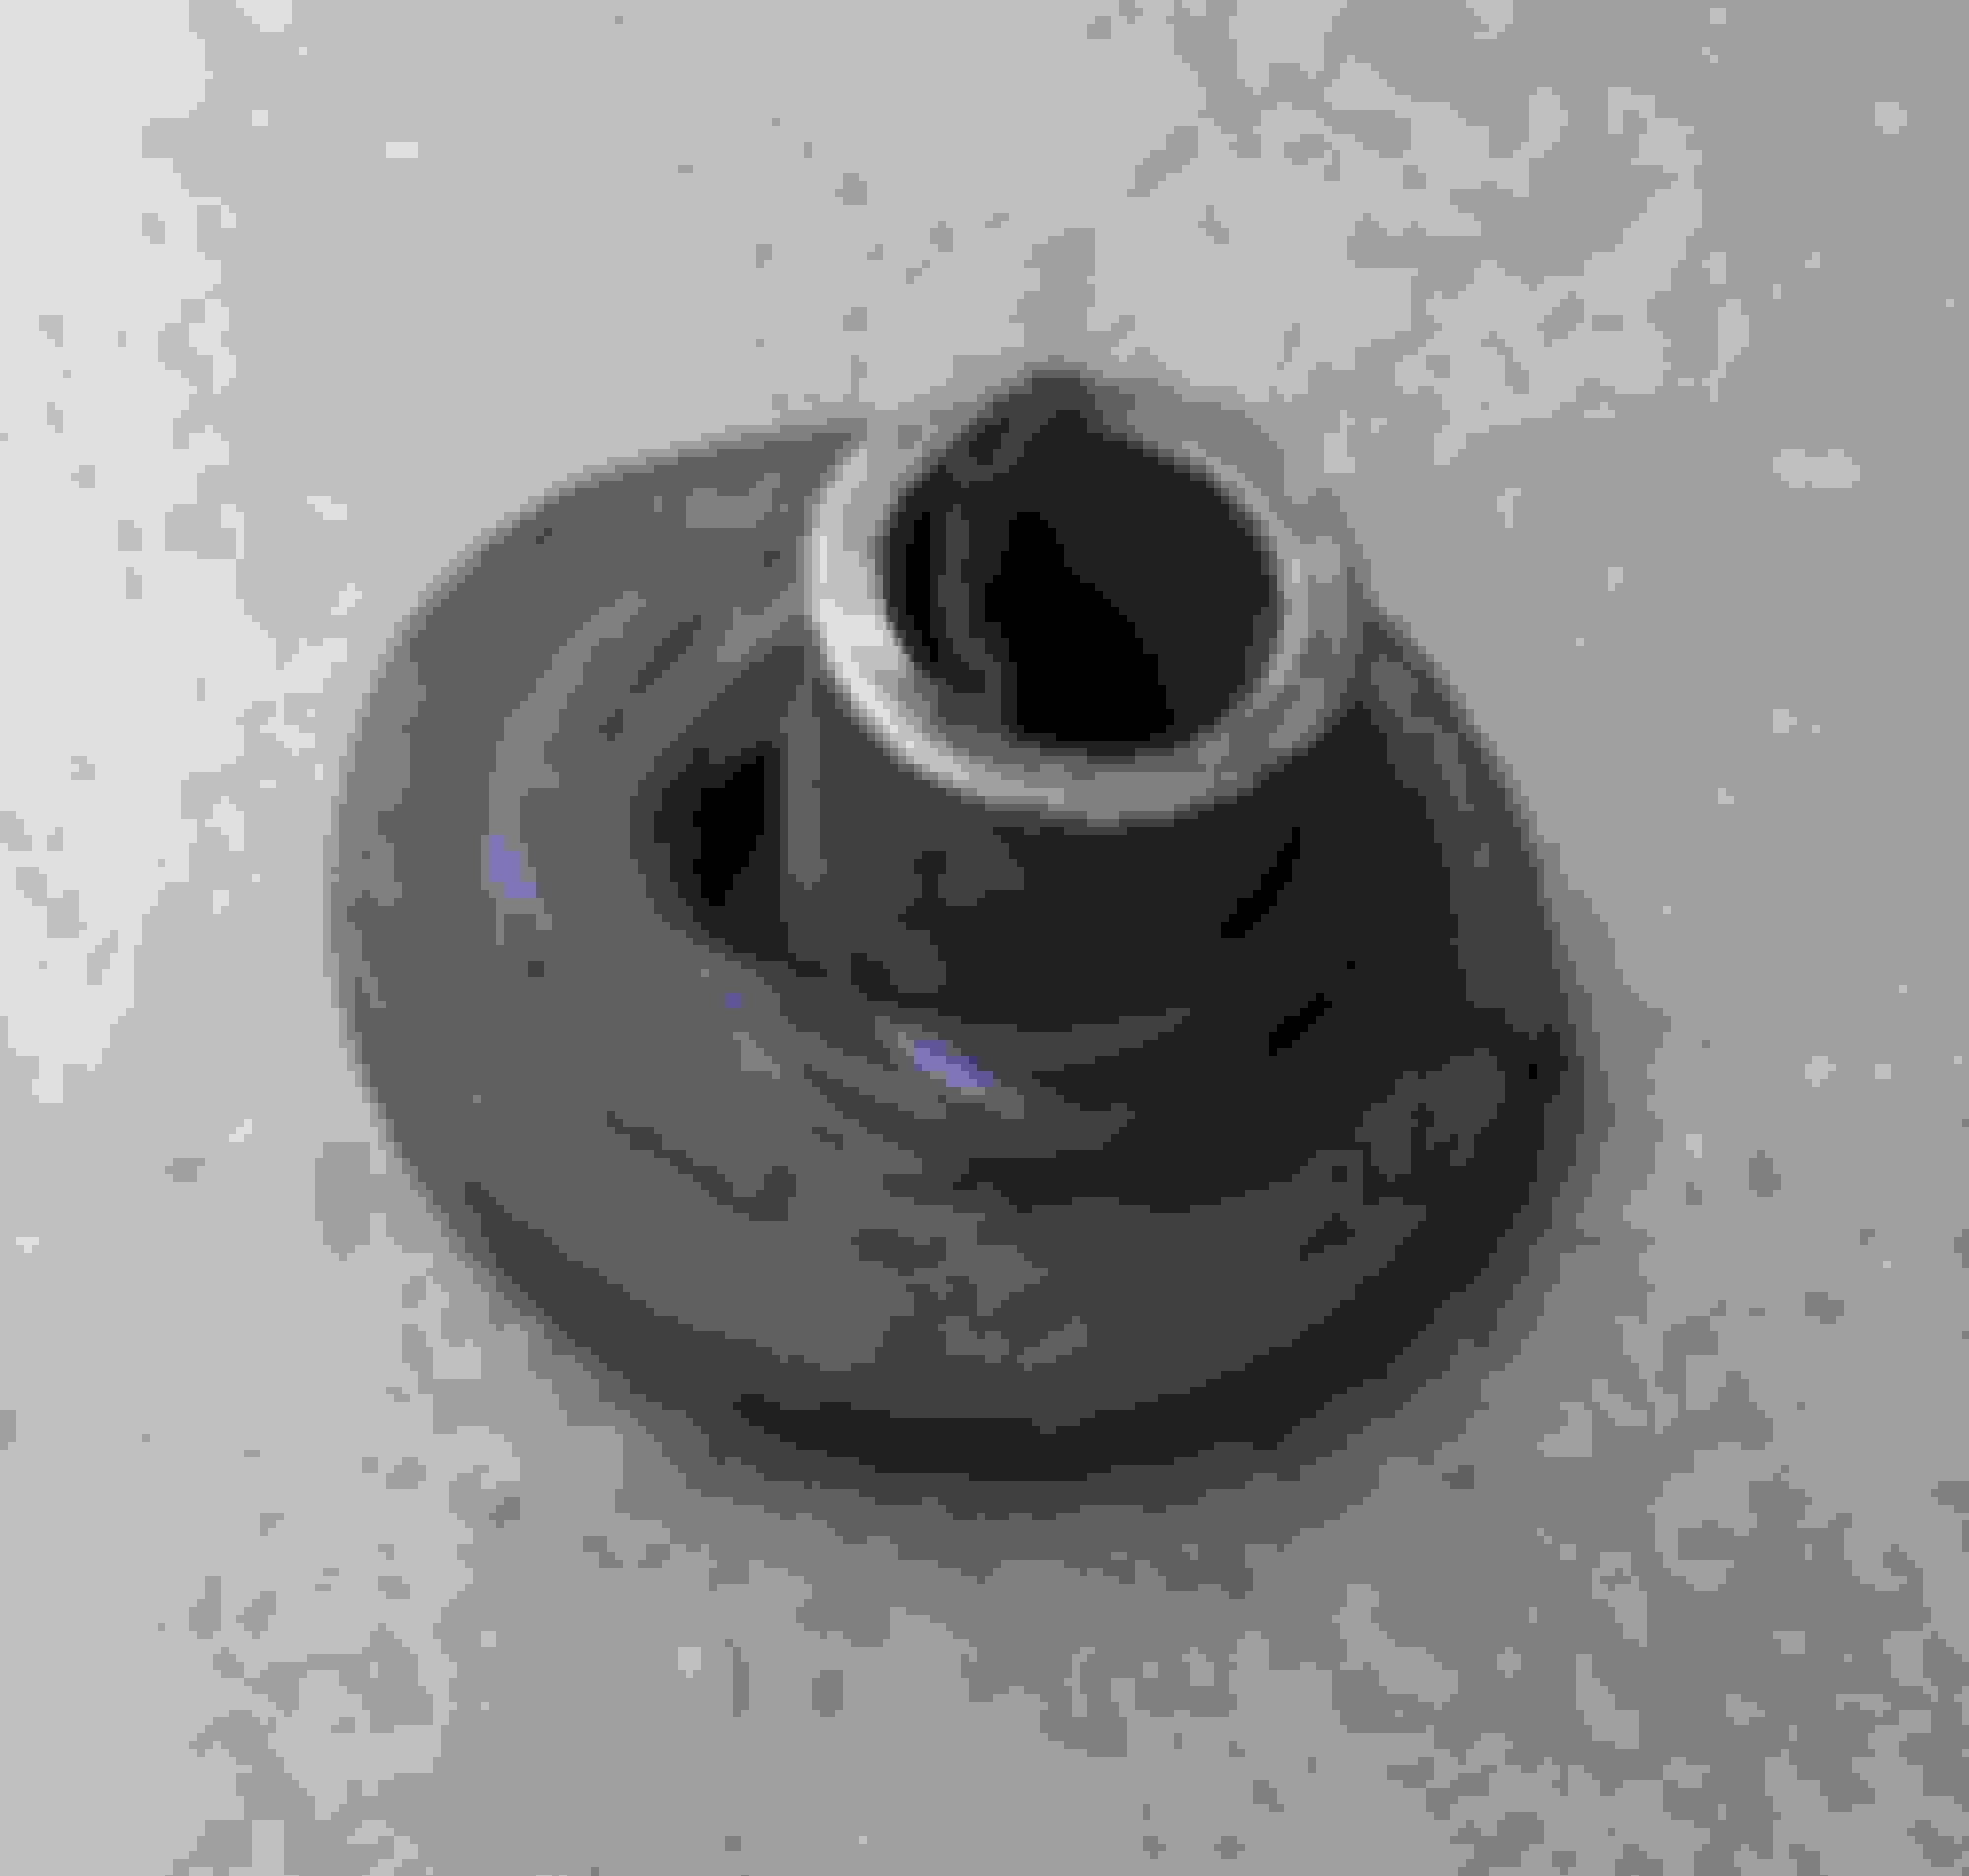
The lower large one.
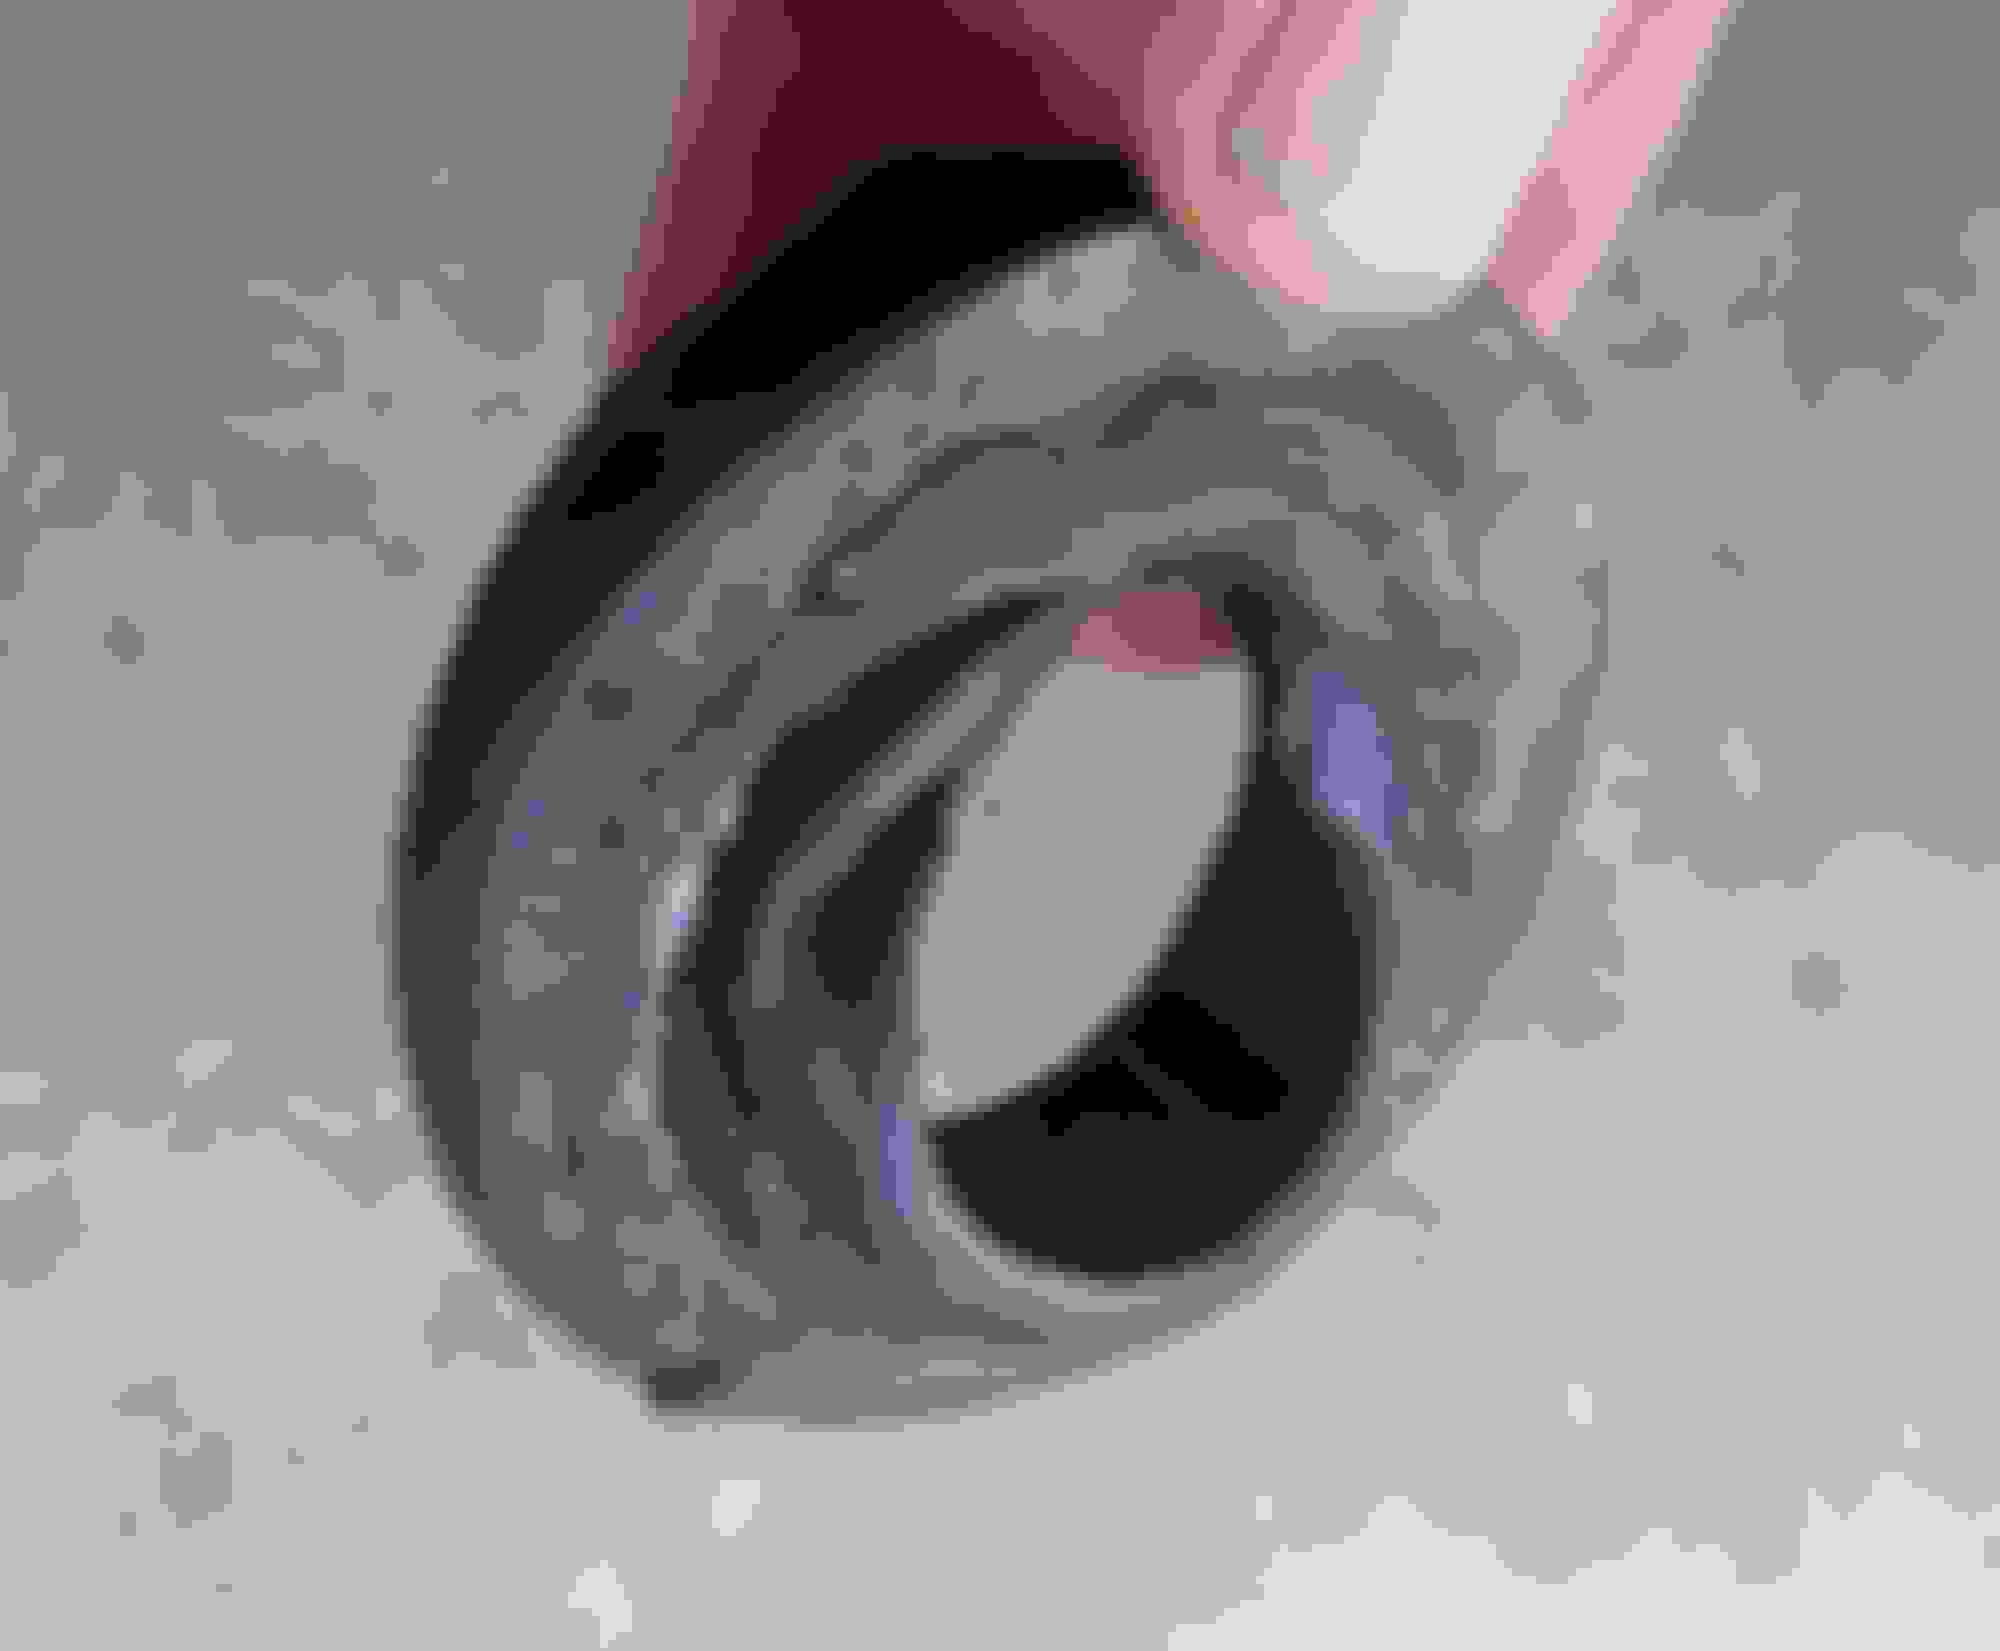
The top bushing.
Never heard a squeak yet using this stuff.
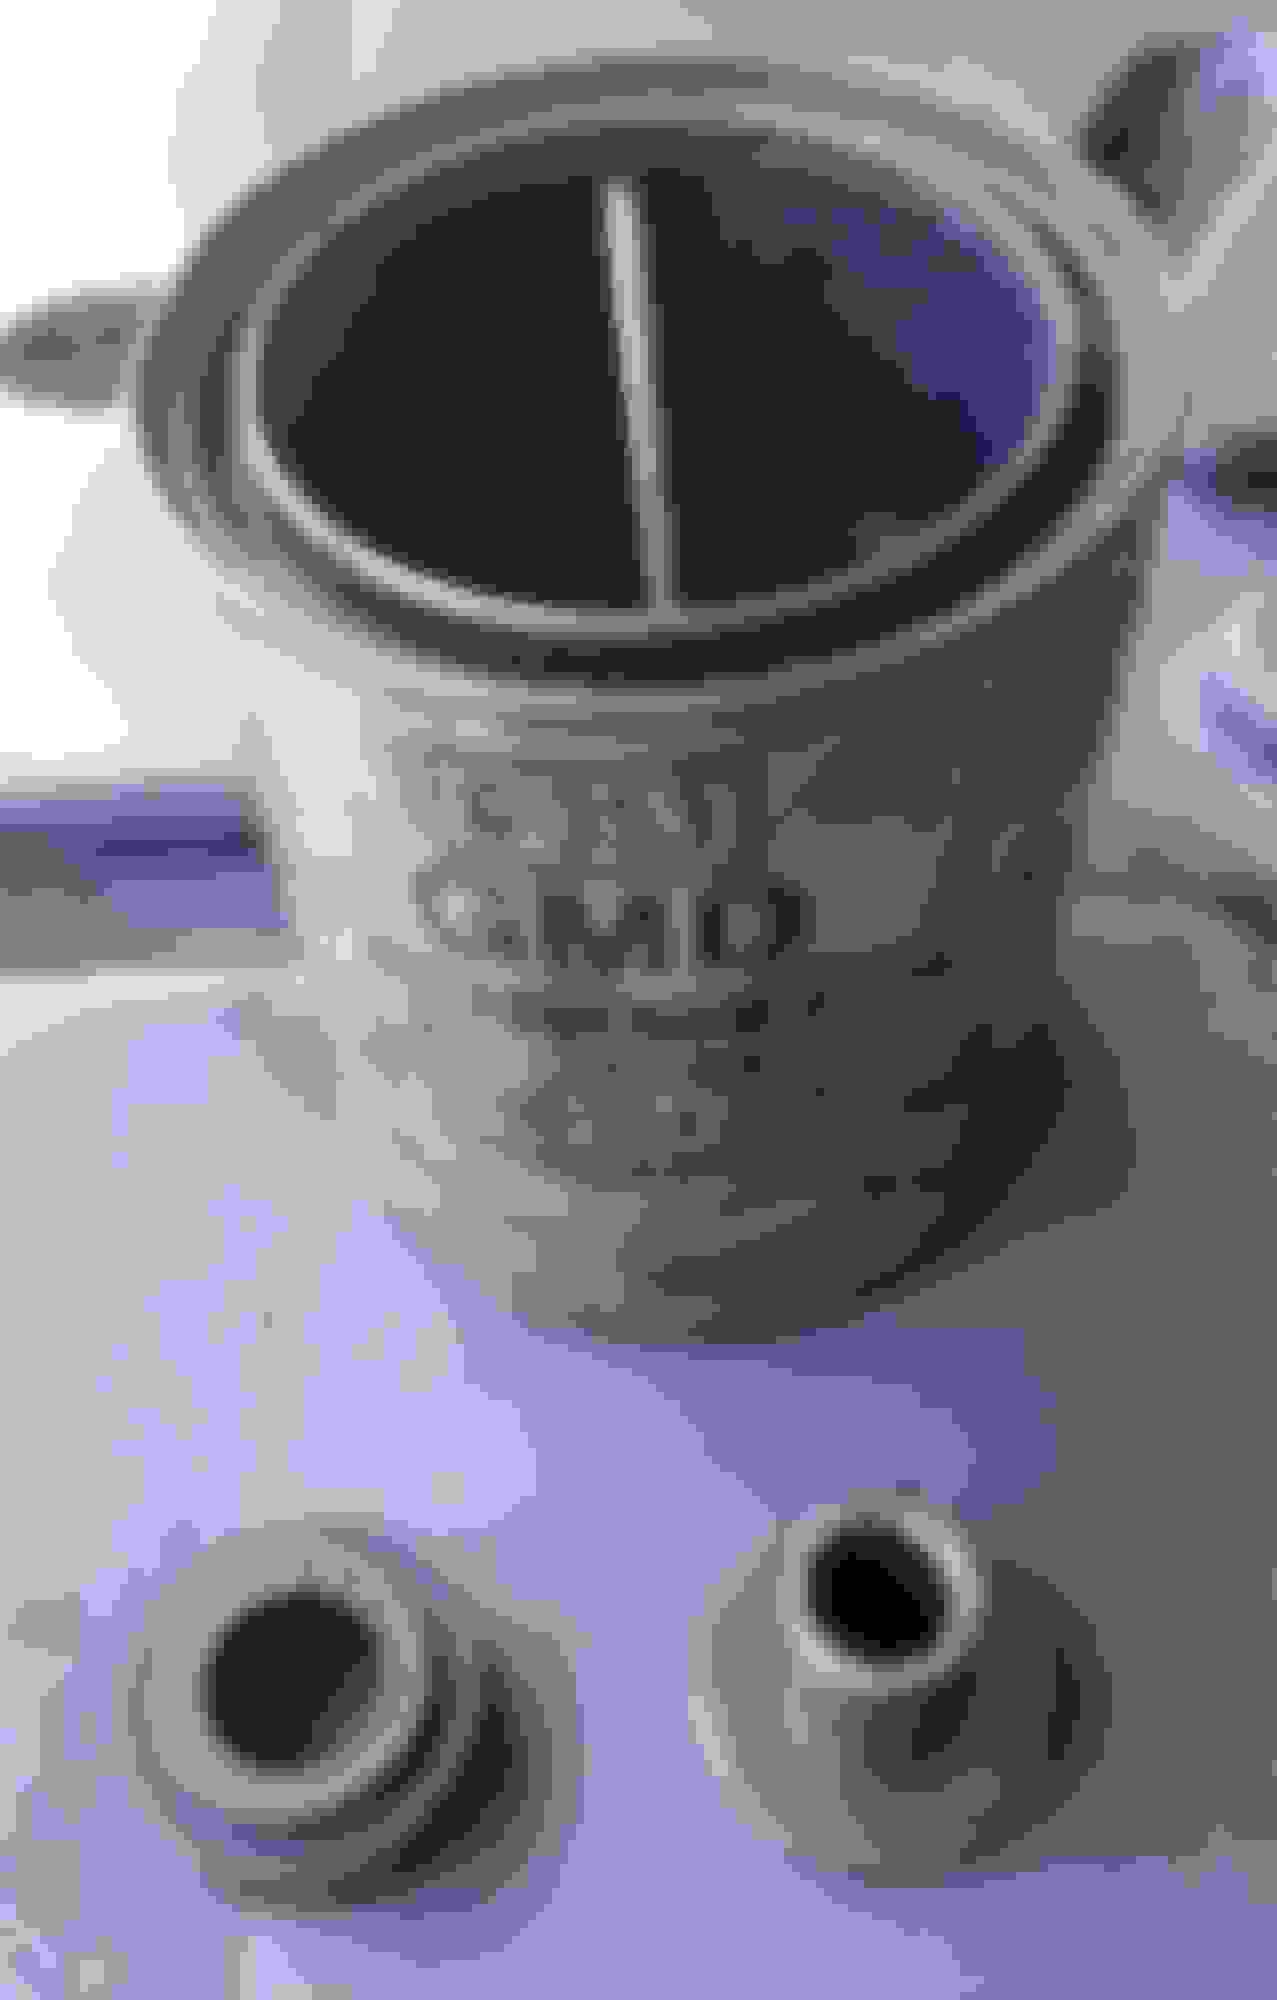
WHY is this sleeve so much larger than the bolt it houses? Does NOT seem right.
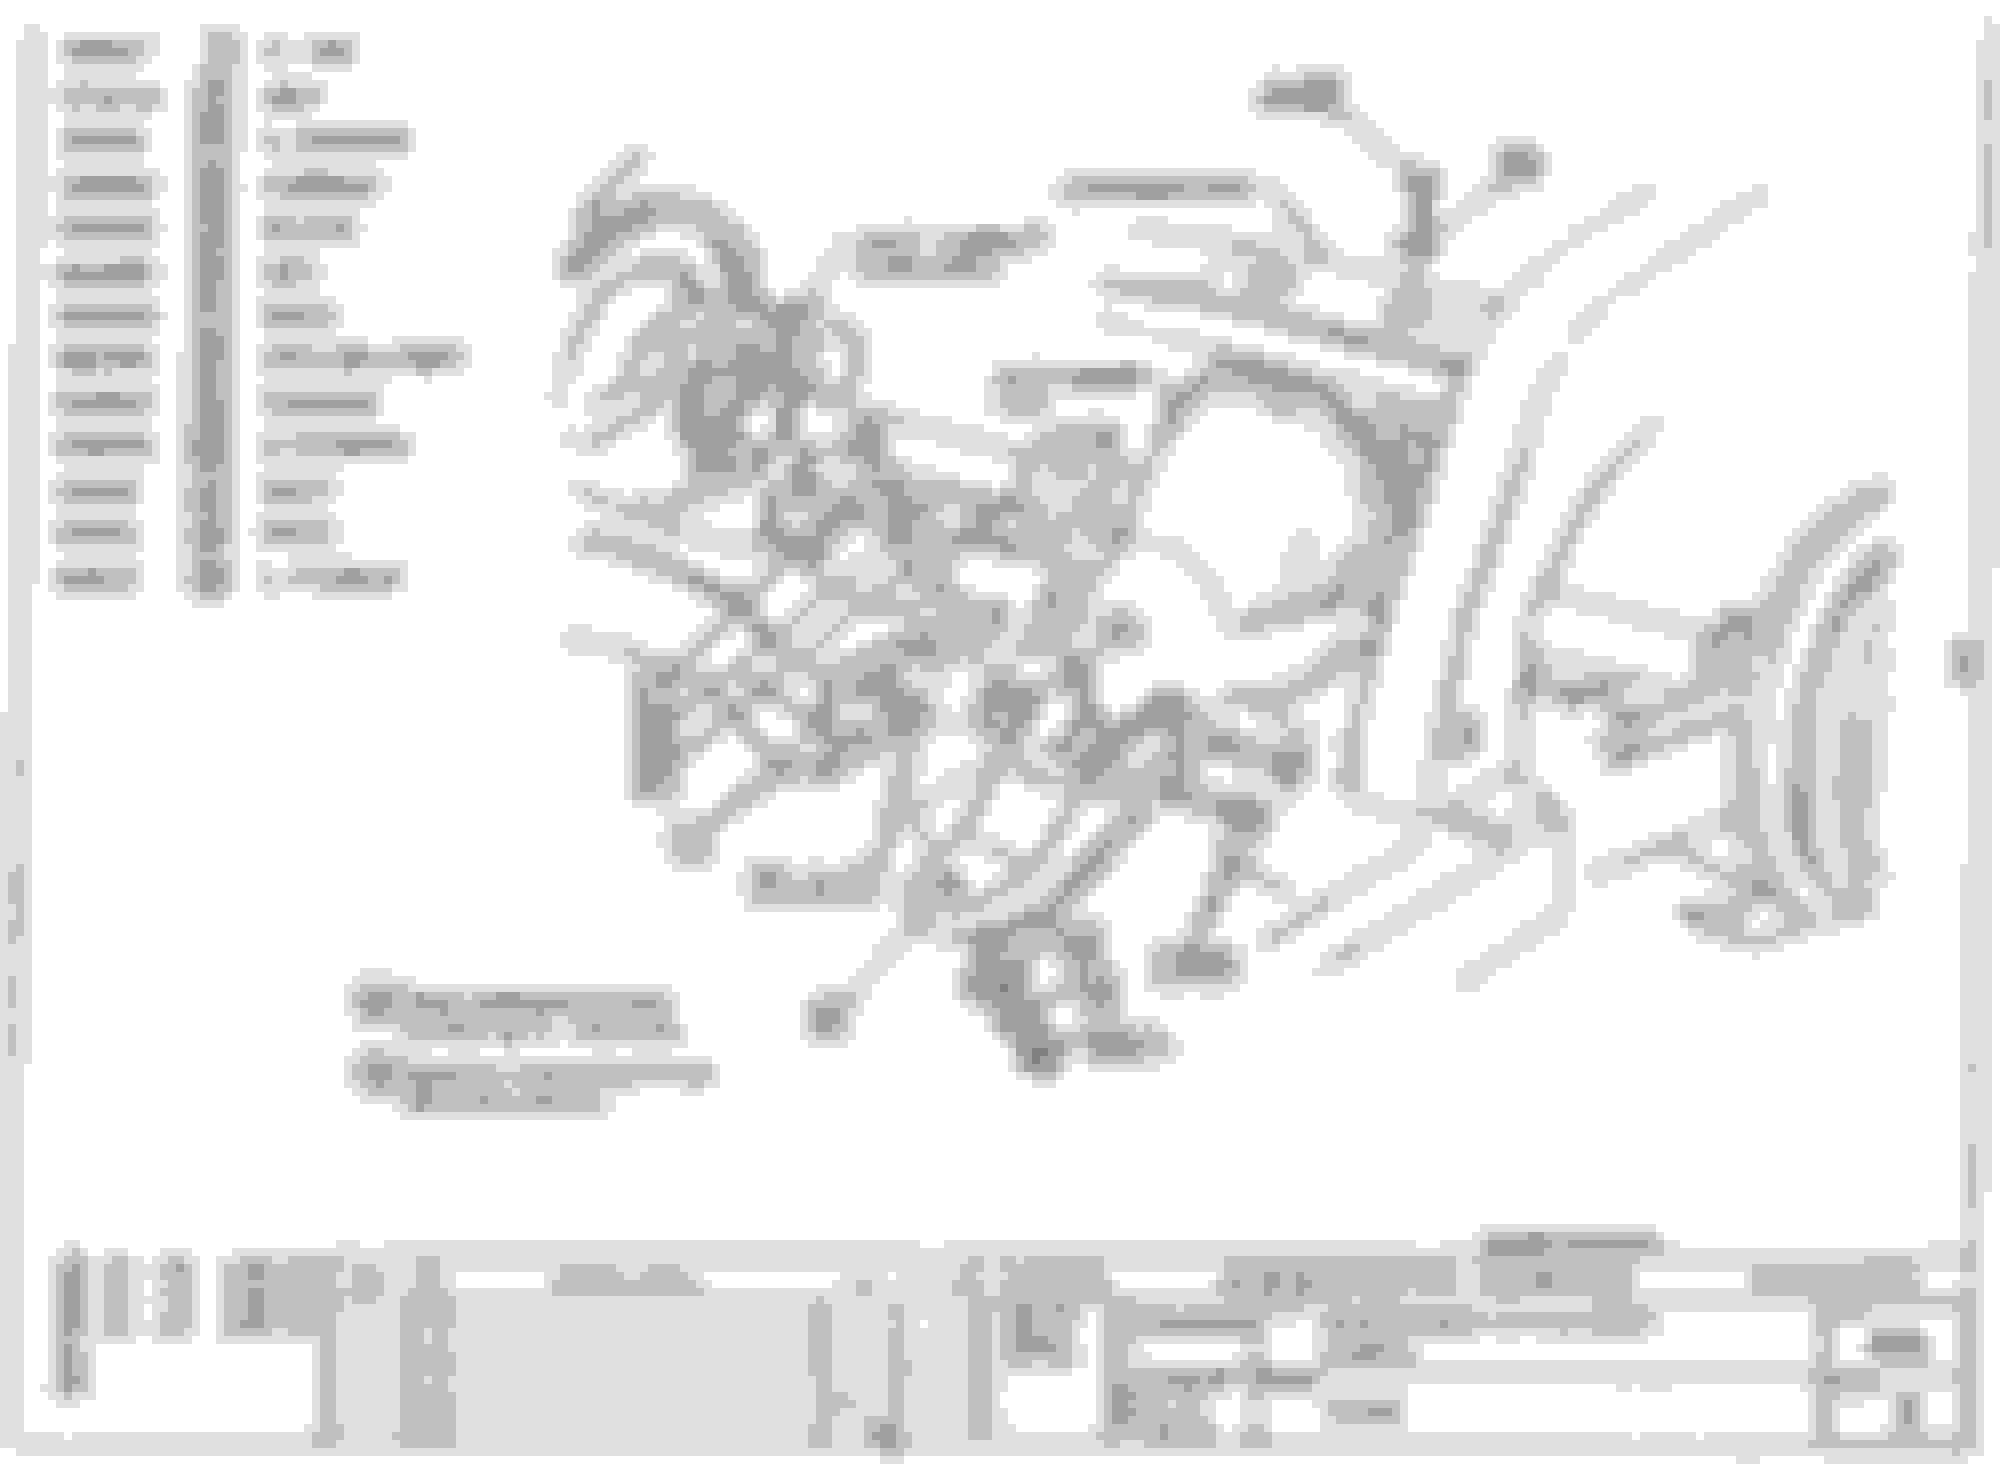
The sleeves fit together. Look at the diagram above and you’ll see that the top sleeve that’s close to the bolt diameter fits into the larger bottom one.
The sleeves fit together. Look at the diagram above and you�ll see that the top sleeve that�s close to the bolt diameter fits into the larger bottom one.
Thanks.
Hey, gotta bitch about sumthn.
Only thing I can think of, in their designing, is "Let the bushings disintegrate; keep the metal mounting undamaged."
I'll bitch about this too: Having a very hard time lining up that forward Differential hole with the Carrier tongue holes in order to start that mounting bolt through. Just loosened the aft bolt. I believe the bolt's unique "nose" on it's threaded end lends itself to hammerin it out. But trying to pry the Differential Nose/U-Joint down, so as to get holes even close to lining up is proving difficult. Prying down on the Differential's nose against the battery box is a poor idea. Maybe a ratcheting strap against a 2x4 placed against the car's flooring, IF there's room? Figure it out tomorrow.
Maybe.
Anyway, this may have been the source of the annoying rumble this thread is all about eliminating. But, surviving +67 years on this planet, I've learned never to be ****-sure about anything mechanical, and that things aren't always what they appear to be.
Done.
When installing the Carrier/Crossmember to the Differential, those studs couldn't work, because the clearance between the body and the crossmember was nil. Needed a second person to start a couple of bolts for installation while I held the unit up to the Differential, with the gasket glued to the cover. Once done, a jack was used to raise the unit up to engage the Crossmember's cushions to the frame. Next, oil was added. Then the Leaf Spring went in (man, that thing is heavy!). Installed Leaf End Bushings/Bolts, attached Muffler Hangers and Spare Tire Cover, Wheels, then removed the Jackstands. The 4 Leaf Retainer Bracket Bolts were then so loose, their Lock Washers could spin. Large exhaust pipes made it impossible for a torque wrench socket to fit, so had to just estimate the tightness and evenness of the 70 ft/lbs required. May have to readjust Camber. Finally, Spare Tire Tube/Tire installed.
Yup, replacement of the Carrier Cushions can be done as Ed T suggested.
If you ever mess up threads on a bolt, and they are so badly damaged that a die can't get started, try an upside down Castellated Nut for thread cleanup before giving up and buying a new bolt. For some reason it worked amazingly well for me.
Forgot to mention: Road test revealed the hollow-sounding rumbling noise stopped! THAT was the reason this whole evolution was started.
The worn out rubber snubber was the culprit.
Although I lack the skills and equipment to do this job, it was great to learn how the car was built and to apply some of your techniques to other repairs I can do.
Although I lack the skills and equipment to do this job, it was great to learn how the car was built and to apply some of your techniques to other repairs I can do.
Another 73 kept on the road!
Fran
Yes, there's always things I learn that work, and don't work, when diving in with tools and ignorance. But it's what I like to do, and I don't think I'm alone in this either.
Thanks Fran.
Hi all, does this work for a 76 to remove the cross member from the frame, as well? I already have the half shafts detached from the differential and the differential removed from the cross member. The exhaust is removed from underneath the car. The spring and strut arms are still attached to the differential but I believe I have the differential moved low enough to get the cross member out once I figure out how got get it removed from the frame.
Last edited by hgoodwiniii; Jan 22, 2020 at 02:07 AM.
Hi all, does this work for a 76 to remove the cross member from the frame, as well? I already have the half shafts detached from the differential and the differential removed from the cross member. The exhaust is removed from underneath the car. The spring and strut arms are still attached to the differential but I believe I have the differential moved low enough to get the cross member out once I figure out how got get it removed from the frame.
The crossmember is "heavy" and may require a bit of prying to remove it, and to reinstall it requires being able to hold it up in place to bolt it back in.
Removing the differential, spring, struts and such giving you a safe/workable space is my advise as "while your at it" adage comes to mind to install a new snubber gasket and such while you're at it. May require more time but really not much (emergency room prices have gone up) cost to do this I just remember even with having the body off my car that crossmember requires workable space to do it safely.
Good Luck & Better safe than sorry
Here's a couple of diagrams for what it's worth.
Thanks. Yes, I've have a new snubber gasket to install; Does the crossmember need to be pressed back on or does it just set back into place when the bolts are tighten?
Thanks. Yes, I've have a new snubber gasket to install; Does the crossmember need to be pressed back on or does it just set back into place when the bolts are tighten?
Swipe some synthetic grease inside them and they will pull up fully for you.
No, the car is still on the frame; I removed the 2 bolts holding the crossmember to the chassis 1st. That seemed to have lowered it by about a 1/4 inch. Then, I was able to get the 4 bolts holding the differential to the crossmember out with a 3/8 breaker bar, a 3/8 ratchet with a spark plug socket and for one of the bolts a 1/2 ratchet with a 3/8 breakdown and regular socket; It took about 30 minutes but I was able to get it done; Not sure if I will be able to reinstall them that way. Once I disconnected the shocks the differential moved down about 4 inches. I believe I failed to mention that my exhaust is completely removed from under the car.
The snubber gasket is actual a rubber seal that mounts the front of the differential to the frame of the car. The part number is 25-103084-1; I believe I got mine from Mid America. Mine was toast.
Last edited by hgoodwiniii; Jan 23, 2020 at 07:26 AM.