When you click on links to various merchants on this site and make a purchase, this can result in this site earning a commission. Affiliate programs and affiliations include, but are not limited to, the eBay Partner Network.
I suppose I could fill with coolant now, before installing the mount, header, etc. But under no heat/pressure, I don't think it would tell me much about a good seal.
Just gun shy I guess.
I suppose I could fill with coolant now, before installing the mount, header, etc. But under no heat/pressure, I don't think it would tell me much about a good seal.
Just gun shy I guess.
Steve
You tapped it in a tad too far but kudos on using the old Indian Head sealer....it should seal well....only bad thing about that stuff is that it hardens and gets brittle over time....but it will be a long time.
Good job....now let it sit overnight with that sealer then go for it!
Bolting the mount to the block first, threading the spark wires through the shield and mount, and then aligning the mount holes with those on the frame (by jacking the frame up), driving in the cross bolt, and torqueing it up second.
Bought a box of Allen head bolts for some Brake Drum work a while back. 3/8-16, the same size as the header bolts.
Ground off the shoulders to make them basically a stud.
Screwed into the end holes, hung the gasket and header on them.
And that tough rear one.
Then, it's just put in the other bolts, replace the 2 studs with bolts, torque down, and join up the exhaust flange. BTW, Header-to-Aluminum-Head torque should be what?
You old pros probably knew about this already. It's when I discover something on my own, the whole World has to hear about it.
Steve
Last edited by Cavu2u; Apr 13, 2019 at 02:40 PM.
Reason: torque question
Was time to add coolant. I did, the plug leak reappeared.
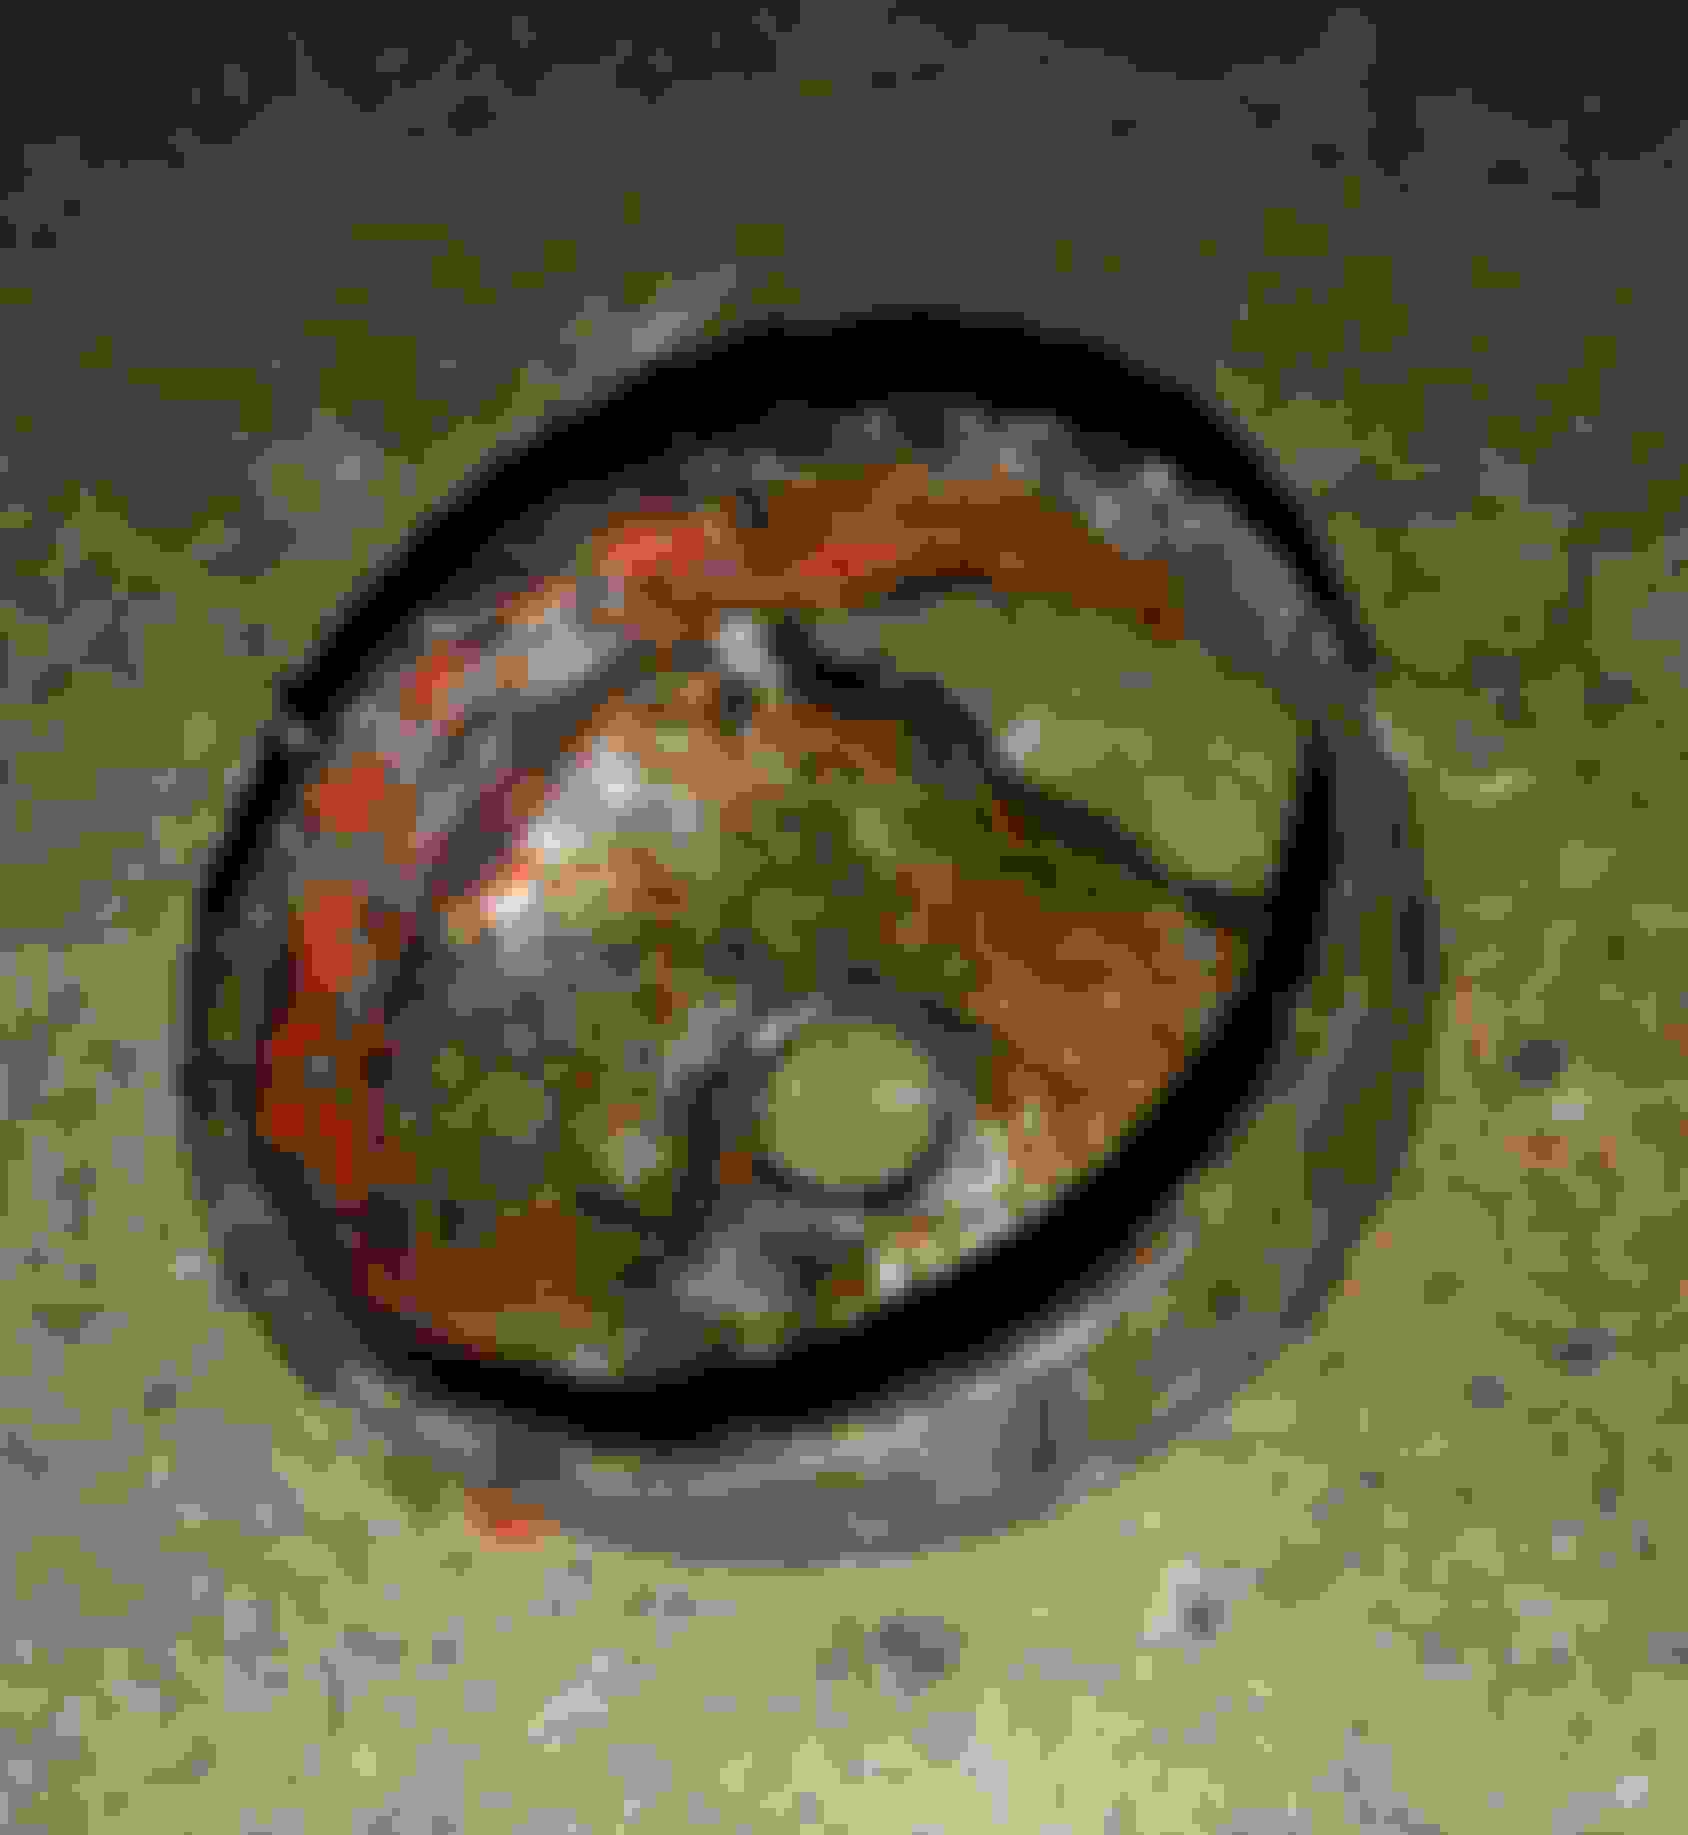
When I was underneath, cleaning out the block's plug hole in prep for the sealant, I thought I saw a crack, similar to this.
I looked at it and chose to ignore it. How could a crack form there? I wanna replace the plug and get this thing back on the road!
Read; denial (not the river in Egypt. ha ha ).
If it is a crack, really: How could it form there? I'm unaware that a cast iron repair is even possible.
Will sleep on it, but I'm probably going to just pull this motor to inspect it closer, and if it's a long time repair thing, install the original 190 horsepower fire-breather back in. I want to drive a Corvette.
Any thoughts on block repair IF it is cracked there?
I had a 283 crack like that years ago, same side, same freeze plug hole. That is what happens when one buys more beer than antifreeze. It was a running, freshly rebuilt, ready to go unit sitting on a engine stand. Evidently, I forgot I left pure water in it during the winter. Not pretty.
Its my understanding that cracked iron blocks must be heated up and baked in a oven to remove all residue. And to prep the iron for welding it must be around 400* so few people can duplicate those requirements. In others words, its pretty much scrap iron.
If it were mine, I would let it go for now and apply some type RTV around the area to prevent coolant leaks. The crack will have no effect on performance, no need to worry about stress in that area, no oil leaks, no harm, no foul. Just keep a tab on the coolant level.
For now, drive it, plan some strategy for next winters project and keep an eye out for another bare block.
Last edited by HeadsU.P.; Apr 15, 2019 at 06:30 AM.
The only blocks I have seen that cracked there are ones that were frozen because they did not use antifreeze. I think you drove the plug into the block to far and distorted the plug making it not seal regardless of how much sealer you use.
The only blocks I have seen that cracked there are ones that were frozen because they did not use antifreeze. I think you drove the plug into the block to far and distorted the plug making it not seal regardless of how much sealer you use.
If I installed a temporary Rubber Expansion Plug and then observed no leakage, would that not confirm a crack-free hole?
I don't like the thought of these being a permanent installation.
Steve
I would remove the plug, clean the area in and around the freeze plug hole (use a solvent, wire brush, scotch pad) then if you still see a crack take some photos and post them. If it looks good then go rent a freeze plug install tool (any auto parts store) like the one in the video and install a new plug. Go slow and keep the plug square to the block as you install it. The sealer you used will work (Better than what I use). I just use black 3M weather strip adhesive.
Last edited by Gunfighter13; Apr 16, 2019 at 10:00 AM.
I would remove the plug, clean the area in and around the freeze plug hole (use a solvent, wire brush, scotch pad) then if you still see a crack take some photos and post them. If it looks good then go rent a freeze plug install tool (any auto parts store) like the one in the video and install a new plug. Go slow and keep the plug square to the block as you install it. The sealer you used will work (Better than what I use). I just use black 3M weather strip adhesive.
This is what i would do- You already been there done that situation. 2nd time is a charm
Well, since you're going back in there, then I would suggest getting one of those "ratching" end wrenches..... well worth having it anyway.
I would also totally clean the area around the freeze plug area.... If I could squish my air tool with a wire brush in there, then I would do that also... just to getting as clean as possible to inspect it.
Originally Posted by Cavu2u
For better access to the Freeze Plug and not stressing the exhaust piping when jacking up the engine a bit, I'm removing the Header.
But that end Header Bolt's impossible to wrench off, due to the tall Valve Covers and the A/C Housing.
I came up with this arrangement.
My 1/4" drive ratchet was unavailable and may have worked with the right length extension.
Slow but sure, it came out. Getting it started is gonna be fun.
Yes, that plug installation kit's the bomb. The driver sets even has a spaced ridge to seat the plug at the correct depth consistently.
AFA my Rube Goldberg socket setup, I'm ditching all that and installing this 3/8-16 socket head bolt. Takes a 5/16" Allen for a decent torque application.
Steve
Last edited by Cavu2u; Apr 16, 2019 at 03:40 PM.
Reason: sign it.


 It was hard to see straight down there. That's a tough one to replace.


 ).
).