When you click on links to various merchants on this site and make a purchase, this can result in this site earning a commission. Affiliate programs and affiliations include, but are not limited to, the eBay Partner Network.
Hello all. Been super busy with Don�s front bumper conversion. I�ve had a hell of time with fitment and essentially rebuilt the entire mounting flange by hand over the last few weeks and now I�m almost done with it. But that�s not why I�m here today...
I know this subject has been covered to death in the past but with fewer and fewer options for flares over the last several years I�m running into some dead ends. I received my L-88 Flares from ACI and they look pretty good. About 1/8� thick or more too. Upon mocking them up I�m realizing my mudflaps on my 77 will have to be cut before I can even get an accurate reference line on the fender. This is not something that I like, obviously. But I can deal. Anyway... They came with a paper stating to call ACI for all installation and tech questions and they would be glad to help out. Well, I called ACI and talked to Jim. Nice guy, but he told me that he is not familiar with how to install them and his install guy has never installed them either! I�m shocked. This many years and �never installed them�? I find that hard to believe. It makes me wonder what has happened in the past that causes them to take that response. Anyway... So they were very little help. As I get to working with the flares on the body, I notice that no matter how I mock these up, it looks like these flares will need to bond well beyond the fender bond-strip that is on the inside support brace. In other words, it looks like I�m going to have to cut through the bond seem if I wanted to remove all of the fender material necessary for a smooth fender well. I don�t know if I would need to do this, but with as tight as my wheels and tires will be fitting up under there, it is a concern. On top of this, as I�m mocking up the flares I�m not seeing near enough panel-to-flare contact to ensure a proper bond. Maybe 3-4 mm of contact and then it quickly opens up to a very large gap. Worrisome.
I know many have bonded these flares on and have worked them to look all sorts of ways, unfortunately, I�m struggling on finding any advice or details that address my concerns here.
I�ve put in a word with another (out of business) glass company that makes a really awesome fender for these to see if they have a set still left over. If I�m going past the bonding strip, I might as well go with a full panel and not have to worry about working those curves of the flare.
Any advice here on these ACI flares that can help address my concerns from you forum folks?
For those of you that have these flares bonded, could you take several pictures of the inside fender well for me? I would really like to see where and how the fender is bonded and how much material was removed from the mudflap areas.
Thanks for reading,
-Stroke
Last edited by Strokemyaxe; Apr 30, 2019 at 08:00 PM.
This is the front on my 80 which required a make mods to fit the different front end. The front of the flare splits in 2 pieces at the seem The rear flange was yet to be cut down in this image. I have since trimmed the flange back but no recent images. I did have to cut the original mud flap on the rear.
The images above were taken a few years back as since them I have trimmed back the flanges a lot. I wanted them to be bolt on.
The flares started out a quarter panel sections from a company in Louisiana that hasn't been around in a long time. The sections included flares and were supposed to be glassed in. The lower sections needs so glassing/shaping to fit the body tight. I'm not thinking about trimming some of the mud flap as they catch a lot of air or fut an opening in the flap area to add some screen.
Well, I have been sanding for coming up on a year now and going into final primer this weekend. I have these same flares and they do look good after installed. Because you asked, here are a few tips assuming you are glassing them in.
First, take them off and sand down your existing fenders (on car) and your new fenders with 80 grit. You could also use a paint stripper if used carefully, despite what others are going to tell you. You need to remove paint on your fenders at a minimum to ensure adhesion and make sure you don't have any filler hidden under the paint. If you do, remove that as well until you have a nice clean surface to glass to. Note, if you do have hidden filler, no big deal, you will be glassing anyway. Just fix that with glass mat as you place your fenders. You don't want filler or paint under your new glass though. You also need to sand your new fenders so the resin will stick to them. If you dont, You will have a large failure on your hands and you will have to sand out all of your hard work.
I used Clecko pins to hold them during mock up, but I suppose tape will work too as long as you have a clean surface prior to glassing. Basically mock the fenders up as you have and then remove your pins/tape in a small area and lay some glass. Let that dry, then move more pins/tape and glass more until you have the entire fender attached. You will then need to add probably 3-4 more layers of glass matt over the area until it is close to looking like you want, sanding between layers of course. By this time you will have sanded more than you want to... Keep going... After you have it glassed in from the outside, go underneath and cut out your old fender. Then glass the inside all up. After laying 3-4 layers of matte under and around, you will have a hard time telling where the old fender was. It should look pretty good at this point. Then time for body filler and LOTS more sanding.
Below is mine both after body filler, then after first coat of primer. The primer picture is before sanding and still a bit rough with some trash and standing fibers showing that I am in the process of sanding out now. This car was sitting in the sun for a long time and needs a bit of extra love. It is a 73 that I removed the rear bumpers and glassed the rear valence into a single piece as well. Don't have any pictures with me of the fenders before filler, but if you look close you can see the glassed in bumper areas that were cut and reglassed.
Keep at it, it is a large job, but looks good when done, IMO.
Last edited by 73racevette; May 1, 2019 at 10:51 AM.
Before you clecko'd the rears on, did you not have to trim away the mudflap in the rear? As is, I'm seeing very little to no contact surface between the fender and the flare, but that is also possibly due to the mudflap keeping the flare from sitting where it needs to sit. Several inches from where it needs to go to get a proper fitment.
-Stroke
Last edited by Strokemyaxe; May 1, 2019 at 10:59 AM.
I did not trim anything before glassing. A lot will depend on exactly how you place them, but I got along without trimming anything until I had the outside all glassed up. The first step is a bit like jumping out of an airplane. The first hole I drilled for that Clecko pin was tough, but I had all 4 fenders cleckoed and fitted in a couple of hours after I started. The inital glass took a few more days, then more sanding and glassing, sanding and glassing...
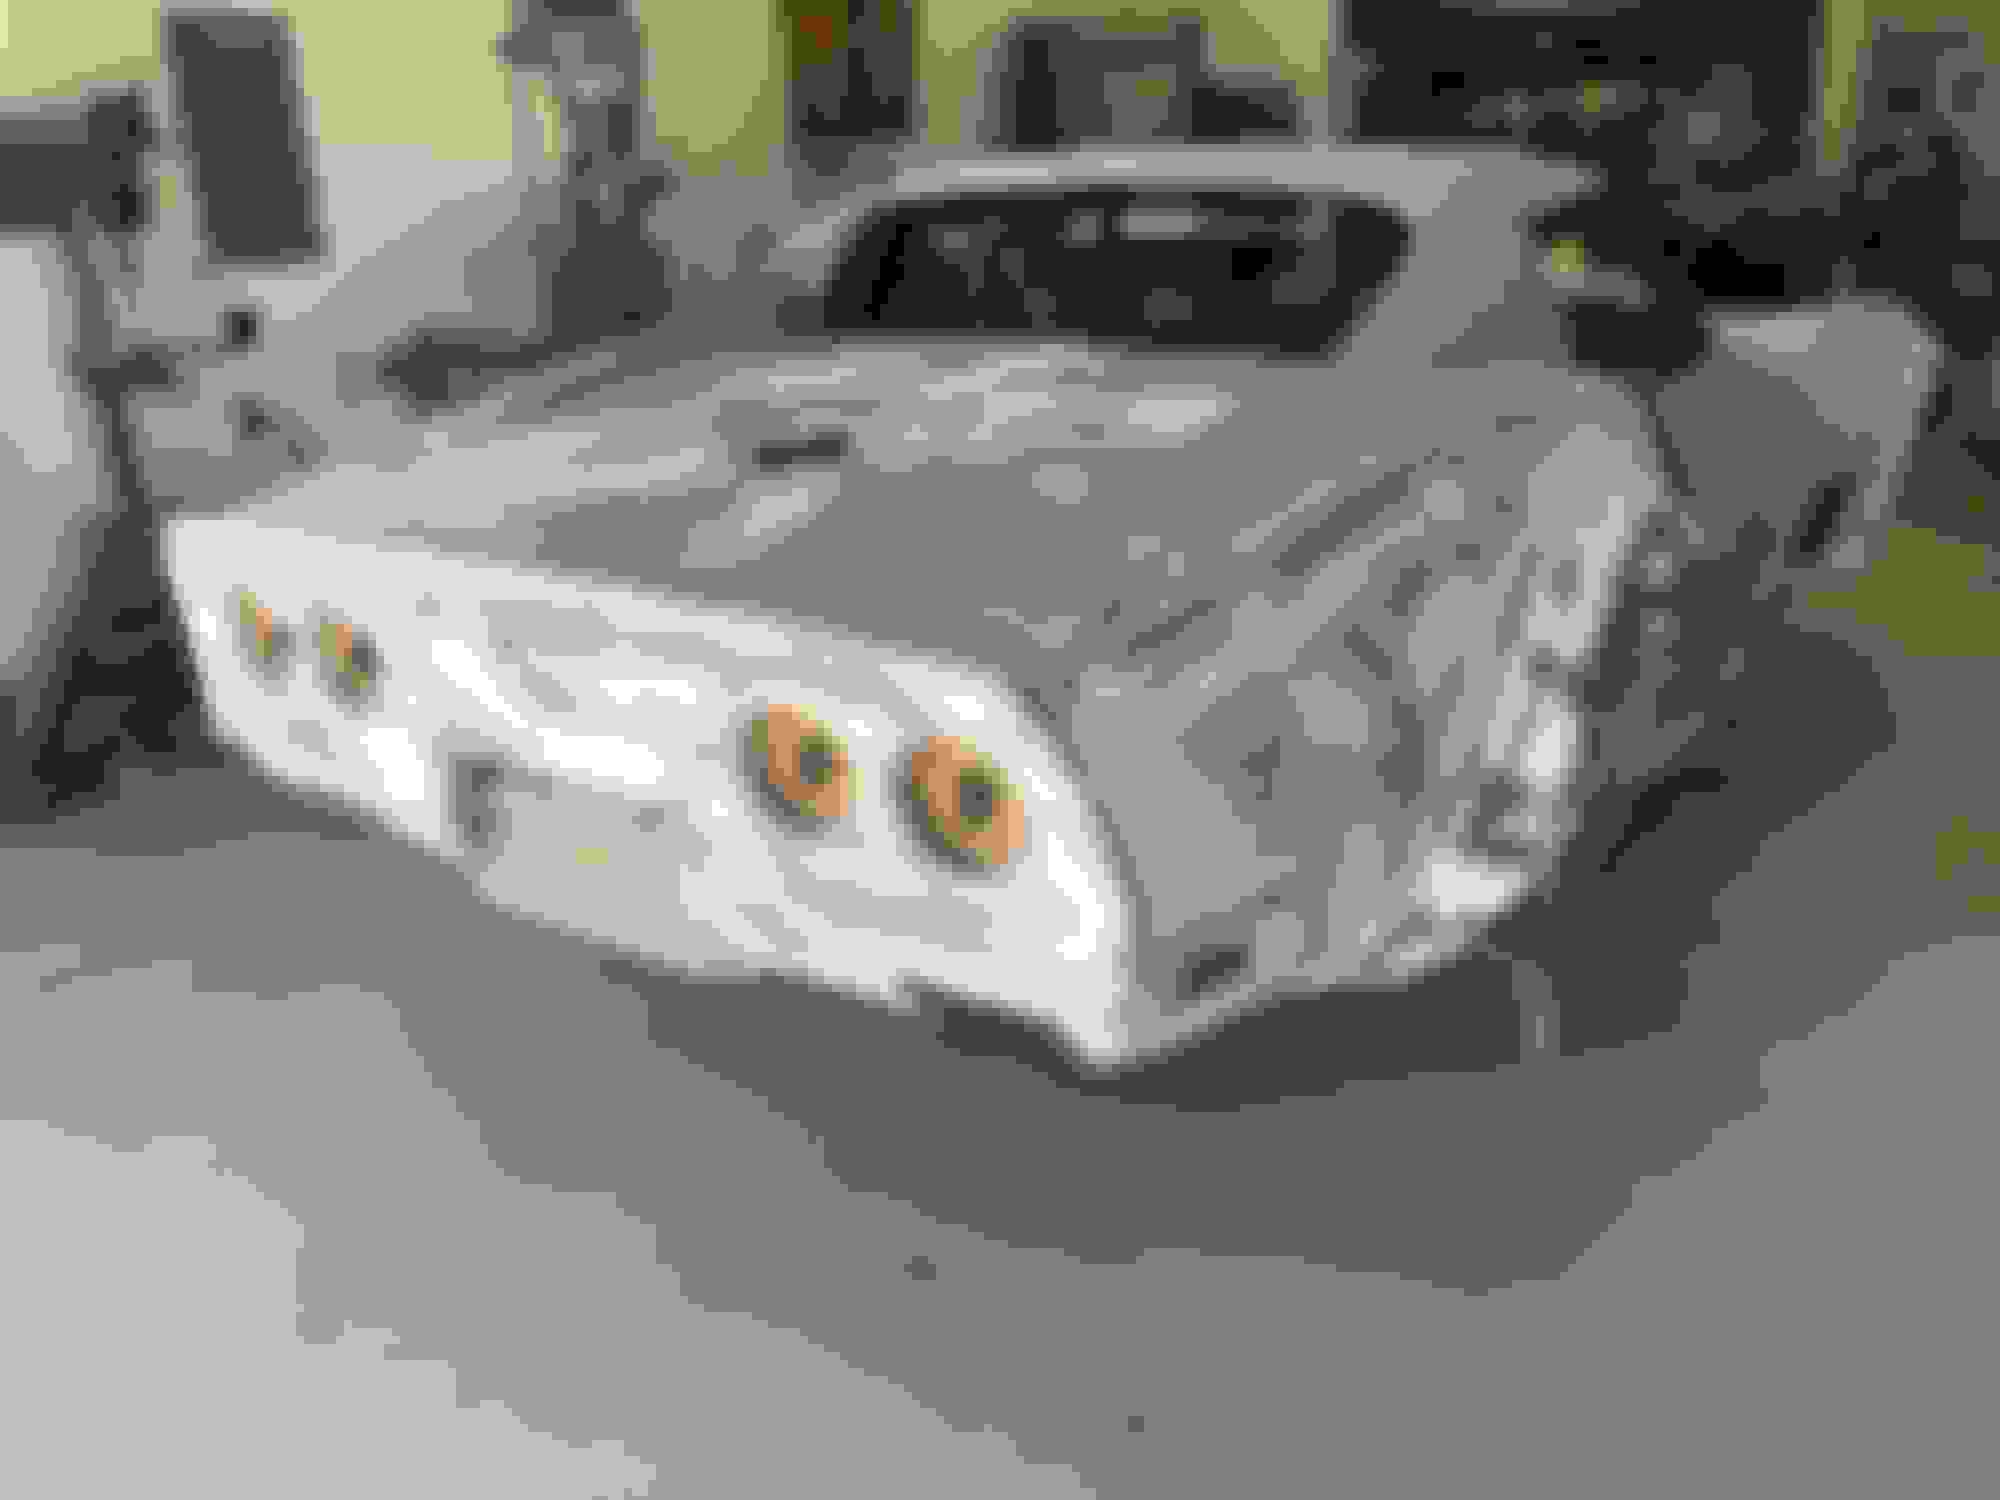
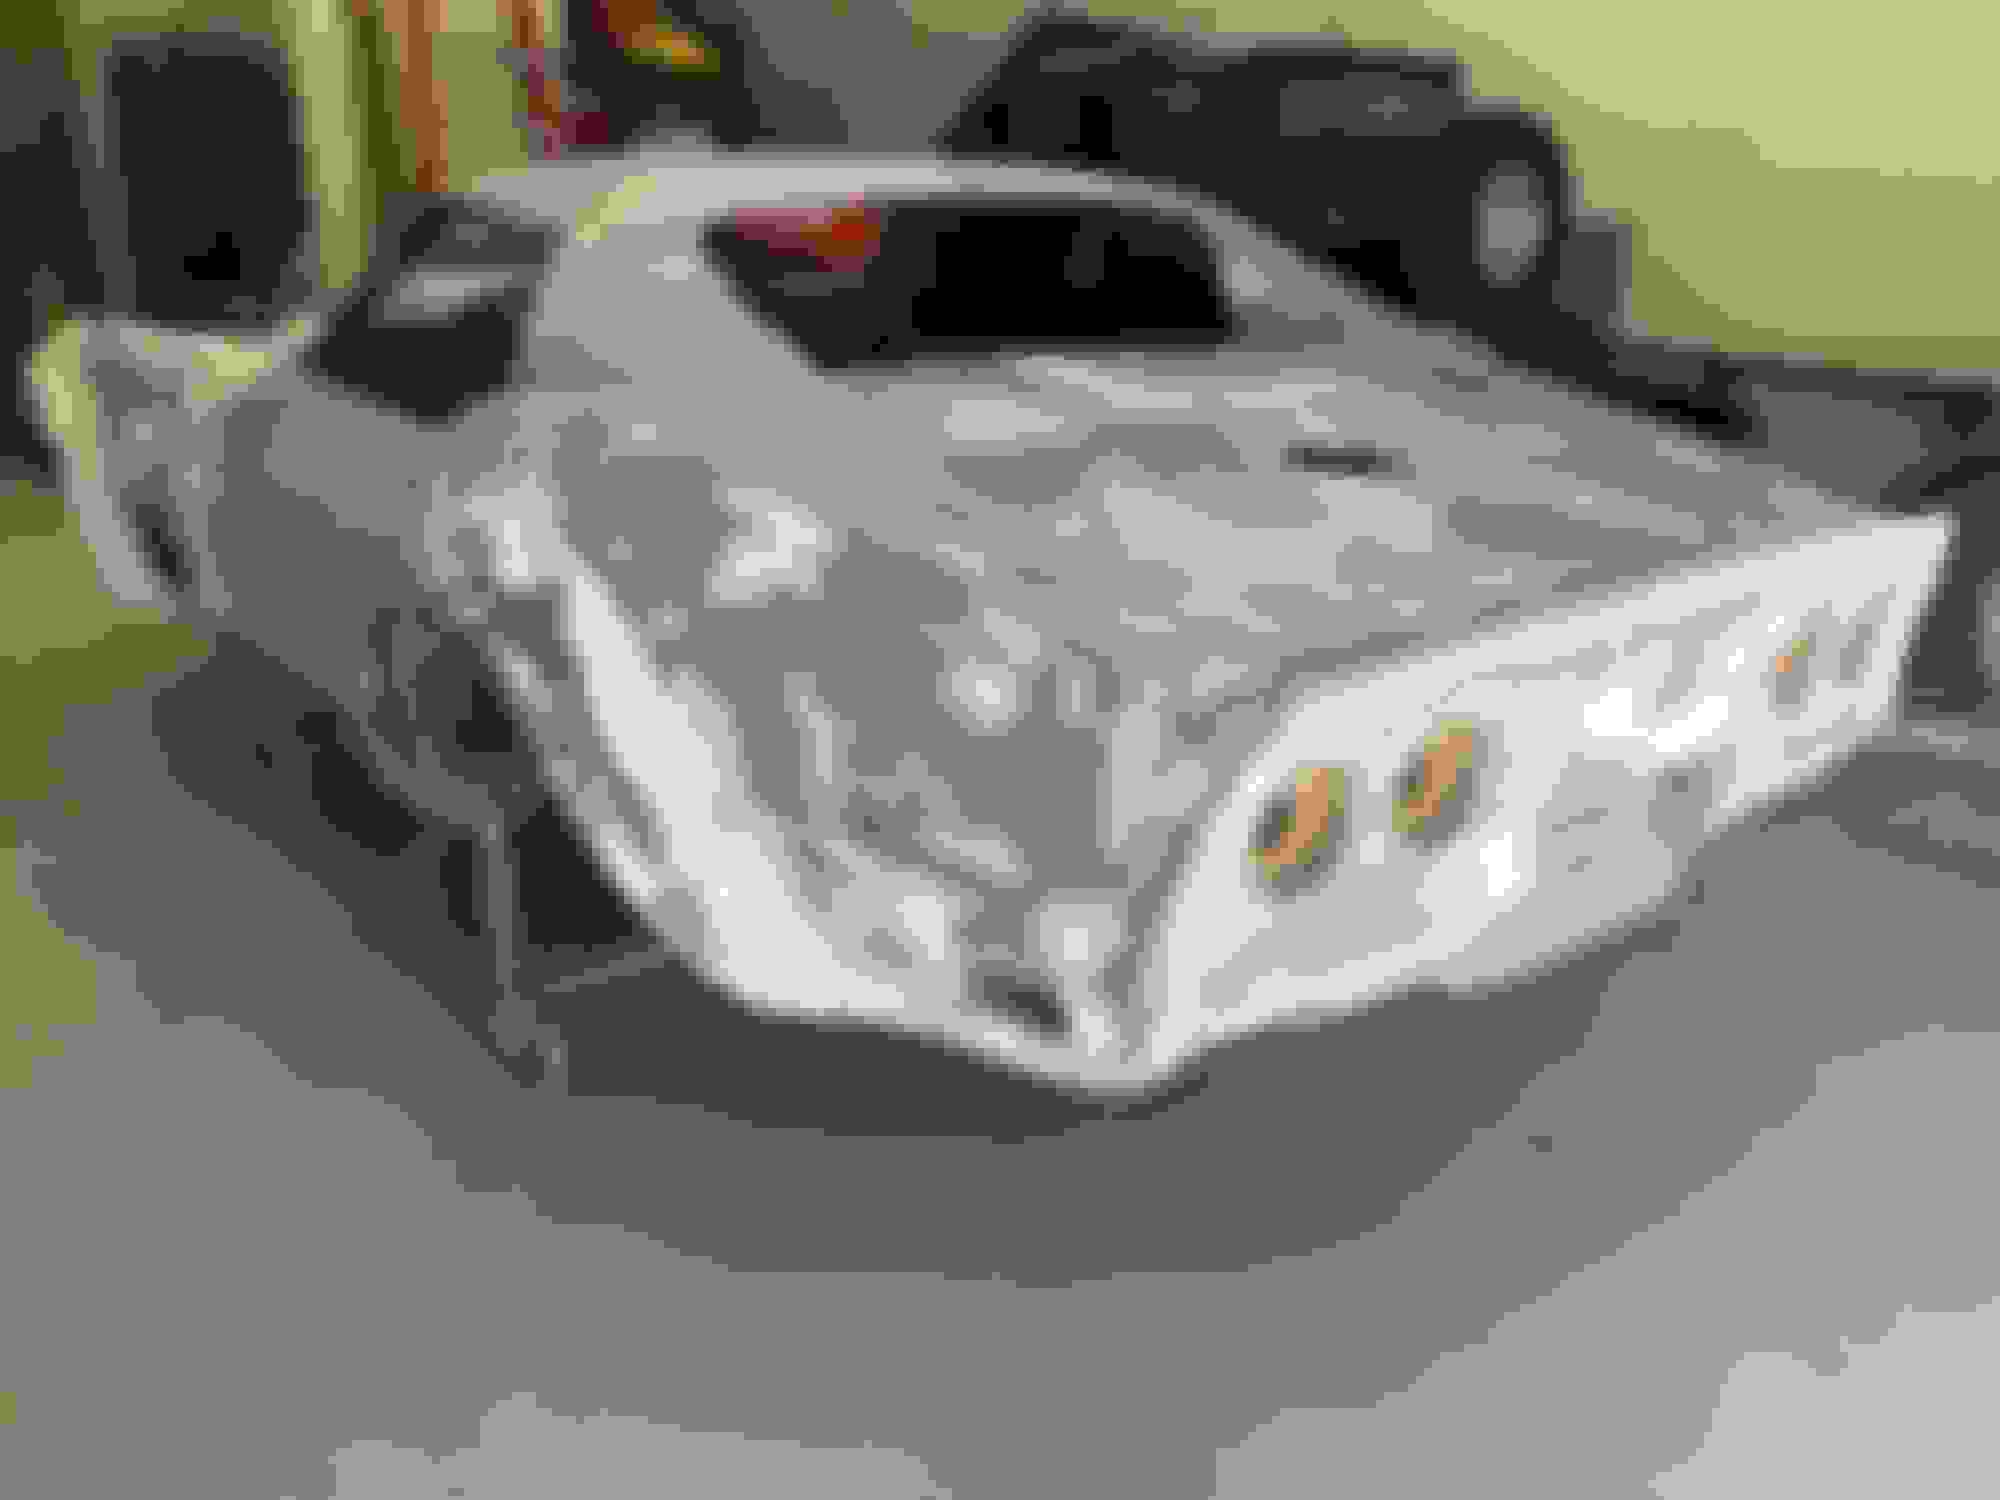
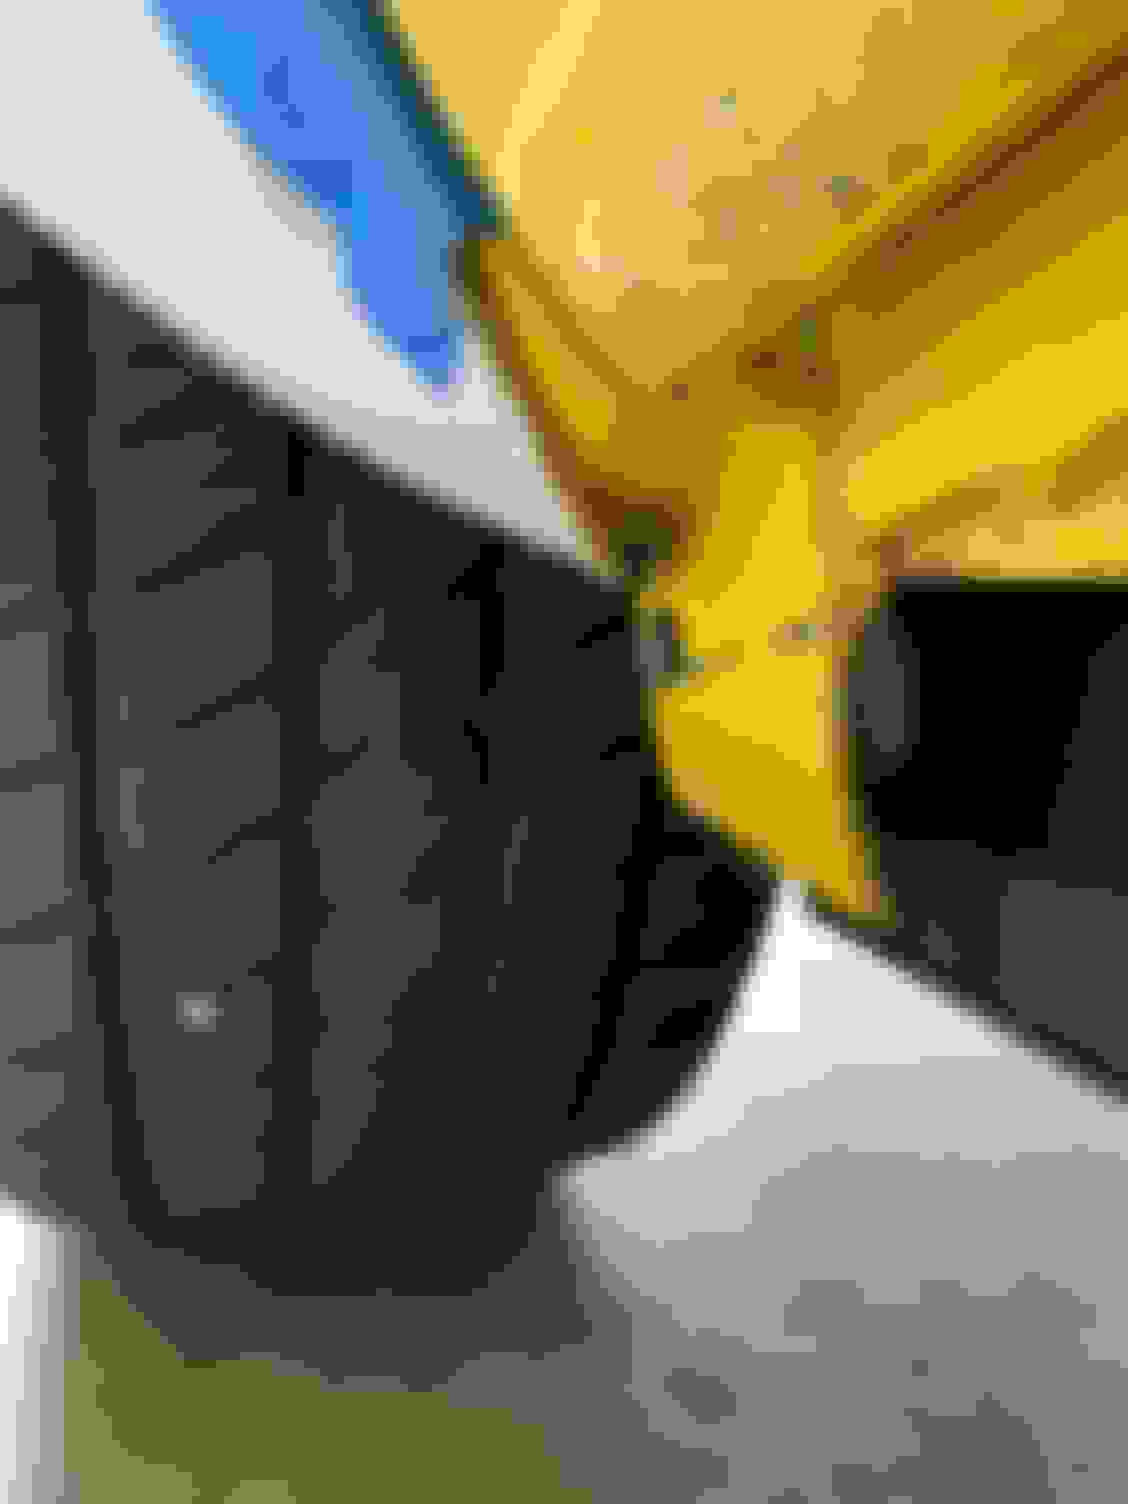
This is my current fitment. As you can see, I set the front to go all the way down, wrapping just under the from lower panel. But that�s keeping me from getting the rear section down. I know depth is very hard to see in pictures, but see how big of a space there is between the bonding surfaces? Seriously zero flat contact anywhere except the clecko mounting slot.
I pulled mine back maybe 1/2 inch from where you have it to give me a taper area to the door. I did have to pull the rear in a bit to match, but once moved around, they fit pretty good. They are aftermarket fiberglass, so pretty good is about as good as you will get. The rest is up to you to taper.
Well, I have been sanding for coming up on a year now and going into final primer this weekend. I have these same flares and they do look good after installed. Because you asked, here are a few tips assuming you are glassing them in.
First, take them off and sand down your existing fenders (on car) and your new fenders with 80 grit. You could also use a paint stripper if used carefully, despite what others are going to tell you. You need to remove paint on your fenders at a minimum to ensure adhesion and make sure you don't have any filler hidden under the paint. If you do, remove that as well until you have a nice clean surface to glass to. Note, if you do have hidden filler, no big deal, you will be glassing anyway. Just fix that with glass mat as you place your fenders. You don't want filler or paint under your new glass though. You also need to sand your new fenders so the resin will stick to them. If you dont, You will have a large failure on your hands and you will have to sand out all of your hard work.
I used Clecko pins to hold them during mock up, but I suppose tape will work too as long as you have a clean surface prior to glassing. Basically mock the fenders up as you have and then remove your pins/tape in a small area and lay some glass. Let that dry, then move more pins/tape and glass more until you have the entire fender attached. You will then need to add probably 3-4 more layers of glass matt over the area until it is close to looking like you want, sanding between layers of course. By this time you will have sanded more than you want to... Keep going... After you have it glassed in from the outside, go underneath and cut out your old fender. Then glass the inside all up. After laying 3-4 layers of matte under and around, you will have a hard time telling where the old fender was. It should look pretty good at this point. Then time for body filler and LOTS more sanding.
Below is mine both after body filler, then after first coat of primer. The primer picture is before sanding and still a bit rough with some trash and standing fibers showing that I am in the process of sanding out now. This car was sitting in the sun for a long time and needs a bit of extra love. It is a 73 that I removed the rear bumpers and glassed the rear valence into a single piece as well. Don't have any pictures with me of the fenders before filler, but if you look close you can see the glassed in bumper areas that were cut and reglassed.
Keep at it, it is a large job, but looks good when done, IMO.
Take a look at post 36 in this thread. Still not the best picture ever, bit it is a picture of the rear fender right before applying glass and you can see the rear mudflap still in place.
Take a look at post 36 in this thread. Still not the best picture ever, bit it is a picture of the rear fender right before applying glass and you can see the rear mudflap still in place.
Thanks for the link. Yes, I see. This makes sense to me now of how people are mounting the flare with the mudflap still in place.
Question, it seems there is a lot of space to fill in between the fender and flare in order to get them bonded. I don�t see really any flat areas other than the clecko spots where the flare mates against the fender. Did you just fill all that space with VPA?
Once you apply the initial layer of glass mat, you will need to feather that area into the existing fender with multiple layers of glass mat making the transition smooth. The end result will be that the entire area will be fiberglass. The picture in the link shows the fender immediately before placing glass matt. By the time you do both the top and underneath side, it would take a sawzal to remove it. It will be permanent short of replacing the entire quarter panel.
Last edited by 73racevette; May 2, 2019 at 12:07 PM.
Once you apply the initial layer of glass mat, you will need to feather that area into the existing fender with multiple layers of glass mat making the transition smooth..
Are you using epoxy resin to bond them and not VPA? Do you have any up close pictures of the underside? That is obviously the side I'm concerned with due to the gap. I assume you just continually add layers of mat after initial mount?
None between it. But if you are referring to layers on top (outside) of the flare and fender, I really have no idea. It is significant. Somewhere between 3-6. You will know when it is enough. The underside it a real PIA because you get to resin above your head and sand fiberglass above your head in an enclosed space (wheel well)...yeah, it is fun. Use a respirator!!