Painting my 95 convertible, long post......
 05-27-2019, 12:01 PM
#1
Burning Brakes

Thread Starter
Member Since: Jul 2011
Location: Myrtle Beach South Carolina
Posts: 781
Likes: 0
Received 183 Likes
on
121 Posts

This is my first real adventure in painting a car with bc/cc , I've painted a motor home in single stage paints and painted a set of hard saddle bags in bc/cc , but that's it other than painting models.
If you don't want to read a long winded account , just skip to the pics. I wouldn't blame you!!
I bought my car in July of 2008, she had 85k miles and looked almost like she did the day she was born. Fast forward a few years and the clear coat on the hood and rear deck starts peeling and flaking. She was my DD and I couldn't take the time to repair her.
September of last year, the week of hurricane Florence, I finally got off of my *** and bought the primers, paints and clear along with filler, sand paper and polishing equipment. Then I took a day and disassembled her, while I had the windows out I sent them to be tinted.
Time moves on and dealing with the aftermath of Florence was fun.
I hit a roadblock in my head about painting , so, I went ahead and installed the new leather on my seats and the other interior parts. That was done in October. In January I bought new spray dye for the plastic and vinyl of the interior and updated the color to more closely match the new leather. Man, did it make the interior come together. I didn't realize it when I bought the car that someone had dyed the interior , including the original seats.
In January I started sanding the body, a little here and there. Finally , in April I went ahead sanded everything down with my little electric DA. During April I went ahead and painted some small parts, just to get the hang of painting as it had been such a long time since my last painting effort. Then I spent about a month sanding the body trying to level out some waves and other messes in the body by hand with a 17" block and a few smaller blocks.
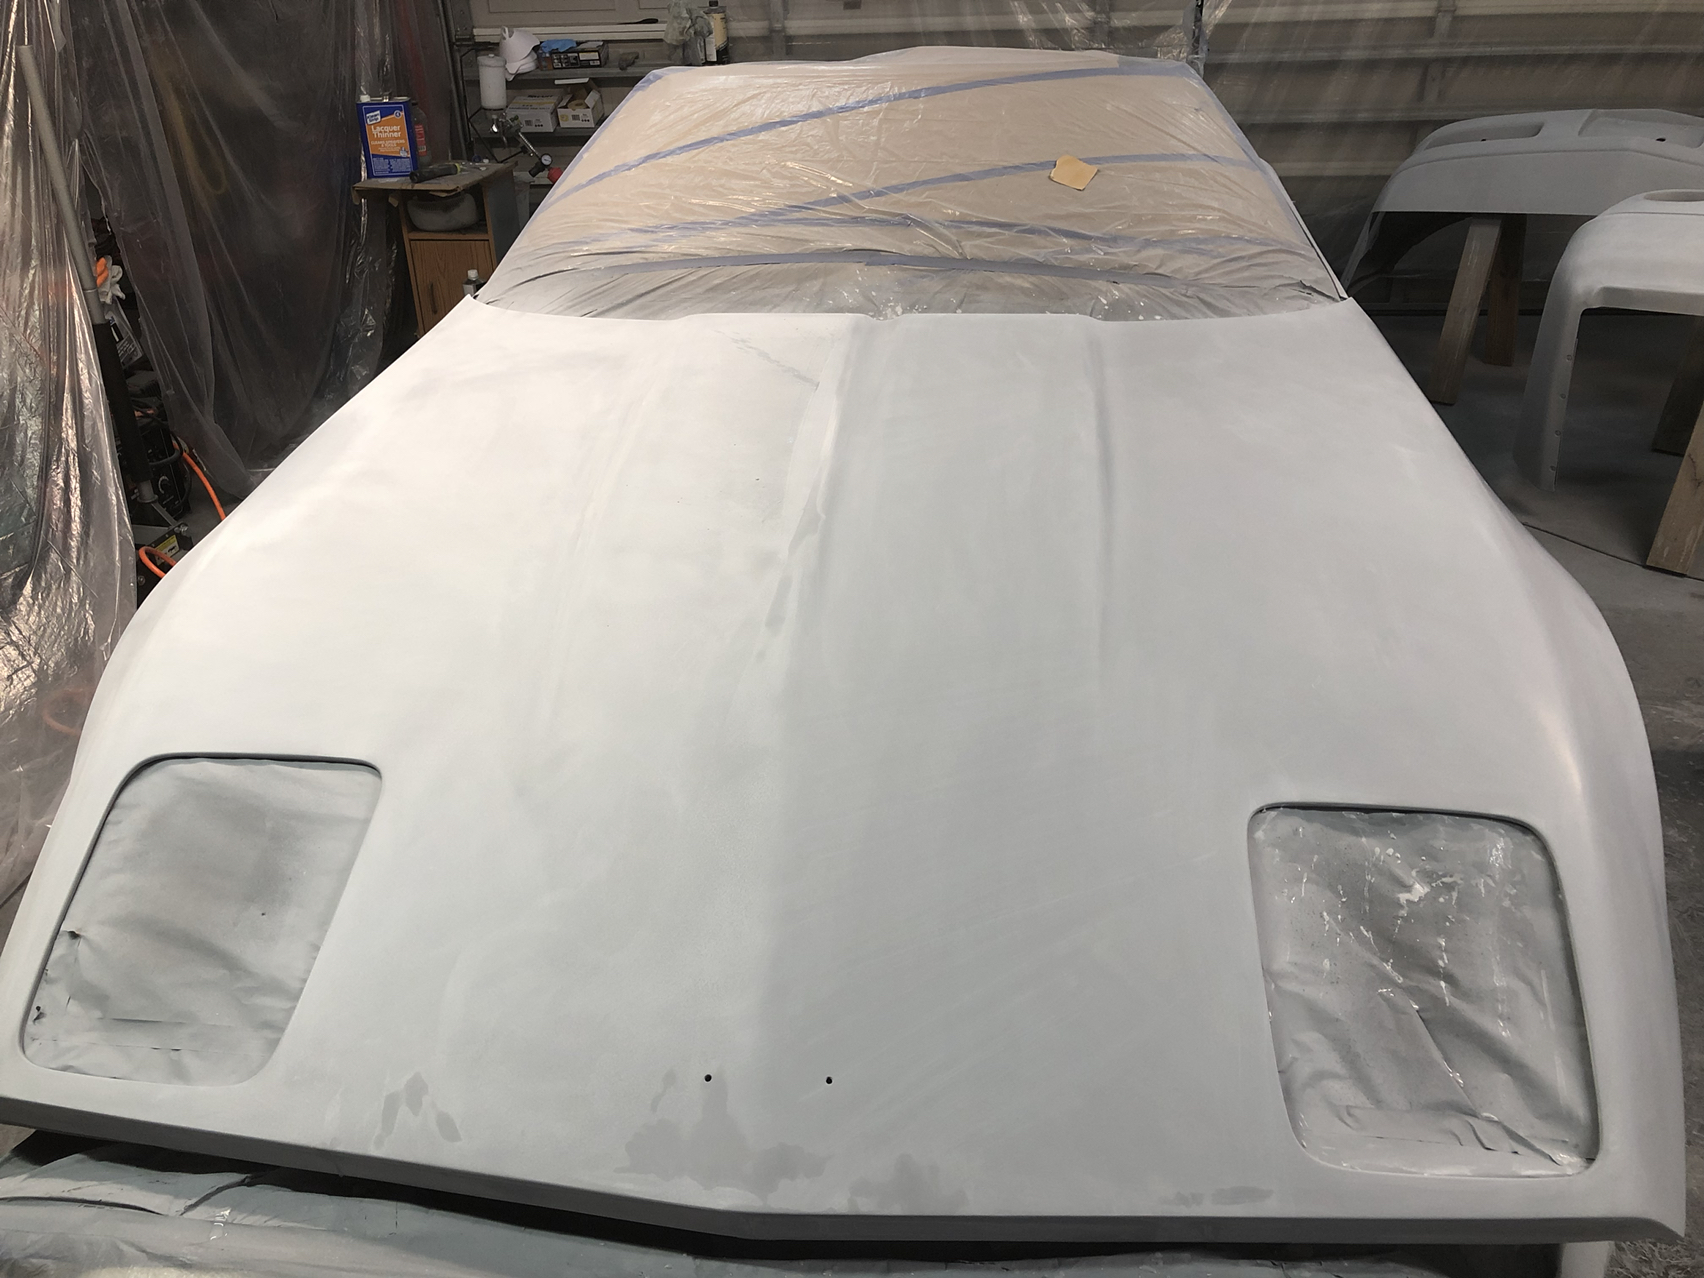
About two weeks ago I put plastic sheeting up on my garage walls and put the car on jack stands and masked the car. Then I proceeded to prime the car. First step was epoxy primer, two coats. Then I filled in a few areas with body filler that be ground out, sanded those areas and then put two coats of 2k primer on. Waited until the next day and sanded the primer smooth with 180, by hand. Ugh
Then, another two coats and sanded with 220 then 600 wet, the car actually had a dull shine in primer! Again, all by hand. Ugh.
I had planned to paint on my day off, it was nice and cool in the garage that day, but, life happens , you know how that goes.
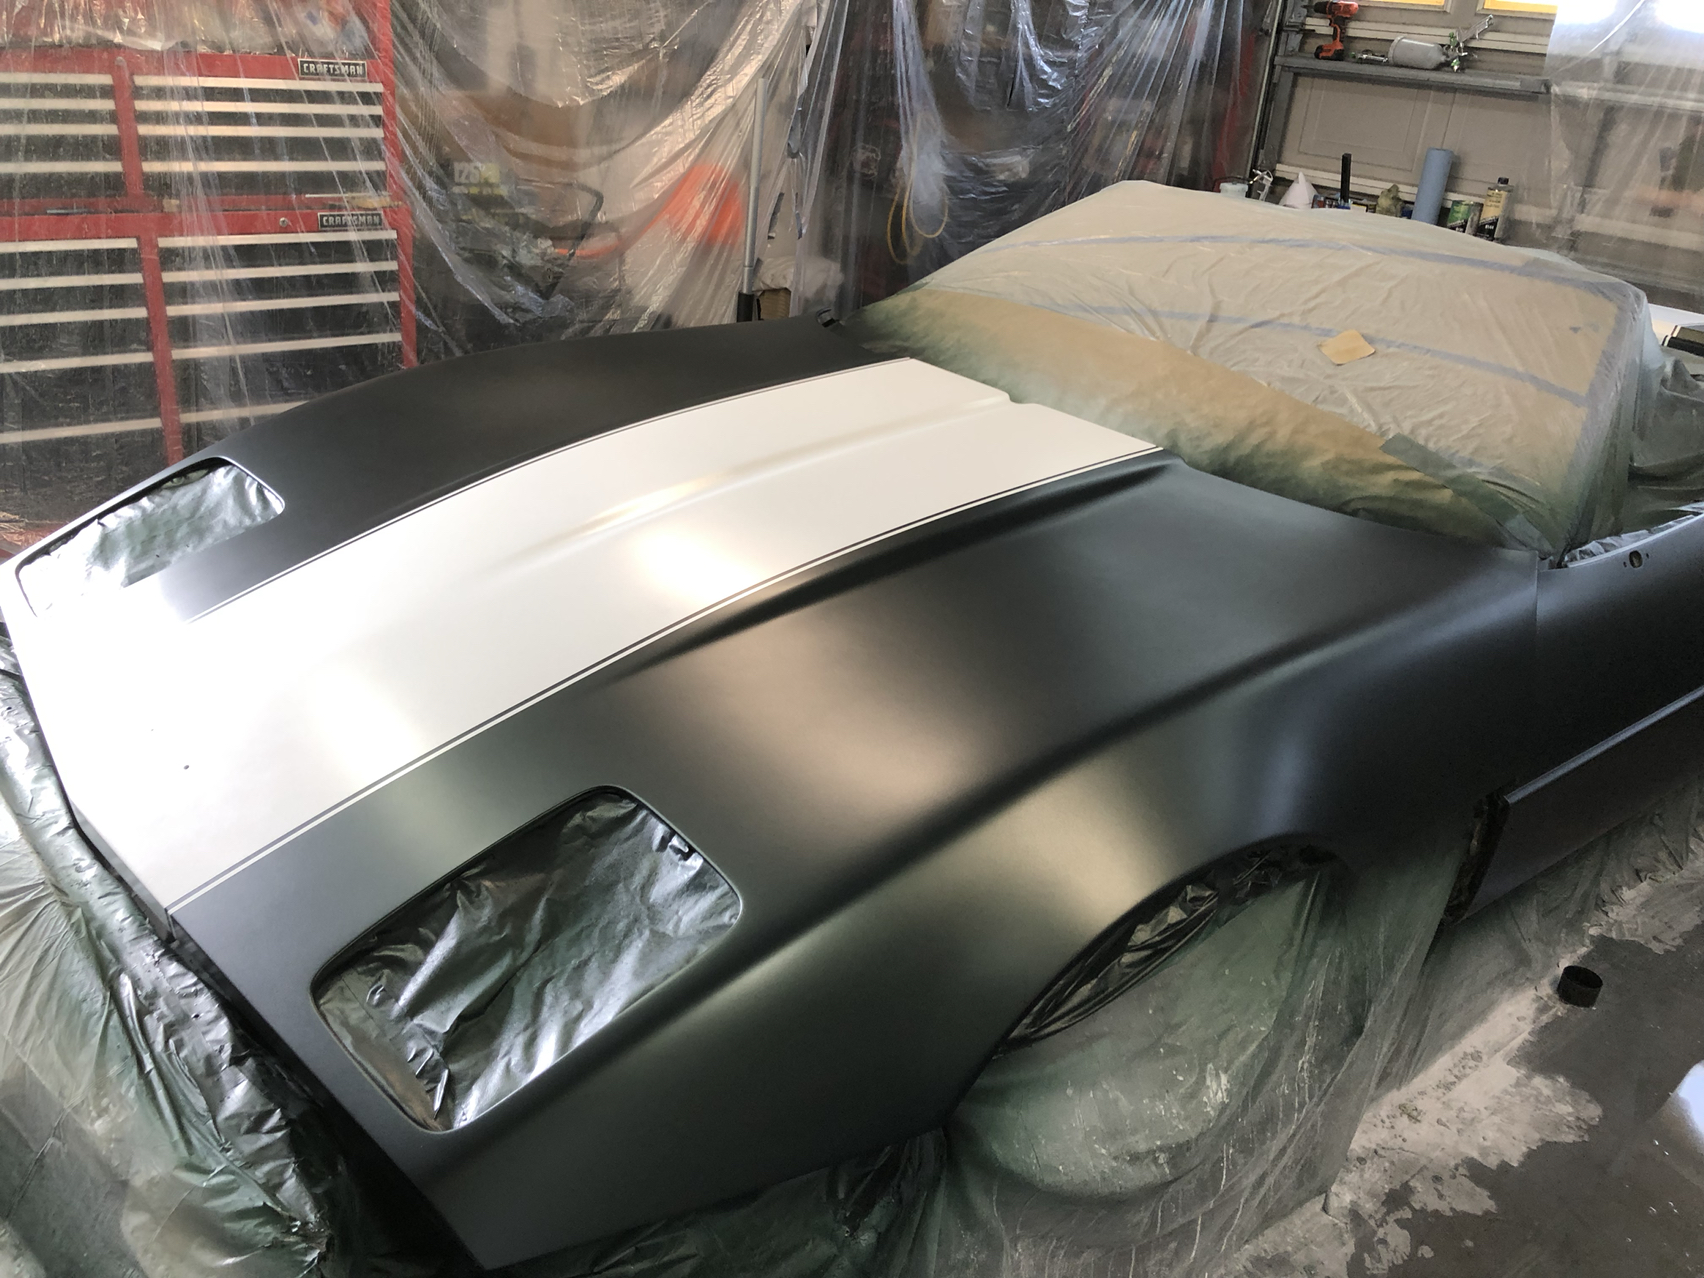
Sooooo, it was a few days later when I was going to paint. I had planned to wake up early Saturday morning , around 4 and start painting. I couldn't sleep so I actually started at midnight. I painted the white for the stripe ( I have always loved the white GS stripe and wanted one on my car since the day I bought it ) and then spent two hours masking the stripe for the next color. I love the polo green, but when I saw the 2014 Limerock green, I knew that's what I wanted on my car when I did the repaint. I put three coats of green on the car , then I set the headlight covers on the masking paper where the belong in the hood. I sat the bumpers in place , not attaching them, just having them in place and put the gill panels on stands next to their location on the car. I then sprayed two drop coats. I waited the appropriate amount of time and removed the masking and set the bumpers and other parts on their stands for clear.
Now........ the fun part............
It was now after 6 in the morning, I hadn't been on my normal sleep schedule all week because of working on the car until the wee hours each day. So, as if 5:30 Saturday morn I had been up 24 hours. I had painted parts already and they turned out beeyoutifulllll, but, I apparently wasn't thinking properly and when I looked up the tech sheet for the clear ( which I had done probably 2 dozen times previous) I somehow got the wrong sheet and went by the flash times on it. Well, the times weren't correct and I wasn't aware of the stupidity I was headed towards.
Just put it this way, there are runs and saga that shouldn't have happened, and the clear, while it has so far polished nicely, it has an underlying waviness to it that won't buff out.
So, short story long, did it turn out as I wished? Nope. Was it better than I believed it would be when I started? Yes.
So mixed emotions. Lol.
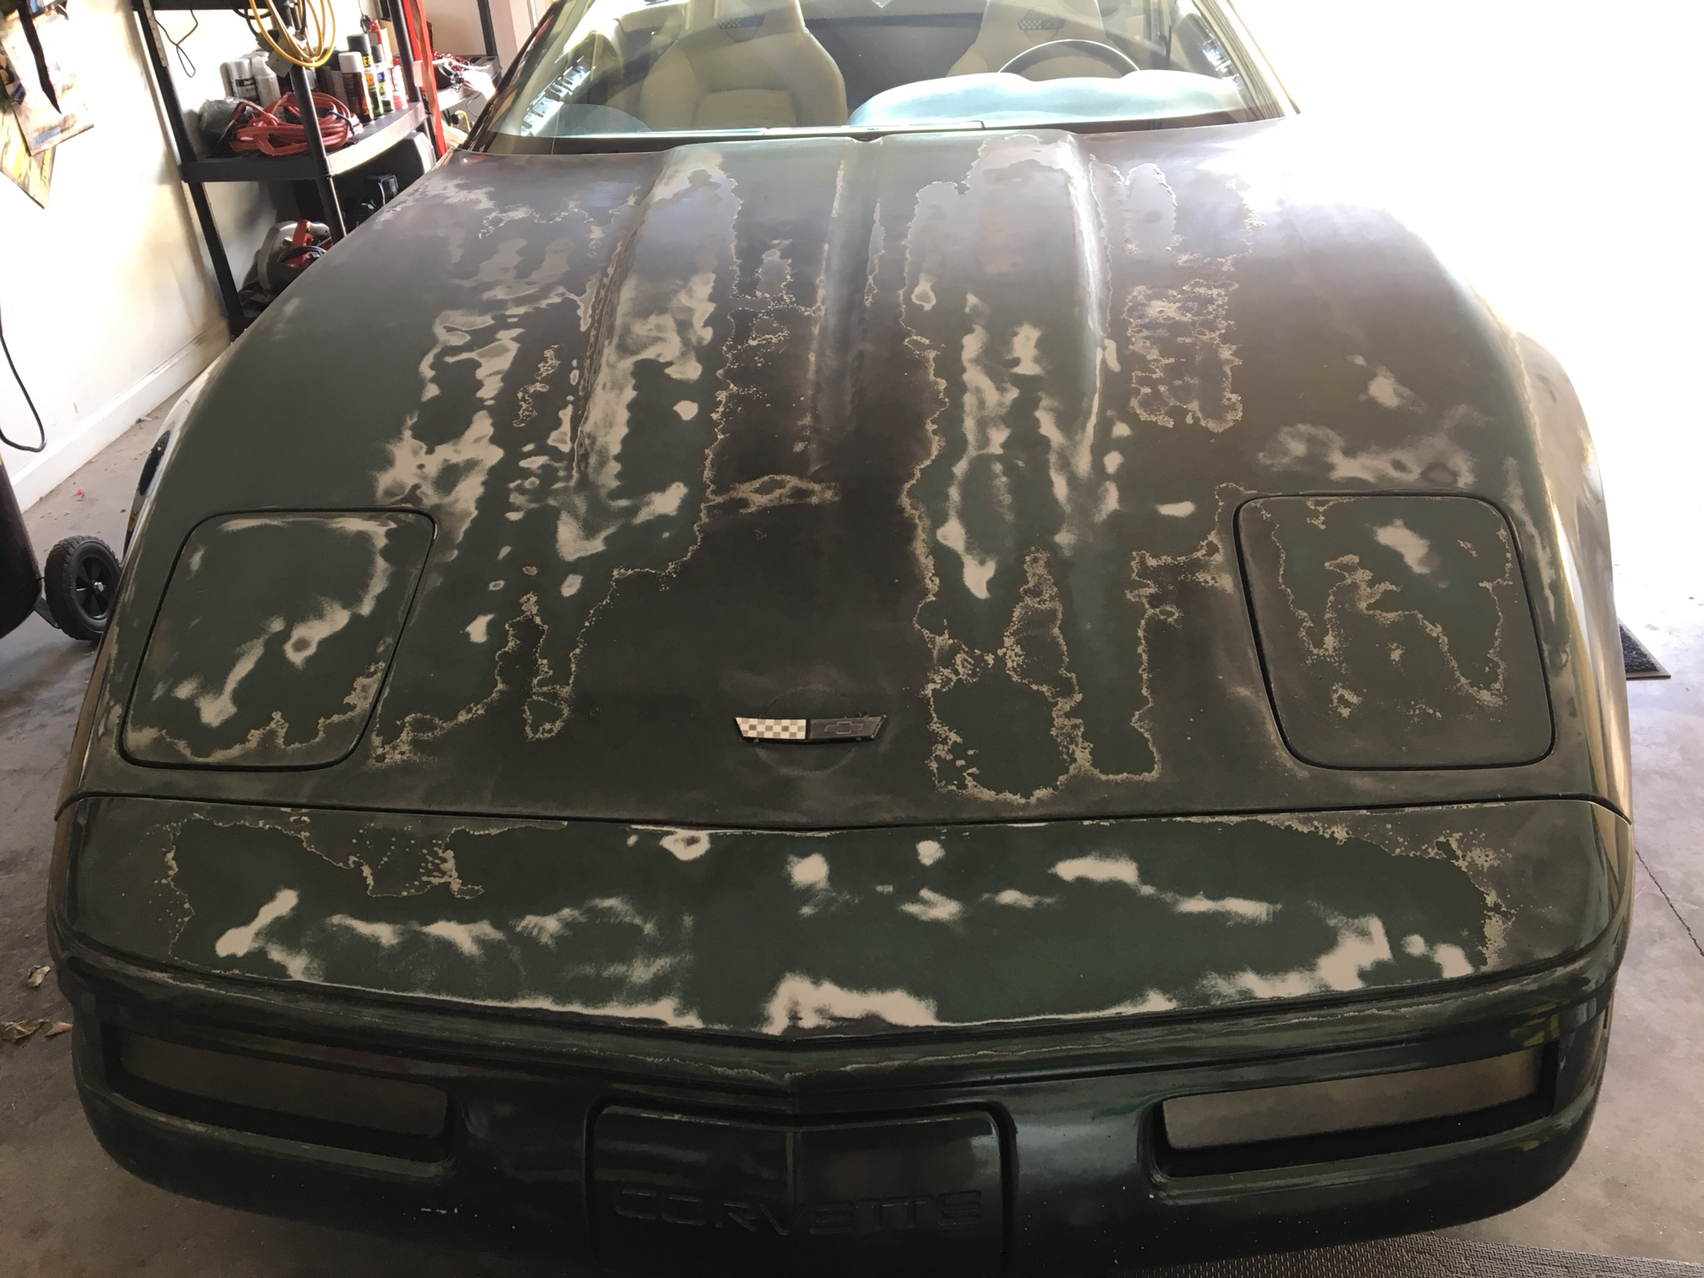
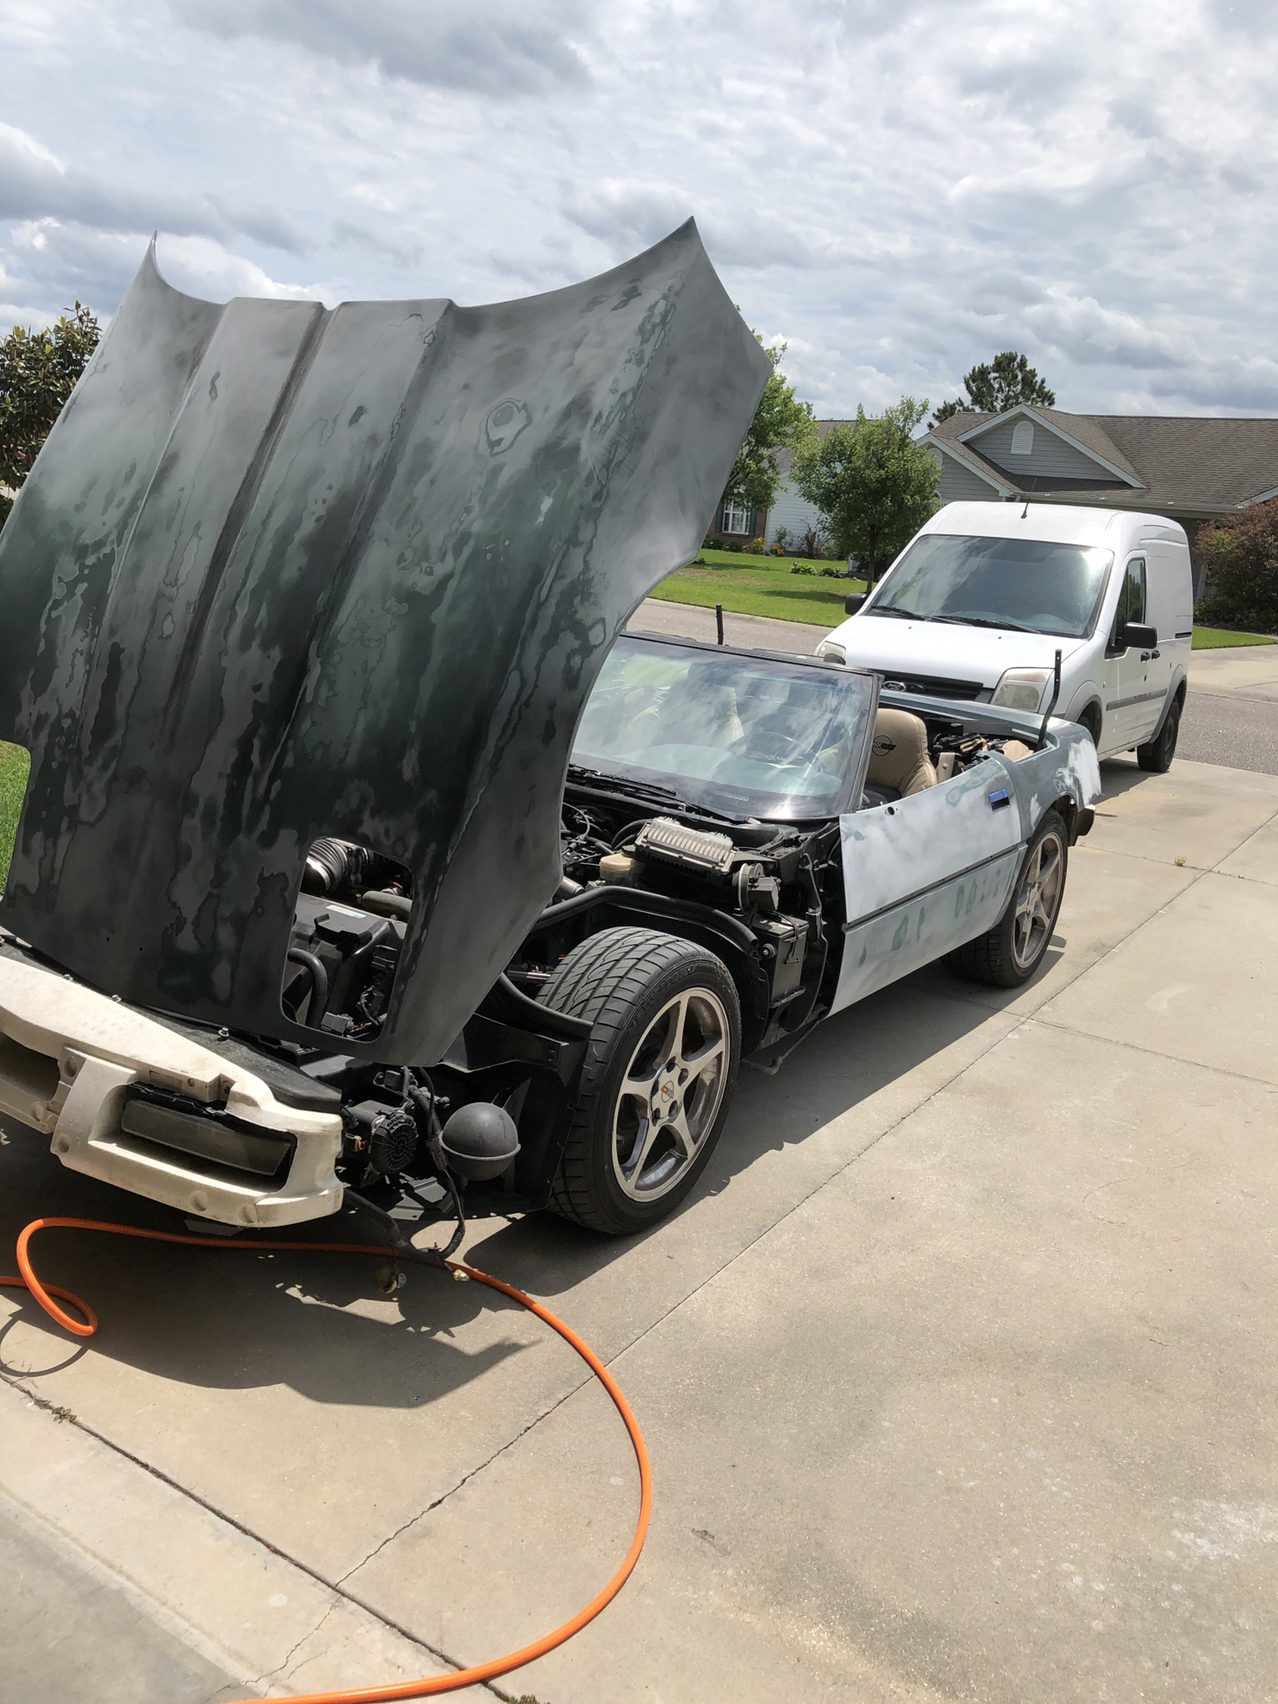
The hood with the clear all nasty.

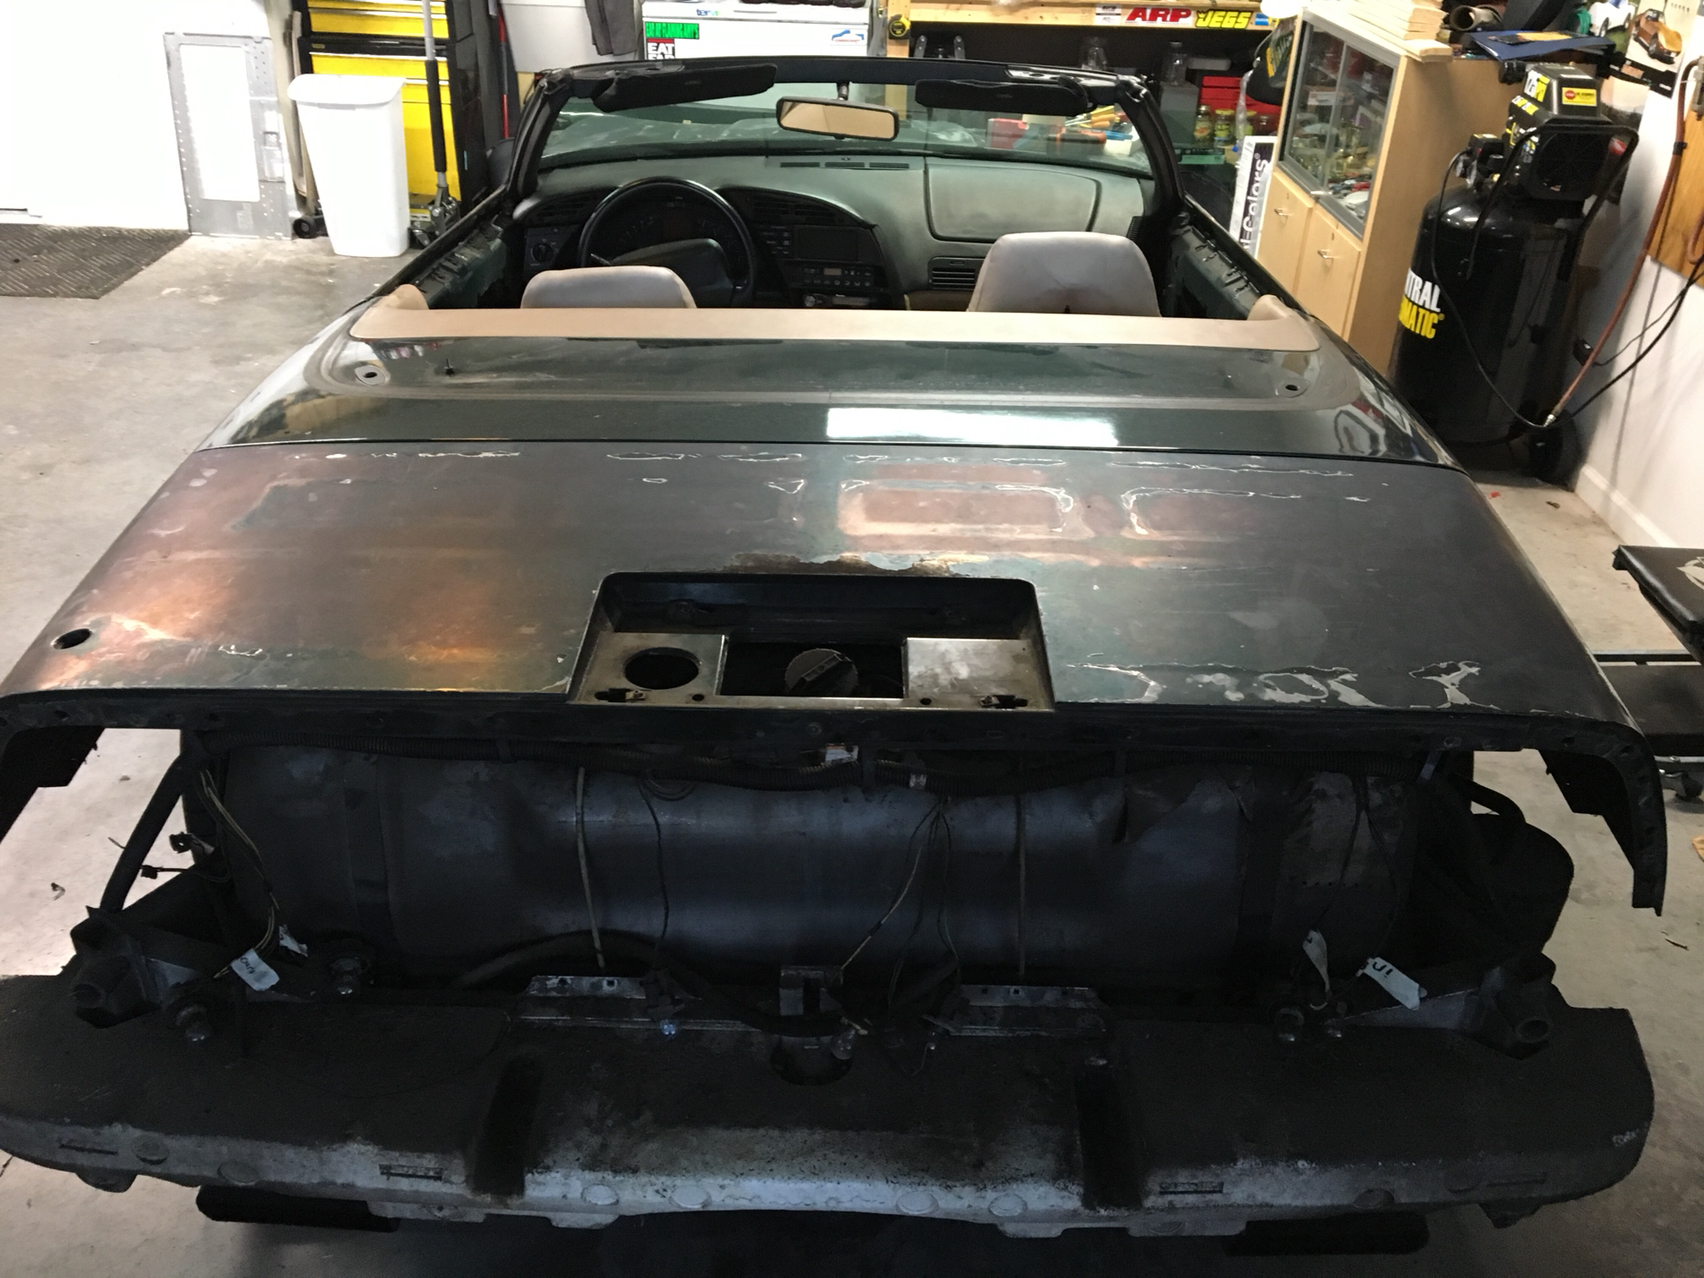
The deck area
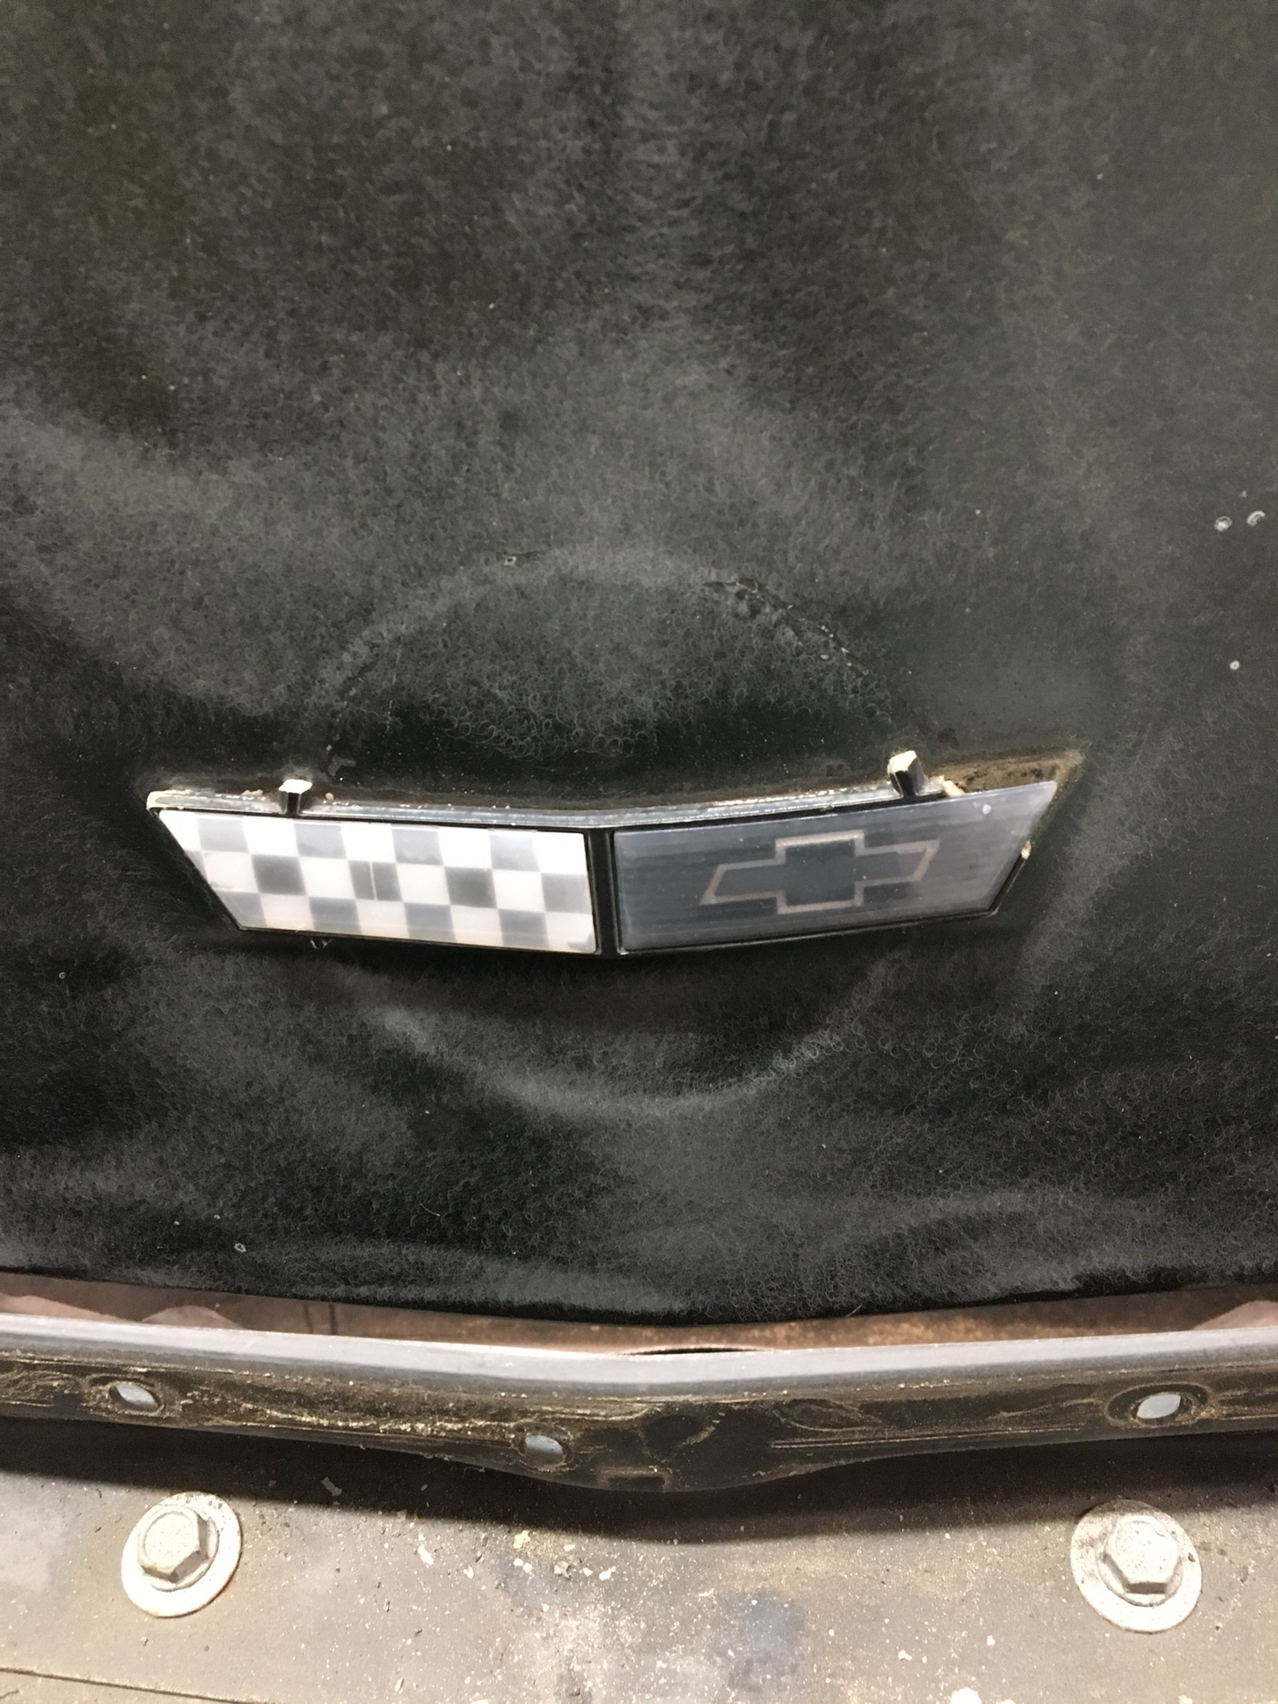
What was left of the original emblem, I have replacements!!!
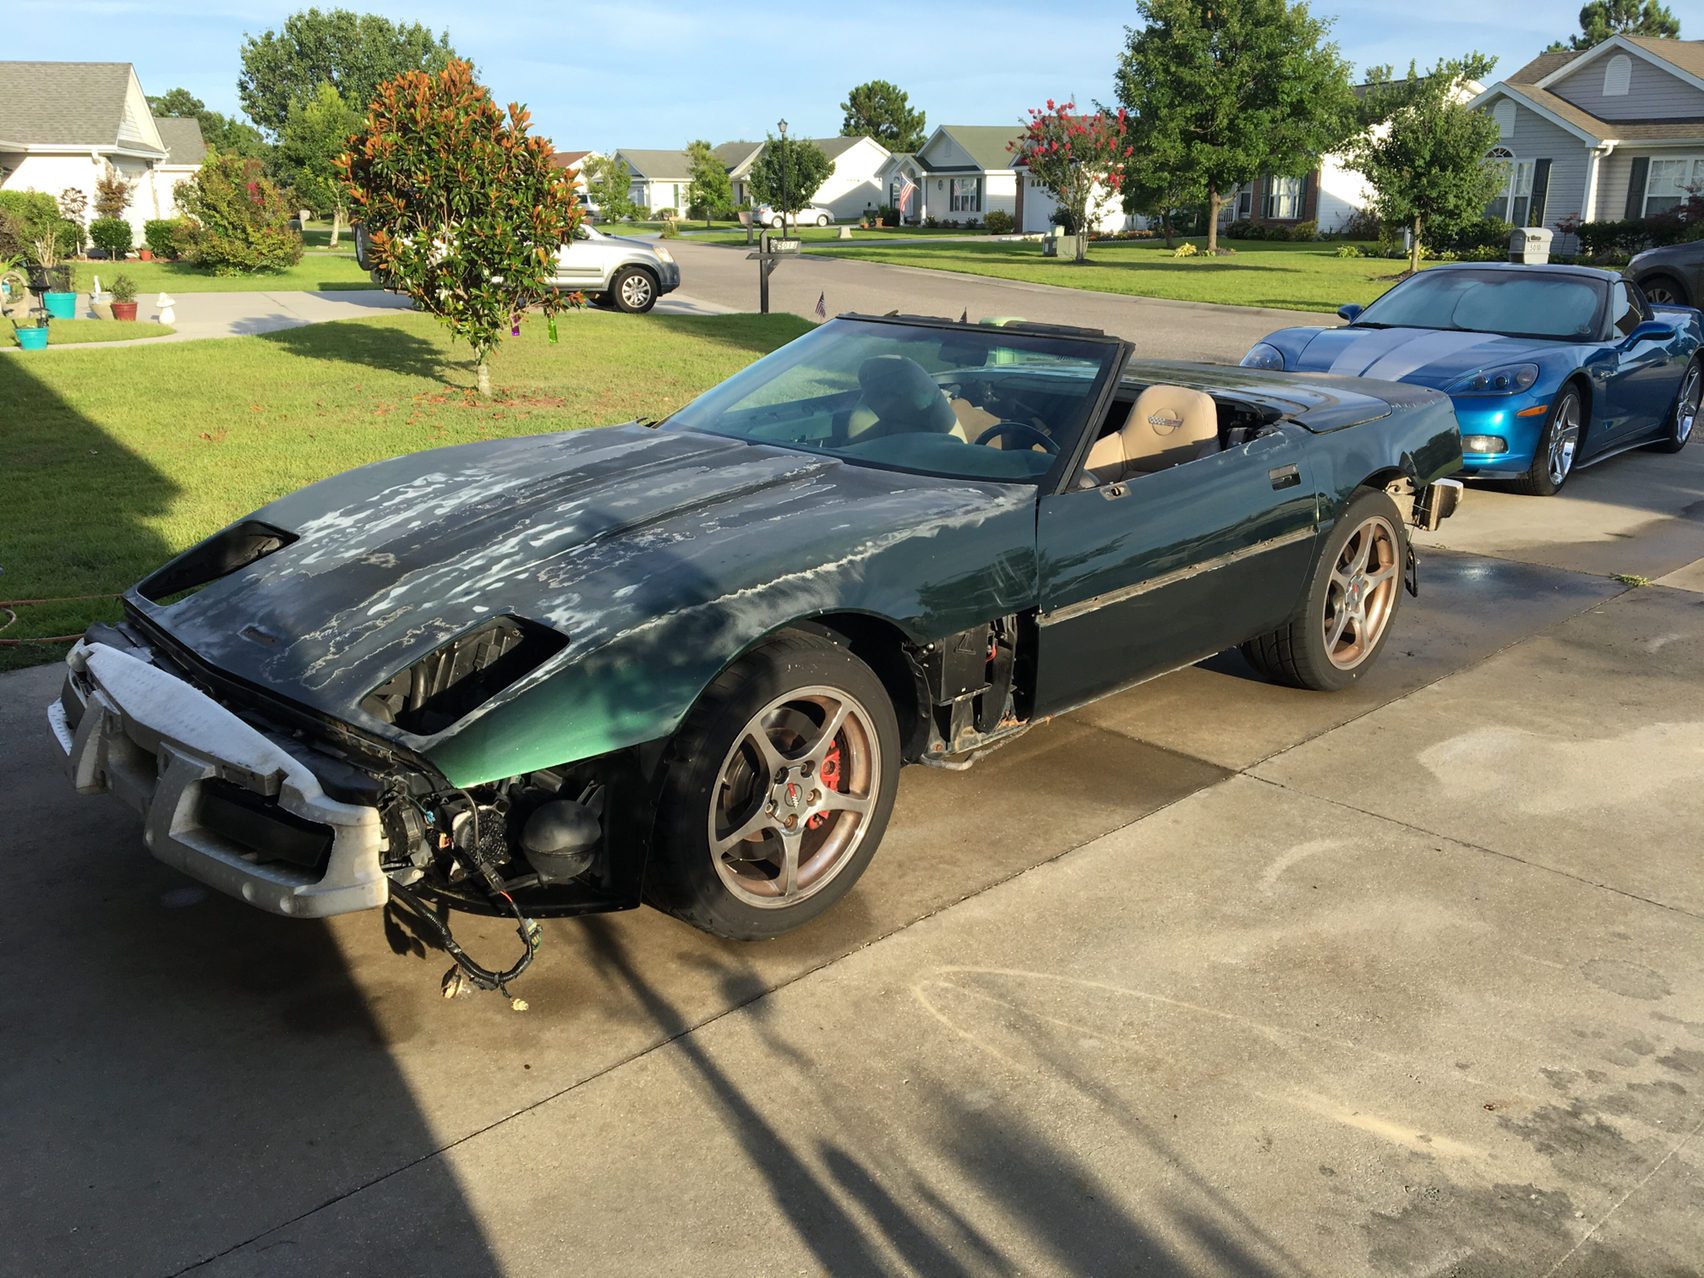
Before she was sanded
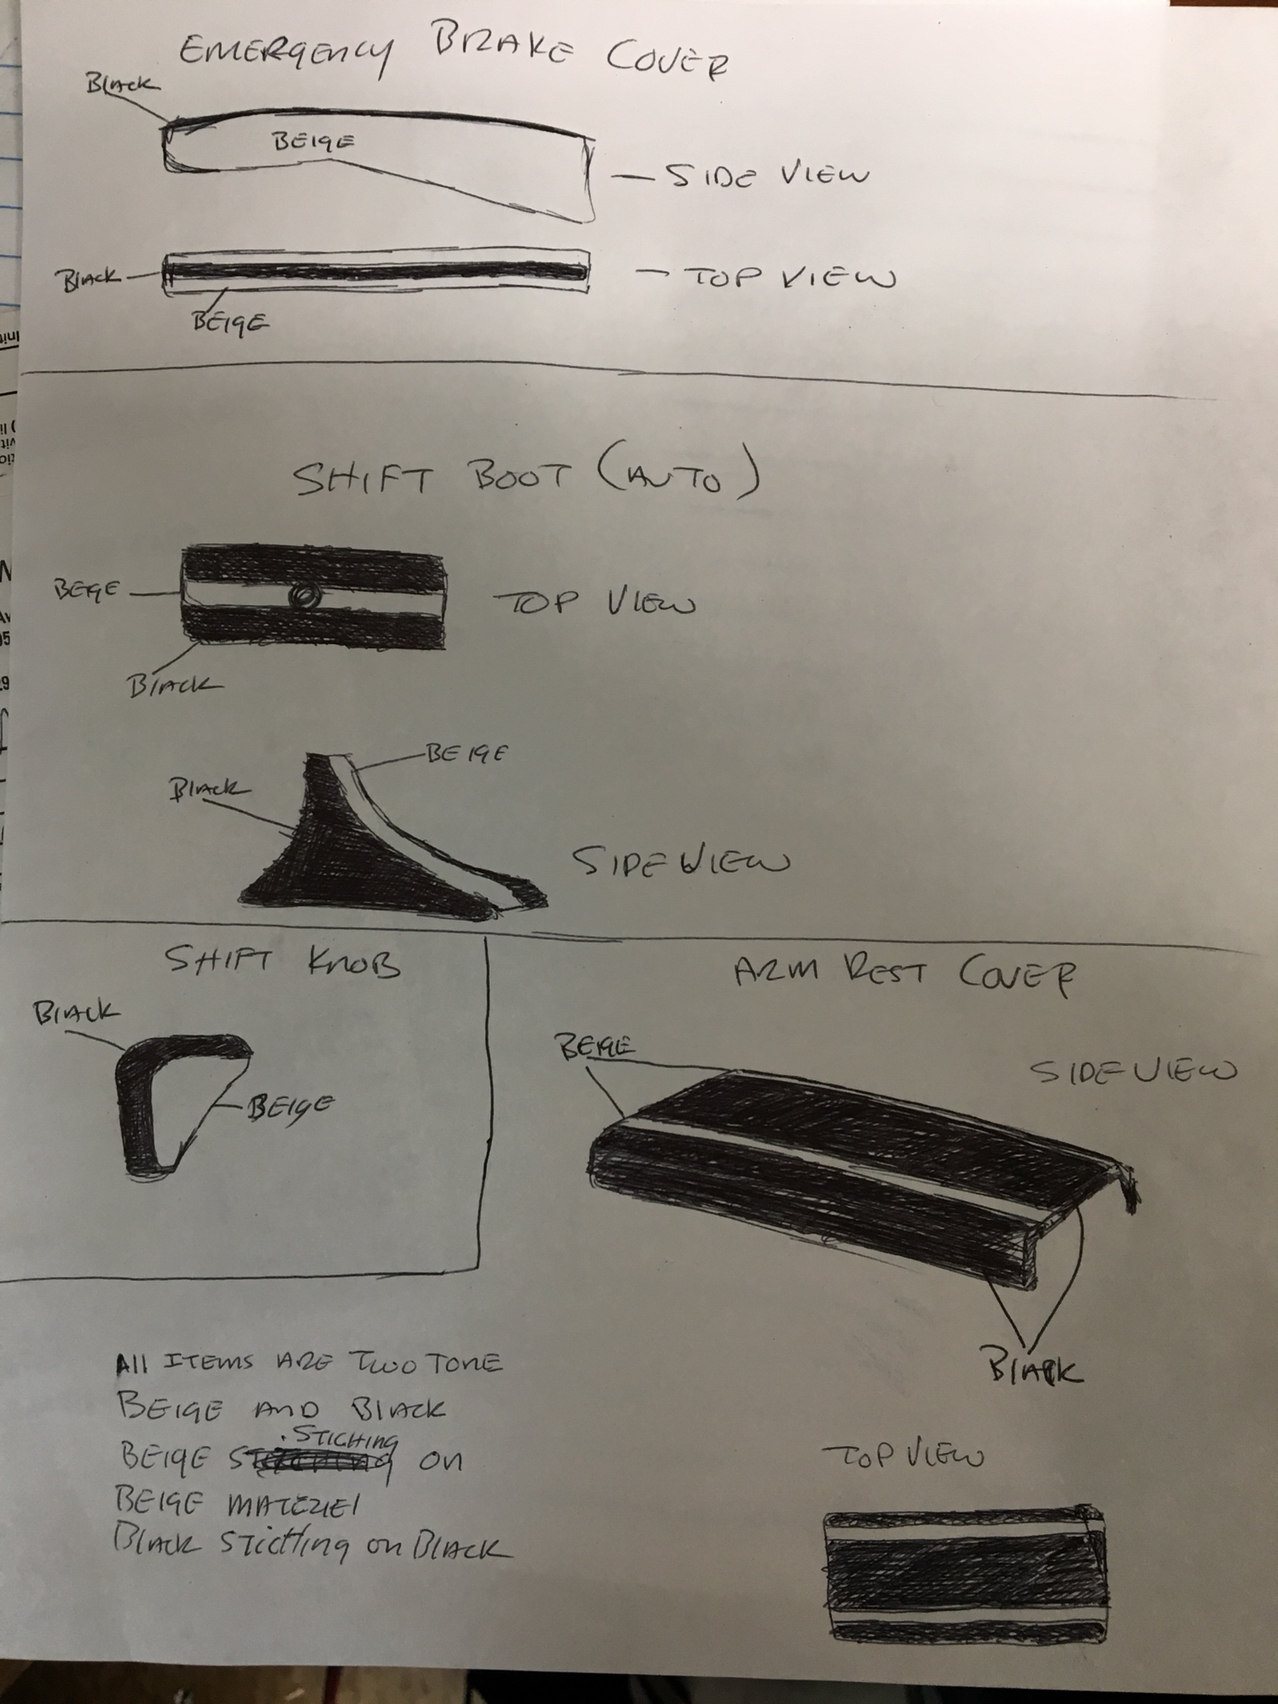
The diagram I sent the leather place for my interior pieces.
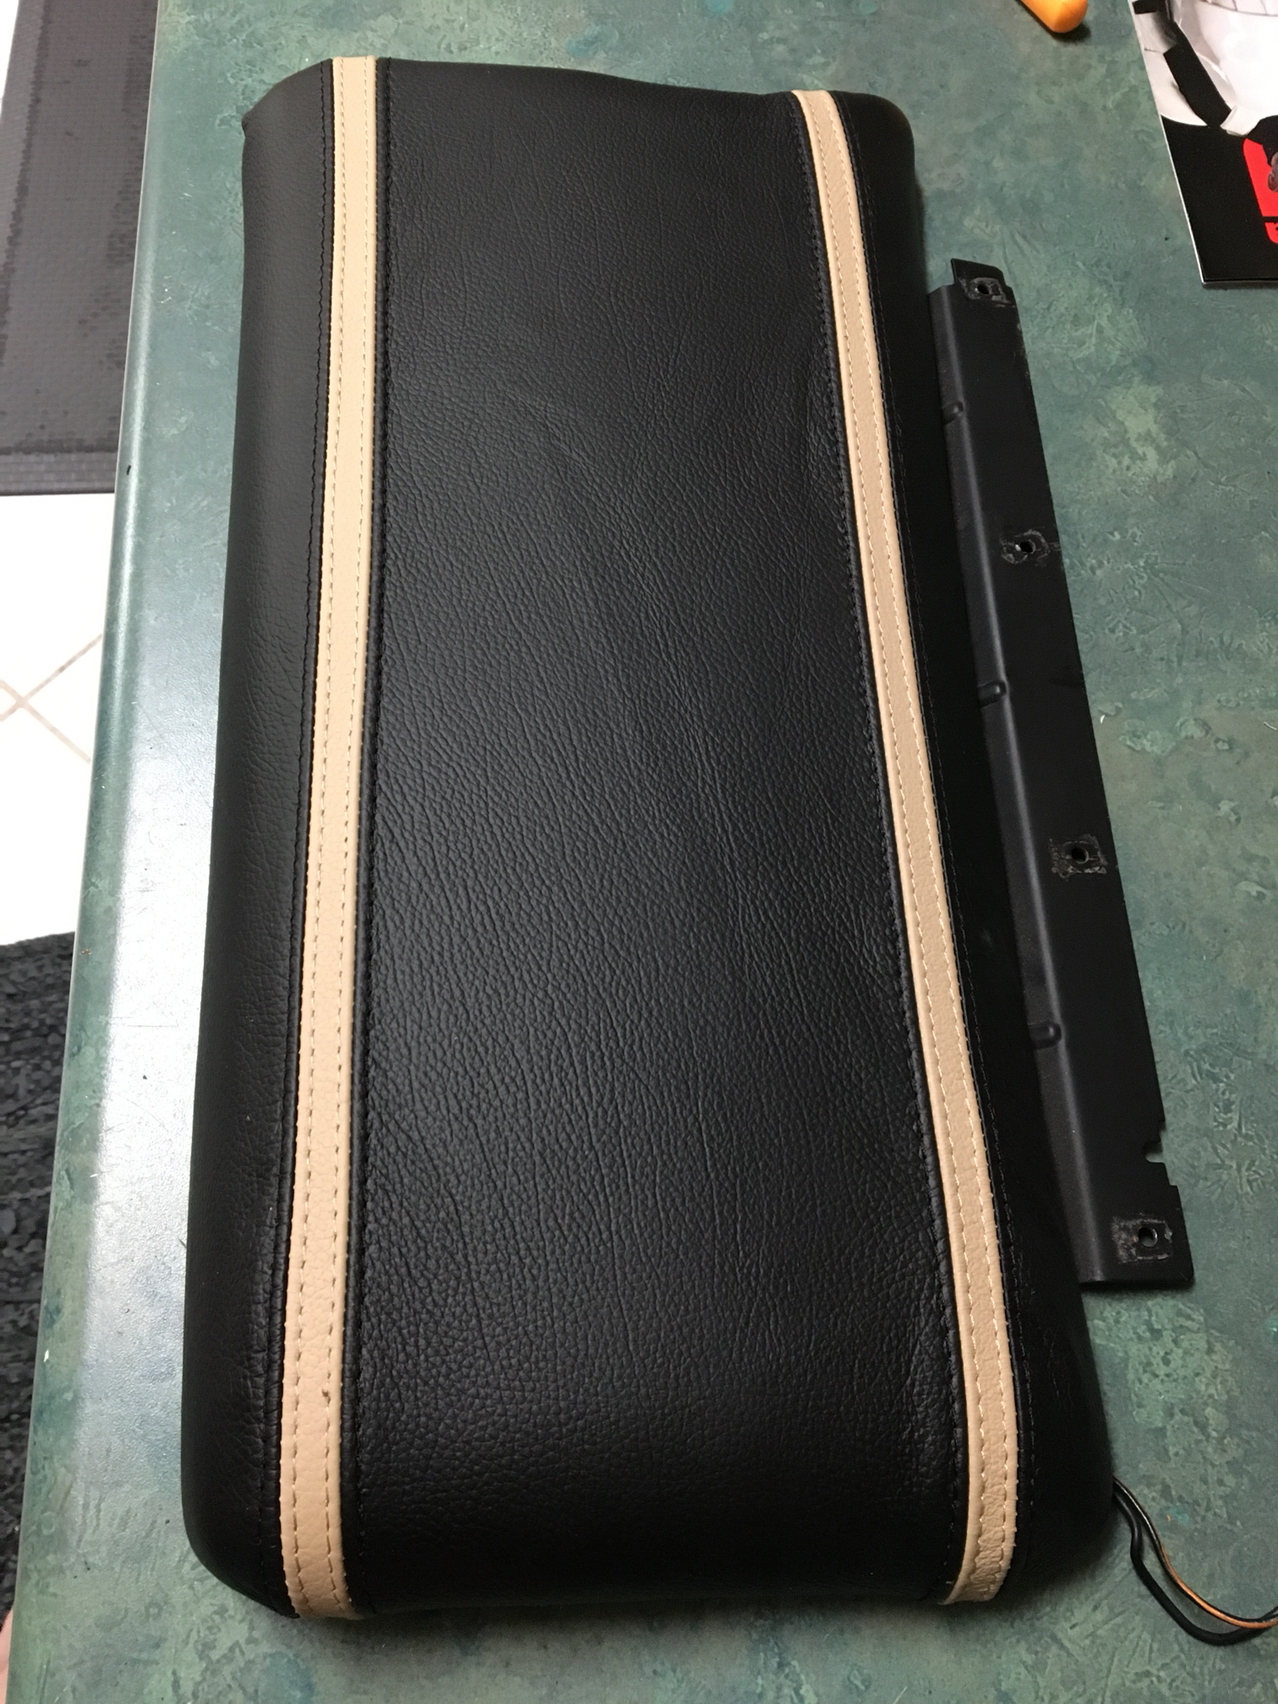
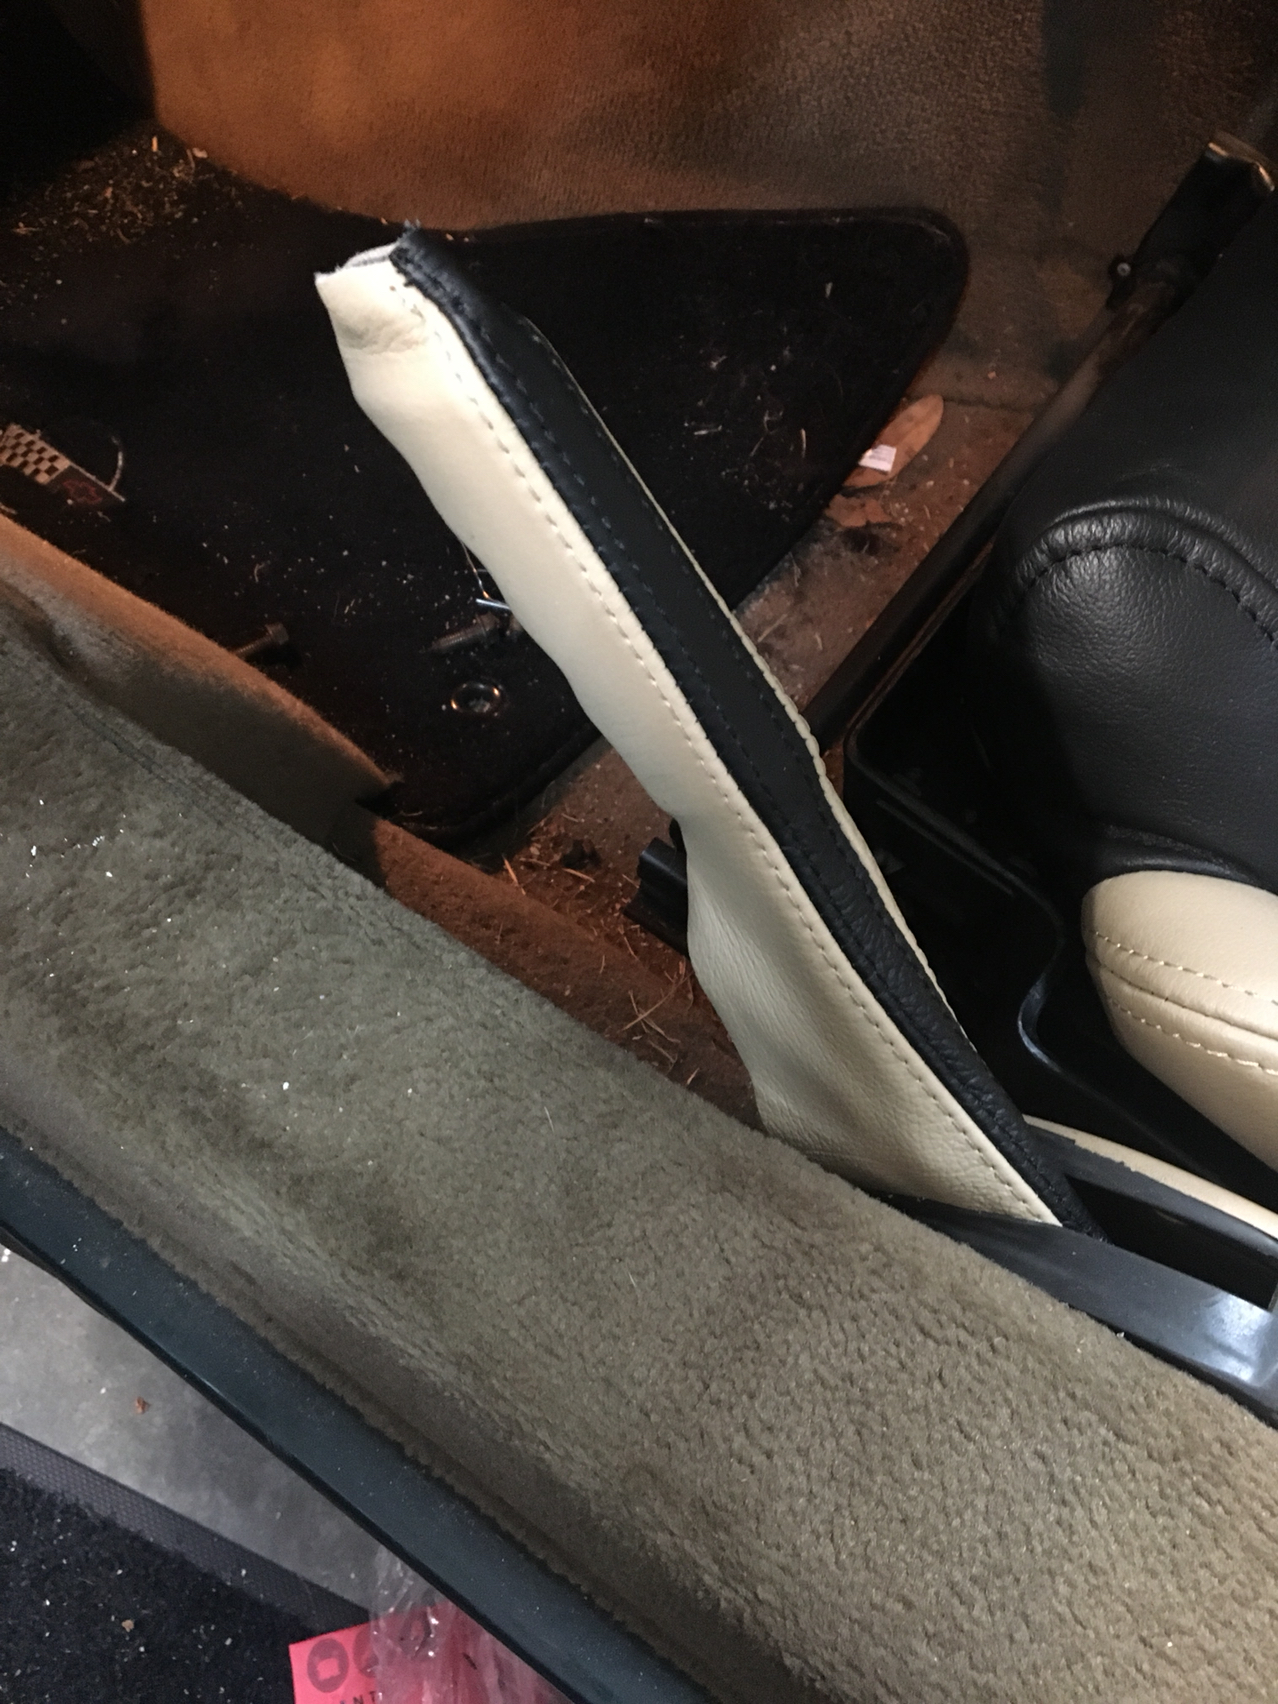
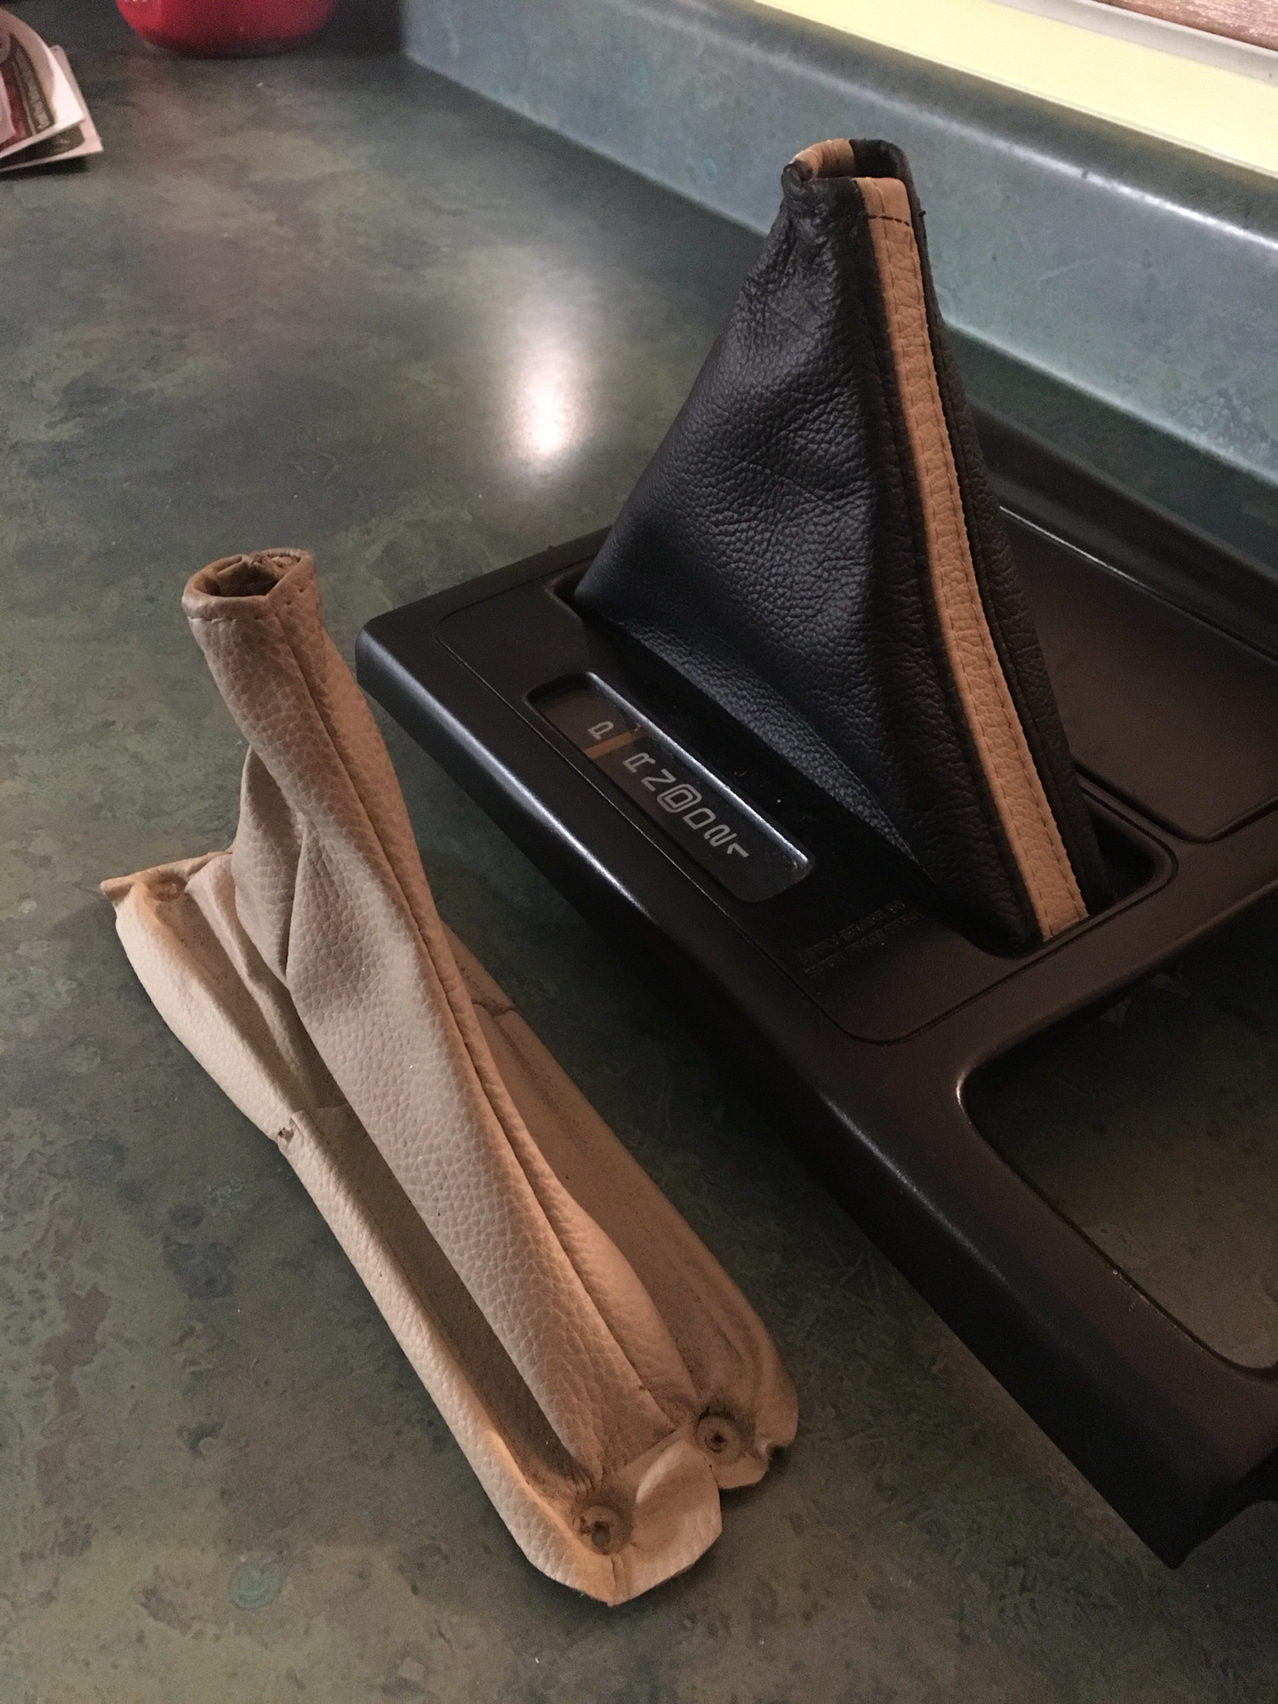

The interior pieces.
More pics to follow below.
If you don't want to read a long winded account , just skip to the pics. I wouldn't blame you!!
I bought my car in July of 2008, she had 85k miles and looked almost like she did the day she was born. Fast forward a few years and the clear coat on the hood and rear deck starts peeling and flaking. She was my DD and I couldn't take the time to repair her.
September of last year, the week of hurricane Florence, I finally got off of my *** and bought the primers, paints and clear along with filler, sand paper and polishing equipment. Then I took a day and disassembled her, while I had the windows out I sent them to be tinted.
Time moves on and dealing with the aftermath of Florence was fun.
I hit a roadblock in my head about painting , so, I went ahead and installed the new leather on my seats and the other interior parts. That was done in October. In January I bought new spray dye for the plastic and vinyl of the interior and updated the color to more closely match the new leather. Man, did it make the interior come together. I didn't realize it when I bought the car that someone had dyed the interior , including the original seats.
In January I started sanding the body, a little here and there. Finally , in April I went ahead sanded everything down with my little electric DA. During April I went ahead and painted some small parts, just to get the hang of painting as it had been such a long time since my last painting effort. Then I spent about a month sanding the body trying to level out some waves and other messes in the body by hand with a 17" block and a few smaller blocks.
About two weeks ago I put plastic sheeting up on my garage walls and put the car on jack stands and masked the car. Then I proceeded to prime the car. First step was epoxy primer, two coats. Then I filled in a few areas with body filler that be ground out, sanded those areas and then put two coats of 2k primer on. Waited until the next day and sanded the primer smooth with 180, by hand. Ugh
Then, another two coats and sanded with 220 then 600 wet, the car actually had a dull shine in primer! Again, all by hand. Ugh.
I had planned to paint on my day off, it was nice and cool in the garage that day, but, life happens , you know how that goes.
Sooooo, it was a few days later when I was going to paint. I had planned to wake up early Saturday morning , around 4 and start painting. I couldn't sleep so I actually started at midnight. I painted the white for the stripe ( I have always loved the white GS stripe and wanted one on my car since the day I bought it ) and then spent two hours masking the stripe for the next color. I love the polo green, but when I saw the 2014 Limerock green, I knew that's what I wanted on my car when I did the repaint. I put three coats of green on the car , then I set the headlight covers on the masking paper where the belong in the hood. I sat the bumpers in place , not attaching them, just having them in place and put the gill panels on stands next to their location on the car. I then sprayed two drop coats. I waited the appropriate amount of time and removed the masking and set the bumpers and other parts on their stands for clear.
Now........ the fun part............
It was now after 6 in the morning, I hadn't been on my normal sleep schedule all week because of working on the car until the wee hours each day. So, as if 5:30 Saturday morn I had been up 24 hours. I had painted parts already and they turned out beeyoutifulllll, but, I apparently wasn't thinking properly and when I looked up the tech sheet for the clear ( which I had done probably 2 dozen times previous) I somehow got the wrong sheet and went by the flash times on it. Well, the times weren't correct and I wasn't aware of the stupidity I was headed towards.
Just put it this way, there are runs and saga that shouldn't have happened, and the clear, while it has so far polished nicely, it has an underlying waviness to it that won't buff out.
So, short story long, did it turn out as I wished? Nope. Was it better than I believed it would be when I started? Yes.
So mixed emotions. Lol.
The hood with the clear all nasty.
The deck area
What was left of the original emblem, I have replacements!!!
Before she was sanded
The diagram I sent the leather place for my interior pieces.
The interior pieces.
More pics to follow below.
Last edited by sluggballz; 05-27-2019 at 03:07 PM.
 05-27-2019, 12:05 PM
#2
Burning Brakes
Thread Starter
Member Since: Jul 2011
Location: Myrtle Beach South Carolina
Posts: 781
Likes: 0
Received 183 Likes
on
121 Posts
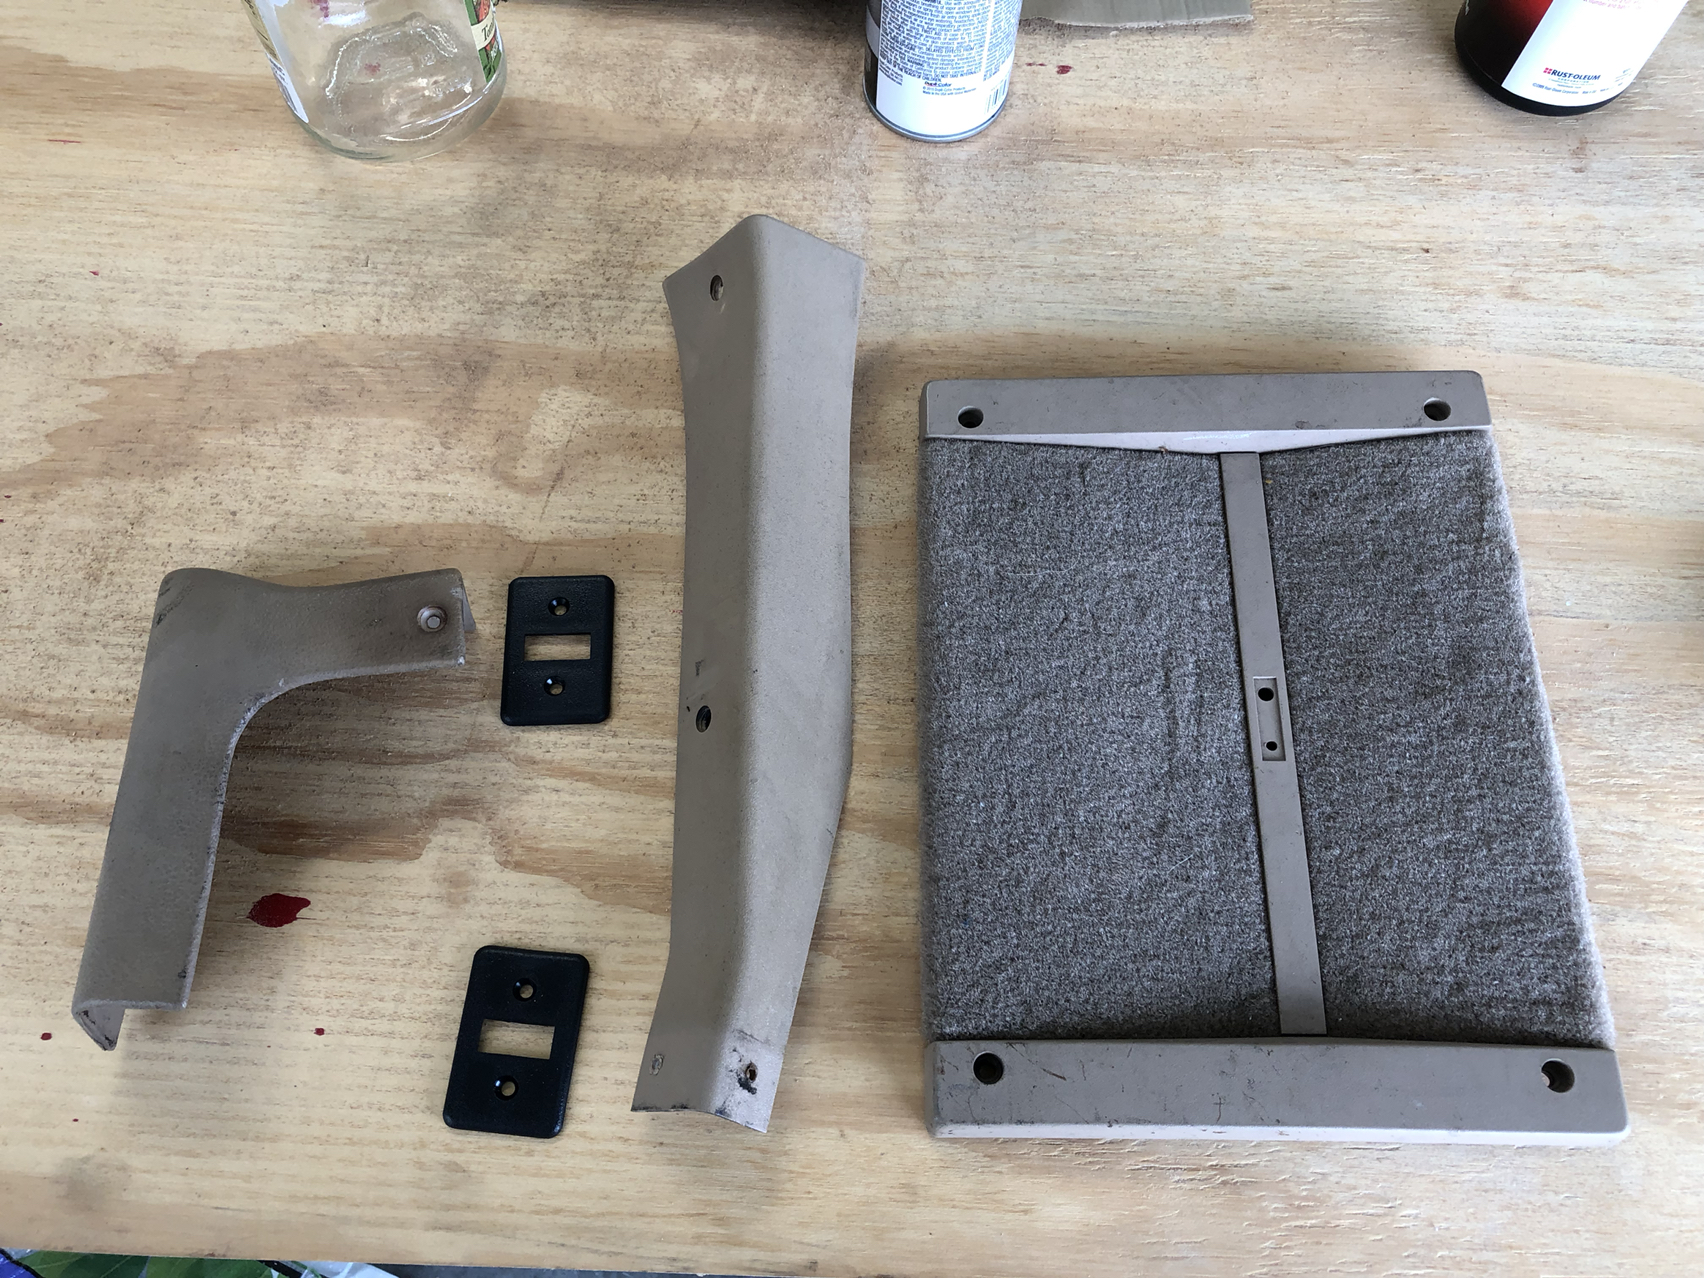
Color of interior plastics before....
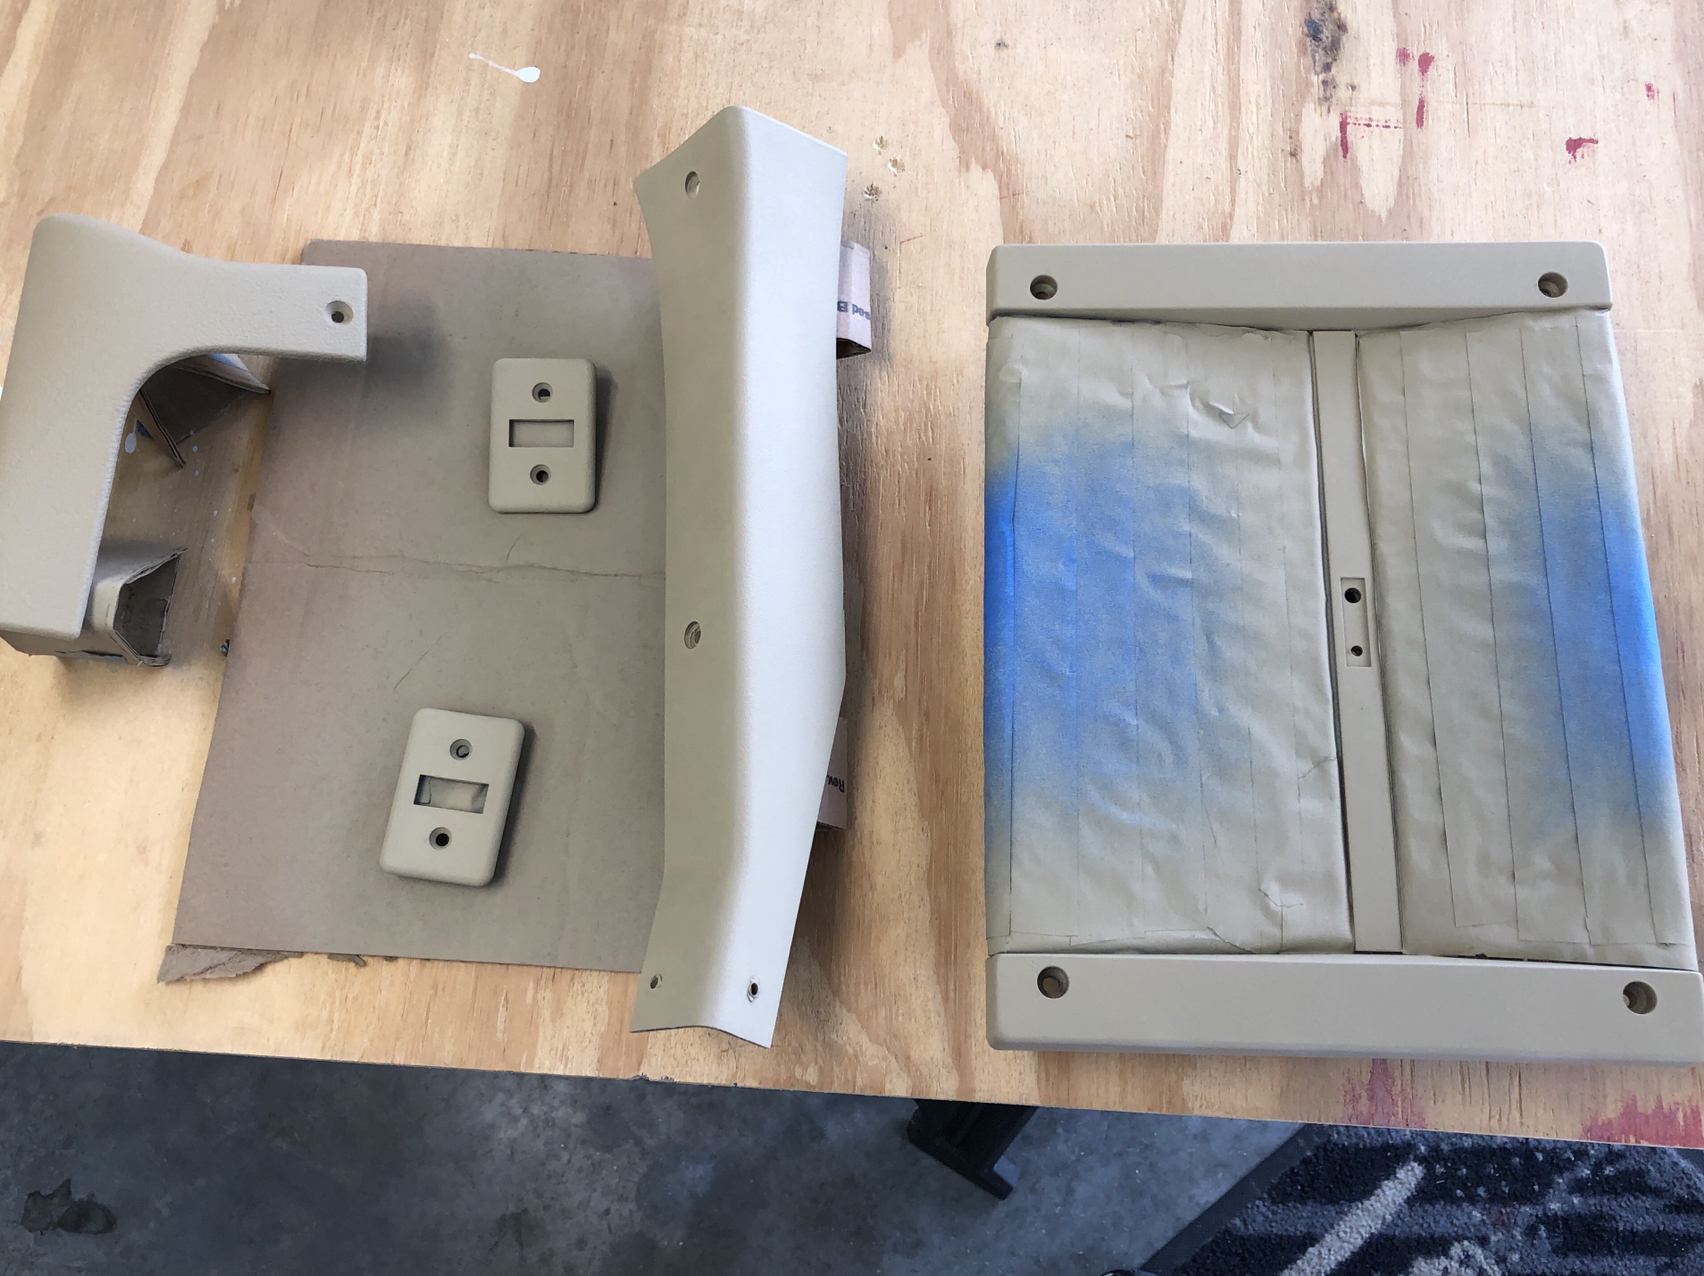
Color after

Door panel before
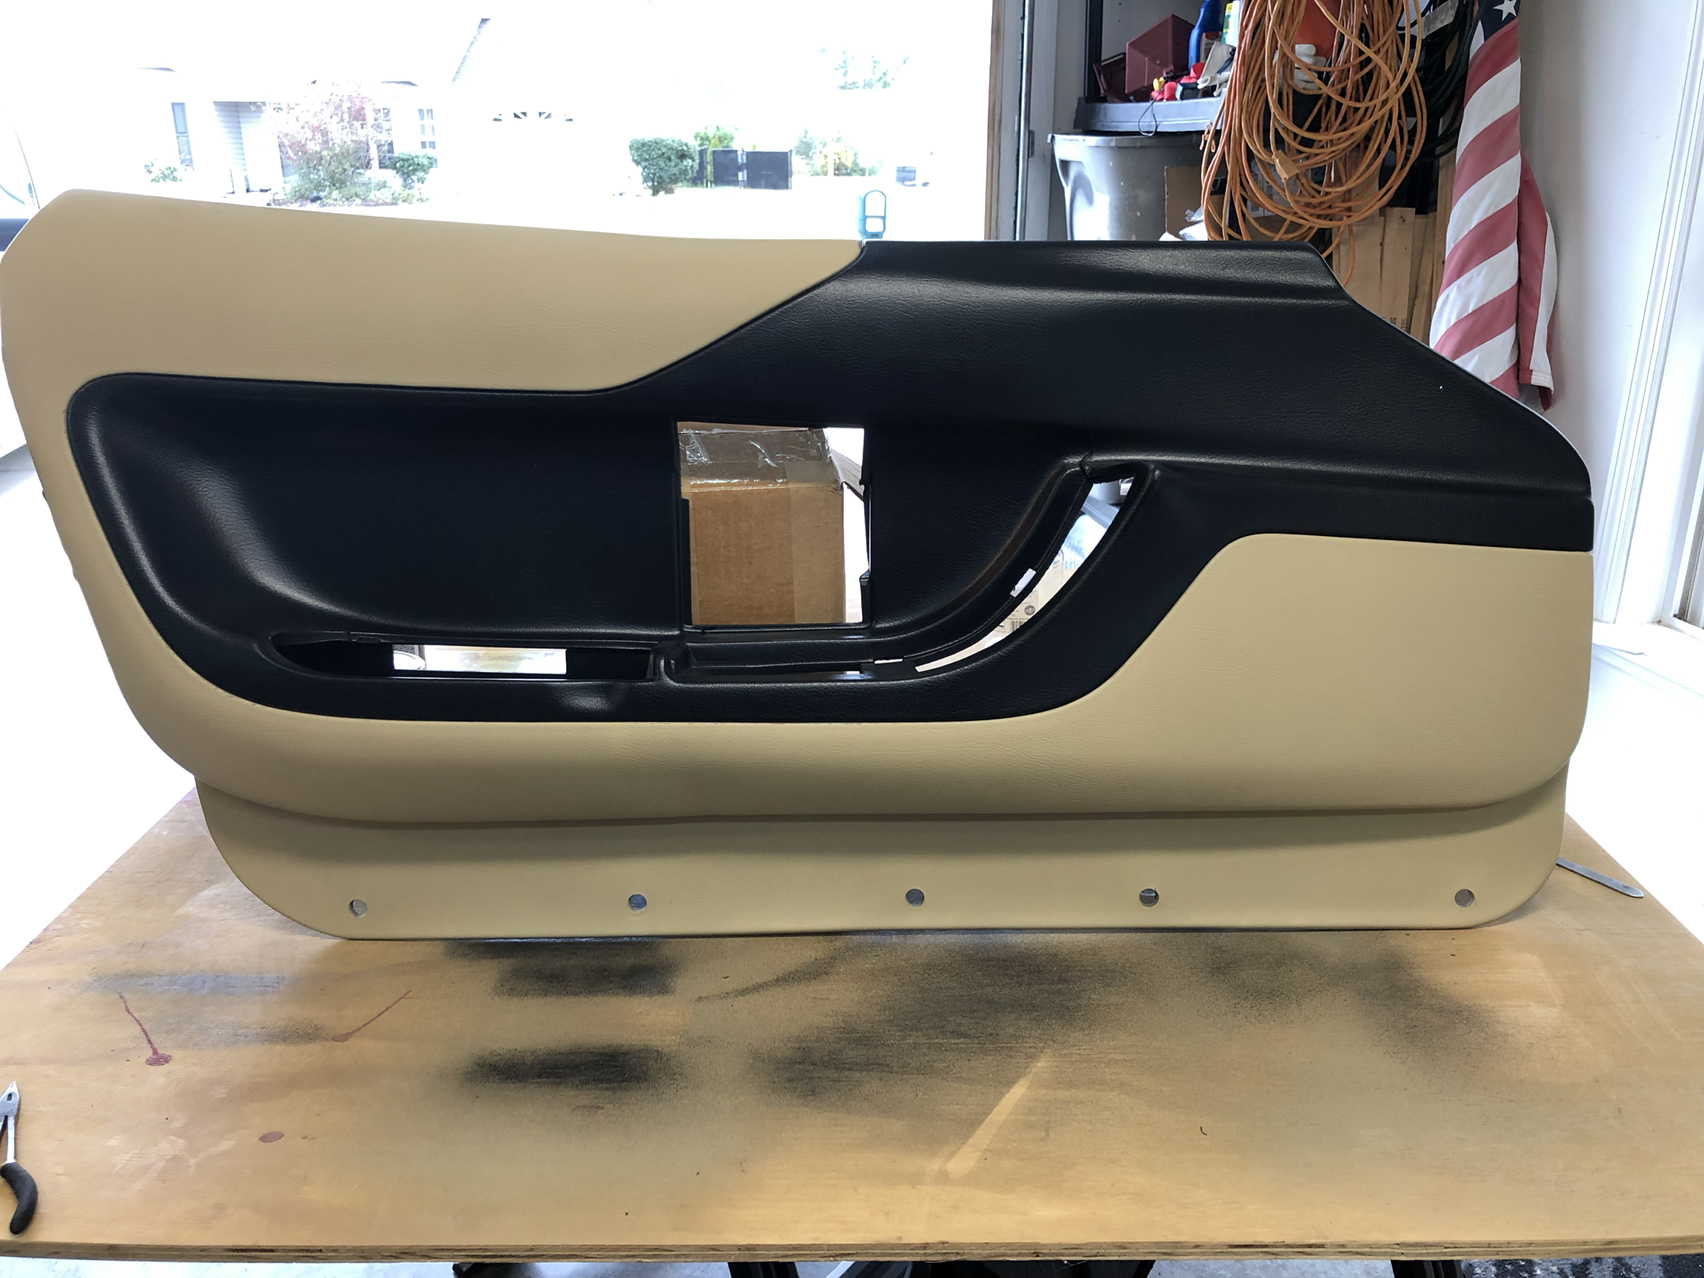
Door panel after

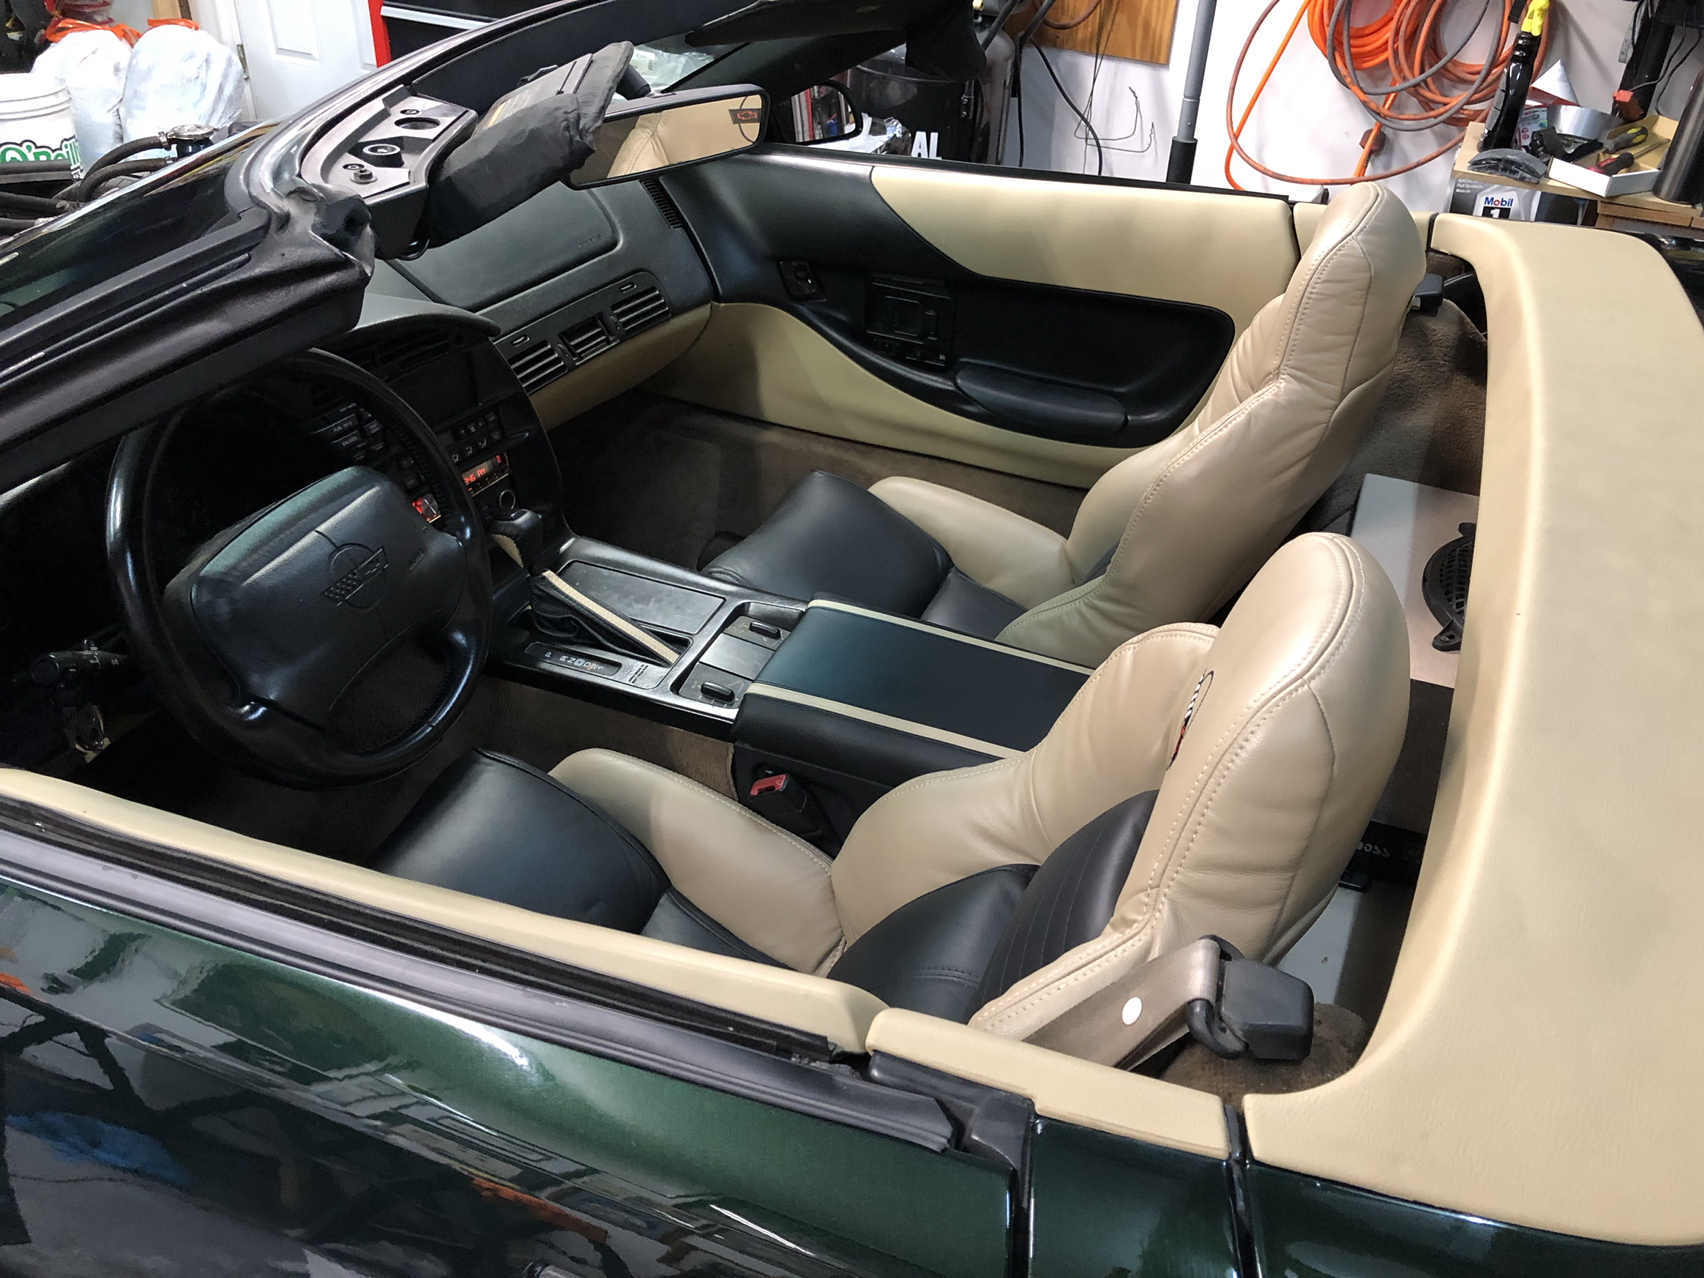
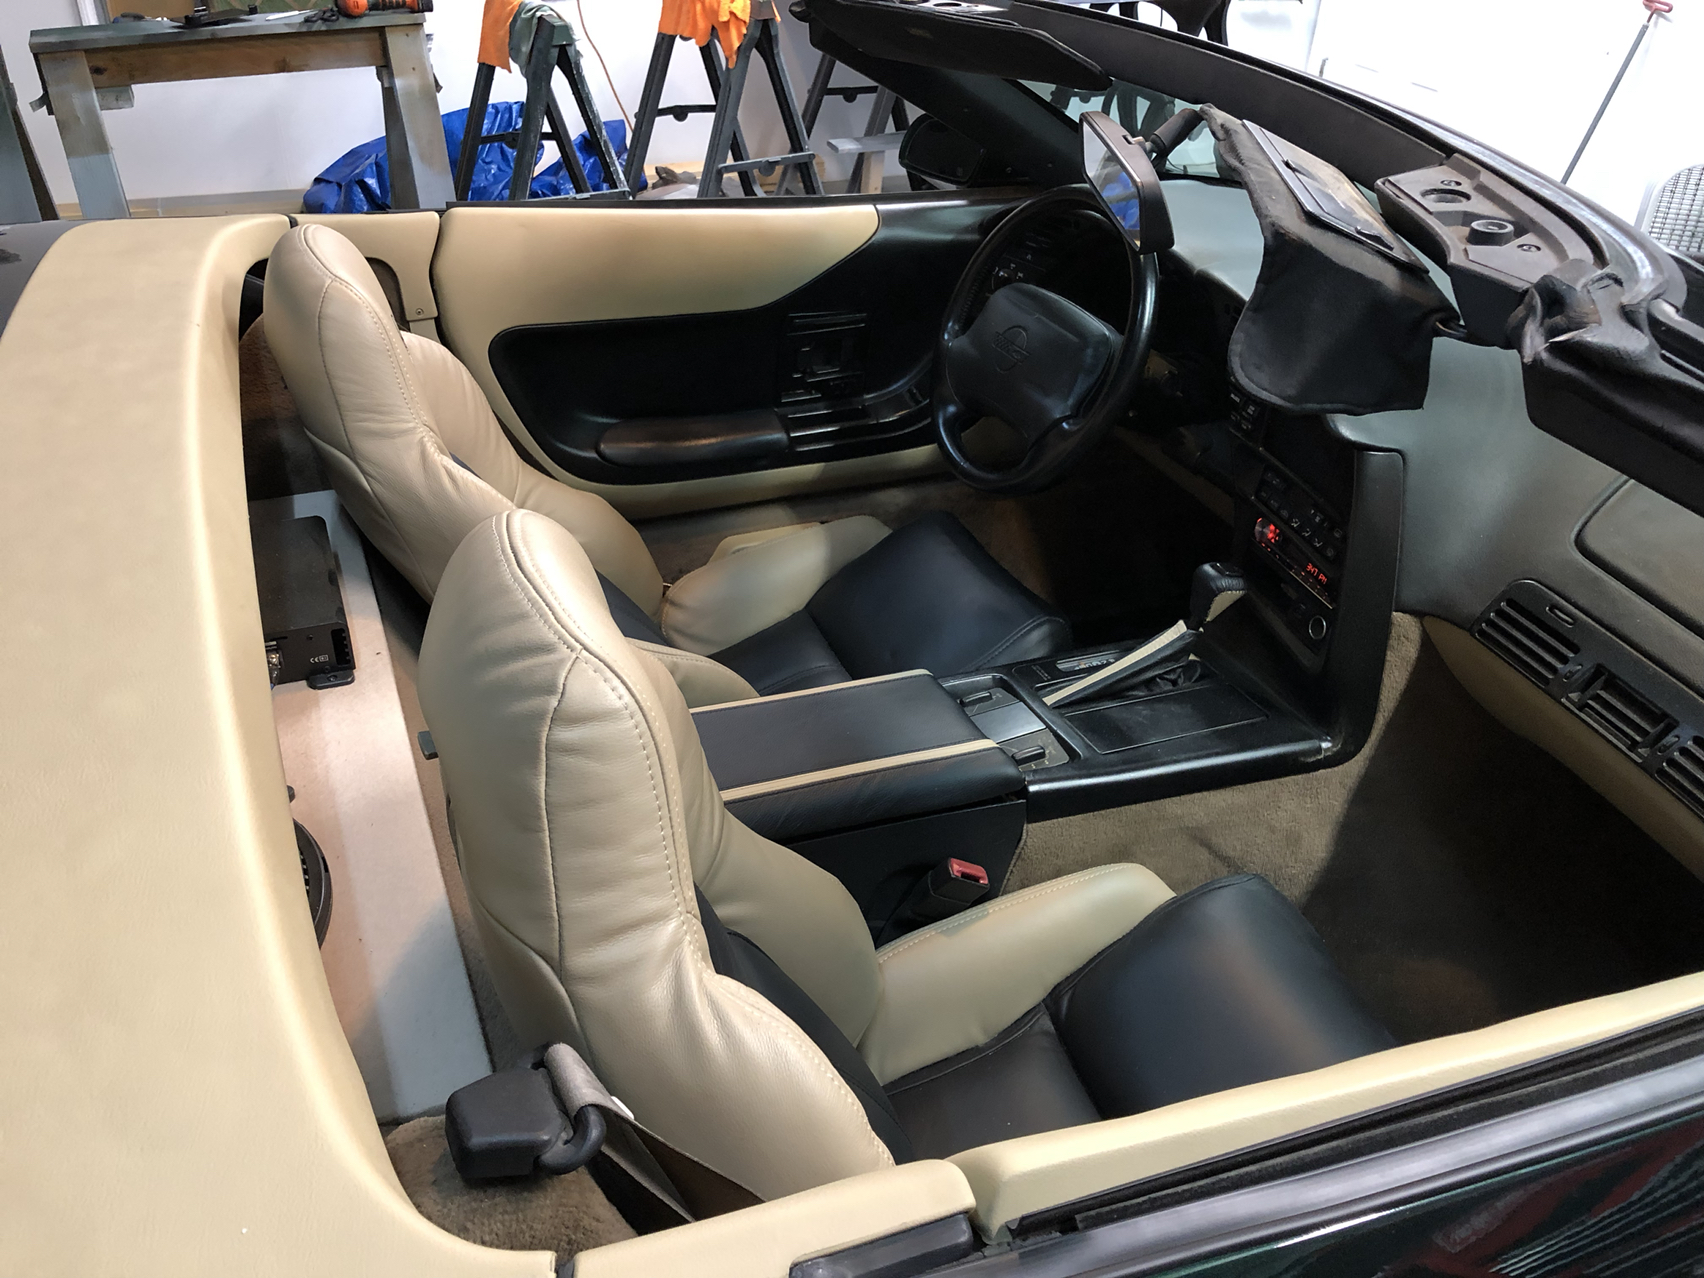
Seat after new leather. After a little time in the sun, the leather snuggled up quite nicely.
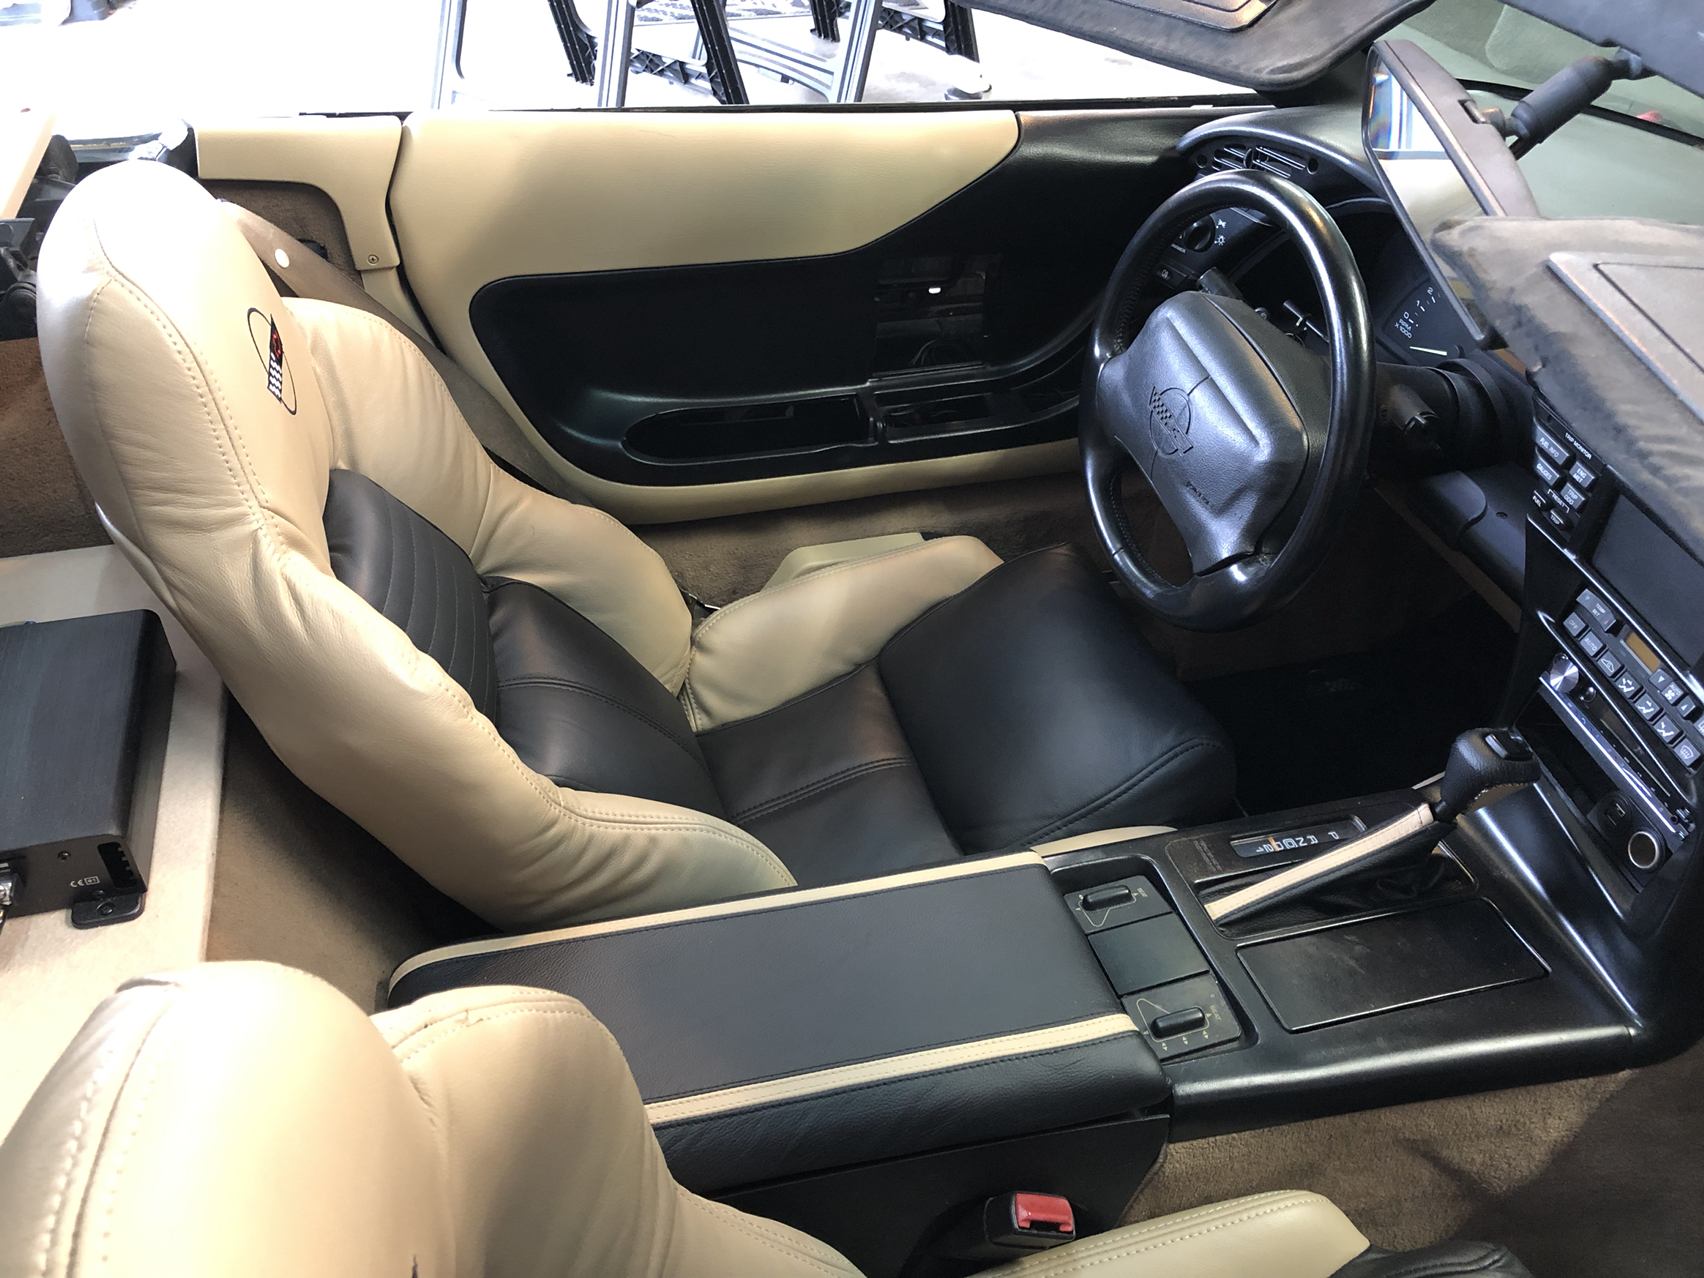
The interior temporarily put together.
More pics below.......
Last edited by sluggballz; 05-27-2019 at 12:06 PM.
05-27-2019, 12:11 PM
#3
Burning Brakes
Thread Starter
Member Since: Jul 2011
Location: Myrtle Beach South Carolina
Posts: 781
Likes: 0
Received 183 Likes
on
121 Posts
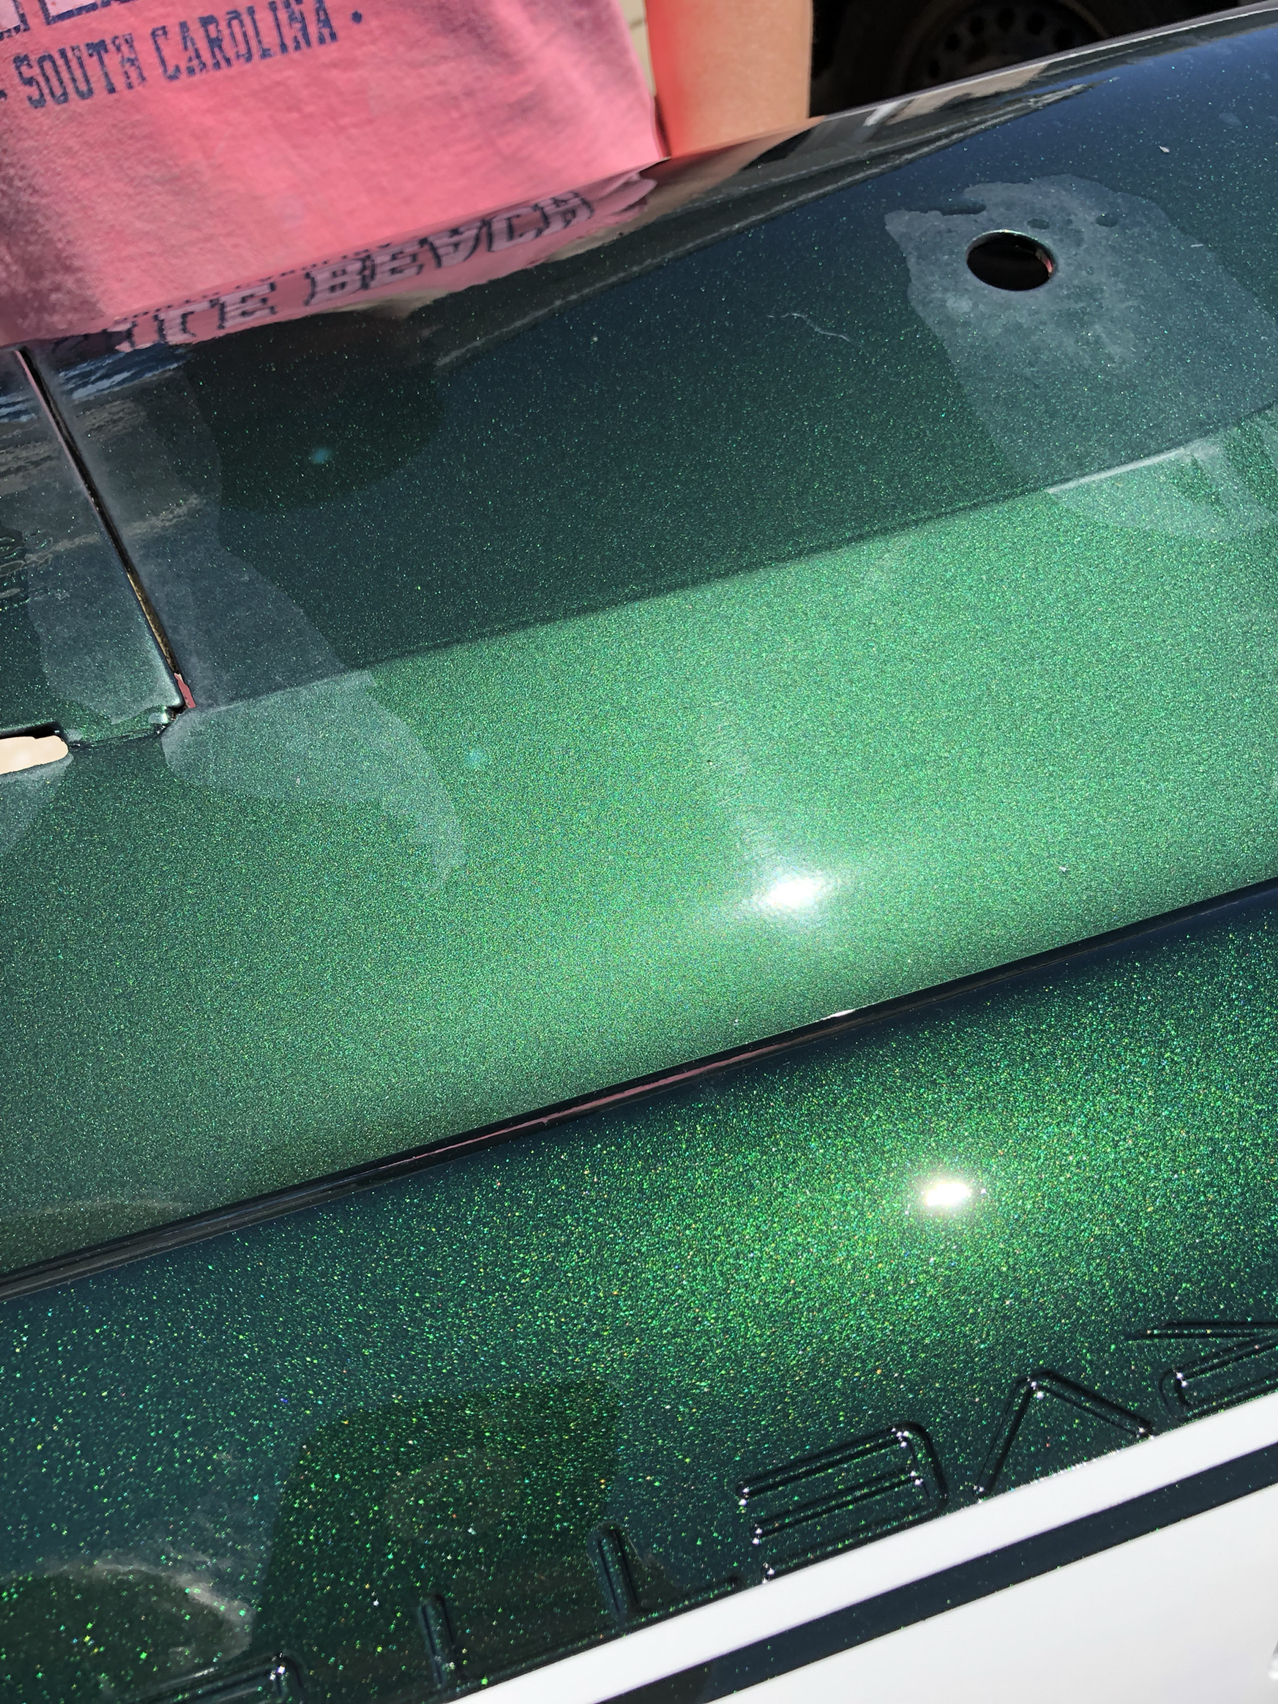
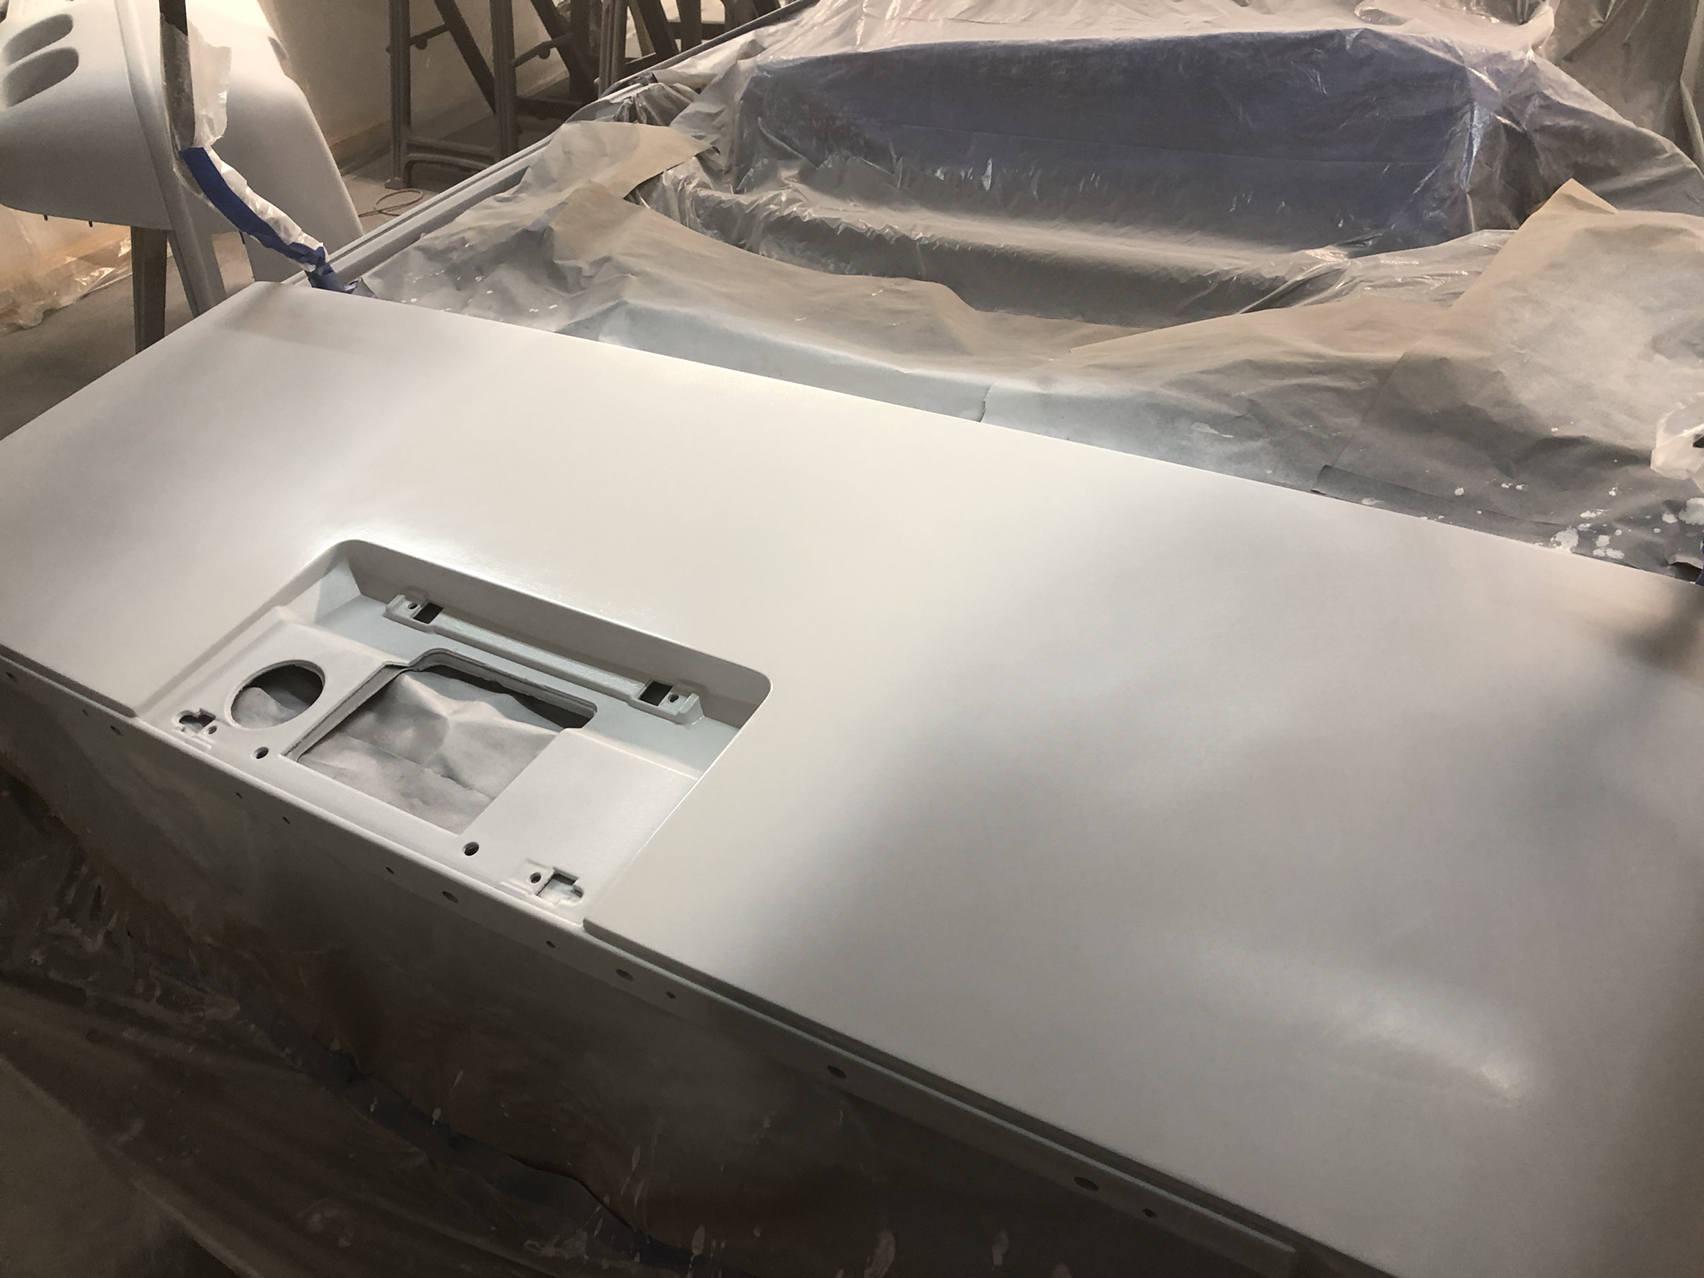
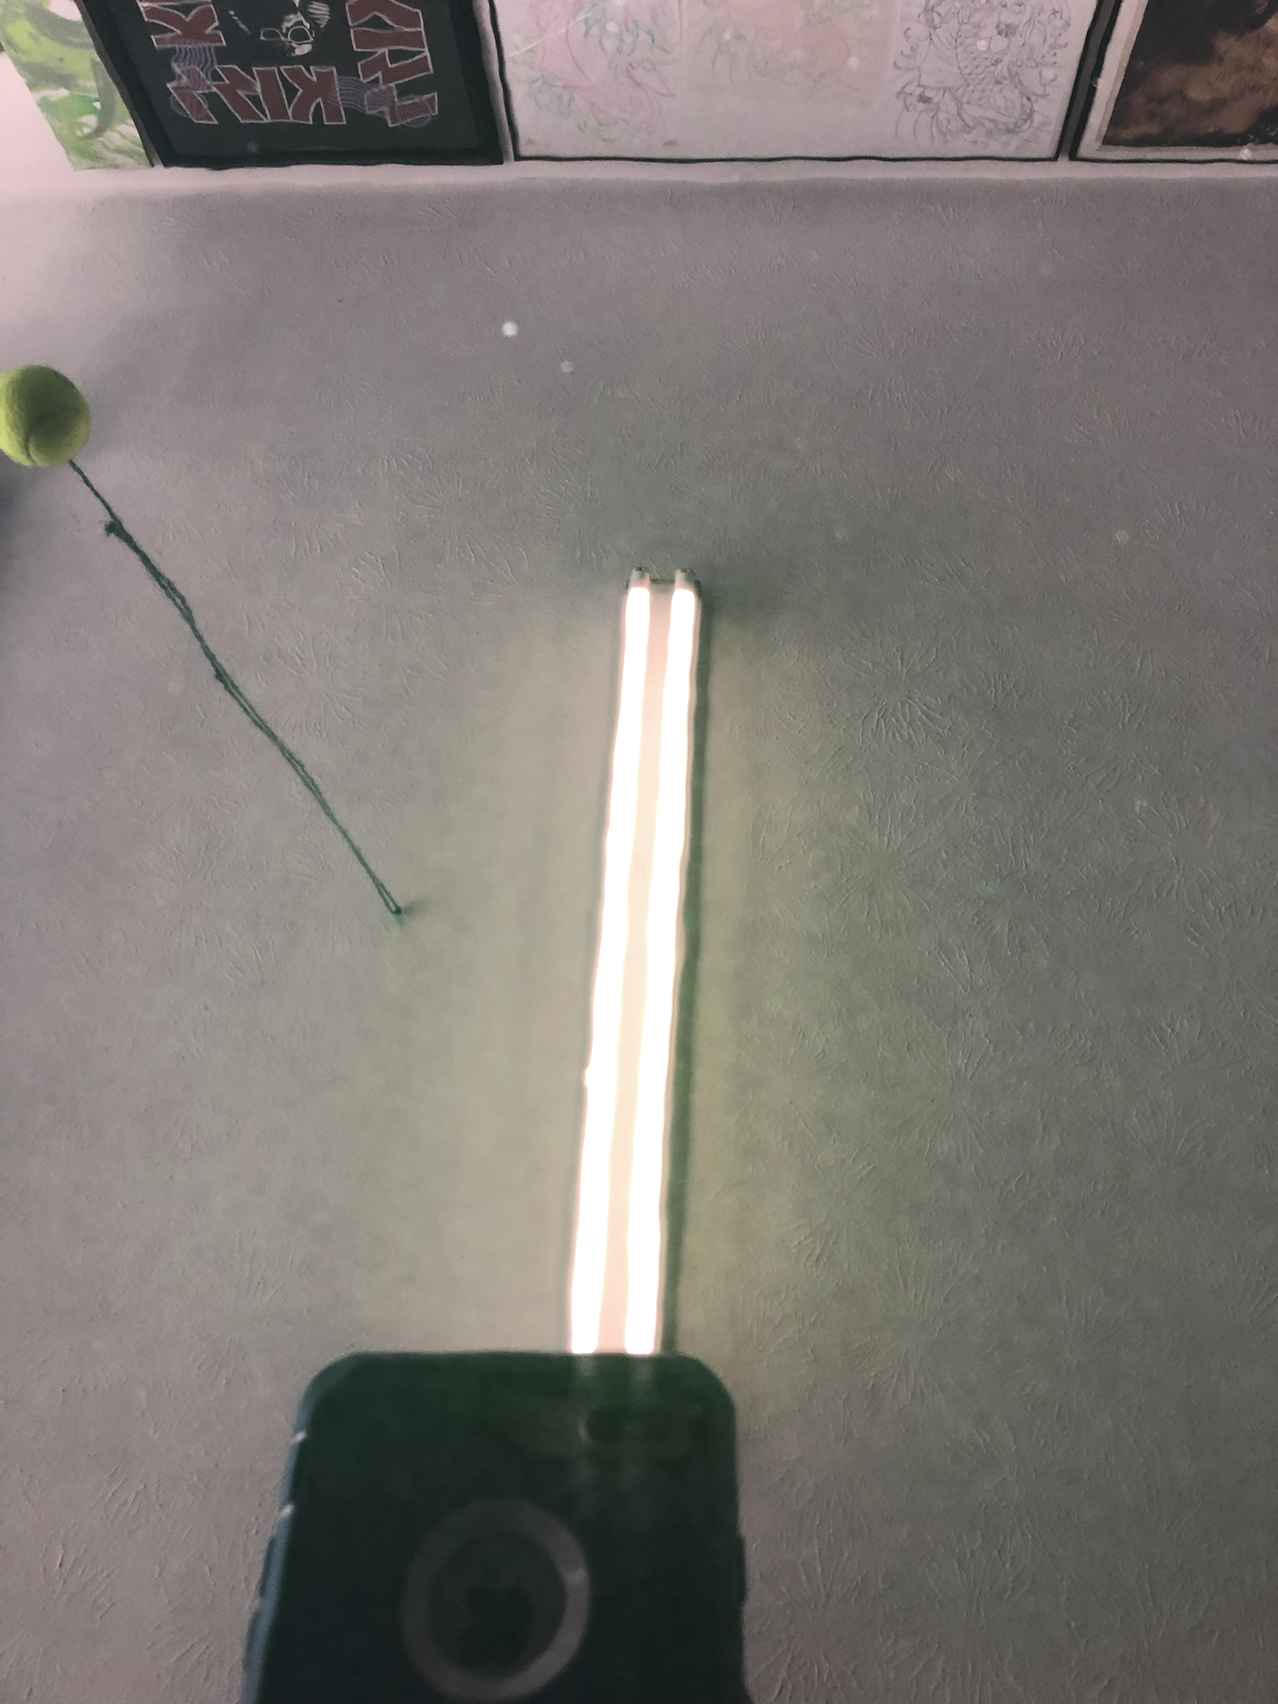
Polo green on top Limerock green on bottom
Sanding sanding sanding
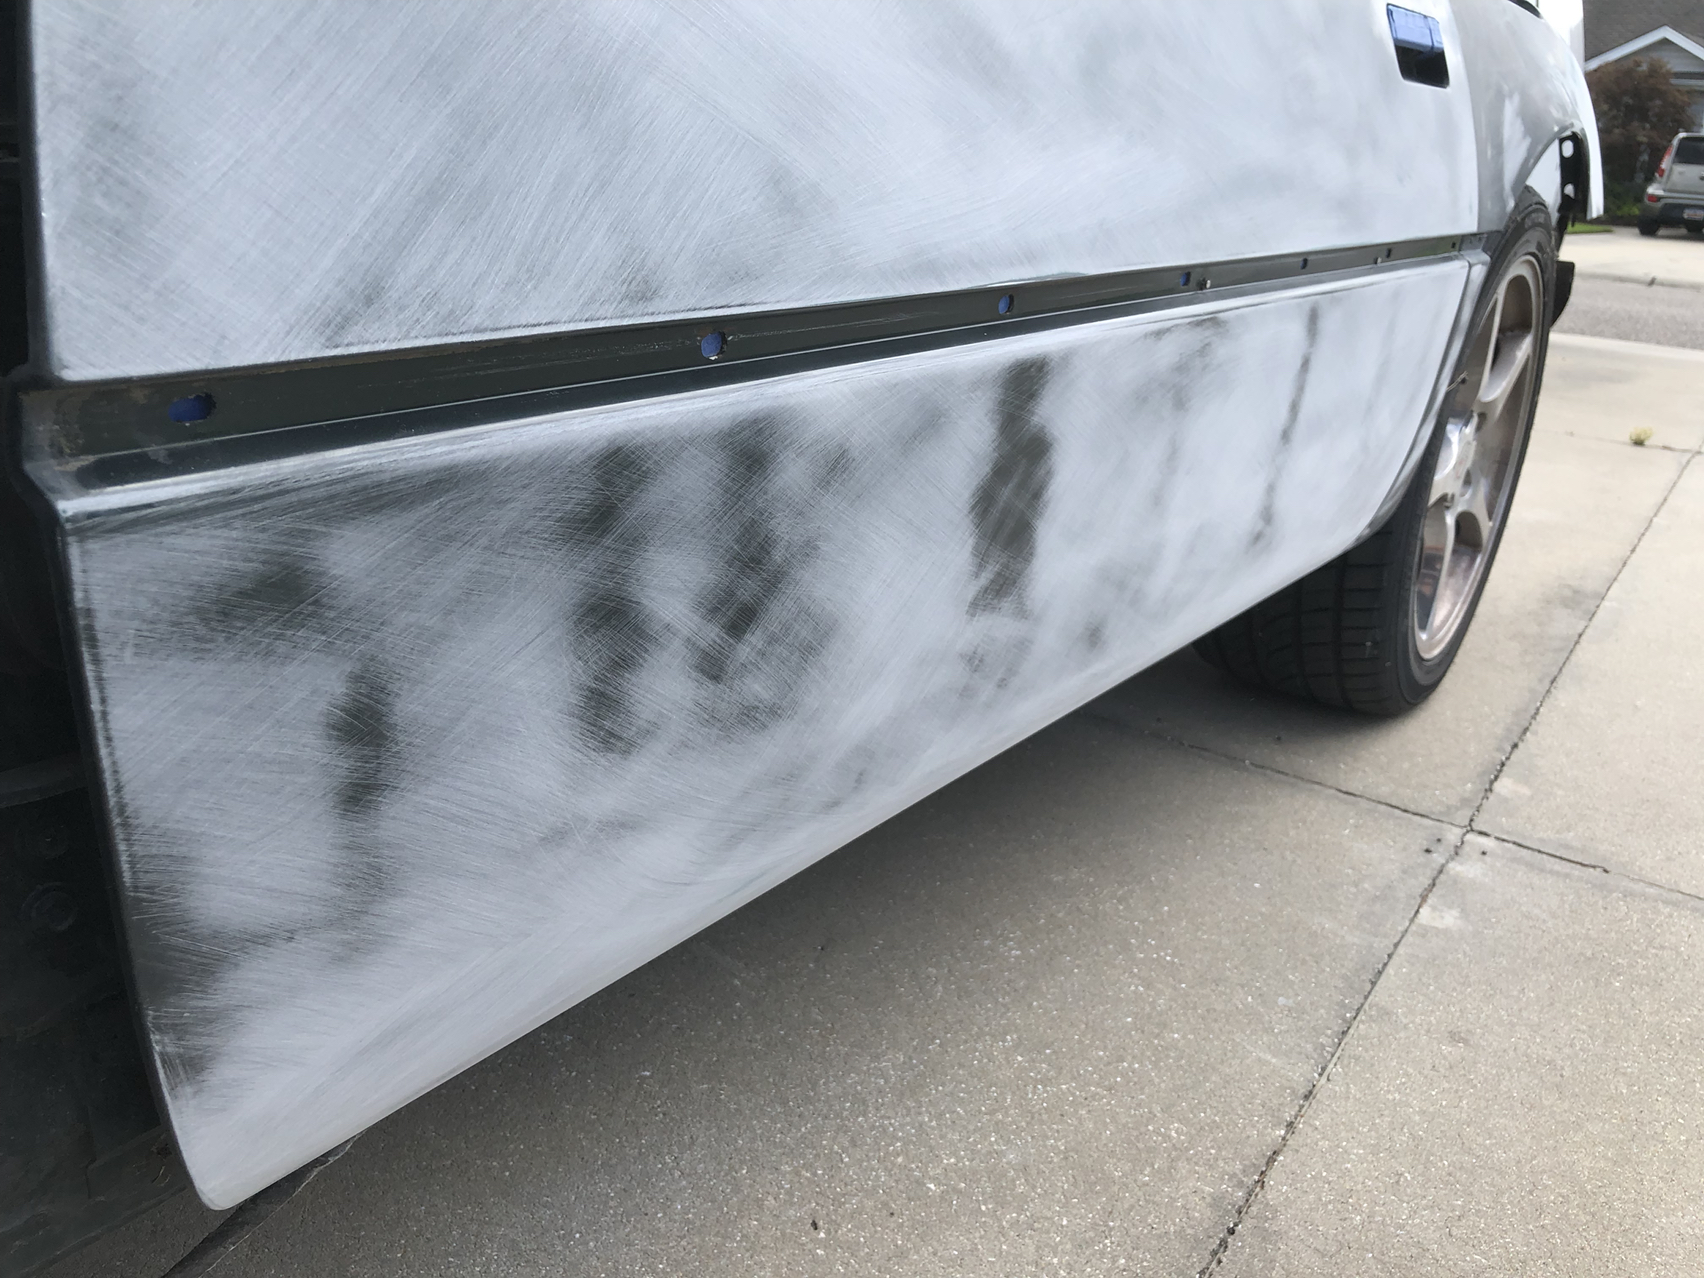
Waves upon waves
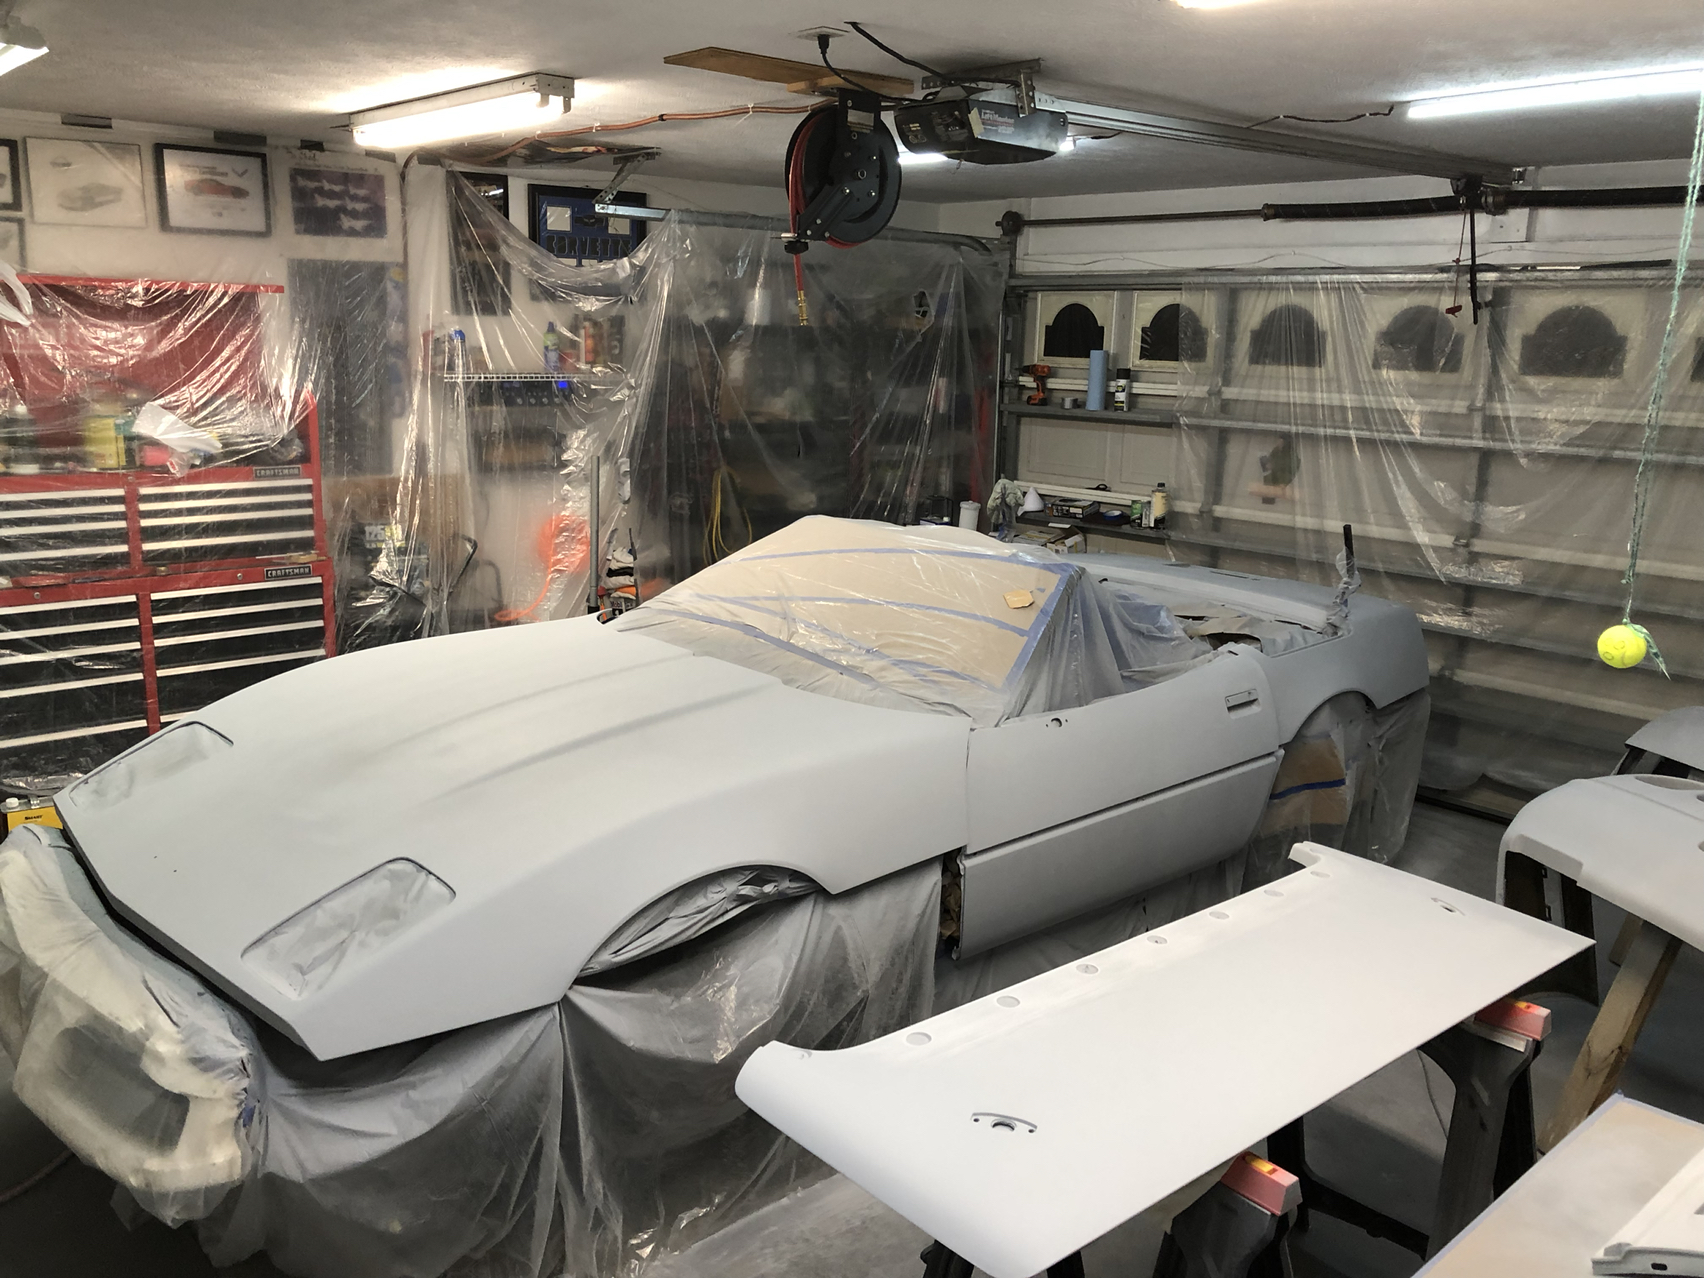
All primed up
220 sanding on left , 600 wet sanding on right
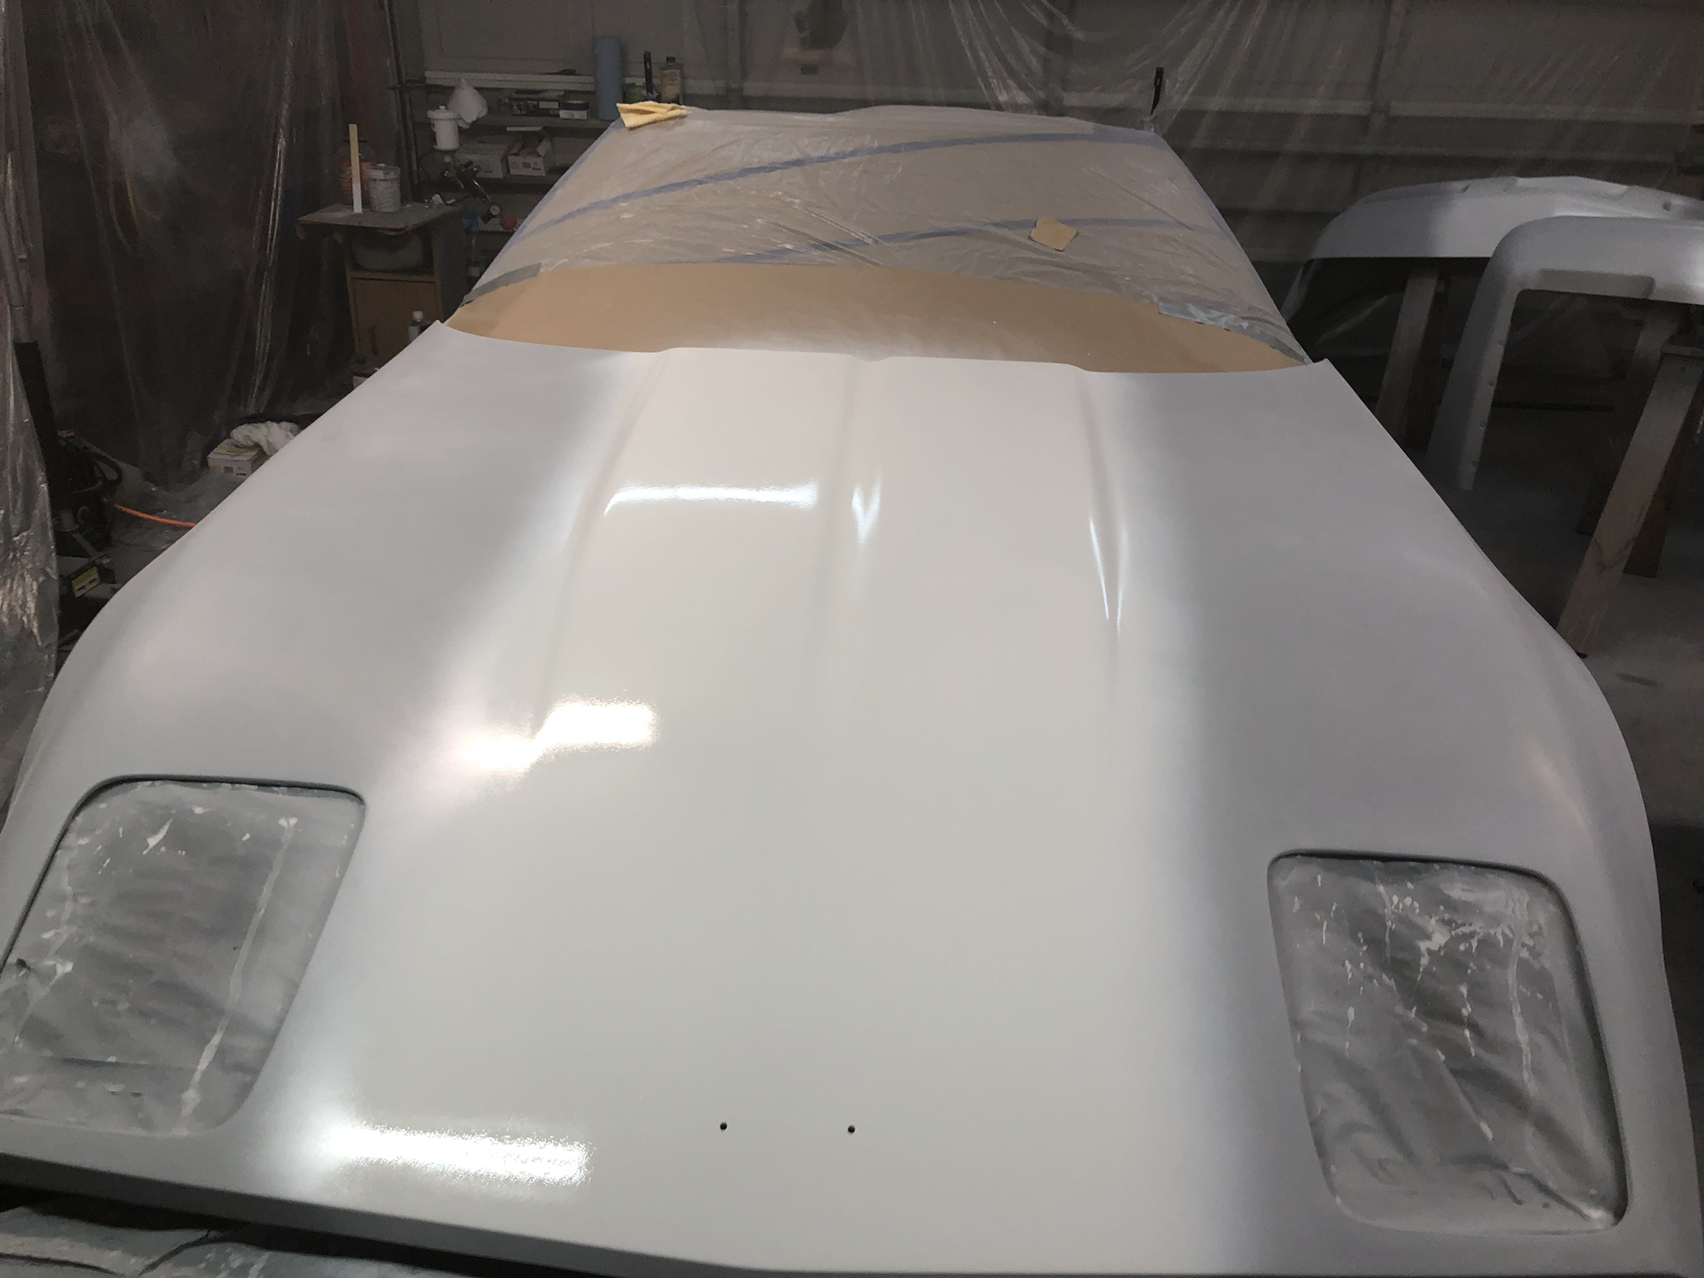
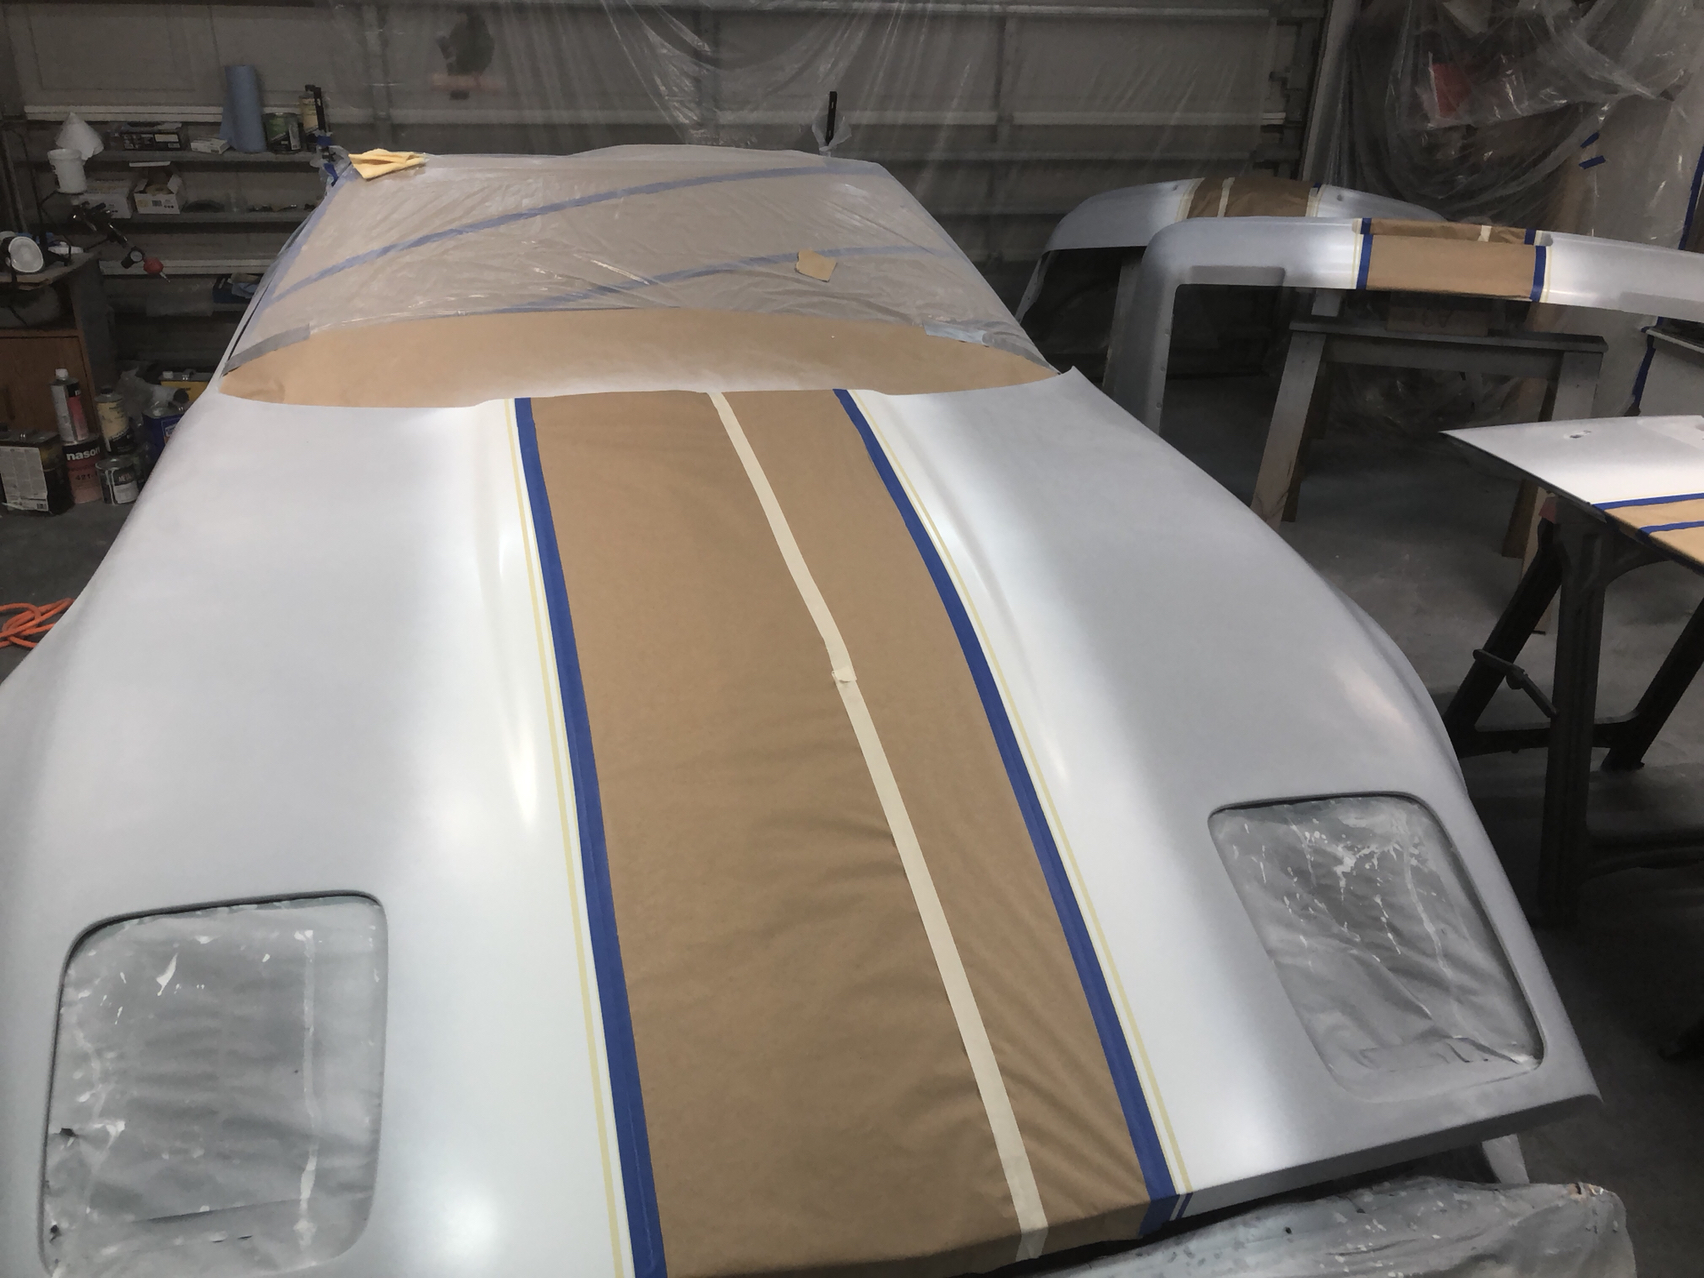
Summit white ( I went with all GM colors) and then masked off for green
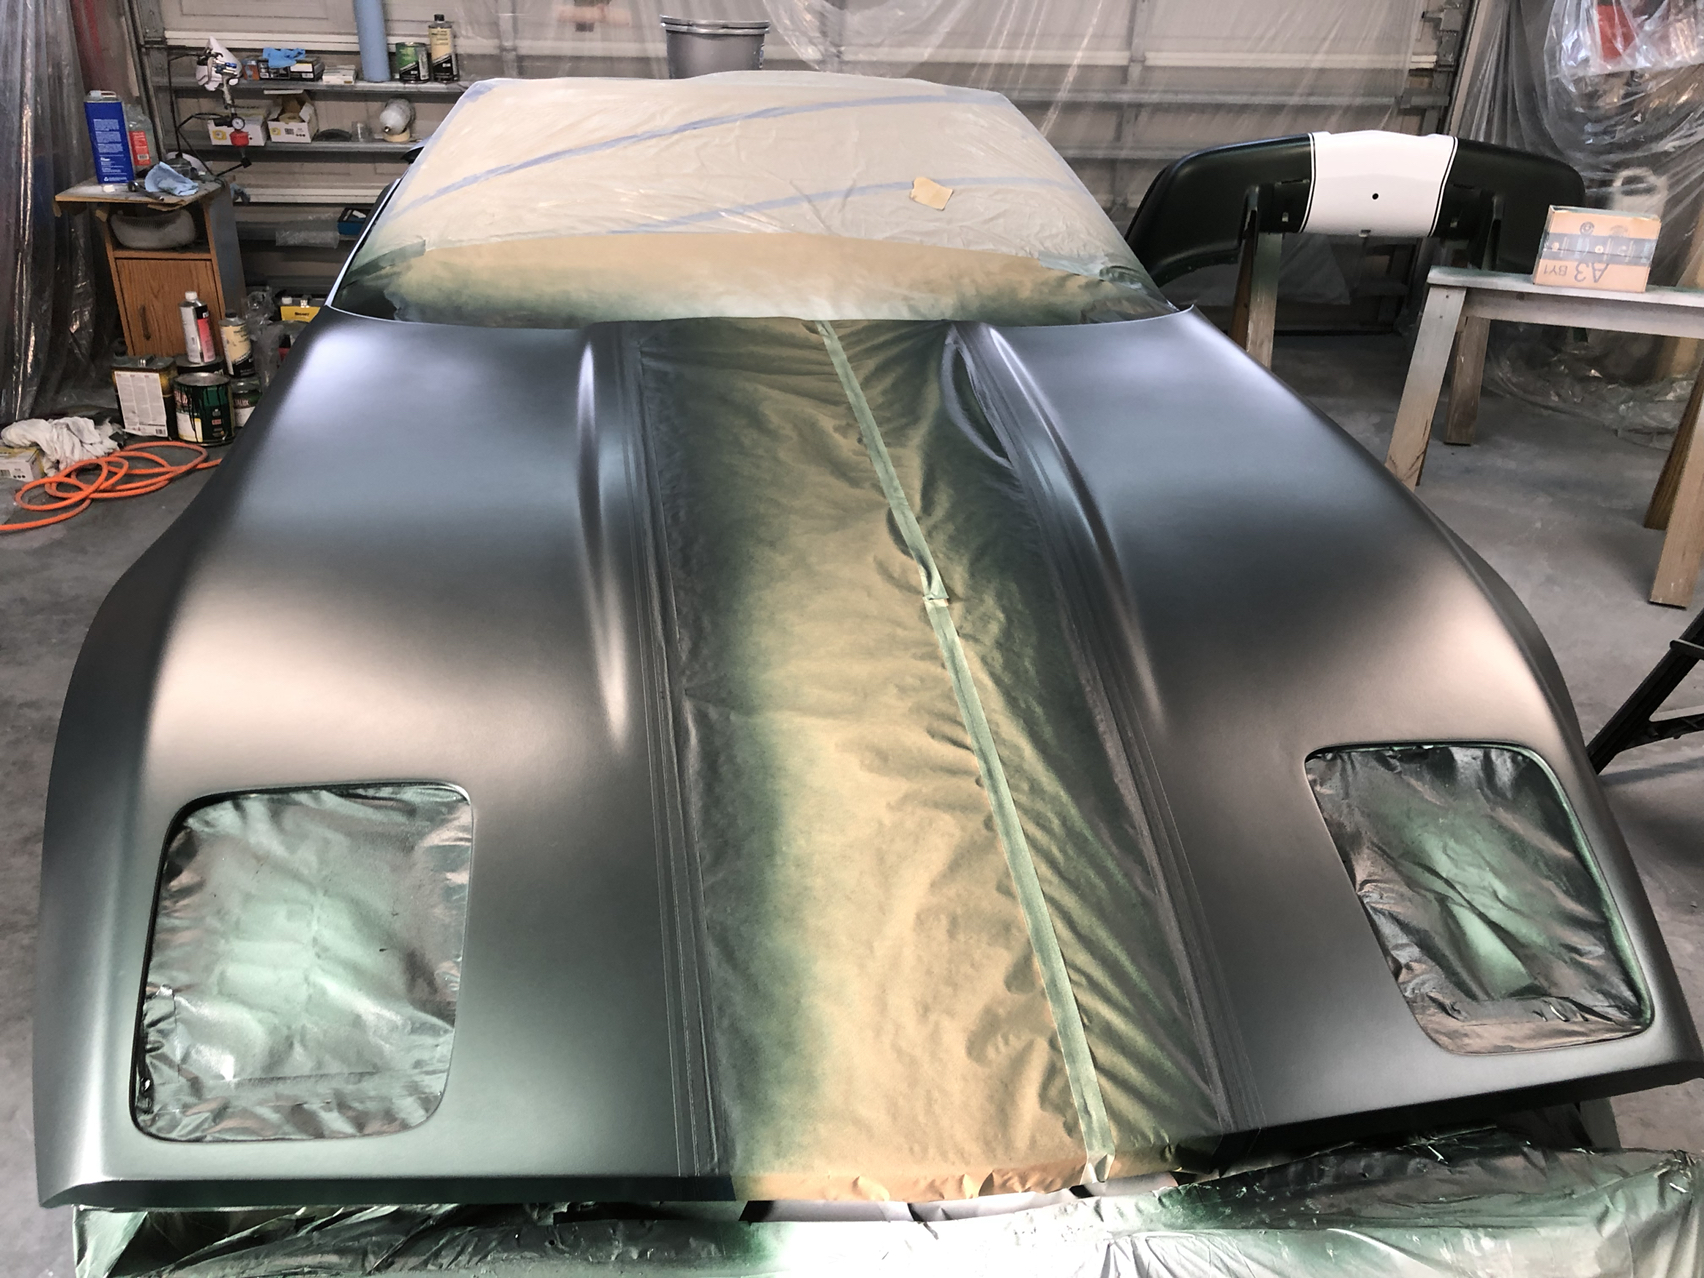
Green applied. Three coats and two drop coats.
More pics below
05-27-2019, 12:18 PM
#4
Burning Brakes
Thread Starter
Member Since: Jul 2011
Location: Myrtle Beach South Carolina
Posts: 781
Likes: 0
Received 183 Likes
on
121 Posts

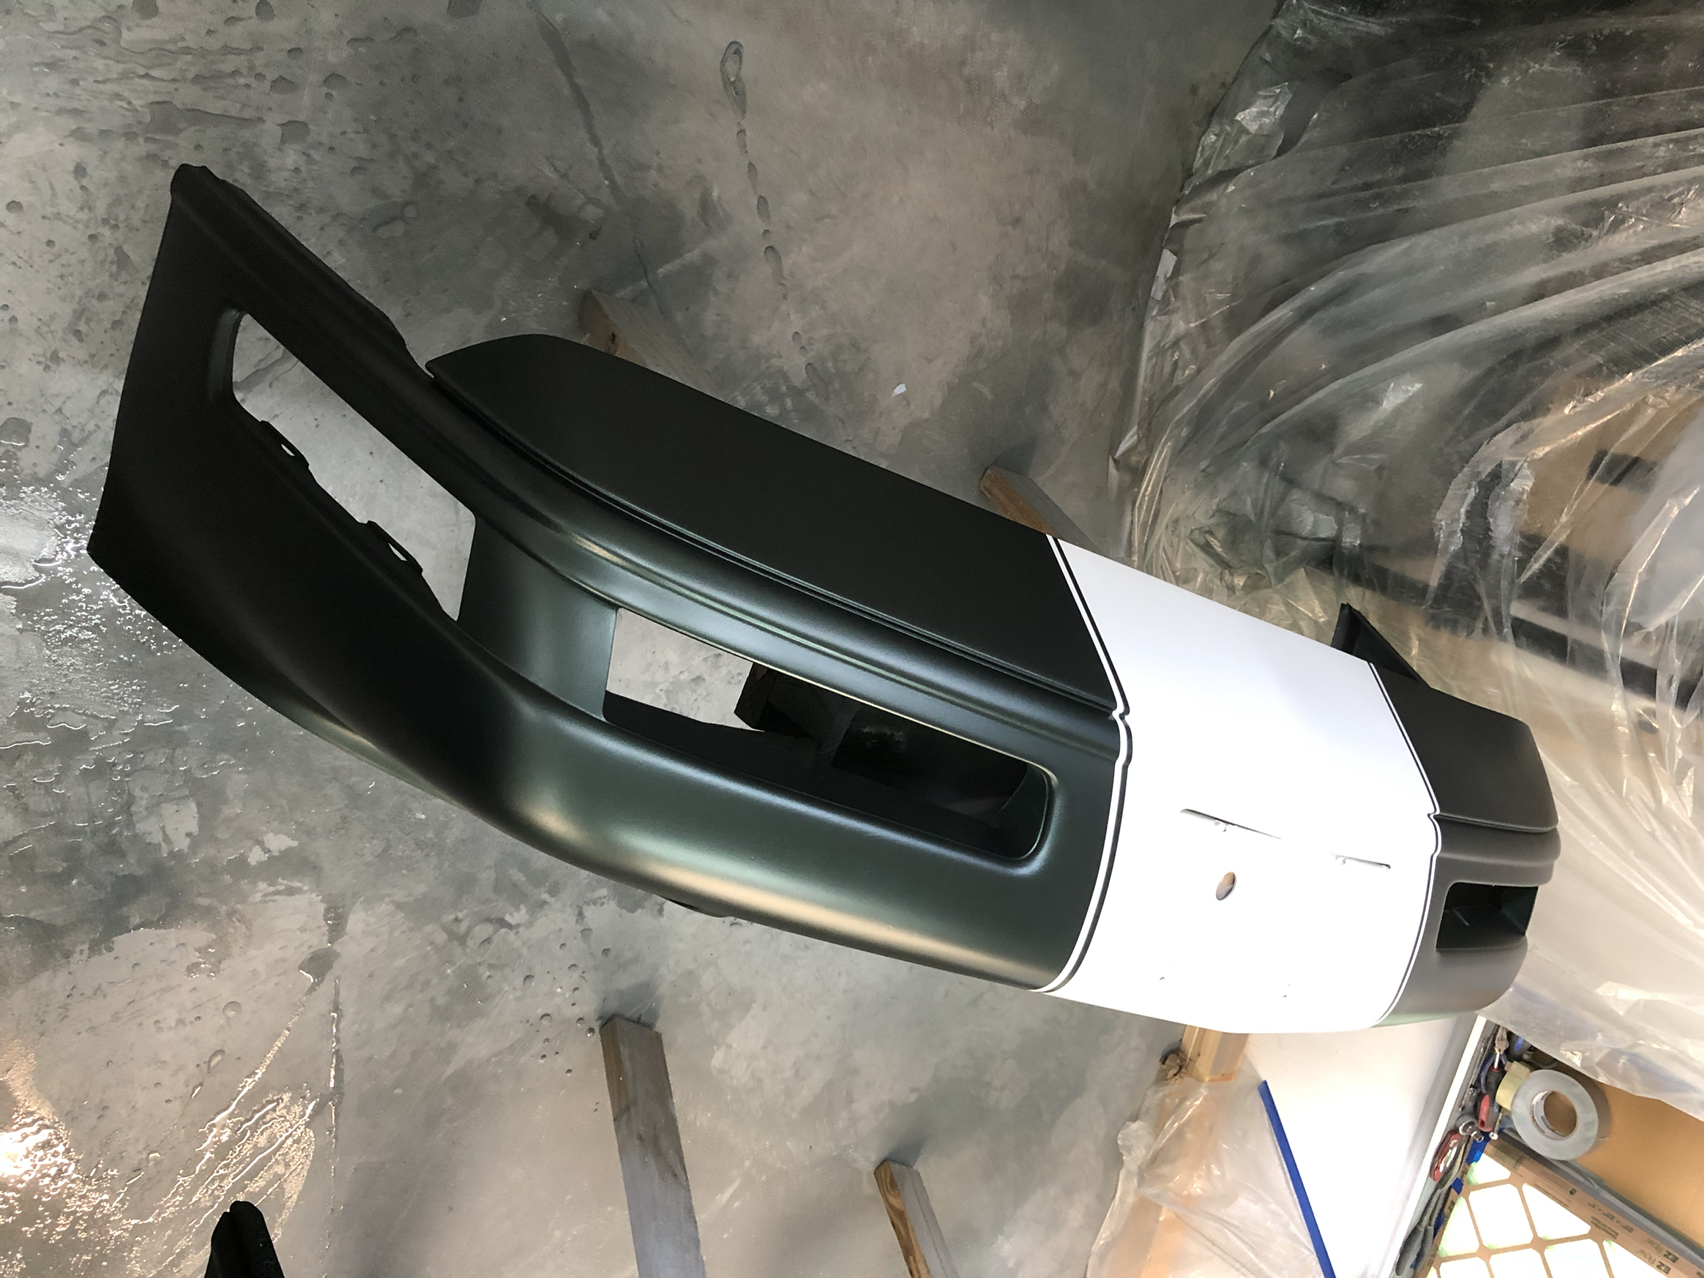
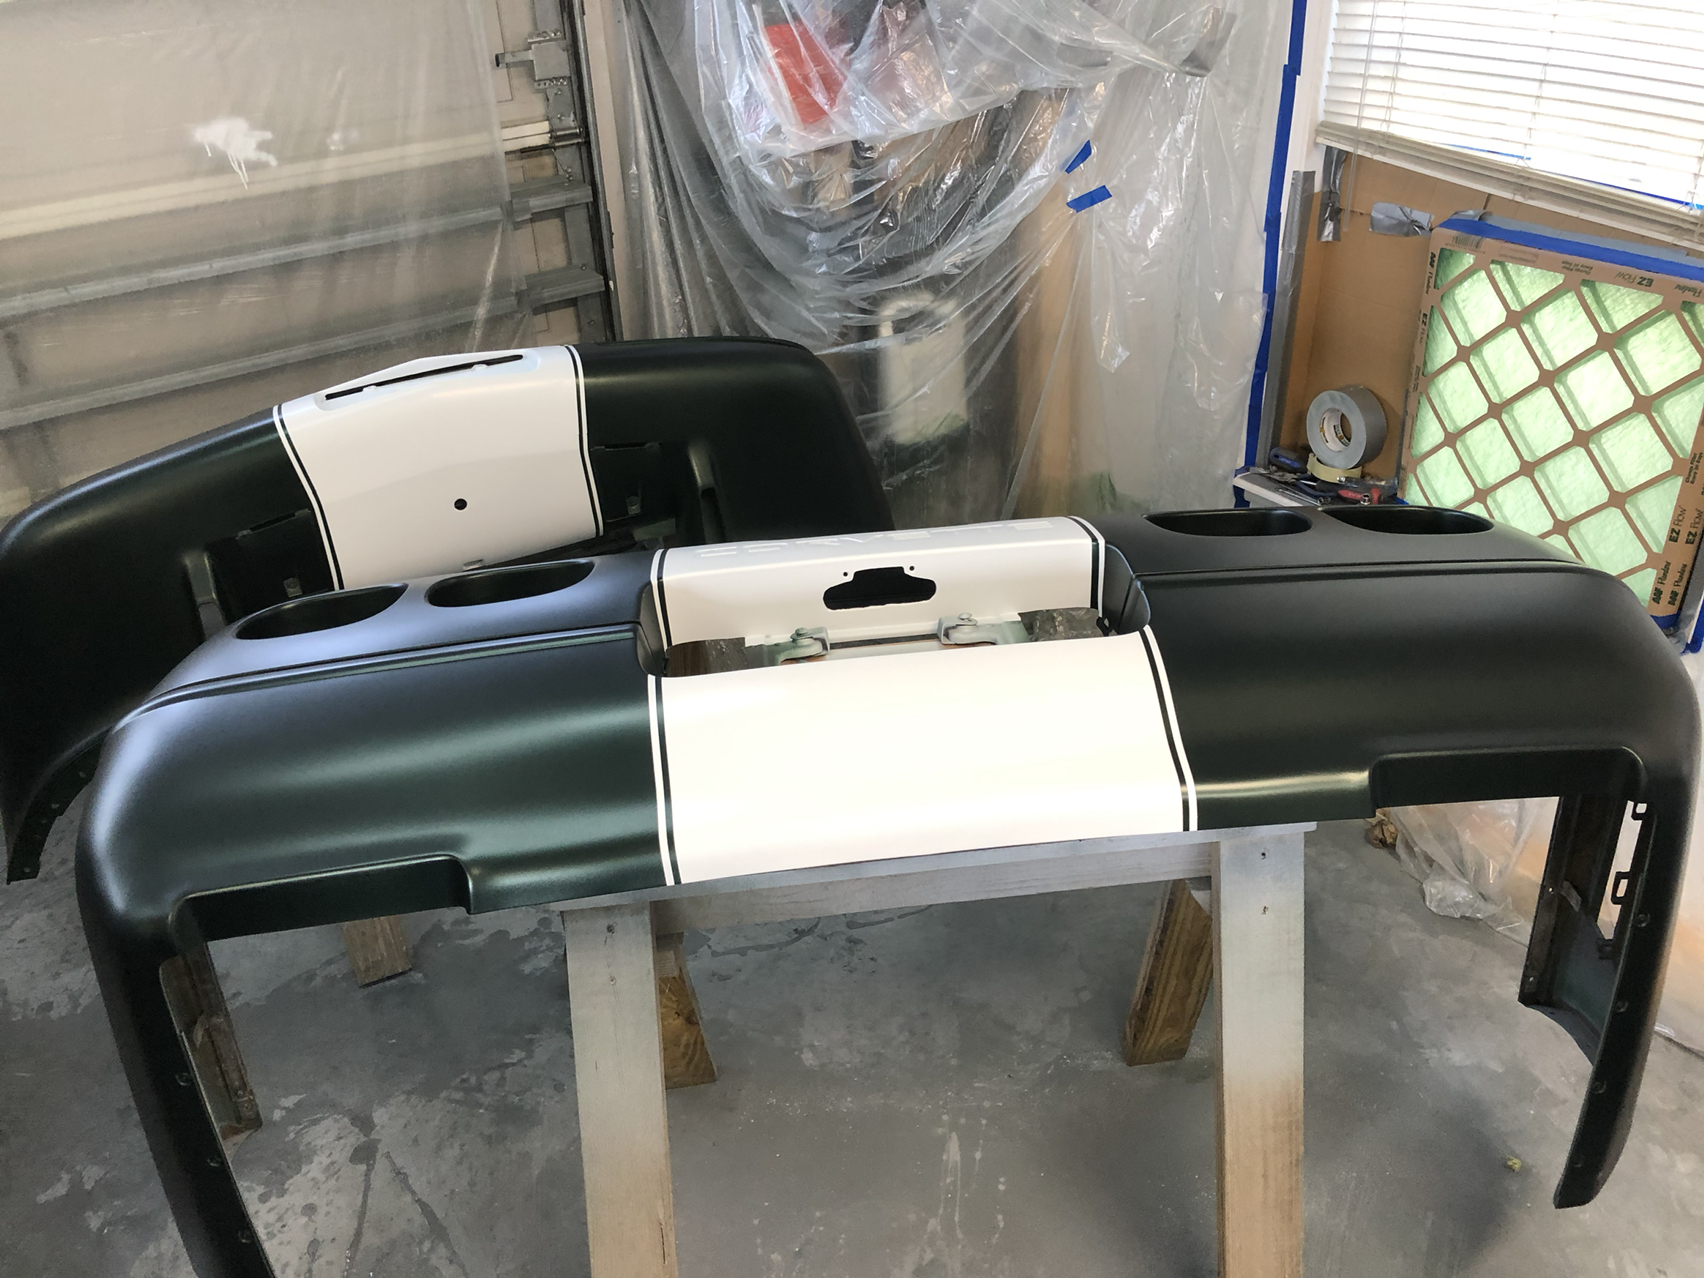
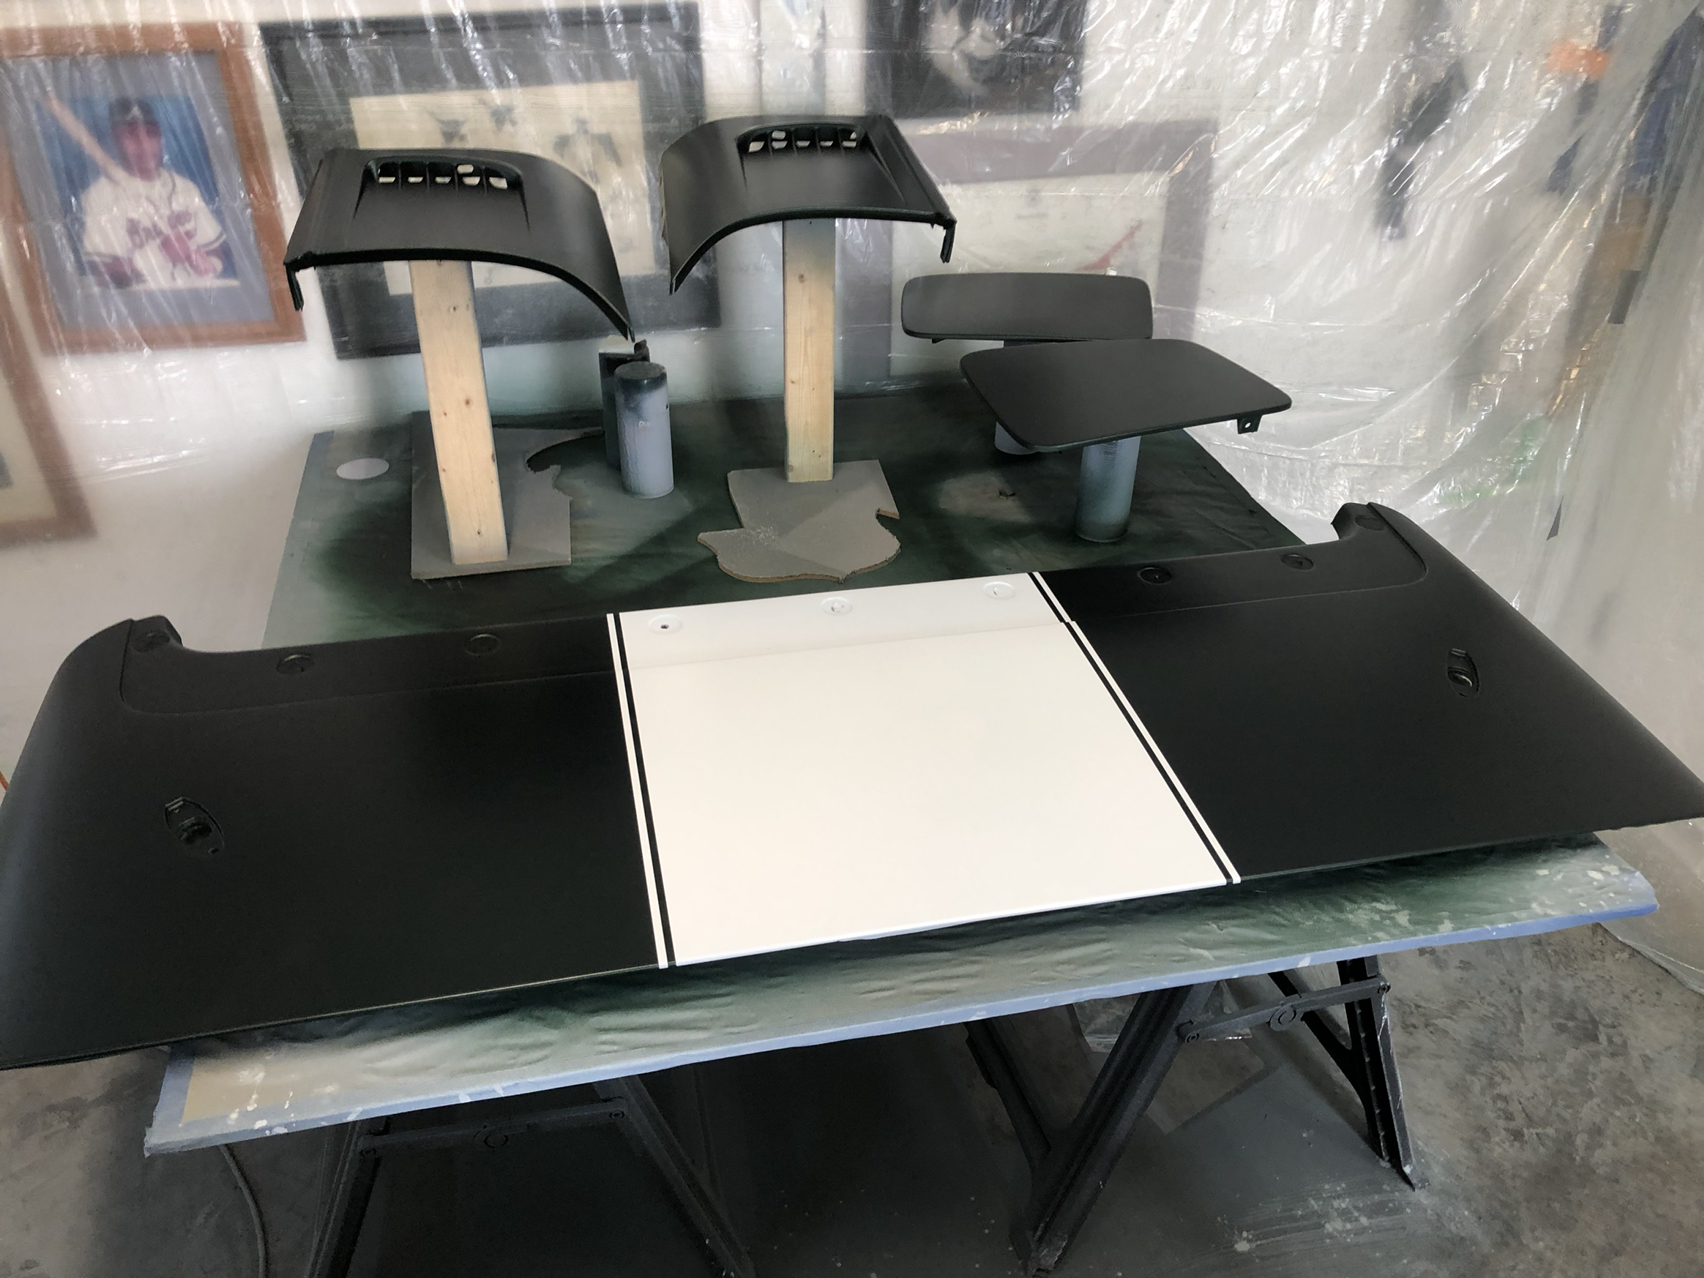
After the masking was removed
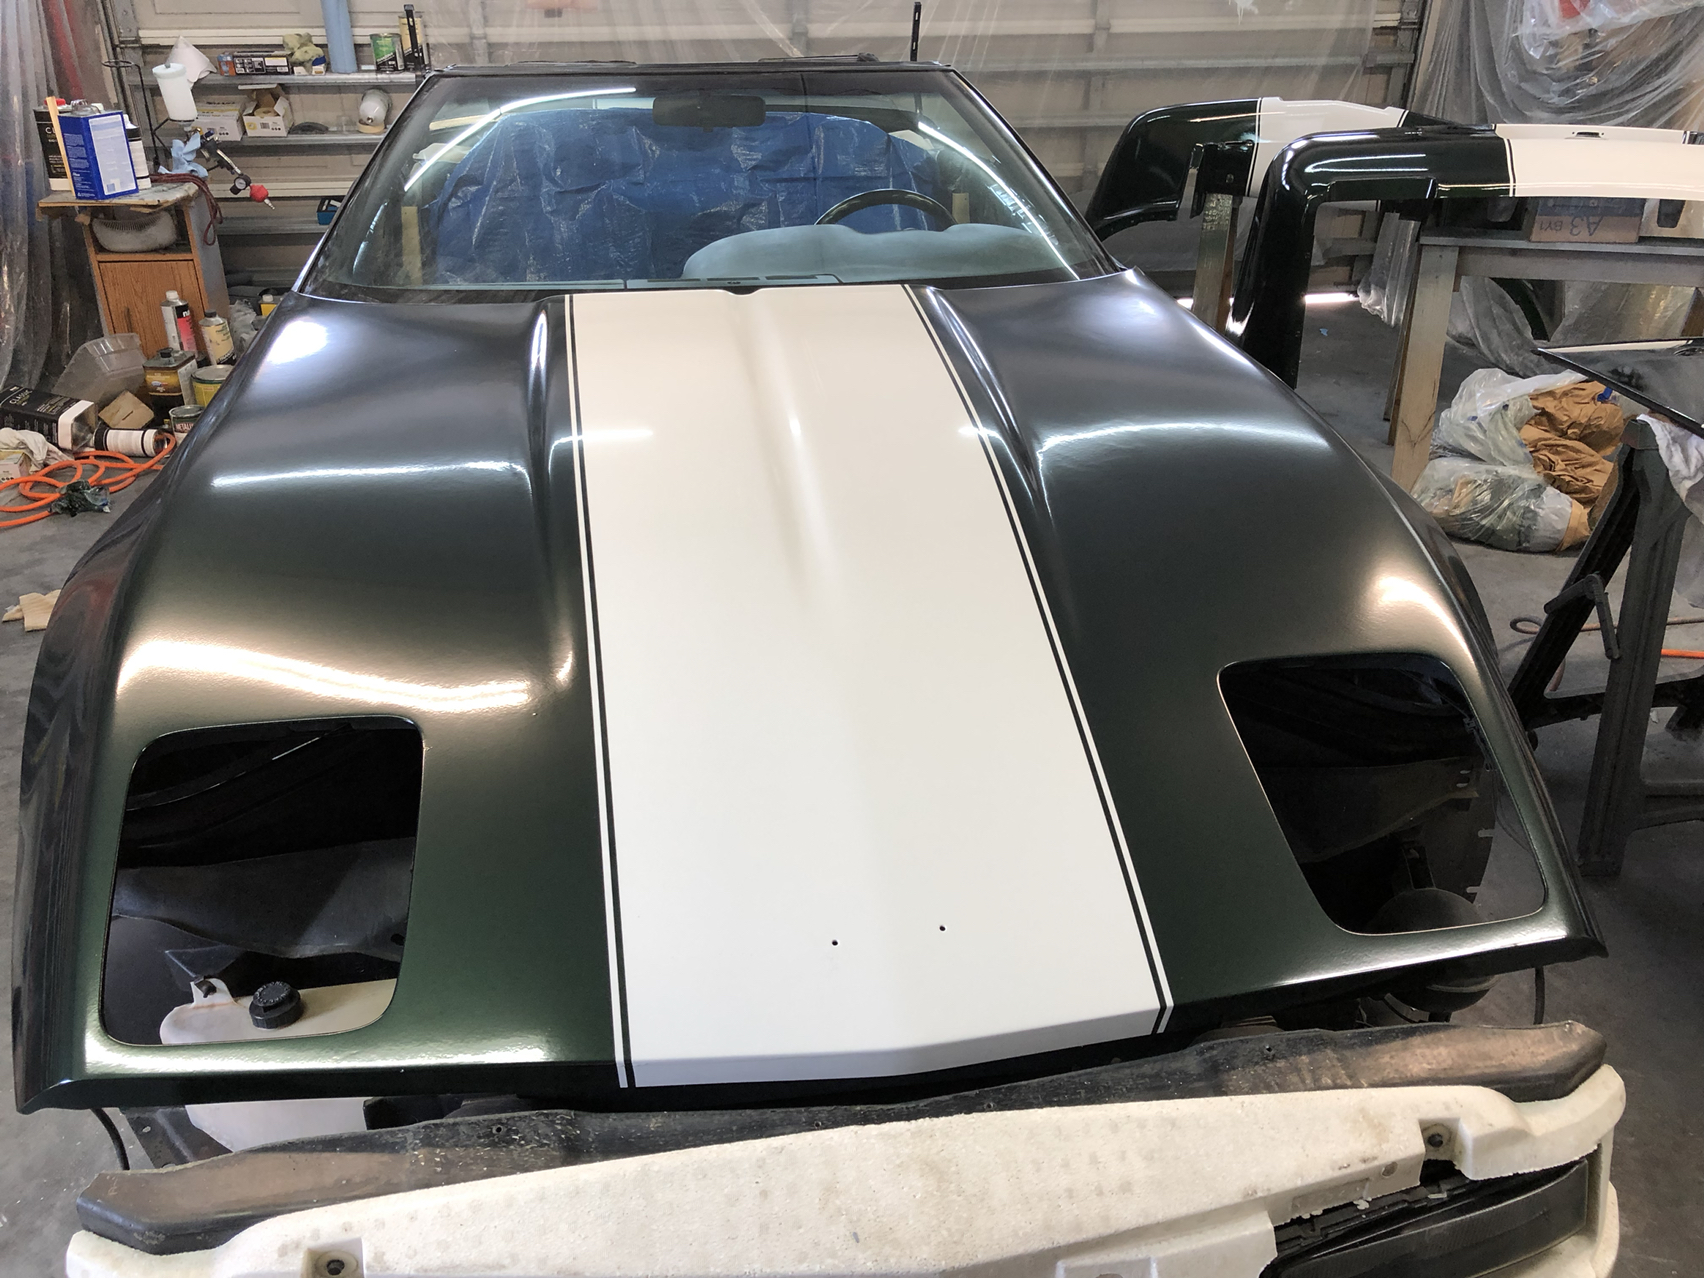
After clear coat
Before polishing
After polishing
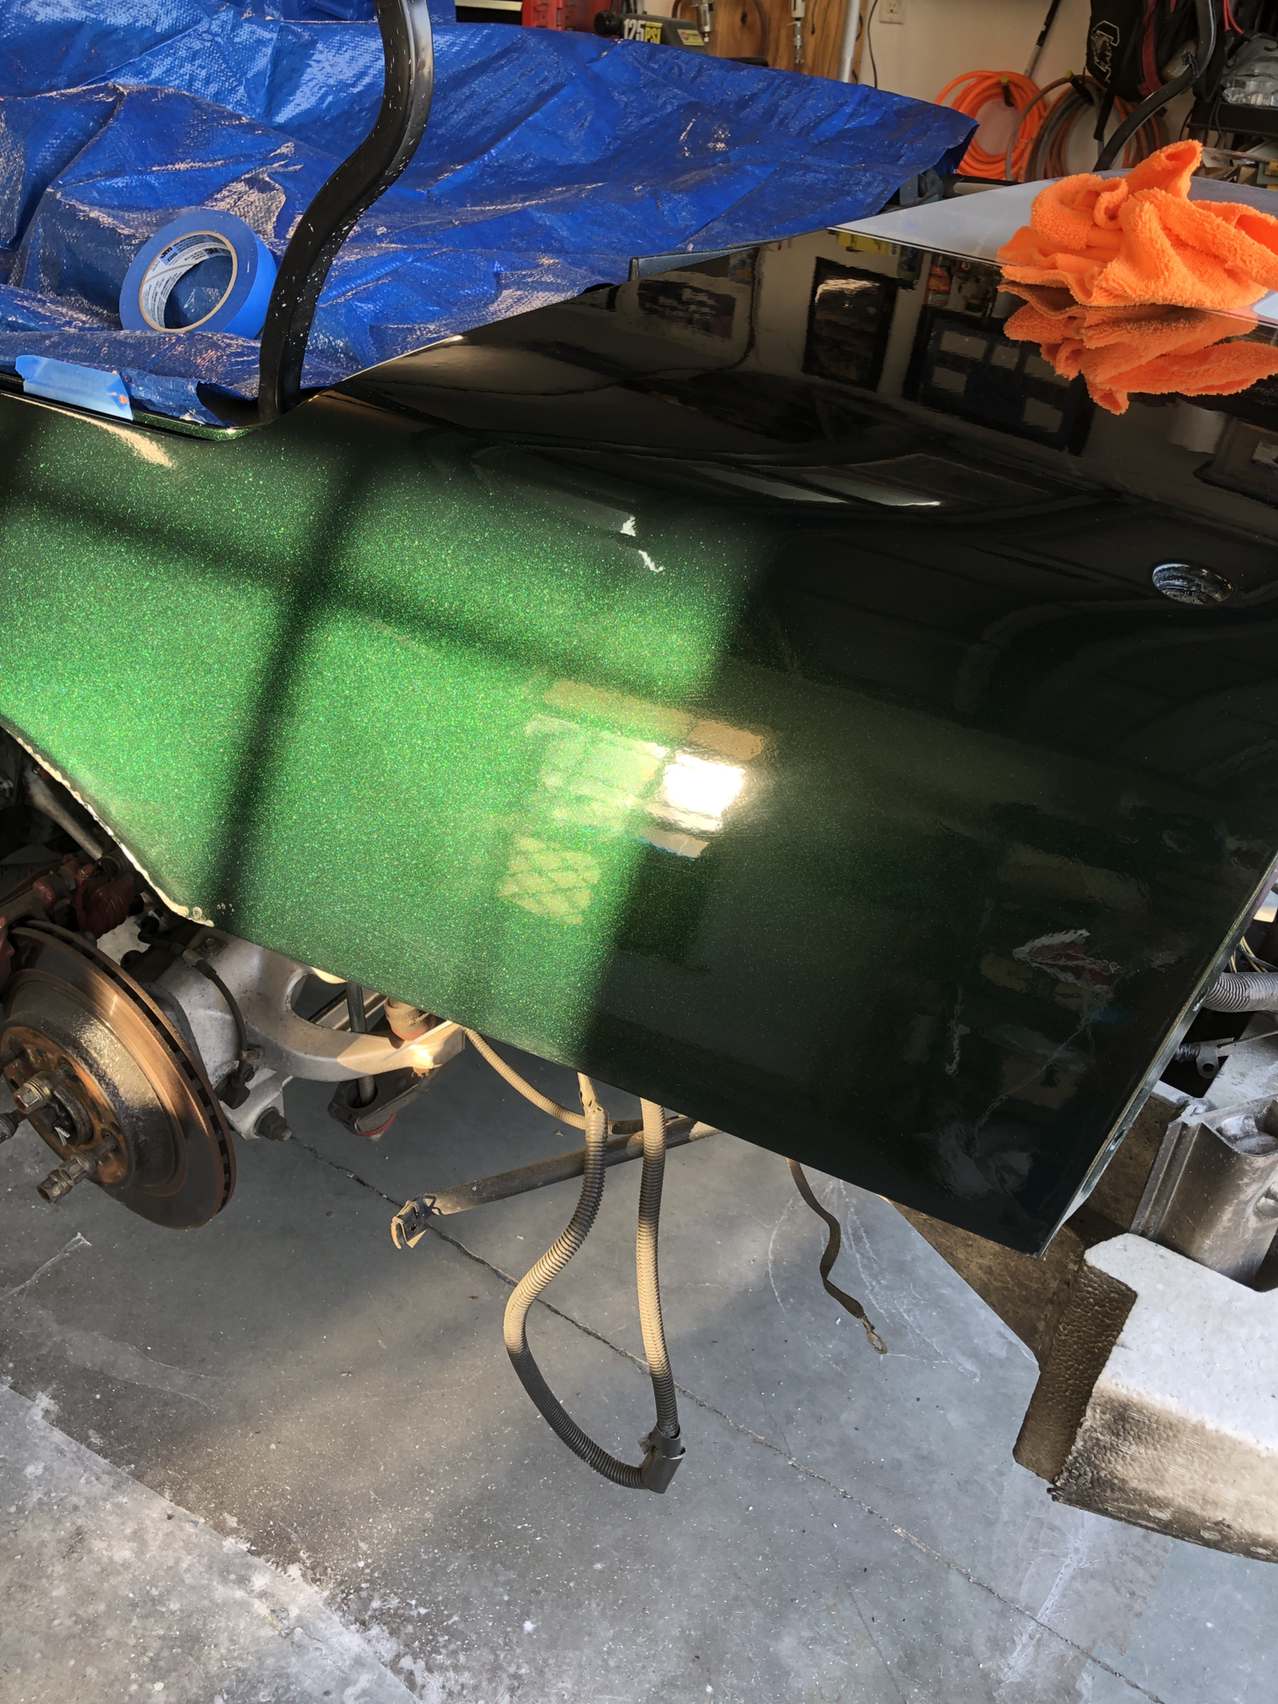
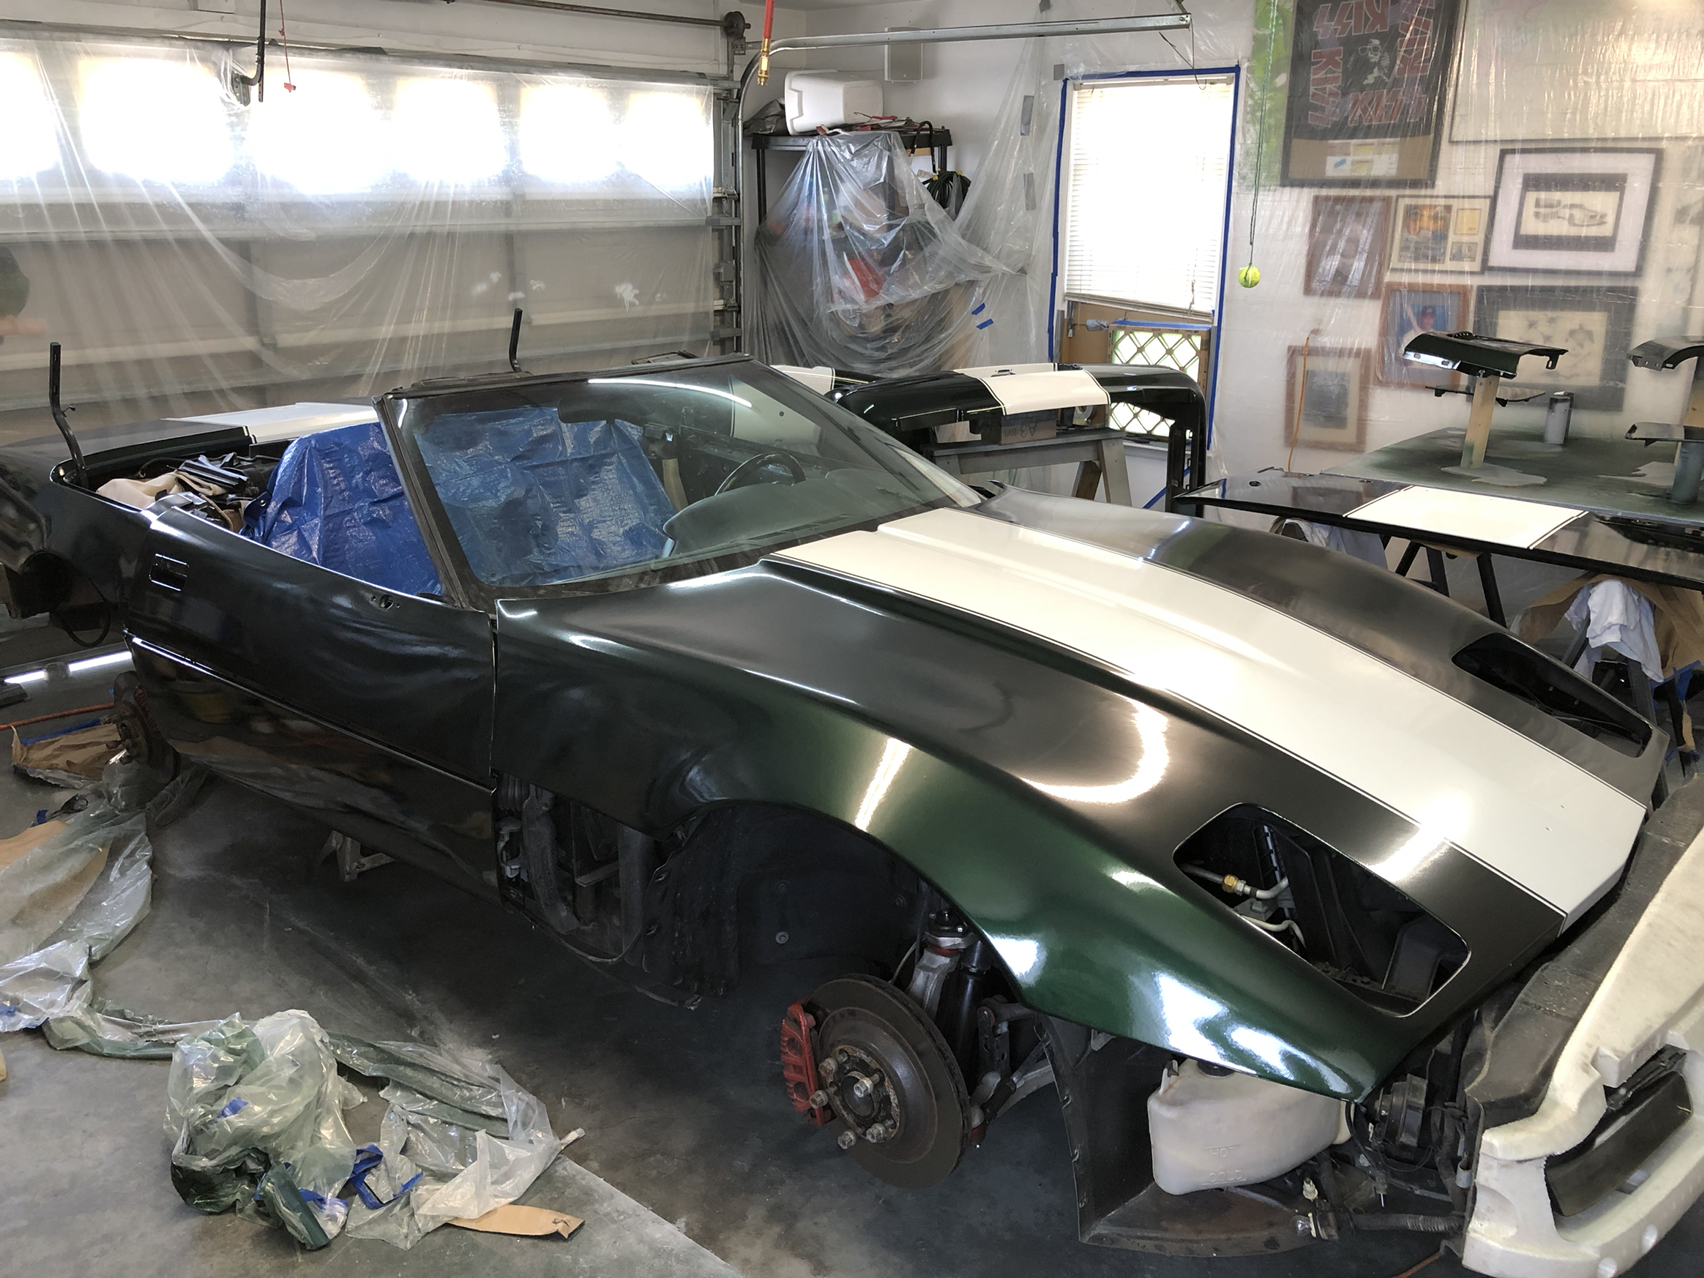
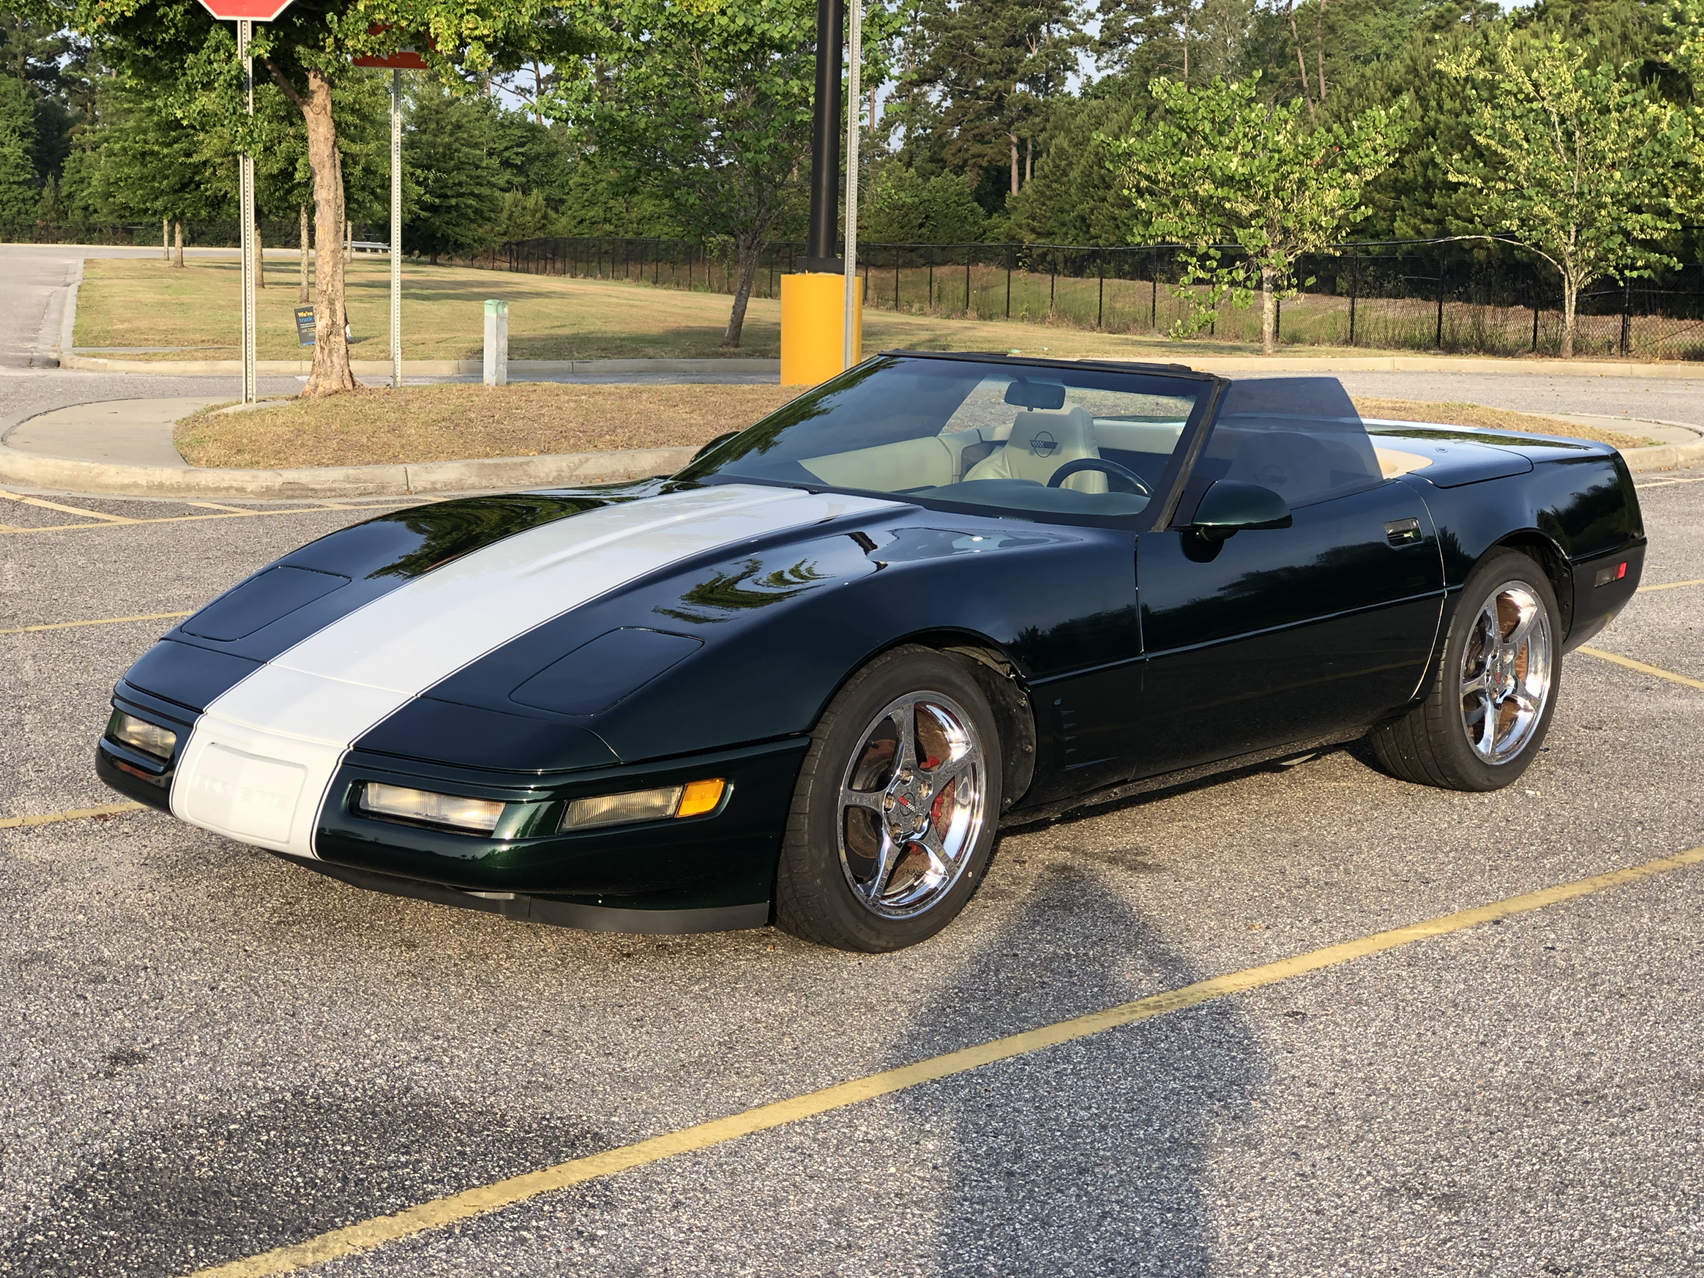
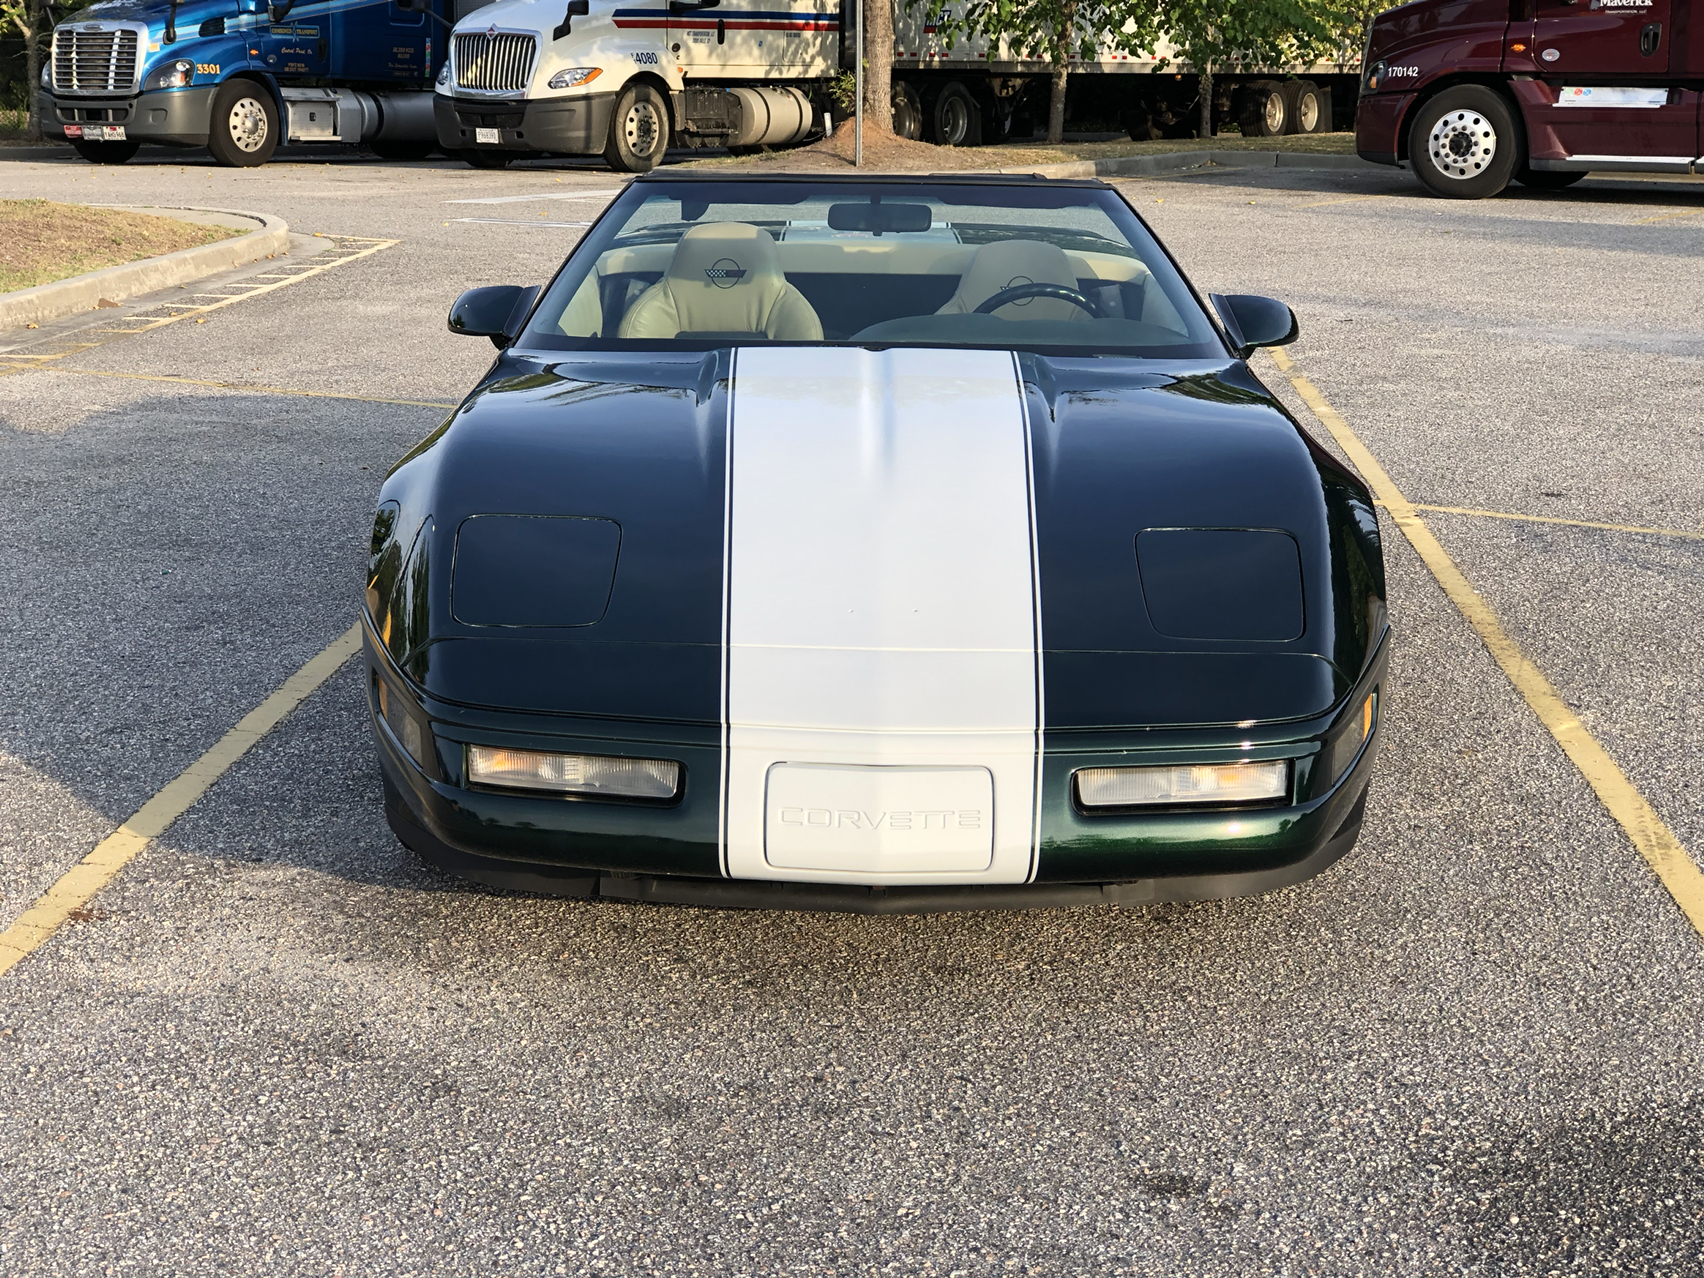
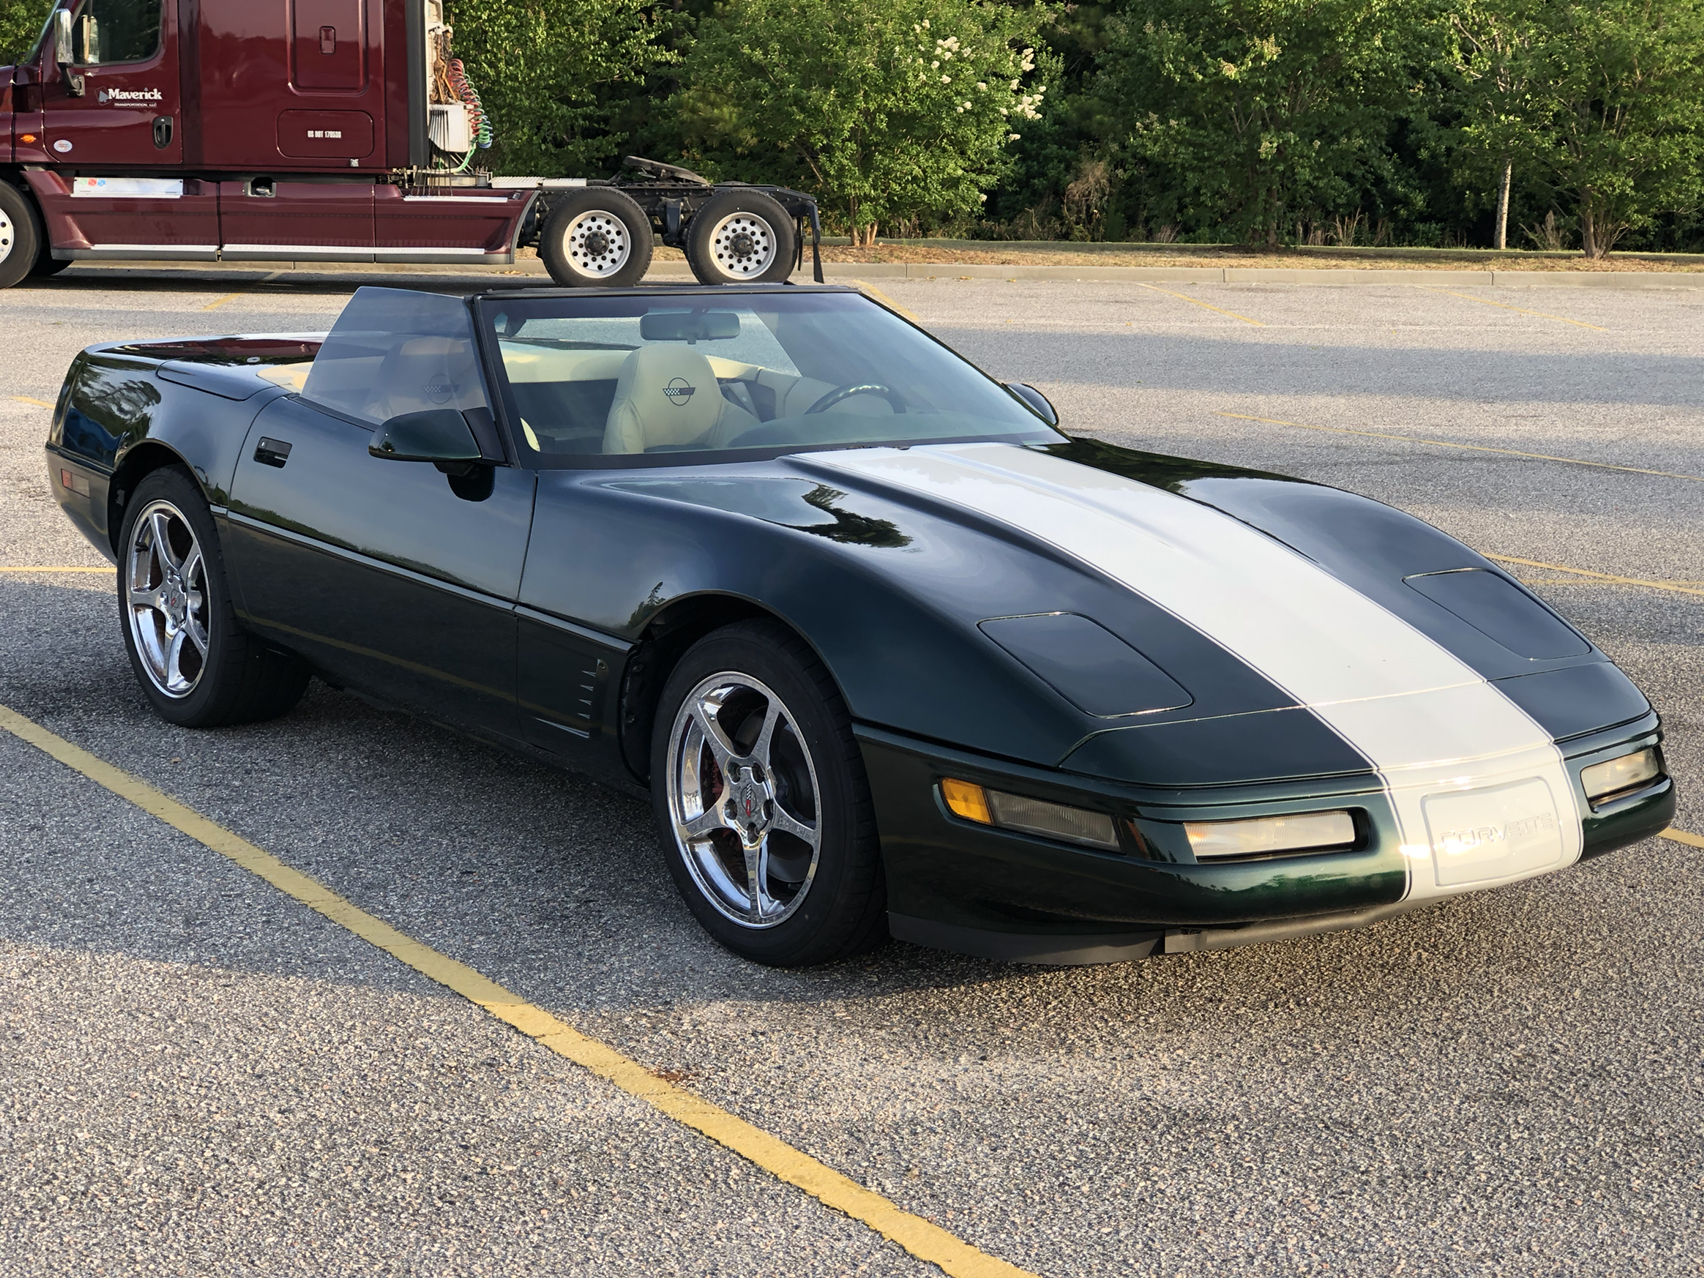
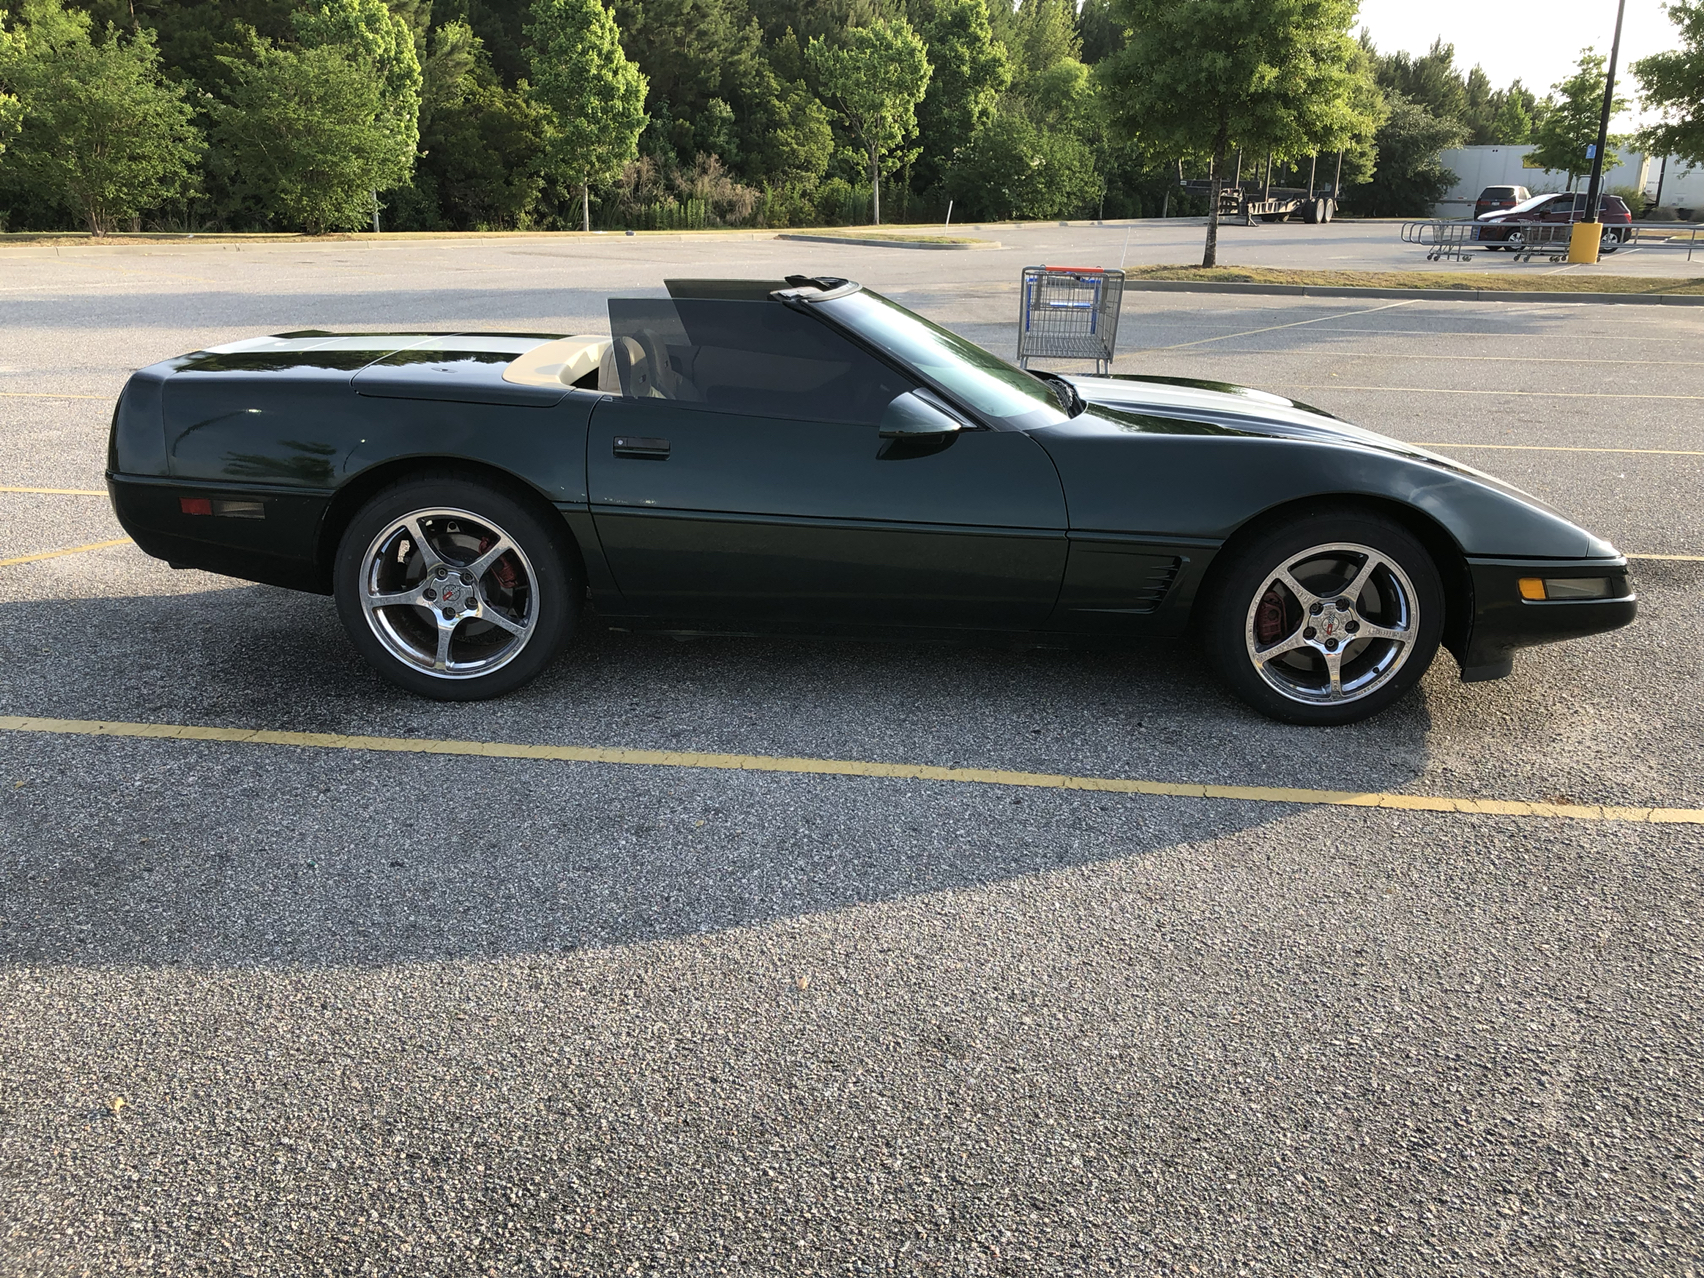
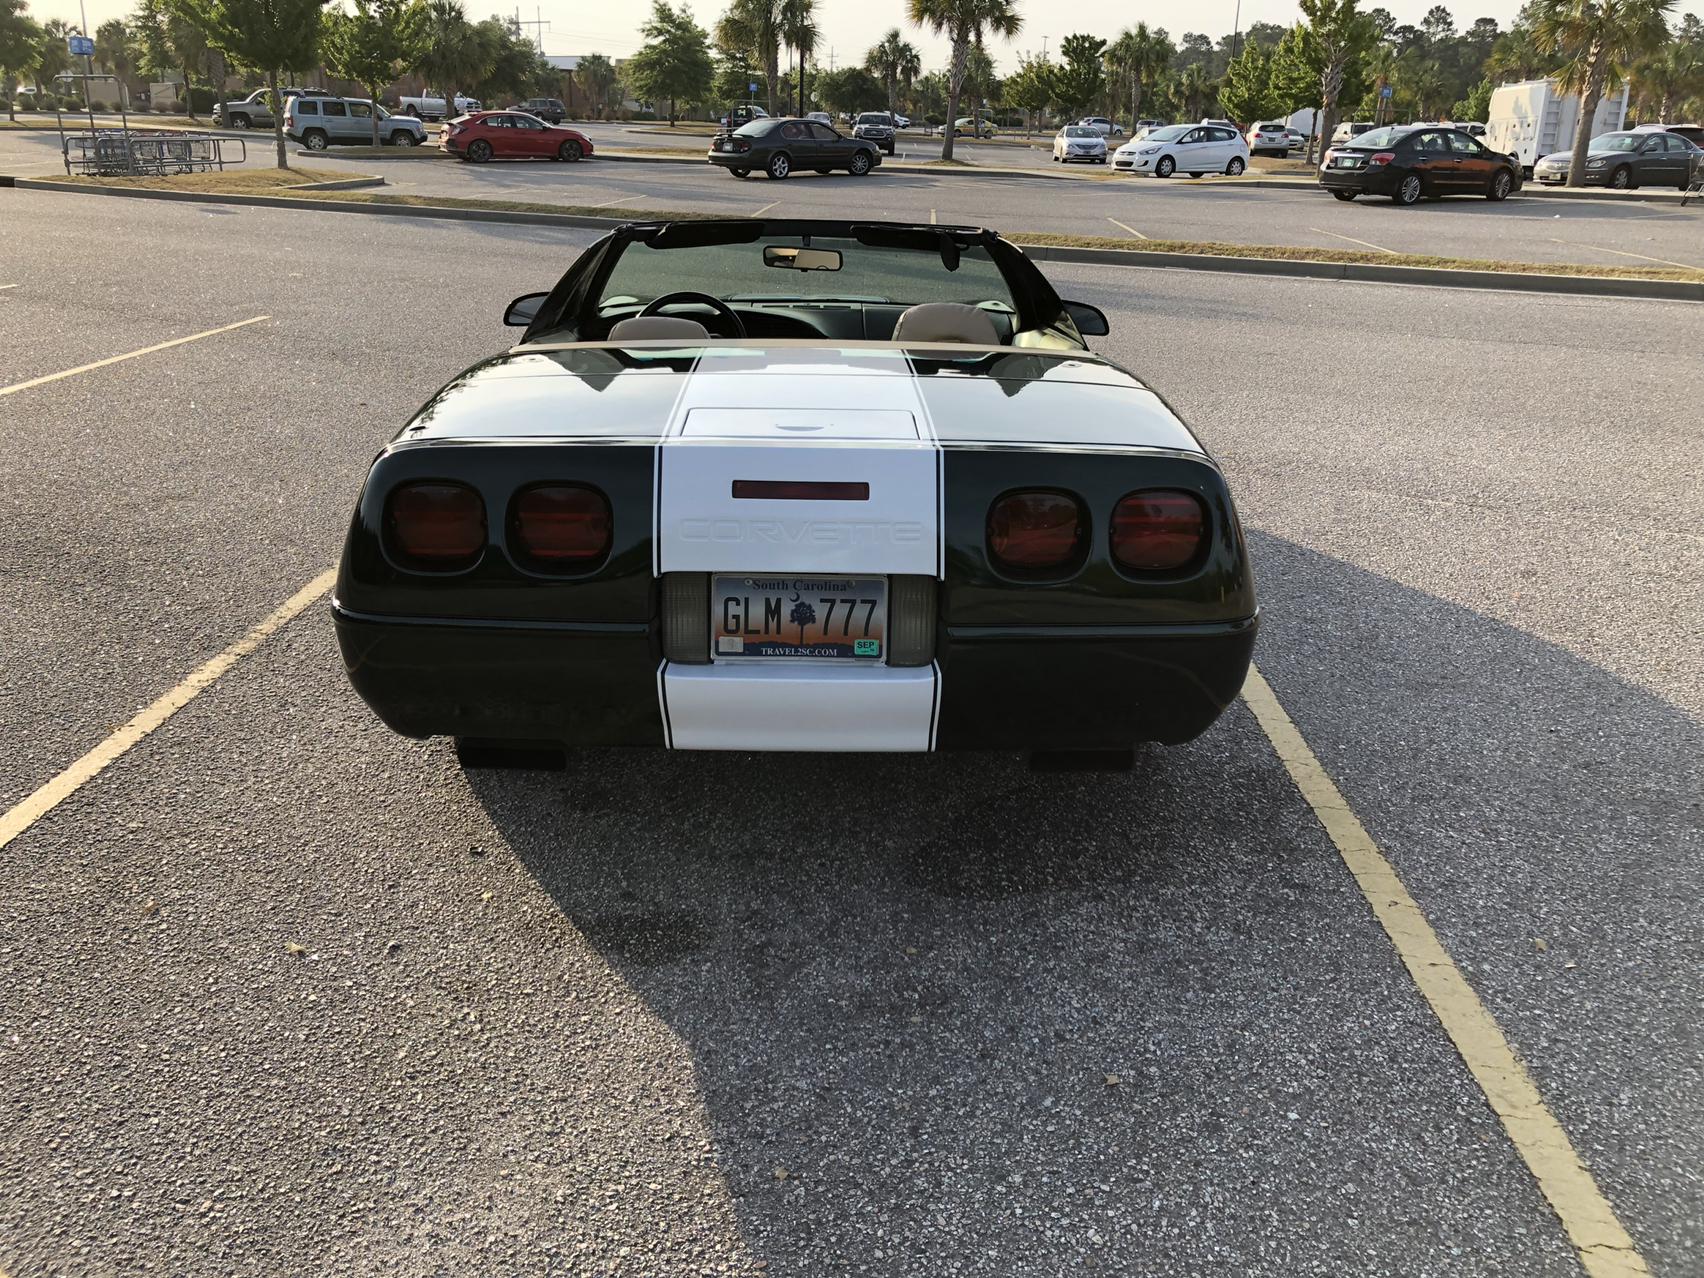
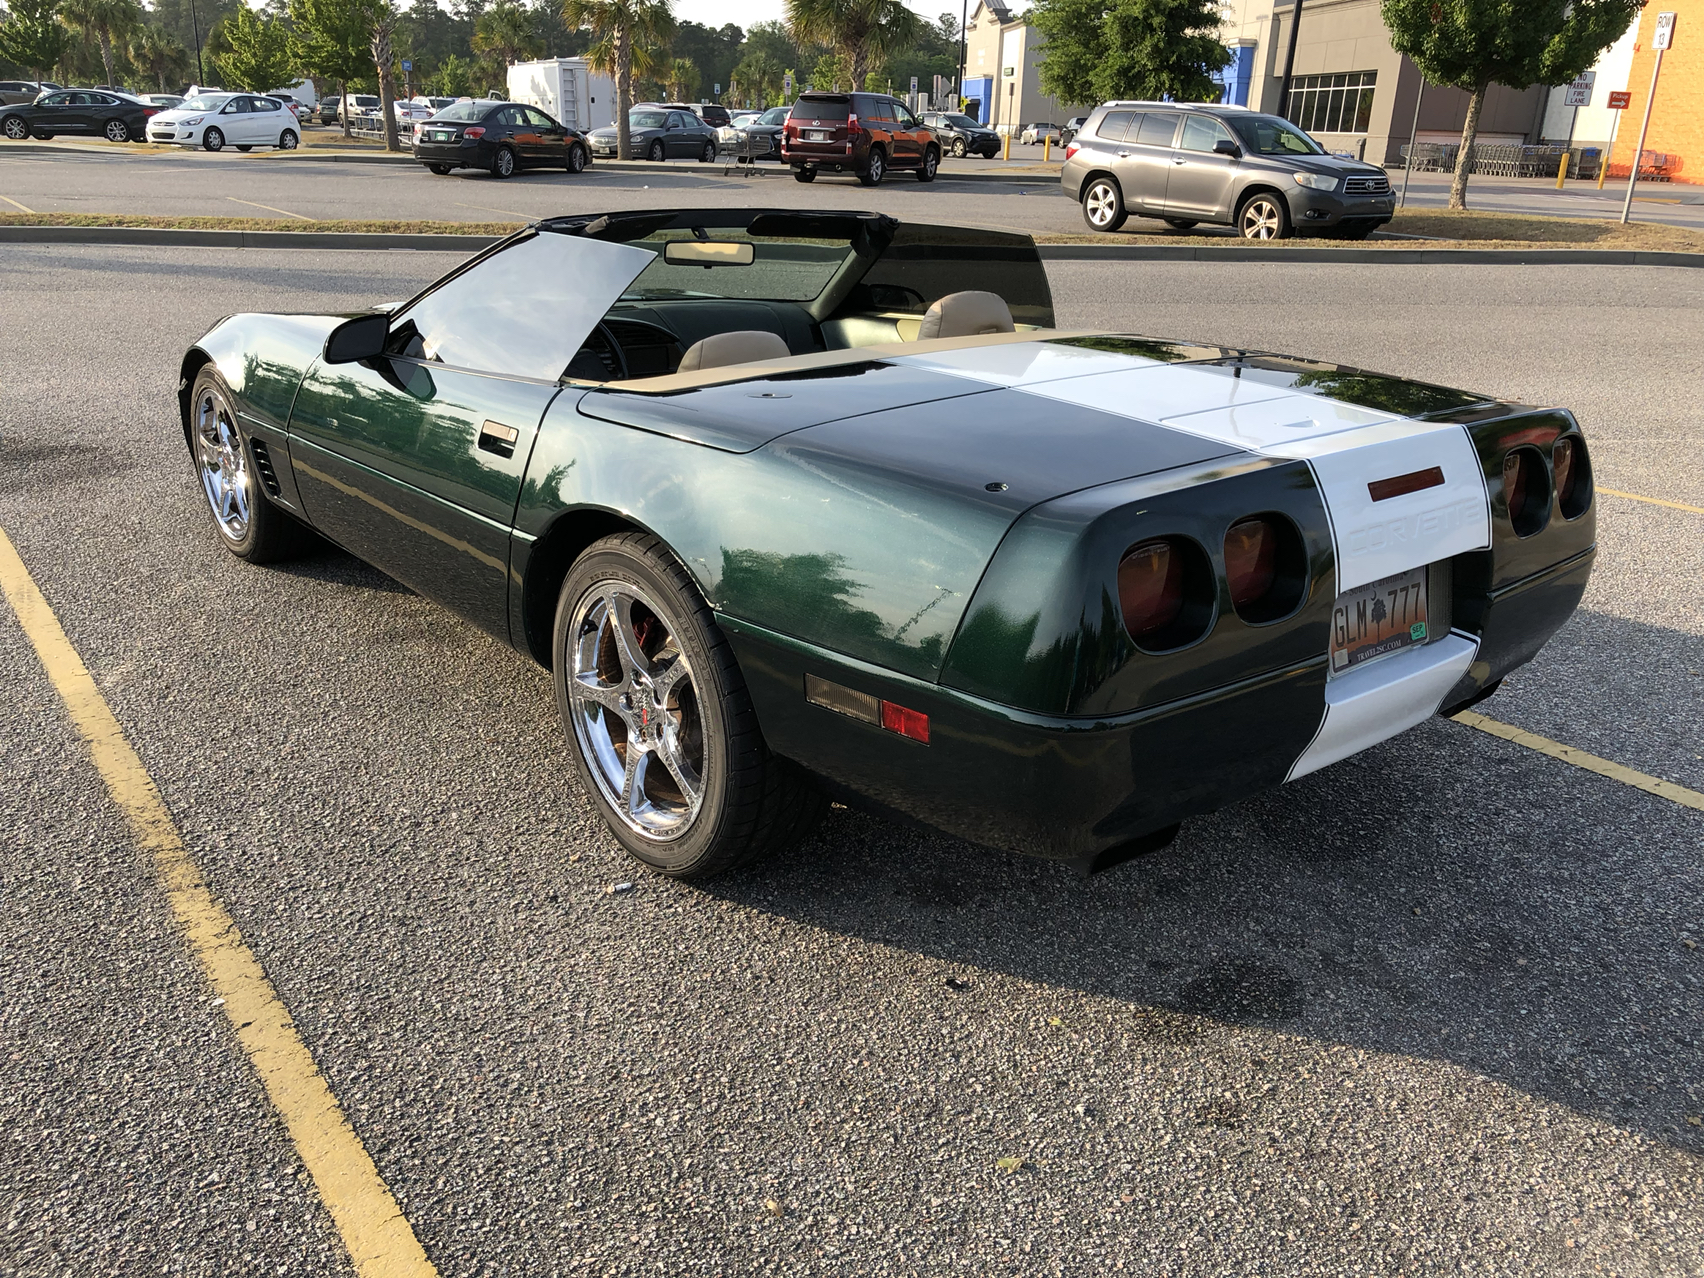
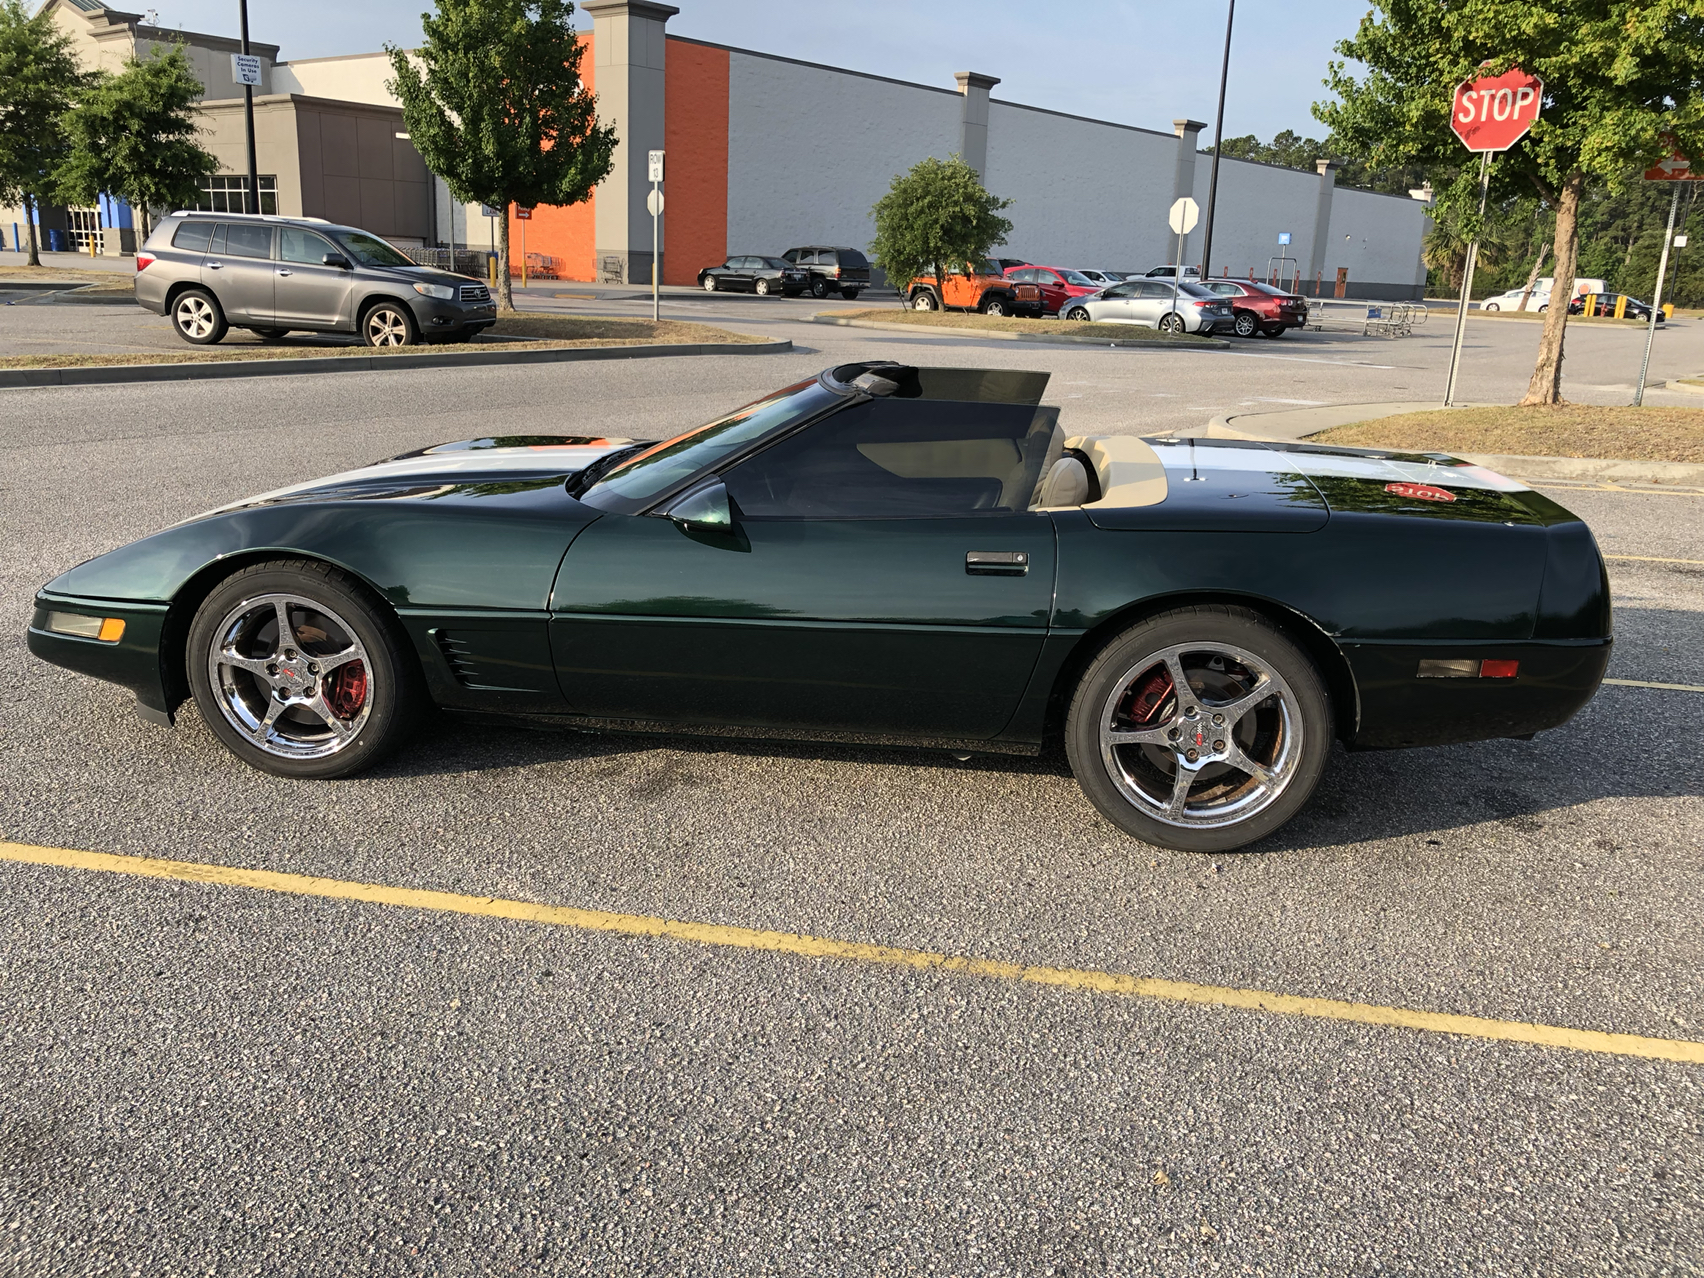
Just to show the color in the sun and shadow at the same time.
As you see in the before and after polishing, there is a waviness that I can't get out. You can tell a big difference and even see details in the polished pic.
I'll post pics later this week after she's all back together and completely polished.
Thanks for looking.
Chad
The following users liked this post:
1993C4LT1 (05-27-2019)
05-27-2019, 02:17 PM
#5
Le Mans Master


Member Since: Oct 2004
Location: Everett WA
Posts: 7,690
Received 477 Likes
on
353 Posts
C4 of Year Finalist (appearance mods) 2019

WOW first I have to say that you have done a terrific job. I think it looks great!!
Second I have to say thank you, thank you, thank you for showing us the new LRG next to the PGM. I've been trying for several years to get pics of my 95 polo next to a 14 LRG to really see how similar or dissimilar the two colors are. So I think that was fantastic. The LRG does seem to have more metal flake or a better quality of flake not sure (it could very well just be that my eyes are getting old LOL.
Third, on the interior door panels did you respray the beige and the black portions with dye? I reread what you wrote several times but wasn't sure about that. I was wondering where you sourced the dye?
Looking forward to more pics and really seeing the car in LRG in the sunshine. Regards, Mark
05-27-2019, 03:19 PM
#6
Burning Brakes
Thread Starter
Member Since: Jul 2011
Location: Myrtle Beach South Carolina
Posts: 781
Likes: 0
Received 183 Likes
on
121 Posts
Originally Posted by Mr. Peabody
WOW first I have to say that you have done a terrific job. I think it looks great!!
Second I have to say thank you, thank you, thank you for showing us the new LRG next to the PGM. I've been trying for several years to get pics of my 95 polo next to a 14 LRG to really see how similar or dissimilar the two colors are. So I think that was fantastic. The LRG does seem to have more metal flake or a better quality of flake not sure (it could very well just be that my eyes are getting old LOL.
Third, on the interior door panels did you respray the beige and the black portions with dye? I reread what you wrote several times but wasn't sure about that. I was wondering where you sourced the dye?
Looking forward to more pics and really seeing the car in LRG in the sunshine. Regards, Mark
Second I have to say thank you, thank you, thank you for showing us the new LRG next to the PGM. I've been trying for several years to get pics of my 95 polo next to a 14 LRG to really see how similar or dissimilar the two colors are. So I think that was fantastic. The LRG does seem to have more metal flake or a better quality of flake not sure (it could very well just be that my eyes are getting old LOL.
Third, on the interior door panels did you respray the beige and the black portions with dye? I reread what you wrote several times but wasn't sure about that. I was wondering where you sourced the dye?
Looking forward to more pics and really seeing the car in LRG in the sunshine. Regards, Mark
I had originally bought SEM spray dye from a local paint shop. The first can was way off. I took a seat bottom in and matched it as close as I could for the second can, still, after spraying a test panel the second color was off as well. Out of frustration I went to O'reillys and bought a can of dupli color dye. It was almost a perfect match. I went back and bought a can of black to freshen that up on the door cards.
And I used a spray adhesion promoter before applying the dye.
Thanks for the compliments.
 05-28-2019, 10:24 AM
#7


Did you lay enough clear that you can wetsand it level?
Also it looks great! It takes dedication and determination to do this type of work yourself at home.
Also it looks great! It takes dedication and determination to do this type of work yourself at home.
Last edited by daverulz; 05-28-2019 at 02:15 PM.
05-28-2019, 10:47 AM
#8
Le Mans Master

Member Since: Feb 2011
Location: Chatham NY
Posts: 5,796
Received 96 Likes
on
62 Posts
St. Jude Donor '13, '15-'16,'18-'19-'20-'21-'22-'23-'24

Looks great Chad, you've put lots of time into it.
I get to MB 3 or 4 times a year would love to see it in person later on this year when I get back down.
I get to MB 3 or 4 times a year would love to see it in person later on this year when I get back down.

 05-31-2019, 09:41 AM
#10
Burning Brakes
Thread Starter
Member Since: Jul 2011
Location: Myrtle Beach South Carolina
Posts: 781
Likes: 0
Received 183 Likes
on
121 Posts
Originally Posted by pologreen1
Looks awesome, ever consider painting the wheels white? I know it sounds dumb, but it might be cool with the white stripe.
05-31-2019, 09:45 AM
#11
Burning Brakes
Thread Starter
Member Since: Jul 2011
Location: Myrtle Beach South Carolina
Posts: 781
Likes: 0
Received 183 Likes
on
121 Posts
Originally Posted by FWC
Looks great Chad, you've put lots of time into it.
I get to MB 3 or 4 times a year would love to see it in person later on this year when I get back down.
I get to MB 3 or 4 times a year would love to see it in person later on this year when I get back down.
05-31-2019, 09:50 AM
#12
Burning Brakes
Thread Starter
Member Since: Jul 2011
Location: Myrtle Beach South Carolina
Posts: 781
Likes: 0
Received 183 Likes
on
121 Posts
Originally Posted by daverulz
Did you lay enough clear that you can wetsand it level?
Also it looks great! It takes dedication and determination to do this type of work yourself at home.
Also it looks great! It takes dedication and determination to do this type of work yourself at home.
Thanks for the comps everyone. It was definitely a learning experience.
05-31-2019, 09:53 AM
#13
Burning Brakes
Thread Starter
Member Since: Jul 2011
Location: Myrtle Beach South Carolina
Posts: 781
Likes: 0
Received 183 Likes
on
121 Posts
First drive since June 10 of last year. That was the day before I started pulling parts off of her. Hard to believe it's been a year!!
Thanks for looking.
Thanks for looking.


