

 me likey...alot


 details!


Updated on my Engine Build

Thread Starter
Melting Slicks


Joined: Jan 2005
Posts: 2,658
Likes: 4
From: Clifton Park NY
Just a quick update.
Should be measuring for my pushrods today.
Engine is already primed with oil
Double check my accessory brackets and drill if needed.
Then I'm ready to install back in the car.
Starting to look more like an engine now.
Should be measuring for my pushrods today.
Engine is already primed with oil
Double check my accessory brackets and drill if needed.
Then I'm ready to install back in the car.
Starting to look more like an engine now.
Thread Starter
Melting Slicks
Joined: Jan 2005
Posts: 2,658
Likes: 4
From: Clifton Park NY
84
Holley Stealth Ram
30lb/hr injectors
52MM TB
Driven by Dynamic EFI's Flash ECM
Innovate Motor Sports LM-1 Wideband
LT-1 SS Dual Exhaust
Borla ZR-1 Mufflers
Hedmen Elite Headers
D44 Rearend with 3:45 gears
9.5 inch 2500 PeteK torque convertor
Nittos 555R drag radials
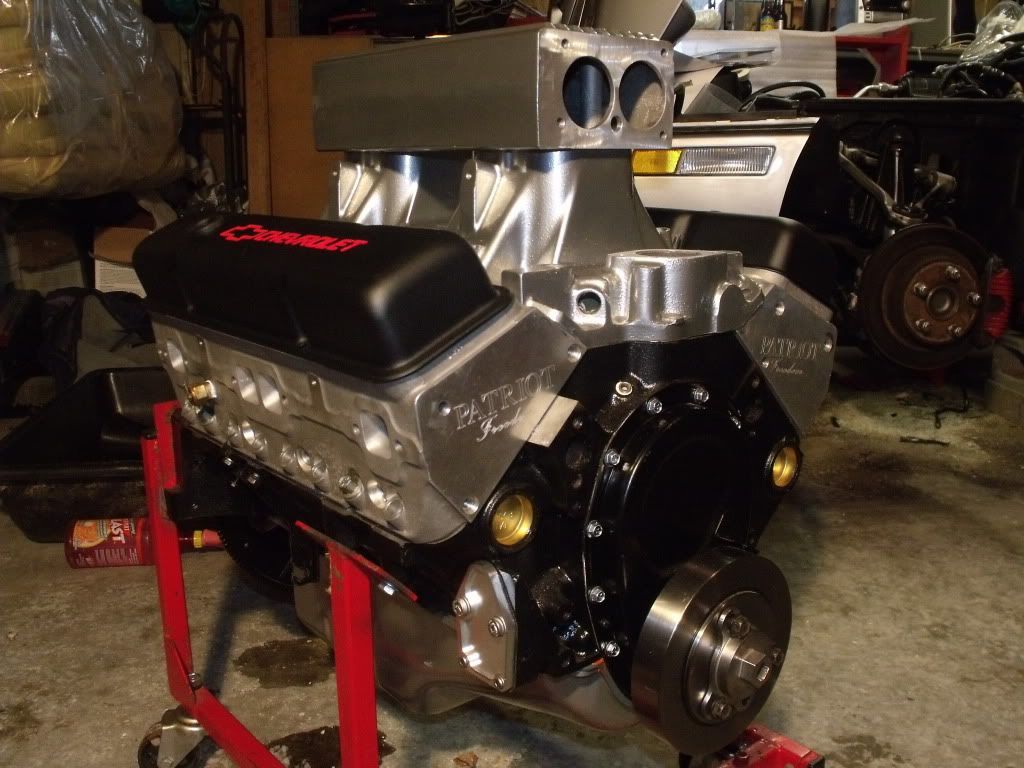
388 Roller Block
CR 10.5 to 1
Ported Patriot Heads 190cc/64cc
Promagnum Plus 1.6rr's
Comp Billet Cam
Duration at 0.50 230/236
Lobe Seperation 110
Valve Lift .603/.609

Holley Stealth Ram
30lb/hr injectors
52MM TB
Driven by Dynamic EFI's Flash ECM
Innovate Motor Sports LM-1 Wideband
LT-1 SS Dual Exhaust
Borla ZR-1 Mufflers
Hedmen Elite Headers
D44 Rearend with 3:45 gears
9.5 inch 2500 PeteK torque convertor
Nittos 555R drag radials
388 Roller Block
CR 10.5 to 1
Ported Patriot Heads 190cc/64cc
Promagnum Plus 1.6rr's
Comp Billet Cam
Duration at 0.50 230/236
Lobe Seperation 110
Valve Lift .603/.609
Thread Starter
Melting Slicks
Joined: Jan 2005
Posts: 2,658
Likes: 4
From: Clifton Park NY
Corvette Stories
The Best of Corvette for Corvette Enthusiasts

150 hp to 1,250 hp: Every Corvette Generation Compared by the Specs That Matter
Joe Kucinski
8 Coolest Corvette Pace Cars (and Replicas) of All Time
Verdad Gallardo
Top 10 Corvette Engines RANKED by Peak Torque (70+ Years of Muscle!)
Joe Kucinski
Corvette ZR1X Will Be Pacing the Indy 500, And Could Probably Race, Too!
Verdad Gallardo
Top 10 Corvettes Coming to Mecum Indy 2026!
Brett Foote
Top 10 C9 Corvette MUST-HAVES to Fix These C8 Generation Flaws!
Michael S. Palmer
10 Revolutionary 'Corvette Firsts' Most People Don't Know
Joe Kucinski
5 Reasons to Upgrade to an LS6-Powered Corvette; 5 Reasons to Stay LT2
Michael S. Palmer
2027 Corvette vs The World: Every C8 vs Its Closest Competitor
Joe Kucinski

Thread Starter
Melting Slicks
Joined: Jan 2005
Posts: 2,658
Likes: 4
From: Clifton Park NY
My machinest cleaned up my port job... When I brought the heads back to him. He just smiled and said I'll clean that up for you.
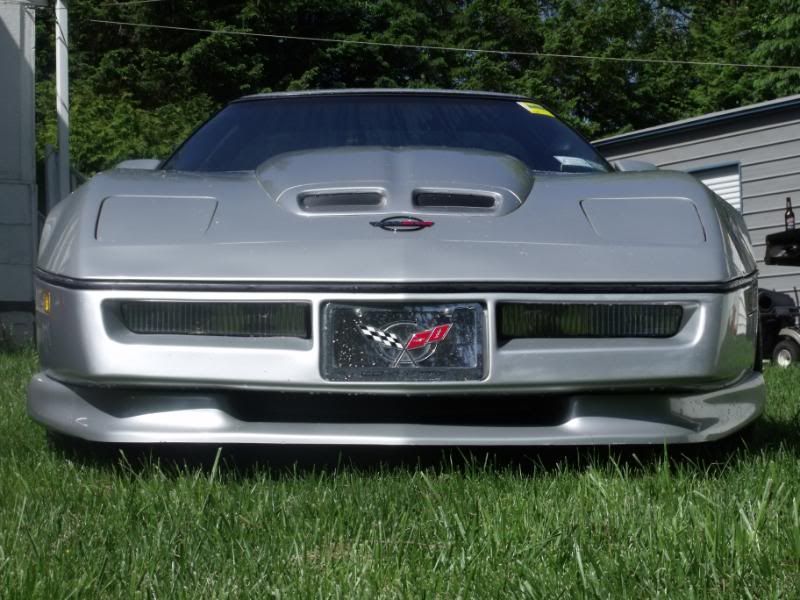
Pete's hood is a toledo pro I believe. Mine is the moldkraft/greenwood style


 Is the Comp Billet Cam a roller cam?
Thread Starter
Melting Slicks
Joined: Jan 2005
Posts: 2,658
Likes: 4
From: Clifton Park NY
Its going. Finally got back out to the garage today. This cold weather hasn't been helping me with motivation.
Got my checker springs on (thanks Pete, the advice worked).
Played around with measuring pushrod length, but Nuts4c4 is gonna stop up tommorow to confirm my measurements. Never done it before so I want to be sure its right.
temporarily threw the distributor on and rotated the engine to get it primed.. Oil is coming through the lifters so I'm getting close to putting it in and wrapping this up.
Thread Starter
Melting Slicks
Joined: Jan 2005
Posts: 2,658
Likes: 4
From: Clifton Park NY
For those of you following this here's an update
Pushrod measurement is done.
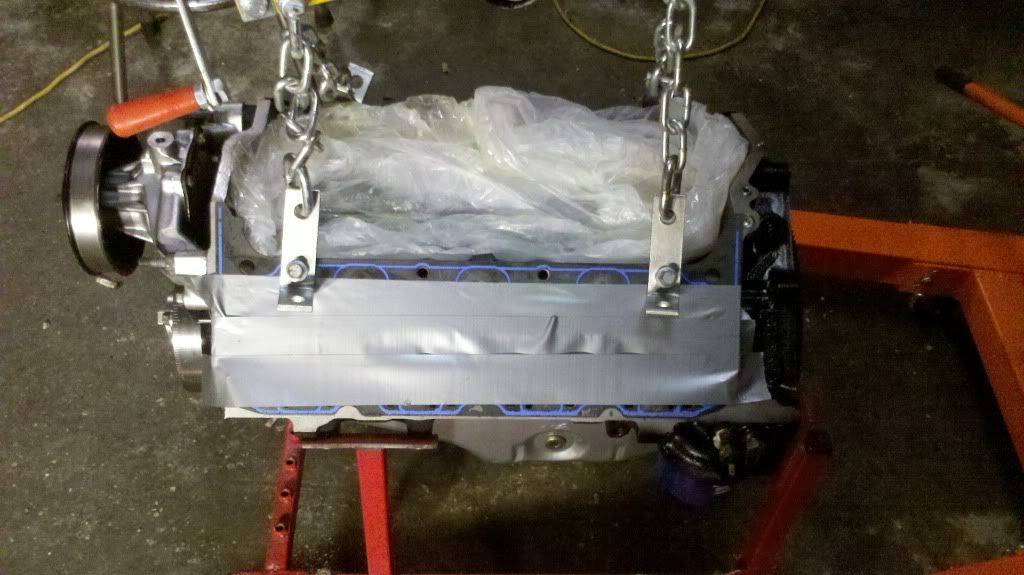
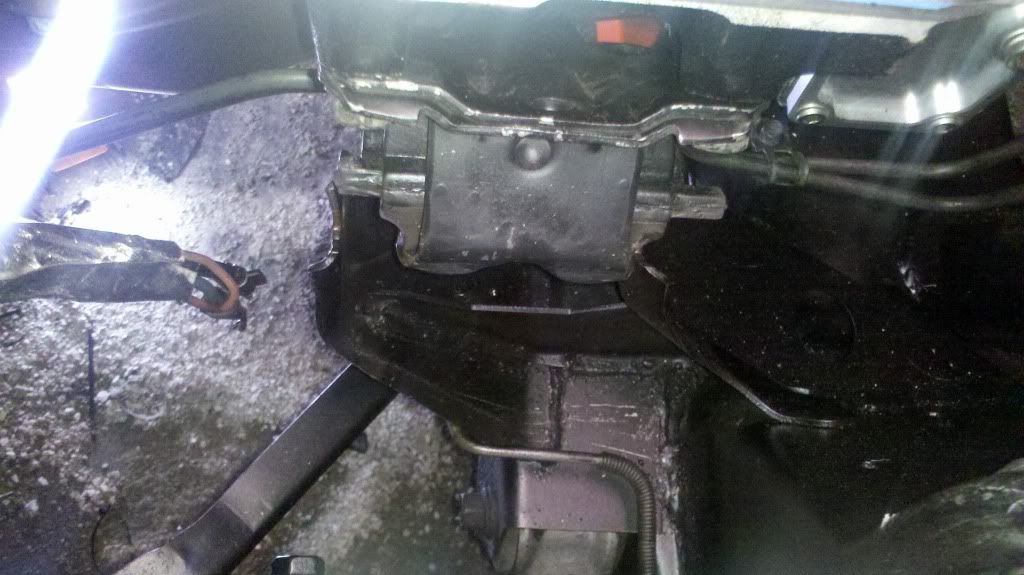
Got around to getting the short block installed. Well almost, took a while to get it lined up with the tranny, got 3 bolts started. Worked very slowly to make sure I wasn't binding anything up. Its almost there, just playing around getting these motor mounts to line up.
Here's some pics
Pushrod measurement is done.
Got around to getting the short block installed. Well almost, took a while to get it lined up with the tranny, got 3 bolts started. Worked very slowly to make sure I wasn't binding anything up. Its almost there, just playing around getting these motor mounts to line up.
Here's some pics
Thread Starter
Melting Slicks
Joined: Jan 2005
Posts: 2,658
Likes: 4
From: Clifton Park NY
Ok, gave it a love tap an it dropped in. I have the mounts all bolted. Sweet!
Now I have a question.
Engine block is lined up nicely with the tranny, I still have 3 bolts that are started and only put in with my hands.
TC spins nice and free and not yet bolted up to the flex plate. Here's my question
Right now I have about a 1/2" between the TC plate and the flex plate. Am I suppose to just pull the TC forward to meet the flex plate or is there something else?
thanks guys.
Le Mans Master

Joined: Feb 2005
Posts: 5,146
Likes: 3
From: The Motor City
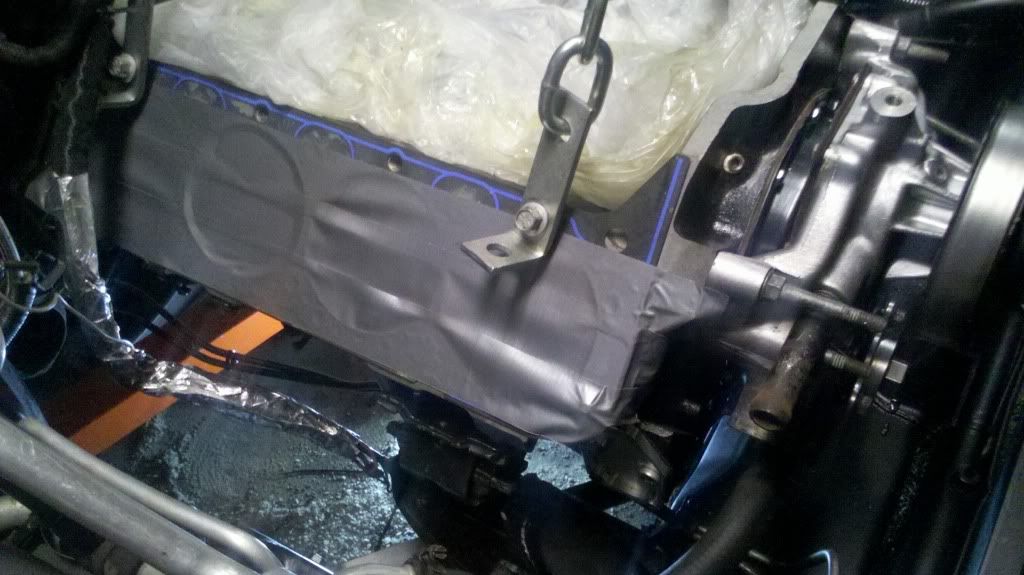
Is that duct tape on a paper gasket?
Thread Starter
Melting Slicks
Joined: Jan 2005
Posts: 2,658
Likes: 4
From: Clifton Park NY
maximum distance between the converter and flex plate should be around .290. if exceeding that you will need to use a spcaer (real grade 8 washers not lowes crap). However, until the trans case is somewhat tight against the block you won't know for sure what you have for distance.......where's Pete ?
Is that duct tape on a paper gasket?
Is that duct tape on a paper gasket?
So I suppose making spacers out of some scraps pieces of pressure treated is out of the question?...LOL I put the old head gaskets on to protect the deck and then used duct tape to protect the bores, and the plastic to protect that. I didn't want anything in there thats not suppose to be there.
I was thinking if I pull the TC forward to connect then it may not drive the pump in the tranny so that may not work.
The new block and flex plate matched exactly to the old block and flex plate so I'm a bit surprised that I have this amount of space in there.
Gonna try and get a photo of it in just a bit.
Thanks vettemike... now that its a bit warmer I'm ready to roll with this thing. Took a while last night to get everything to line up , the correct angles and such. But just wanted to take my time with it and be sure its right.
Last edited by qws; Feb 14, 2011 at 09:46 AM.