


Another Optispark/LTCC project
Thread Starter
Racer

Joined: Dec 2012
Posts: 301
Likes: 2
From: NY
I�m finally getting underway on my LTCC, optispark, water pump project. April 4, 2014
I�m following LT1*C4�s thread as a guide! Titled �Replacement Optispark and Water pump install (1992 LT1)� Awesome!


I�m following LT1*C4�s thread as a guide! Titled �Replacement Optispark and Water pump install (1992 LT1)� Awesome!


Thread Starter
Racer
Joined: Dec 2012
Posts: 301
Likes: 2
From: NY
I moved along a bit this morning. Next I�ll spend some time cleaning up the gack. Reassemble in a week or so. Took a little over 2 hours to get to this point. Not nearly as difficult as I had feared it may be. 


Thread Starter
Racer
Joined: Dec 2012
Posts: 301
Likes: 2
From: NY
Thread Starter
Racer
Joined: Dec 2012
Posts: 301
Likes: 2
From: NY
Thread Starter
Racer
Joined: Dec 2012
Posts: 301
Likes: 2
From: NY
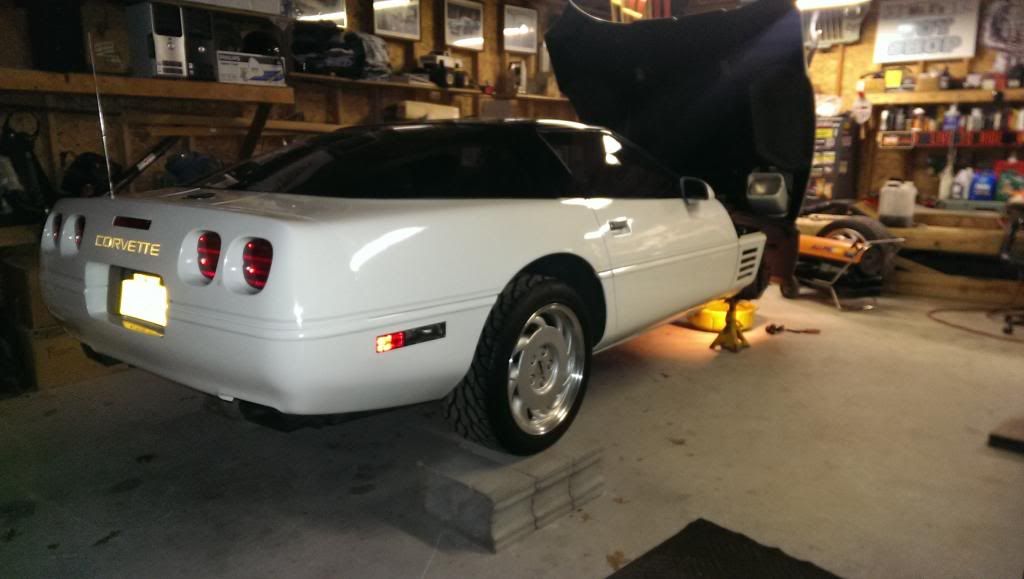
This is what I�m looking at. Any suggestions as to best place for black box and for running harness to coil packs? Also anyone mess with the seal or leave it be? If needs to be changed any suggestions as to best method?


Drifting


Joined: Jan 2014
Posts: 1,568
Likes: 594
From: Jefferson City Missouri
You have it apart this far, my suggestion is to remove the timing cover and replace the opti spark drive seal, the water pump drive seal, the crank seal and the timing cover gasket. It will take a little extra time that will save you additional headaches down the road. I replaced all of those seals on my 93 and 94 LT1 Z28's a few years back. Time and money well spent.
Corvette Stories
The Best of Corvette for Corvette Enthusiasts

150 hp to 1,250 hp: Every Corvette Generation Compared by the Specs That Matter
Joe Kucinski
8 Coolest Corvette Pace Cars (and Replicas) of All Time
Verdad Gallardo
Top 10 Corvette Engines RANKED by Peak Torque (70+ Years of Muscle!)
Joe Kucinski
Corvette ZR1X Will Be Pacing the Indy 500, And Could Probably Race, Too!
Verdad Gallardo
Top 10 Corvettes Coming to Mecum Indy 2026!
Brett Foote
Top 10 C9 Corvette MUST-HAVES to Fix These C8 Generation Flaws!
Michael S. Palmer
10 Revolutionary 'Corvette Firsts' Most People Don't Know
Joe Kucinski
5 Reasons to Upgrade to an LS6-Powered Corvette; 5 Reasons to Stay LT2
Michael S. Palmer
2027 Corvette vs The World: Every C8 vs Its Closest Competitor
Joe Kucinski
Thread Starter
Racer
Joined: Dec 2012
Posts: 301
Likes: 2
From: NY
You have it apart this far, my suggestion is to remove the timing cover and replace the opti spark drive seal, the water pump drive seal, the crank seal and the timing cover gasket. It will take a little extra time that will save you additional headaches down the road. I replaced all of those seals on my 93 and 94 LT1 Z28's a few years back. Time and money well spent.
The crank seal is bone dry. How about the two little guys pictured. Does the timing cover need to come off to change them out? Also in order to remove timing cover I assume the crank end has to be removed? How does the crank piece come off the end? Is a puller needed? Thanks for the suggestion.
Oh yea the car has 39,000 miles if that plays into the decision making and how much further I go in?
Le Mans Master


Joined: Dec 2006
Posts: 5,139
Likes: 482
From: H-Town Texas
While as general rule, sure now would be a good time to replace those seals and gaskets. However, at 39K and if it is not leaking now, and judging from what I can see in the pics, they don't appear to be, I wouldn't worry about it. You know, the old, "If it ain't broke...".
But I am curious about the LTCC conversion. I've got about 4x the miles you do and still running the factory installed opti. I'm sure it can't last forever. And when the time comes, I will be needing to replace some seals. lol
But I am curious about the LTCC conversion. I've got about 4x the miles you do and still running the factory installed opti. I'm sure it can't last forever. And when the time comes, I will be needing to replace some seals. lol
Thread Starter
Racer
Joined: Dec 2012
Posts: 301
Likes: 2
From: NY
While as general rule, sure now would be a good time to replace those seals and gaskets. However, at 39K and if it is not leaking now, and judging from what I can see in the pics, they don't appear to be, I wouldn't worry about it. You know, the old, "If it ain't broke...".
But I am curious about the LTCC conversion. I've got about 4x the miles you do and still running the factory installed opti. I'm sure it can't last forever. And when the time comes, I will be needing to replace some seals. lol
But I am curious about the LTCC conversion. I've got about 4x the miles you do and still running the factory installed opti. I'm sure it can't last forever. And when the time comes, I will be needing to replace some seals. lol
You know you're right? While I'm in there maybe I should change them all? I may need a puller to do the job? I really have all the time I need, I'm in no rush what so ever. I'll dig a little deeper and find the appropriate process to service them. If I do it I'll post the pics.
Thread Starter
Racer
Joined: Dec 2012
Posts: 301
Likes: 2
From: NY
I finally finished installing my LTCC kit. The car started right up and drove fine. BUT the tachometer is not working and the ASR light is on. I attached a schematic showing how I wired the white and pink wires so you can see how I installed it. During this installation I heard the words tach filter, is this something I need to get my tachometer working and to get the ASR light
https://www.corvetteforum.com/forums...ch/jpg.gifout? Please help.
https://www.corvetteforum.com/forums...ch/jpg.gifout? Please help.

Melting Slicks

Joined: Aug 1999
Posts: 2,240
Likes: 42
From: Baltimore, MD USA
In your diagram you have one White wire form the LTCC box going to the input
of the tach filter.
You need to bypass the tach filter.
Remove the White wire you installed at the Tach filter. Find the other White wire from the Tach filter which is the output of the filter. Cut the wire. Now connect the White wire from the LTCC box to the wire you cut. (End going back to the Dash Cluster Tachometer).

Last edited by Hooked on Vettes; Jul 15, 2014 at 03:57 PM.
Thread Starter
Racer
Joined: Dec 2012
Posts: 301
Likes: 2
From: NY
In your diagram you have one White wire form the LTCC box going to the input
of the tach filter.
You need to bypass the tach filter.
Remove the White wire you installed at the Tach filter. Find the other White wire from the Tach filter which is the output of the filter. Cut the wire. Now connect the White wire from the LTCC box to the wire you cut. (End going back to the Dash Cluster Tachometer).
What I don't understand is where is the tach filter located on the car? Was it part of the stock coil module/coil assembly? Or is somewhere else?
I follow what you are saying, I just don't know where to locate the tach filter and the white wire exiting it?
Thanks Glenno

Melting Slicks
Joined: Aug 1999
Posts: 2,240
Likes: 42
From: Baltimore, MD USA
I don't have a 92 manual. The diagram is for a 93.
The diagram shows where the tach filter plugs into the harness.
The tach filter has 2 White wires. An input and an Output.
It also has a Black Ground wire. Find the Black ground wire which
is shown in the diagram and follow the wire to the tach filter.
Location: RH front of engine taped in Engine harness.


Team Owner


Joined: Sep 2003
Posts: 25,375
Likes: 2,734
'92 should be the same - it's the same image in a '92 FSM. It's a very long pigtail on the filter. It's entirely possible that it's also taped to or into the harness. It's a very compact filter, don't expect a conventional earlier type capacitor.
Here's a rather old post with a snapshot of what to expect and he mentions near coil connector:
http://forums.corvetteforum.com/1570841121-post1.html
Here's a rather old post with a snapshot of what to expect and he mentions near coil connector:
http://forums.corvetteforum.com/1570841121-post1.html