When you click on links to various merchants on this site and make a purchase, this can result in this site earning a commission. Affiliate programs and affiliations include, but are not limited to, the eBay Partner Network.
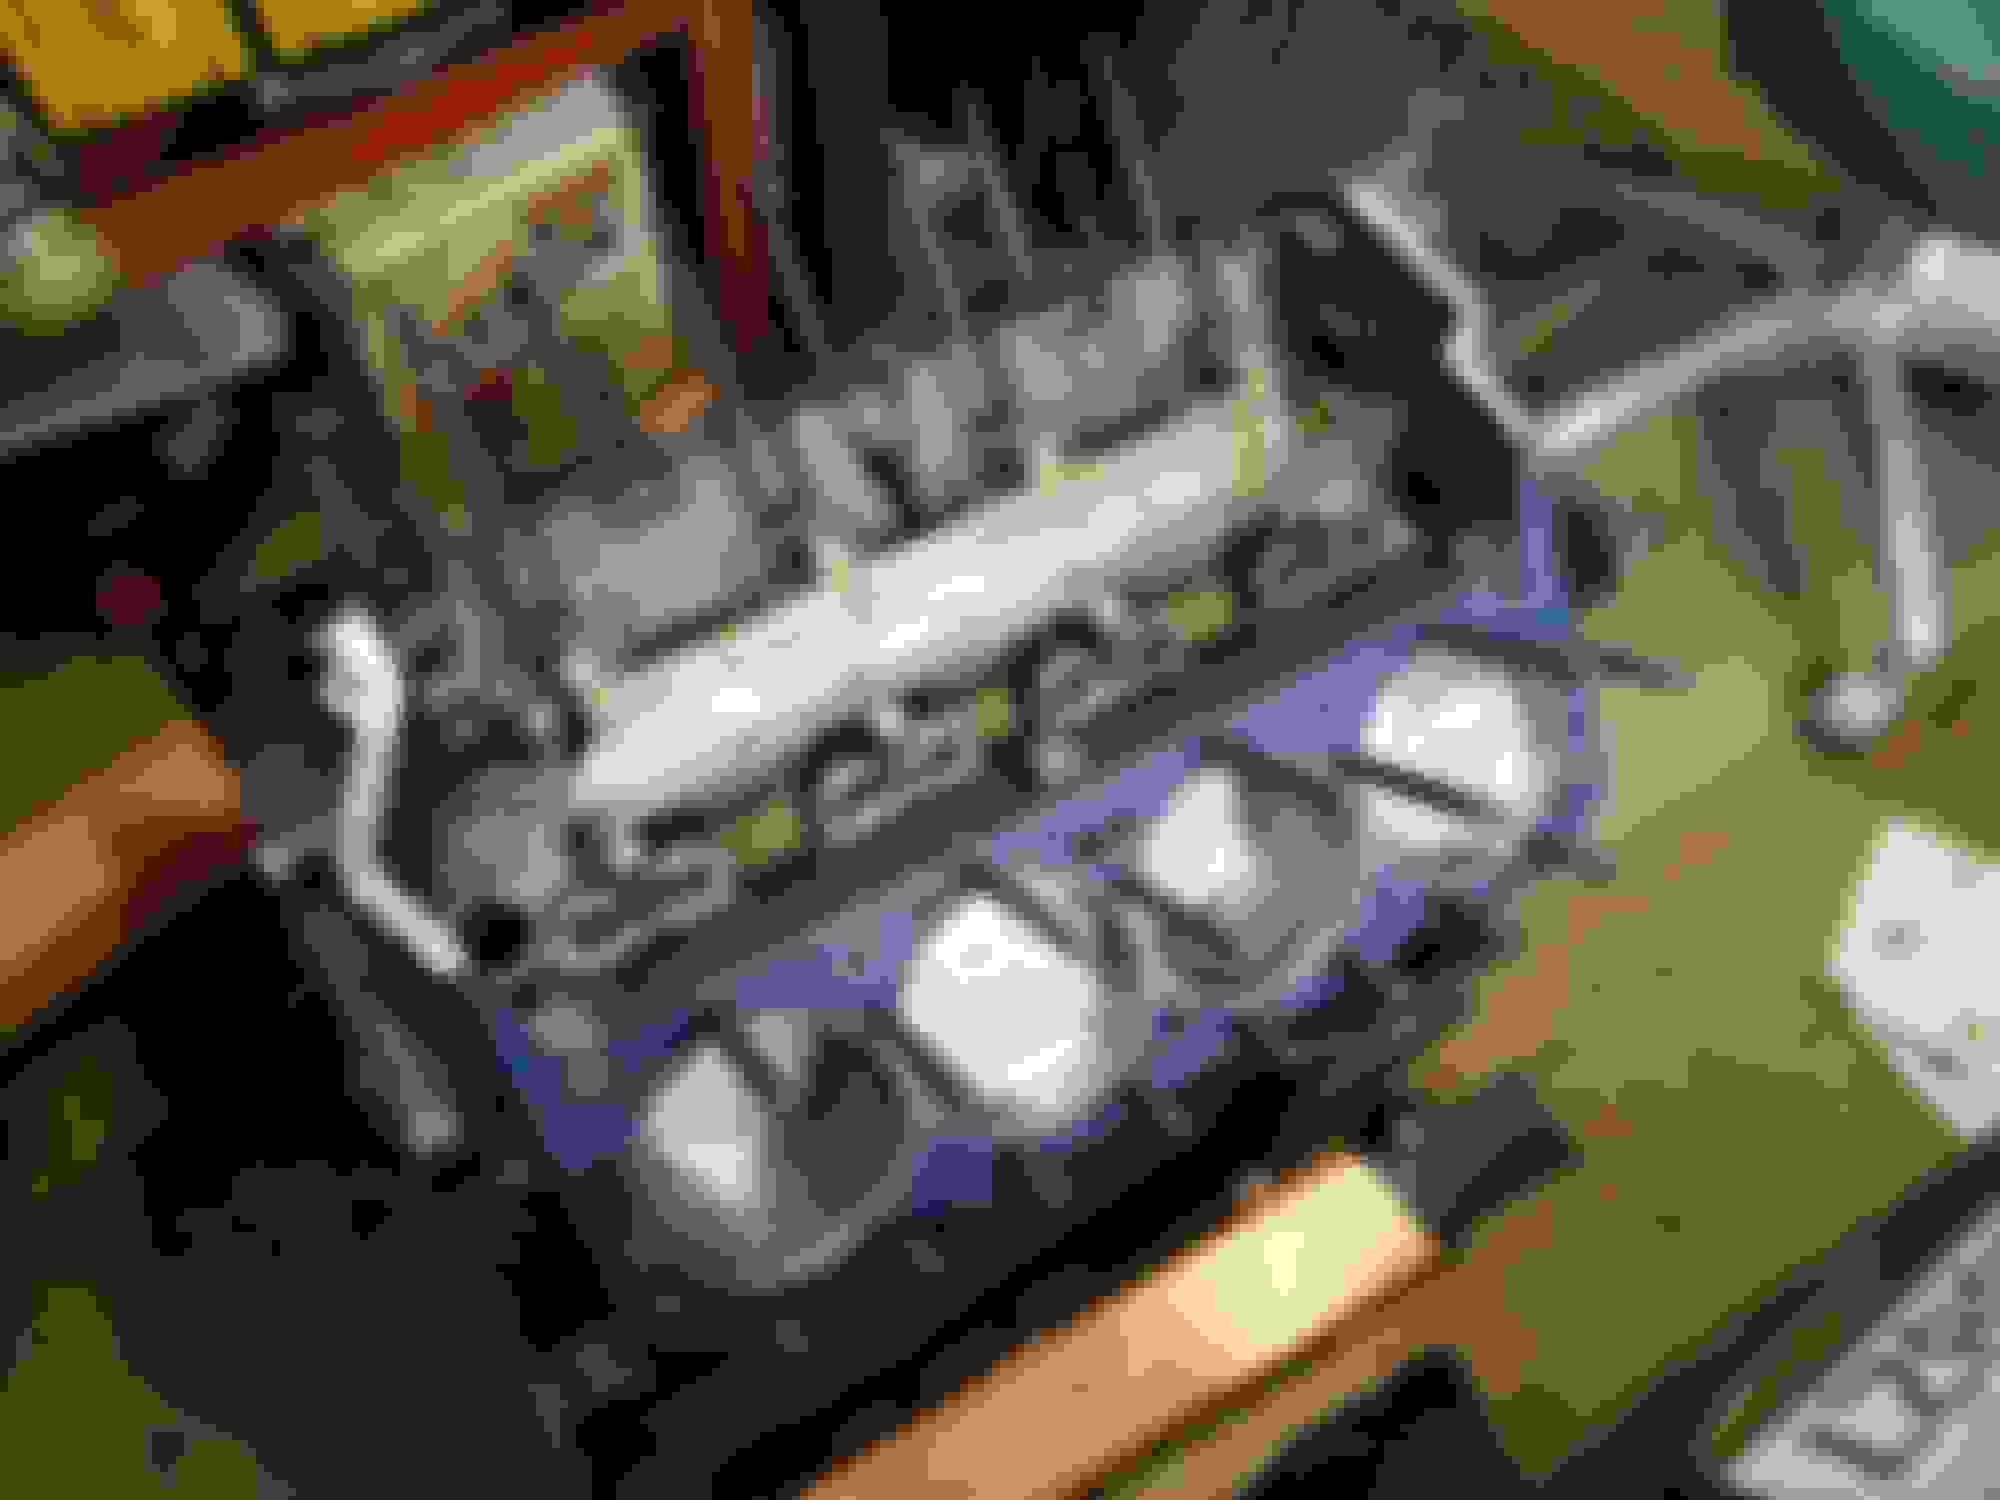
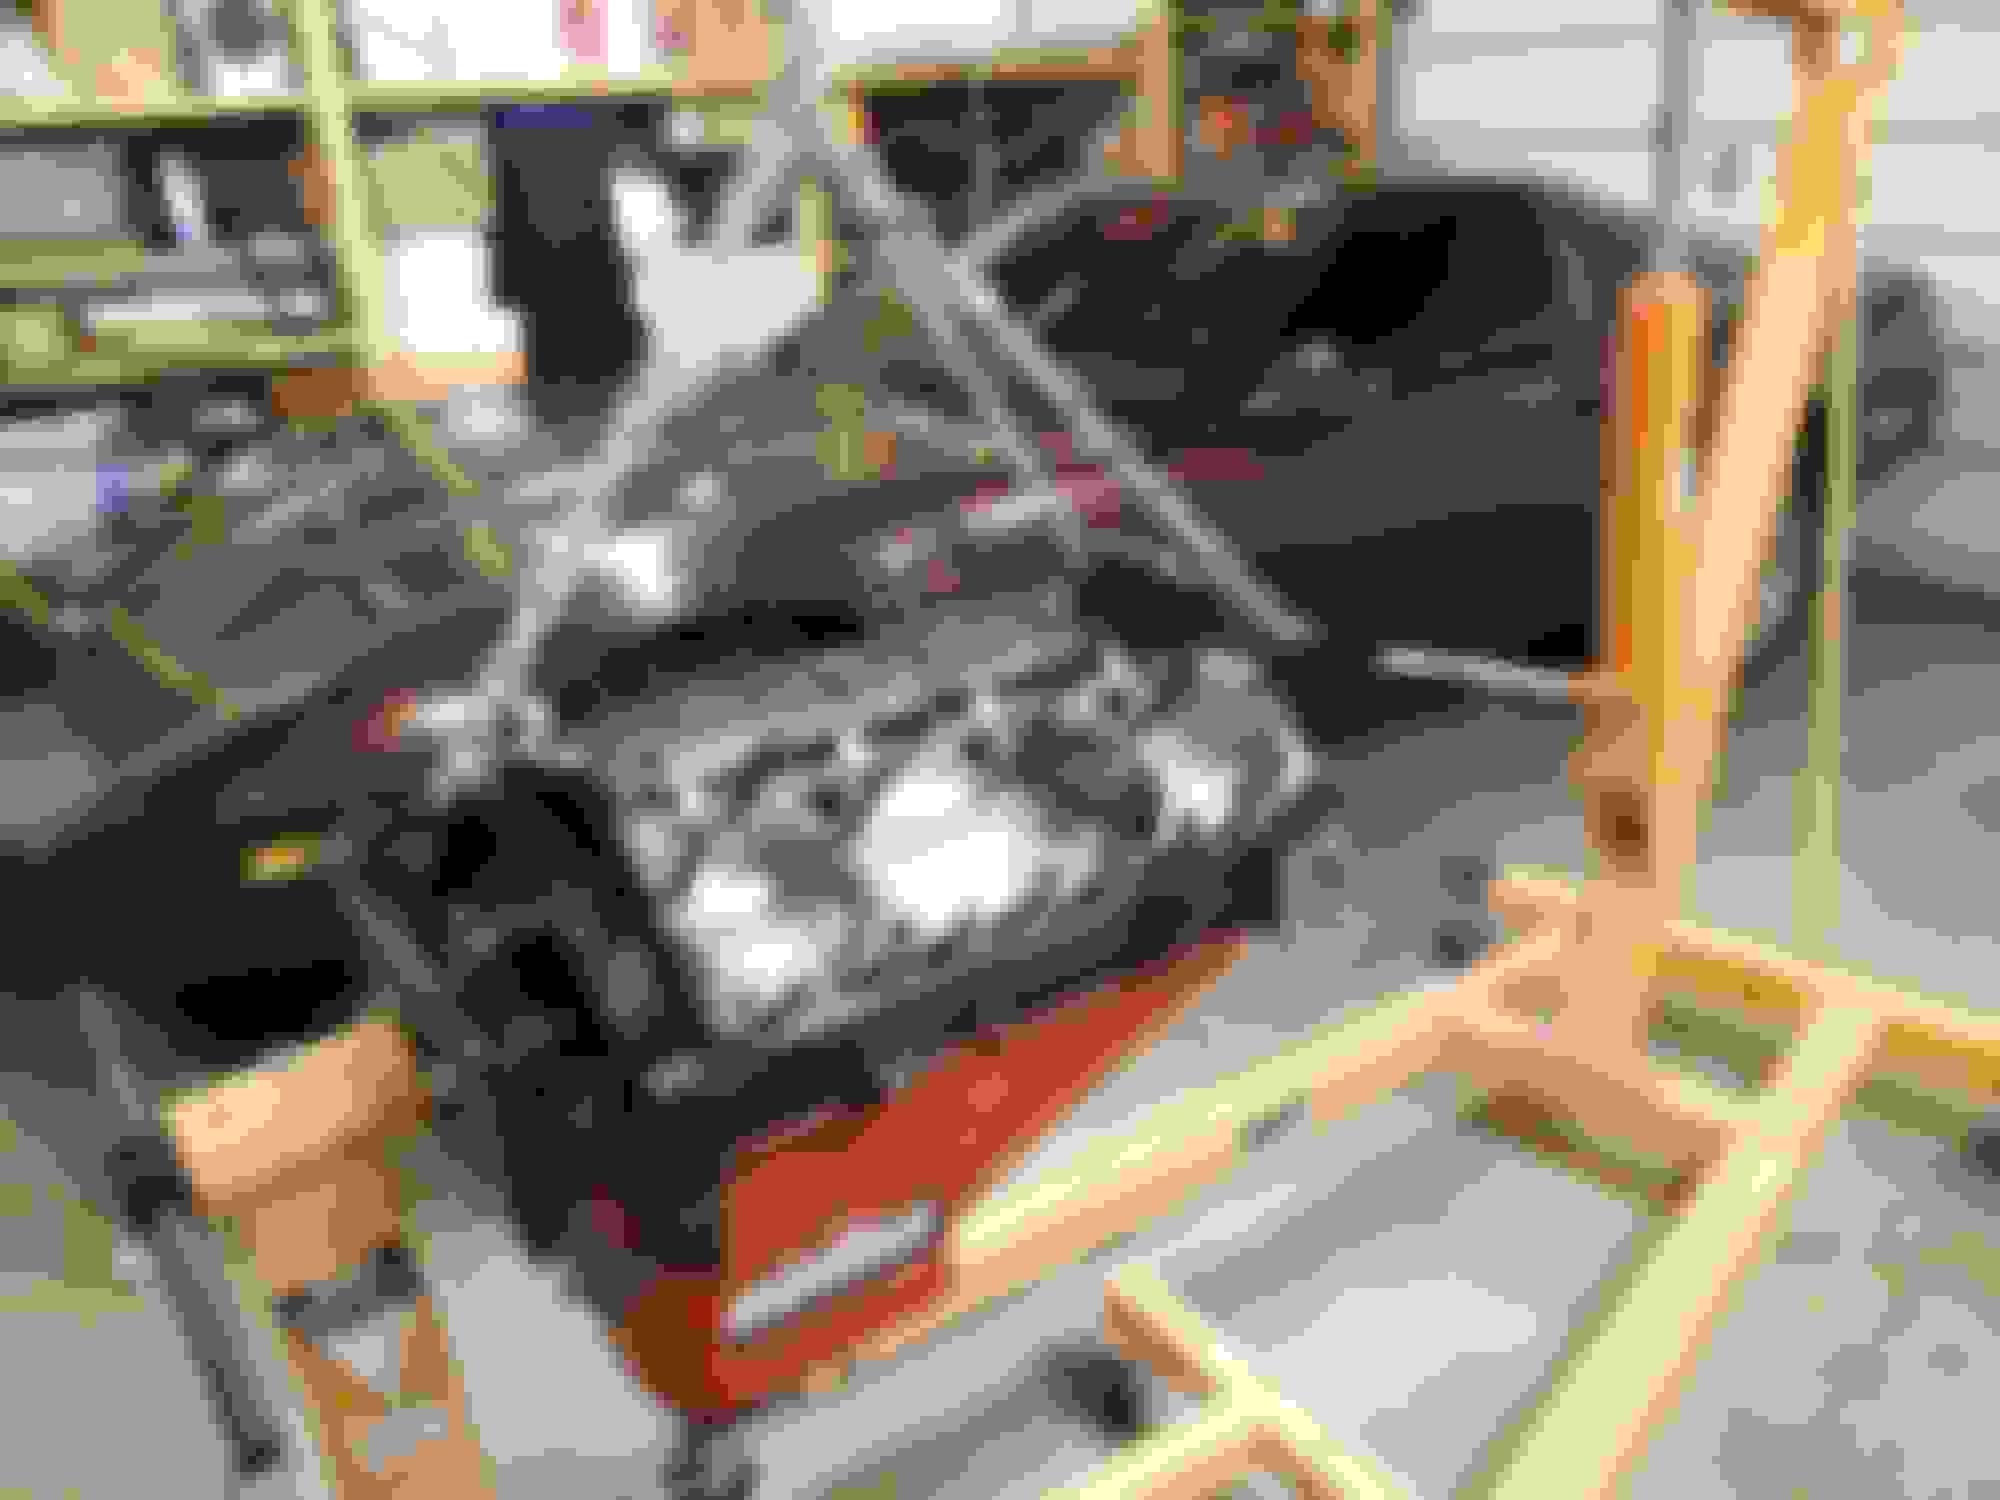
I bought someone's abandoned project, a 383 stroker, and I plan to put it in my 1990 6-speed C4. It's my first time pulling and replacing an engine, so I'm probably going to need lots of help.
To start off, does anyone have any general tips for the project? Anything I should check for on the new engine? Things I need to replace?
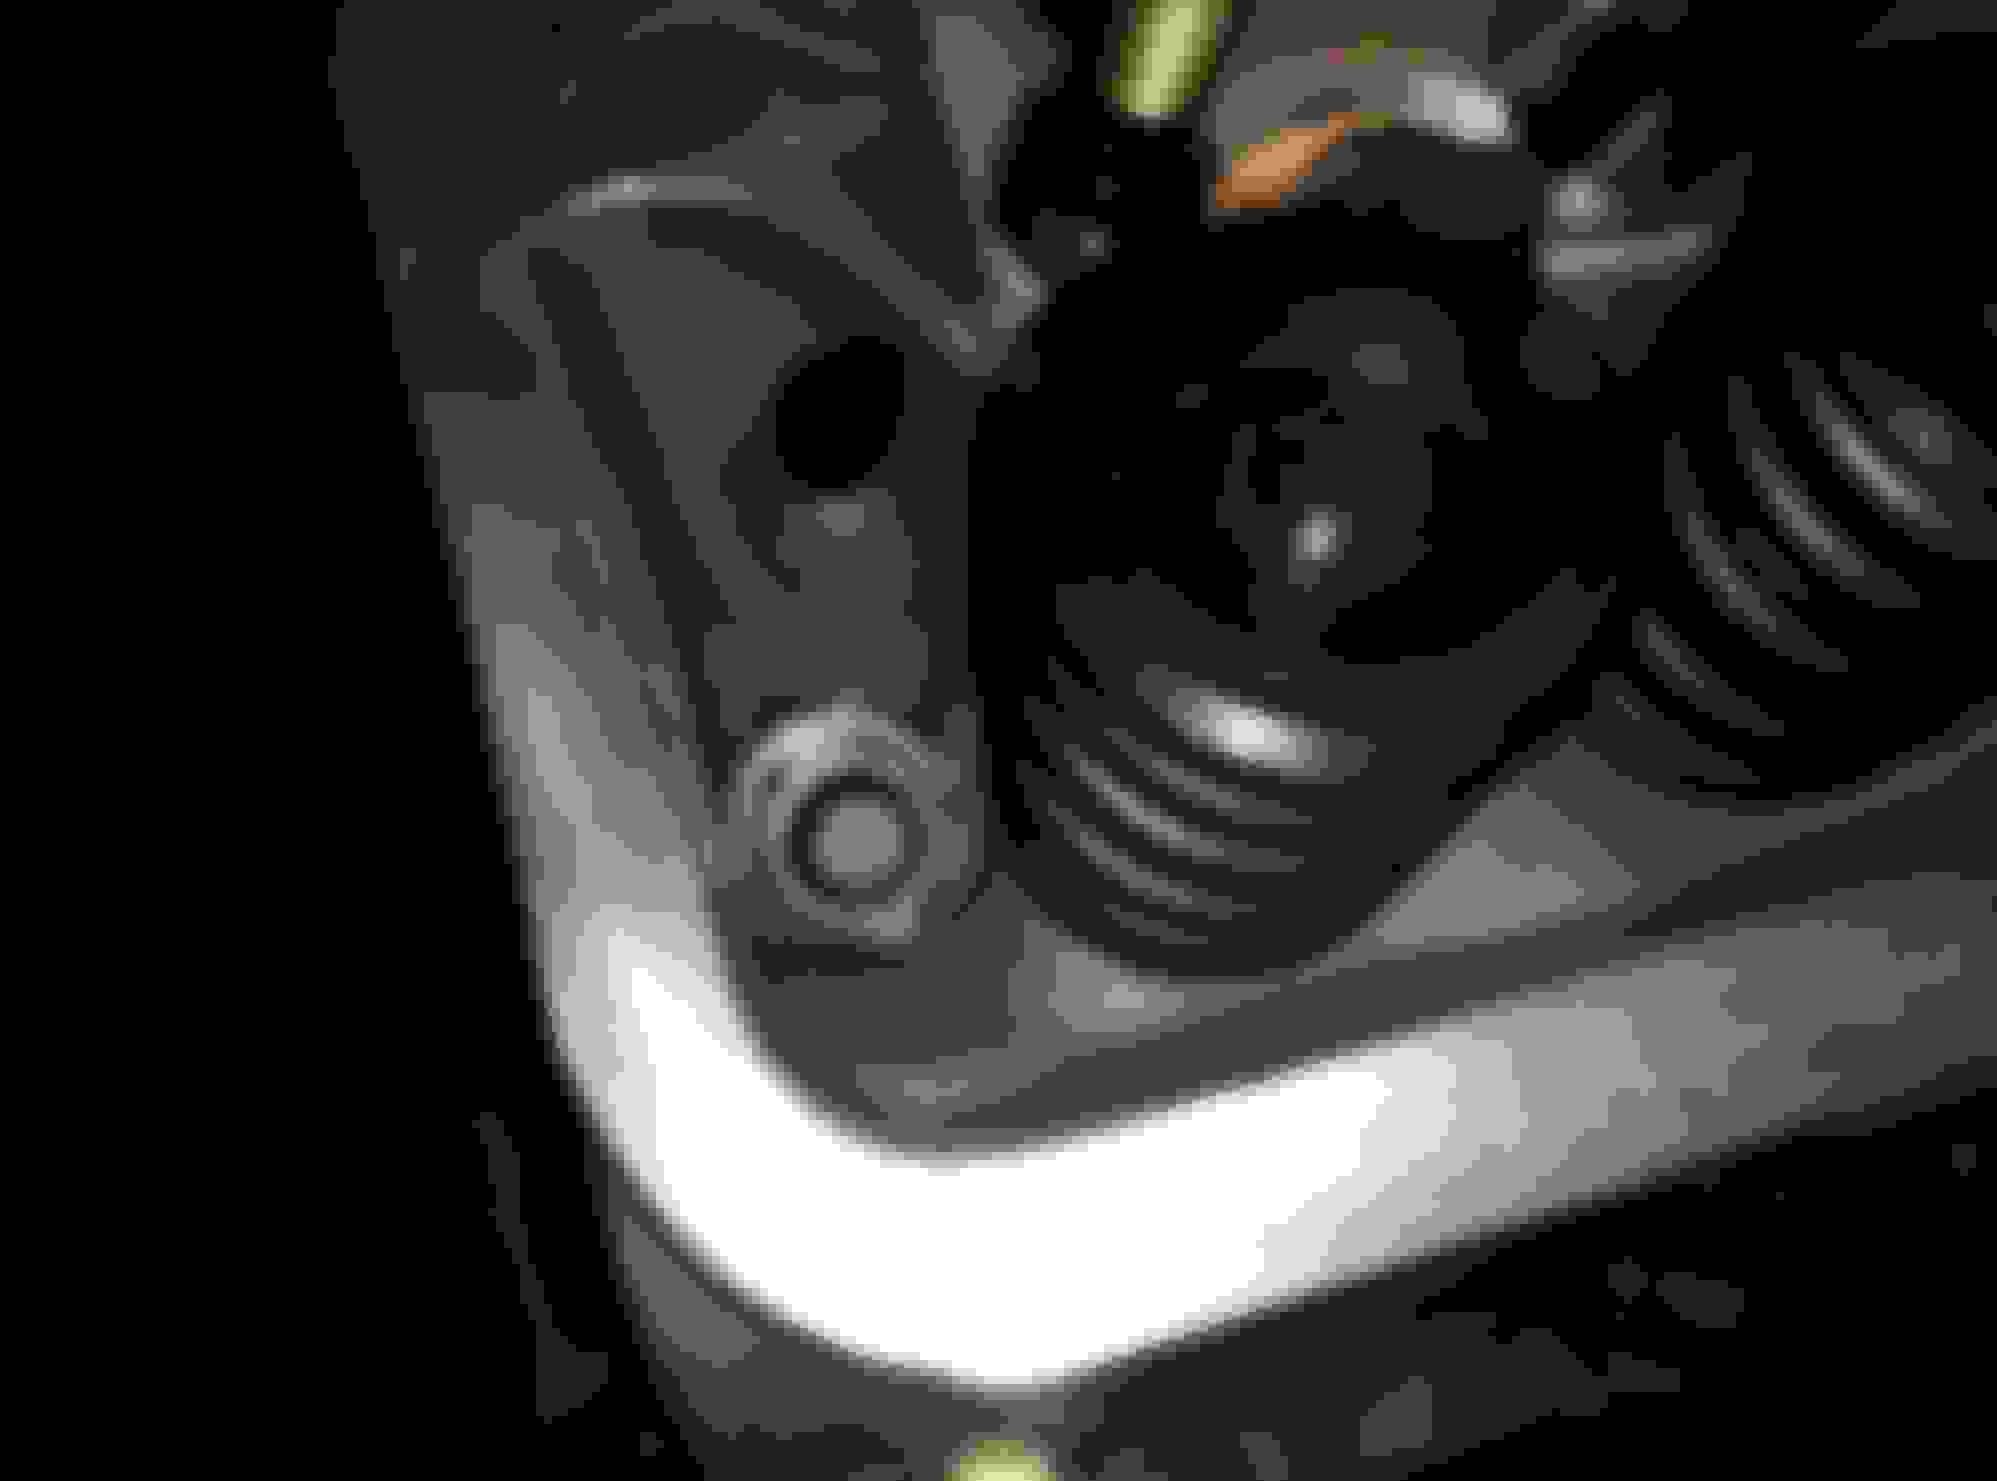
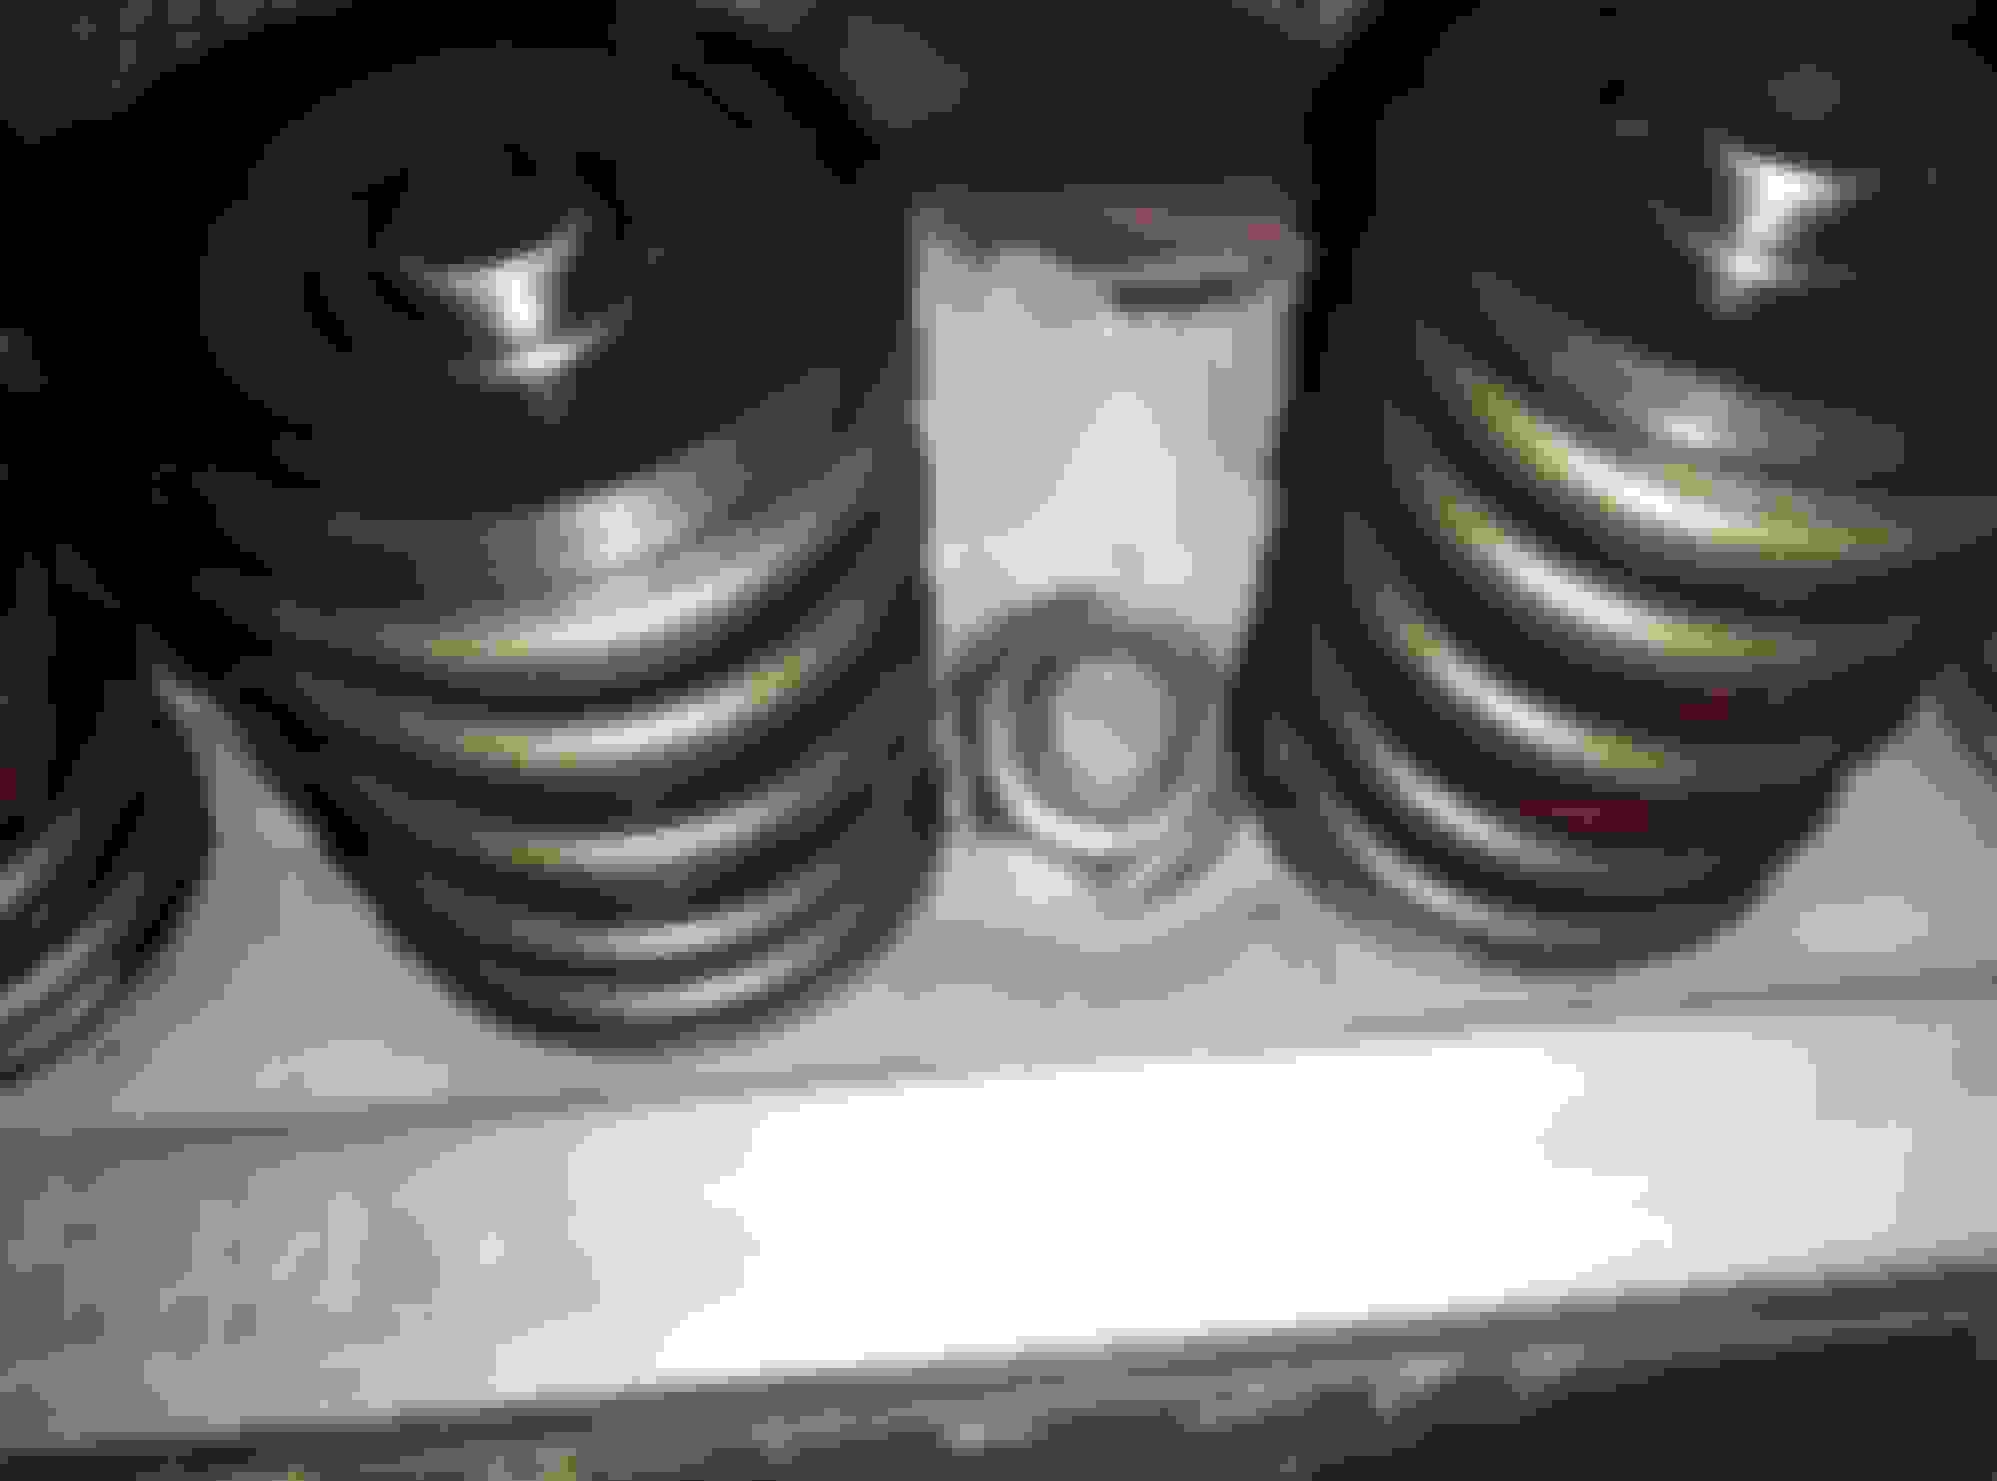
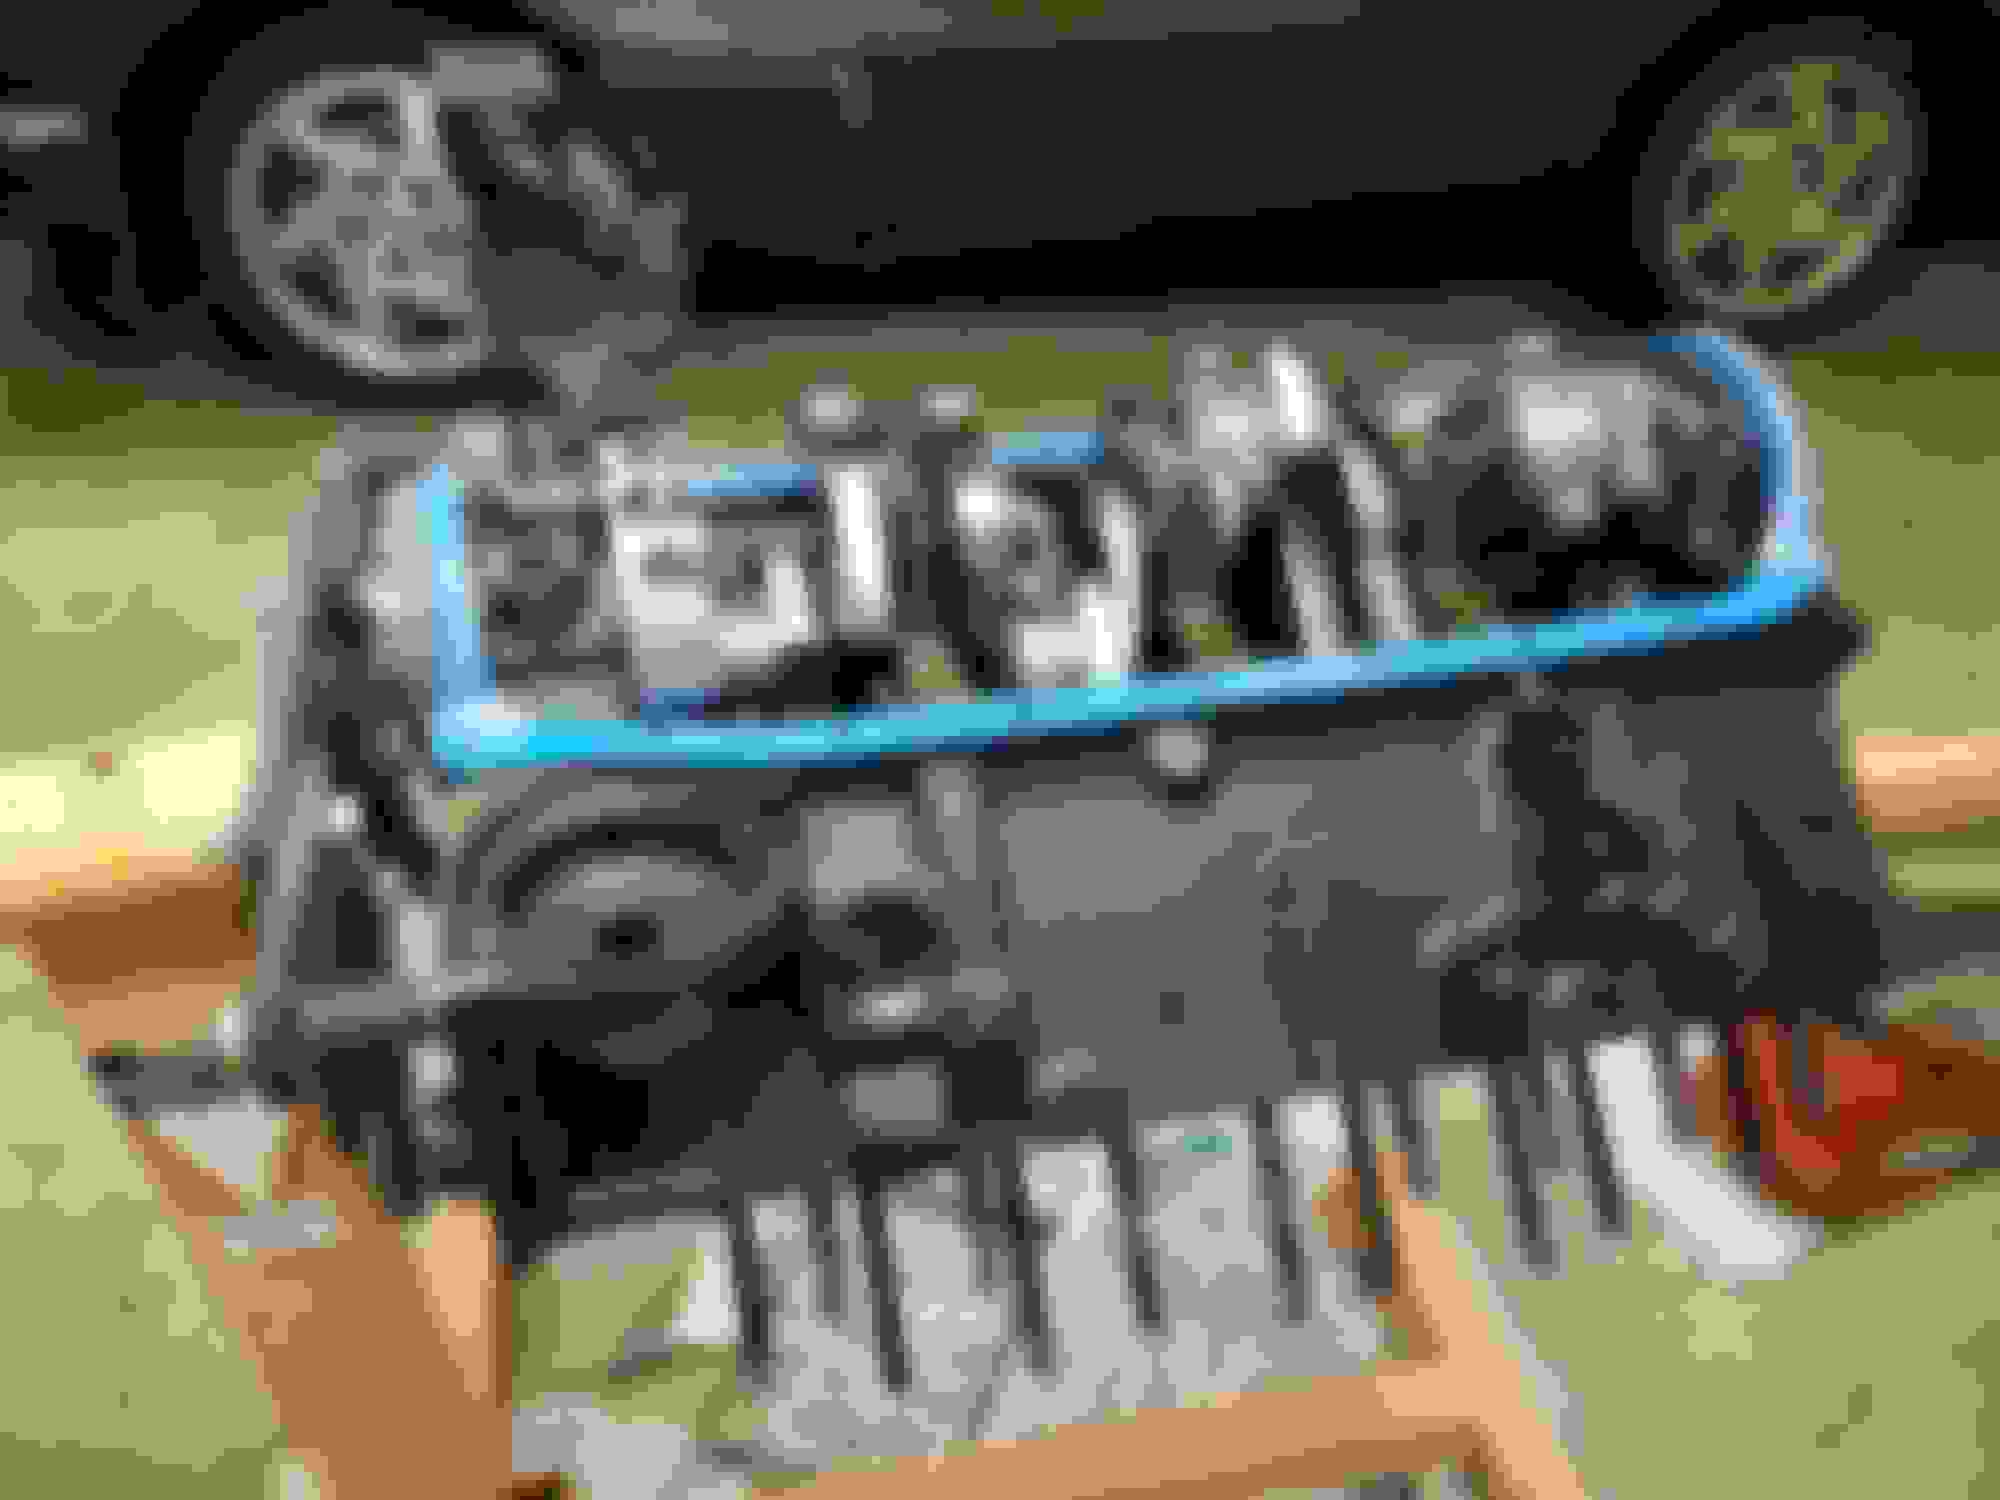
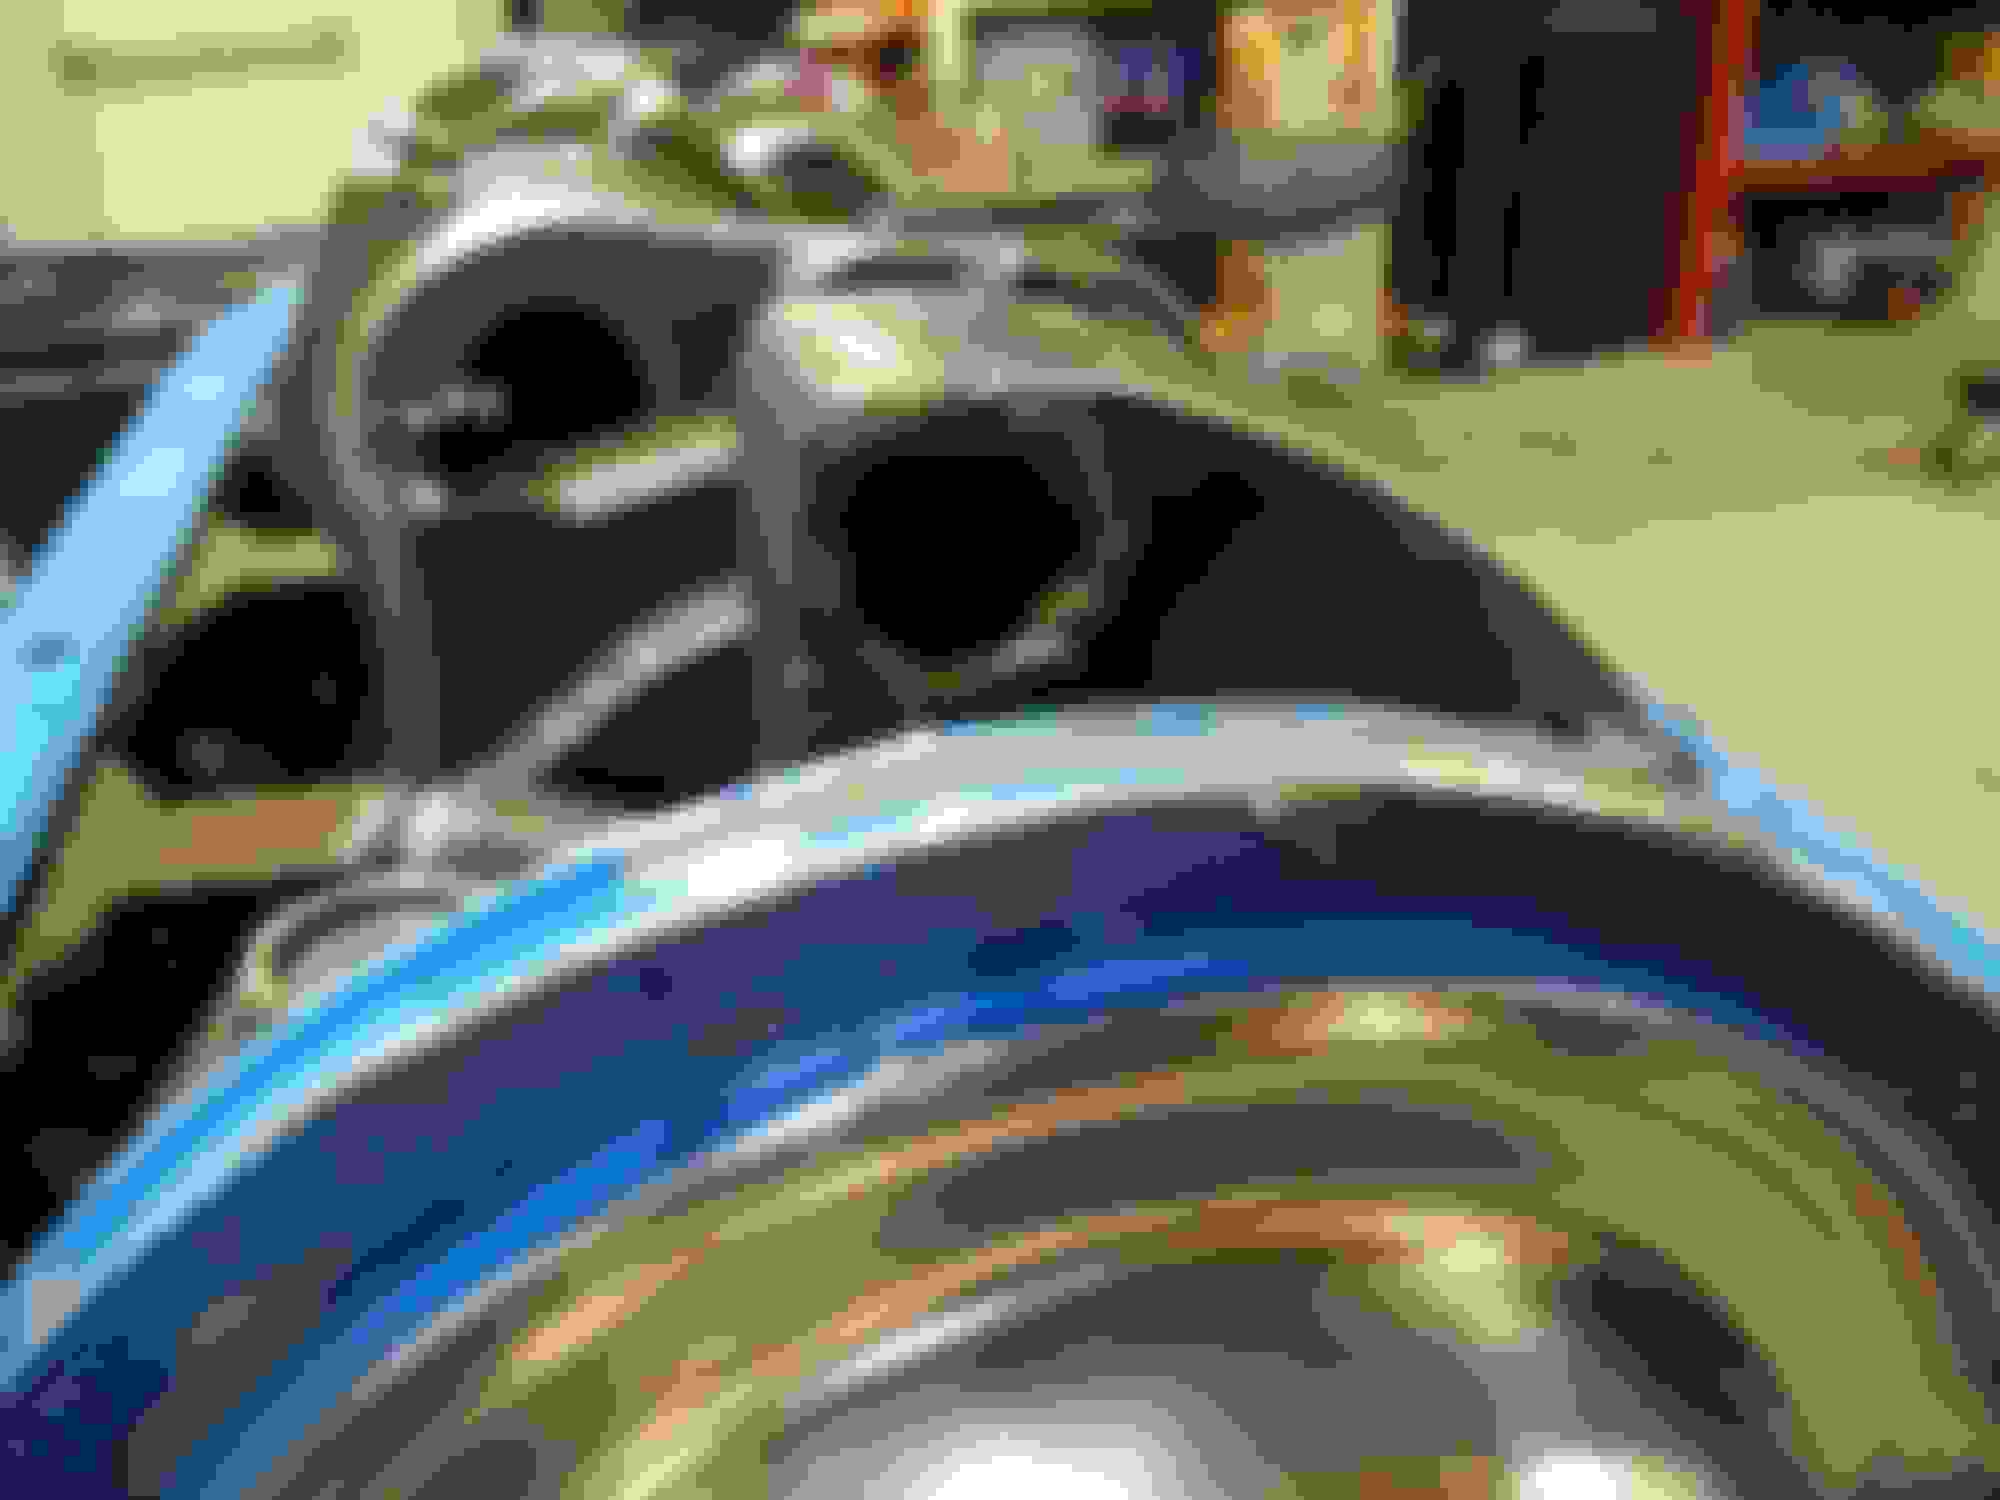
I need to pull the heads so I can measure the deck clearance, but I already ran into a snag. I pulled the valve covers, got a socket, but found that the socket won't fit over some of the head bolts (Actually, it appears to have nuts and studs instead of bolts). Several of the studs are close enough to the valve springs that a spring gets in the way of the socket. Even if I remove the spring, I'm not sure it will fit. Here are pictures of the offending studs:
It's been years (and I do mean years) since I've seen anything like that. It was a friend building a racing engine with a number of modified parts and he had clearance issues after getting all the machine parts put in. What he did (I was just observing) was use some smaller diameter springs from the hardware store to hold the valves closed so he could mount the heads. Once he had the heads on then using an air chuck, spring compressor etc he swapped out the temporary springs for the real ones on the engine.
Did it work - yes, was it a pain to do - yes. It worked out for him so hopefully something comparable may work for you.
Those are head studs. Once you remove the nuts, you'll have to lift the heads up to the top of that stud to get them off the engine. I don't know that you're going to have room to remove the heads with the engine in the car. I haven't tried it, but it's something to look at before you remove the nuts and have to pull the engine anyway.
It's been years (and I do mean years) since I've seen anything like that. It was a friend building a racing engine with a number of modified parts and he had clearance issues after getting all the machine parts put in. What he did (I was just observing) was use some smaller diameter springs from the hardware store to hold the valves closed so he could mount the heads. Once he had the heads on then using an air chuck, spring compressor etc he swapped out the temporary springs for the real ones on the engine.
Did it work - yes, was it a pain to do - yes. It worked out for him so hopefully something comparable may work for you.
Good luck.
So do you think have to remove the springs? What a pain.
Originally Posted by trackbird
Those are head studs. Once you remove the nuts, you'll have to lift the heads up to the top of that stud to get them off the engine. I don't know that you're going to have room to remove the heads with the engine in the car. I haven't tried it, but it's something to look at before you remove the nuts and have to pull the engine anyway.
Ah, perhaps I should have been more specific. These are the heads on the new engine, which is on a stand on the floor of the garage. I need to pull the heads to see if a .015" gasket will result in clearance issues.
Surely someone else has had this same problem? If so, please chime in ASAP. I want to get this swap done over Christmas break so I need to get the heads off to see which size gasket I need as soon as possible.
Never mind, I had the idea to try a 5/8" spark plug socket and sure enough the walls were just thin enough to get it onto the nuts!
Last edited by C4ProjectCar; Dec 18, 2014 at 04:58 PM.
And, just like that, I've encountered another difficulty. I took the bolts out of the intake base to remove it so I could get the heads off, but it won't budge. I took out all 12 bolts, then tried pulling, prying, and lifting, and nothing would get it off. It looks like it should come off by prying between the block and the intake, right?
Double check to be sure that you have all the intake bolts removed. Just had to ask. Between you and your Dad, sure that they are all out. Does it look like silicone on the china wall at the front and rear of the block. Check the color, red, blue, clear or black. Silicone can act like glue. You might try and run a razor blade or exacto knife blade between the block and intake at front and rear. Then insert screw driver or wide wood chisel and see if it will pry off.
Double check to be sure that you have all the intake bolts removed. Just had to ask. Between you and your Dad, sure that they are all out. Does it look like silicone on the china wall at the front and rear of the block. Check the color, red, blue, clear or black. Silicone can act like glue. You might try and run a razor blade or exacto knife blade between the block and intake at front and rear. Then insert screw driver or wide wood chisel and see if it will pry off.
I just got it off.
All the bolts were out, and it just took some extra chiseling with a putty knife. The sealant was grey, and I'm thinking it was "The Right Stuff" by Permatex.
Replace #1 cyl valve springs with light duty hardware store springs. Check piston to valve clearance + retainer/keeper to stem seal clearance & valve spring coil bind with the cam, lifters & rockers you will use. Also a good time to check push rod length to insure the rockers are positioned properly on the valve stems.
Replace #1 cyl valve springs with light duty hardware store springs. Check piston to valve clearance + retainer/keeper to stem seal clearance & valve spring coil bind with the cam, lifters & rockers you will use. Also a good time to check push rod length to insure the rockers are positioned properly on the valve stems.
I'm aiming for .040".
Will any of/all of those measurements require specialized tools that I can't borrow from the local auto parts store?
Also, the previous owner said that the engine is internally balanced. Is there a way for me to verify this before I put the engine in my car?
To check deck height on engines with flat top pistons & without a depth mic:
Place a length of metal flat stock on the deck, bring the piston all of the way up, use feeler gauges to determine the distance from the underside of the flat stock to the piston top. This is the deck height. Add the thickness of the head gasket, the total is the quench area.
If the pistons have a dome & depending on the dome configuration you may need a depth mic.
In either case take the measurement @ the centerline of the piston pin.
To check cam lift/piston to valve & valve seal to retainer/keeper clearance:
Install the checking springs, head gasket, snug the heads down, cam in, one pair of lifters, push rods & rockers. Set rockers to zero lash with the lifters on the heel of the cam. You want to check valve to piston clearance during the valve overlap. Rotate the engine until the exhaust valve is closing. When the intake begins to open push the exhaust valve down until it contacts the piston. The distance between the valve stem & the rocker arm is piston to valve clearance for the exhaust. Check the intake clearance at this time. I check both valves every 10 crank degrees during valve overlap. I use .080
minimum piston to valve for race engines. You will probably have considerably more clearance with a street profile cam & it is a good thing. I use a stack of feeler gauges set to .080
After checking valve to piston clearance rotate the engine & check retainer/keeper to valve stem oil seal clearance. The clearance can be "sighted", suggest .060 minimum.
Valve spring coil bind:
Install lifters, pushrods, rocker arms on a cylinder with the valve springs installed. Set rocker arms @ zero lash, rotate the engine until one valve is fully open. Use a feeler gauge to check the space between the valve spring coils. Lunatti recommends .060 minimum clearance between coils. Check the adjacent valve spring. If both intake & exhaust valve springs have adequate coil to coil clearance your good to go.
Rocker arm to valve spring retainer clearance:
Many times when using aftermarket rocker arms &/or retainers with larger diameter valve springs the retainers may contact the rocker arms when they cycle. Check for clearance on both intake & exhaust rockers as they cycle. Depending on the manufacturer of the aftermarket rocker arms some material can be ground off to establish clearance.
This is the time to check for correct push rod length. Plenty of "how to" on this forum using the search feature.
Internal balancing: Check the crank for fresh drilling or if heavy metal has been added it will be welded in.
Good luck.
Last edited by Churchkey; Dec 19, 2014 at 04:20 PM.
Reason: add text
To remove valve springs with the head off of the engine
...
Good luck.
Wow, thanks for the in-depth guide! I'll get to that as soon as I can.
I checked the deck clearance using feeler gauges, and, as well as I could measure, the clearances ranged from .018" on piston #1 to .024" on piston #7. I'm not sure why, but piston #1 measured .018" on the front, but .020" on the back. I made sure to measure right on the piston pin, so the discrepancy must have been just from unevenness in the block.
What do you guys recommend for a head gasket? I was thinking .015", but a quench distance of .033" would be way too tight. I'd like to have as high compression as I can, so I'm thinking as close to .022" as I can, on the high side of course.
I'm not sure what head gasket bore size to get either. Are there any disadvantages to using, say, a 4.155" bore instead of a 4.100"?
Edit: I'm having trouble finding reasonably priced head gaskets between .015" and ~.04". On either end, they cost $20-$30 each, but in between they're ridiculously expensive. Any suggestions?
Sorry, just got back to this. I have to say that balancing act (or at least I assume it was) on the crank would have me worried. Before you get too far into it, unless you're qualified to evaluate the work done I'd have a good shop take a look at it.
I'm seeing less than stellar results there and I'd rather have it looked over than just slap it together then have something potentially fail.
Sorry, just got back to this. I have to say that balancing act (or at least I assume it was) on the crank would have me worried. Before you get too far into it, unless you're qualified to evaluate the work done I'd have a good shop take a look at it.
I'm seeing less than stellar results there and I'd rather have it looked over than just slap it together then have something potentially fail.
My thoughts.
Hmm, thanks for the words of advice. Due to time and budget constraints, I'd rather not take it in but I will if I have to. What specifically looks sketchy to you?
Originally Posted by mtwoolford
Any idea what the compression ration is with your piston, head and gasket combo will be? A stroker builds compression pretty fast.
With a .02" gasket, I think I'm looking at around 9.8:1. It has 12cc dished pistons and 68cc heads, so compression definitely isn't going to be too high. In fact, I wish I could get it higher.
EDIT: Bringing this question back to the bottom so it won't get lost in the thread: is a .038" quench distance acceptable? My pistons are forged, which I seem to recall need more clearance since they expand more than hypereutectic pistons.
Last edited by C4ProjectCar; Dec 20, 2014 at 02:27 AM.
Sorry, just got back to this. I have to say that balancing act (or at least I assume it was) on the crank would have me worried. Before you get too far into it, unless you're qualified to evaluate the work done I'd have a good shop take a look at it.
I'm seeing less than stellar results there and I'd rather have it looked over than just slap it together then have something potentially fail.
And, just like that, I've encountered another difficulty. I took the bolts out of the intake base to remove it so I could get the heads off, but it won't budge. I took out all 12 bolts, then tried pulling, prying, and lifting, and nothing would get it off. It looks like it should come off by prying between the block and the intake, right?
You appear to be internally balanced, my 383 is built with a very near zero quench with forged flat top pistons, the DART Pro 1 200/58cc heads use a .030 Victor head gasket. (10 - 10.5 CR)
I remove my engine as a complete assembly, disassemble it once its on the stand. I think the hardest part about the removal process is the ground wire stud on the left transmission bell housing.
Six speed.......? plan the complete process before you begin. Keep in touch and good luck
Last edited by Vett1990; Dec 20, 2014 at 09:07 AM.
I do not have concerns about that crankshaft. The "drilled hole" in the counter weight looks like weld was added for balance.
The ground area has a slug welded in the hole or it was welded closed to add weight.
The area was then ground with a stone in a die grinder instead of a disc grinder = no big deal.
I would not be concerned about "perfect" quench area for a street motor. My current street motor build has zero deck with .035 (compressed) gasket. I am happy with that number.
Designer Imagines A Corvette That Looks More Like a Corvette Than the Corvette
Slideshow: A Jaguar designer's personal project imagines what a modern front-engined Corvette might look like if Chevrolet revisited the golden age of the Stingray.





 1990 Engine Swap