When you click on links to various merchants on this site and make a purchase, this can result in this site earning a commission. Affiliate programs and affiliations include, but are not limited to, the eBay Partner Network.
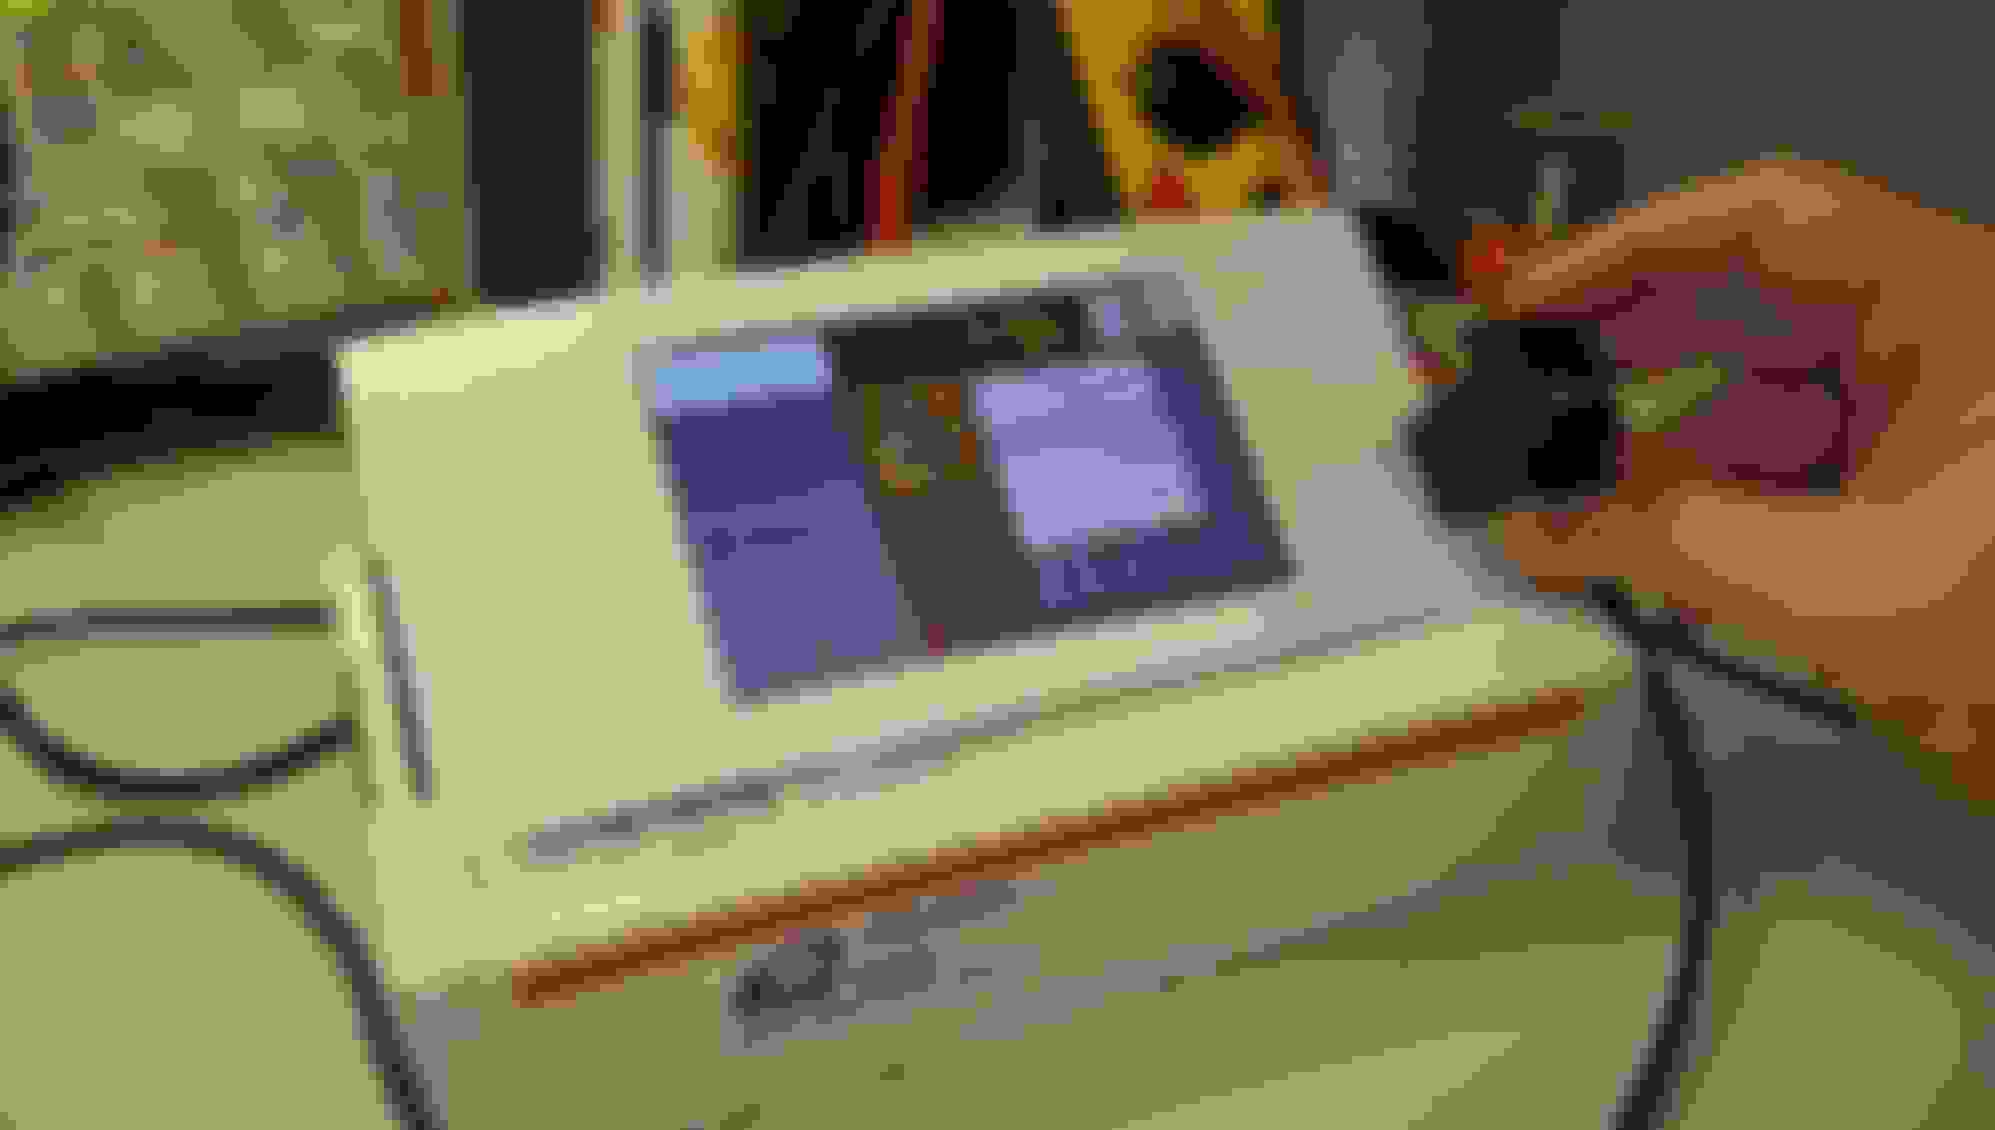
I've begun working on my BOSE head unit replacement project. This video demonstrates using an Adafruit Trinket micro-controller to govern the startup and shutdown of a Raspberry Pi 3. The Raspberry Pi doesn't like to be shut down by having it's power cut (like most computers) so to use a Raspberry Pi in a car, a method for cleanly powering down is needed.
It's a first step, but a necessary one.
Last edited by LWesthaver; 04-27-2018 at 07:48 PM.
Reason: fix youtube tag
In case anyone thought I had dropped off the end of the earth, I'm still toiling away at this project. 2017 was a tough year. After my previous post I had some health issues and so work on the project slowed down a lot. But after dealing with the health issues and finding out that some of my assumptions about this project were wrong, re-working those assumptions and updating some of the hardware used... Here is what the system now looks like:
You may have noticed that the touch screen is on the right-hand side now and the volume control is on the left-hand side where God and GM intended it to be. It turns out that by upgrading to a new capacitive touch screen, not only is the system more responsive to touch, it also allowed me to redesign the front panel layout and put the controls where I really wanted them in the first place. When I started this project, the capacitive touch screen wasn't available. Now it is. And it's cheaper. Yay!
I've reworked the power management system and made other improvements as well.
The GPS receiver I got for Christmas is now integrated into the system so now I can record road trip data.
And finally, I'm starting to work on displaying live OBD1 data. I'm still putting the puzzle pieces together and it may take a while (unless someone in-the-know offers to educate me) but the system is working for the most part and I'm happy with its appearance and features.
I posted these photos on the Facebook Corvette Forum and was overwhelmed by the positive responses I received. It is gratifying to see others getting excited about this project. Early C4 owners don't have a lot of options when it comes to replacing their old BOSE head units and I think this project will offer a viable option.
Looks nice. I like the way you fit it into a factory bezel. That makes it look sharp. Off to a great start. For now it looks like a lot of hardware to fit into the dash space available. I think that is going to end up being one of the bigger problems with this idea. Where to put all of the "stuff" for that you don't have to gut and rewire your car to install the thing.
I don't think I actually need a computer in the car BUT.... If thats what it takes to have a nice looking/sounding modern car stereo for my '88 I'm all for it.
There are a lot of 1.5 DIN size radios out there and its hard to believe no one makes anything DECENT that fits.
Looks nice. I like the way you fit it into a factory bezel. That makes it look sharp. Off to a great start.
That old BOSE face-plate bezel is just sitting in front of the 5" touch-screen display to help me visualize the end result. I'll have to get a fab house to make the front panel. I've done projects in the past that required custom front panel overlays with membrane keypads etc. so this should be doable.
Originally Posted by slow-vette
For now it looks like a lot of hardware to fit into the dash space available. I think that is going to end up being one of the bigger problems with this idea. Where to put all of the "stuff" for that you don't have to gut and rewire your car to install the thing.
Most of what you see here is just prototyping breadboards etc. The actual components needed are a fraction of what you see. But you may be right. As I try to add more features, the component count will go up.
I hope to make this as plug-and-play as possible. I don't want to have to rewire the car to make it work.
I don't think I actually need a computer in the car BUT.... If thats what it takes to have a nice looking/sounding modern car stereo for my '88 I'm all for it.
There are a lot of 1.5 DIN size radios out there and its hard to believe no one makes anything DECENT that fits.
I'll be watching this thread!
Having a computer in the car isn't really one of my goals either, but a computer will allow for a lot of customization. I hope to actually hide the computer behind a user friendly interface so that it will look and act like a typical head-unit that you find in today's cars. But still it might be cool to be able to bring up a web browser when you need one or any other typical desktop application for that matter.
If it were my daily driver I wouldn't even worry about shutting it down. I am guessing it probably draws 250 to 300ma in an idle state? Not much of a drain.
If it were my daily driver I wouldn't even worry about shutting it down. I am guessing it probably draws 250 to 300ma in an idle state? Not much of a drain.
Yeah, the Raspberry Pi doesn't draw much power but I want to allow for other devices to be powered down too (like a GPS receiver.)
Also, I want to minimize the possibility of data corruption by shutting the system down cleanly.
Now if you want to be really trick design a preload and shutdown timer. For example use a relay to supply the power constant to the system. Have a tap off the courtesy light so when the door is opened the light triggers a timer to supply power and boot the system. Have the timer run for 3 minutes or so. Then have a key switched power lead to the same timer. That way the system is all booted and ready to go by the time we start the car and we won't notice the startup delay. Then have the shutdown command happen when the key switch goes off and have the timer supply power for 3 minutes after the car is shut off to allow the system to stop cleanly. I know I'm getting ahead of ourselves with this idea.
Are you using a 3.5 inch monitor that is capable of mirroring the image?
I'm using a 5" diagonal display that is a very close match to the existing BOSE faceplate. The display doesn't support mirroring natively (from what I've discovered so far). Are you looking for a way to create a heads-up display?
The Raspberry Pi does have some /boot/config.txt file options that let you do a horizontal or vertical flip of the display which should render the mirror image you are looking for.
lol, HUD. yeah I have that some what going.
I actually thought you figured out how to get a regular monitor to work with a PI... I have a 3.5 monitor I picked up that has a button for mirror image. I had that working a little bit, but it is not bright enough to work in the sun light. I was figuring I would buy an arduino if you had figured out something every person on line asks about a regular monitor running PI.
...I actually thought you figured out how to get a regular monitor to work with a PI...
I'm Not sure I follow you. What do you mean by 'regular monitor'? I've used Composite, VGA, HDMI, and DVI monitors with the Raspberry Pi. All of them worked fine. Can you elaborate?
I guess I should of said video tv, screen? I don't know.
The monitor I have only has 2 rca cables. Both video in. It auto switches between sources when power is supplied somehow. I don't know as I never tested it, just what is said.
So you are saying PI can be ran on a single video in, composite cable?
Last edited by bill mcdonald; 01-31-2017 at 04:24 AM.
Doing a search, I see it does in fact run off a single composite cable... And here I am somehow looking at searches of it saying it will not be compatible with car back up monitors. what do you know...
Guess it is time to research PI.
Last edited by bill mcdonald; 04-20-2017 at 02:18 AM.
It's been a few weeks since I last checked in so I wanted to post an update.
I have all of the power issues worked out now. I found an inexpensive buck-converter that can supply clean 5 volt power needed to drive the system components.
The power management code running in the Trinket is finished. The Trinket enforces a set of rules such that:
1) System will not power up unless the key is in the accessory/run position.
2) System will power down gracefully when the key is removed from the ignition.
3) The system will resume if the ignition key was removed while the system was running.
etc.
The system only draws about 38 milliamps when idle. I'm pretty pleased with this.
I found a very small Bluetooth keyboard with touch-pad that I can keep in the center console if ever I need to use the Car-Puter like a standard PC. To web-surf etc. The keyboard is back-lit so it can be used in the dark which is a nice feature. It is also rechargeable via USB cable.
I'm taking a few liberties with the faceplate layout as you can see from the paper mock-up. I want to include a USB port. The USB port can be used to supply media files (music, video etc.) to the system and also provide a way to charge your phone. Moving the display to the center of the faceplate solves a clearance issue with the USB and HDMI connectors on the display while providing a space for the USB port.
Here's a shot of the panel-mount USB port I will be using. I'll be mounting it with the flange behind the front panel. The mounting hardware for it and the touch-screen display will be hidden behind a black satin finish overlay (to match the rest of the car).
I am also beginning to put together the software that will drive all of this. I suspect that the software will be the part that I spend the most time on because I'm a tweaker and can't leave well enough alone. I'm using a software development platform called "Xojo". It makes developing graphical user interfaces a lot easier than other software dev platforms available for the Raspberry Pi. I'm pretty stoked about this. I hope it proves to be a good choice.
I modeled the digital clock after the original digital clock in the BOSE system right down to the size, color and segment shapes.
I joined a local 'Maker' group and now have access to a laser cutter. If all goes well, I'm hoping to have a chassis and faceplate fabricated in the near future. I'm planning on making the chassis out of 3mm clear acrylic (Plexiglass). This should help keep the cost down and allow for easy design changes.
Last edited by LWesthaver; 02-17-2017 at 06:10 PM.
Hi,
do you know the carpi project?
I was trying this out, but I couldn't get it working with a 5" Touch Display. Mine looks pretty same as yours.
Unfortunately I have only experience in programming C# Apps.
Will you share your software?
I've been browsing a lot of car-computer sites but I hadn't seen that one. Thanks, I'll look it over.
Like you, I tried some of the pre-packaged setups but decided that I would rather roll-my-own so I can get exactly what I want. I'm not trying to make the on-screen interface look like today's modern stuff. I really want it to look like it could have been something from the 80's... Just more functional.
I hope to share everything I'm doing. That includes CADD drawings of the chassis, parts lists and suppliers, schematics, and source code.
-Wes
Last edited by LWesthaver; 02-18-2017 at 03:51 PM.
Also, are you going to try an adjust the seats from the screen?
Yes! I was wondering if anyone was going to catch that.
I really like the sport seats but the controls built into the lower bolsters are prone to breaking as people get in and out of the car. I want to keep the sport seat functionality but get rid of the bolster mounted controls when I have new leather installed.
Moving the controls to the touch screen is part of my plan, but low on the priority list.
 01-26-2017, 04:02 PM


 I have a 3.5 monitor I picked up that has a button for mirror image. I had that working a little bit, but it is not bright enough to work in the sun light. I was figuring I would buy an arduino if you had figured out something every person on line asks about a regular monitor running PI.