When you click on links to various merchants on this site and make a purchase, this can result in this site earning a commission. Affiliate programs and affiliations include, but are not limited to, the eBay Partner Network.
Sorry for all the posts. But while I'm waiting to hear your thoughts on the steering shaft I thought I'd post a few more details on the rest of the project.
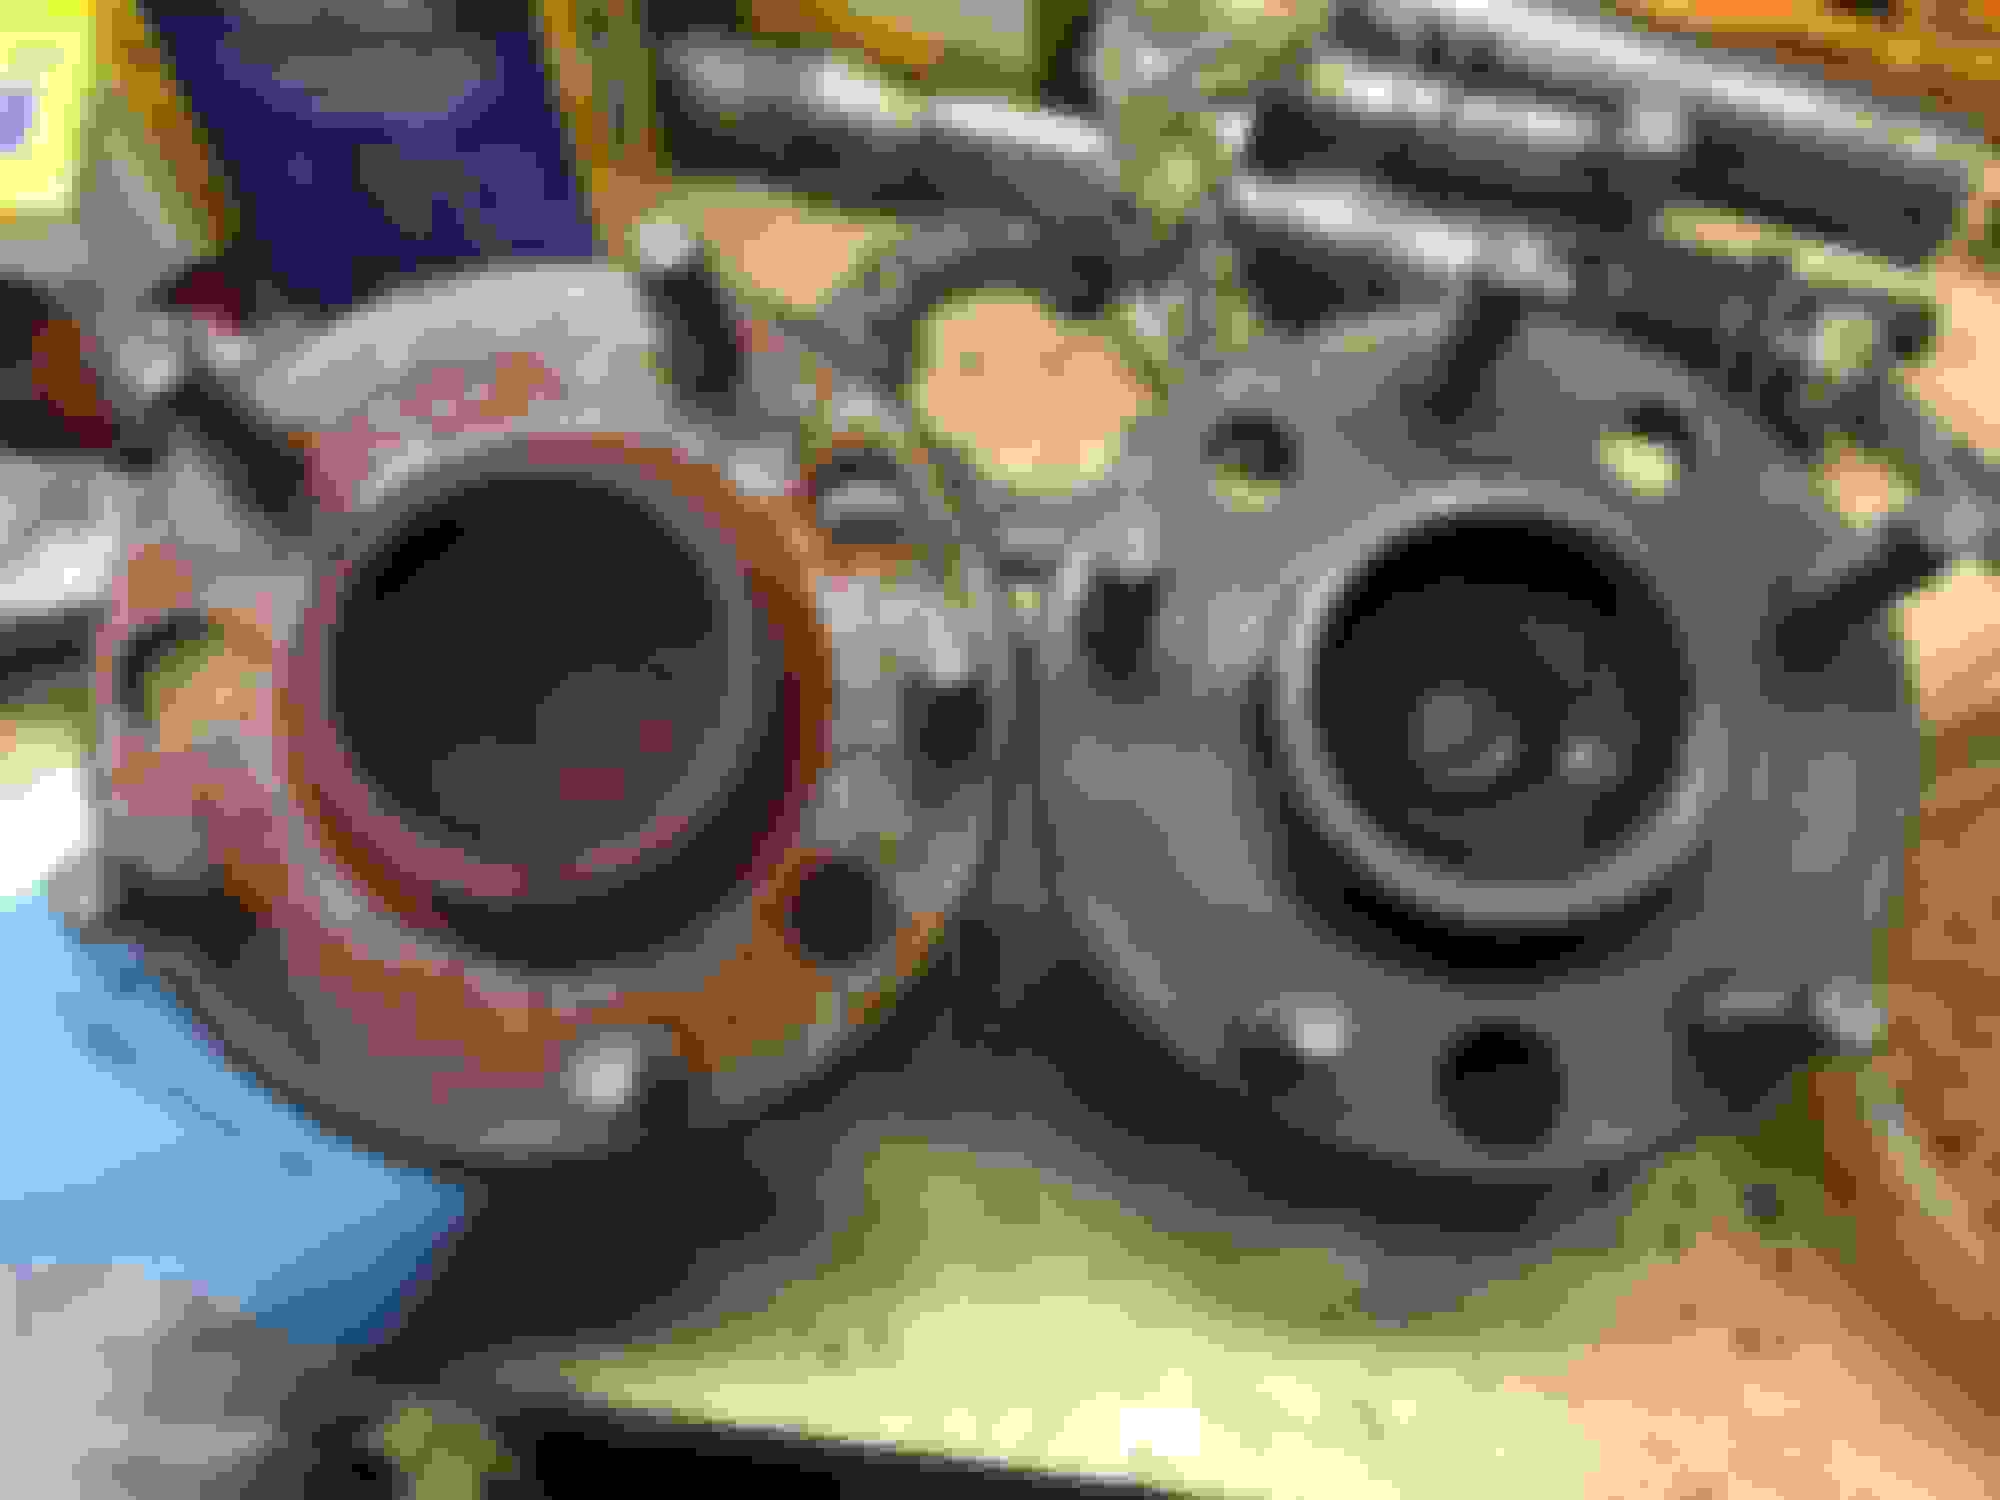
A little trick I used to remove rust is to soak parts in white vinegar. It's very cheap and very effective. My hubs has a buildup of surface rust. With new brakes going on I wanted a nice true surface. Now you could always hit them with a Roloc disc but it's messy, throws stuff and it's hard to get every spot with the studs in place. So I soaked them, what's super important to note is that you want to keep the vinegar shallow enough to not get near the bearing seal. That'd be bad!
soaking:
And now this is one that is done vs the one that hasn't been done yet. After soaking overnight in the vinegar it take a few minute with steel wool to remove the rust residue. I then used a little wd40 on a rag to prevent flash rusting.
Interest in my thread seems to have waned but nonetheless here is an update.
The car car is mostly back together as far as the suspension goes. The brake calipers are getting cleaned in an ultra sonic cleaner but 20+ years of baked on brake dust justbdoesnt want to come completely off so I am painting them. I decided on satin black so they'll sort of match my wheels are car. I didn't want to go with the gloss because I think the heat may dull the gloss finish quickly. That's where I'm at now. Once they're done they will go back on with the SS hoses. I got bushings for the rack but they look like an insane PITA to get to and I'm debating leaving them as is until the day comes that the rack comes out for a rebuild. The below is a pic of the complete passenger side.
As a side note, I got an aluminum replacement for the rag joint. It's meant for an F body but by drilling the bolt holes just a bit larger it will fit the C4. That's pending installation too.
Oddly no, the "ears" of the bushings exposed to atmosphere were very degraded but the shank of the bushings themselves looked and felt completely fine. None were wallowed out but it's hard to tell if they had any extra compliance when under load. Either way, I'm still glad to have a fresh suspension all around the car now.
In the future I'll be replacing both mono leafs. Both have some mild delamination. The front in the center and the rear on the sides. Also new shocks. For now, I've spent more than I wanted.
I inspected the power steering lines last night. All seems ok, I don't see any signs of wet so for the moment they'll stay in place. Still painting brakes now. Hopefully have them ready to be baked on Friday and installed on Saturday.
A little more progress today, I replaced the rag joint with the aluminum piece, installed the steering shaft and have the passenger side front brake installed. I didn't install the drivers side yet because the E clip for the caliper pin has a little mangled. So I called it quits for the day and headed to Napa for an E clip and the copper washers for the brake lines.
Heres some pic.
The rag joint rivets are a pain. I used a bech grinder to grind the heads down enough to remove the metal bracket and then slide out the rag joint. That revealed that the shank the rivets was a larger diameter and narrows before going into the yoke for the universal. No choice here but to use a hack saw to cut the shank off and then punch out the rivets.
And reassemebled with the modified F body aluminum replacement. A nice piece from Unbalanced Engineering.
While not suspension related something else I got around to today was modifying and installing thre bracket that used to go from alternator to exhaust manifold stud. It's been out of action for a few years because it didn't clear my fabricated aluminum rocker covers.
I used a hydraulic press to reshape it into something that worked. I had to grind a corner a bit to clear a primary tube on my headers.
I believe it originally went into the threaded hole in back of the alternator. That isn't possible with the big rocker covers. Instead now it goes into the accessory bracket which has a threaded hole and is very near to where it previously mounted. It should serve its purpose, I hope.
Got the brakes on today with the new stainless hoses and did some other items that have been on my to do list for a long time. That included reworking the valve cover breathers and rearranging the ignition coils bolted to the valve covers because one of them just barely grazes the hood sometimes.
Here is a competed look at the passenger side. I still need to get the toe on the car closer to right and bleed the brakes. The bleeding will wait until the rear is done as well. I like the Raysbestos coated rotors. Should stave off unsightly rust from the non contact surfaces.
I'm curious as to how the rag joint replacement will feel once on the road.
Appreciate you checking out the old rubber bushings. Based on the condition of yours, I'll postpone replacing mine.
Have you got any experience on the longevity of the coating on the Raybestos disks?
I imagine the aluminum joint may transmit a bit of roughness but not expecting much. I've owned cars without a ragjoint and never noticed harshness. In my research before finding the aluminum piece I came across one post (can't remember which forum or the user) where someone else modified this same F body piece for use in a C4. He too was worried about how it would feel but ultimately it didn't seem to cause any problems. Even with the car still off the ground I can feel that the steering is tighter. Won't know for sure till I drive it which is probably at least a month away.
As far as the raysbestos coated rotors this is my first experience with them so I can't say how they will do over time. They look nice at the moment!
PLRX said it a month ago, "All this needs new shocks"
I finally came around to that thought as well! Picked up ACDelco shocks for all four corners. They seem to be middle of the road pieces and that's ok. This is a strict street car cruiser and I wanted an affordable mix of comfort/precision.
Too cold to get me in the garage today so these will have to wait a bit longer.
I'm planning on doing this in the future, but plan on using KYB Gas A Just. I've had good luck with them in the past, and am running them on my daily driver, Nissan Frontier.
I'm planning on doing this in the future, but plan on using KYB Gas A Just. I've had good luck with them in the past, and am running them on my daily driver, Nissan Frontier.
FYI - mine came in today. $120 through RockAuto and a $40 rebate from KYB through the end of April.
Glad I decided to swap these out. Would have been a shame to do all this work and have these crappy shocks holding the car back. Here is the set that came out the front, can you tell which is blown?
And the passenger shock installed. Very quick job. Onto the drivers side now then a quick alignment of the front wheels (a good enough to get me to the alignment shop that is). Then finally onto the rear to replace the shocks and pull the brakes for a caliper rebuild.
Have both rear shocks installed. I also removed the last caliper from the car, cleaned and painted it. Need to install new seals and reassemble. Once the rear brakes are back on and system bled there won't be much left to do.
I am a little concerned by the parking brake cables at the caliper connection. The rubber boots on each are torn up. The coated cable and sheath look fine but should I worry about the missing boots? Anything I can do, short of replacing the cables? I imagine they'll work fine for a good long while as is.
I've got the same issue on mine. As far as I can tell, the boots are pressed on to the handbrake cable assembly, and cannot be replaced separately. Figured I'd just keep an eye on it and replace the whole assembly when the cable starts to wear.
 02-18-2017, 11:29 AM