When you click on links to various merchants on this site and make a purchase, this can result in this site earning a commission. Affiliate programs and affiliations include, but are not limited to, the eBay Partner Network.
It's getting quiet in these parts of CF so I'm going to post whatever I can to get some kind of conversation going. I want to, once again, shout out to Brett Bradbury for being my supplier for this hanger as well as most of the parts in my build, I also want to thank Brett for walking me through this install.
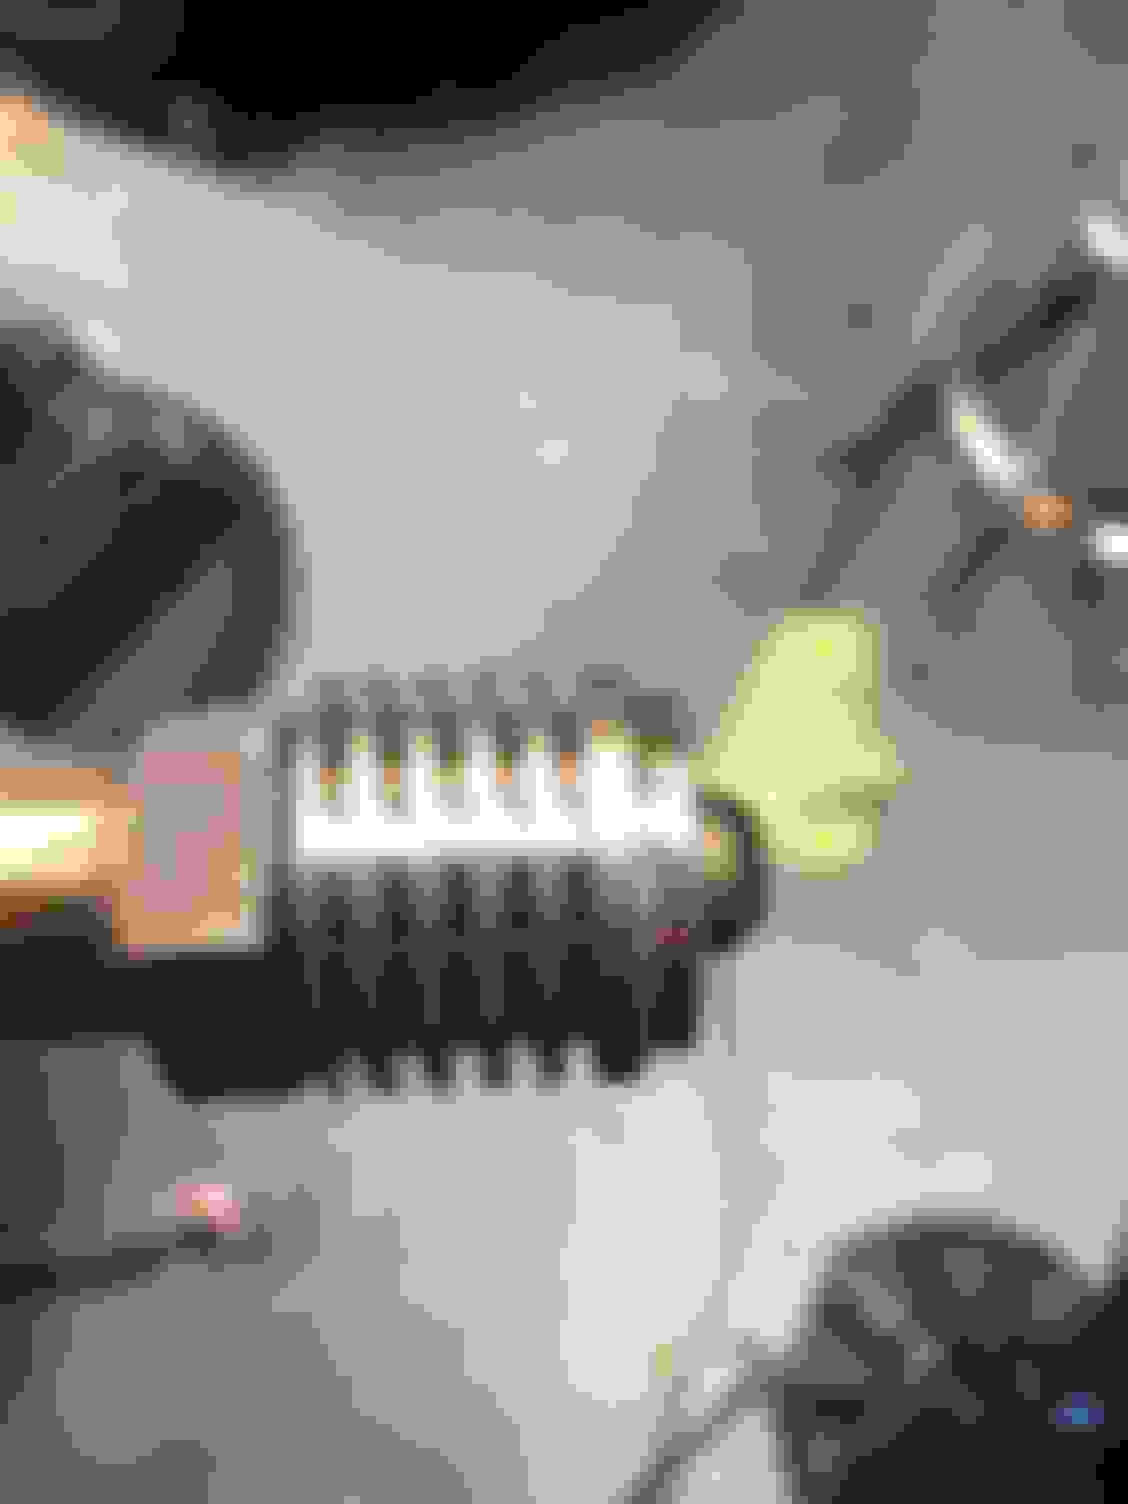
Pumps are in but I don't have any pictures of the install as it took both hands and a lot of cussing to get everything into the tank. I ended up breaking a wire off my fuel level sender while installing so I had to pull it all back out, solder tinned 14 AWG PTFE jacketed wire to the level sender before reinstalling and then crimp some new butt connnectors on there and throw it back together. In order to install the pump hanger here are the steps I used.
Disconnect right side(when looking at AN fittings) pump from hanger and let hang freely.
Do not attach fuel level sender to hanger yet. Slide left side pump, hanger and fuel level sender into opening in tank.
Wiggle, slide and finagle right side pump through the hole. It will be very tight but they will fit if you disassemble the hanger as described in step 1.
Use an allen key, zip tie, string or wire to align one of the holes on the right side pump's mount with the holes on the pump hanger.
Insert bolt into hole not occupied by allen key, zip tie, string or wire and thread in by hand a few turns. Leave it loose enough that you can insert the second bolt and have some play to get proper alignment and ensure you don't cross thread the second bolt.
Remove allen key, zip tie, string, or wire and thread in second bolt.
Tighten both bolts holding right side pump to the pump hanger.
Rotate hanger into position and clip fuel level sender into place. Crimp butt connectors for fuel level sender.
Hand tighten OEM bolts in an alternating pattern. Tighten bolts down until they are like 1/8-1/4 turn more than hand tight, I have never found a real torque value for these fasteners.
Wire up fuel pump power ground and fuel level wires however you desire. Mine is unique since I have a Racepak reading the fuel level sender and Fore FC3 controlling the fuel pumps.
Disregard my dangling plugs that I have been too lazy to remove and clean up.
Mykream - Here is the style of prefilter included with the hanger. They almost reach the backside of the tank and sit very close to the bottom, if not on the bottom, of the tank.
Last edited by Turpid porpoise; 04-03-2019 at 08:22 AM.
Interested in that fuel hanger setup. Could you post pics of the Venturi setup and how it�s hooked up? I went with an ECS fuel plate and an A1000 because I didn�t want to mess with the stock Venturi system.
As as far as the fenders go that sucks they were damaged. I wonder if you could have that buffed and cleared to keep the exposed carbon look. How do they fit btw?
The venturi is built into the hat itself and therefore, I can not take any pictures. All you do is hook up the 4AN port to the line feeding fuel to the siphon pump and use one of the 6AN ports as the return from the passenger tank, simple as that.
The driver side fender I was able to hit with enough compound that I can't notice the scratches without really looking for them. The passenger side fender with the chip taken out of the corner will take some real repairs using epoxy and sanding sponges followed by clear coat to get it back into shape. I've only hung the drivers side in place, no fasteners, but so far the fitment seems to be pretty good. The fender to hood line is nice and straight and all of the dimples are pretty close to the holes they are supposed to line up with. I probably won't finish mounting them for a couple of weeks.
I figured it would be that style of filter since Bret was involved. Yeahh, anything but a stock pump assembly is a pain to fit back in. When I installed mine after Bret had his way with it, it fought me a bit.. But after I took a breather and looked at it again, I got it in there. The feed line got bent up a bit going in, so I hope it's fine.. But it should be.. That plastic hose is tough.
I finally finished up all the new fuel lines for the RSI hat and it came out way better than the cluster F of lines I had due to using a single lift pump and dual pumps in a surge tank. I got rid of 5x 6AN bulkhead fittings I had in the floor of my trunk to pass fuel in and out of the surge tank. I spent the weekend welding new heat sink o2 bungs onto the CX racing kit and I think the location and angle will help keep the sensors healthy a bit longer. Other than that I have removed all of the hot parts to go in for ceramic coating so that will be the next update.
All of the pretty Redhorse lines and fittings came in thanks to Brett Bradbury, hit him up if you need anything that you see in my build.
6AN-45* for the siphon pump return. 6AN-90* for the return line. 8AN-90* for the pump feed line. 4AN-90* for the siphon pump feed. Lines are tucked up nicely to the fuel tank cover. 8AN from Hat to Fuelab Filter. 6 AN from Flex sensor to return port. Redhorse 6AN-8AN separators
As close to vertical as I could get without hitting the hood Just enough of the sensor is exposed to the exhaust stream.
Last edited by Turpid porpoise; 04-10-2019 at 09:01 AM.
So a couple quick questions since I�m running the same hotside, forgive me if I missed it in your thread already.
any concerns with the driver side manifold running so close to the alternator and brake master?
also for your radiator and fans, how are you wiring up them up? I spliced each positive into the plugs of the driver and passenger side and they turn on as soon as the engine runs and I can�t get to control the temps on/off with HPtuners
I�m more worried about the BMC than the alternator and I may try to make up a heat shield to keep some heat away.
I have an Elite 2500 triggering the fans through a pair of relays and they work fine for me.
have you gotten the cost quote yet? Who did you find to coat your piping? Pm if youd prefer
I have not asked for a quote yet, I just picked up a new hood this weekend so I'm debating on scrapping the hood exit downpipe and dumps in favor of dumping under the car. I use American Stripping who is local to me in Manassas, VA and they always do a very good job.
Last edited by Turpid porpoise; 04-15-2019 at 02:30 PM.
Looks great man and still have room for much bigger turbo correct?
Please PM the member's name that did the dash for you
Looking forward for more
Yes, plenty of room for more snail. I'm guessing I'll be happy with this setup for a year or so before I want to go bigger but at that point I'll need to start considering a Dart or LSX block.
Yes, plenty of room for more snail. I'm guessing I'll be happy with this setup for a year or so before I want to go bigger but at that point I'll need to start considering a Dart or LSX block.
Very nice I guess it's also easy to swap to T6 Flange later with LSX and 91 Turbo or something similar Good luck man and thanks for the PM.
have you gotten the cost quote yet? Who did you find to coat your piping? Pm if youd prefer
Dropped it all off yesterday and was quoted $630 for everything except the downpipe and dump tubes as I will be redesigning those to go all the way out back or dump under the car.
Ordered the first batch of tubing to start running the exhaust all the way out the back and I'm hoping someone in here has some good ideas for how to get a 4" pipe all the way out the back. Mainly looking for ideas/suggestions for getting around the diff/axles.

 03-29-2019, 10:03 AM


 Good luck man and thanks for the PM.