
Antenna Mast Replacement


Thread Starter
Cruising

Joined: Jun 2003
Posts: 14
Likes: 18
From: Lower Marlboro MD
I have a 2001 Convertible that has reached 130,000 miles and lots of things are needing work including the back window starting to fall out. I expect to have a post on that in a few weeks.
For about a month, when the antenna got to the full up position, there was a clicking sound that I recognized as the teeth on the antenna about to give out. I decided to replace the mast and ordered one off of an auction site (cost $18.95 shipped). There are many posts here and for that matter on other auto sites that indicate all you have to do is take off the nut and extend the antenna and it just rolls out. The replacement mast came with those instructions.
This is what it looks like at the start: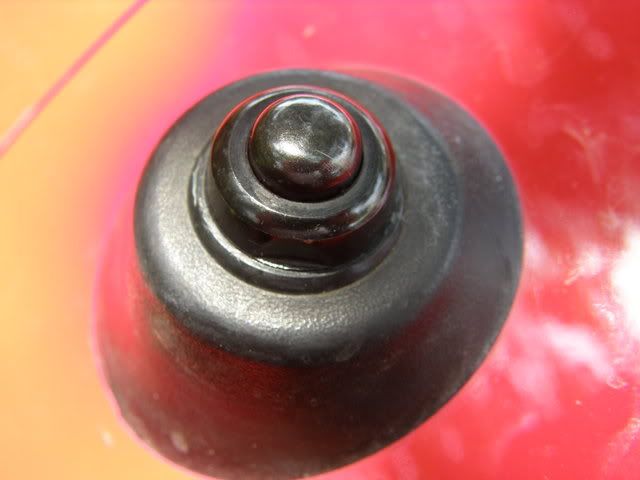
This is what I did:
1. Removed the nut with a 9/16" wrench.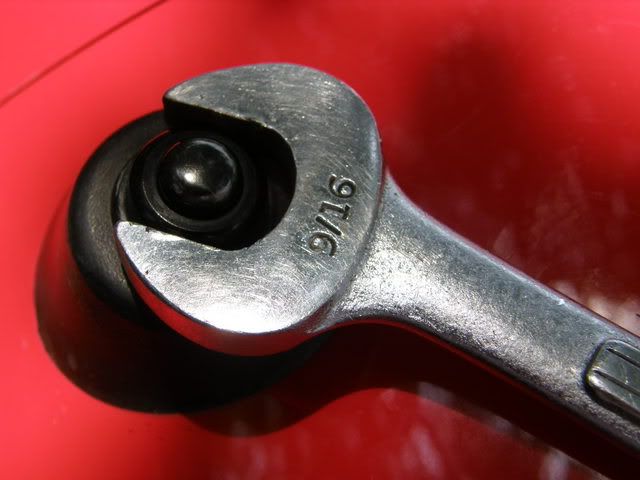
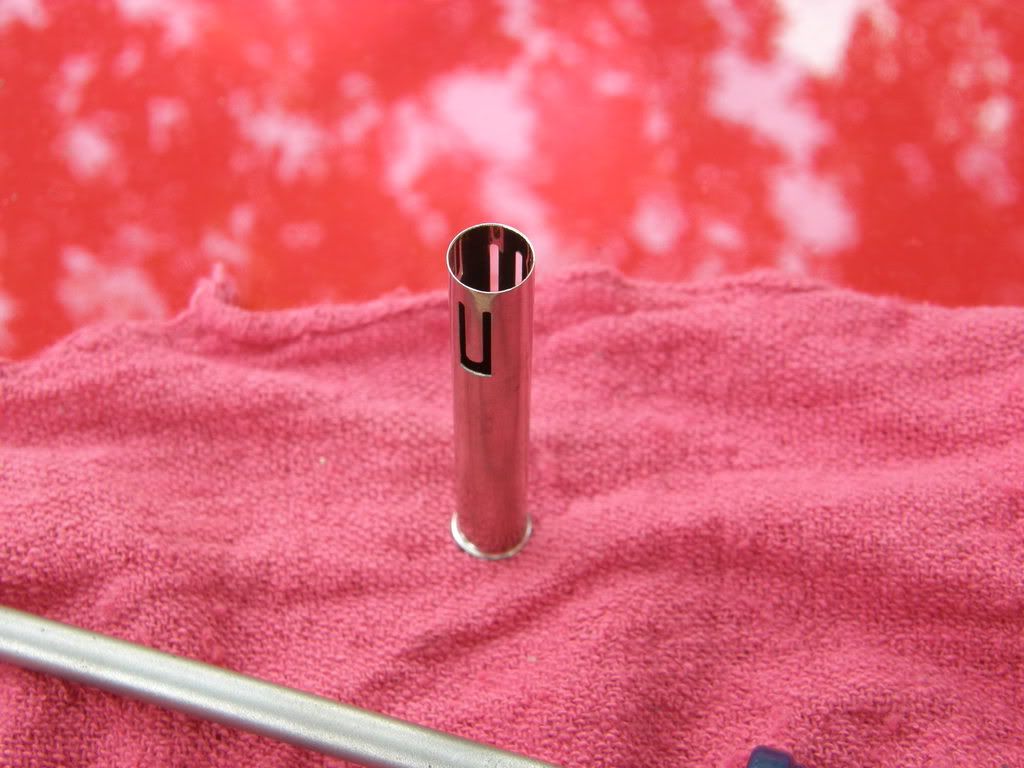
2. I turned the radio on and it extended but showed no sign of coming out as I was led to expect. Pulling on the mast with a fair amount of force didn�t help. The replacement came with a sleeve that looks like this:
 [/IMG]
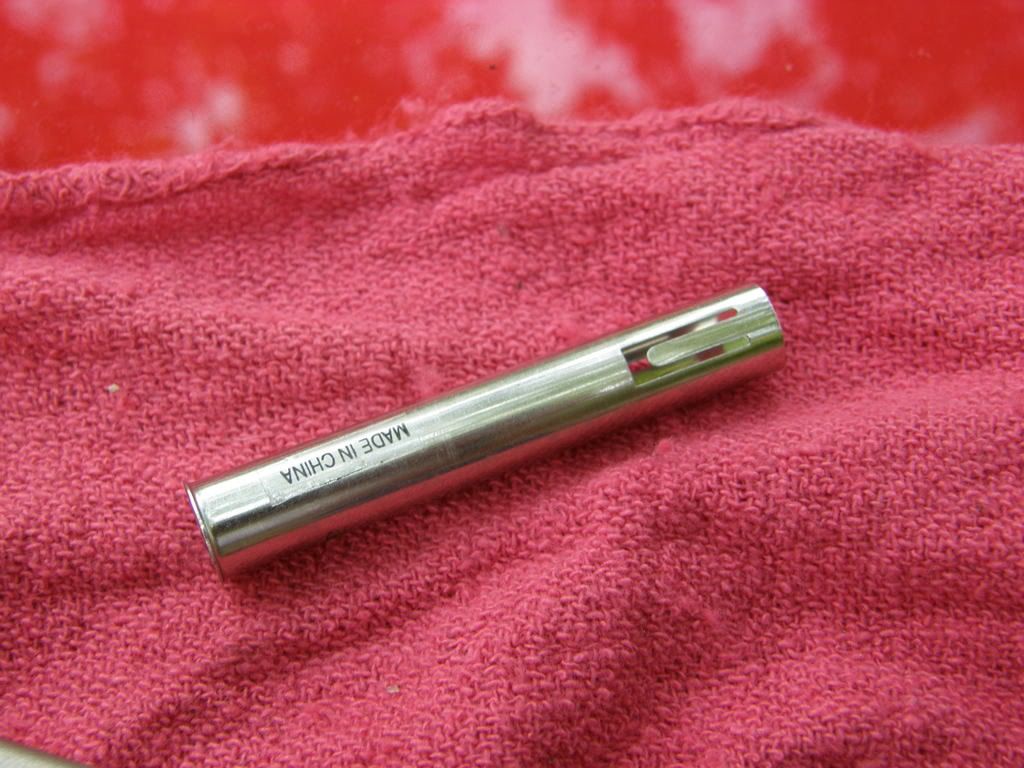
3. I looked more closely and there appeared to be a sleeve.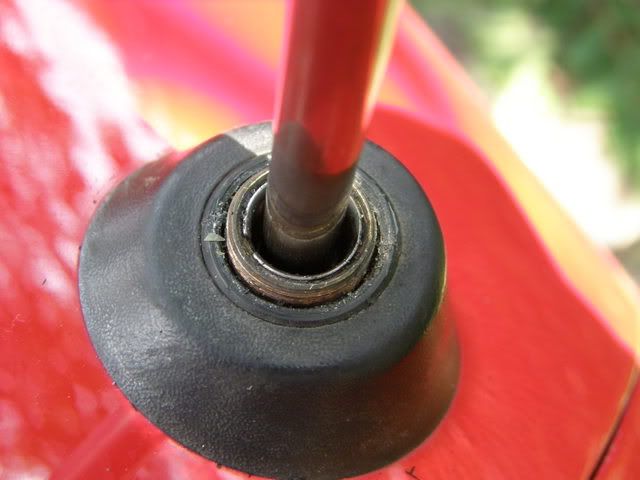 [IMG]
[IMG]
4. I figured I had to get the sleeve out but succeeded only in bending it up.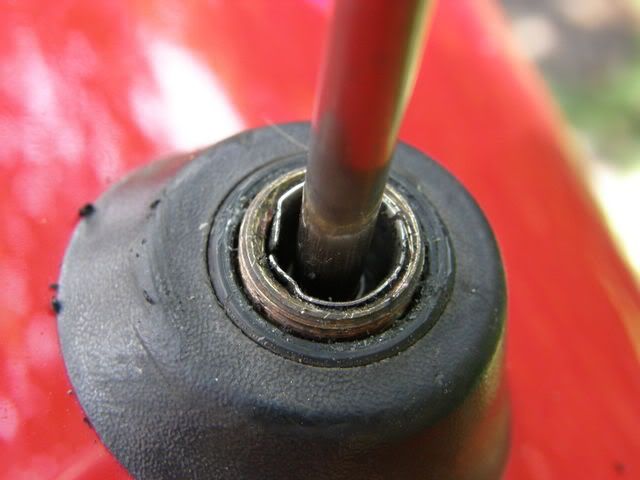
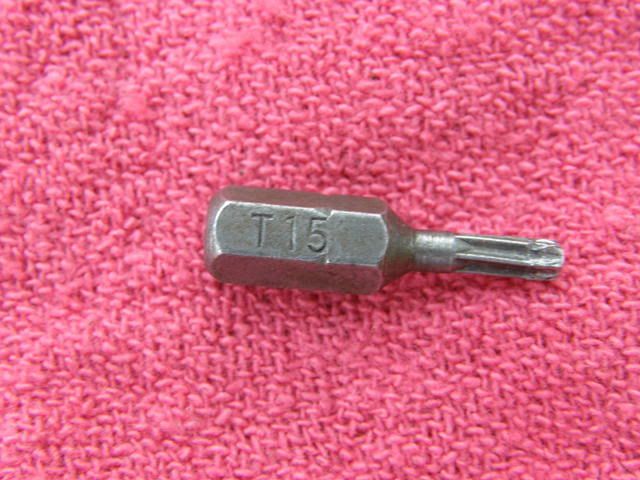
5. So, I decided I needed to take the assembly out. You do that by removing two #15 Torx head screws on either side of the passenger side tail lamp.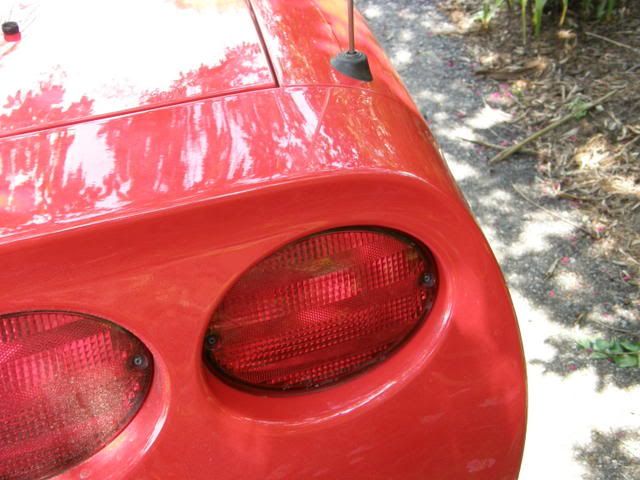
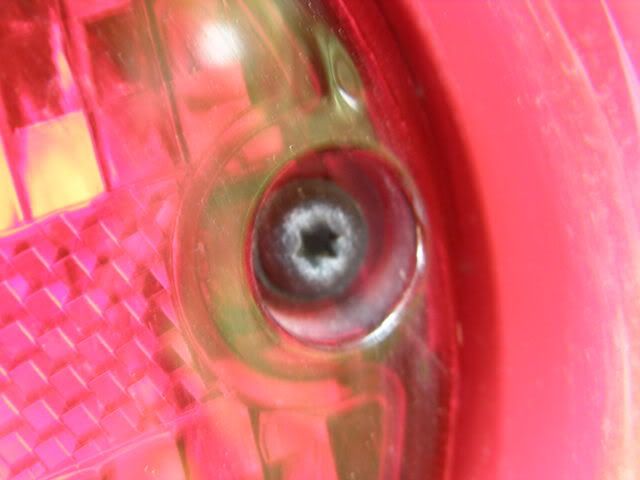
I disconnected the blue plug and the lamp socket so that the whole light assembly wasn�t dangling.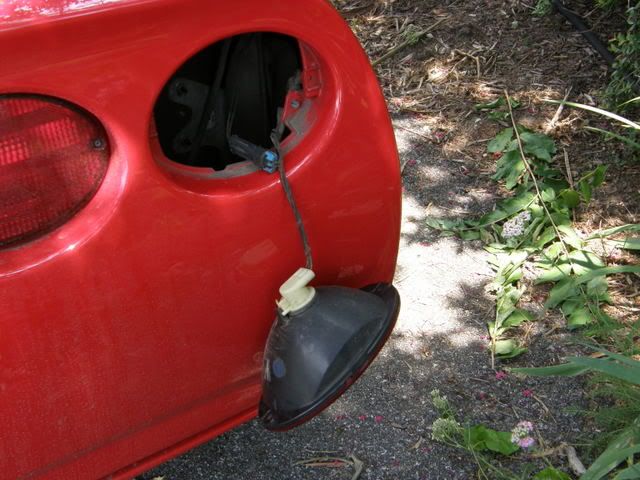
6. With the lamp assembly out, you can get full access to the antenna assembly. I�m sorry this picture is blurry.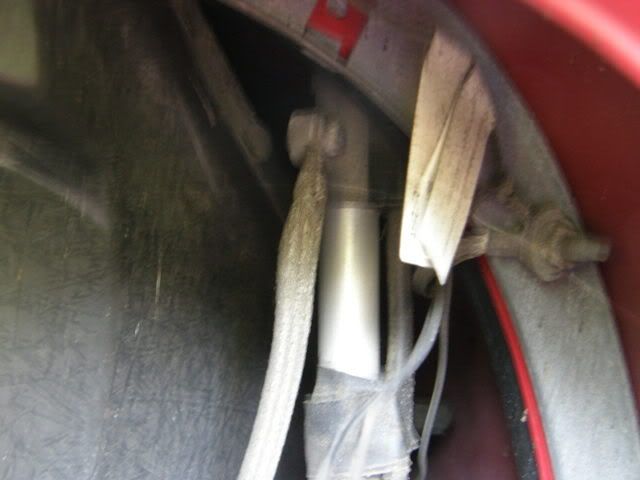
7. You�ll see a bracket with two 10 mm nuts that you remove.
8. In the blurry picture above, you�ll see a grounding strap that is held on by a phillips head screw. Remove it and don�t drop the screw. On the other side of the mast tube about 1.5 inches from the screw you just removed is a second phillips head that holds another ground strap and a 2 wire cable that goes to the blue connector. Take out that 2d phillips head screw and that will leave the blue connector wire loose because you unplugged it in the step above. When doing reassembly, remember to connect that wire back.
9. Now you can pull the assembly part of the way out. In the picture below you can see the bracket attached to the antenna assembly by two 5/16" hex head screws. Note the rubber boot behind the bracket in the picture and mark or remember on which side of the boot the bracket is mounted.. Remove the two hex head screws and put the bracket aside.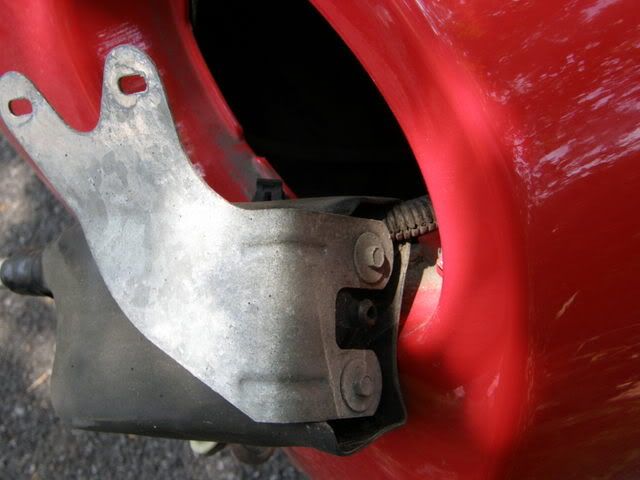
10. Roll the rubber boot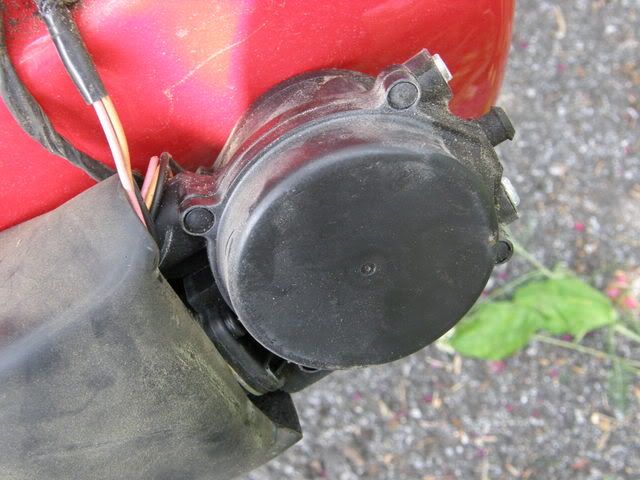
to expose two more phillips head screws. Loosen the one on the silver strap. Remove the one on the mast tube.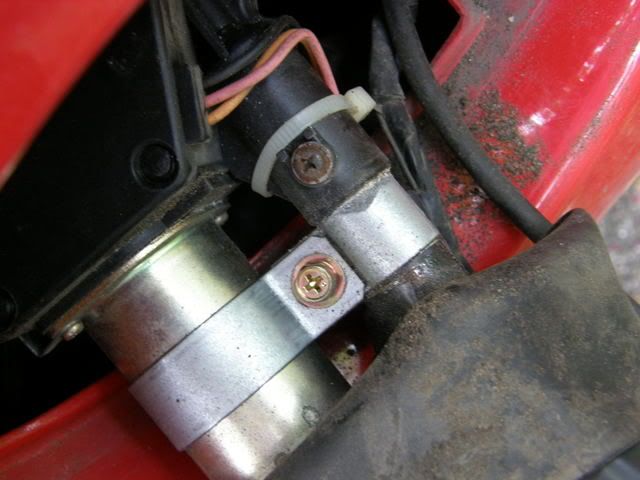
That will allow you to pull away the mast tube and expose the mast.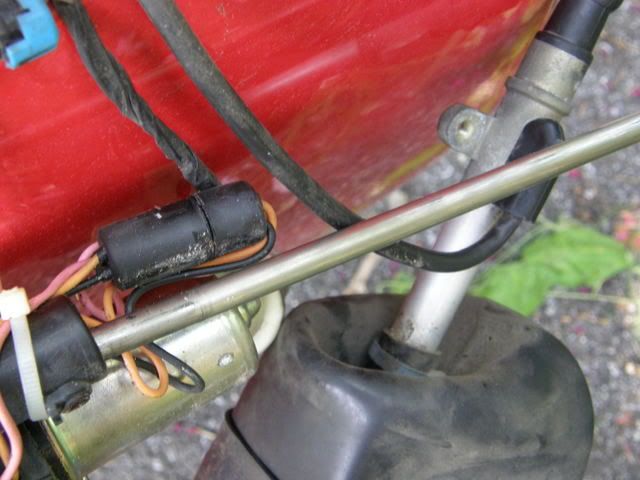
11. Now, turn the radio on and the mast will roll out exposing the nylon toothed strip on the end of the mast. Pull it lightly out. Note which direction the teeth face. On mine it was toward the round metal motor.
12. Now you can feed the new mast into the hole until you get resistance. Turn the radio off and the mast will retract.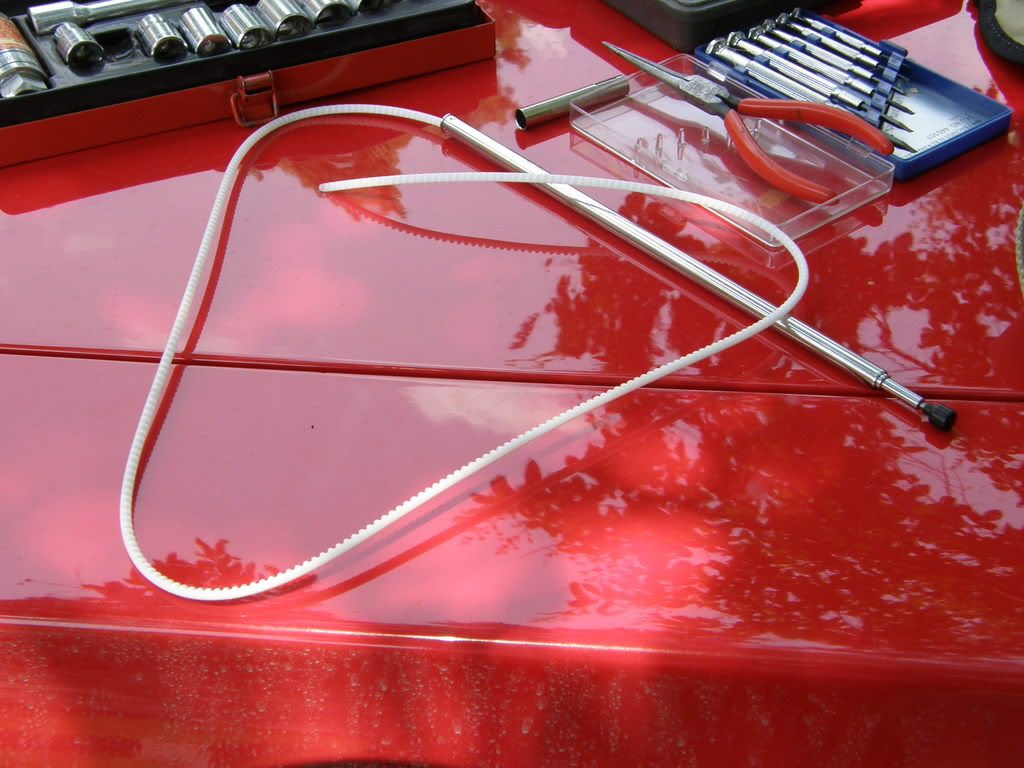
13. In removing items, there were two places where black electrical tape was used to hold items in place. Since I was in there I replaced it with new tape.
Reverse the steps to reassemble.
The entire process including screwing around with the sleeve and taking pictures took about an hour. Now that I know what I�m doing, I could do it in about 15 minutes
For about a month, when the antenna got to the full up position, there was a clicking sound that I recognized as the teeth on the antenna about to give out. I decided to replace the mast and ordered one off of an auction site (cost $18.95 shipped). There are many posts here and for that matter on other auto sites that indicate all you have to do is take off the nut and extend the antenna and it just rolls out. The replacement mast came with those instructions.
This is what it looks like at the start:
This is what I did:
1. Removed the nut with a 9/16" wrench.
2. I turned the radio on and it extended but showed no sign of coming out as I was led to expect. Pulling on the mast with a fair amount of force didn�t help. The replacement came with a sleeve that looks like this:
[/IMG]3. I looked more closely and there appeared to be a sleeve.
[IMG]4. I figured I had to get the sleeve out but succeeded only in bending it up.
5. So, I decided I needed to take the assembly out. You do that by removing two #15 Torx head screws on either side of the passenger side tail lamp.
I disconnected the blue plug and the lamp socket so that the whole light assembly wasn�t dangling.
6. With the lamp assembly out, you can get full access to the antenna assembly. I�m sorry this picture is blurry.
7. You�ll see a bracket with two 10 mm nuts that you remove.
8. In the blurry picture above, you�ll see a grounding strap that is held on by a phillips head screw. Remove it and don�t drop the screw. On the other side of the mast tube about 1.5 inches from the screw you just removed is a second phillips head that holds another ground strap and a 2 wire cable that goes to the blue connector. Take out that 2d phillips head screw and that will leave the blue connector wire loose because you unplugged it in the step above. When doing reassembly, remember to connect that wire back.
9. Now you can pull the assembly part of the way out. In the picture below you can see the bracket attached to the antenna assembly by two 5/16" hex head screws. Note the rubber boot behind the bracket in the picture and mark or remember on which side of the boot the bracket is mounted.. Remove the two hex head screws and put the bracket aside.
10. Roll the rubber boot
to expose two more phillips head screws. Loosen the one on the silver strap. Remove the one on the mast tube.
That will allow you to pull away the mast tube and expose the mast.
11. Now, turn the radio on and the mast will roll out exposing the nylon toothed strip on the end of the mast. Pull it lightly out. Note which direction the teeth face. On mine it was toward the round metal motor.
12. Now you can feed the new mast into the hole until you get resistance. Turn the radio off and the mast will retract.
13. In removing items, there were two places where black electrical tape was used to hold items in place. Since I was in there I replaced it with new tape.
Reverse the steps to reassemble.
The entire process including screwing around with the sleeve and taking pictures took about an hour. Now that I know what I�m doing, I could do it in about 15 minutes

Melting Slicks


Joined: Jul 2006
Posts: 2,332
Likes: 31
From: Silver Spring MD
I'm doing this job when I get my new replacement mast fropm antennamastsrus.com. My sleve did come out but I think I have some broken plastic cable inside the motor. I need to remove the round cover to get the old plastic cable out. Thanks
 BIGHANK
BIGHANK

Navigator
Joined: May 2007
Posts: 9
Likes: 0
Thanks for the pics. They helped when I disassembled my antenna.
I took the advice of another thread and cut the plastic line with teeth and disconnected the power to the motor. I did not disconnect the antenna line. I put the mast back in and now the antenna is permanently withdrawn. However, my reception is still excellent. It may not work in rural areas but I live in the SF Bay Area and am not worried about radio reception.
These retractable antennas are dinosaurs.
Tech Contributor


Joined: Dec 2003
Posts: 19,384
Likes: 87
From: Horncastle Lincolnshire, England
2023 C5 of the Year Finalist - Unmodified
Great description and thanks for the write up
Thats a PITA when the mast breaks up. I guess I was just lucky as my original mast wasn't badly damaged. The whole thing took me just 10 mins
Thats a PITA when the mast breaks up. I guess I was just lucky as my original mast wasn't badly damaged. The whole thing took me just 10 mins


