
Installation of a ProCharger at home! *** Many Pics! ***
 07-10-2008, 11:57 AM
#61
Melting Slicks


Thread Starter
Member Since: Jul 2007
Location: Simpsonville SC
Posts: 2,939
Likes: 0
Received 4 Likes
on
4 Posts
St. Jude Donor '09-'10

Well, Wednesday was Day 6. I forgot to downlaod my pictures from my camera, so I will update this tonight.
Day 6 was disheartening... As I was mounting the head unit, I had to change the clocking, per ProCharger support. When I did that, I needed to use a different hole in the base plate to clamp the gearbox to the compressor. The needed hole was not tapped! I called ProCharger back and told them my story ( in a not so nice tone). They sent me a shipping label to overnight the unit back to them for repair. Also, they told me that the pulley they installed would not make 7 psi! Wow! I documented with them about my headers and high-flow cats, but they forgot to use that in calculating the pulley size. So, while it is back at their shop, they are going to replace the pulley for me. My son got the unit unmounted, packaged, and delivered to a Fexed drop just as the last truck was leaving! So, they got it this morning, and promised to fix it today, and overnight it back to me; so, Friday may be the day I get to complete the installation!
Keep watching...

 A+++++++++ from my short experiences with them!
  07-10-2008, 02:43 PM
#65
Race Director

Member Since: Apr 2005
Location: Wesley Chapel, FL Las Vegas, NV
Posts: 10,053
Received 2,117 Likes
on
990 Posts

Not baggin on you just want to make sure in your exuberance saftey is not sacrificed.
Last edited by Vega$Vette; 07-10-2008 at 02:46 PM.
07-10-2008, 02:51 PM
#66
Melting Slicks
Thread Starter
Member Since: Jul 2007
Location: Simpsonville SC
Posts: 2,939
Likes: 0
Received 4 Likes
on
4 Posts
St. Jude Donor '09-'10
I gave up on trying to get the old pipes out in one piece, and used a Sawall to cut them up. The new Corsa pipes slid right in with no problem.
07-10-2008, 03:00 PM
#67
Race Director
Member Since: Apr 2005
Location: Wesley Chapel, FL Las Vegas, NV
Posts: 10,053
Received 2,117 Likes
on
990 Posts
Look again... there is clearly a black jack stand with flames on the left side, although it is 12" below the rear end. The right jack stand is under there too, but mostly hiddle by the old muffler. Anyway, I left them in place to 'catch' the car if it fell... Fortunately, it did not!
I gave up on trying to get the old pipes out in one piece, and used a Sawall to cut them up. The new Corsa pipes slid right in with no problem.
I gave up on trying to get the old pipes out in one piece, and used a Sawall to cut them up. The new Corsa pipes slid right in with no problem.
I don't have that problem now.

 07-12-2008, 08:34 PM
#68
Safety Car

I've used blocks of wood plenty of times. Minimize the amount of time a person is under the car and be careful. Otherwise, I see *nothing* wrong with it. However, you might stack the wood from widest to narrowest next time. 
07-12-2008, 11:37 PM
#69
Racer

Member Since: Dec 2006
Location: Salinas Ca
Posts: 279
Likes: 0
Received 0 Likes
on
0 Posts
Look again... there is clearly a black jack stand with flames on the left side, although it is 12" below the rear end. The right jack stand is under there too, but mostly hiddle by the old muffler. Anyway, I left them in place to 'catch' the car if it fell... Fortunately, it did not!
I gave up on trying to get the old pipes out in one piece, and used a Sawall to cut them up. The new Corsa pipes slid right in with no problem.
I gave up on trying to get the old pipes out in one piece, and used a Sawall to cut them up. The new Corsa pipes slid right in with no problem.
 I bet many stock exhausts came off with a trusty sawsall. I know mine did.
 07-13-2008, 12:05 AM
#70
Burning Brakes

 07-14-2008, 07:58 AM
#71
Melting Slicks
Thread Starter
Member Since: Jul 2007
Location: Simpsonville SC
Posts: 2,939
Likes: 0
Received 4 Likes
on
4 Posts
St. Jude Donor '09-'10
Day 6, Saturday, was a fruitful day! I got the brand new tensioner installed:
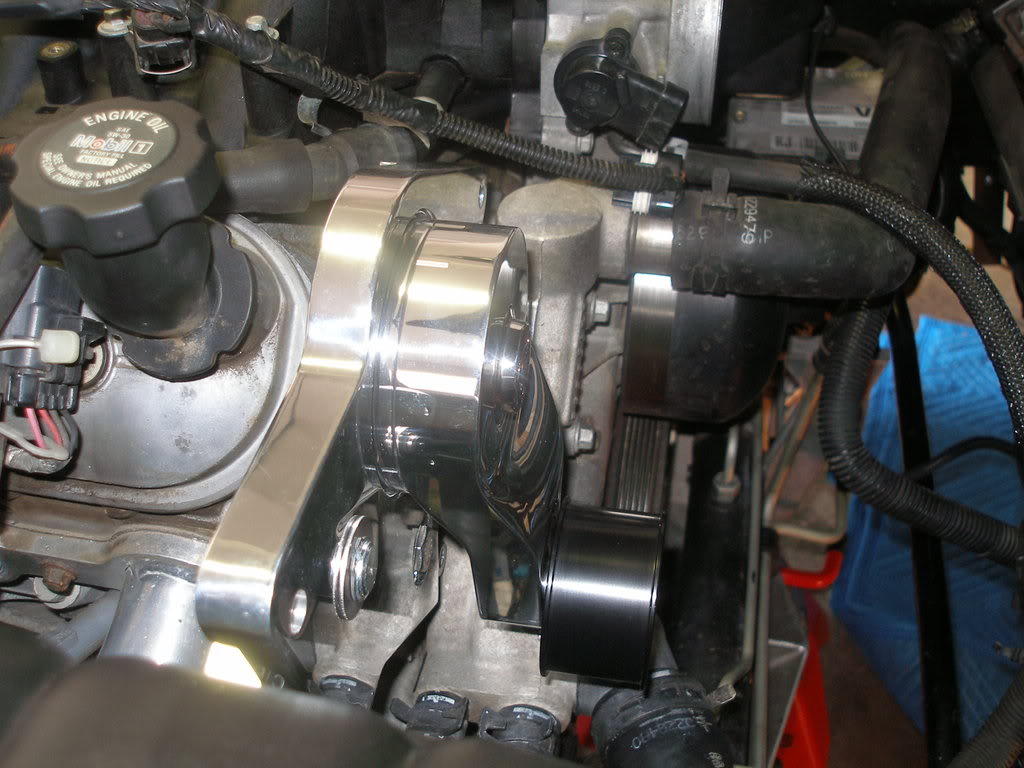
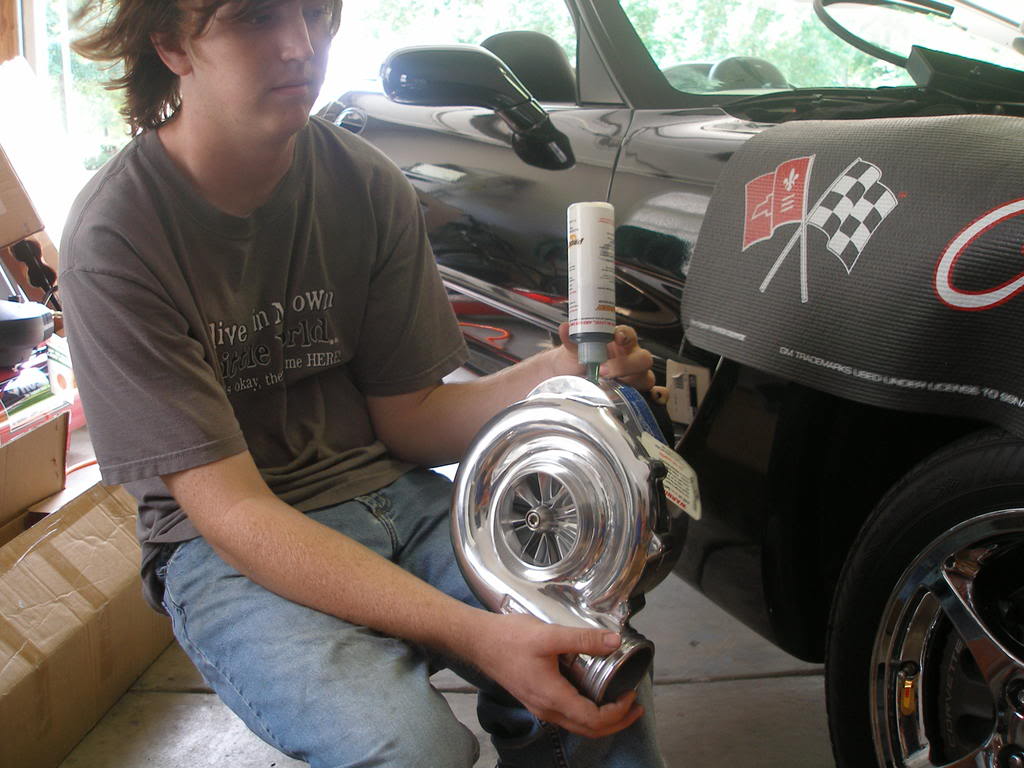
Next came adding the oil to the head unit. This is my son filling her up!
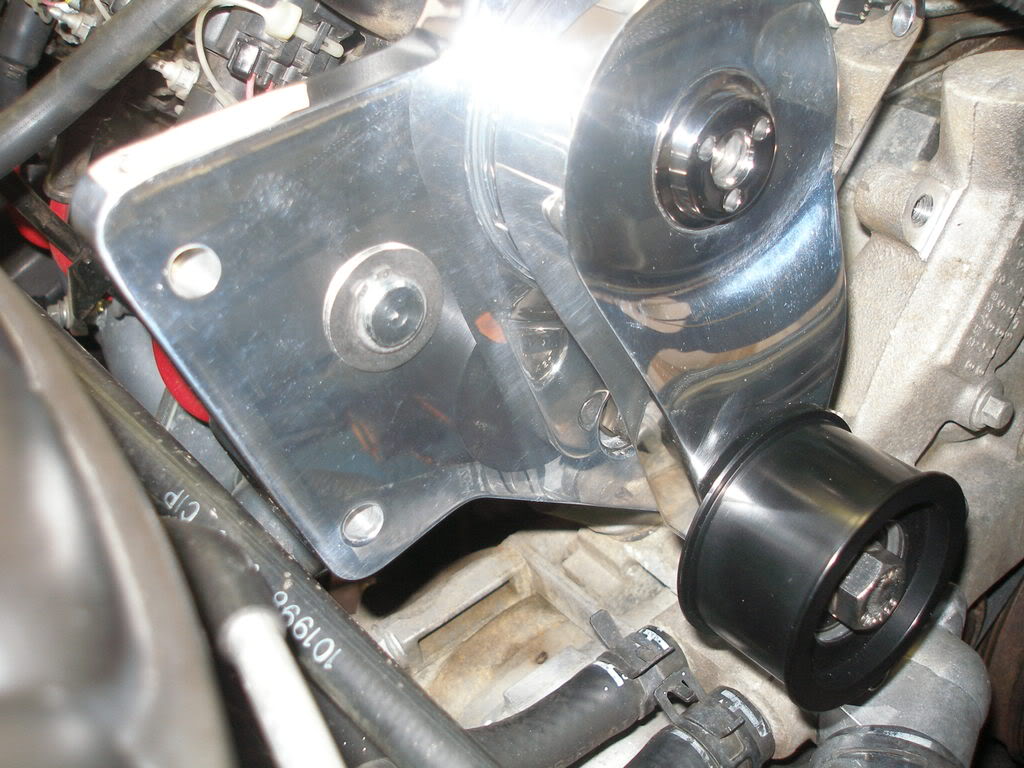
Now that it is lubed, let's get the head until mounting bracket ready:
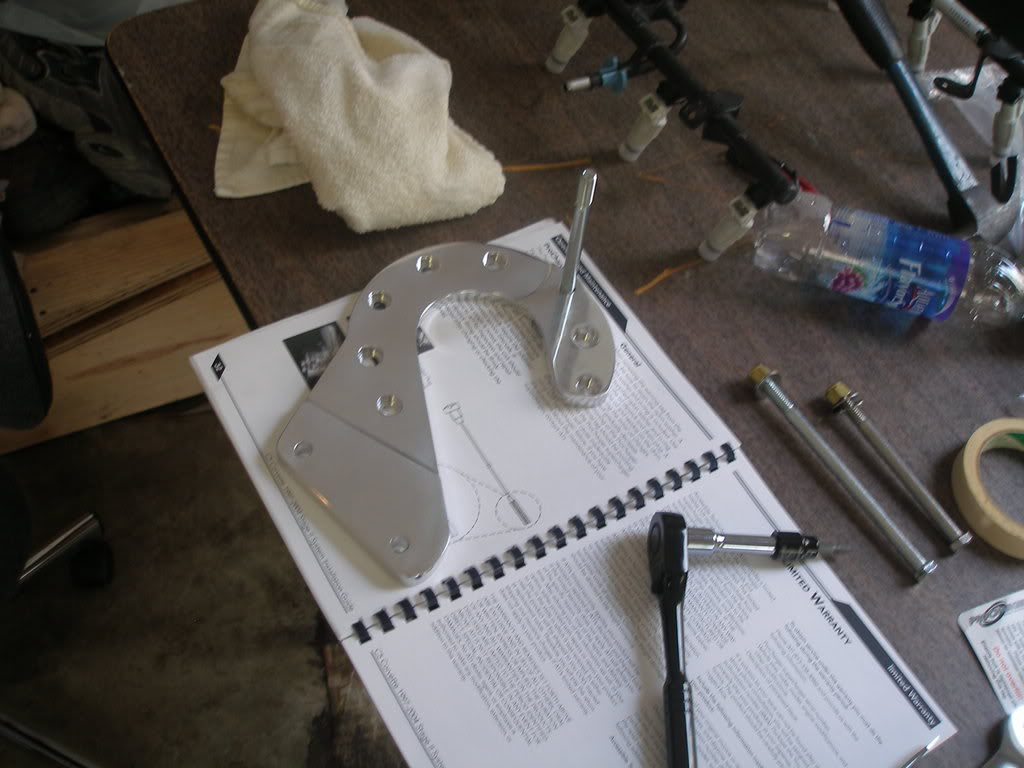
Here is the bracket on the head unit
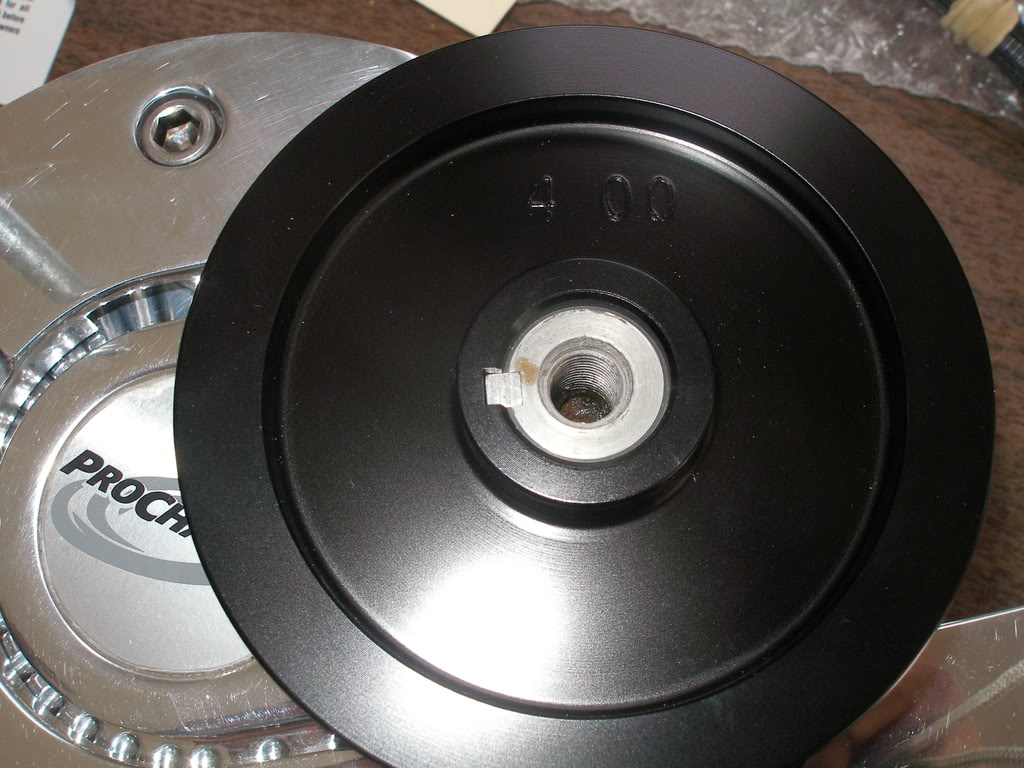
Oh, when I had sent the head unit back to ProCharger, they told me that my 4.38 pulley would NOT produce the 7 psi they promised, due to me having 1-7/8" headers, x-pipe, two high-flwo cats, and now Corsa Pace Car mufflers, so they also sent me a 4.00 pulley.
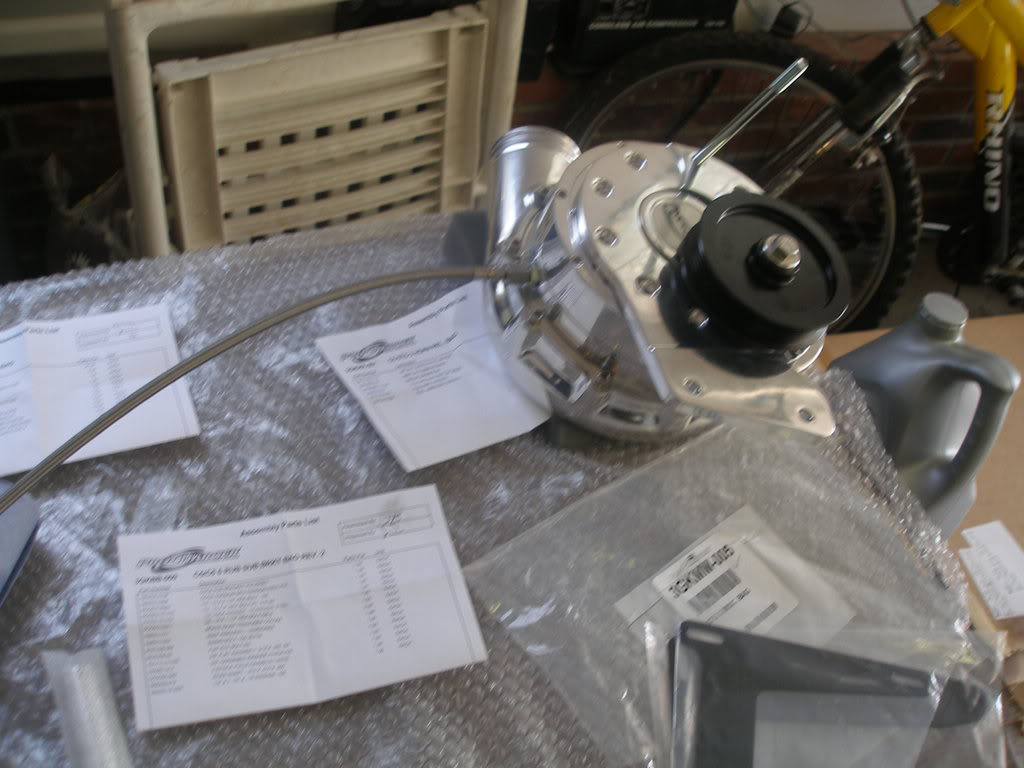
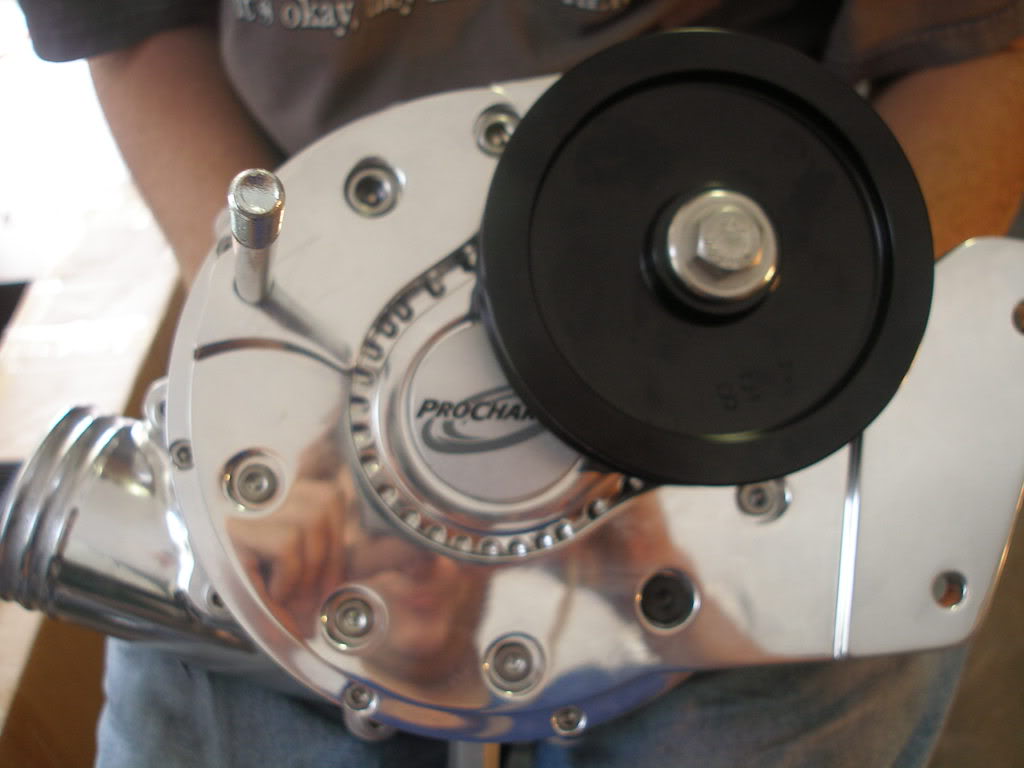
Here is the original pulley on the unit:
... and here is the new 4.00 pulley:
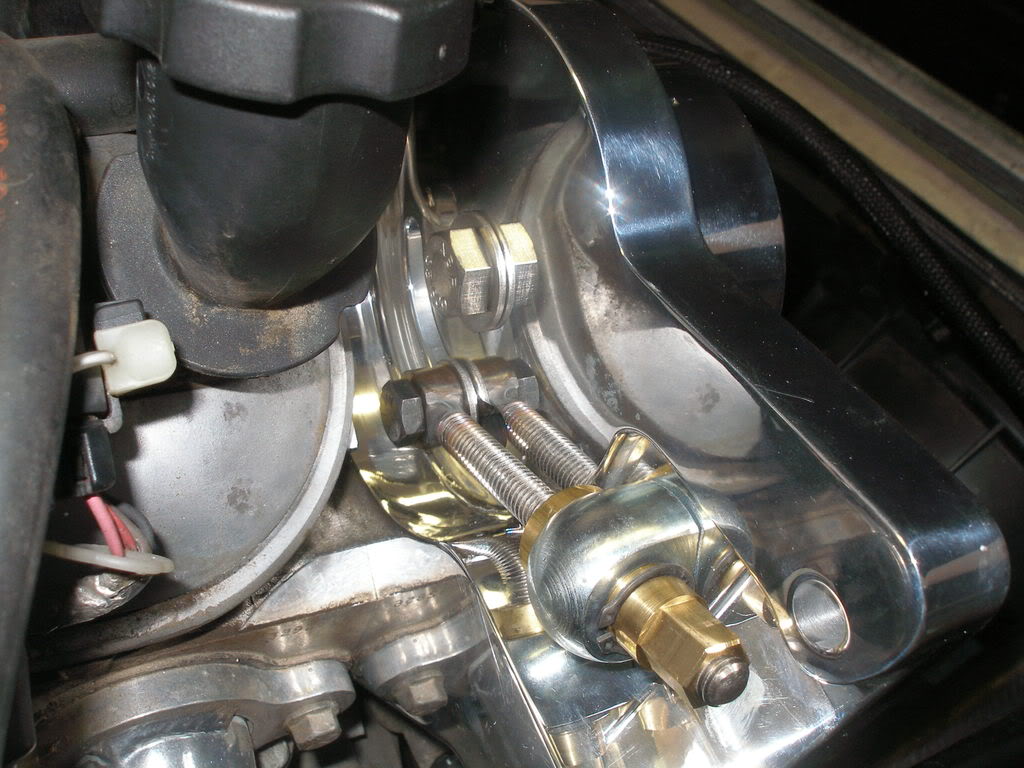
Now the head unit is mounted:
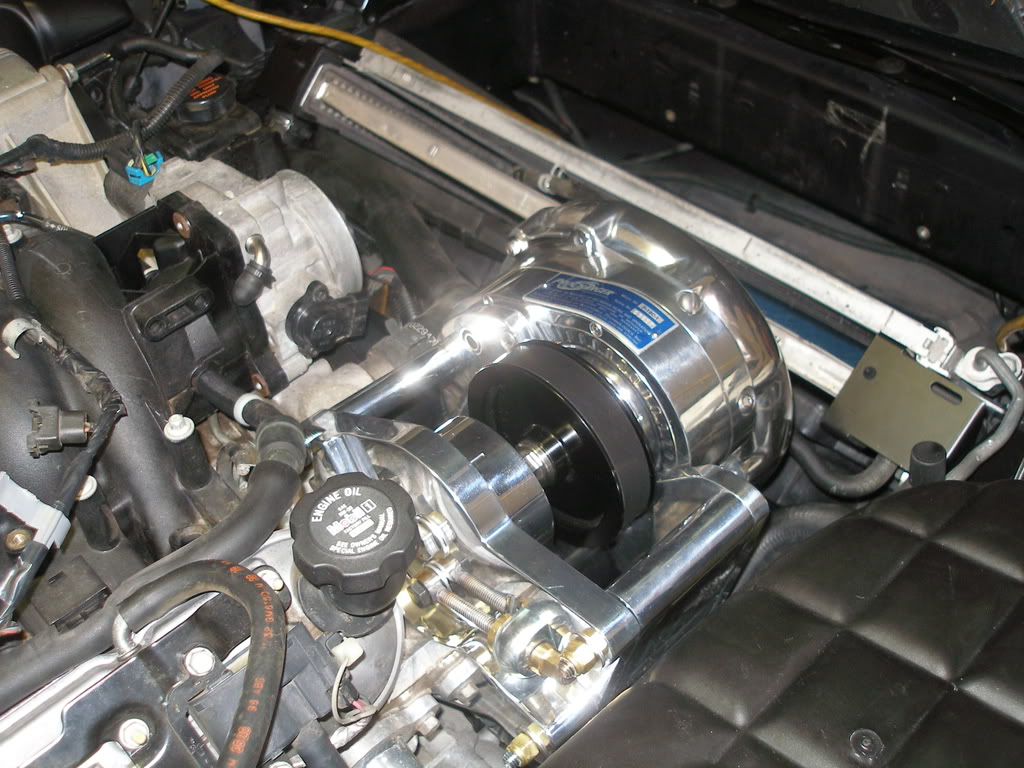
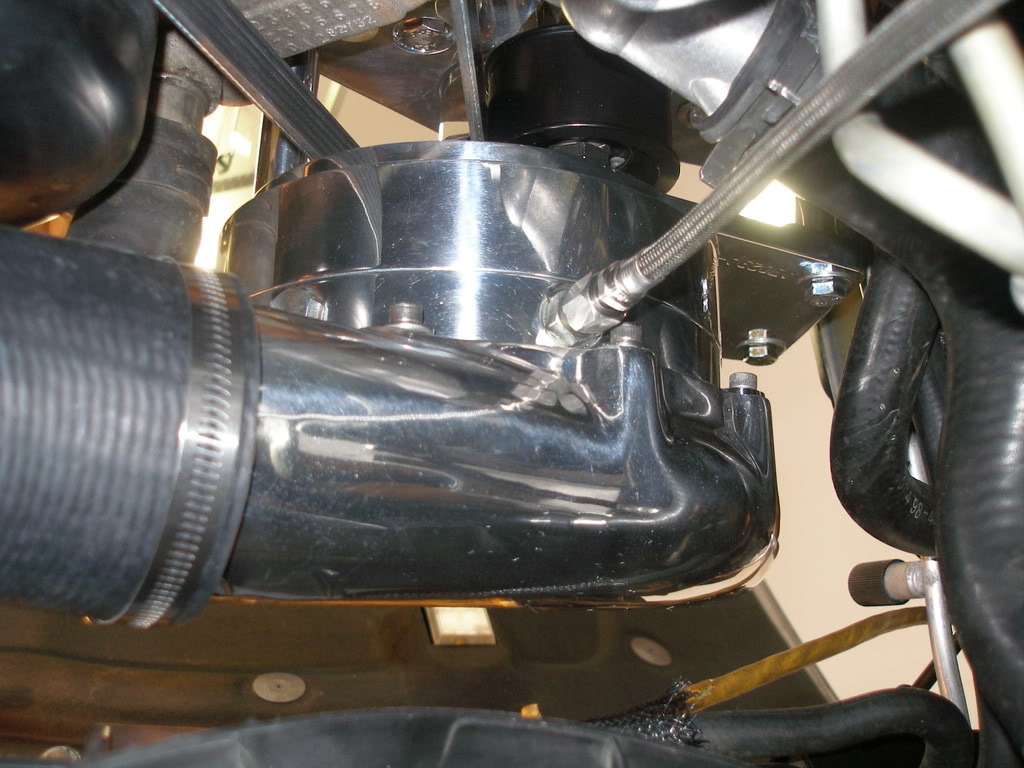
Here is the head unit from below...
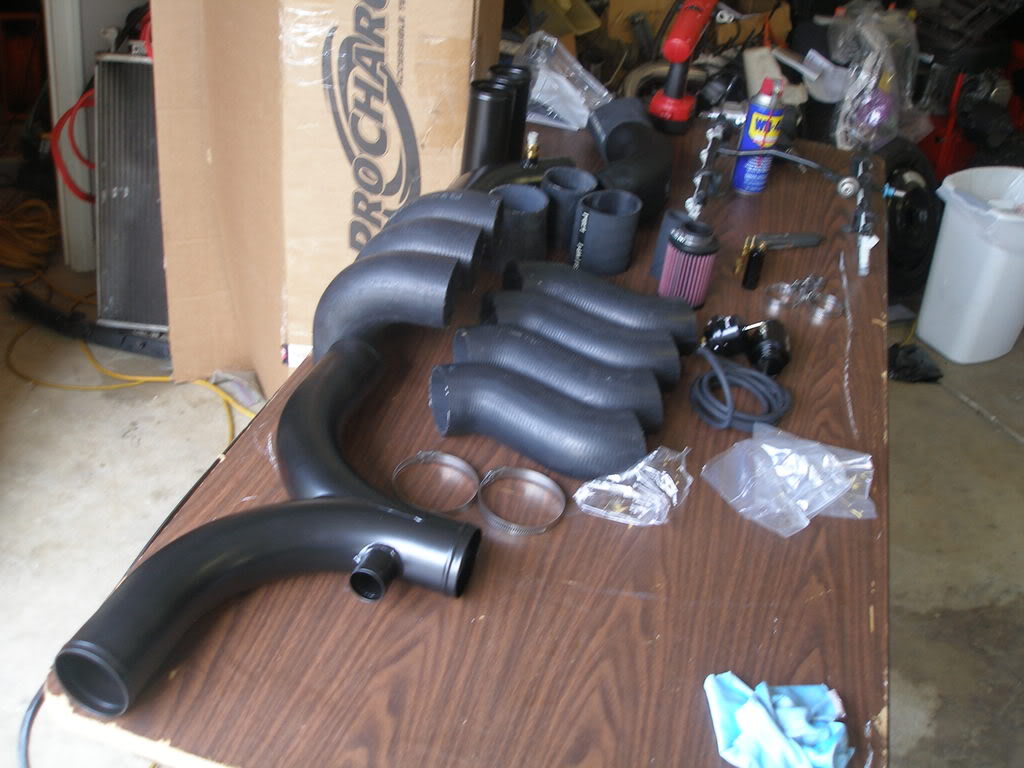
Next came the intercoolers
Here is the left unit mounted:
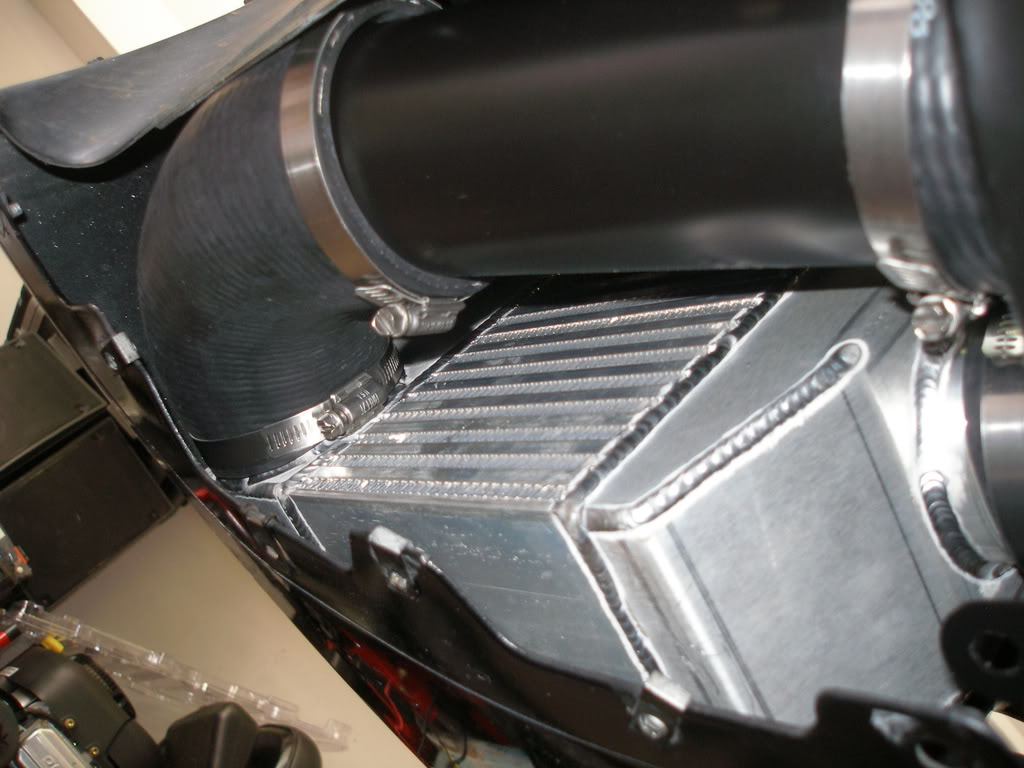
We got the right one mounted as well...
Other misc work done this day:
I installed a enw vacuum manifold in the brake boost vacuum line, with two ports: one to the purge valve, and one to the vacuum/boost gage.
Since I want my gages in the ash tray compartment, for a stealth look, I needed to get the vacuum line int the console area. I also needed to get the new wideband sensor cable there also. So, I dropped the x-pipe, and the tunnel plate, and drilled two holes in the top of the tunnel, just below the air conditioner control. I ran these two lines up here.
Belts? Yes, I went through three belts, trying to get the proper size...
Left to do:
Finish the intercooler piping
mount the injectors
complete the gages
install the tunnel plate
put the exhaust system in
Next came adding the oil to the head unit. This is my son filling her up!
Now that it is lubed, let's get the head until mounting bracket ready:
Here is the bracket on the head unit
Oh, when I had sent the head unit back to ProCharger, they told me that my 4.38 pulley would NOT produce the 7 psi they promised, due to me having 1-7/8" headers, x-pipe, two high-flwo cats, and now Corsa Pace Car mufflers, so they also sent me a 4.00 pulley.
Here is the original pulley on the unit:
... and here is the new 4.00 pulley:
Now the head unit is mounted:
Here is the head unit from below...
Next came the intercoolers
Here is the left unit mounted:
We got the right one mounted as well...
Other misc work done this day:
I installed a enw vacuum manifold in the brake boost vacuum line, with two ports: one to the purge valve, and one to the vacuum/boost gage.
Since I want my gages in the ash tray compartment, for a stealth look, I needed to get the vacuum line int the console area. I also needed to get the new wideband sensor cable there also. So, I dropped the x-pipe, and the tunnel plate, and drilled two holes in the top of the tunnel, just below the air conditioner control. I ran these two lines up here.
Belts? Yes, I went through three belts, trying to get the proper size...
Left to do:
Finish the intercooler piping
mount the injectors
complete the gages
install the tunnel plate
put the exhaust system in
Last edited by clif; 07-16-2008 at 06:47 AM. Reason: Wrong day.. this was day 6!


 07-14-2008, 01:58 PM
#77
Banned Scam/Spammer
Even though mine is already done, it's nice cruising this thread. Looking good too.
I might suggest you get rid of the screw type hose clamps and get some T-bar clamps. At 5 psi my hoses were blowing off. Made tuning a real nightmare.
I might suggest you get rid of the screw type hose clamps and get some T-bar clamps. At 5 psi my hoses were blowing off. Made tuning a real nightmare.
07-15-2008, 08:27 AM
#78
Le Mans Master


Man, I wish I had:
1. Funds - I "should" be ready to get this done next year (Hopefully)
2. Cojones to do this in my garage!
This is a GREAT write-up. THANKS for posting all of it and I'm looking forward to seeing the finished product and the dyno info!
1. Funds - I "should" be ready to get this done next year (Hopefully)
2. Cojones to do this in my garage!
This is a GREAT write-up. THANKS for posting all of it and I'm looking forward to seeing the finished product and the dyno info!