


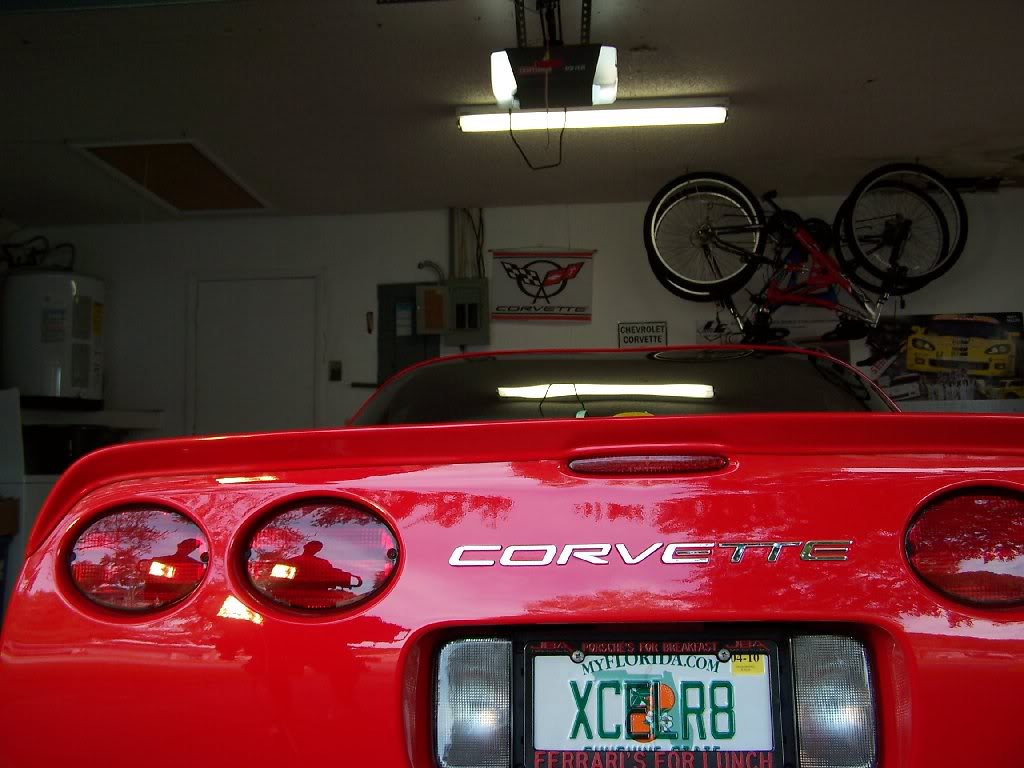
SLP rear spoiler install
Thread Starter
Pro

Joined: Feb 2007
Posts: 689
Likes: 0
From: West Jordan Utah
SLP rear spoiler will be delivered this Thursday. (according to Fedex) I plan to install it this weekend. For those of you that have installed one, any tips, suggestions, or helps you want to pass on?
I have seen your pictures, love them and have been munching at the bit to get one. I think they look great, follow the flow of the body lines and add a personalized touch.
I have seen your pictures, love them and have been munching at the bit to get one. I think they look great, follow the flow of the body lines and add a personalized touch.
Race Director


Joined: Oct 2004
Posts: 13,602
Likes: 1,354
From: Home of the VOLS ! Knoxville, TN. Tennessee
St. Jude Donor '11-'12-'13, '15, '16-'17-'18-'19
If you bought it painted, I hope your paint matches up correct.
My Vette is Speedway white and they missed the color by a bunch.
The spoiler was too bright. Cross your fingers !
I am going to have mine repainted because the vendor would not stand behind it. He said my car was faded
My Vette is Speedway white and they missed the color by a bunch.
The spoiler was too bright. Cross your fingers !
I am going to have mine repainted because the vendor would not stand behind it. He said my car was faded
Administrator


Joined: Mar 2001
Posts: 368,447
Likes: 24,807
From: In a parallel universe. Currently own 2014 Stingray Coupe.
C7 of the Year - Modified Finalist 2021
MO Events Coordinator
St. Jude Co-Organizer
St. Jude Donor '03 thru '26
NCM Sinkhole Donor
CI 5, 8 & 11 Veteran
Been thinking about one of these myself. Will follow this thread for some good tips. 
Thread Starter
Pro
Joined: Feb 2007
Posts: 689
Likes: 0
From: West Jordan Utah
If you bought it painted, I hope your paint matches up correct.
My Vette is Speedway white and they missed the color by a bunch.
The spoiler was too bright. Cross your fingers !
I am going to have mine repainted because the vendor would not stand behind it. He said my car was faded
My Vette is Speedway white and they missed the color by a bunch.
The spoiler was too bright. Cross your fingers !
I am going to have mine repainted because the vendor would not stand behind it. He said my car was faded
Thanks for the "patience counsel" also. I have a good body prep, extra 3m tape, and it sould be mid 70's.
Race Director
Joined: Oct 2004
Posts: 13,602
Likes: 1,354
From: Home of the VOLS ! Knoxville, TN. Tennessee
St. Jude Donor '11-'12-'13, '15, '16-'17-'18-'19
Thread Starter
Pro
Joined: Feb 2007
Posts: 689
Likes: 0
From: West Jordan Utah
Corvette Stories
The Best of Corvette for Corvette Enthusiasts

Every 2027 Corvette Engine Explained
Joe Kucinski
Designer Imagines A Corvette That Looks More Like a Corvette Than the Corvette
Verdad Gallardo
10 Ugly Corvettes That We Still Kinda Love
Joe Kucinski
Top 10 Most Expensive Corvettes Ever Sold on Bring A Trailer
Brett Foote
10 Things Every Corvette Owner Needs (2026 Edition)
Michael S. Palmer
8 Most "Only Corvette Owners Understand" Quirks and Problems
Pouria Savadkouei
10 Reasons the C6 Z06 is Still A Performance Benchmark After 20 Years
Joe Kucinski
How Much Horsepower Every Corvette Engine "LOST" in 1972
Joe Kucinski
Top 10 DOs and DON'Ts for Protecting Your Convertible Top!
Michael S. Palmer
Burning Brakes


Joined: Mar 2009
Posts: 1,028
Likes: 33
From: GRAYSLAKE IL
Oldtimer
St. Jude Donor '13
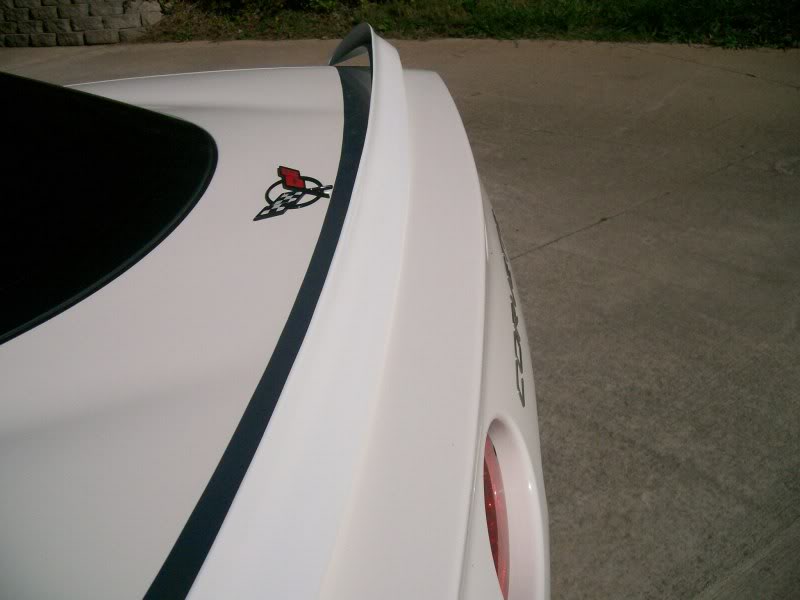
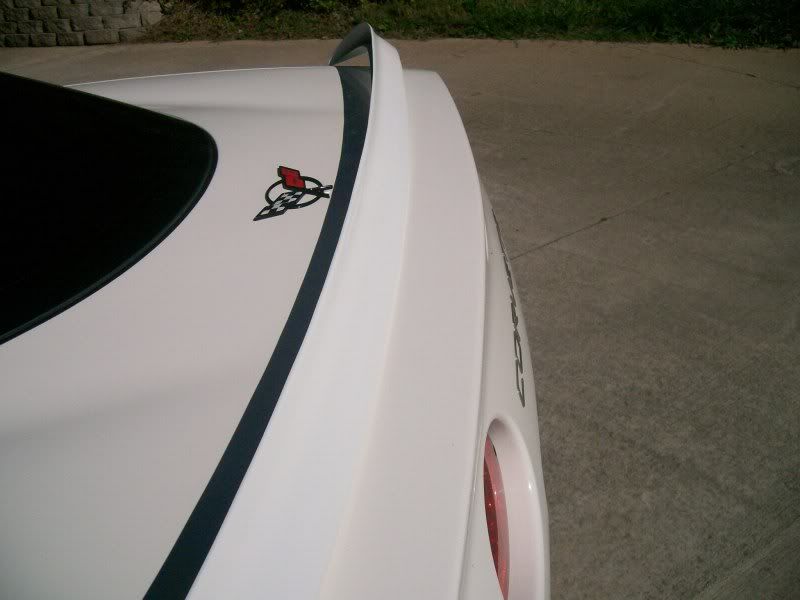
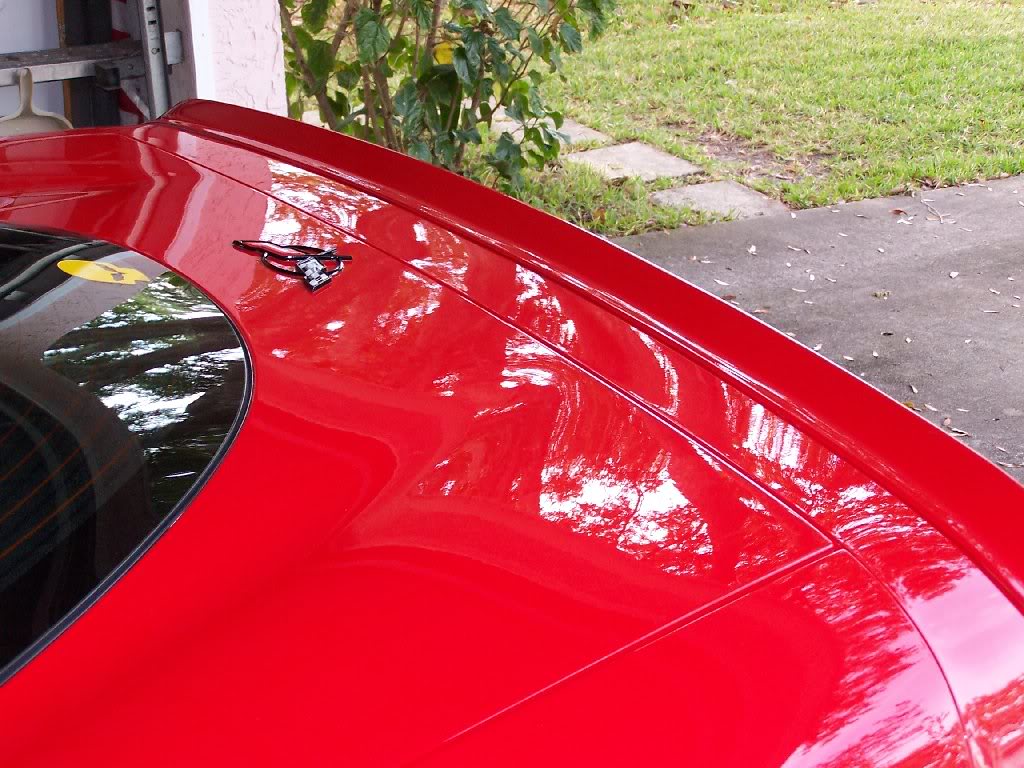
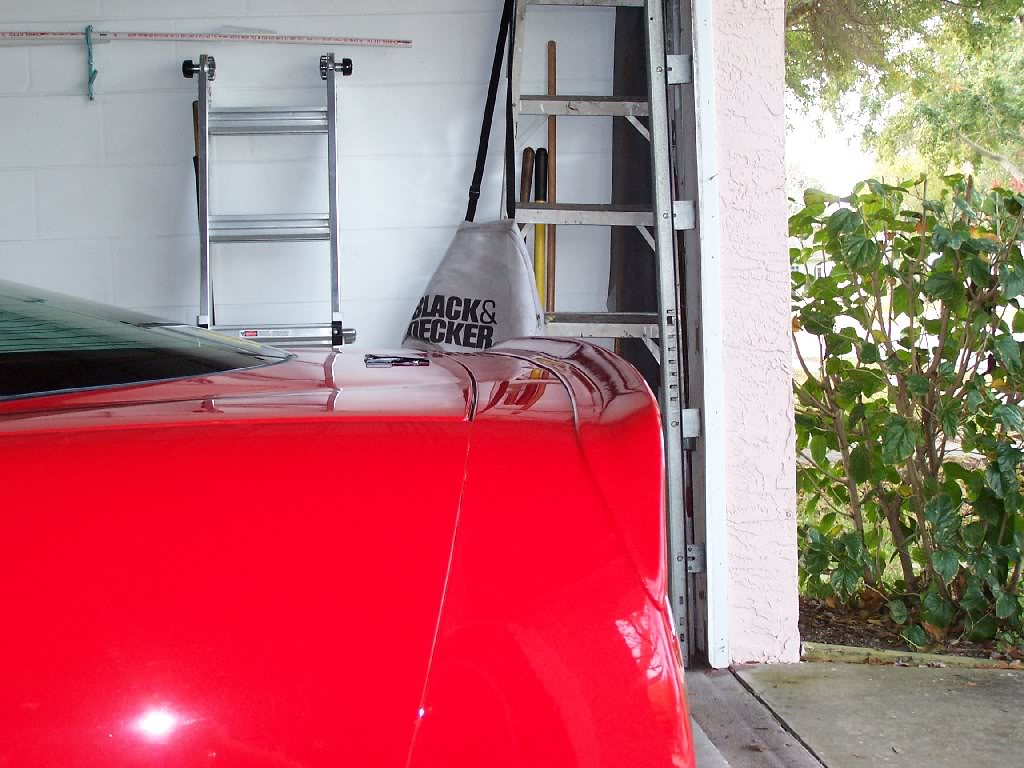
I've had mine for serveral yrs now & like it alot! Suggest getting the piece warm (I let mine lay in direct sunlight for a while). Having a helper is a good idea. Wide painters tape & a heat sorce (I used a hair dryer). My vette is TR so I used a red felt tip marker on the edge of the double sided tape at the edges. Since yours is white you can let it alone or maybe go w/black marker. Dry fit & clean area real well (alcohol) I started at the center by the third brake light & worked my way out. I found the ends the hardest to follow the body lines & used some clamps at the bottom edges to help the tape take hold. Take your time. Good luck!
Thread Starter
Pro
Joined: Feb 2007
Posts: 689
Likes: 0
From: West Jordan Utah
I've had mine for serveral yrs now & like it alot! Suggest getting the piece warm (I let mine lay in direct sunlight for a while). Having a helper is a good idea. Wide painters tape & a heat sorce (I used a hair dryer). My vette is TR so I used a red felt tip marker on the edge of the double sided tape at the edges. Since yours is white you can let it alone or maybe go w/black marker. Dry fit & clean area real well (alcohol) I started at the center by the third brake light & worked my way out. I found the ends the hardest to follow the body lines & used some clamps at the bottom edges to help the tape take hold. Take your time. Good luck!
Le Mans Master


Joined: Sep 2006
Posts: 9,599
Likes: 962
From: Palm Harbor not far from Sebring Florida
St. Jude Donor '11
Oldtimer
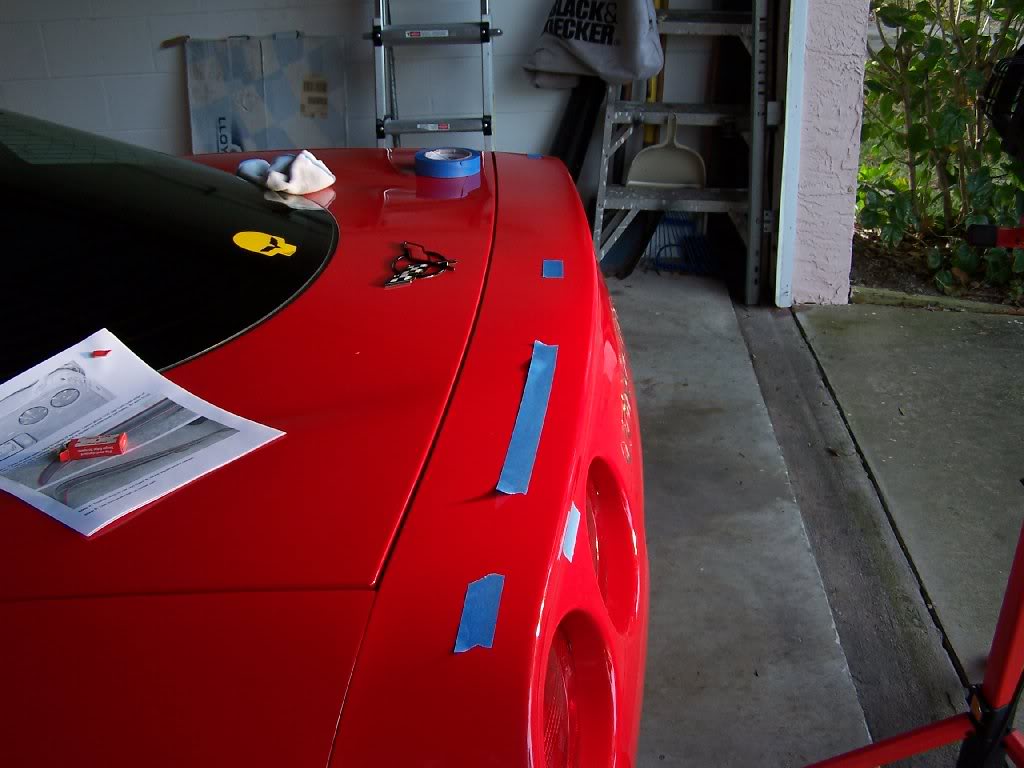
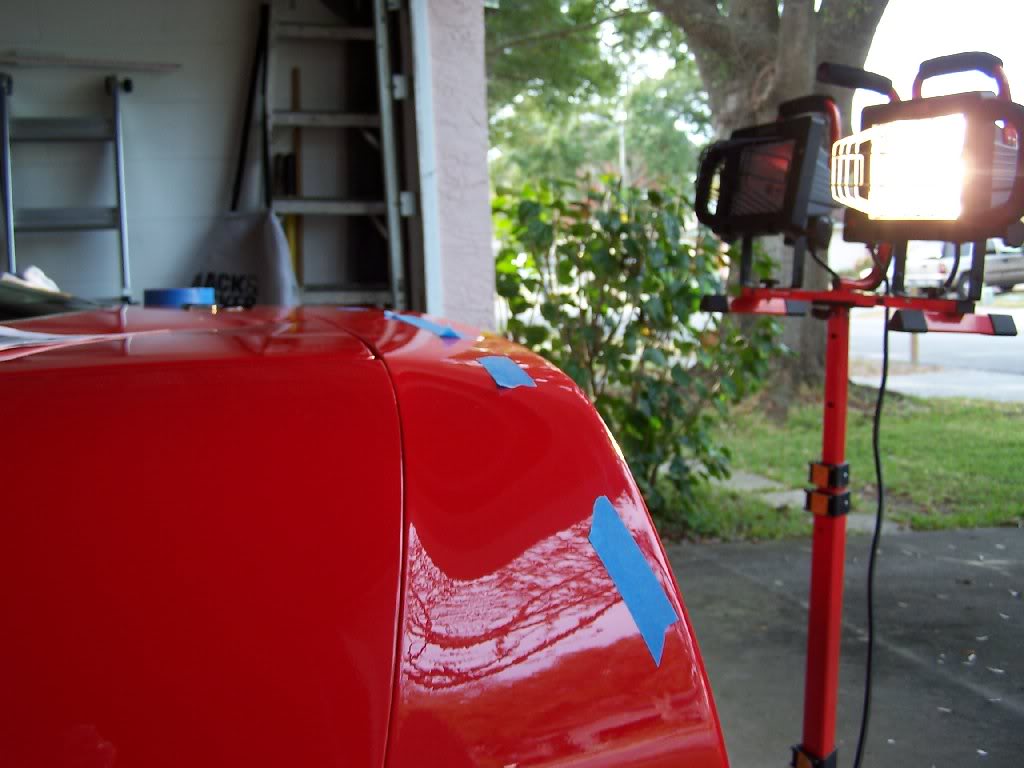
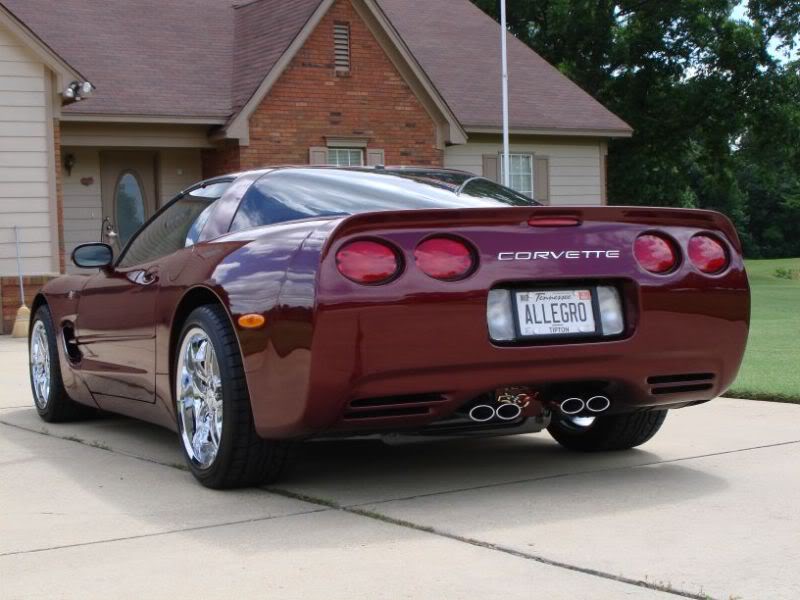
I got mine from RPI and it is Torch Red and a perfect match. You will need two people to do it right. The first thing I did was a test fit. Once I had it where it need to be I outlined it with blue painters tape. Follow the instructions on the double sided tape placement and how to remove the paper backing when installing on the car. The only area that I would redo is the one corner. We got the tape a little to close to the outer edge and it is not down flush with the body completely, but it is hard to notice.
Thread Starter
Pro
Joined: Feb 2007
Posts: 689
Likes: 0
From: West Jordan Utah
[QUOTE=TR6speed;1580581115]I got mine from RPI and it is Torch Red and a perfect match. You will need two people to do it right. The first thing I did was a test fit. Once I had it where it need to be I outlined it with blue painters tape. Follow the instructions on the double sided tape placement and how to remove the paper backing when installing on the car. The only area that I would redo is the one corner. We got the tape a little to close to the outer edge and it is not down flush with the body completely, but it is hard to notice.
Very helpful, thank you! How long before you drove it?
Very helpful, thank you! How long before you drove it?
Le Mans Master
Joined: Sep 2006
Posts: 9,599
Likes: 962
From: Palm Harbor not far from Sebring Florida
St. Jude Donor '11
Oldtimer
[QUOTE=robertlthomson;1580581715]
Not sure because this was put on about 3 years ago and it is not a daily driver. However, I don't believe there is any wait time. Once that tape is stuck down, it is not coming off.
I got mine from RPI and it is Torch Red and a perfect match. You will need two people to do it right. The first thing I did was a test fit. Once I had it where it need to be I outlined it with blue painters tape. Follow the instructions on the double sided tape placement and how to remove the paper backing when installing on the car. The only area that I would redo is the one corner. We got the tape a little to close to the outer edge and it is not down flush with the body completely, but it is hard to notice.
Very helpful, thank you! How long before you drove it?
Very helpful, thank you! How long before you drove it?
Le Mans Master


Joined: Feb 2003
Posts: 6,683
Likes: 144
From: Memphis Tennessee
You want to take your time and install it correctly.
I suggest experimening with where you put the tape on the spoiler. I moved it inward (front and back) so that from a horizontal angle you cannot see the grey tape. It also sits much more flush to the body.
I have seen some very poorly installed, very ugly. Hope yours goes great.
I suggest experimening with where you put the tape on the spoiler. I moved it inward (front and back) so that from a horizontal angle you cannot see the grey tape. It also sits much more flush to the body.
I have seen some very poorly installed, very ugly. Hope yours goes great.
Last edited by ALLEGRO; Oct 11, 2014 at 11:10 AM.
Safety Car

Joined: Apr 2008
Posts: 4,833
Likes: 1,850
From: NJ
2025 C8 of the Year Finalist - Modified
2023 C8 of the Year Finalist - Unmodified
2022 C7 of the Year Finalist - Modified
2021 C7 of the Year Finalist - Unmodified
[QUOTE=robertlthomson;1580581715]This. ^^ Sounds like a common problem. Get the tape away from the edges on the corners of the spoiler. I'm afraid mine may crack if I try to remove it and re-install. Still looks really good though. Paint match is a shade off, but only noticeable in the sun if you're really looking. Overall, I'm happy with it. It's a nice piece and it saved me the hassle of going to the body shop for paint.
Burning Brakes
Joined: Mar 2009
Posts: 1,028
Likes: 33
From: GRAYSLAKE IL
Oldtimer
St. Jude Donor '13
Re instal questions: I used heat at the bottom corners to conform to the body lines using tape & clamps to hold in place. I used cardboard on the clamp jaws to protect the finish. I started the instal in the morning & drove the vette the next day. Again, take your time & good luck! P.S. If I recall correctly the instal took approx an hour.

Melting Slicks

Joined: Feb 2009
Posts: 2,857
Likes: 234
From: SW Nuh Hampsha
2018 C5 of Year Finalist
I installed mine using clear silicone. I taped it down with painter's tape and let it sit overnight. Fit and look was just fine, but it's coming off today, to be replaced with an ACI 740.

Safety Car
Joined: Jul 2011
Posts: 3,641
Likes: 6
From: Easley SC
Very easy to install just start from center pull a little backing off the tape once you get it where you want it and slowly pull the rest of the backing off and push down on the spoiler as you go. Just be sure to clean the area real good before you start. My car Is electron blue and the paint matched perfect. But some colors do fade more than others. Good luck!!
Administrator
Joined: Mar 2001
Posts: 368,447
Likes: 24,807
From: In a parallel universe. Currently own 2014 Stingray Coupe.
C7 of the Year - Modified Finalist 2021
MO Events Coordinator
St. Jude Co-Organizer
St. Jude Donor '03 thru '26
NCM Sinkhole Donor
CI 5, 8 & 11 Veteran
I've read the install instructions and they say do not drive the car for 24 hours after install to ensure the tape sticks properly. I think I would follow those directions.