When you click on links to various merchants on this site and make a purchase, this can result in this site earning a commission. Affiliate programs and affiliations include, but are not limited to, the eBay Partner Network.
Pretty cool stuff here! Having a 3D printer is awesome for making replacement parts, especially as our cars get older and have less new parts available.
Zack and I co-drive at Columbus airforce base in an autox. Took 1 and 2 in novice class. Kept the car as close to last time he ran here. Trying to compare the old drive train to the new. Even replace with the same Treadwear tires. Nice even usable power. The DeWitts radiator and oil cooler did its job. No drop in oil pressure and us driving the same heat the oil never topped 235 and the coolant stayed below 205.
Same old same old. Lots of understeer, shocks need replaced, and my z sway bars need to go on, also a mn12 tranny would help alot to. I got several good videos using track addict app. Can't get racer render to overlay the data. Good starting point. Lots of good data and a feel for strengths and weaknesses of the car.
Last edited by Proletariat designs; Dec 5, 2017 at 11:03 PM.
All by herself, my girlfriend bought me a mgw for my birthday. I was speechless. Anyways onto the install.
Tools you'll need
2x large flathead screwdrivers
1x small flathead screwdriver
1x small Phillip head screwdriver
10mm socket (and a ratchet)
T15 bit
T40 bit
0000 steelwool
New razor blade
Tape measure
Start by using a small flathead screwdriver to pop the front of the plastic insert of the shifter up. Then remove it.
Insert a larger screwdriver on each side of the demon key and pry it up. As you can see, mine was broken by someone else and I had to use a vise grip and screwdriver to pull it up. Putting it in 4th helped to keep it stable during the pulling/fighting process..... good luck
You need to be towards the front of the key. Here is the best pic I could get to show the tab to pry under.
Pull the shifter boot off.
Remove the center console and the radio/a.c. control bezel. There are 3x t15 screws that hold on the bezel. Use a small screwdriver to pop the cover of the interior temp sensor location. Then remove the two by the cigarette lighter/ashtray compartment.
The center console will have to be slid back to allow the radio bezel to be removed. Take the 2x 10mm nuts off the back of the console.
[Won't insert pic ��]
Pull the back of the plastic piece that houses the traction control and ride controls (if your car is equipped with that option).
Unplug the connection and set it aside. Now remove the 2x 10mm bolts. The center console can be lifted and pulled to the back. This gives extra room to work the radio bezel out.
The cigarette lighter needs to be unplugged from the back, after the bezel is pulled back. Here's the best pic I could get of the way it connects. The tabs have to be squeezed and then pulled away from the lighter.
The bezel is free to be removed now.
Remove the 4x 10mm nuts that hold the rubber dust boot to the top of the tunnel.
The 4x bolts that hold the shifter onto the stock lower box are a 3/8" but a 10mm will work. They were not very tight on mine.
Pull the shifter off. Next are the 3x t40 bolts. Remove the bolt on the shifter linkage first then the two that hold the lower box to the torque tube.
Pull the box up and to the front to remove it.
To disassemble the box remove the 2x Phillip head screws on the front that hold the plastic cover on.
Pull the shaft out the front. Polish the shaft with 0000 steelwool. If any burrs are felt, use the finest sand paper you can to smooth the shaft. Then polish it with the steelwool.
Time to assemble the lower box. Here's an exploded view.
Slide the bushings onto the shaft and place them into the semicircle cutouts.
Place the two aluminium pieces together and use the supplied bolts and t handle hex key to tighten them up.
Tighten the bolts in an "x" pattern, like you would tighten lugs on a wheel. Get these tight, but don't use a cheater bar and strip the aluminum plate.
Now it's time to put in the dynamat and heat shielding. I cleaned the torque tube but it is not necessary if yours is not dirty.
Cut the dynamat into 2x stripes 4" by 5" pieces.
The first piece goes on top and will cover the tab on the side of the torque tube. The next piece will go on the bottom and should NOT wrap over the top of the tab.
(Mgw says do this step but I'm not sure what it adds to the process, fill me in if you know...... looking at you mgw rep. My best guess is that it sticks to the torque tube better than the heat shield and keeps the shield from unsticking???)
Small hands will help with attaching the mat to the under side. Also don't cut your hand open on the sides of it.
Now use one larger foam heat shield on the side of the torque tube tunnel and one on the under side of the torque tube. But not over the tab on the side of the torque tube.. it's recommended to leave a 1/2" gap at the top of the tunnel.
Note: I placed each piece in before removing the adhesive cover to see how it needed to be maneuvered into place. And bribe a small handed person to help here.
Place the t shaped piece on the top in between the mounting tabs but not over the tab on the side. See pic for better detail.
Time to put the new lower box into the car. You will have to hold the linkage up and insert the rod into it, while inserting the box into place. Ends up looking like this.
Place locktite and insert the t40 bolt into the linkage and align the cutout on the shaft. Tighten the bolt down tight but don't strip it. Choke up tight on the ratchet to limit your torque.
Now put locktite on the other two t40 bolts and insert into the mounting tabs. Just hand tight, the box needs to be able to move back and forth.
Use the alignment hole on the front of the shaft. Position the box so that the bushing is covering half the hole. And snug one bolt down.
Now place your thumb in the cup of the shaft and move it into 3rd and 4th gear to check for clearance on the bushings.
There should be a 1/16" to 1/8" gap between the bushing and ends of the cup. If it's touching either one, loosen the bolt you snugged to move the box, retighten and check again.
Now with the box positioned correctly tighten down the two t40 bolts. And place the orange isolater on the lower box. Then place the shifter onto the box.
Put the 4x shifter bolts in and tighten in an "x" pattern. Use the supplied t handle and tighten down tight. The red vibration isolater should be pressed out evenly all around.
Now tighten the 4x set screws.
Now it's time to cut the factory rubber dust boot. Use a new razor blade and cut along the first step. Go in flat and take your time to make the cut look right.
The dust boot needs to be fitted over the shifter. Start on the driver side in between the torque tube tunnel and the shifter. This is the tightest place. Then work your way around the shifter.
Screw the shifter bolt into the shifter. Make sure to flip the washers and nut. On the bolt: first screw on the nut, then the lock washer, and lastly the flat washer. Screw the bolt in and then tighten down the nut with a 19mm.
Reassembly is the reverse of taking it apart. Test it before hitting the street, then enjoy it. I am loving mine so far.
This should not take more than 30 to 40 mins to complete. But I hit a dog about a month ago and found some more issues. They may or may not have been related. But I spent a whole evening on this.
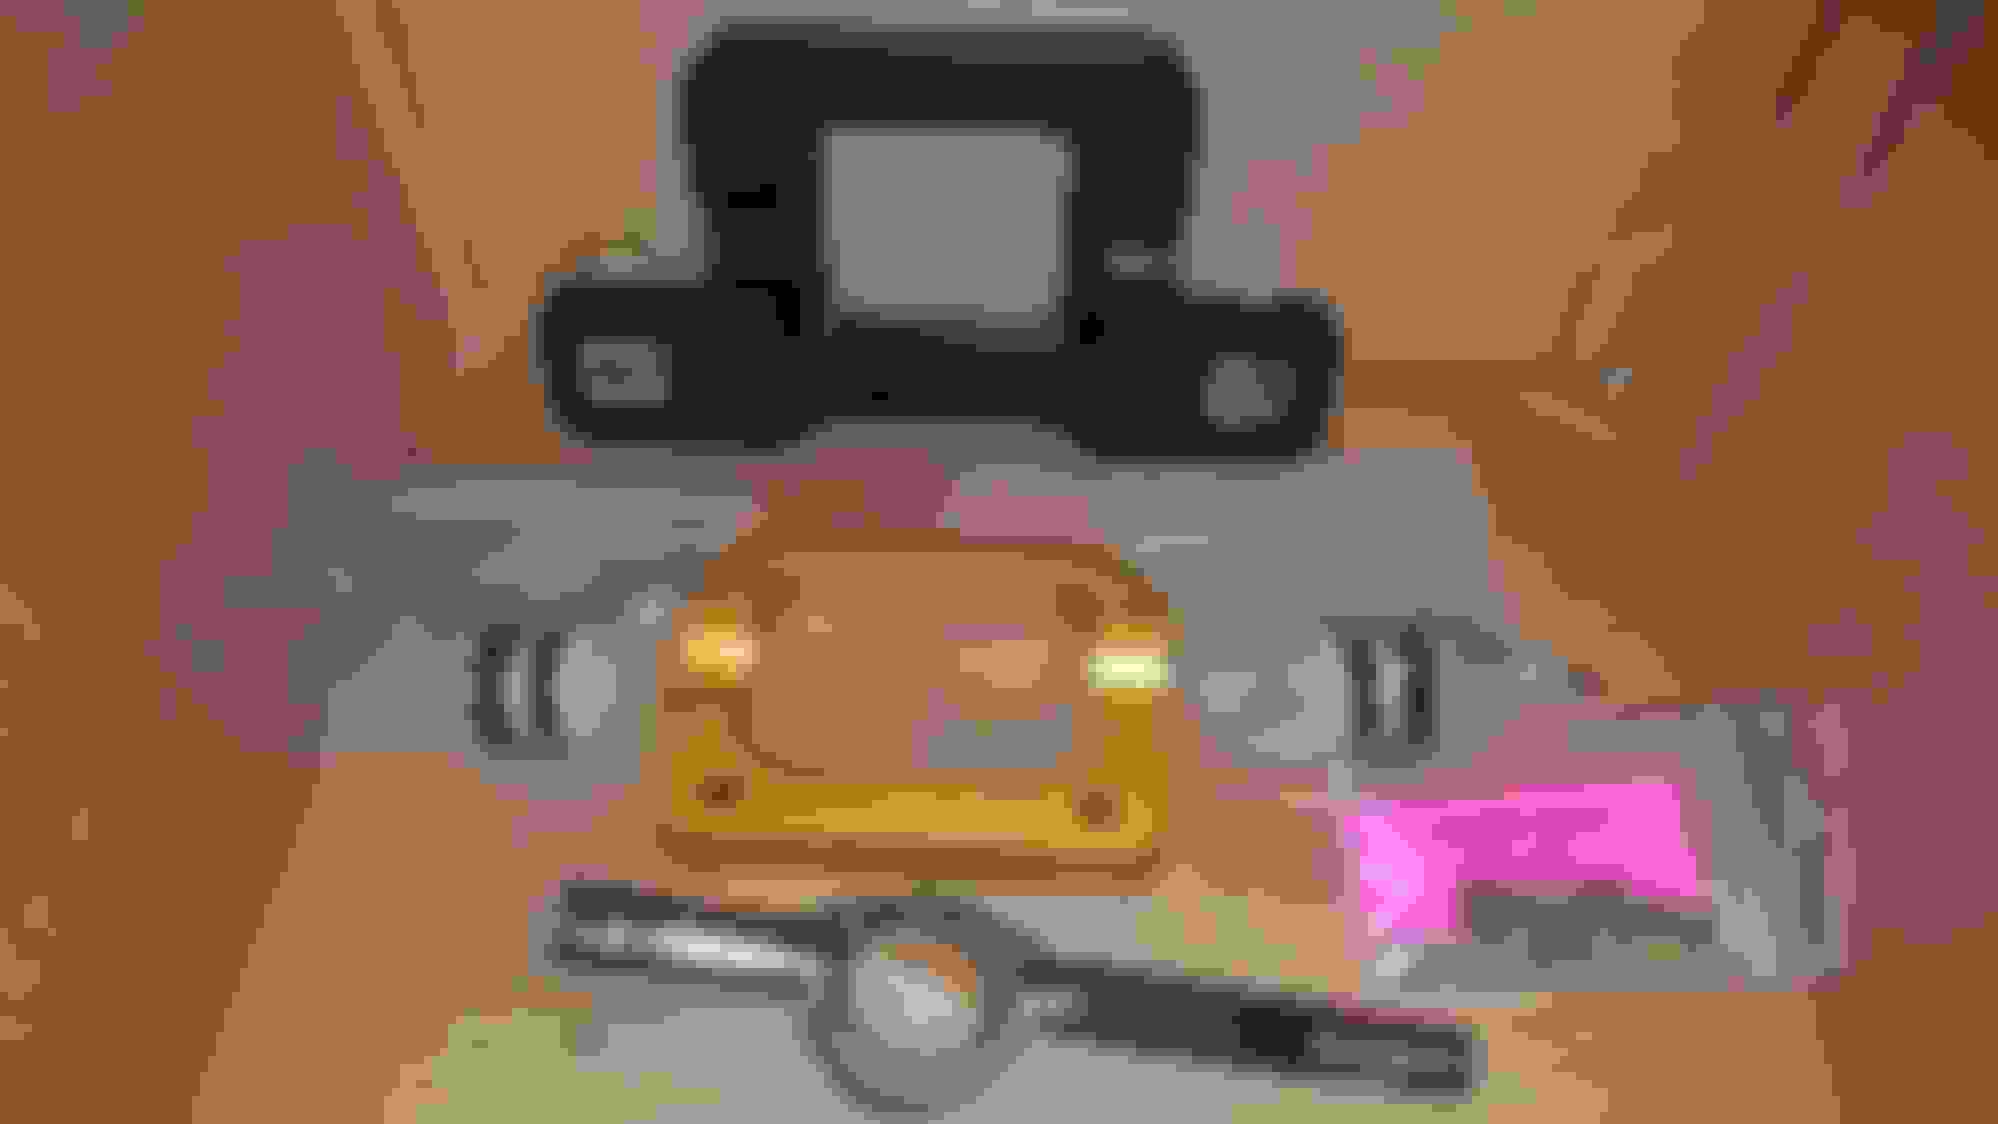
Parts and tools.
Small flat head screwdriver, t15 bit and driver, and 5/16" wrench
To start disconnect the battery (5/16" wrench) Now if you have child hands you can press both of the lower air dams (front brake cooling ducts) slightly in and down. It will open up enough for your hand to access the plug for the switchbacks.
Tried to get a shot of the hole for the lights.
Notice anything missing, aside from a shredded bumper cover. That's right the rubber washer is missing. No stress, CAD one out, import to cura, and print. So easy.
After installing the new ninjaflex washers on the plug, I placed it back into the corner marker and twisted to lock into place.
Now you can pull the cooling ducts back into place. If you dont have kid hand, and don't want to look emo with scratched up wrist, you could take the access panel off the bottom.
Now move to the Interior to install the hyper flash harness. Start with a small flat head screwdriver and remove the trunk/foglight switch. Also pop off the IAT (interior air temperature) sensor cover. This cover is in between the ignition switch and the steering wheel.
Disconnect the switch (both if you have them) and remove the t15 screw under the cover and switch.
Now you can gently pull the knee bolster down and toward you to remove it. There is a white pigtail under the ignition switch. The hyperflash harness will plug into each end.
Reinstall the interior parts. Hook up the battery and test them out.
The antivenom mod to the mgw, is what the mgw is to the factory shifter. It brought the effort required to shift back to factory levels. I took measurements with a scale, but the variations were in the unacceptable range. I measured from 3rd to 4th in sets of 5. Those averages still did not line up all that close. So y'all are stuck with my finely tuned seat of pants feel.
I have not experienced it popping out of gear. It is so smooth going into and out of gear. I feared that it may have too little spring pressure on the detent assembly. So far I have not experienced any problems, and have nothing bad to say about it.
The install is not bad. You need a jack and jack stands (or a lift), 15/16" socket and ratchet, and of course the m20 3/4" copper washer.
First raise the back end of the car and place in the back stands. Next you will most likely have to feel for the 15/16" detent plug bolt head on the passenger side of the transmission towards the top. It's roughly under where the mount for the e brake cables are.
I would suggest taking steelwool or some rags and clean around the bolt head once you locate it. Then use an air wand to blow the loosened debris away.
Remove the detent bolt and install the washer.
Be careful to keep everything clean and don't introduce any contamination into the transmission.
Tighten the detent plug back down to 30 lbs ft. Per tremec t56 service manual. (That equates to snug, but don't grunt.)
Lower the car down and enjoy!
Big shout out to Steve (killian96ss) for sending me an extra copper washer
Nice work. using a screwdriver on interior trim makes me cringe though
Nice work. Cool thread.
Thanks for checking it out. I was lucky enough to find a parted out 04z about an hour away. I picked up lots of spare interior parts, sway bars, and the rear brake ducts for not much at all. I also bought a 6 point wolfe roll bar, new lower radiator support, tech 2 clone, and a set of magnesium wheels. I plan on putting some rivals on the magnesium for track days.
I picked up a set of chrome magnesium knock offs with nitto 555 g2 in factory sizes, for less than I could get the tires. They are HEAVY, try 7 to 8 lbs a wheel heavier. Driving the car back to back with the old wagon wheels with bald tires to the new set up, there was a definite difference. The suspension seems less agile with these wheels. I am hoping to give them to Zack (previous owner who is back in a vette again ) if he will have them lol.
When I bought them they were painted and dipped black and looked like trash.
I used a pressure washer to peel the old dip and paint off. I hit the remaining areas with paint thinner and 0000 steel wool.
End product not bad, even though Im not a chrome fan. I will probally end up painting these just because I cant leave stuff alone.
Here is my girl mugging. She does not understand why she's not getting to ride after helping wash the car.
Took it down to the dam by my house for some photos.
Last edited by Proletariat designs; Mar 25, 2018 at 01:48 PM.
Early February I began having intermittent noise from the bell housing area. To me it sounded like the throw out bearing (TOB) squealing. Only happened with the clutch in, and not every time. Only when the clutch was disengaged for 10 plus seconds. Bled the fluid with the remote bleeder and it had a slight tint, but nothing really out of the ordinary. One morning I started the car in gear and in gear it rocked the car forward, I had had the car up on stands and thought it was just rolling off a chock block. Next morning same thing. So I shut the car off and tried to reproduce this symptom. It never happened again. Once the car started it acted normal, with the clutch working. That afternoon it rocked the car forwards when I shut off the engine. I tried to repeat that and it has but not every time. With the car running in 1st with the clutch in, the car does not move even when rev�d to 6k+.
I put the car onto stands and ramps. I pulled the mid pipe, torque tube (ttc) cover, and access panel on the bell housing. I see no movement between the block and bell housing at the flywheel. There was no fluid in the bell housing either. Some residual from when my last slave died but no new fluid. I could see the fingers on the pressure plate were not bent.
I had my brother start the car to see if anything looked weird. Bad move. It was WAY LOUD, even with my earplugs in. So I reinstalled the mid pipe and rechecked. The clutch engaged and disengaged freely. The TOB looked ok also. The only clue I could find as to what was happening was that the clutch did not gap between the flywheel very much. I reset the travel on the clutch.
I used a tire tool to apply pressure toward the yellow spring, while my brother is pressing and depressing the clutch pedal. It required a serious amount of force and leverage to move. There are three springs that allow the clutch to adjust in and compensate for wear on the pad. Any of the three can be used to re-adjust it back out.
After putting everything back together, and test driving the car, I felt the need to re-adjust the tick master cylinder. However I did not. I drove it about 10 miles and worked the clutch (probably more than necessary). After a few easy start and stops, the pedal began to feel normal again. After those couple of test drives, I have had zero issues. I have tried to simulate any instance that cause the sporadic noise. It has not happened since. I have about 2k miles since then. Hope this helps someone out in the future.
I finally got around to installing the used vr-b2 and new powerduct. It's going to take a couple of hours. After looking at it, I thought an hour and a half tops. Lol no. Dedicate an afternoon to this set up.
I did not disconnect my battery because I did not disconnect any wires. It's always a good idea to start by disconnecting the battery though.
My first step was to clean the filter. I used a green filter cleaner let it dry for a day and oiled it.
Always wash the dirt and debris out with low pressure water from the back of the filter to the front. In other words opposite of air flow. And DO NOT OVER OIL.
I started on the car by jcked up the front and set jack stands under the jacking points. I then used a 5/16 to undo the band clamps on the MAF (mass air flow sensor) and TB (throttle body). Pull up the rubber gromets from the air bridge on the upper radiator support.
I then set the MAF and air bridge on the intake, but you could unplug it and remove the whole thing. Pop the latches and pulled the factory filter out. Next pull the tube from the air pump off. Then wiggle the lower air box half to separate the metal bands (latches) and set it aside. The upper half is attached with t30 bolts.
With the air box removed, move to the upper radiator support. It has two 10mm bolts on each side. Pull it up an out of the engine bay. Now it's time to crawl under the front bumper.
Removed the center air dam. Its held in place with two 10mm bolts, one on each side. Next remove the radiator ducting. There are five 7mm bolts attaching it to the front bumper and one 8mm on each side that attaches to the lower radiator support. I bent the middle of mine and pulled it out the top with little effort.
The next step may require the access panel on each side to be removed. Mine had several 7mm and 8mm bolts. Not sure that's factory or right but it hold it in place
I loosened the 10mm bolt holding the fog light on (each side of the car) and was able to sneak the covers off and ram tubes in. Three 8mm bolts hold the covers on. Two are easy to access and are top and bottom of the cover next to the front license plate intention. The third is vertical and attaches to the corner marker. I know this is wordy but I could not get pics of these areas, and I was tired so I did not try very hard. Nonetheless here are some.
You can see the bolts In the last picture. With the covers out, install one ram air tube then the other. I tightened up all the bolts that attach the tubes to the bumper. Now the two halves can be connected. And tightened down.
Check the alignment and make any adjustments. Once it's straight reinstall the radiator shroud, retighten the fog lights, and reinstall the access covers. Move back up top and place the two bolts in to connect the two ram ducts. Center it up and tighten all the bolts. Now is the time to put on the adhesive foam if you haven't already.
The radiator shroud can be reinstalled and bolted in. Now insert the air filter into the air box. The foam should already be installed, but if it is not install it now. Vararam suggest starting in the middle and working to the edge. That did not work for me. I started at one end and pushed it in tight to the side then worked to the opposite side. It needs to fit tight in the foam. The box and filter can be clipped to the ram ducts using the t latches. It should fit snug. Reconnect the tube that comes form the AIR pump. (I had to use the 90* elbow from my old air box, it just pulls right out)
Now here is the confusing part getting all the hoses on the power duct situated right. Vararam has conflicting instructions on the placement. I spoke with them directly about this and the MAF should be retained at the stock location. Just make sure the arrow and the blade are completely vertical. This is supposed to help with air turbulence. There is a smaller diameter silicone hose thats about the same as the back of the MAF. It goes there then the middle length hose goes over top of it and onto the power duct. Then the longer hose connect the power duct to the TB. Maybe because it was almost 1 AM, but that took me forever to get right. Those hoses are tight and tough to fit. Not to mention the longer tube is to be cut to fit. I took ~3/8" off for it to fit properly. Tighten down all the clamps and reattach any unplugged connections. Start the car and let it idle for 10 mins or so. Then retighten all the clamps for final touch.
It should take the car a few drive cycles to adjust to the new intake. But a tune is not necessary for it to run smoothly.
Last edited by Proletariat designs; Apr 14, 2018 at 12:34 AM.
looks like a nice install. Up in the pictures of your clutch inspection, what is the purpose of the AN fitting next to your oil filter?
Thanks! It is the return line from my oil cooler. It fits into an improved racing 212* thermostat. It may take the car a touch longer to reach operating temps with DD, but at track the oil temps stayed 230ish.
My thoughts after a couple of weeks with the vararam. I can not tell that the car is any faster. I have four main observations from driving the car. I drove it on a 5 hour trip to columbus air force base to autox with Zack. We had 18 runs on two days and I've drove it back and forth to work for almost 2 weeks now.
First thing I noticed is that the car surges at 5 to 15% throttle under a load. Similar to a higher duration cam but nowhere near as exaggerated. After a few drive cycles this has all but went away. Either the pcm learned to deal with the vararam, or I changed my driving style.
Second thing I noticed is the car revs faster. Not a lot, but enough to throw off my rev match when down shifting.
Third, at highway/interstate speeds the car does not jack brake as good as it used to. Again not significant but it does coast more freely.
And lastly, don't worry about taking in water. It's not going to hydrolock the engine. I drove 2 hours in pouring rain at 70+ mph. Then another 3 hours on highways and back roads..... Some with standing water. I did not intentionally hit any puddles and actively avoid them. But eventually I drove through a few and no problems to report.
I am hesitant to put this in here, because it's so subjective and many variables change. After testing and babying it for a couple of days with no check engine codes, I had to see what it would do. The tires break loose easier now. Example a second gear pull with my old airbox and filter did not cause the car to loose traction. With this intake it will. Now it's not blowing the tires off. But once you get up in the powerband it will slide a little. Again not saying the intake was the cause. Road conditions, tire temp, debris, having heat cycled these tires a few more times, tire pressure, fuel level they're all variables to the equation. I guess i should note thatI did get better gas mileage about 1.5 mpg. But I have not been driving it normal so it's kind of a mute point.
Overall woth the install. I'd do it again.
Last edited by Proletariat designs; Apr 18, 2018 at 12:26 AM.


 ) if he will have them lol.