
Got tired of my ugly LSx... Decided to make it look a little nicer
 04-06-2009, 12:17 AM
#1
Le Mans Master

Thread Starter

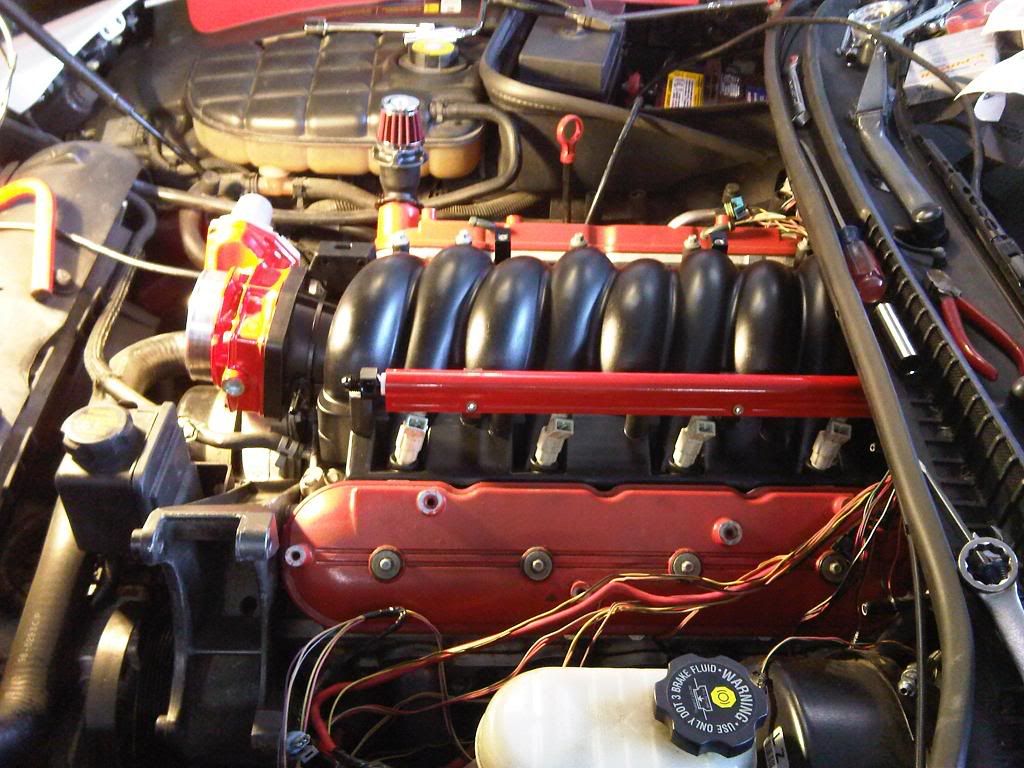
Let's face it. While Gen III and Gen IV are some of the best engines ever made, they are also some of the ugliest.

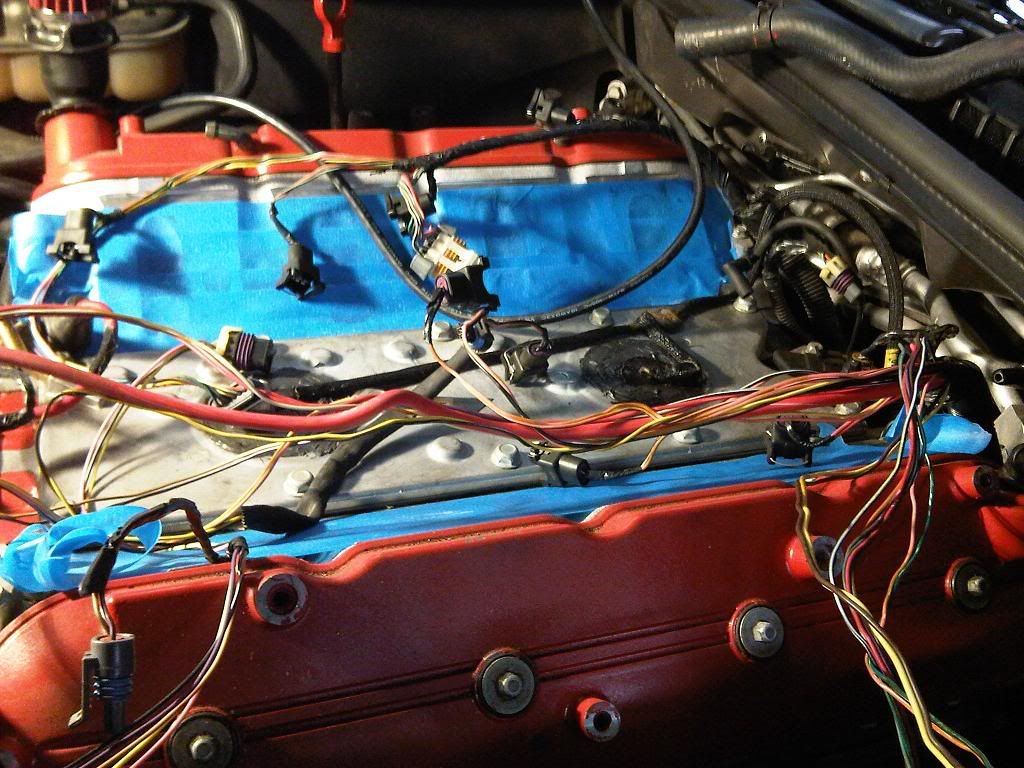
Well, I decided to do something about that. I tore the top off my motor, and started hacking apart my wiring harness. I pulled all the tape off, and all the nasty plastic wire loom.
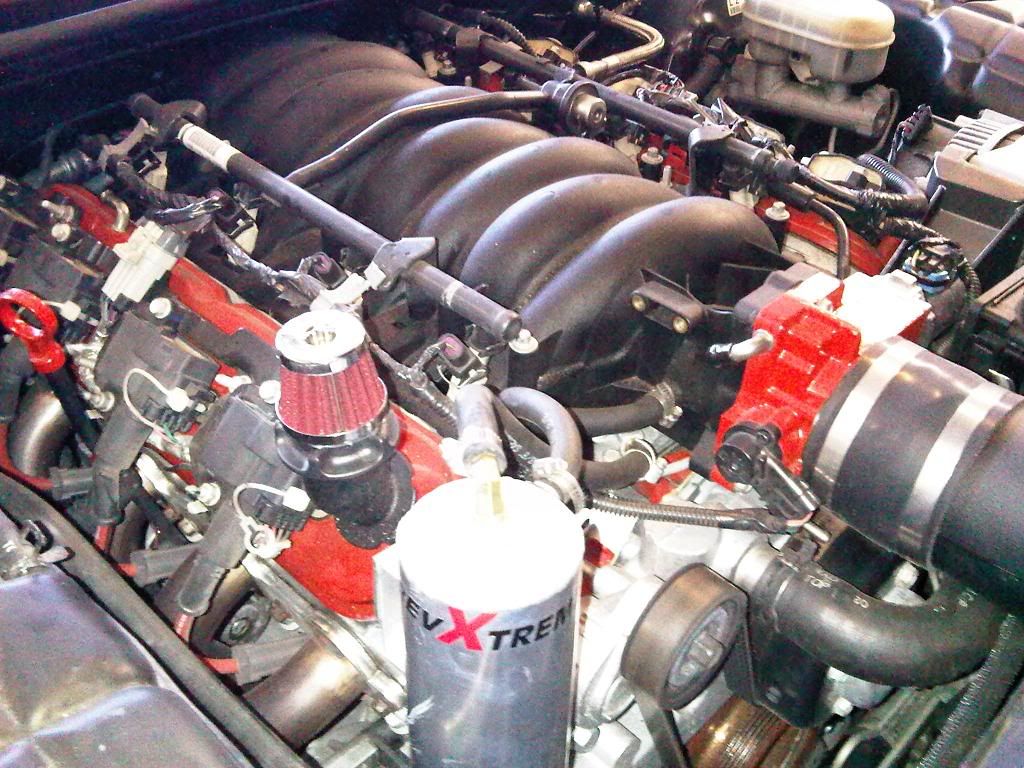
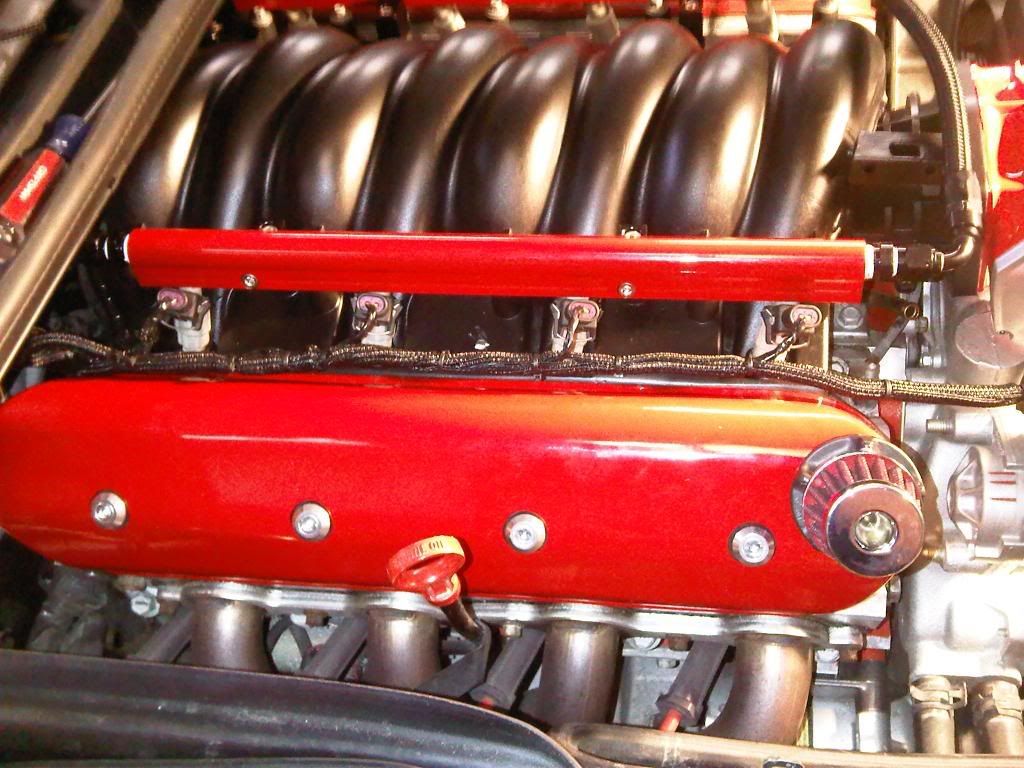
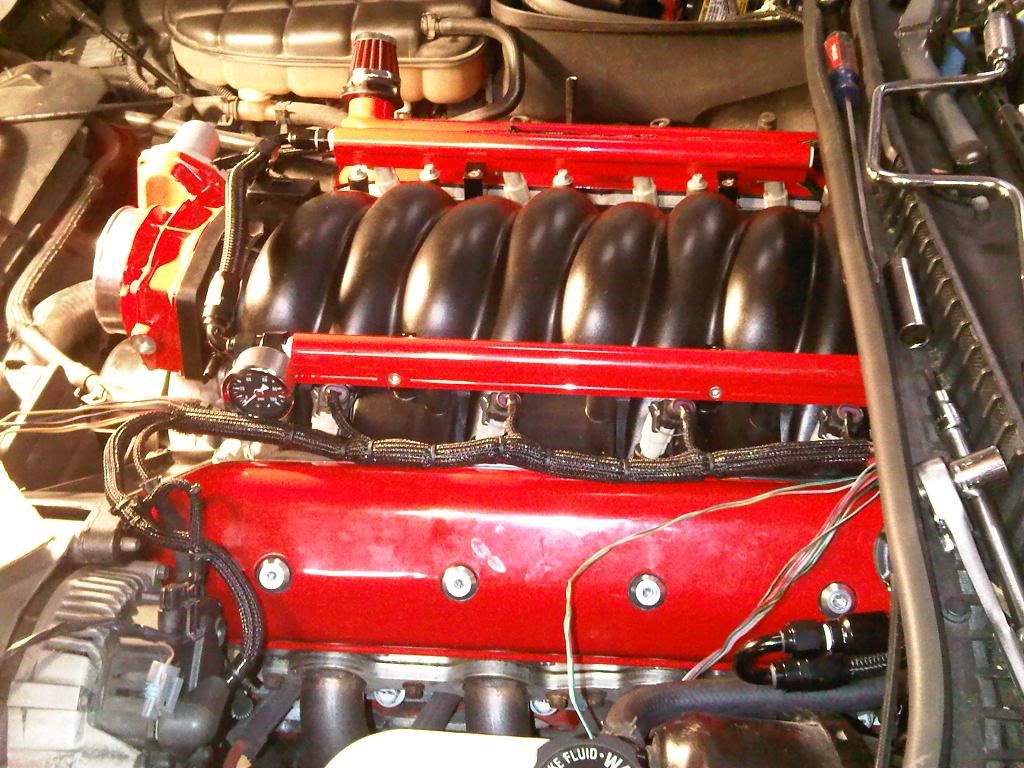
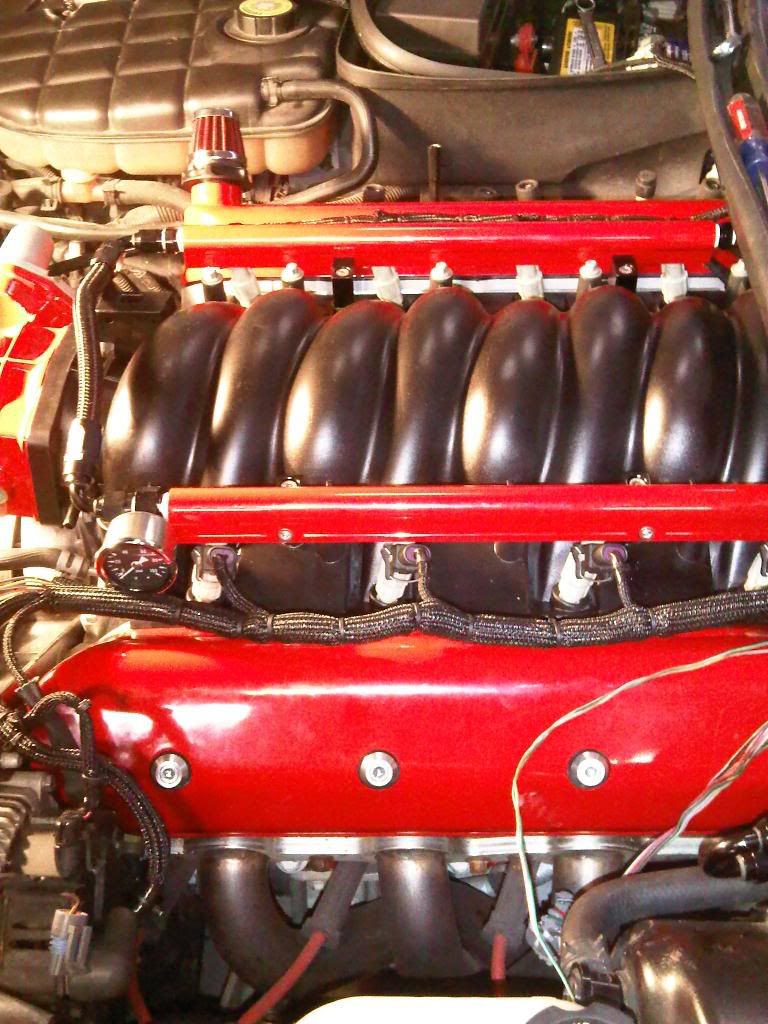
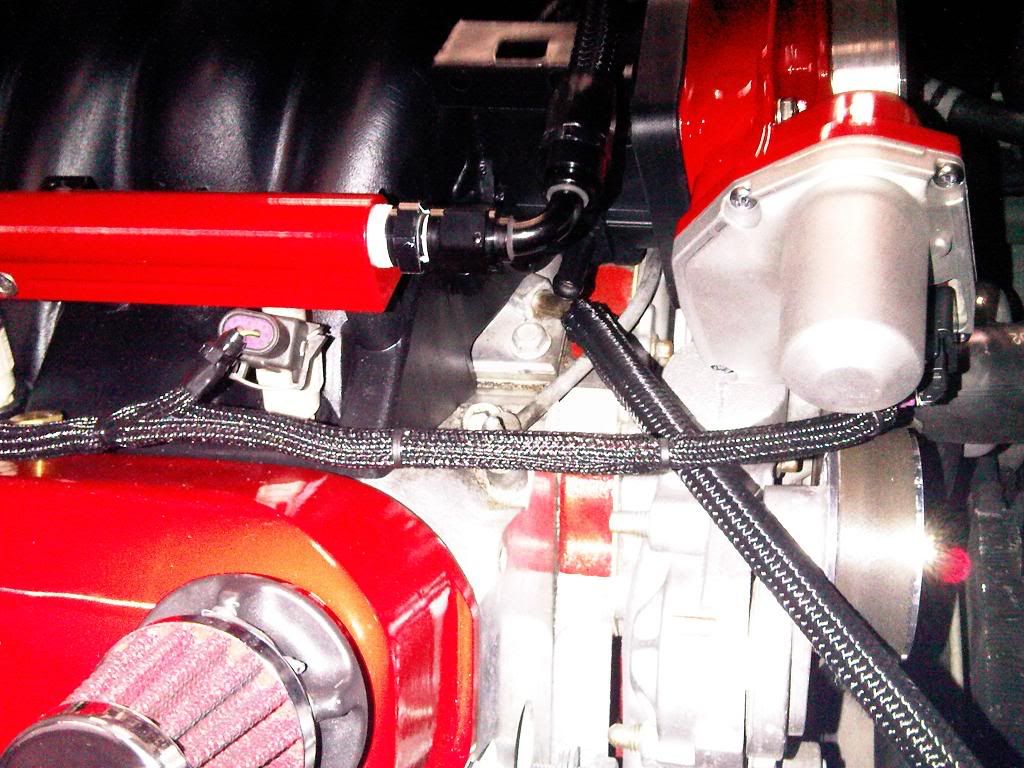
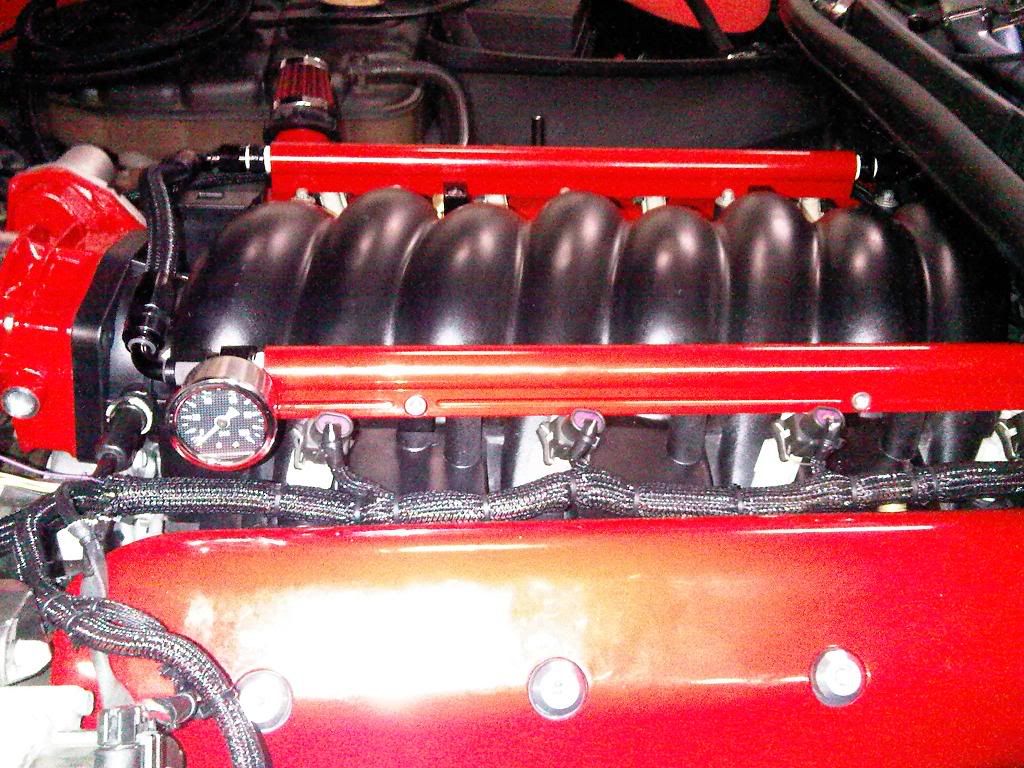
I put my new TPIS intake on, that I had sanded and smoothed last week, along with a 90MM LS2 throttle body. I also started doing the plumbing for my billet fuel rails that I had powder coated red to match the throttle body and katech valve covers
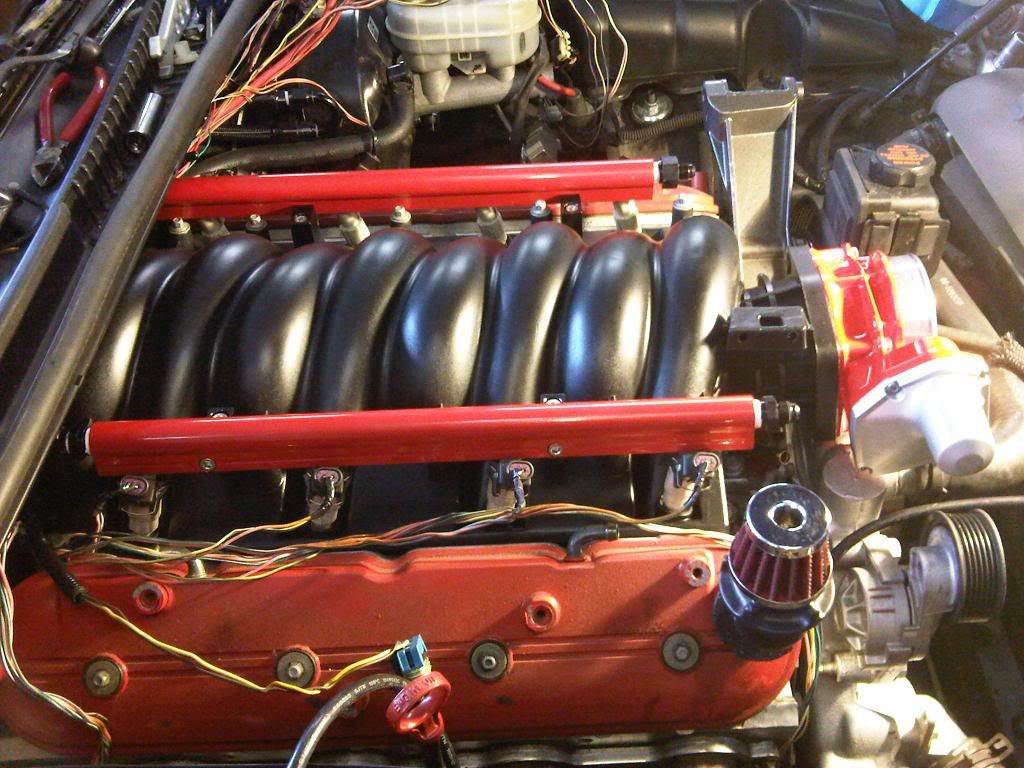
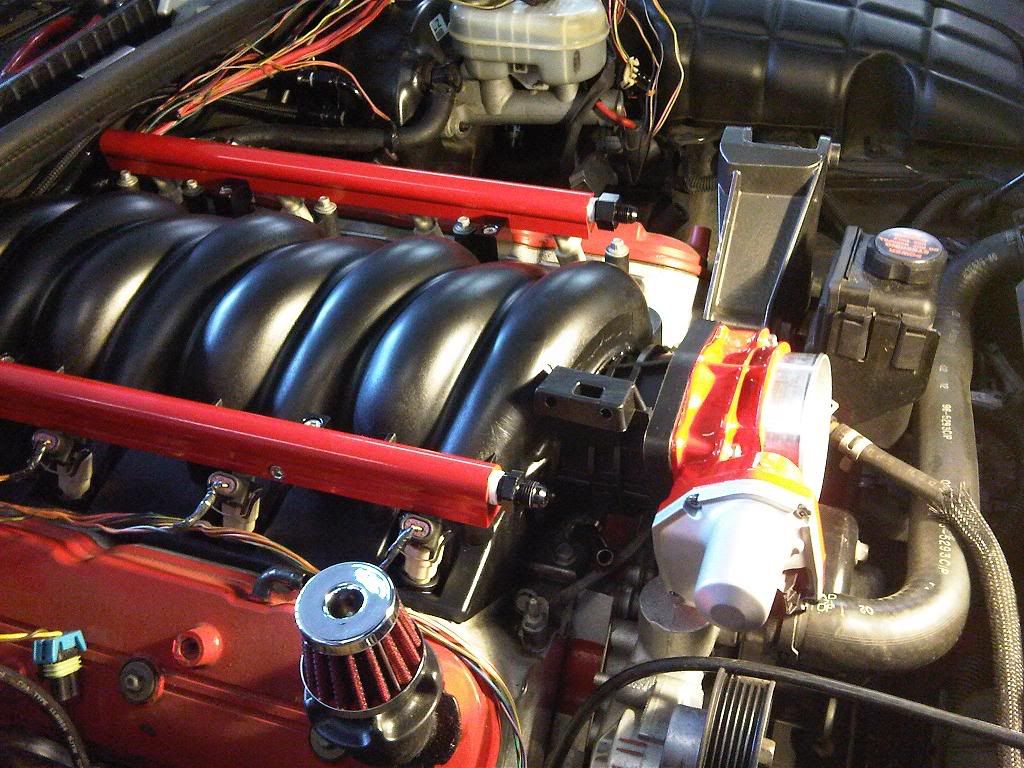
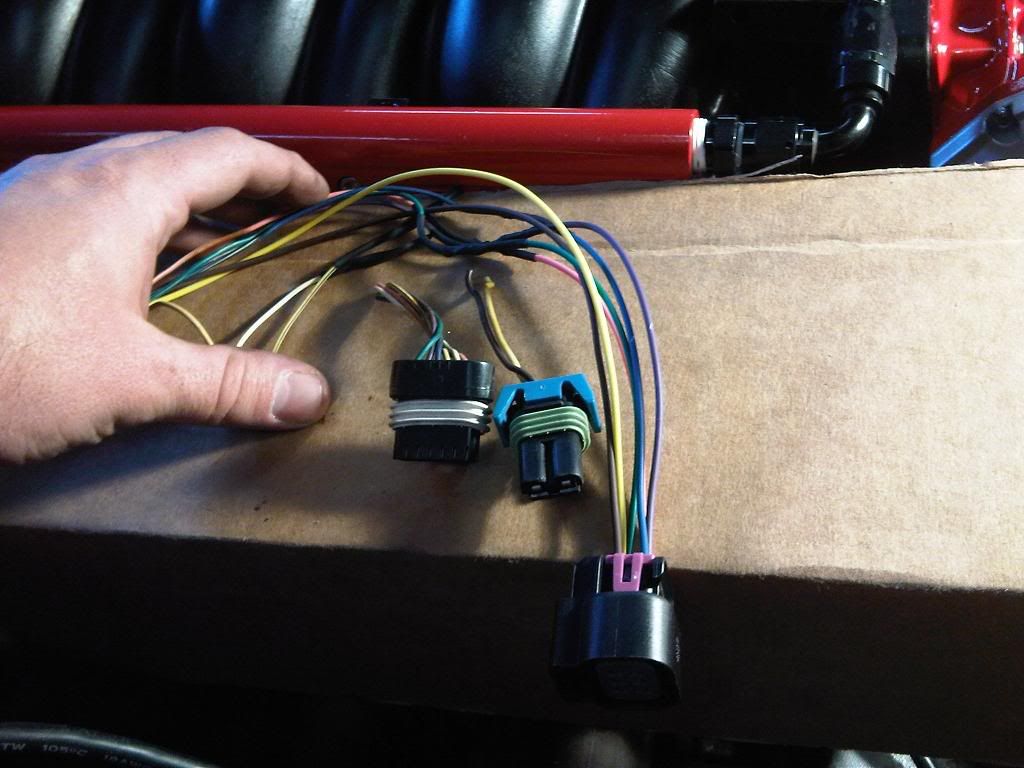
I then started cutting and splicing things where I wanted them to go, and splicing in some LS2 wiring bits as well, since I think adapters are ugly.
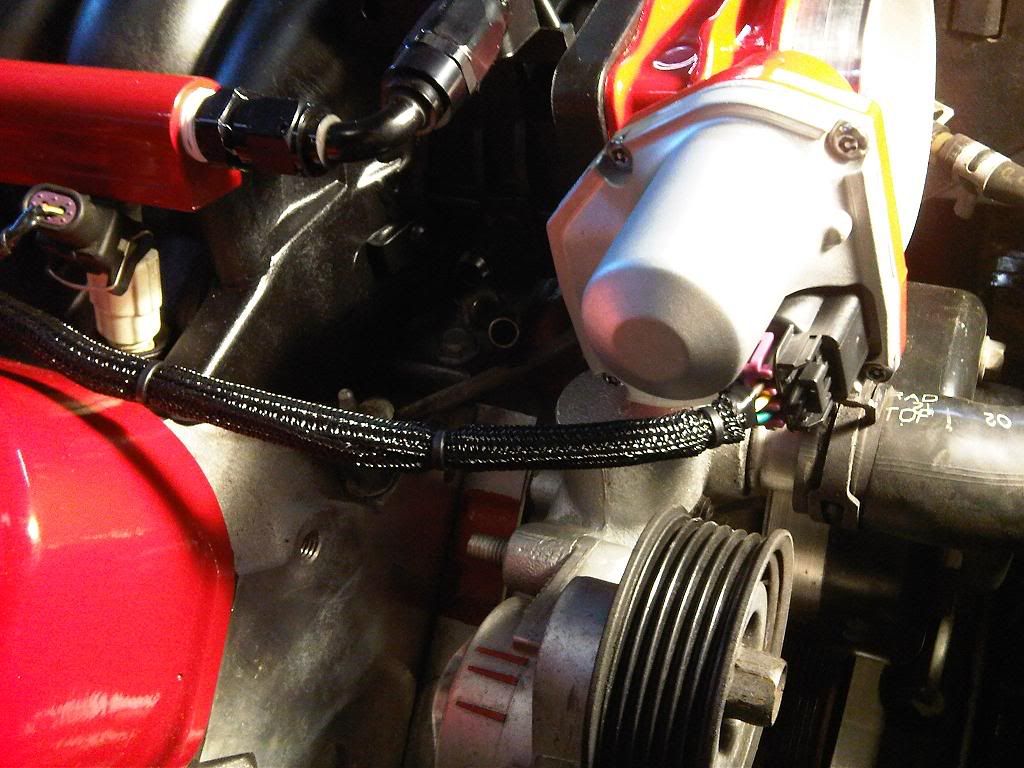
Working on some more of the plumbing:
Well, I decided to do something about that. I tore the top off my motor, and started hacking apart my wiring harness. I pulled all the tape off, and all the nasty plastic wire loom.
I put my new TPIS intake on, that I had sanded and smoothed last week, along with a 90MM LS2 throttle body. I also started doing the plumbing for my billet fuel rails that I had powder coated red to match the throttle body and katech valve covers
I then started cutting and splicing things where I wanted them to go, and splicing in some LS2 wiring bits as well, since I think adapters are ugly.
Working on some more of the plumbing:
 04-06-2009, 12:19 AM
#2
Le Mans Master
Thread Starter
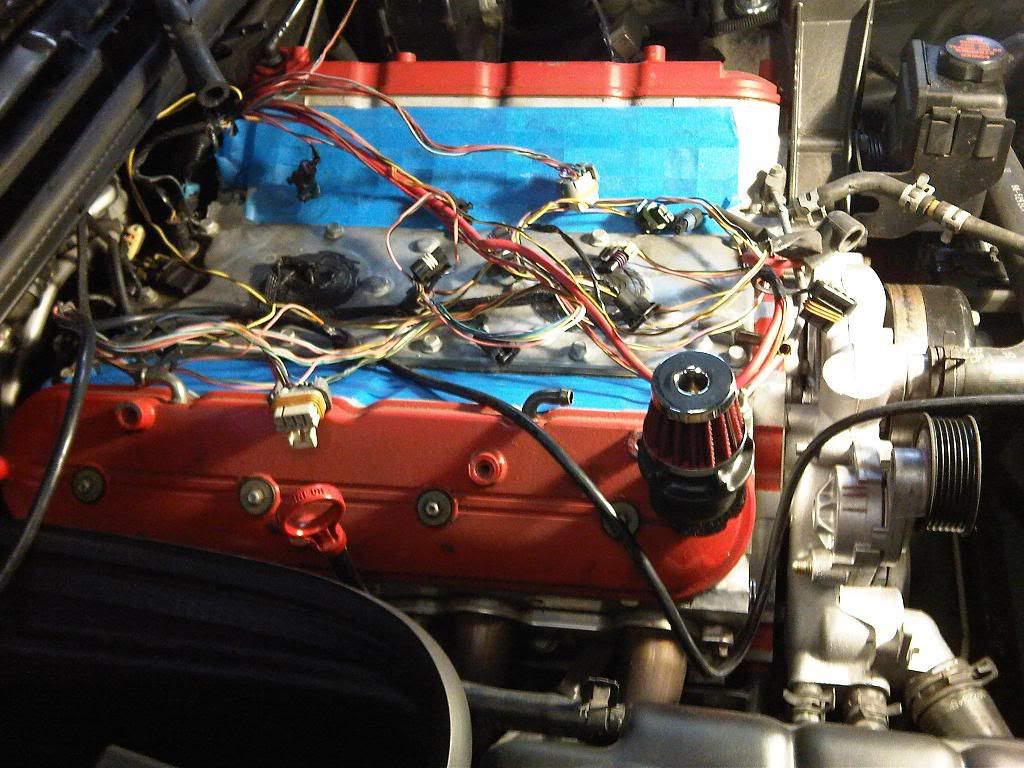
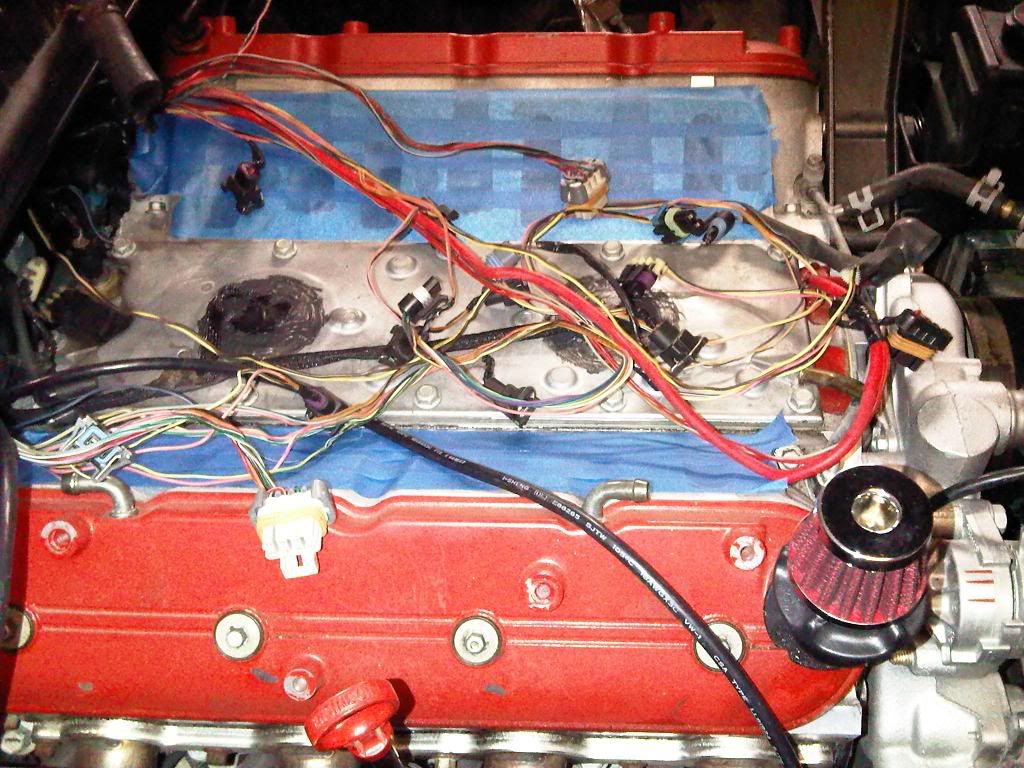
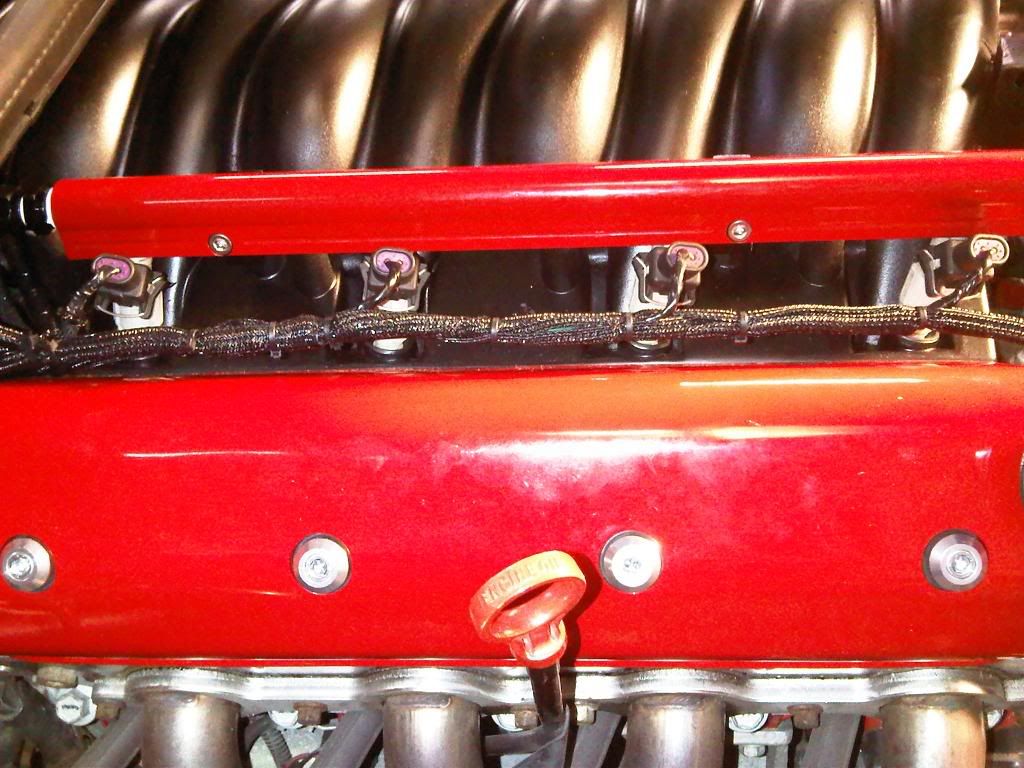
I then started wrapping all the wires in this split braid flex loom stuff I got from Jeg's. I also put my Katech valve covers on, and relocated my EVAP system to clean things up.
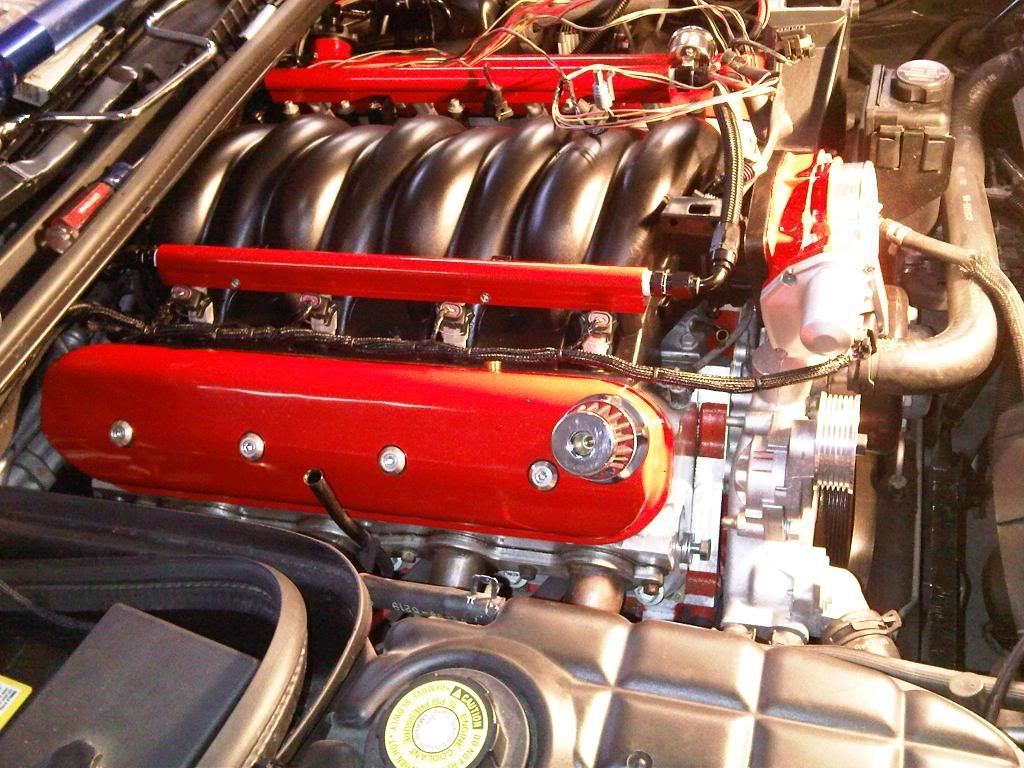
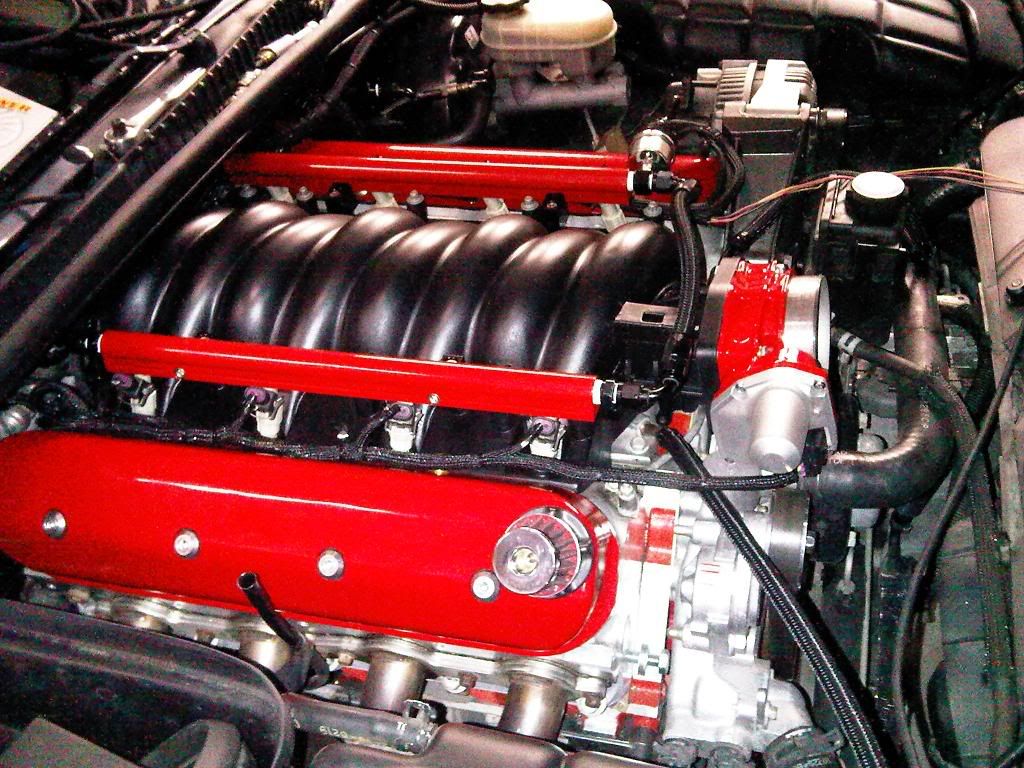
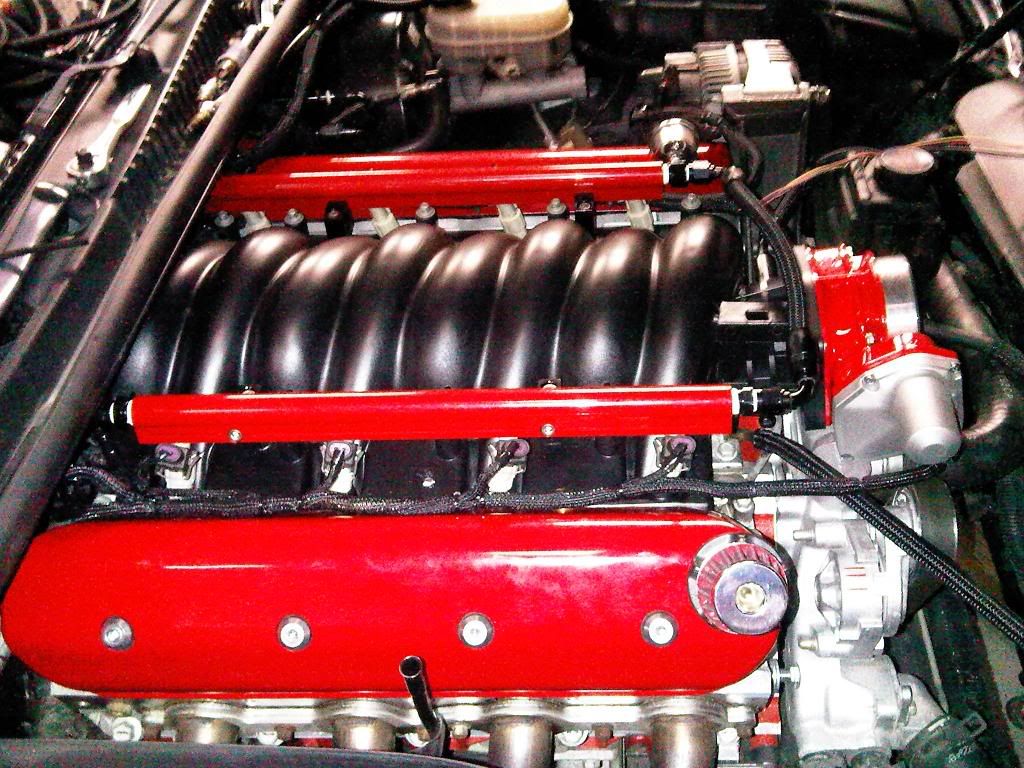
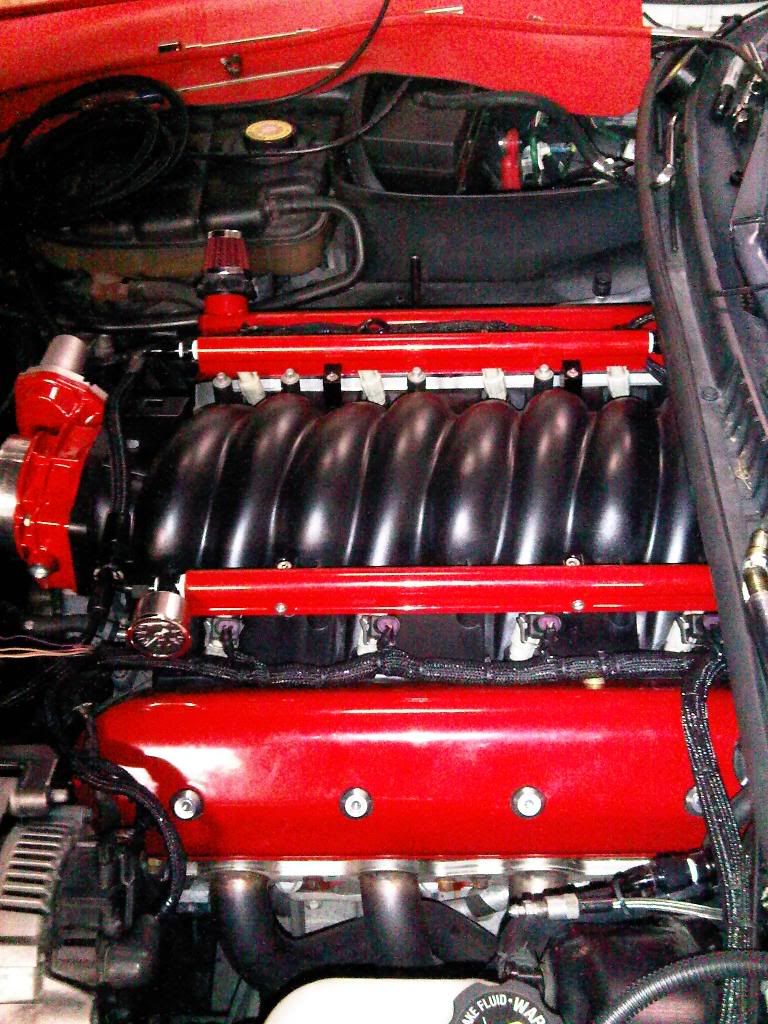
So thats what I got done today. Tomorrow I'm going to finish with my wiring harness, make my brackets to mount the coils in the fenderwells, and clean a few more things up. Anyways, just wanted to share, sorry for the crappy camera phone pics.
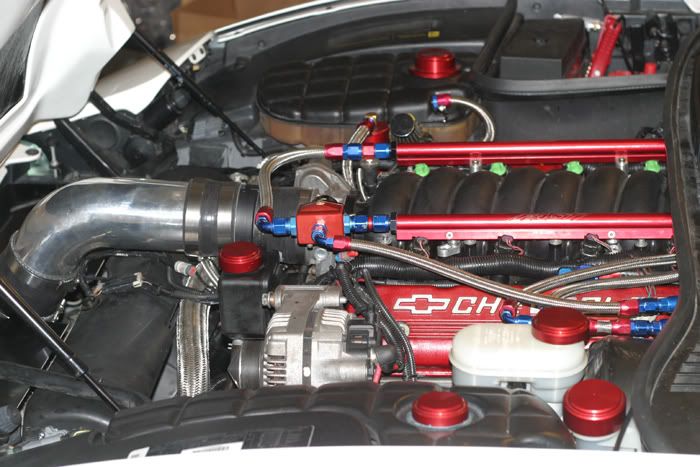
Special thanks to SilentFright (Matt) for all his help! I saw his, and was inspired to do something similar. Thanks to RoadRebel / Dr. Phil too, for answering my dumb questions on a sunday
So thats what I got done today. Tomorrow I'm going to finish with my wiring harness, make my brackets to mount the coils in the fenderwells, and clean a few more things up. Anyways, just wanted to share, sorry for the crappy camera phone pics.
Special thanks to SilentFright (Matt) for all his help! I saw his, and was inspired to do something similar. Thanks to RoadRebel / Dr. Phil too, for answering my dumb questions on a sunday
 04-06-2009, 07:13 AM
#4
Tech Contributor

Member Since: May 2008
Location: Howell Michigan
Posts: 2,844
Likes: 0
Received 15 Likes
on
15 Posts
St. Jude Donor '09-'10-'11
Mike!
Hey, thanks for sharing the photos and info on your engine face-lift.
I am very interested in how you will relocate the coil packs. I'm thinking of doing a project much like yours this coming winter when I do the cam, heads, intake and exhaust system.
Nice Post!!
Hey, thanks for sharing the photos and info on your engine face-lift.
I am very interested in how you will relocate the coil packs. I'm thinking of doing a project much like yours this coming winter when I do the cam, heads, intake and exhaust system.
Nice Post!!


 . Looks awesome bro!


 04-06-2009, 10:58 AM
#12
Le Mans Master
Thread Starter
I cut the wires the length I wanted them, slid heatshrink tubing over the end, and twisted the wires together neatly. I then soldered them, and moved the heat shrink over the joint. I used a cigarette lighter to shrink it, and it came out great!
04-06-2009, 12:39 PM
#13
Tech Contributor
Member Since: May 2008
Location: Howell Michigan
Posts: 2,844
Likes: 0
Received 15 Likes
on
15 Posts
St. Jude Donor '09-'10-'11

 04-06-2009, 07:18 PM
#17
Pro


Just as a FWIW, solder joints in cars are not a good idea. The vibration associated with the vehicle environment will cause over time (sometime very short time) embrittlement of the joint causing it to fail. This is the reason you will find crimped connections from the OEM in place of solder joints. A better joint can be made by using crimp connectors (splices) along with your shrink tubing to cover the splice. I normally apply clear RTV over the splice and then slide the shrink tubing over it and shrink it before the RTV sets up making a good water tight connection.
04-06-2009, 07:42 PM
#18
Melting Slicks

Member Since: Jun 2007
Location: Sartell Minnesota
Posts: 2,172
Likes: 0
Received 0 Likes
on
0 Posts

i'm gonna be relooming my whole engine bay. it'll stay black but i do wiring of GPS systems on metro transit vehicles(buses and such) and am good at that stuff. I need to organize everything under the covers and engine bay. Needs to get done O/P awesome job man that looks great. I'd love to see where you relocate the coils
O/P awesome job man that looks great. I'd love to see where you relocate the coils
04-06-2009, 07:46 PM
#19
Tech Contributor
Member Since: May 2008
Location: Howell Michigan
Posts: 2,844
Likes: 0
Received 15 Likes
on
15 Posts
St. Jude Donor '09-'10-'11
The ones I use are called "heat shrink butt splices". As mentioned earlier, I like to add RTV to the open ends before shrinking to help keep moisture out. I have also used a hot glue gun to help seal the ends after shrinking, but it takes longer then the RTV and is a little more messy to deal with.
04-06-2009, 07:47 PM
#20
Tech Contributor
Just as a FWIW, solder joints in cars are not a good idea. The vibration associated with the vehicle environment will cause over time (sometime very short time) embrittlement of the joint causing it to fail. This is the reason you will find crimped connections from the OEM in place of solder joints. A better joint can be made by using crimp connectors (splices) along with your shrink tubing to cover the splice. I normally apply clear RTV over the splice and then slide the shrink tubing over it and shrink it before the RTV sets up making a good water tight connection.