When you click on links to various merchants on this site and make a purchase, this can result in this site earning a commission. Affiliate programs and affiliations include, but are not limited to, the eBay Partner Network.
One of my bulbs burned out, has anyone changed these? What type of bulb does it take and how do you get it out? The plastic holder it sits in is all brittle from the heat of the bulb so I'll get LED's if I can find the right size.
Thanks
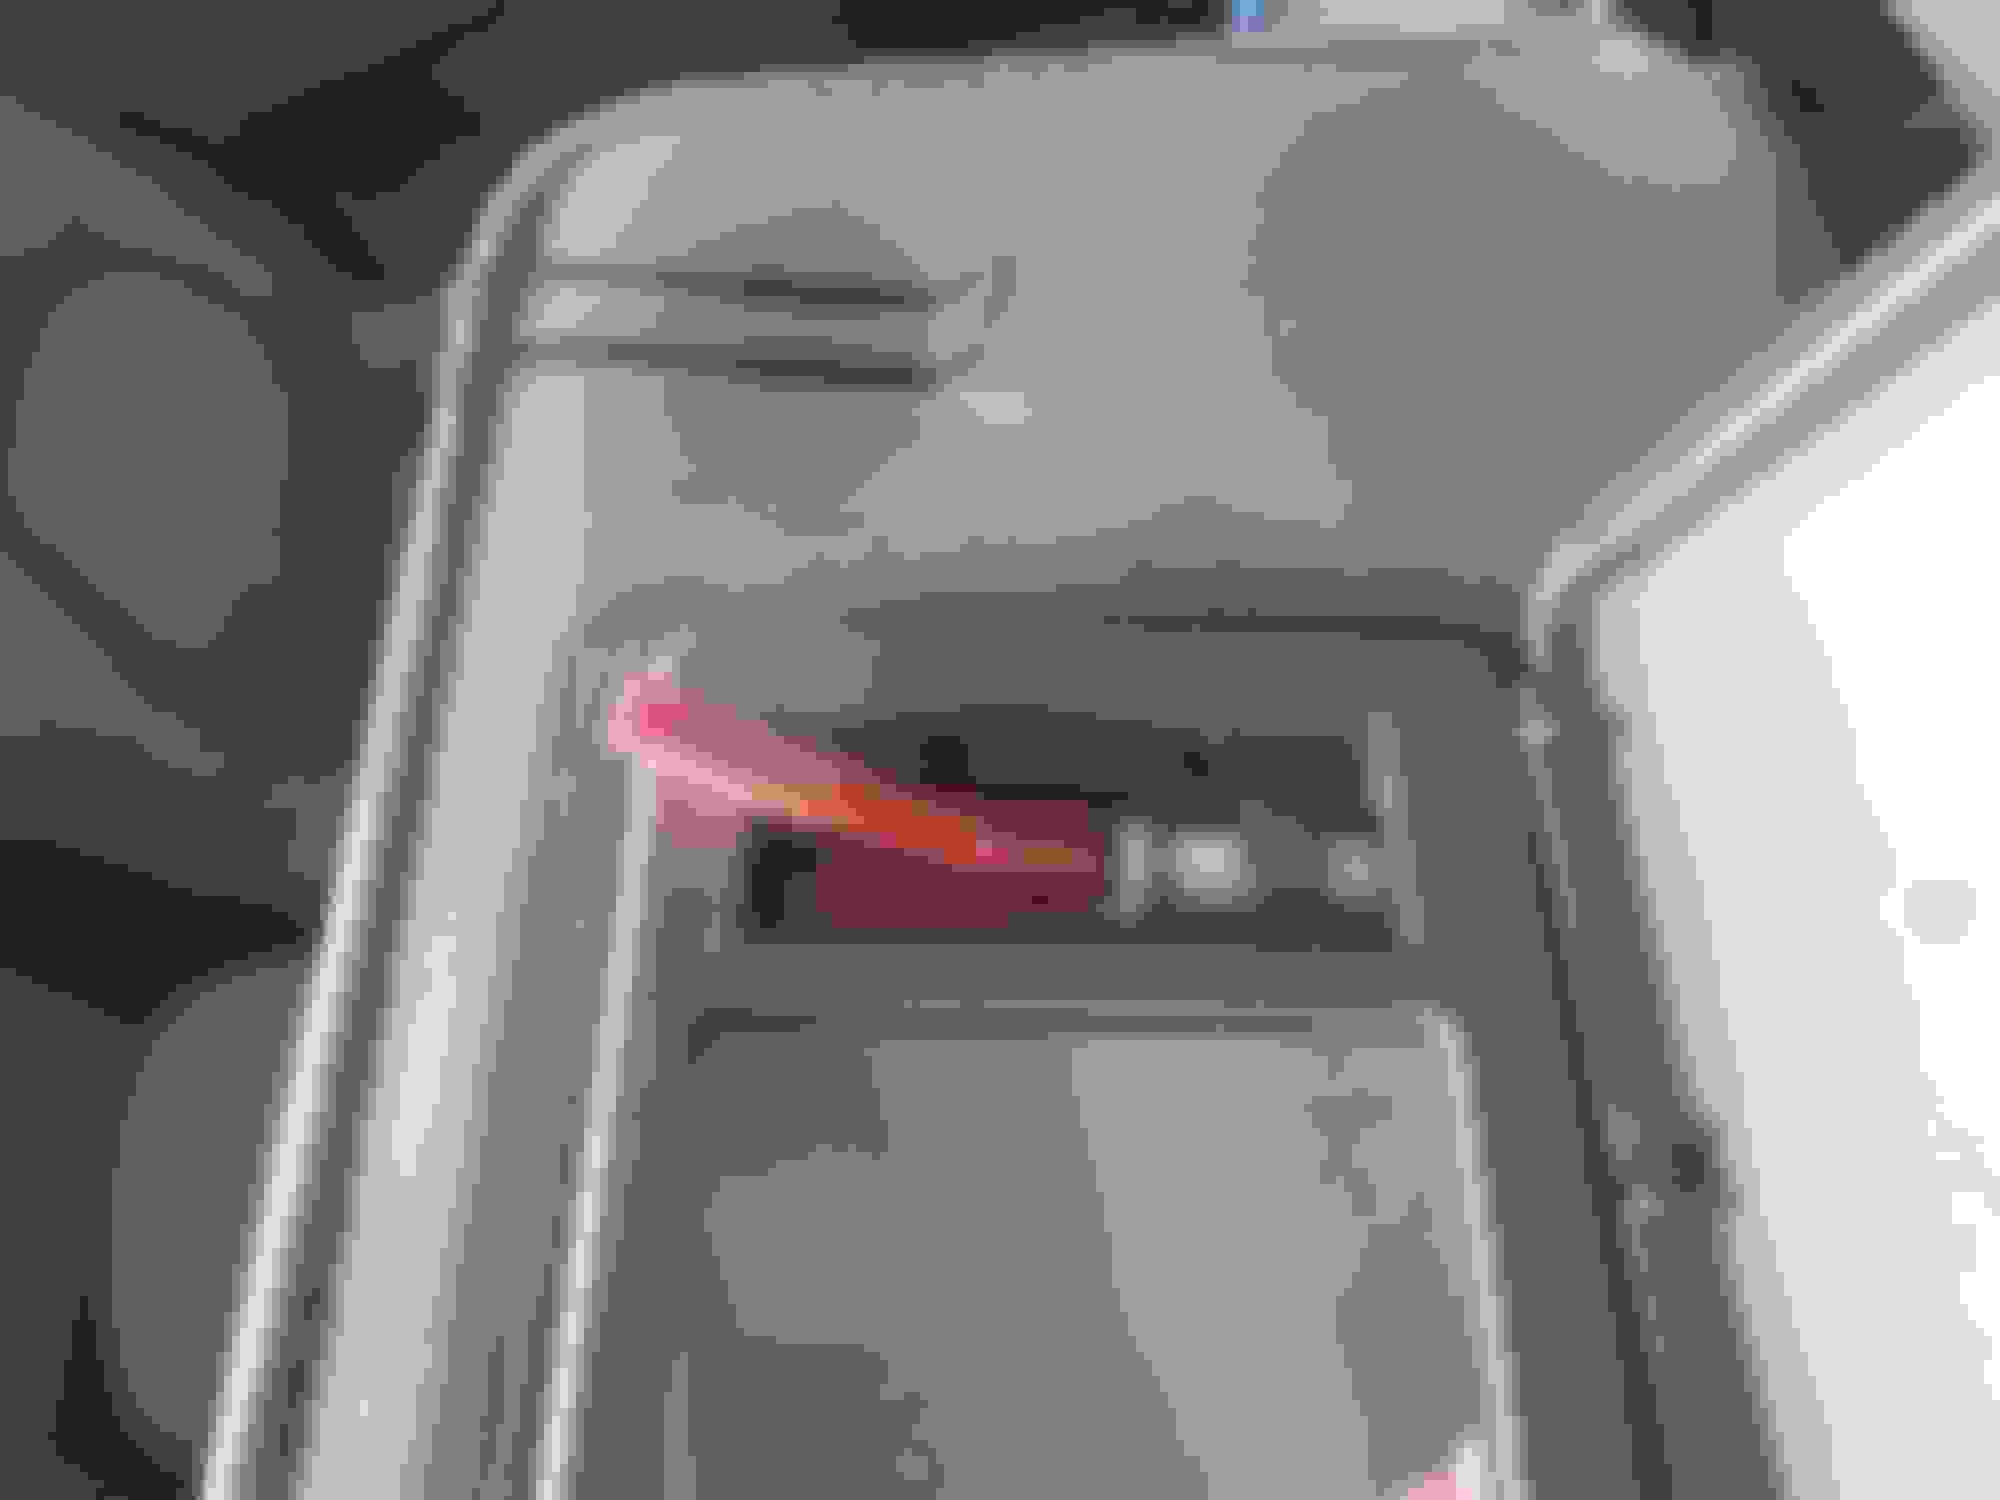
Lower the sunshade and raise the mirror/lamp cover (the door).
Insert a small flat-bladed screwdriver at the lower edge of the vanity mirror lamp lens then gently pry down to release the lens.
Remove the vanity mirror lamp lens from the sunshade.
Remove the bulb from the socket.
Installation Procedure
Install the bulb into the socket.
Position the vanity mirror lamp lens to the sunshade. Align the lens tabs into the housing slots inserting the upper edge of the lens first.
Insert a small flat-bladed screwdriver at the lower edge of the vanity mirror lamp lens then gently pry up to fully install the lens.
Close the lamp cover door and raise the sunshade.
GOOD LUCK! I replaced mine with white leds,and they are the 74 wedge base bulb,they are sooo small you cant even get a grip on the with you fingers.I ended up using a pair of small needle nose pliers to grip them,and even then,they are wedged in soooo tight that I ended up crushing the bulb,thus making it more difficult to take the remaining of the bulb out,but it is possible!
I rebuilt my dog eared sunshade and put in a new #74 bulb, that matched the rest. Taking out the old bulb was nuts. I had to crush it to get it out, and I had tried all the posted methods: dental floss, two way tape, small screw drivers, needle nose pliers. Putting in the new bulb was hard as well, requiring so much force to snap in, it almost shattered the new bulb.
I would not have been able to do any of the above without disassembling the entire mirror and frame, with the assembly out of the car. This job is not for those without patience!
If you are interested in how I rebuilt my sunshade to better than new, do a post.
Best always,
Bluemill
Last edited by Bluemill; Mar 23, 2019 at 10:07 AM.
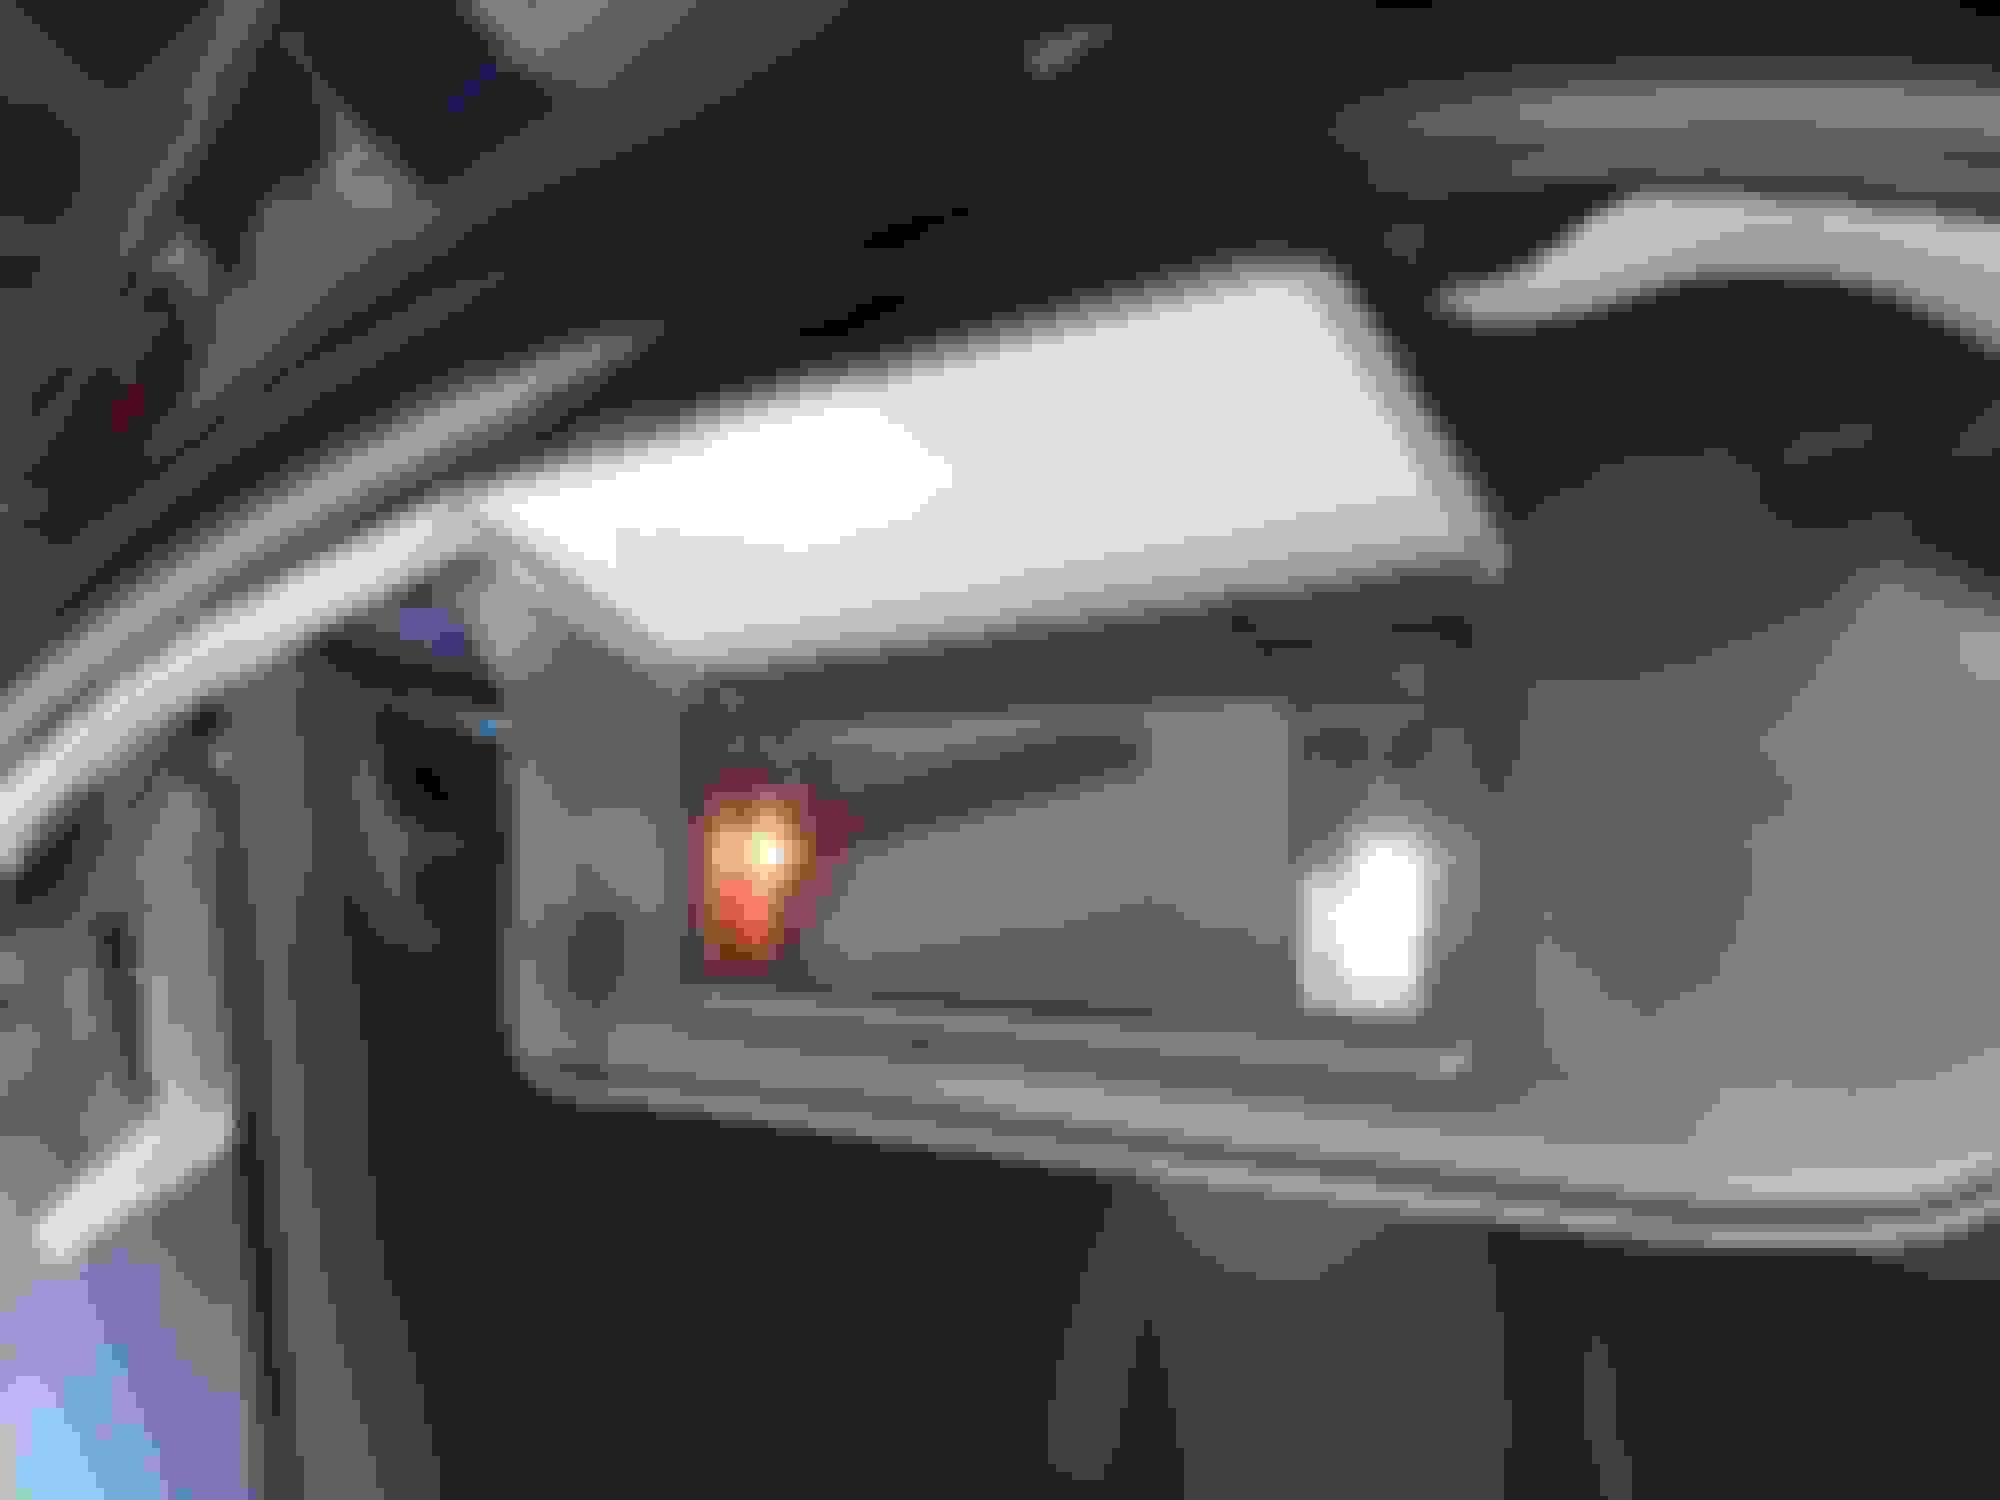
I just replaced my vanity mirror bulbs today. A big THANK YOU to previous posters who described -from experience- the fragility of the bulbs! I first tried using shrink tubing and crazy glue to attach the shrink tube to the bulbs. That worked to get one bulb out and it gave me something to grip for the other bulbs. What worked best was putting a 1/2" piece of shrink tubing on the tips of the curved tip needle nose pliers I used. I replaced these bulbs with white LEDs. They're a little brighter and will eat less electricity when the lights don't turn off when you shut the lid on them. (My real reason for doing this project- reducing parasitic draws on the battery)
Here are some pics.
First is the old bulb with shrink tubing glued and heat shrunk on the bulb.
Second is a comparison of the brightness of the LED to the old incandescent bulb.
I got all the bulbs out without breaking any. Maybe I'll save them for some future NCRS judging!
Last edited by helphos; May 15, 2020 at 06:03 PM.
Reason: clarification
[QUOTE=helphos;1601510483]I just replaced my vanity mirror bulbs today. A big THANK YOU to previous posters who described -from experience- the fragility of the bulbs! I first tried using shrink tubing and crazy glue to attach the shrink tube to the bulbs. That worked to get one bulb out and it gave me something to grip for the other bulbs. What worked best was putting a 1/2" piece of shrink tubing on the tips of the curved tip needle nose pliers I used. I replaced these bulbs with white LEDs. They're a little brighter and will eat less electricity when the lights don't turn off when you shut the lid on them. (My real reason for doing this project- reducing parasitic draws on the battery)
Here are some pics.
First is the old bulb with shrink tubing glued and heat shrunk on the bulb.
Second is a comparison of the brightness of the LED to the old incandescent bulb.
I got all the bulbs out without breaking any. Maybe I'll save them for some future NCRS judging!
Where did you buy the tubing from? Thanks!
I just replaced my vanity mirror bulbs today. A big THANK YOU to previous posters who described -from experience- the fragility of the bulbs! I first tried using shrink tubing and crazy glue to attach the shrink tube to the bulbs. That worked to get one bulb out and it gave me something to grip for the other bulbs. What worked best was putting a 1/2" piece of shrink tubing on the tips of the curved tip needle nose pliers I used. I replaced these bulbs with white LEDs. They're a little brighter and will eat less electricity when the lights don't turn off when you shut the lid on them. (My real reason for doing this project- reducing parasitic draws on the battery)
Here are some pics.
First is the old bulb with shrink tubing glued and heat shrunk on the bulb.
Second is a comparison of the brightness of the LED to the old incandescent bulb.
I got all the bulbs out without breaking any. Maybe I'll save them for some future NCRS judging!
Where did you buy the tubing from? Thanks!
Pretty sure Harbor Freight has it. Probably any electrical supply company, even Home Depot may have it in electrical.......
Grinder11 FTW! That's exactly where I got my shrink tube. UPDATE: I ended up dismantling my sunvisors and replacing the cloth with vinyl. The cloth was looking shabby and discolored, and the vinyl looks much better. I combined it with a project to install a HomeLink transmitter in the driver's side sun visor.
Grinder11 FTW! That's exactly where I got my shrink tube. UPDATE: I ended up dismantling my sunvisors and replacing the cloth with vinyl. The cloth was looking shabby and discolored, and the vinyl looks much better. I combined it with a project to install a HomeLink transmitter in the driver's side sun visor.
Not to steal a thread, but the Homelink install grabbed my interest. Any link? or pics Please!
Last edited by tcfamy; Dec 15, 2021 at 12:48 PM.
Reason: spell checker
Not to steal a thread, but the Homelink install grabbed my interest. Any link? or pics Please!
Here are some pictures of the finished product. I cut new masonite -using the old pieces as a template. I bought vinyl fabric at a fabric shop (1.5 yards IIRC). The homelink came from a pick-a-part junkyard. I didn't re-install the old low quality mirrors, and I don't miss them. The vinyl looks great and will last a long time. It's a time consuming project, but nothing is that hard. I took my nearly completed sun visors to an upholstery shop and they did the stitching around the edges.
Good Luck!
Won't the framework around the mirror pry loose to get direct access to the bulbs. It's hard to believe that much over engineering took place to replace the bulbs. Spmeone has to have found an easier way than all these threads
Officially gave up on this. Even with the visors out there is no logical reason for me to move forward with this. The bulbs simply won't come out. I have the LED replacements and will have to wait for the originals to burn out before I can justify crushing them to remove them.
Officially gave up on this. Even with the visors out there is no logical reason for me to move forward with this. The bulbs simply won't come out. I have the LED replacements and will have to wait for the originals to burn out before I can justify crushing them to remove them.
Another GM over engineered product. Why they make a nightmare of every repair. I got lucky and found a used pair of visor that a guy was selling for his boss. We had no way to test the lights to see if they all worked so I offered him $25, he called his boss and he agreed to get rid of them. (He had no other ad responses other than me. I got them home, put a probe in the connecting wires, attached my battery charger and they all worked. Lucky day for me.😀😎🍺