When you click on links to various merchants on this site and make a purchase, this can result in this site earning a commission. Affiliate programs and affiliations include, but are not limited to, the eBay Partner Network.
98 C5 wanting to upgrade steering wheel to either 05-13 w/ radio controls b-tooth
I�m lost, can someone please explain if this �is� possible... can you provide instructions and a list of parts needed to convert my C5 steering wheel to a newer model, preferably a Bluetooth steering wheel but I�ll settle for simply one with radio controls.
I’m lost, can someone please explain if this ‘is’ possible... can you provide instructions and a list of parts needed to convert my C5 steering wheel to a newer model, preferably a Bluetooth steering wheel but I’ll settle for simply one with radio controls.
you can tell me or show me where the part I marked is clinging. I can't find its location and function. This protruding part prevents the unit from going into place.
Here's a little DIY steering wheel removal with a few pics, hope this helps
VERY IMPORTANT BEFORE YOU START....DISCONNECT THE BATTERY
On each side of the steering wheel there is a little tiny hole.Use a small allen wrench or screwdriver and push and feel for a tab that has some type of spring feel to it.At the same time pull on the airbag gently on the side your are pushing in......Now shove a wrench or some type of a smooth object, between the airbag and the wheel.... so it will not attach itself back in place.Repeat the same step on the other side of the wheel. Attachment 48180540
This next step is on how to remove the clock spring
Revove the bottom panel underneath your Steering wheel,there 2 torx screws that need to be removed after that then gently pop out the panel there are 2 plastic tabs that will snap out.
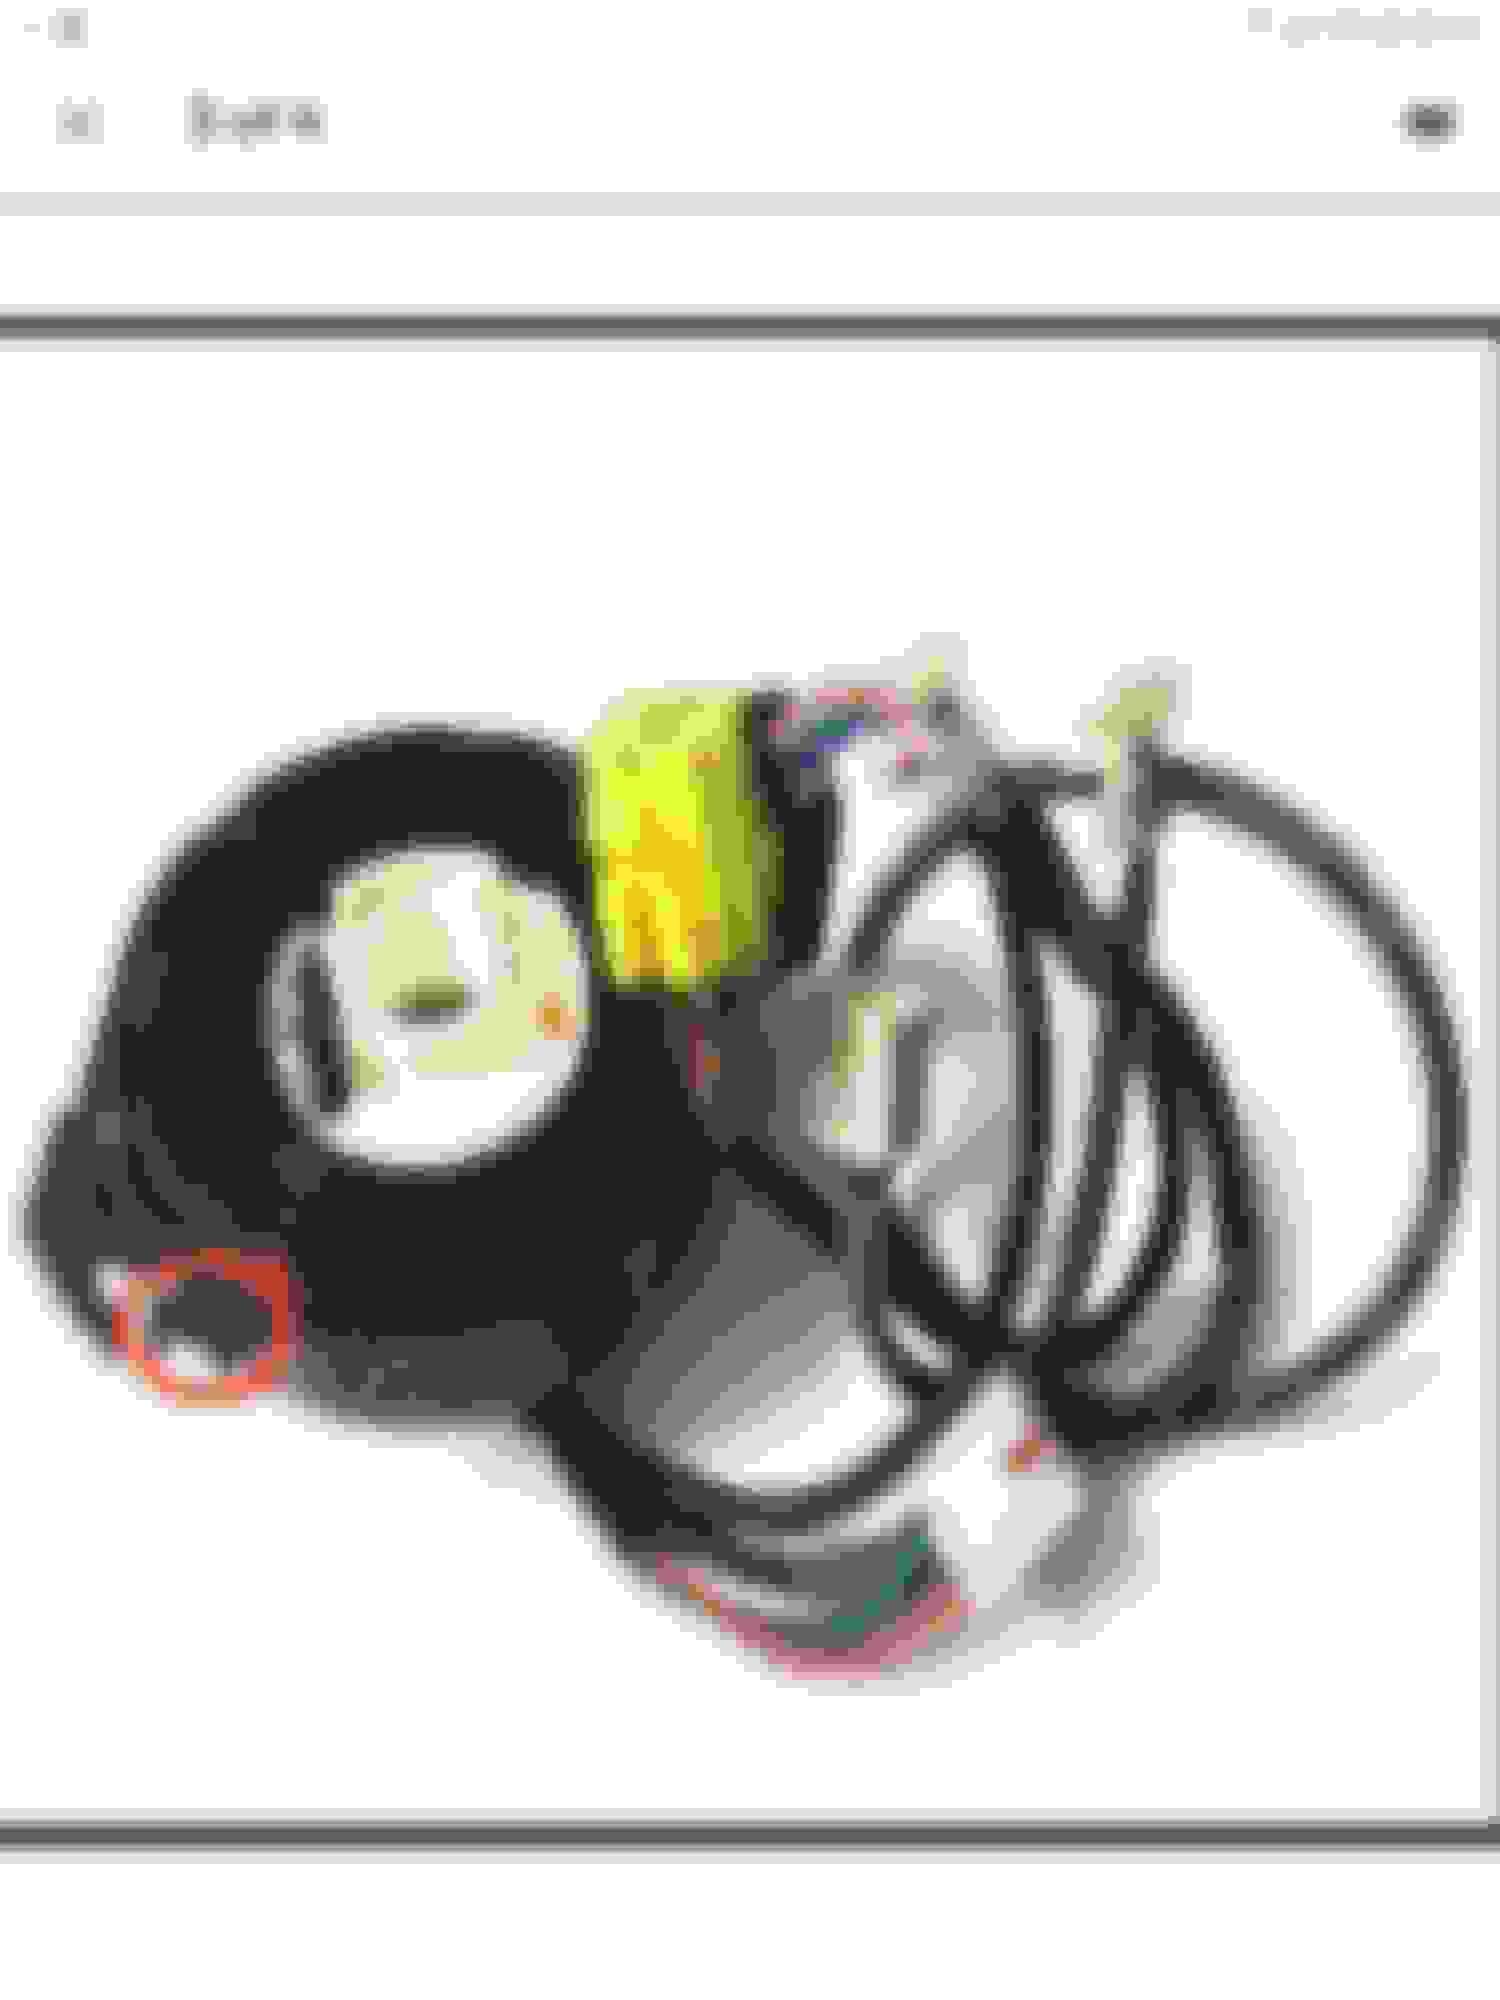
A pic of the Clock spring.... There are 4 connections on the clock spring 2 small conectors that go to the airbag and 2 big connectors that go to your dash harness
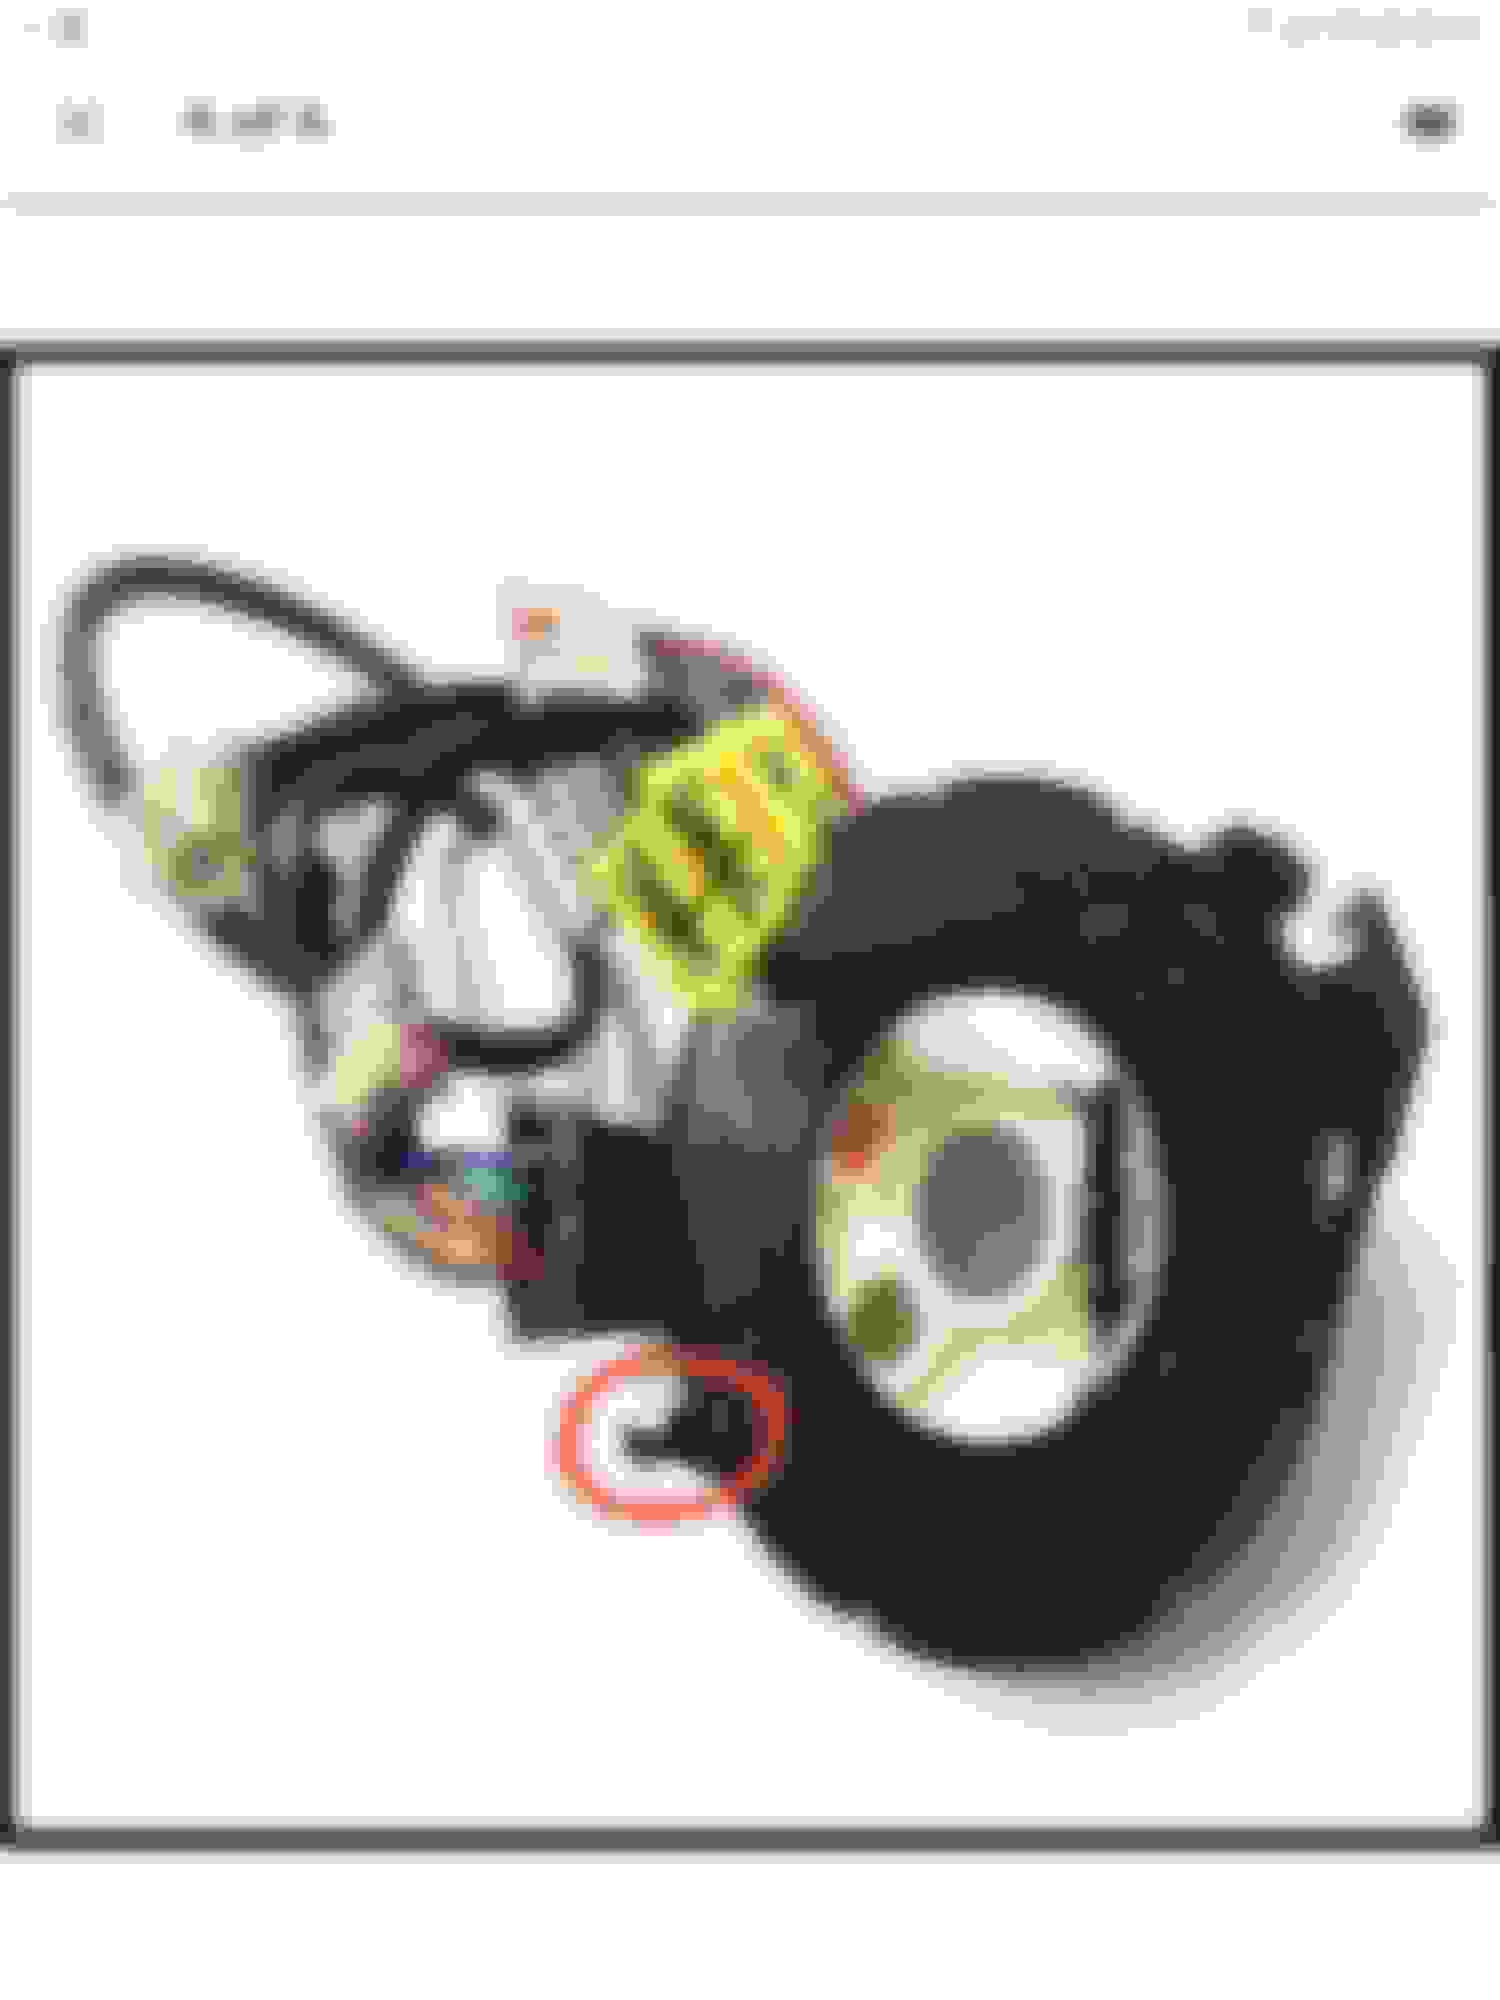
you can tell me or show me where the part I marked is clinging. I can't find its location and function. This protruding part prevents the unit from going into place.
you can tell me or show me where the part I marked is clinging. I can't find its location and function. This protruding part prevents the unit from going into place.
I attached the image and marked it in red
Thanks Regards
If you have the part oriented correctly, it should push into place. Here it is on my �11 currently so you can see how it�s oriented.
To those of you who have an 05 and want to add a newer steering wheel with audio controls, here's some instructions to show you what you need and how to do it without having to buy the additional harness by running your own wires. These were written for adding them to control a stock head unit but it also works to control an aftermarket head unit in conjunction with a interface capable of steering wheel controls such as the PAC RP5-GM11. Here's a picture of my 05 with a newer steering wheel with audio controls and my Pioneer head unit, it works great and was easy to do.
I can't get the wheel to pull off, what is the trick? Thread says to gently pull left to right, been trying that and won't budge. 2011 with telescoping wheel. I have thought about going to O'Reilly and grabbing the puller with leg attachments, will that work or break something?
I can't get the wheel to pull off, what is the trick? Thread says to gently pull left to right, been trying that and won't budge. 2011 with telescoping wheel. I have thought about going to O'Reilly and grabbing the puller with leg attachments, will that work or break something?
You take the center nut off? The wheel is pressed on that bolt pretty tight. Takes some strength and wiggling.
Yes the nut came off easy. I just don't want to force it...with the telescope wheel and whimpy steering rack. Has anyone tried using a puller? Seems I should be able to put the center bolt on and use the legs in the two holes...?
I got it. I bought a steering wheel puller from O'Reilly auto parts, Performance Tool brand for like $20. It actually says for '97 up Corvette on the package. It fit pretty well and felt like a better method than all the slamming, snacking, and not so gentle wiggling I see on YouTube. After applying just a bit of turn, I grabbed the wheel and it almost jumped off by itself.
Note, you need a puller that comes with "legs" not just bolts! Many kits online that don't have legs but O'Reilly did. The feet of the legs go toward the outside of the wheel. Here's a pic after I got it removed, but future readers will probably figure it out.
Have to tilt the legs in from the top to fit through the holes...this is after I got it off. Here is what it looks like from the back. Feet go to the outside..
To those of you who have an 05 and want to add a newer steering wheel with audio controls, here's some instructions to show you what you need and how to do it without having to buy the additional harness by running your own wires. These were written for adding them to control a stock head unit but it also works to control an aftermarket head unit in conjunction with a interface capable of steering wheel controls such as the PAC RP5-GM11. Here's a picture of my 05 with a newer steering wheel with audio controls and my Pioneer head unit, it works great and was easy to do.
Amazing .pdf Write up! I will be trying this out later in the week, Thank you!


 03-06-2015, 12:57 PM