When you click on links to various merchants on this site and make a purchase, this can result in this site earning a commission. Affiliate programs and affiliations include, but are not limited to, the eBay Partner Network.
SUMMARY: Overall, the unit itself was exceptionally easy to install since everything is plug & play. Installing the cameras was the most complicated part of it, but that holds true for adding cameras for any aftermarket head units. HVAC, heated seats, and radio harness plugs directly into the factory connections without need of any third-party adapters or cutting the factory harnesses. Adapting USB to the factory plug was my choice and purely an experiment as was splicing the factory mic into a 3.5mm plug (not recommended - see below). None of this is necessary for proper operation of the unit. For any technical questions, other installation videos, or documentation and general information, I encourage you to visit Knight Drive TV. This has been a fun experience, and I'm looking forward to playing with it and installing the Agama Car Launcher.
Update 4/28 - Added Door-Chime Speaker Connection and USB connection update. I also added the rear camera installation. Update 4/29 - Added microphone installation details COMING SOON - Front Camera installation
NOTE: Additional installation instructions and video(s) are available here (click me), and I encourage you to become familiar with the unit before attempting to perform this install.
By popular demand, I'll document my journey to getting the Max-DIN installed into my 2011 Grand Sport. Since there are plenty of videos out there covering console removal, I won't prepare my own, but I will link to the removal process courtesy of MGW that matches my car perfectly:
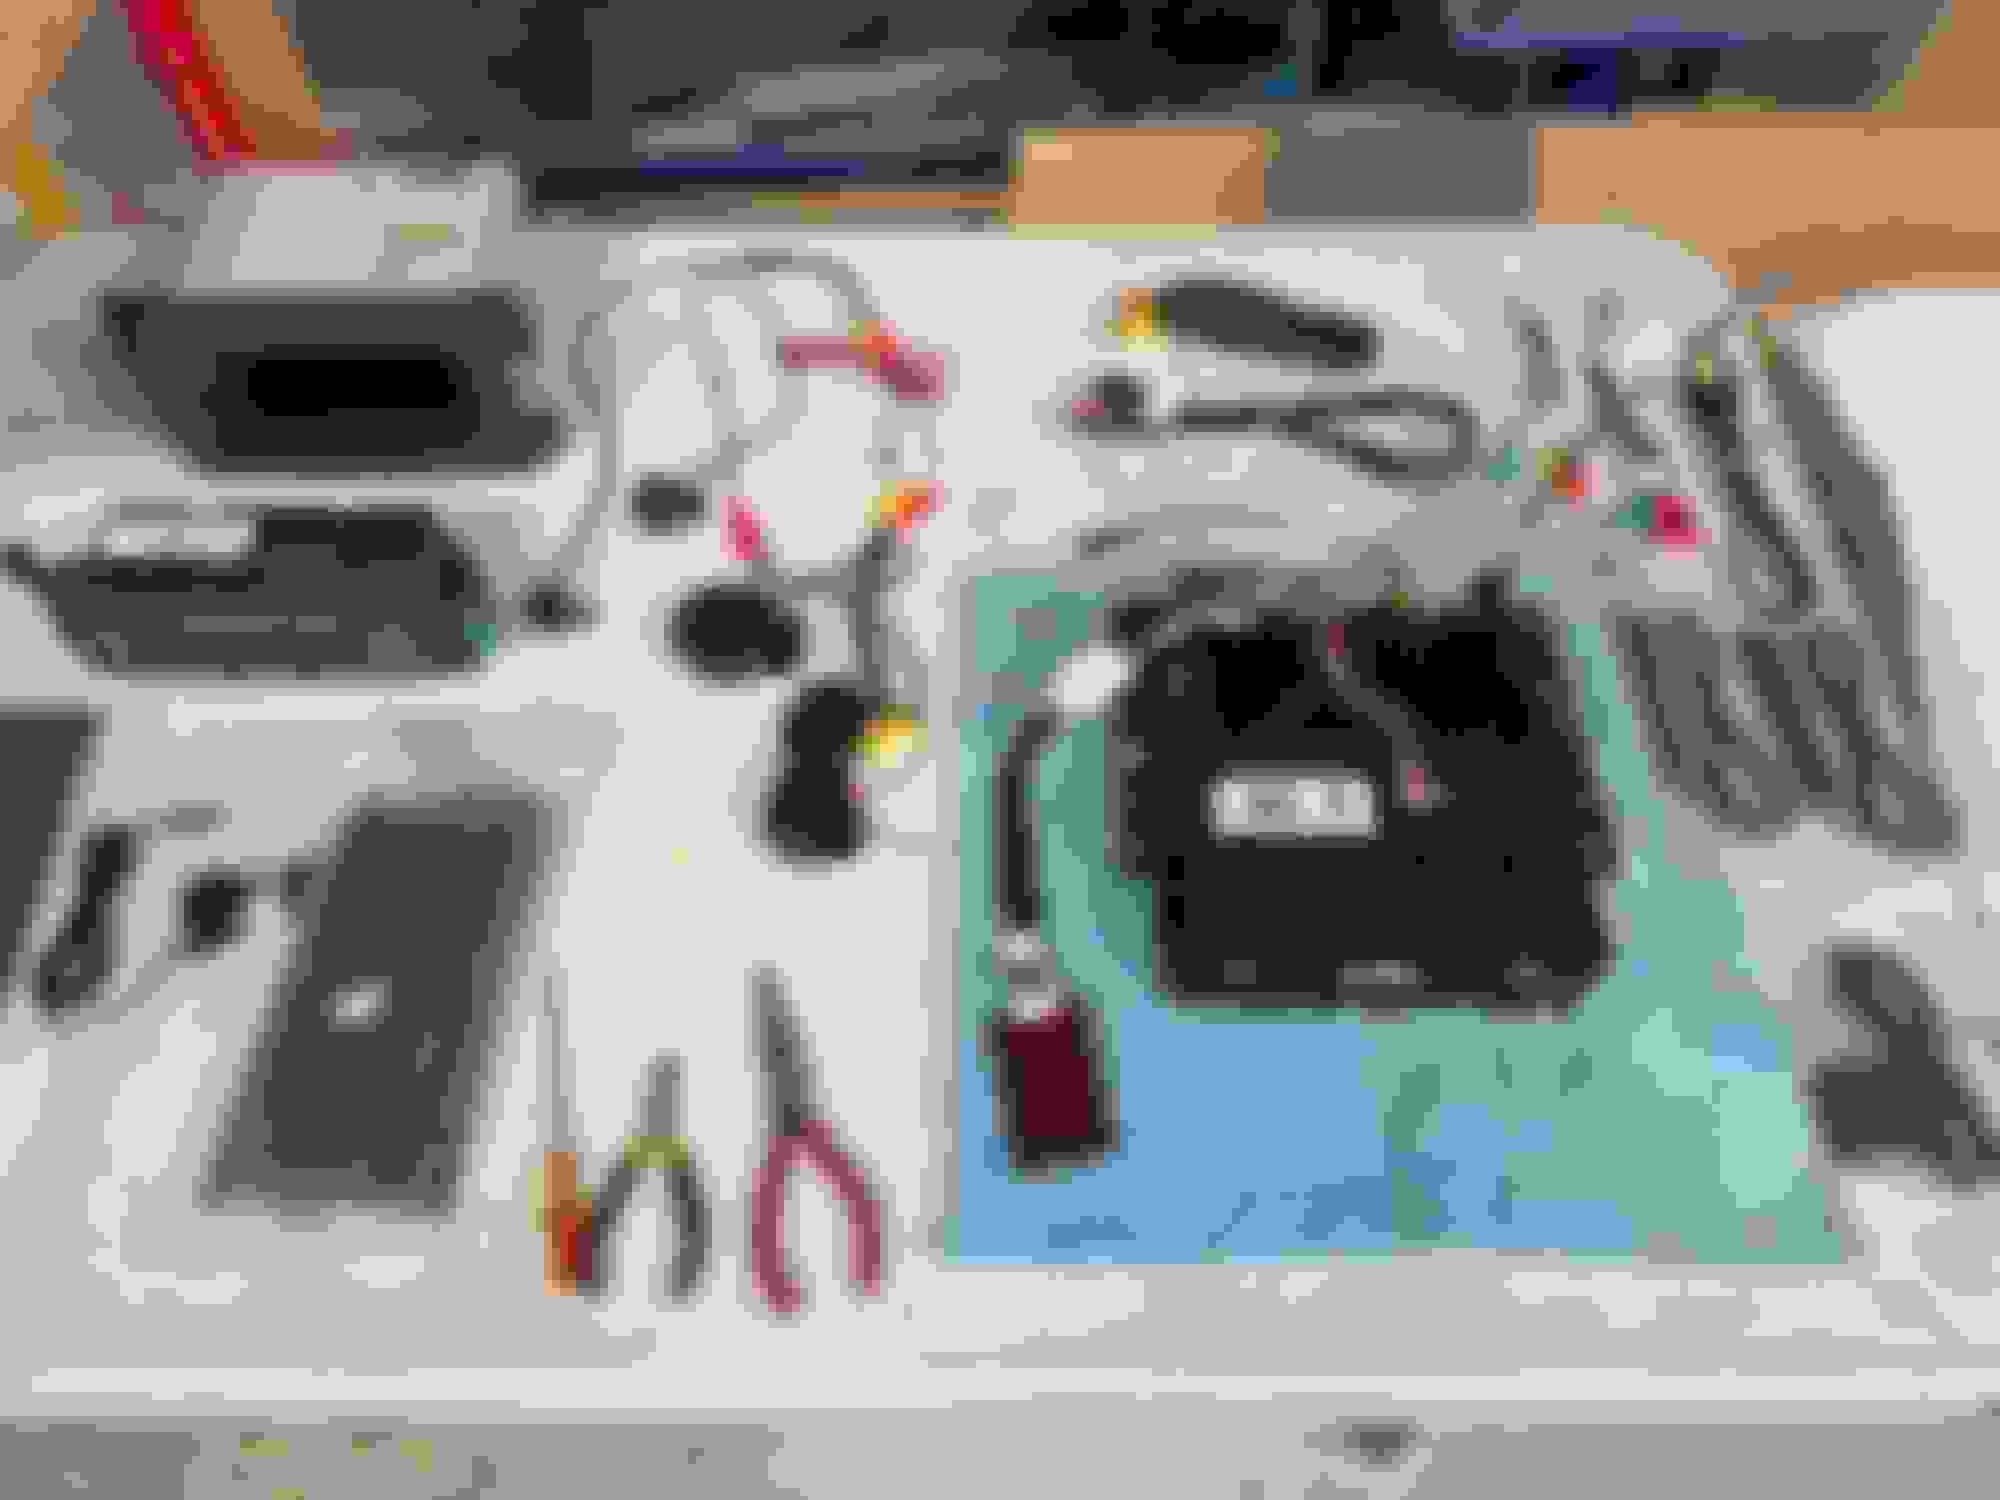
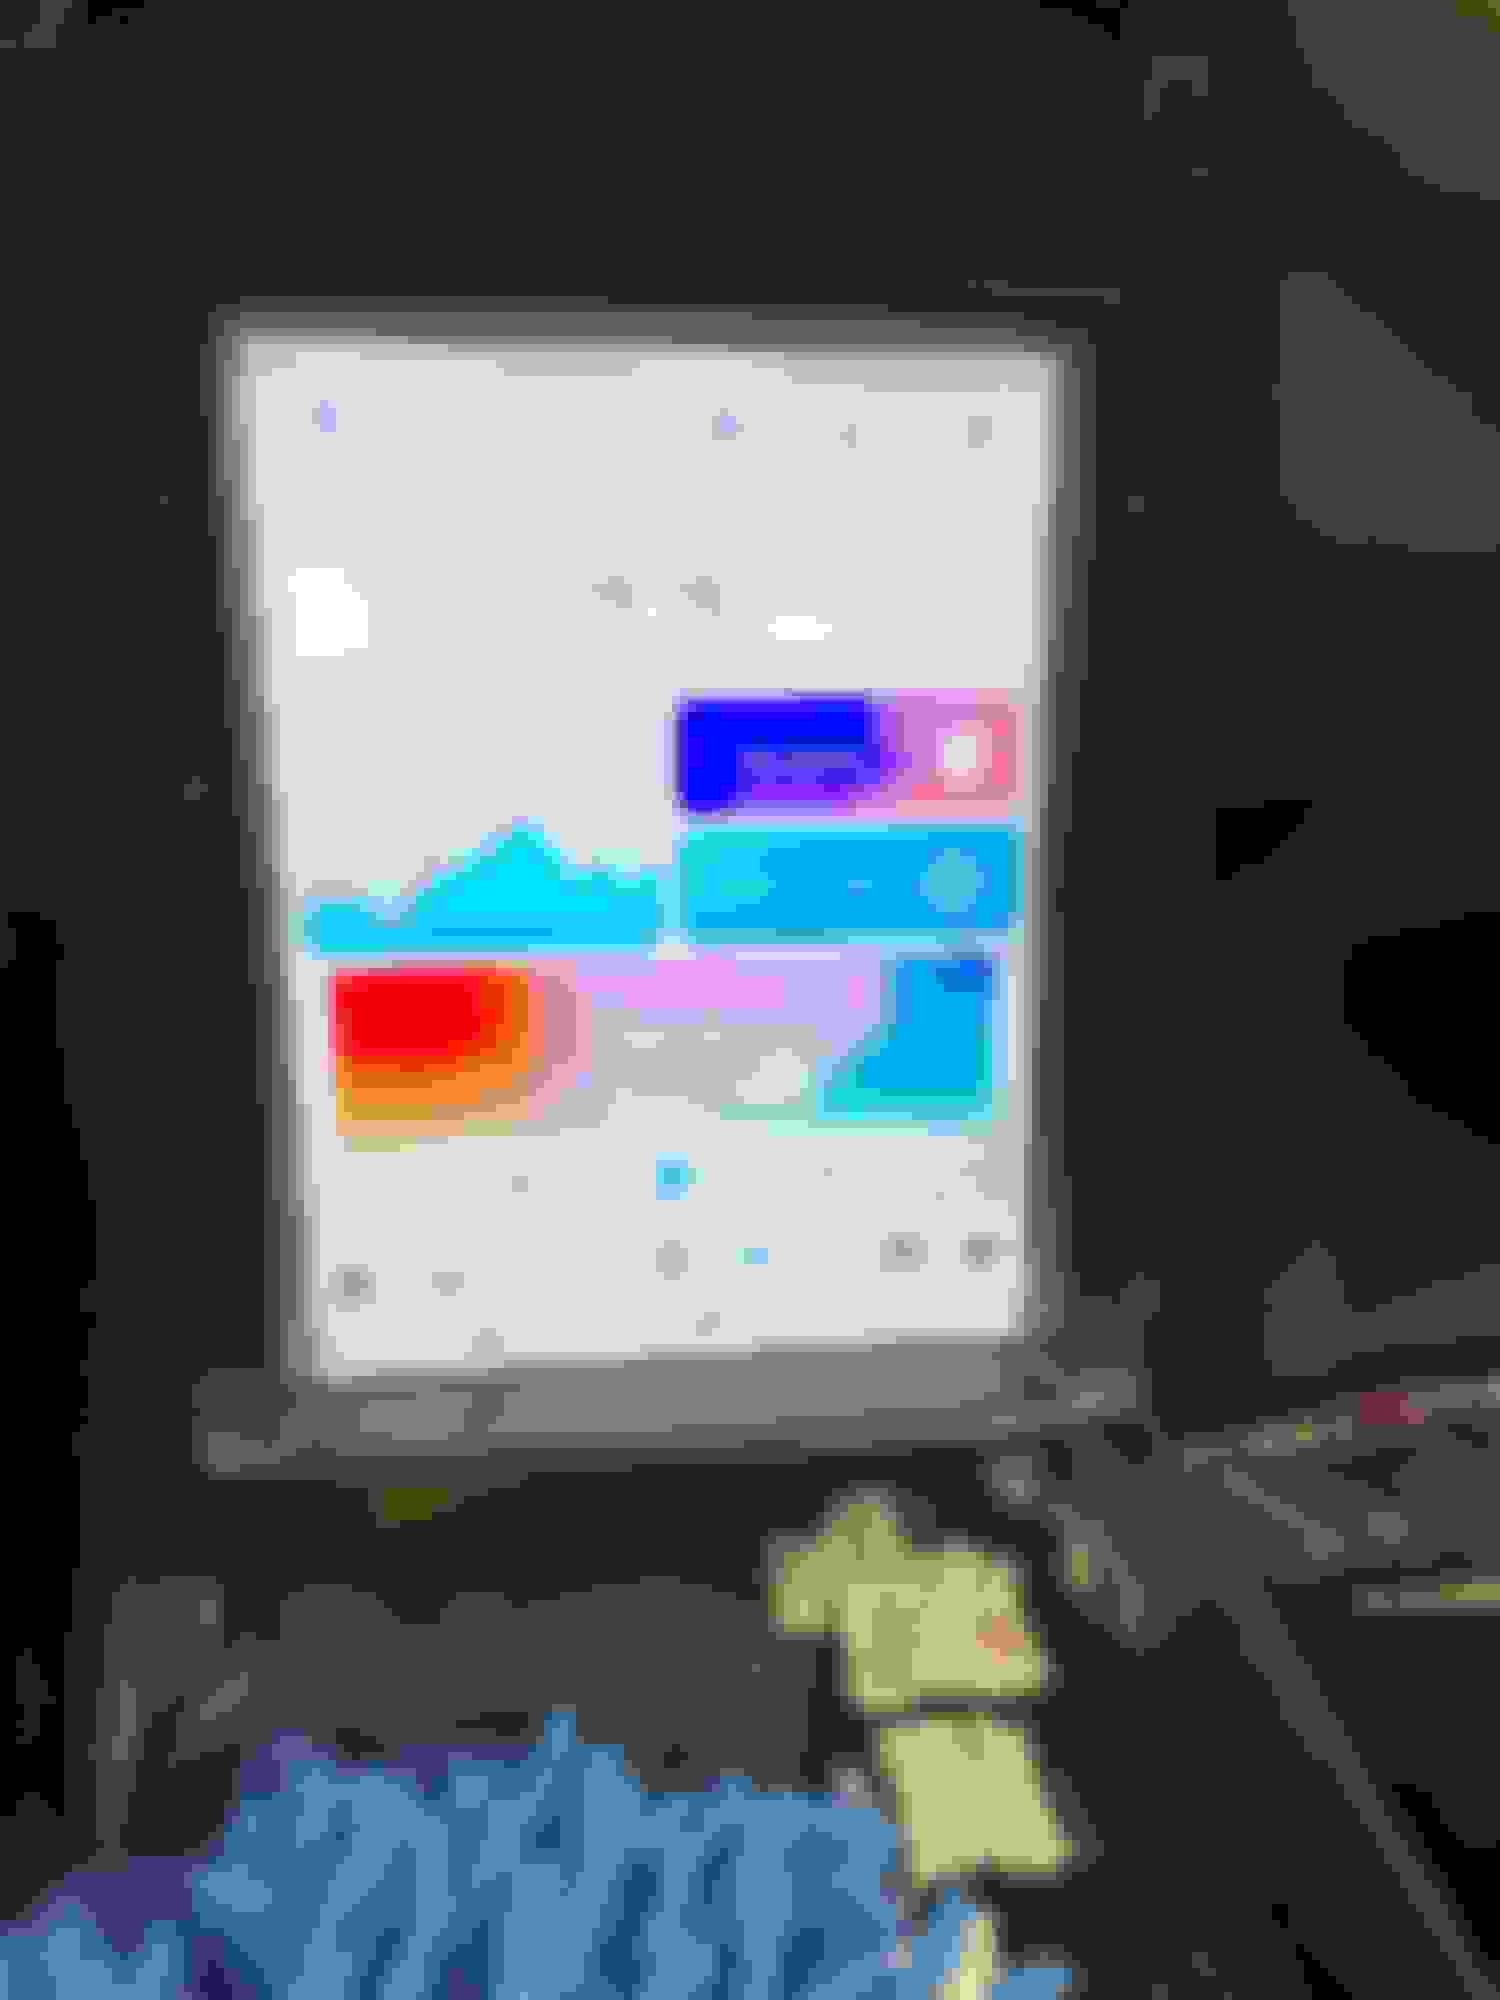
MAX-Din Prepped for power-on test and basic connections (note the red Bose amp appropriate for my application):
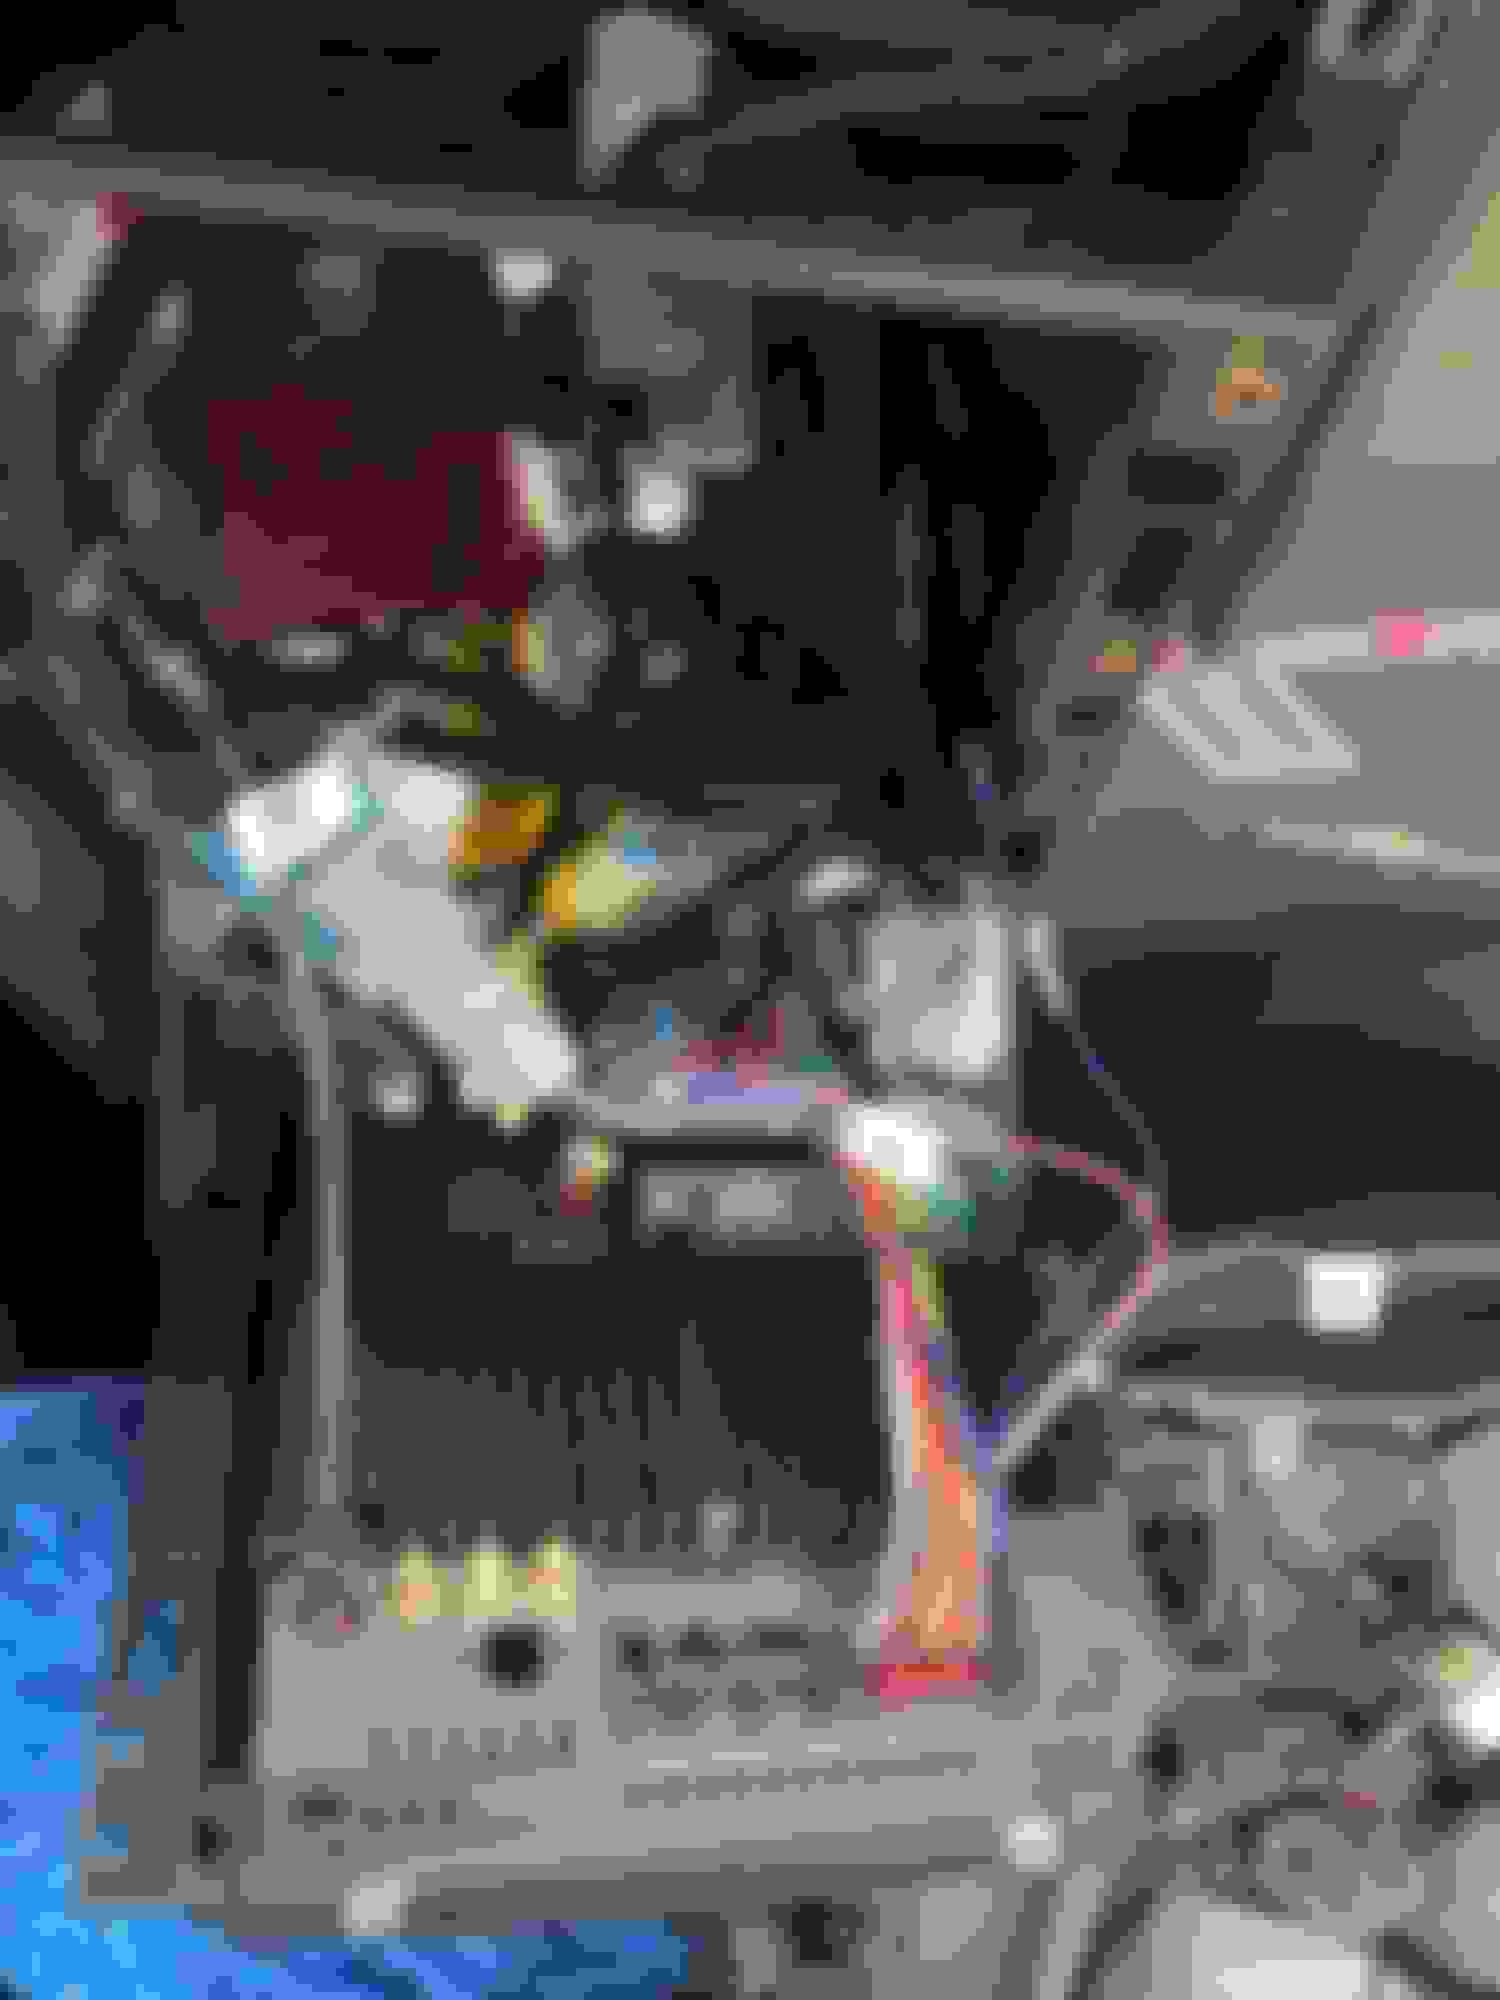
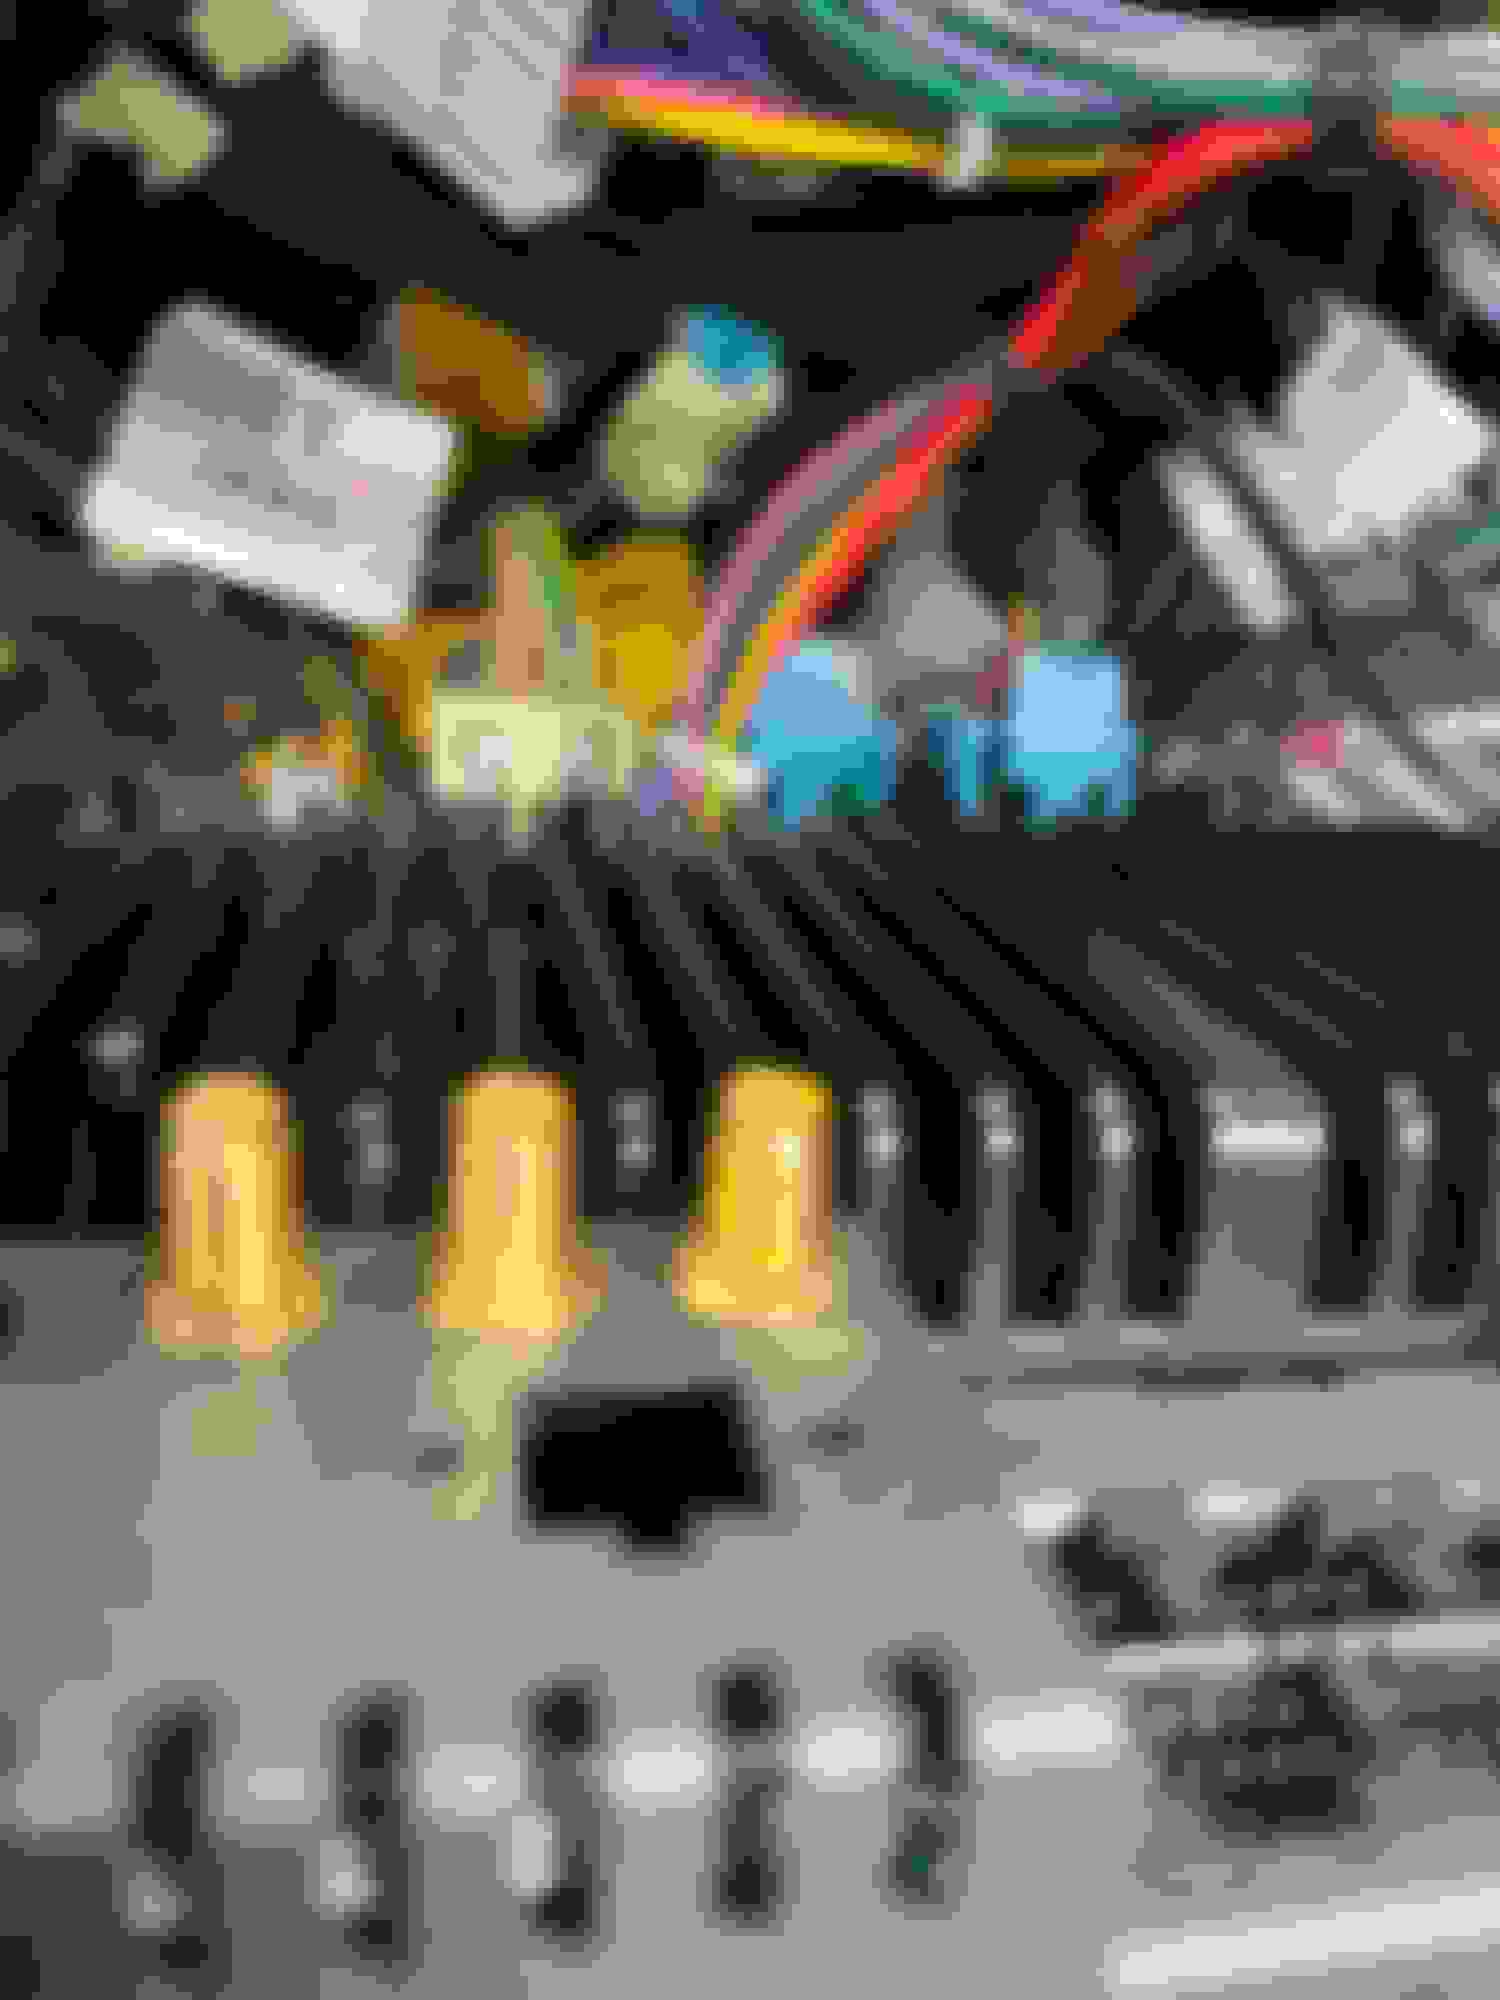
Basic connections for power-on test:
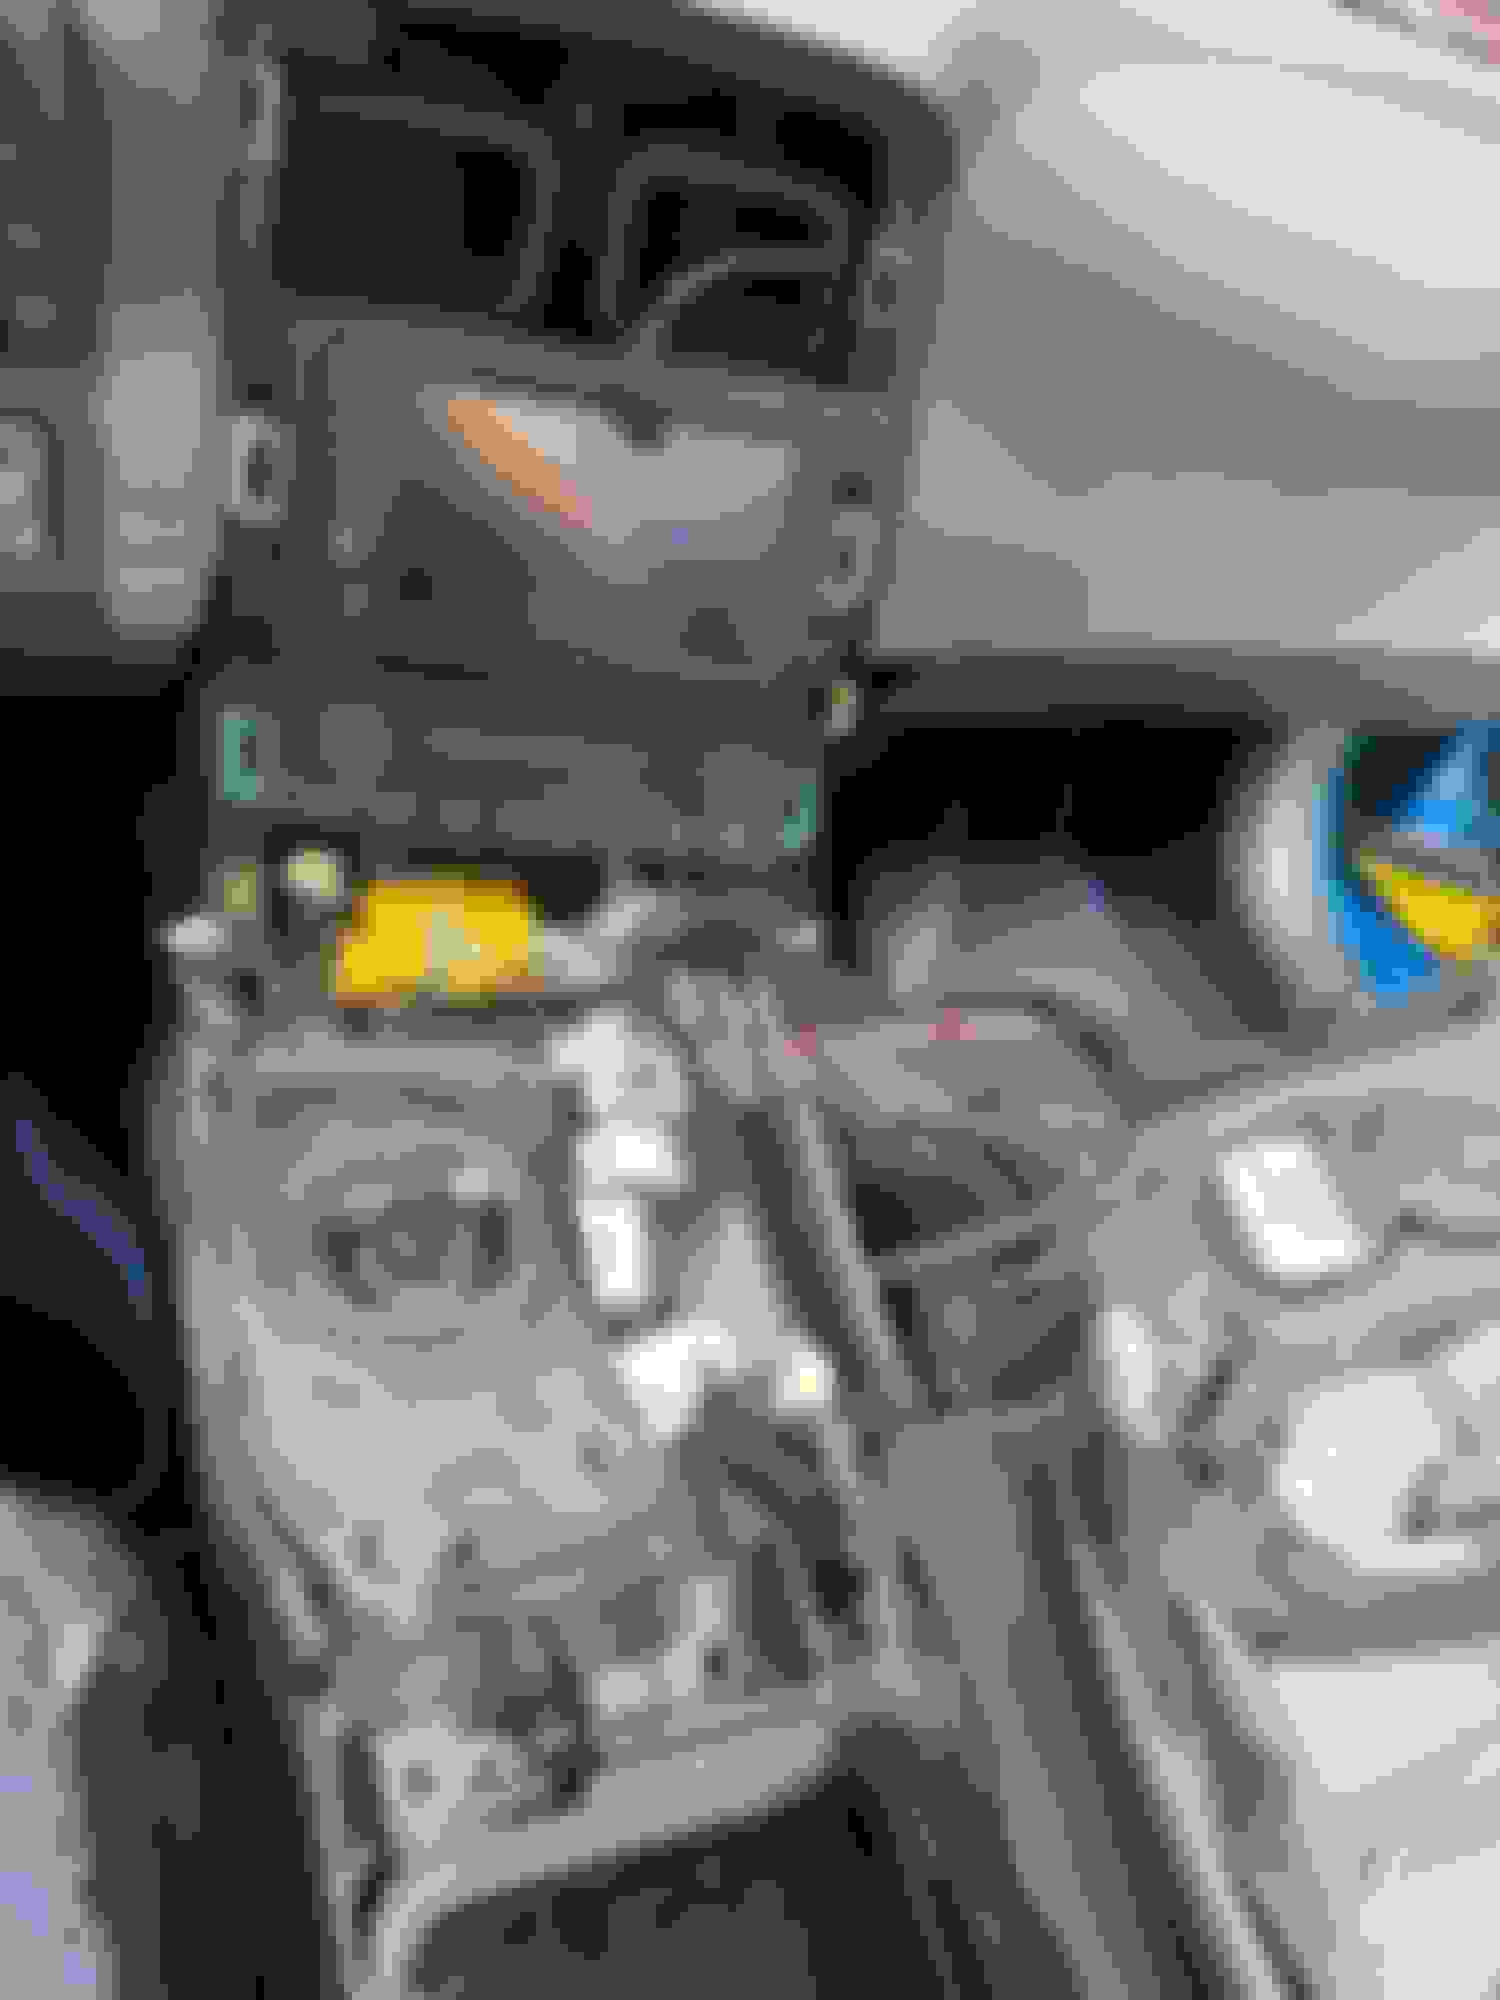
HVAC and heated seat connections:
First power-on (passed):
To adapt the USB on the Max-DIN, I ordered these from Amazon, and when they arrived I discovered that the factory connection was slightly different even though they looked similar.
The factory plug is more squared off than the standard Mini-USB connection, but the pinout should be the same.
So I drilled some of the plastic away on the sides of the Amazon adapter so I could square them off a bit more to fit around the factory connector.
I was able to connect the factory USB to the Max-DIN using the modified connector. I also connected the door chime speaker to the supplied pigtail on the Max-DIN harness.
This shows the pigtail for the door-chime speaker,
I tested the speaker before deciding where to put it, and I found it was plenty loud enough to just mount it behind the Max-DIN.
Last edited by VetteVinnie; May 14, 2024 at 10:14 AM.
The door chime speaker was an added development that happened just this past December.
Timeline so far of updates/releases and developments:
August 2023 - Unit release October 2023 - Carplay stability update (software) December 2023 - Door chime and harness modification change (hardware) Feb-March 2024 - Looping, full time recording, USB based DVR system for dash cam (3 cameras total capable at this point) April 2024 - Testing and working to release a glare reduction system for convertible users. Also testing external function relay system, with on screen command buttons. May 2024 - KnightDriveTV app development begins specifically for C5, C6 and XLR MaxDin units. June 2024 - HVAC system update #3 will be worked on. Refine piano scroll movement timings, auto temp refinement, defrost tweaks. Audio updates and potential hardware change may be added.
I work very hard on these to continually refine and add features, to be sure that all buyers/users have a continually improved experience, versus many products where the peak experience can begin on day 1 and degrade, over time. I have many things planned for 2024, so continued sales of these units only secures that reinvestment of my time and energy to keep things going.
Thanks for the great install thread and user review!
If anyone would like to purchase, based on the review shown here please use the temporary code VetteVinnie to receive 120.00 off a new MaxDin, exclusively from www.knightdrivetv.com . If we sell 5 units with this code, by the end of May 2024, I will refund Vinnie 300.00, in thanks for his support and contribution of testing and objectively reviewing the unit. Keep in mind folks, I am just a lone Corvette enthusiast, in my shop in Las Vegas, working to make cool things for C5, C6 and other gens ahead. I'm not a big brand, I don't have 10 employees (only 1 beside myself), so support of this project and brand is appreciated!
Step 1 was to open and secure the top to have access to the trunk area. The top and tonneau will lose its hydraulic pressure and fall back down if not secured.
Peeling back the carpet just behind the speaker partition was relatively easy. The carpet on the bottom is secured with Velcro, and the sides are held on with just one plastic push pin:
Remove the push pin with a standard tool:
I used small pieces of Gorilla Tape to secure the wire along the fender and underneath the trunk:
Once I ran the wire along the back and side, I lowered the top to be able to access the trunk area:
For connection to the front, I chose to run it down the center console area instead of along the passenger side since I already had it apart to examine the connections to the factory USB plug in the console.
Moving into the trunk area, there are four push pins and two screwed-on hooks for the cargo net that needed to be removed:
More Gorilla Tape to secure the wire under the rear passenger fender area:
I used the grommet for the taillight wiring to fish the camera connection to the back:
I made a slit with an X-Acto knife in the grommet just large enough for the RCA connector to fit through:
After running the wire, I reinserted the grommet and used a Zip tie to secure the slack to the truck release cable. And then I secured the rest with more Gorilla Tape:
I used a mechanical wire stripper to expose the core of the light-green and small black wires. IMPORTANTNOTE: There are two green wires and two black wires. Be sure to use the smaller gauge black wire and the lighter green wire for these connections (red to green and black to black):
These are my wiring and soldering tools that I used. Side note, Metcal is probably overkill, but I use it for electronics work, and I love that it heats and melts solder near instantaneously:
Soldered, taped and secured:
The blue wire on the other end of the rear camera cable connects to the orange "back" wire. This is the reverse trigger where the rear camera comes on automatically when the car is put into reverse. The RCA connection goes to the green CCD-V. I soldered the connections and used heat-shrink tubing to protect them:
I added some electrical tape to the camera connections to make sure they stayed connected over time:
I toyed with the mounting location a few times before discovering that the shape of the bracket allows it to fit perfectly behind the mounting screw for the keyed trunk release:
First functional test passed:
Last edited by VetteVinnie; Apr 29, 2024 at 10:49 PM.
For the microphone, I actually experimented with three different options:
Use the integrated microphone
The Max-DIN has a microphone hidden in the bezel and actually worked pretty good. It's roughly the same distance from the driver to the OEM microphone (for those cars equipped with Bluetooth). But it's more omnidirectional, so with my convertible, road noise and wind noise with the top down could be a problem
Splice a 3.5mm connection onto the factory mic (if equipped, which mine is)
Sadly, while it worked, the volume was too low for practical use. The factory connection is a tiny pin only, so putting a 3.5mm connection on it added too much impedance. In theory, I could have eliminated the 3.5mm connection altogether and spliced it directly to the Max-DIN connection, but I didn't want to chop it up any more than I already had, especially considering the aftermarket mic was easy to install and worked great even with the top down.
Use the supplied external microphone
This is ultimately what I ended up with after running into problems adapting the factory mic (see #2). Tests leaving voice memos using a lightening adapter and leaving voice mails through Carplay resulting in about half volume relative to the aftermarket and integrated microphones
This is what I did to test the external microphones after a failed call (where the recipient couldn't hear me very well) using the factory mic adapted to a 3.5mm plug. It was getting good signal with no static, so the splice was good, it just wasn't amplified enough:
Adding the aftermarket mic was simple. Just remove the A-pillar trim and lower trim piece (lower piece first - no screws are involved, just friction fittings), disconnect and pop out the factory mic, then run the new mic down the side and under the dash to the center console:
Here is the aftermarket mic sitting in the opening where the stock mic used to be. I just stuck it to the metal A-Pillar underneath the trim:
This is the factory mic which is held into that trim piece with three tabs and was easily disconnected and removed:
Running the wires behind the A-Pillar trim, down the side and under the dash to the console area was very simple:
I secured the wire with tape to the torque tube tunnel just like I did with the rear camera:
Up next (not a priority, so this may be a while) the front camera:
COMING SOON
Last edited by VetteVinnie; Apr 29, 2024 at 10:48 PM.
Reason: Added microphone details
Today, I'll install the rear camera, and instead of the T-connectors, I plan to splice into the wiring using a mechanical stripper to expose the core, and then solder the connections to ensure solid, permanent contact. I'll also hook up the speaker for the door chimes and attach it under the dash in the driver's footwell with some Velcro.
I am still debating what to do with the microphone and whether I want to install the front camera or not. For the microphone, I may splice into the stock wiring and adapt the stock microphone to the Max-DIN harness. Either that, or I'll pull the A-Pillar and fish the new one. I haven't decided yet. For the front camera, I realized after the fact that I neglected to hook up the DRL harness to my Morimoto headlights, so I will need to fish wires for that regardless. I may do the front camera at the same time.
I don't plan on running 4G, so I will most likely hold off on installing the 4G antennas and just focus on the GPS antenna. And then I'll take some Zip ties and/or Velcro ties and do some cable management behind the Max-DIN.
I've got a new Morimoto DRL harness you can have if you need one.
Thank you, but I have it. For some reason I was thinking it was a car show gimmick to light up the sequential flashers. I'll install the harness when I install the front camera
Originally Posted by vetteish
I didnt know about the door chime speaker!
I had to double check where the door chime speaker connects, and it turns out it connects here, so that will get installed tomorrow. Some say it's REALLY loud, so I may just stuff it behind the radio and not try to route it to the passenger compartment.
And here's a preview of the next update. Rear camera is installed and working.
4/28 - Added Door-Chime Speaker Connection and USB connection update to the first post. I also added the rear camera installation to the first placeholder. I haven't installed the front camera yet since I'm still debating how badly I need it. My microphone is also not working correctly, so I need to debug that before adding those details. I actually spliced the factory mic into the Max-DIN connection, but something may have gone wrong with my splice. Meantime, it's all buttoned back up (for now):
All done (for now) until I get around to doing the front camera. I'm just going to drive it around (as soon as the rain clears up) and enjoy it for a while before tearing back into it. And, yes, I will remove that clear protective film that shipped on the unit.
Side note, the console USB connection still works and charges the phone. I'll test the data function after I download the next software update. As a backup plan, I ran the second USB cable into the glove box in case the USB connection adaptation doesn't work as planned..
The door chime speaker was an added development that happened just this past December.
Timeline so far of updates/releases and developments:
August 2023 - Unit release October 2023 - Carplay stability update (software) December 2023 - Door chime and harness modification change (hardware) Feb-March 2024 - Looping, full time recording, USB based DVR system for dash cam (3 cameras total capable at this point) April 2024 - Testing and working to release a glare reduction system for convertible users. Also testing external function relay system, with on screen command buttons. May 2024 - KnightDriveTV app development begins specifically for C5, C6 and XLR MaxDin units. June 2024 - HVAC system update #3 will be worked on. Refine piano scroll movement timings, auto temp refinement, defrost tweaks. Audio updates and potential hardware change may be added.
I work very hard on these to continually refine and add features, to be sure that all buyers/users have a continually improved experience, versus many products where the peak experience can begin on day 1 and degrade, over time. I have many things planned for 2024, so continued sales of these units only secures that reinvestment of my time and energy to keep things going.
Thanks for the great install thread and user review!
If anyone would like to purchase, based on the review shown here please use the temporary code VetteVinnie to receive 120.00 off a new MaxDin, exclusively from www.knightdrivetv.com . If we sell 5 units with this code, by the end of May 2024, I will refund Vinnie 300.00, in thanks for his support and contribution of testing and objectively reviewing the unit. Keep in mind folks, I am just a lone Corvette enthusiast, in my shop in Las Vegas, working to make cool things for C5, C6 and other gens ahead. I'm not a big brand, I don't have 10 employees (only 1 beside myself), so support of this project and brand is appreciated!