When you click on links to various merchants on this site and make a purchase, this can result in this site earning a commission. Affiliate programs and affiliations include, but are not limited to, the eBay Partner Network.
Majority of the layout is the same overall. Some things like the up-pipes changed a bit to account for bigger and bigger turbos, but the layout is the same. IC piping changed a bit to account for better fitment, but the overall routing is the same general area. And then of course things like WG/BOV upgrading to TurboSmart, etc.
So I tried to get everything in one picture... There's a lot lol. And it's hard to comprehend just how much this kit comes with until you see it in front of you but this is easily the most complete kit I have ever purchased and I'm impressed already.
Pictured below are the hot and cold side piping, both 6182R ball bearing turbos, oil pressure lines, oil drain lines, oil pressure sandwich plate and t fitting, 1000cc FIC injectors, 2 in 1 out intercooler, turbo smart BOV, 2 turbo smart wastegates, radiator/intercooler cover, ECU cover, fluid tank, battery relocation kit (terminals, wires, gauge box), oil pump, and I'm sure there's more I'm missing.
All parts inspected and appear to be in working order so it's packed back up for now and I'll begin uploading more pictures soon. I'll have more detailed pictures of each individual component as they get installed.
So I got a decent amount done yesterday on my first day of install. I could almost guarantee this is a 1 to 2 day affair with a proper lift and a second set of hands but for now it's just me in my garage lol. I'm uploading this from mobile because there's a lot of pictures so bare with me while I sort this out.
At this point I removed the front bumper cover. This can be easily done on the ground with the tires at full lock but if you want to set the front end on Jack stands at this point you can. You'll have to do it later regardless.
Not pictured: Removing the plastic scoop behind the front grill. Its held on by two plastic rivets on each side. After that I removed the plastic air diverter that mounts to the front of the condenser. It's held on by two push pins on the bottom side then slides out the bottom. From here we can see clearly where the intercooler will be mounted.
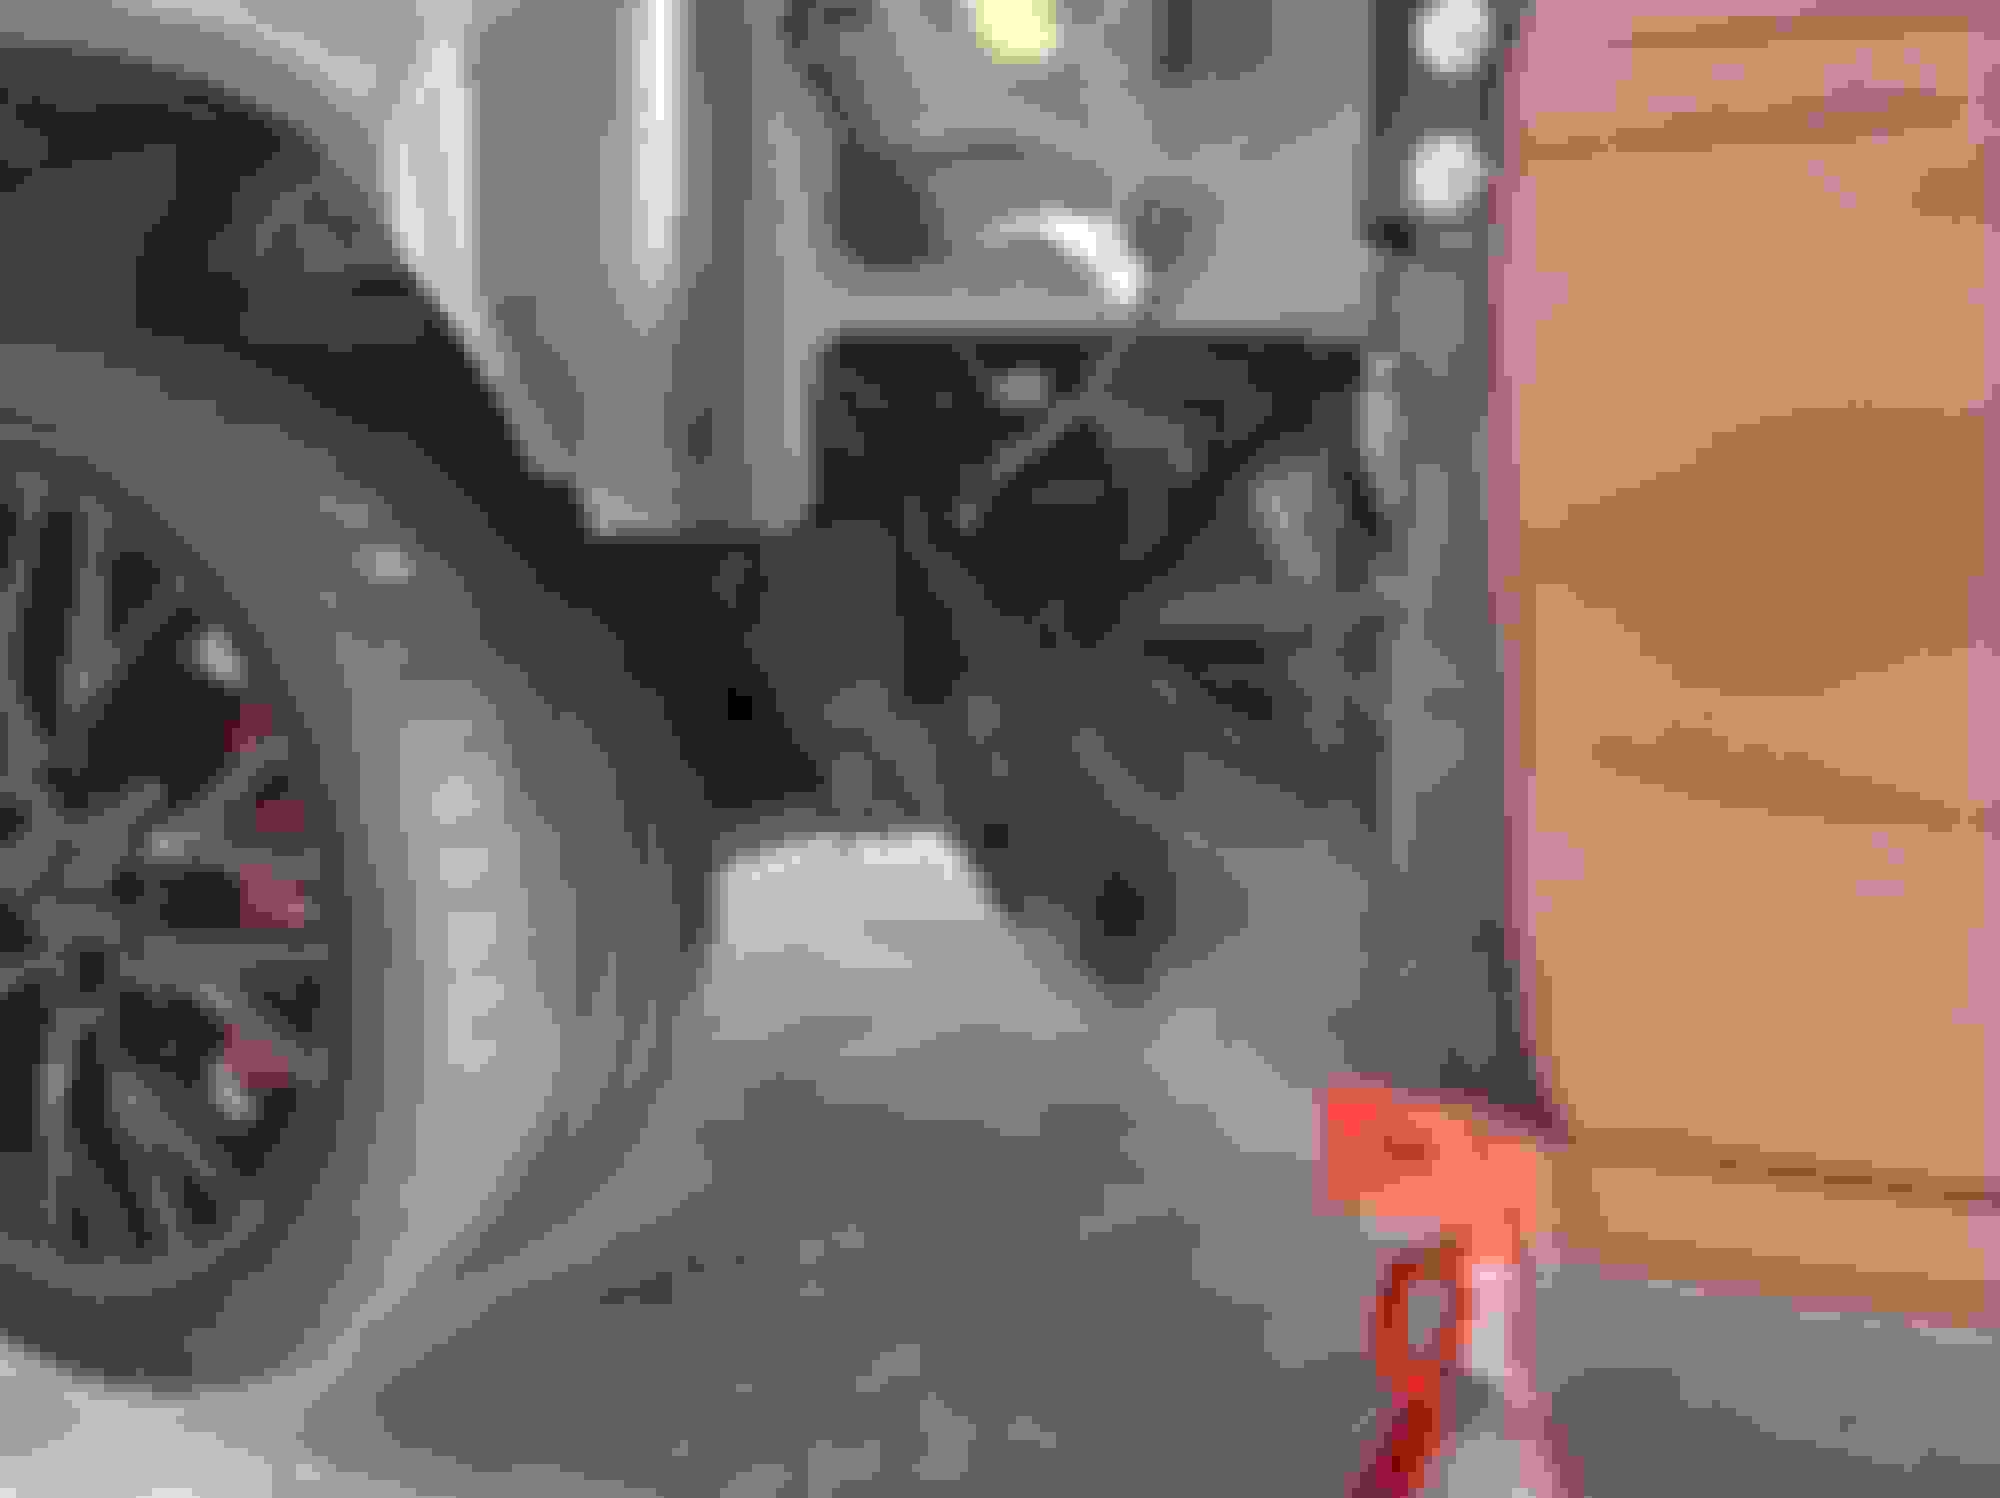
Next step is removing the fenders. Most of the bolts are readily visible, there's one on each side under the wiper cowl and one inside each fender that's a little tricky to reach mounted close to the door hinge.
As you'll notice in some of the pictures I tried to do this without removing the widebody side skirts but no dice. They're a bit annoying to properly line up but I had to remove them for proper working space.
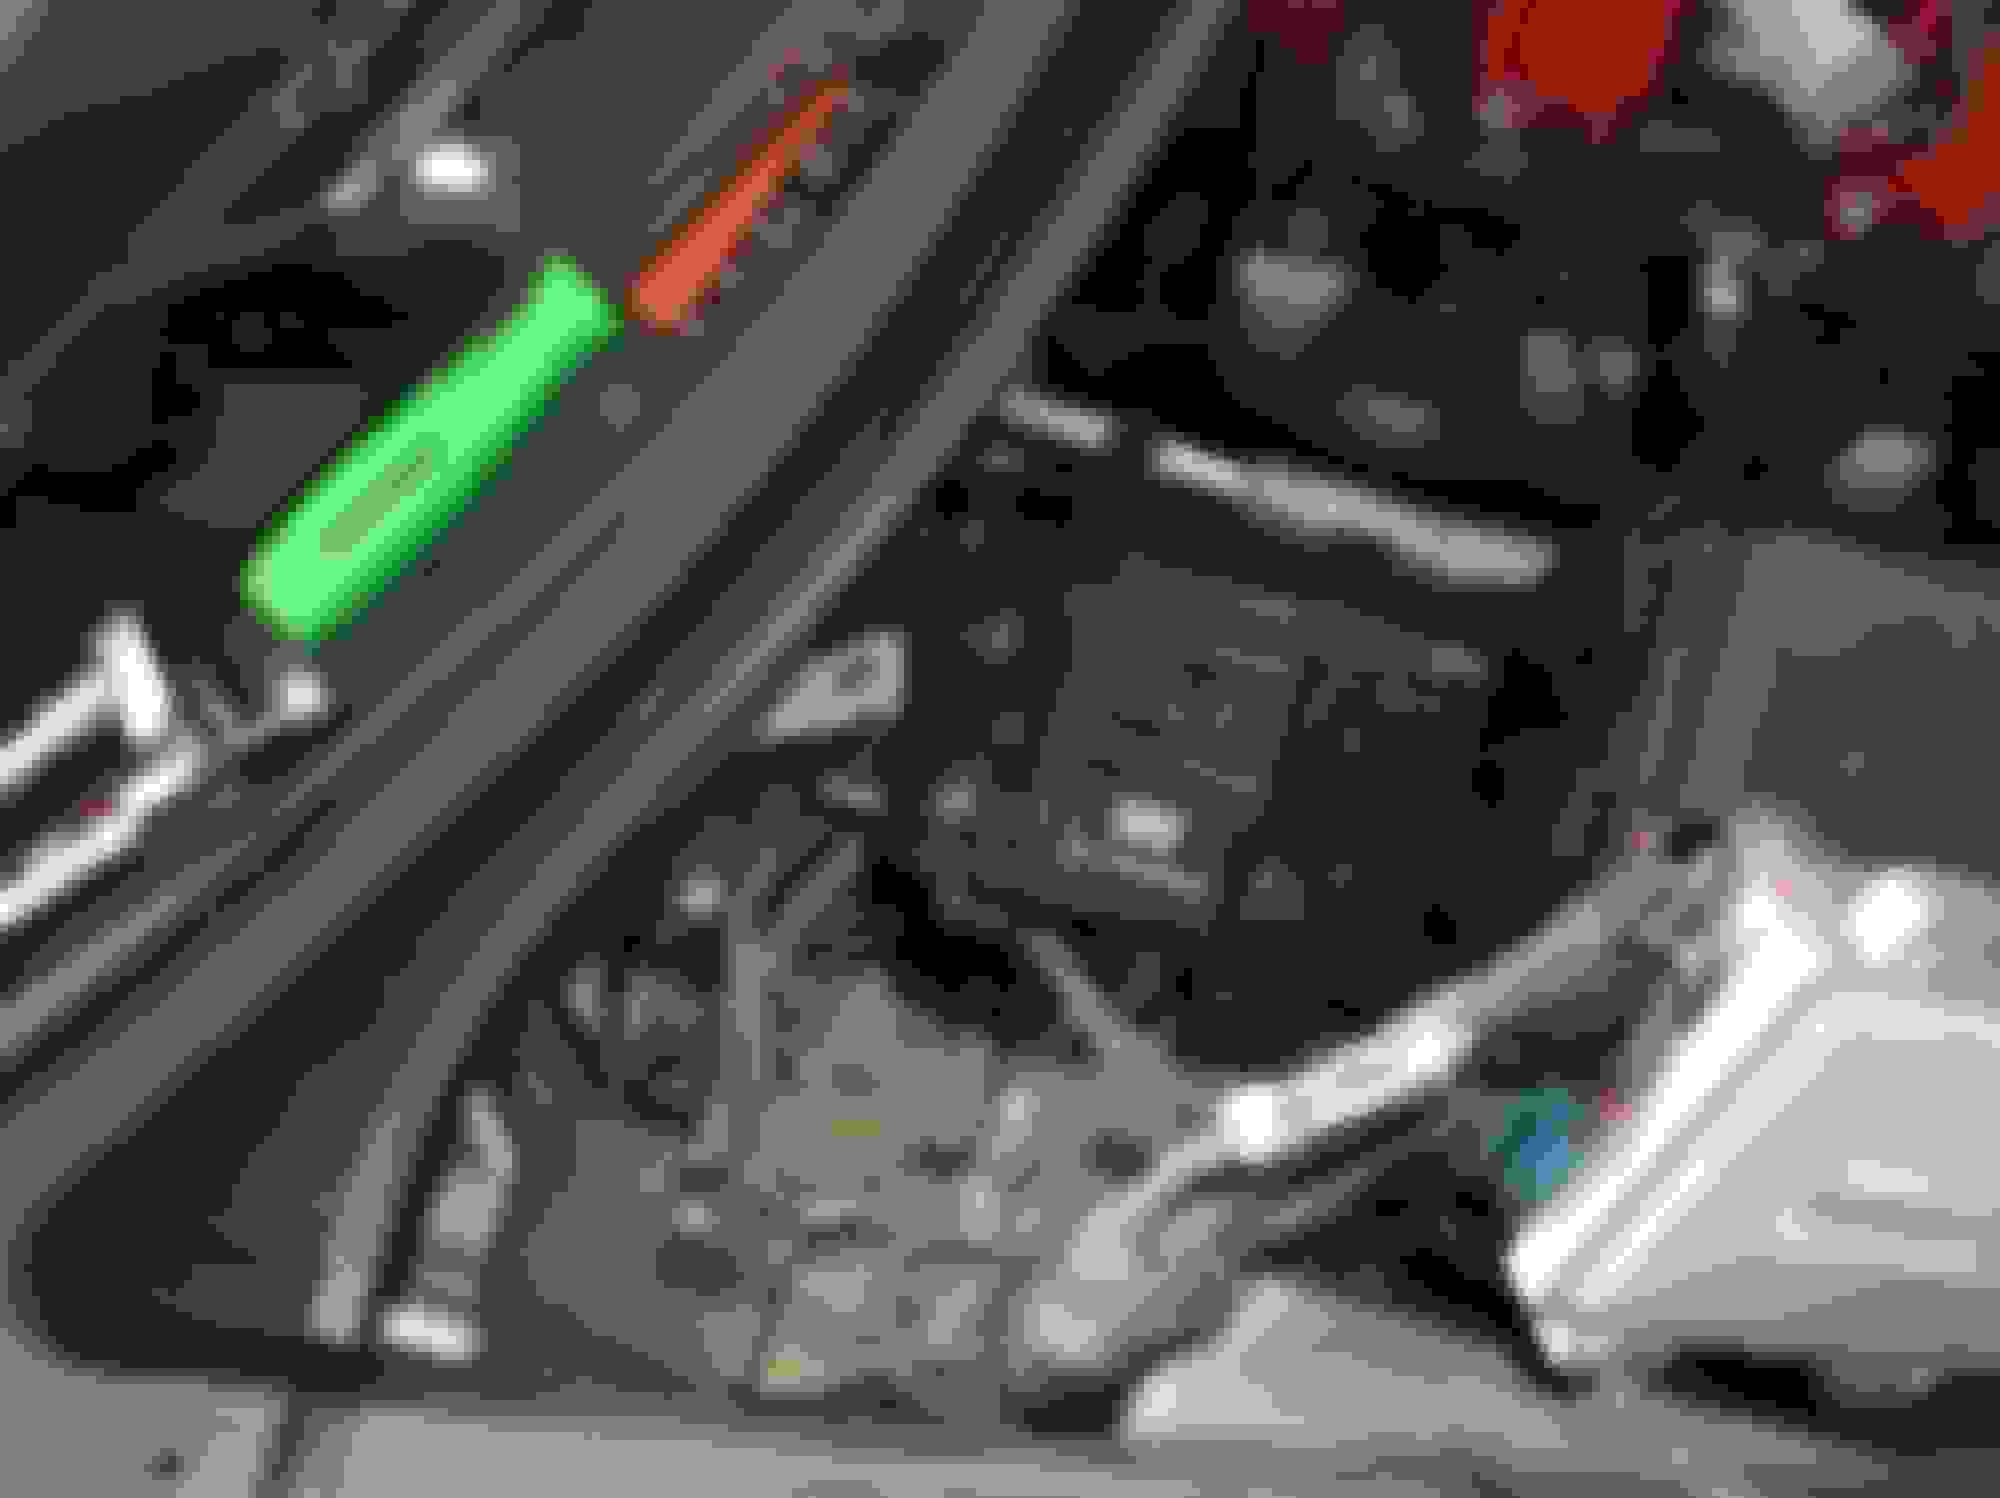
Next step is removing the battery and battery tray. The ECU is relocated here. There are 4 13mm bolts holding the tray in place, and space is right. I used a ratcheting 13mm wrench for the 3 on the outside and a 13mm socket for the one nearest the block.
From here we remove the ECU bracket and washer fluid reservoir. It is recommended you drain the reservoir prior to this step. The pump and leveler will be removed and reused later on. Another hurdle that seems to be unique to this build is the selective ride module in the passenger fender well. I asked my tuner where I should move it, he's installed a dozen UPP kits but never on an F55 car so I'll email CK and get his opinion on it. For now it's set aside in the battery tray area with the ECU .
At this point if you haven't already I would saturate the bolts holding the factory cats on in penetrating oil. I have taken 3 sets off and it has never been an easy ordeal. Thankfully I've had these off recently when installing my exhaust system but it still fought me just a bit.
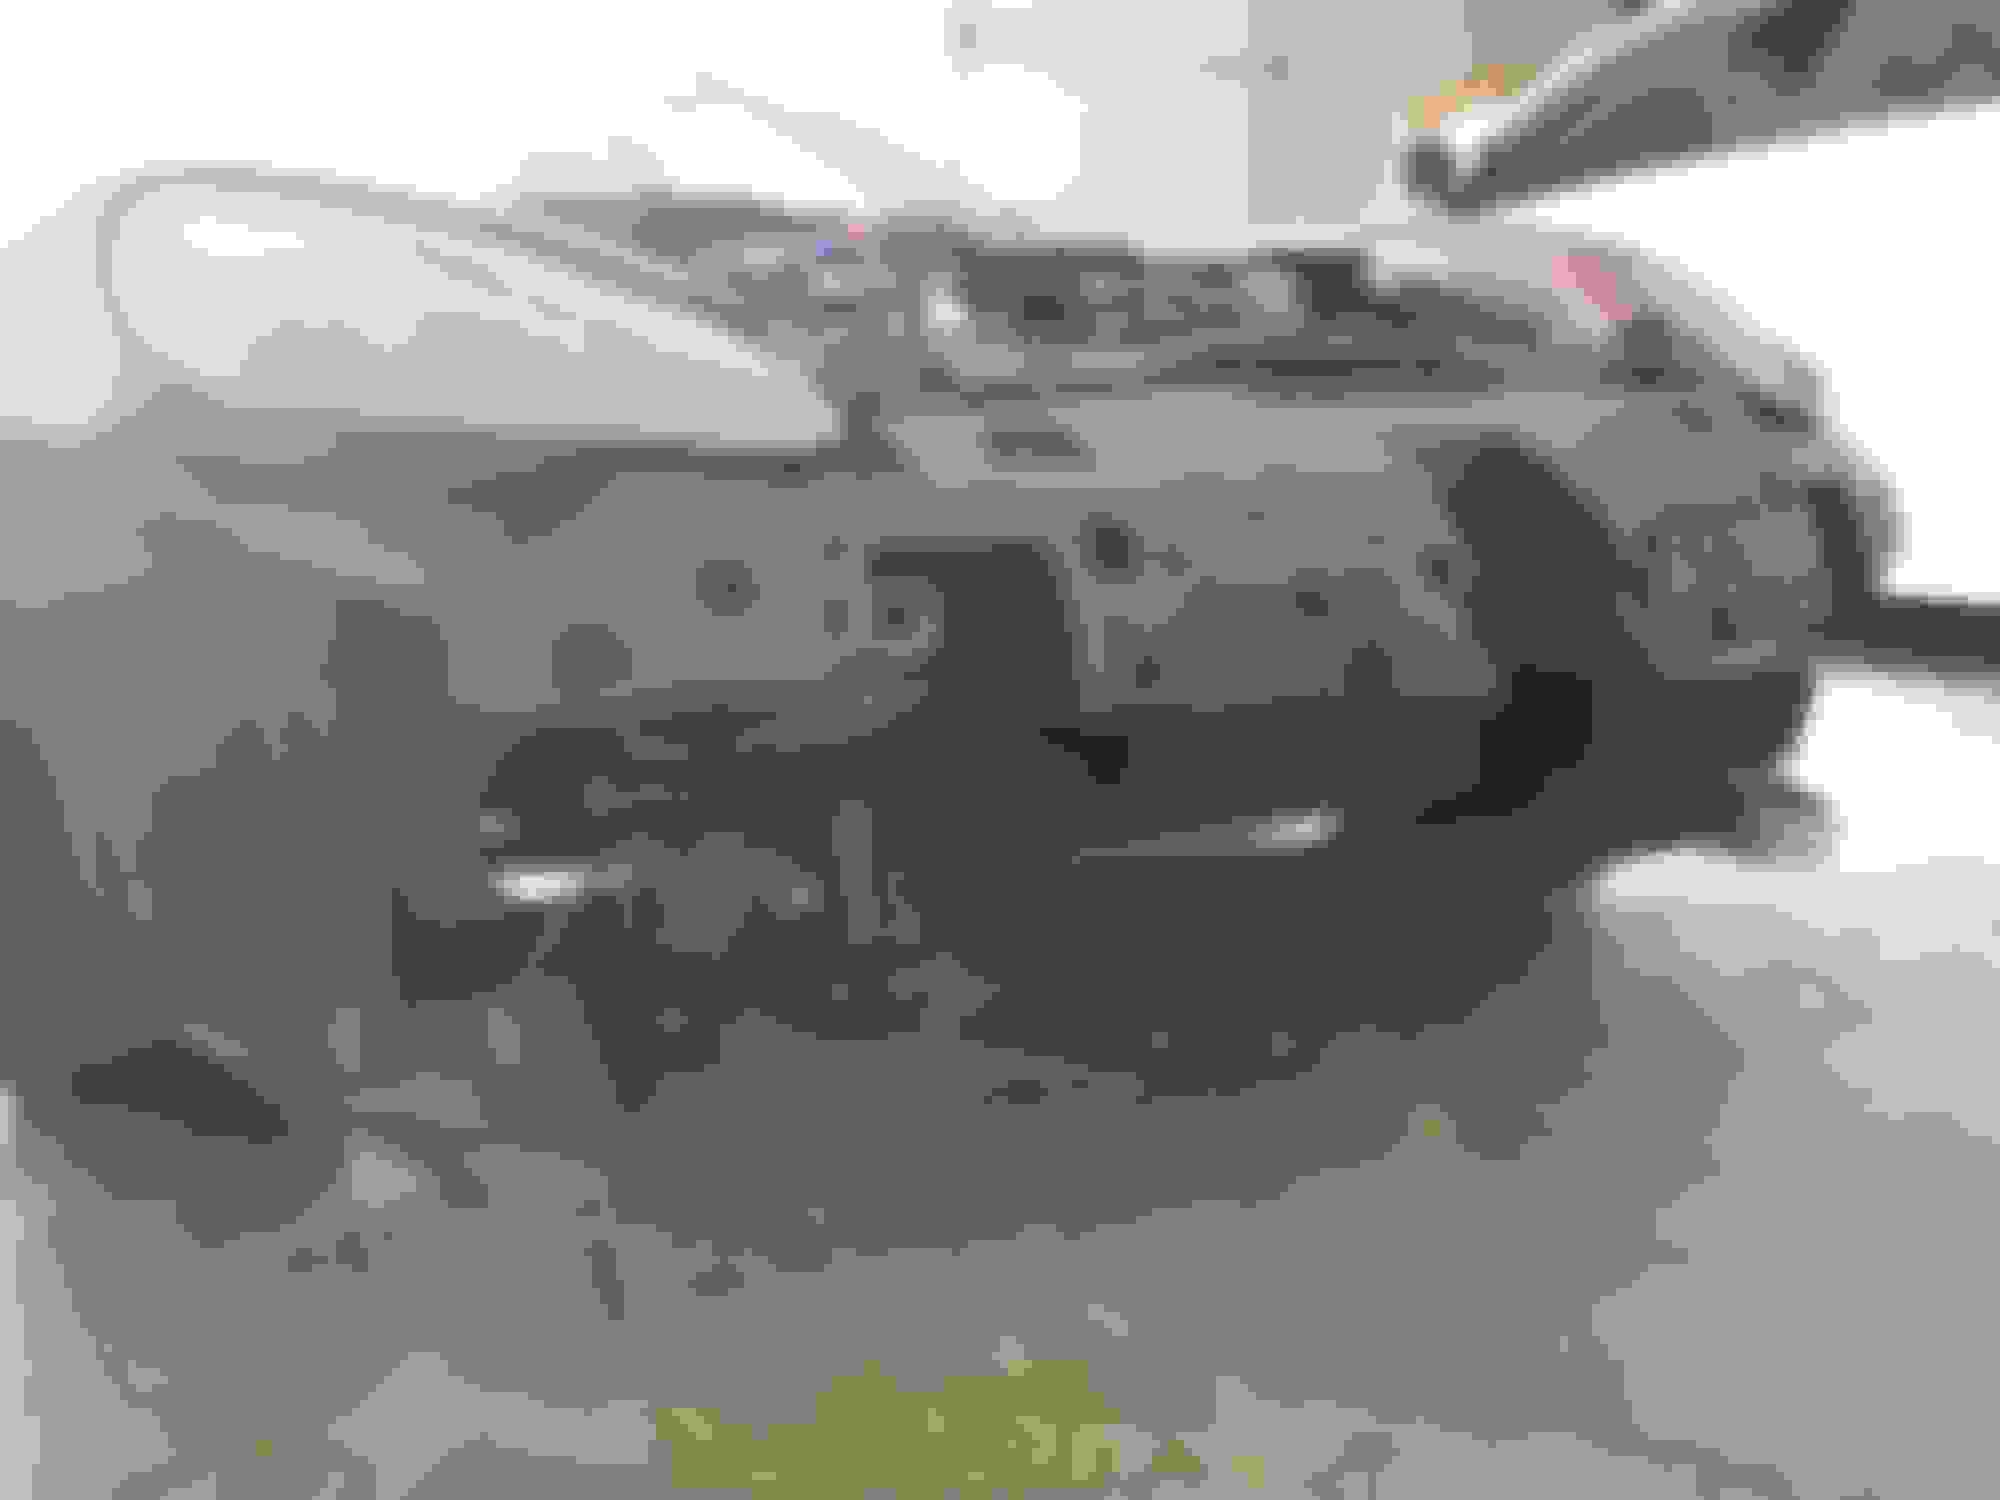
Next step is to remove any remaining fasteners and set the front axle on Jack stands. Be sure to use jacking pucks that should've been supplied with the car. This is the point where you will remove the factory catalytic converters. Ignore the stains underneath it's residual oil from a particularly inconvenient harmonic balancer failure that occurred last year.
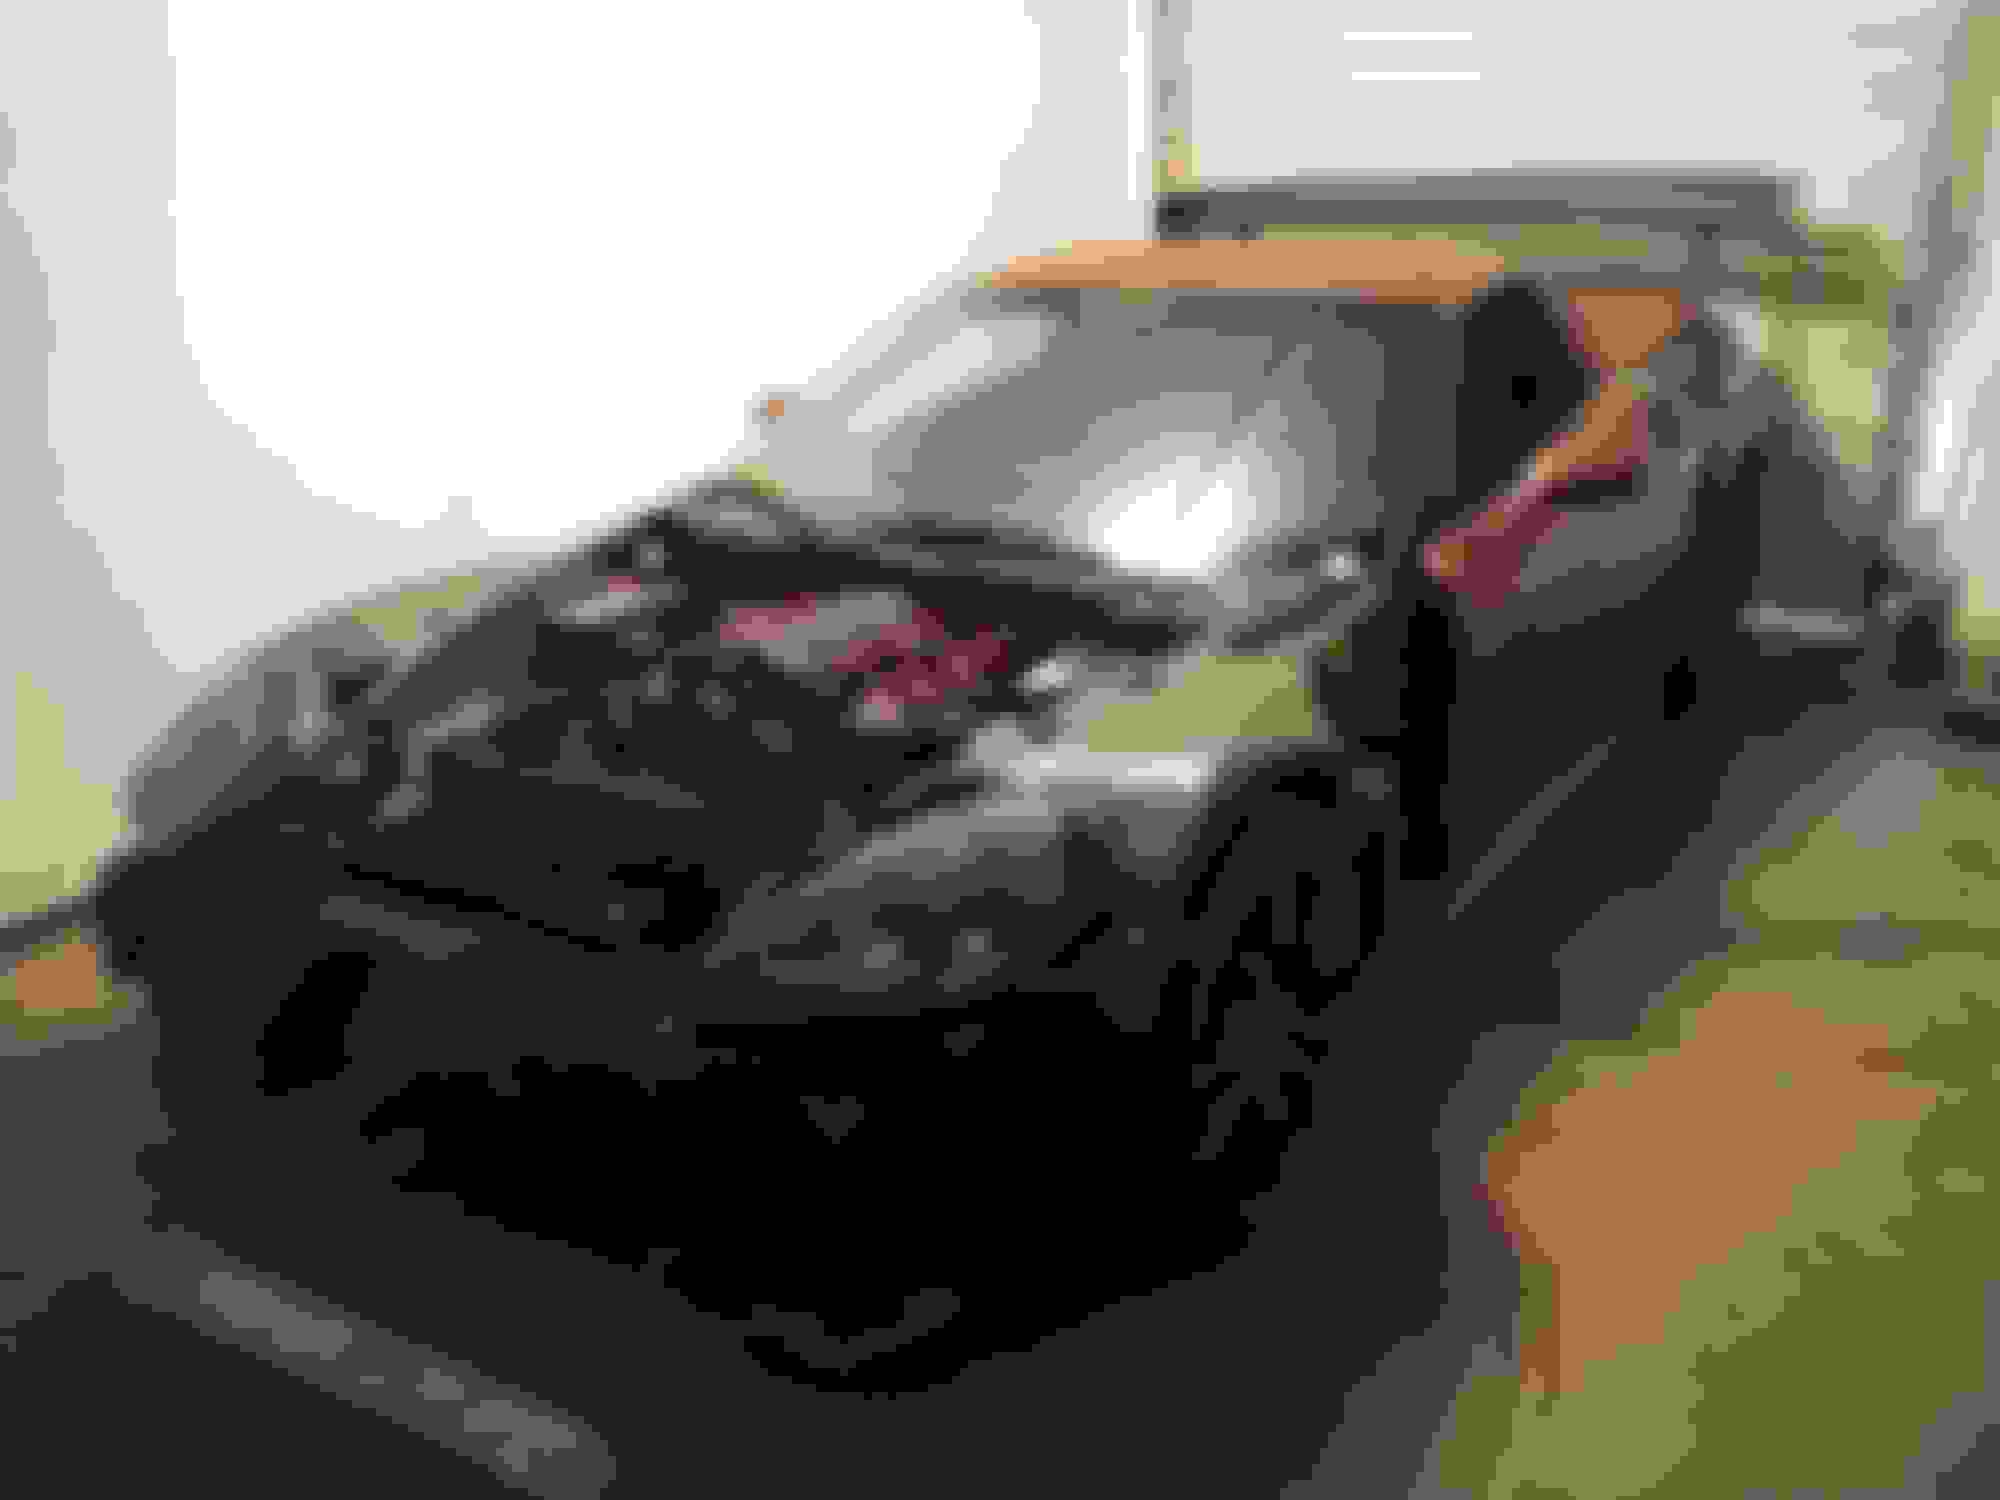
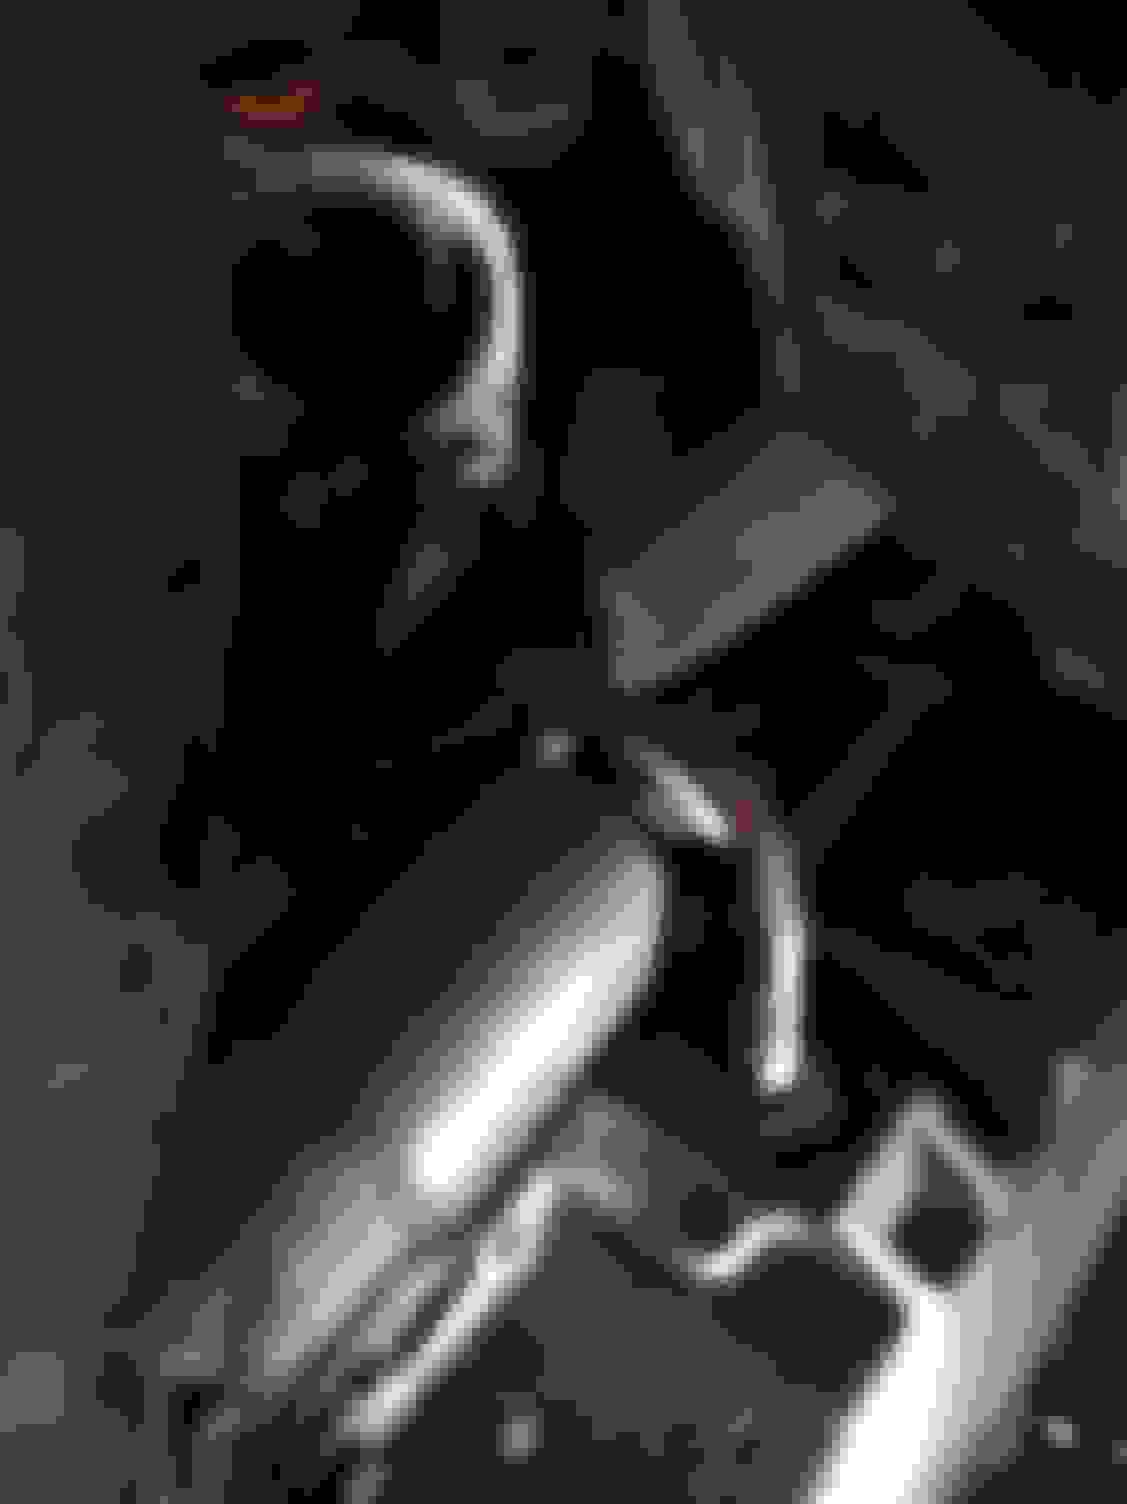
I'm skipping a few steps here but at this point the sun was no longer with us so I took this moment to test fit the drivers side up pipe and turbo. Gonna take some time today and watch the install again and determine the right clocking position for the compressor. The new design up pipe bolts in to one of the holes for the washer tank on this side, so no need to drill for a mounting bolt.
That's all I was able to accomplish on the first day. I mostly wanted to demonstrate this can be done at home by yourself but an extra set of hands and a lift would've been nice. I work at a high volume shop so getting a free lift for any considerable amount of time is next to impossible. On my next day off I'll properly clock both turbos with up pipes and set them aside then start the battery relocation and some of the other accessories.
Also, I still say get rid of that intake and fuel rails.
Appreciate the concern lol but I personally know enough people running them on builds way more intense than mine and don't know of one that's caused a fire yet. Will be mounting an extinguisher in the cabin but I have to do that for road course anyway.

 09-04-2018, 02:36 PM