When you click on links to various merchants on this site and make a purchase, this can result in this site earning a commission. Affiliate programs and affiliations include, but are not limited to, the eBay Partner Network.
Ive been battling with this car since the beginning as some of the OG’s may know lol. It has been pushed aside several times due to life which has happened to all of us. But I haven’t given up on it and I won’t.
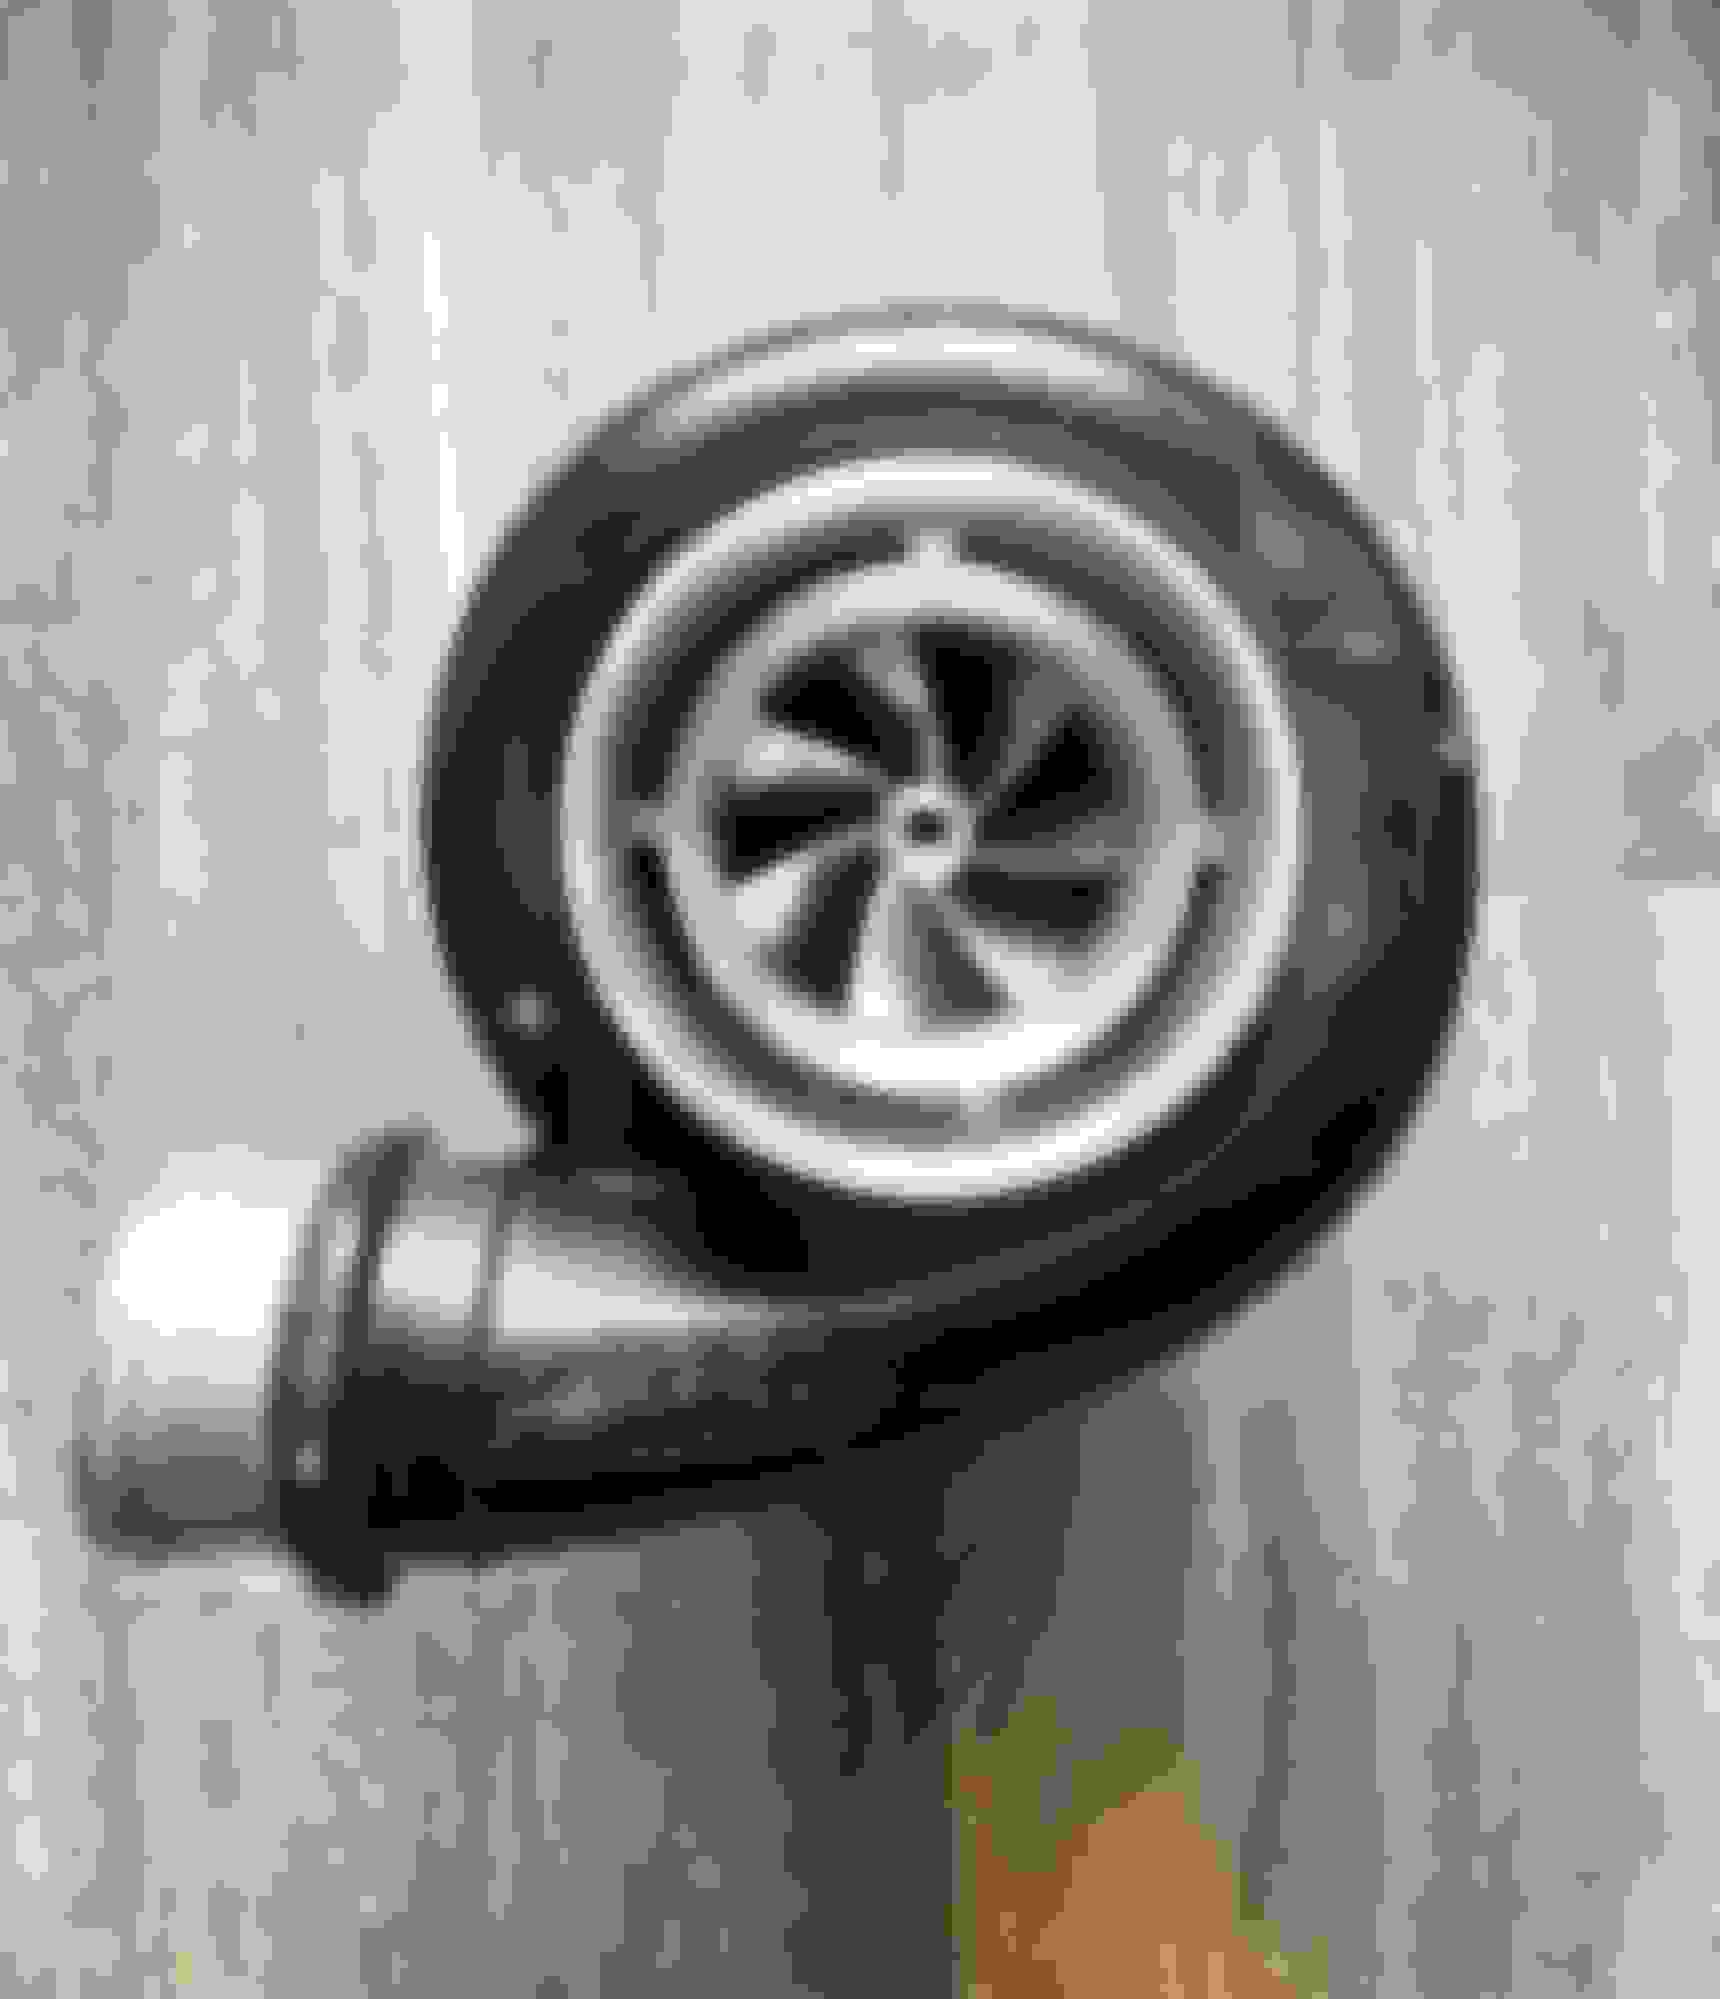
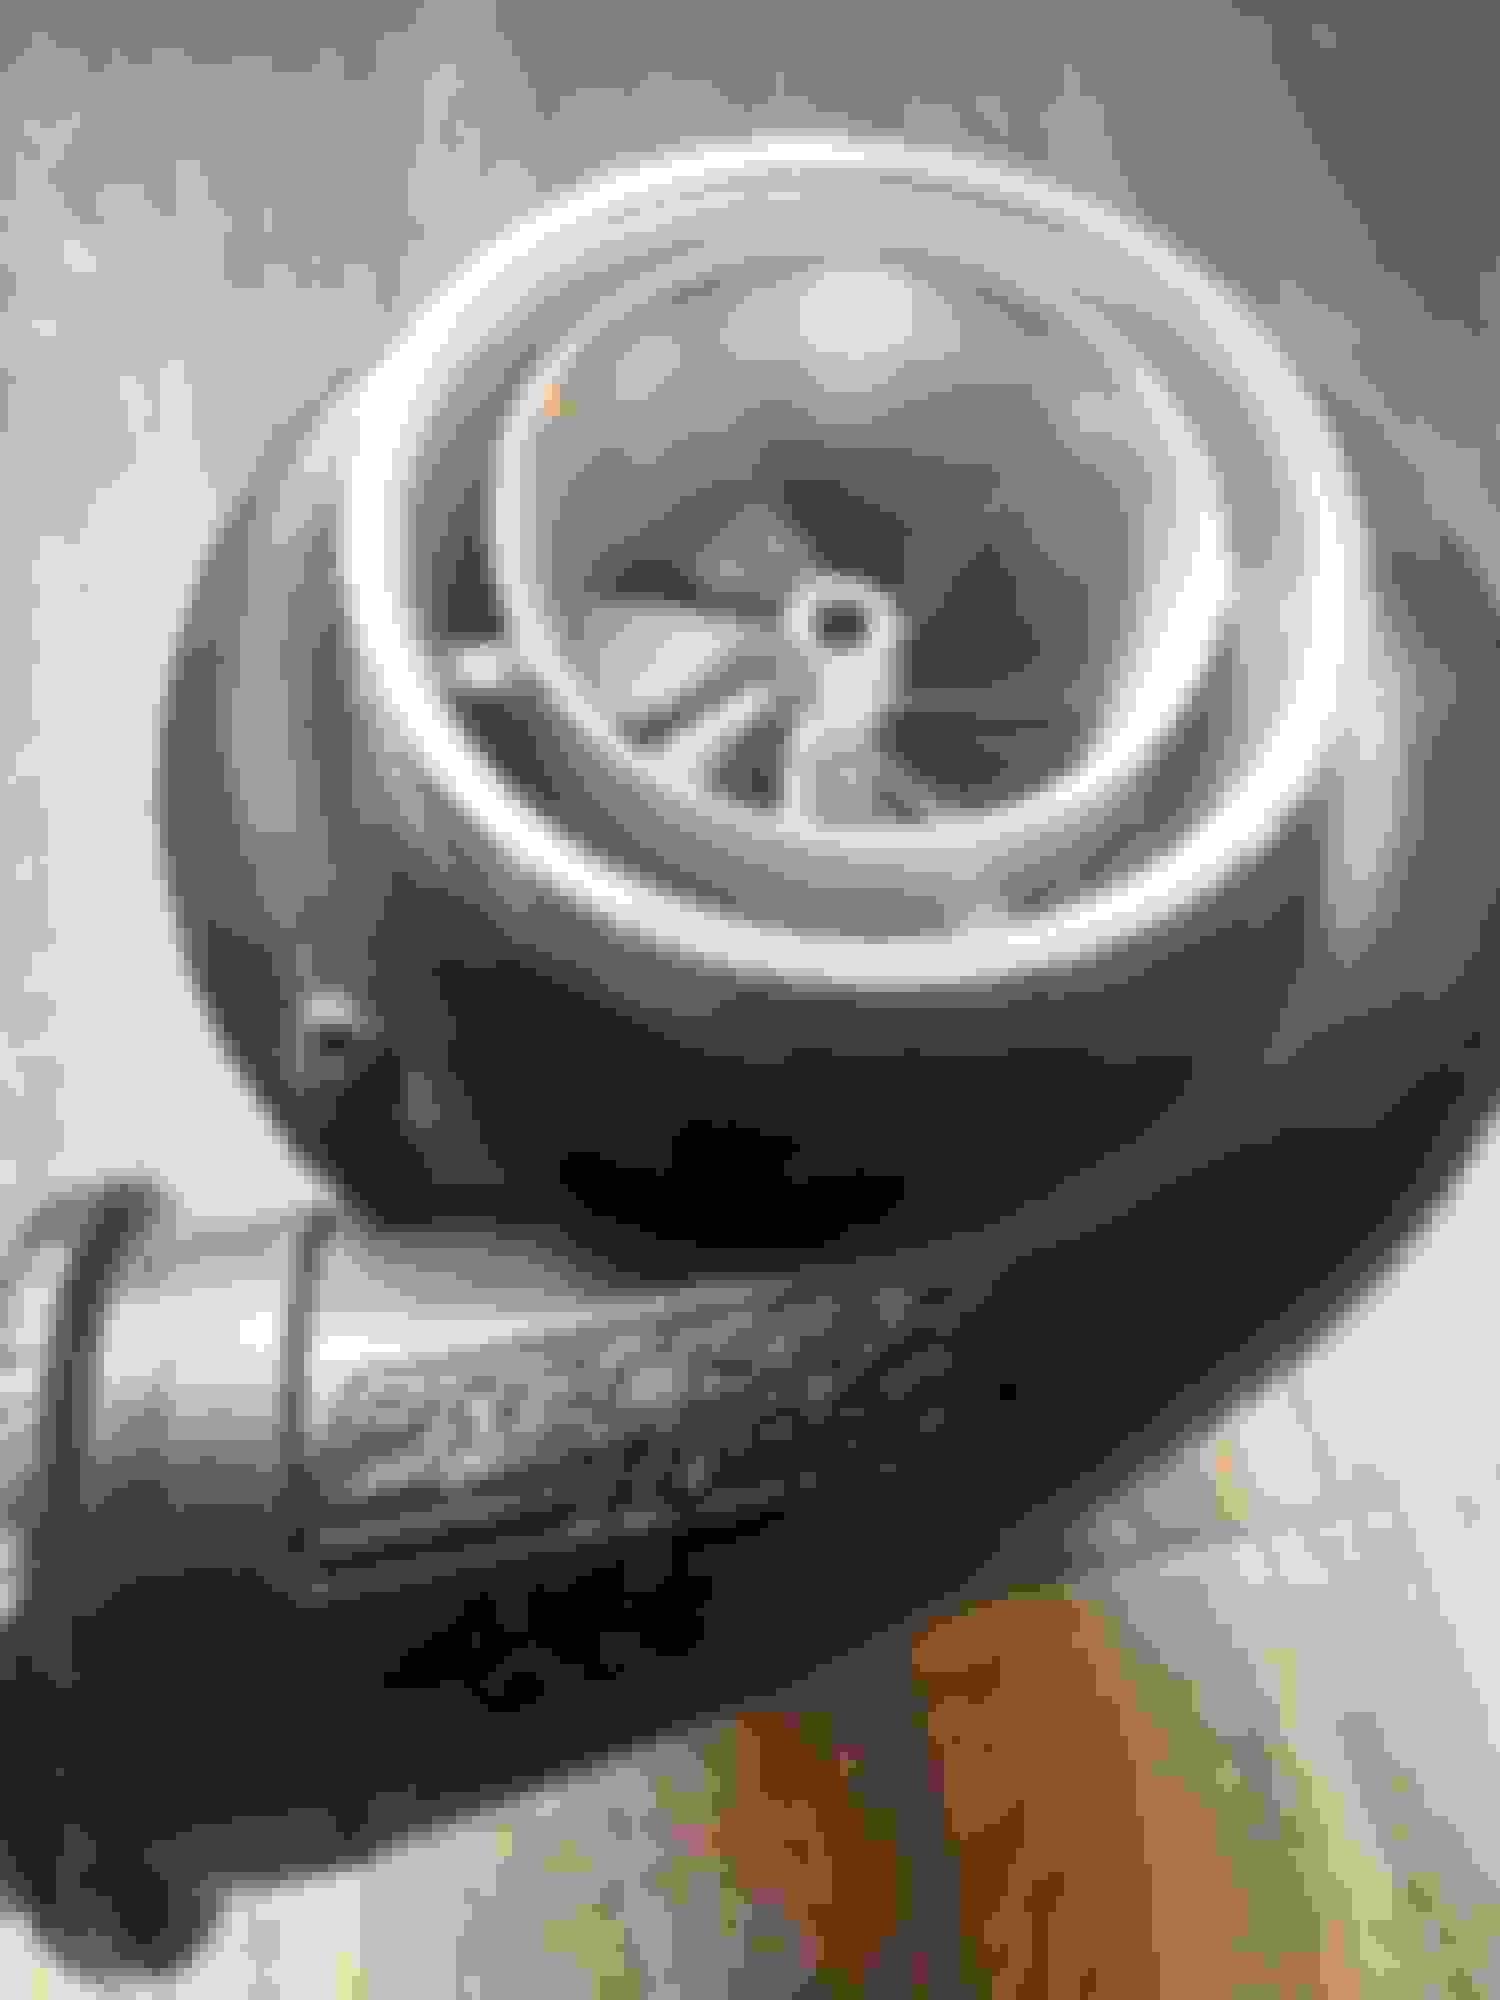
Turbo Setup:
Precision Gen II Pro Mod 94mm
T51R Mod 😎
*Rear Mounted*
Tial 60mm Wastegate
Tial 50mm BOV’s
Custom Air To Water Intercooler
Garrett 1000hp Cores (2)
EMP W29 Reprogrammed Water Pump
-16AN Water Lines
7 Gallon Water Tank
Prospeed ZR1 Heat Exchanger
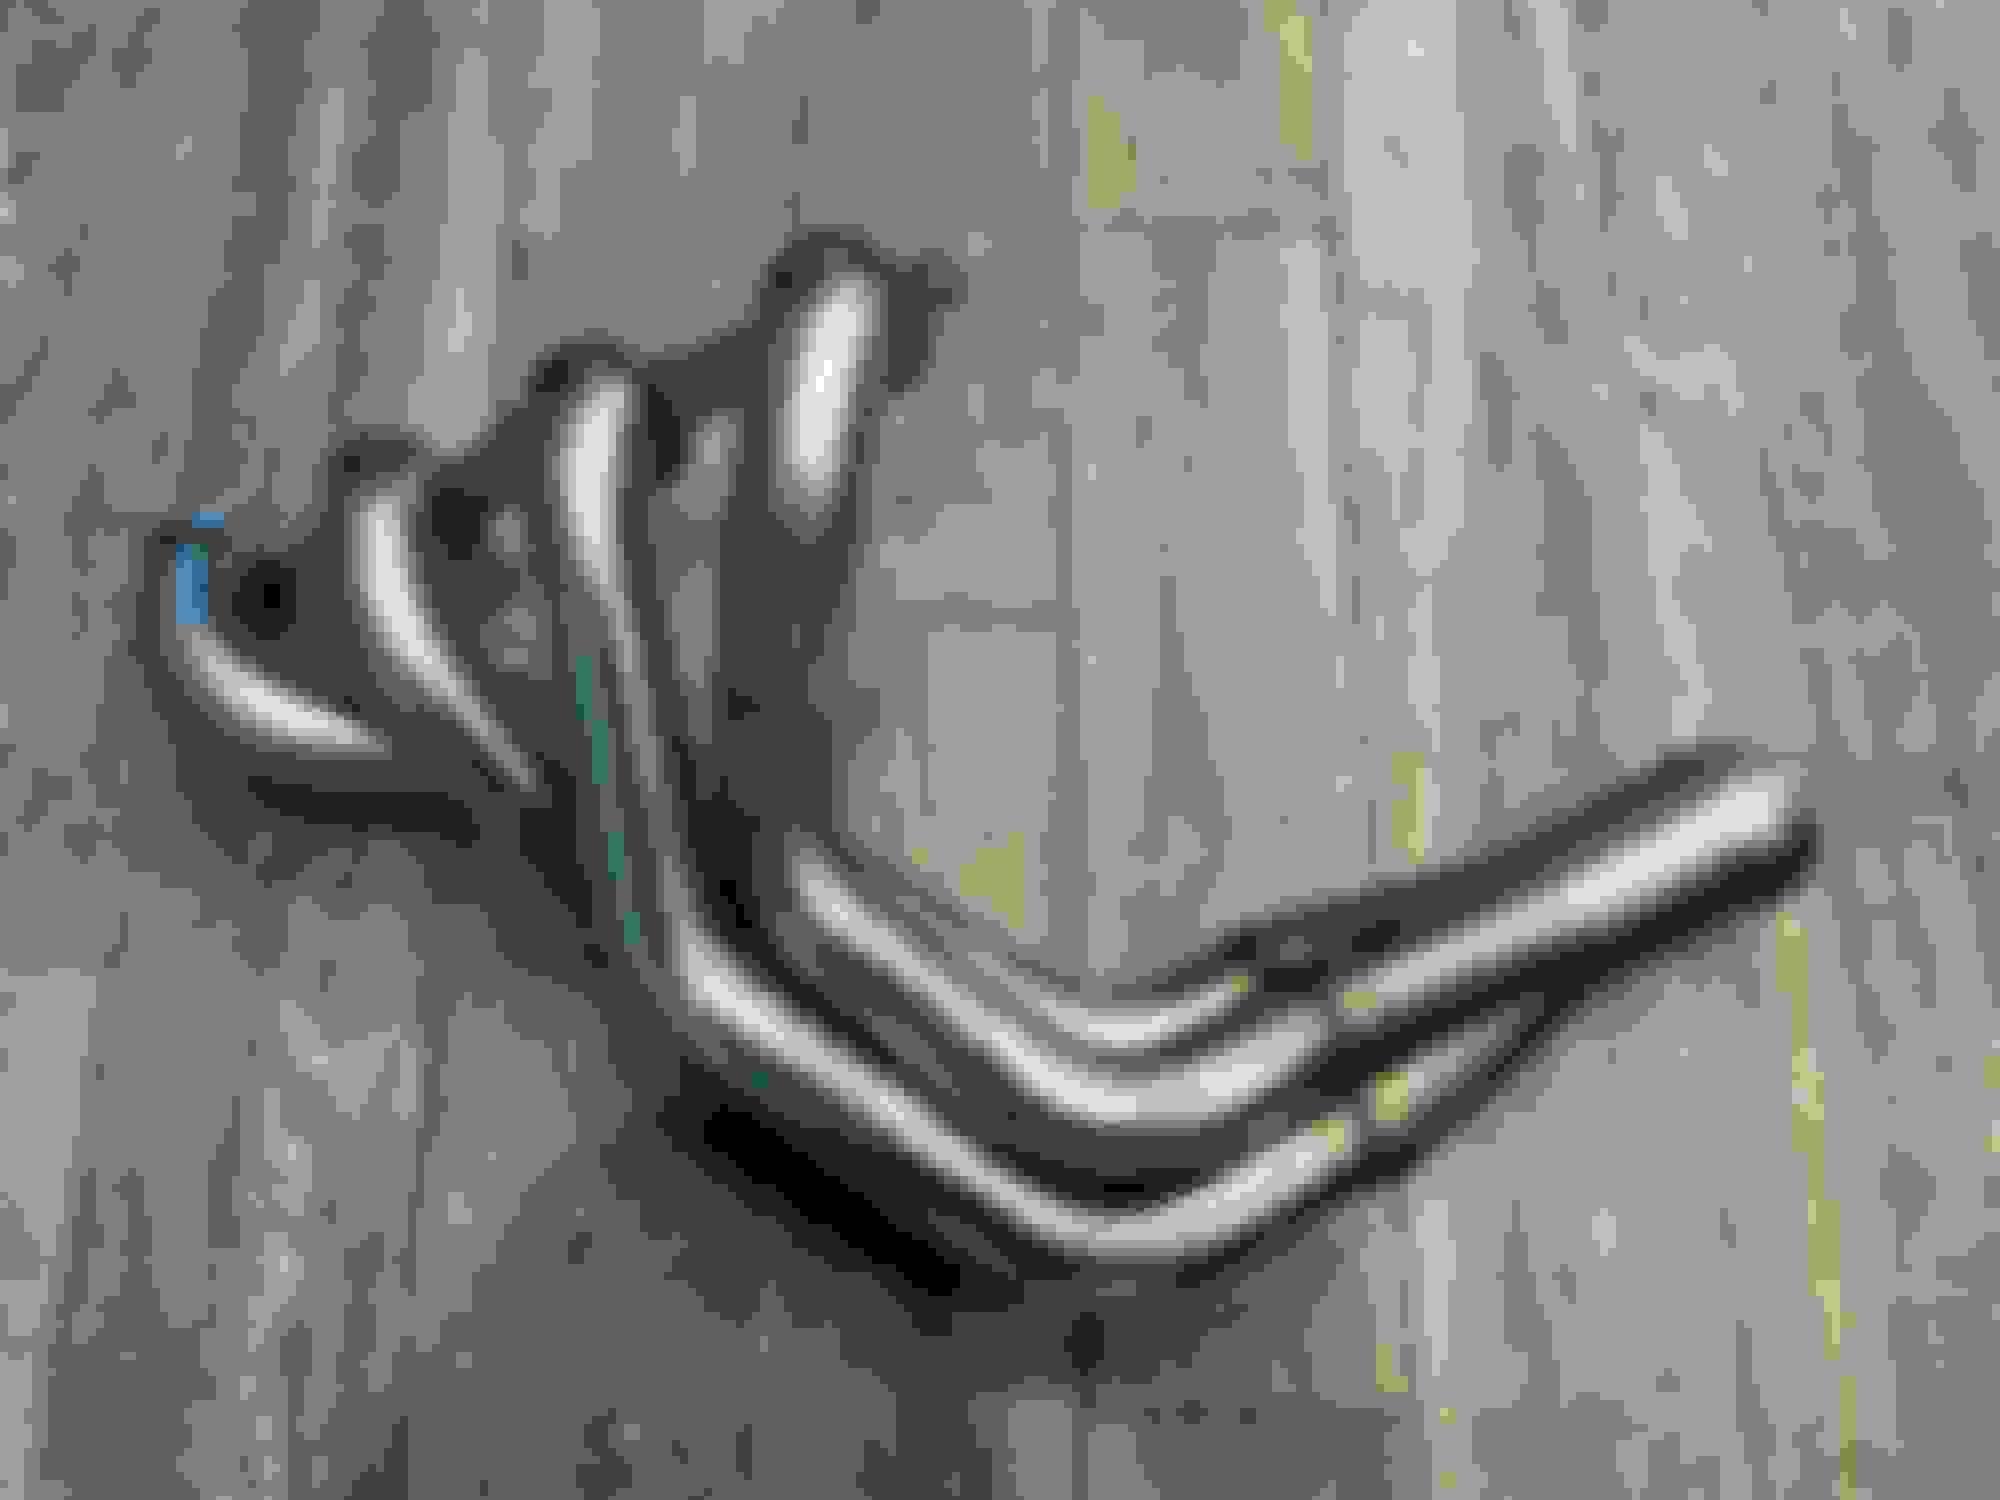
I also got rid of the stock LS7 manifolds and switched to Kooks 2” long tubes and had some v bands welded on the end of them. Not sure if it’ll hurt spool or help but I figured the long tubes have to help move more air out of the motor. Thanks Sinister Mike for the input on that.
For those who wonder about the routing for the exhaust/turbo here it is under the car. After the turbo the compressor clocks up into the rear hatch and goes through an air to water intercooler and the passenger side frame rail is used as a charge pipe back up to the front of the car.
Im still impressed you used the frame as a charge piping. Looks incredible
Thanks man I appreciate it. I can’t take any credit for it though, the way a fabricators artistic mind and creativity work is pretty remarkable to see come to life.
Thanks man I appreciate it. I can’t take any credit for it though, the way a fabricators artistic mind and creativity work is pretty remarkable to see come to life.
Still impressive. Glad to see youre back in the game I admire your dedication
I wouldn't let that shop drill an a-hole in a hobby horse. Most shops with the exception of a handful, can only do stock re-builds and then it's still hit or miss. The best option is have the machine work done by the shop and you assemble everything, that way you can check all the clearances, cam timing, etc. yourself and if a problem arises you can go back to the machinist. And if you can't do the assembly, you got no business racing. Sorry to say, but you just can't rely on these people, they have a different agenda than you do. I learned the hard way after 5 F-ups. and countless dollars wasted. The only way I could get it right was to do it myself.
Nice! I would personally skip that 94 and put Jose's gangster 98 on something like this but certainly shouldn't have any issues with the 94. Cool build sir!
Sucks you had to go through all that nonsense with the old shop! Hopefully the new setup lasts a LOT longer! It looks good!
Old shop will get theirs very very soon. When you continue to do people wrong it catches up. 😎
Originally Posted by 1Hotrodz
I wouldn't let that shop drill an a-hole in a hobby horse. Most shops with the exception of a handful, can only do stock re-builds and then it's still hit or miss. The best option is have the machine work done by the shop and you assemble everything, that way you can check all the clearances, cam timing, etc. yourself and if a problem arises you can go back to the machinist. And if you can't do the assembly, you got no business racing. Sorry to say, but you just can't rely on these people, they have a different agenda than you do. I learned the hard way after 5 F-ups. and countless dollars wasted. The only way I could get it right was to do it myself.
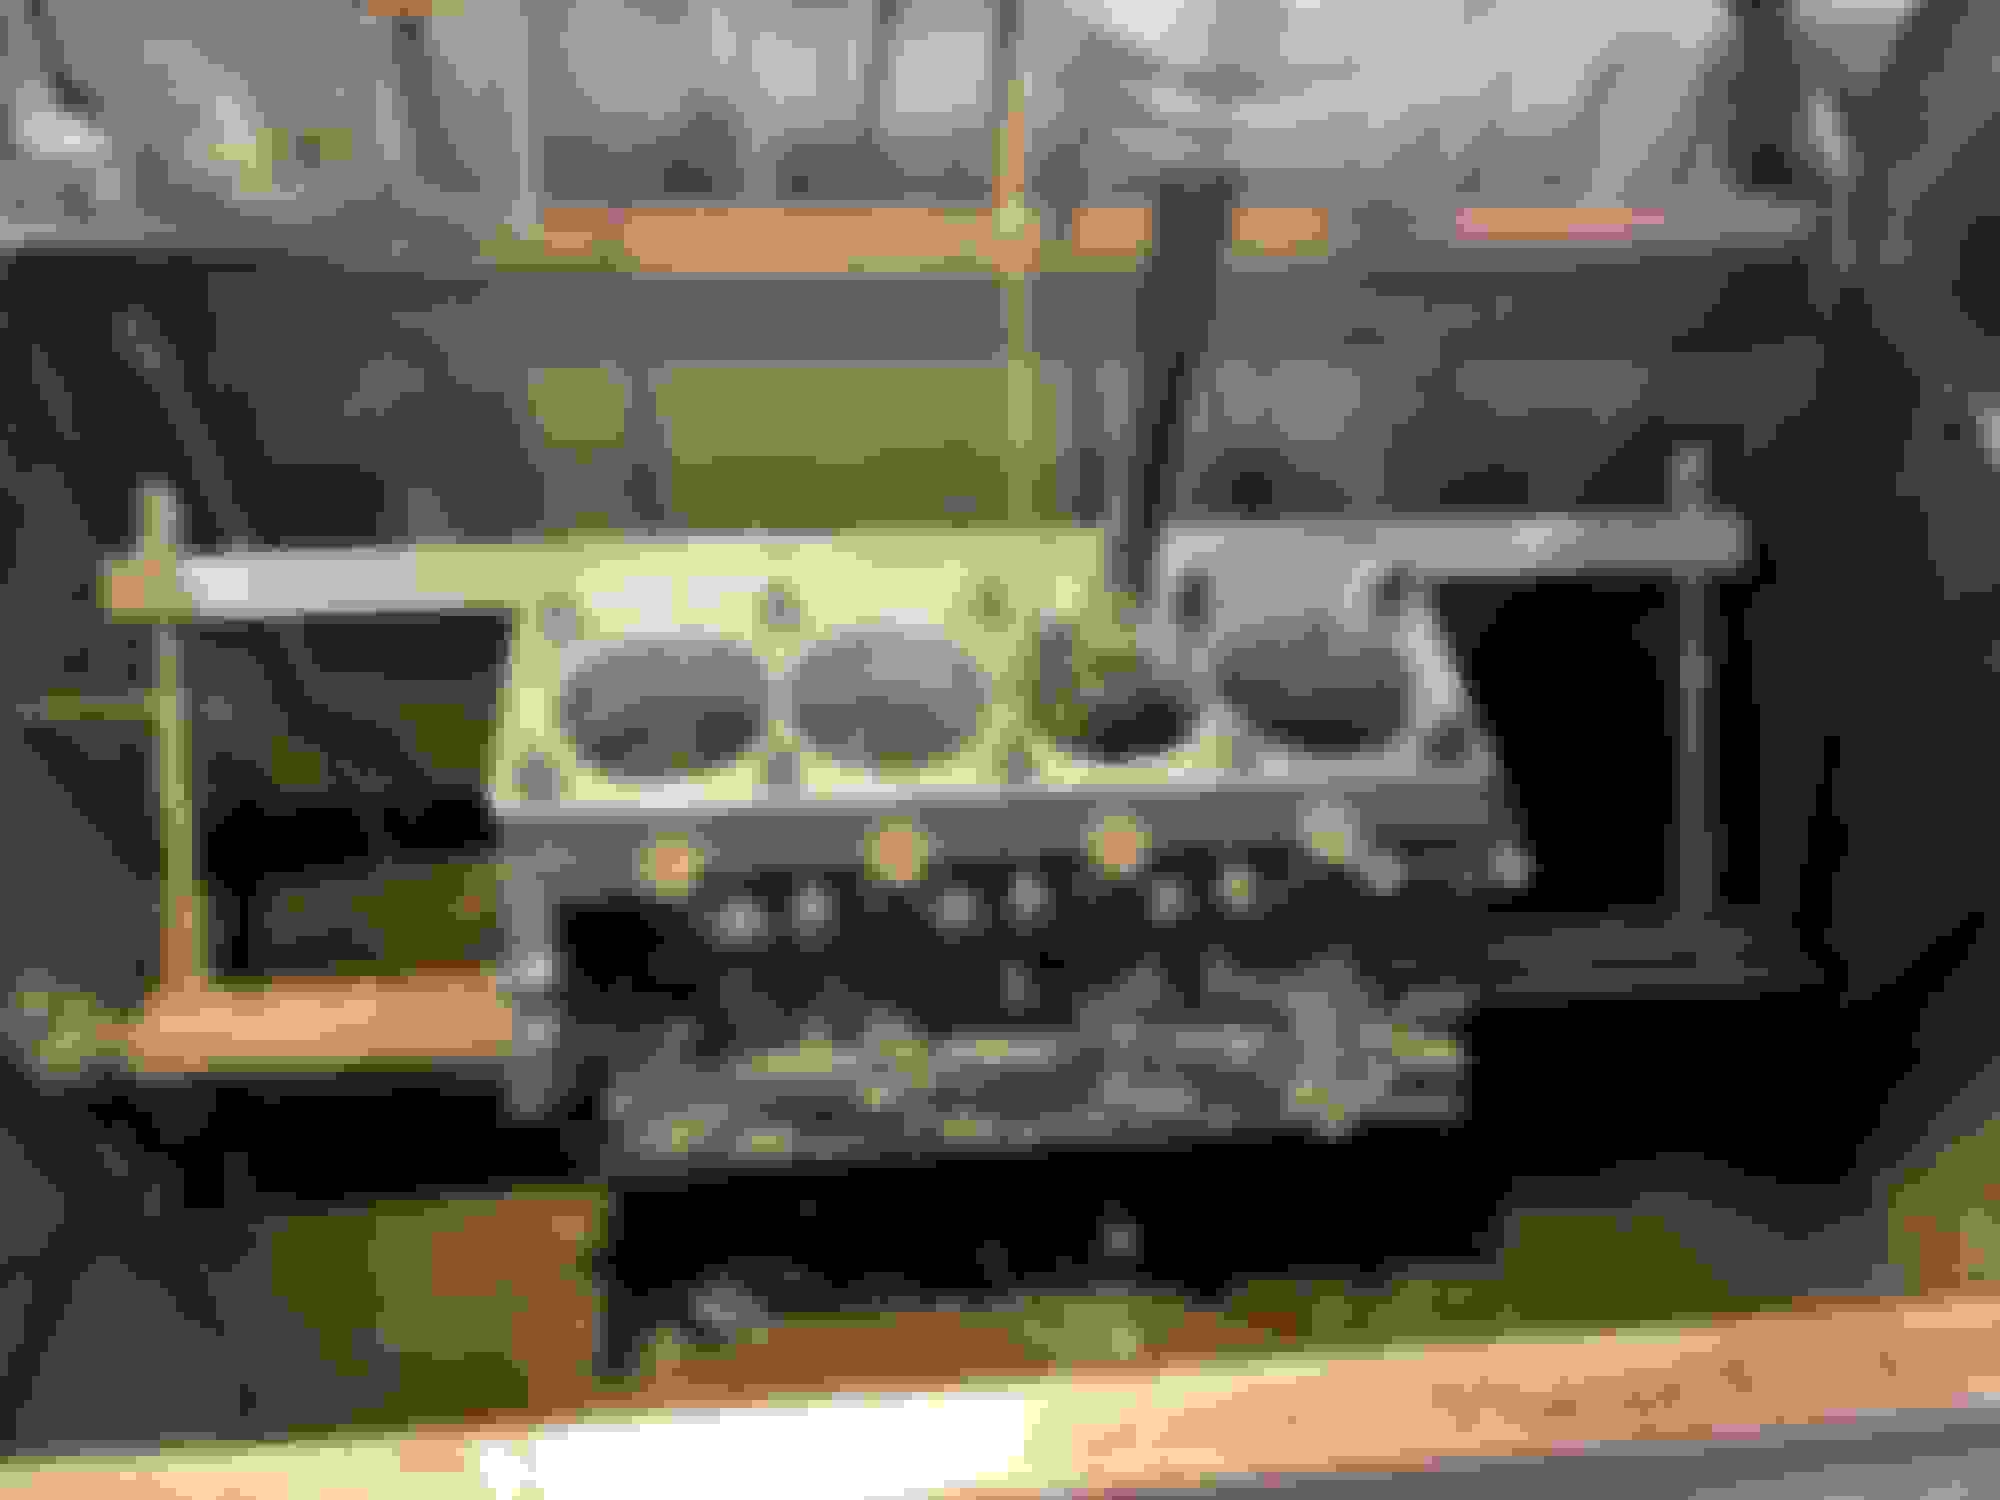
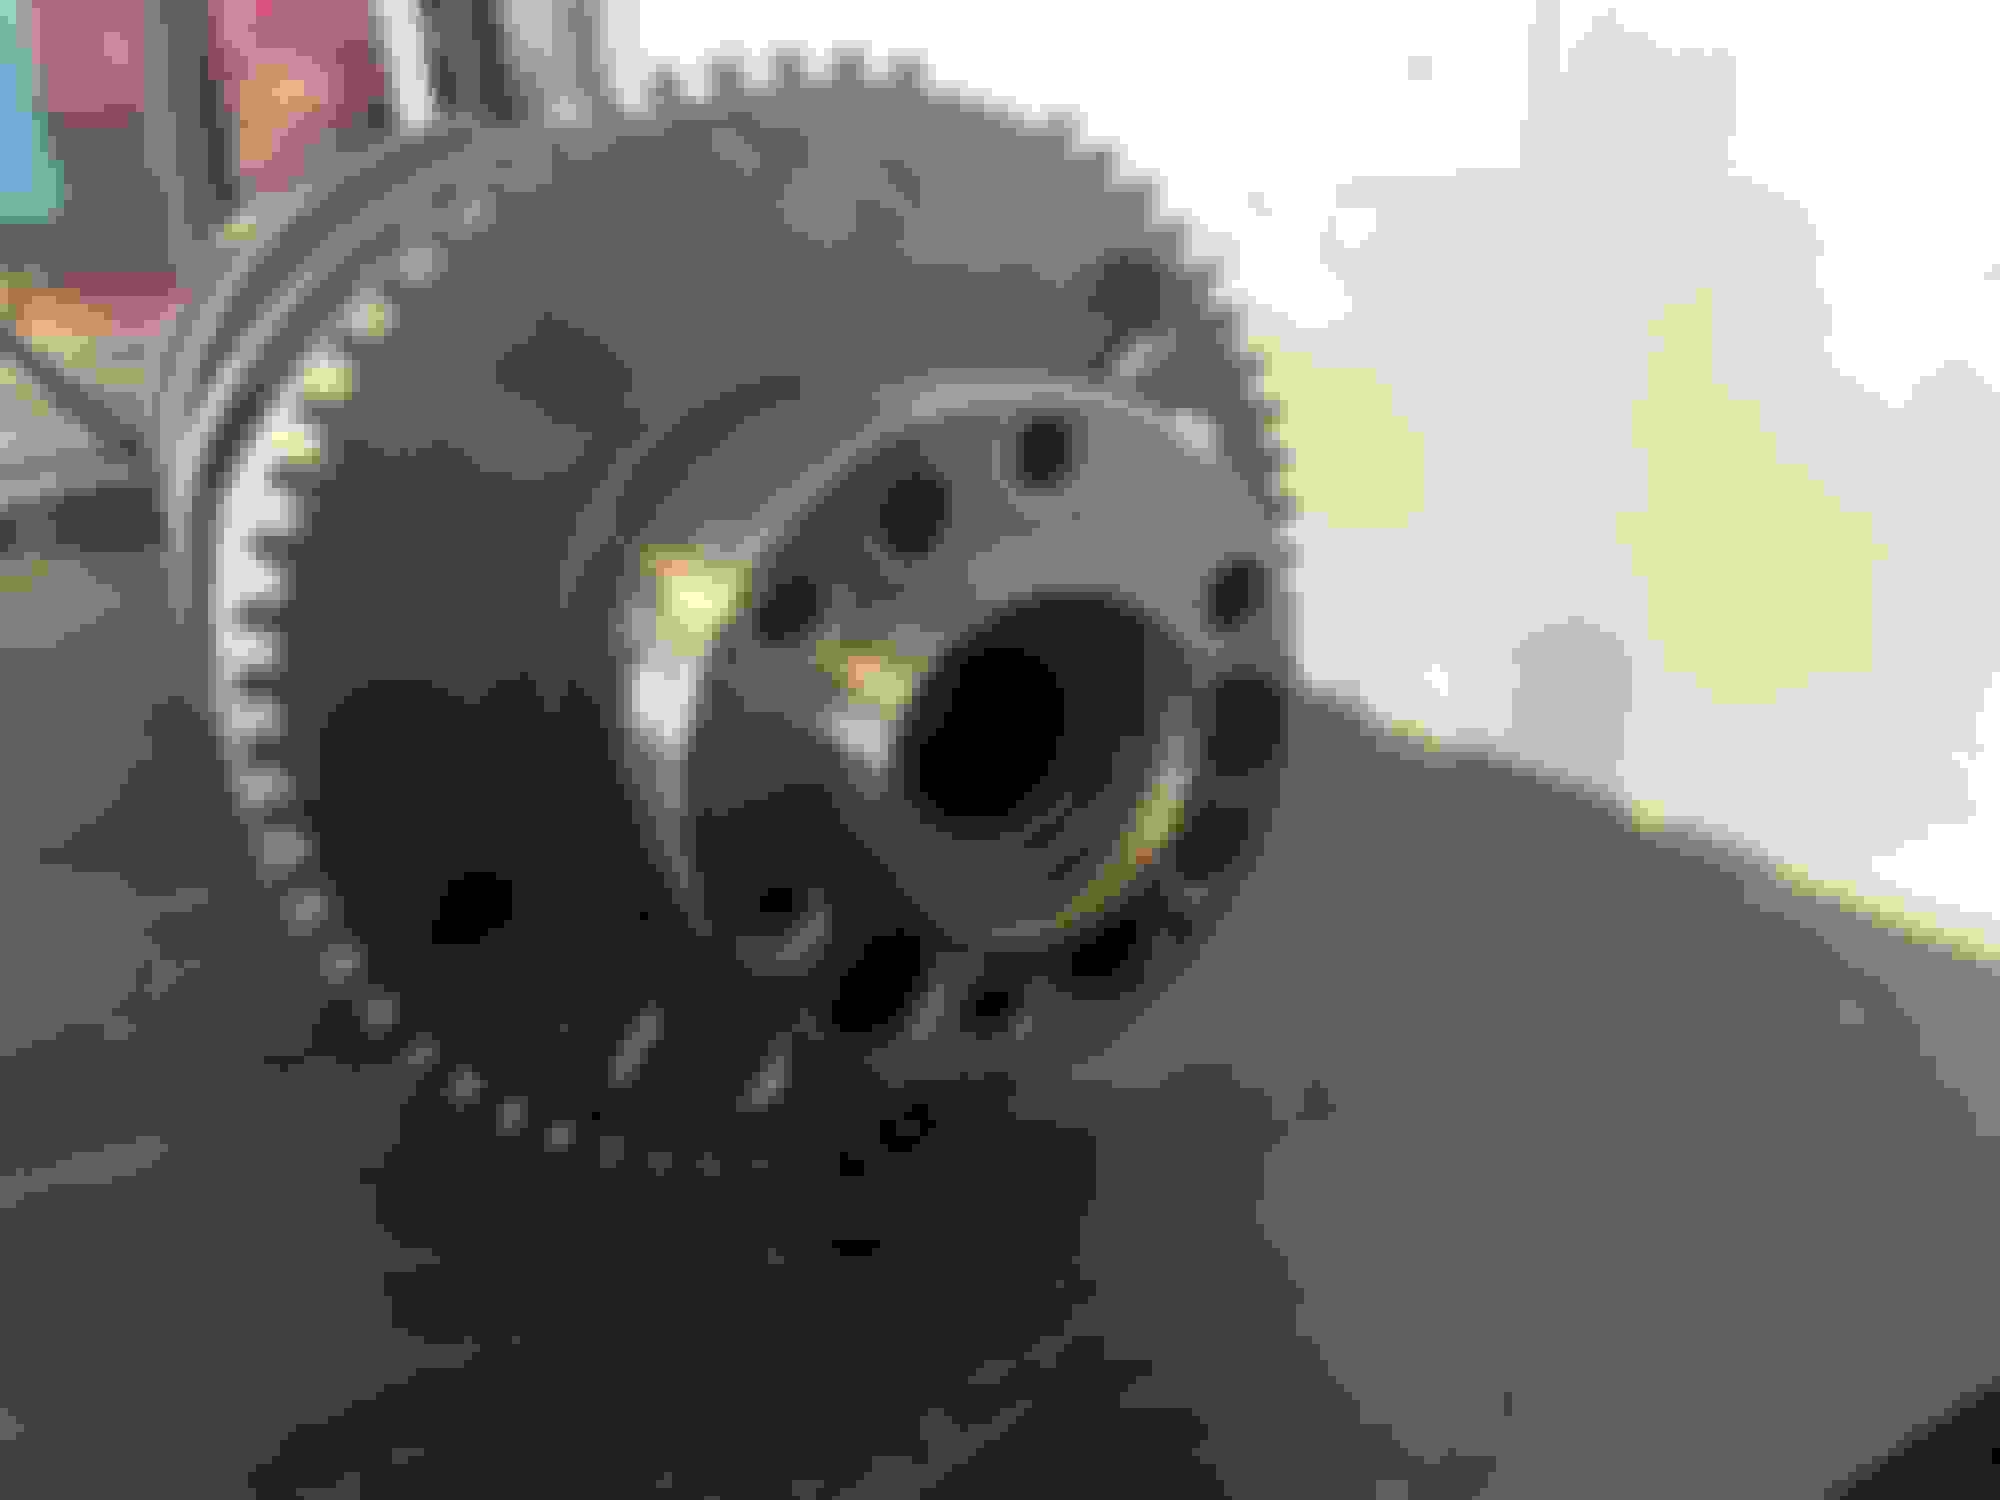
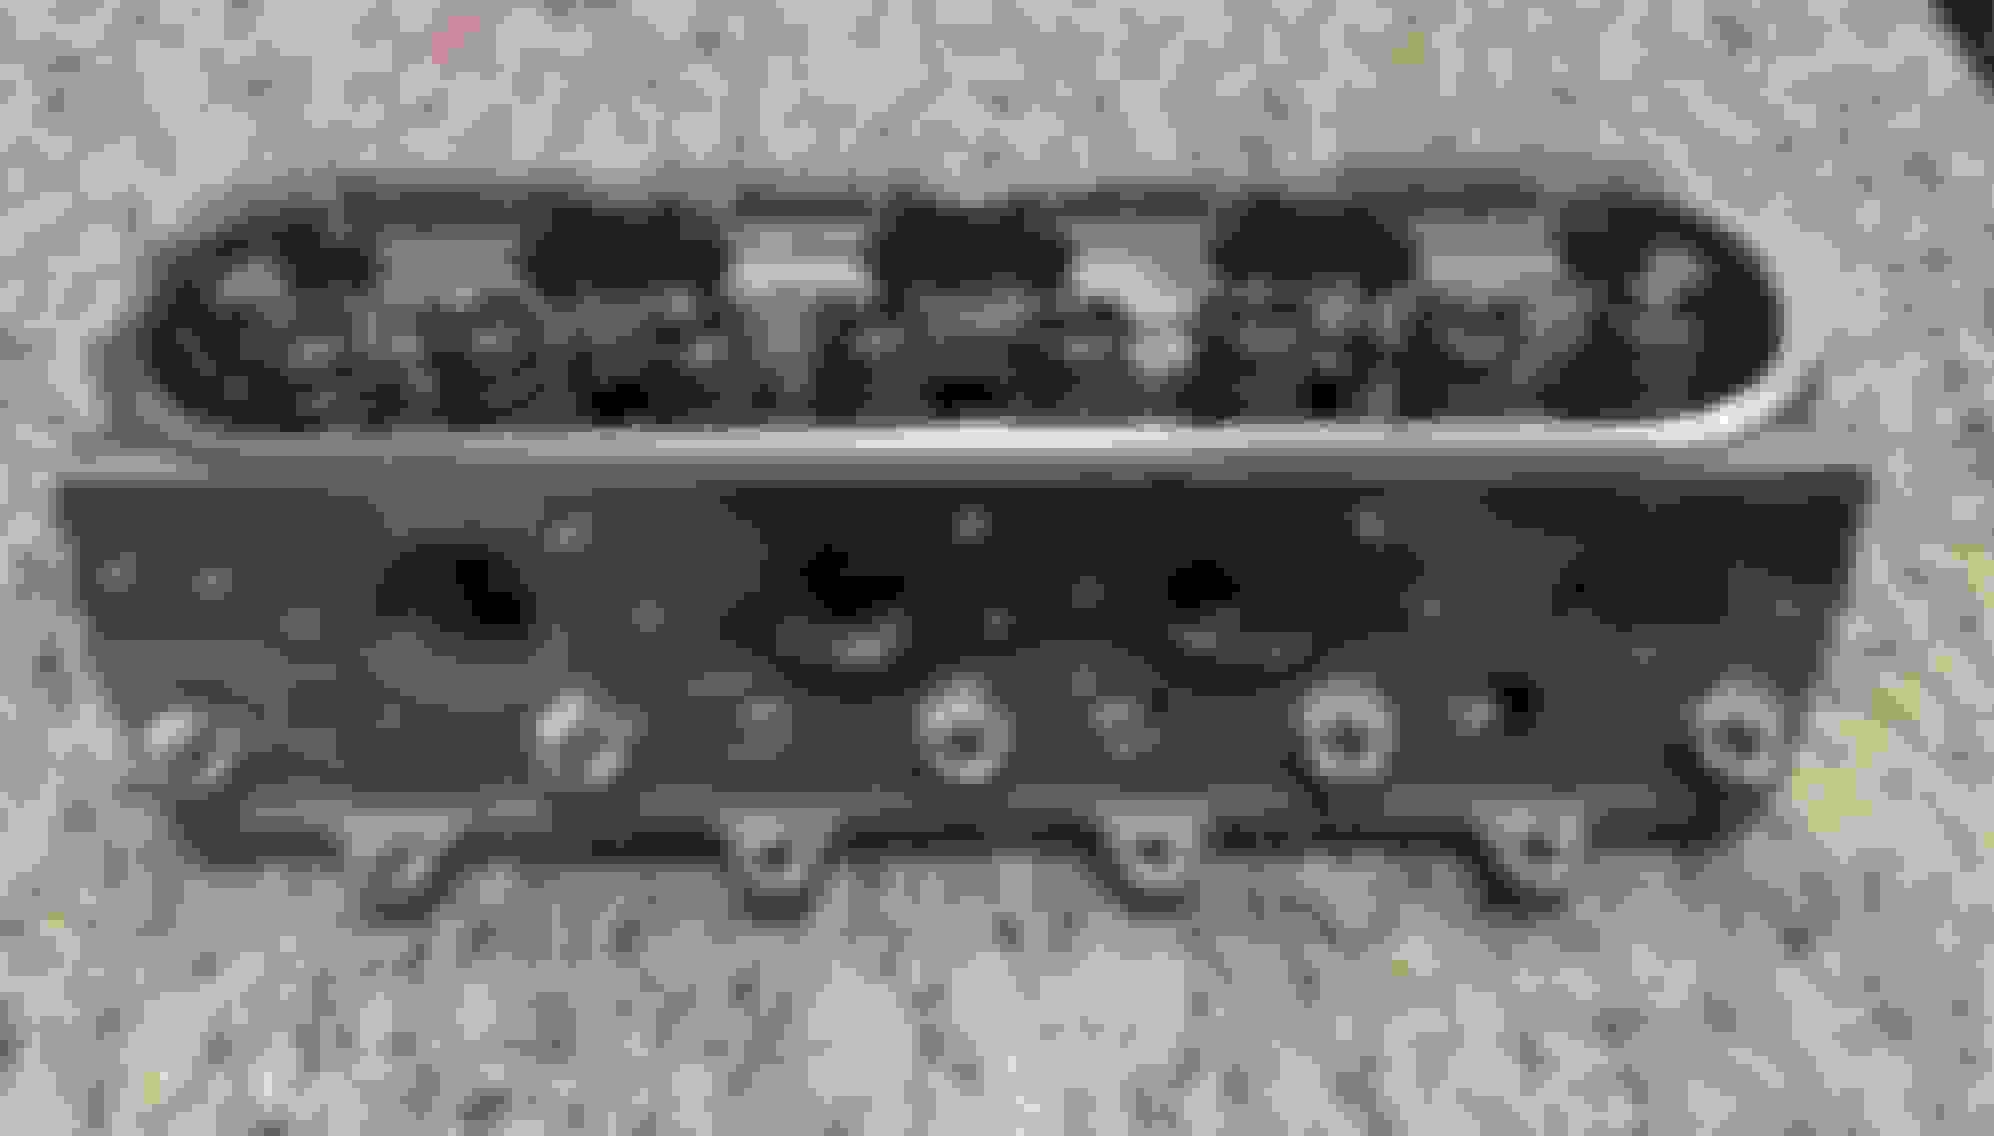
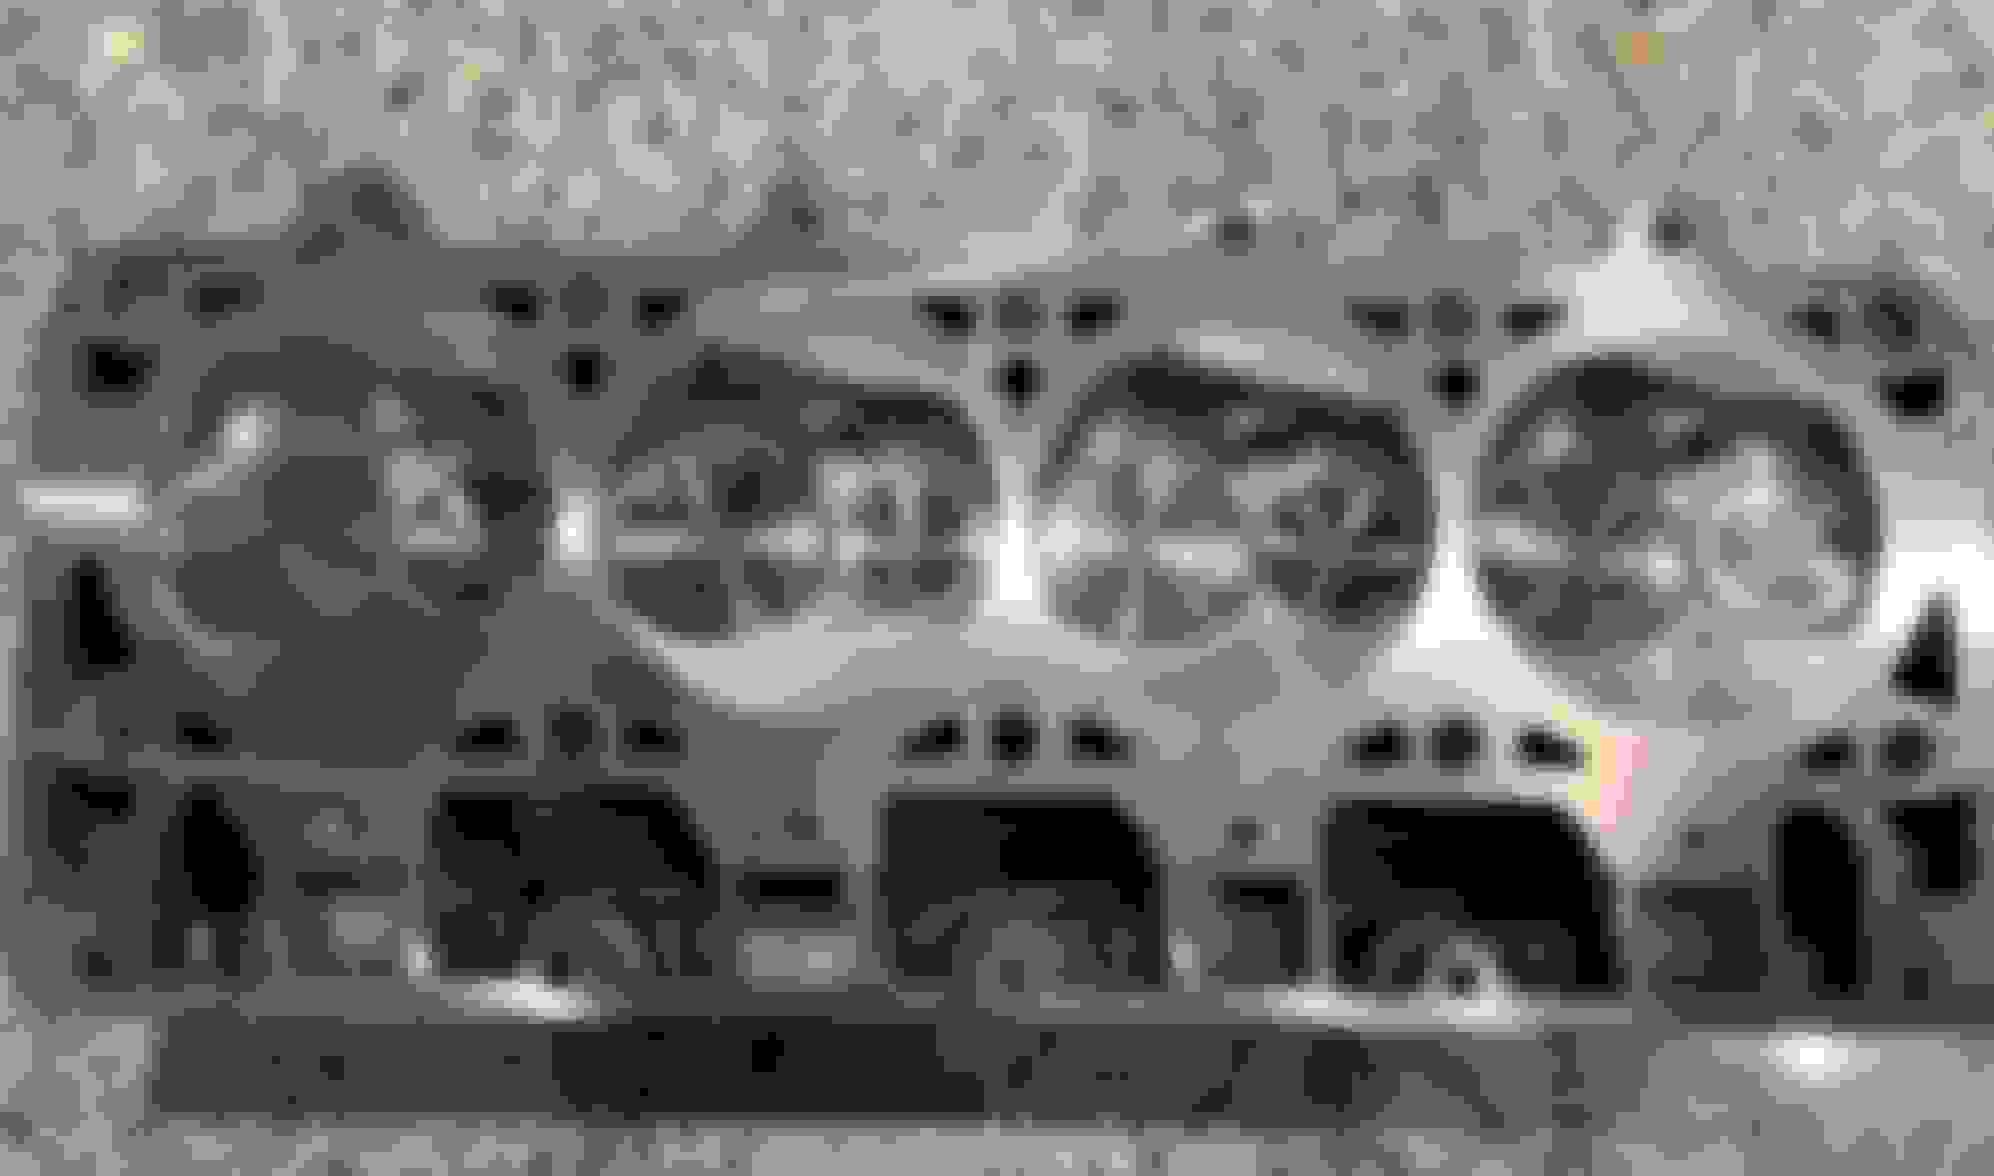
I’ve got the motor and all the new parts in some really good hands now so it’ll be making some steam in a few months.
Originally Posted by blackdak318
Nice! I would personally skip that 94 and put Jose's gangster 98 on something like this but certainly shouldn't have any issues with the 94. Cool build sir!
Thanks. The Gen 2 94mm is already on the car and hasn’t been a bad unit at all. Even with a motor that was on its way chewing some bearings out of itself it managed to make 1470 on 24-25lbs so not too shabby for my liking. I’m still a 6spd so I can’t get too crazy with it. 👎 I hear Jose does do some great stuff with his turbos though.
Oh, that was your motor. It's now built by one of the best out there.
Following.
Yes sir that’s my pile of parts haha. I actually added to it today, I brought the crank and the rest of the parts needed for him to put it all together from OKC early this morning and just got back home. I saw your motor on the stand over there tucked in the corner. That’s gonna be a mean a$$ 5.3 for sure, can’t wait to see the rest of your build come together!
Im still impressed you used the frame as a charge piping. Looks incredible
wait wait wait.
he did WHAT? So the frame rail is actually conatining the boost? Is a pipe ran inside it? I thought that was just a "bulkhead" going into the engine bay for easy attachment. that's awesome either way
he did WHAT? So the frame rail is actually conatining the boost? Is a pipe ran inside it? I thought that was just a "bulkhead" going into the engine bay for easy attachment. that's awesome either way
He welded up the frame rail to seal it. if you look at the engine bay shots you'll see the charge pipe attached to the passenger side. Pretty innovative.
He welded up the frame rail to seal it. if you look at the engine bay shots you'll see the charge pipe attached to the passenger side. Pretty innovative.
Yeah i saw that but like i said it thought its was kinda like a bulk head. Like the pipe was welded in place, through the frame with vbands at each side
After the headers it’s dual 3” until the gas tank and then it y’s into a single 3.5” into the exhaust housing of the turbo. The compressor of the turbo clocks up into the rear hatch of the car and then it goes through two Garrett 1000hp cores. It then exits the intercooler and goes into the passenger side frame rail and the actual frame of the car on the passenger side is used for the boost until it exits up front and then goes into the throttle body.
When I first started this build my buddy/fabricator had the idea to use the frame rail since my dry sump tank was in the way of the cold side coming back up front and I didn’t want to use low hanging oval pipe or anything like that. With the driveline and engine out of the car he cut an access hole at the front and the rear of the car and he welded a plate in place isolating the boost where it enters at the rear of the car to keep it from bleeding towards the back of the car and he did the same thing up front to keep it from escaping to the front of the car. Once he did that he used a smoke machine to find every single hole along the frame rail in between the two access holes and he welded them up. He welded aluminum pieces in the openings where the boost enters and exits to divert the air. Then he welded the access plates back in place and we pressure washed the frame rail and then shop vacuumed it dry and blew it out. The first start of the car I left the boost pipe up front loose just in case anything else was trapped in there so it wouldn’t go down the black hole. Since then all has been well and it holds boost perfect. 👌
Now that is some grade A ******* engineering. I really dig the idea
After the headers it’s dual 3” until the gas tank and then it y’s into a single 3.5” into the exhaust housing of the turbo. The compressor of the turbo clocks up into the rear hatch of the car and then it goes through two Garrett 1000hp cores. It then exits the intercooler and goes into the passenger side frame rail and the actual frame of the car on the passenger side is used for the boost until it exits up front and then goes into the throttle body.
When I first started this build my buddy/fabricator had the idea to use the frame rail since my dry sump tank was in the way of the cold side coming back up front and I didn’t want to use low hanging oval pipe or anything like that. With the driveline and engine out of the car he cut an access hole at the front and the rear of the car and he welded a plate in place isolating the boost where it enters at the rear of the car to keep it from bleeding towards the back of the car and he did the same thing up front to keep it from escaping to the front of the car. Once he did that he used a smoke machine to find every single hole along the frame rail in between the two access holes and he welded them up. He welded aluminum pieces in the openings where the boost enters and exits to divert the air. Then he welded the access plates back in place and we pressure washed the frame rail and then shop vacuumed it dry and blew it out. The first start of the car I left the boost pipe up front loose just in case anything else was trapped in there so it wouldn’t go down the black hole. Since then all has been well and it holds boost perfect. 👌
Wild. I need to see this thing in person. Planning to make a trip to OKC this coming year to visit family.

 10-22-2021, 01:11 PM