







WARNING re: Air filter rain shield

Thread Starter
Burning Brakes


Joined: Jan 2007
Posts: 968
Likes: 122
From: Lighthouse Point FL
 WARNING re: Air filter rain shield
Following several threads about free cold air mods, I successfully propped open the shroud with two rubber boots which I had removed from my motorcycle when I installed K&N Pod filters. The Rubber boots went between the airbox and carbs, and two of them made perfect little scoops (in addition to the opened-up shroud) to let outside air into the nose compartment of my C6.
After performing this mod, I left the rain shield off the stock air filter assembly...
It rained pretty hard today and my car was sitting outside at work. When I got home, I decided to check to see if the rubber boots were still in place. Imagine my supprise when I removed the air filter/bridge assembly (as a complete unit) and about a quart of water poured out The water was grey.
I took the assembly apart and the stock filters were soaked along the lower edges, about 1/4 of their area. The stock filter assemblies catch the water comming through the front edge of the hood, and it pools inside the filter assembly. There is no drain hole in the filter assembly. The area where the water pools is downstream from the filter elements and so any drain hole in this area would also allow unfiltered air into the engine.
For now, the rain shield goes back on. Any other suggestions are appreciated. Bonus for DIY and/or free
After performing this mod, I left the rain shield off the stock air filter assembly...
It rained pretty hard today and my car was sitting outside at work. When I got home, I decided to check to see if the rubber boots were still in place. Imagine my supprise when I removed the air filter/bridge assembly (as a complete unit) and about a quart of water poured out
The water was grey.I took the assembly apart and the stock filters were soaked along the lower edges, about 1/4 of their area. The stock filter assemblies catch the water comming through the front edge of the hood, and it pools inside the filter assembly. There is no drain hole in the filter assembly. The area where the water pools is downstream from the filter elements and so any drain hole in this area would also allow unfiltered air into the engine.
For now, the rain shield goes back on. Any other suggestions are appreciated. Bonus for DIY and/or free

Drifting

Joined: Jul 2005
Posts: 1,533
Likes: 0
From: az
if you don't have vararam or any bottom feeder intake, you must have some type of rain guard for these raining / washing car days. i custom make one that can be kept in the car under the floor mate, when it does rain, since the factory one is too big to carry around. glad you caught it in time. 
Thread Starter
Burning Brakes
Joined: Jan 2007
Posts: 968
Likes: 122
From: Lighthouse Point FL

Safety Car

Joined: Dec 2004
Posts: 3,565
Likes: 5
From: stafford country, va. Avatar: Me on turn 3 @ Bristol (The World's Fastest Half-Mile)
you have to switch sides then flip them. cut the shroud, there it is again, just becareful, all you got to do is drop the knife and there goes the a/c., around the air boxes after you've switched sides. the face of the filter will fit into the shroud if you cut off the top of each filter box. once you get the assembly back in place, get some pipe insulation and put it on the cut edge of the shroud. this will seal the assembly and keep road debris out of the engine compartment.
Thread Starter
Burning Brakes
Joined: Jan 2007
Posts: 968
Likes: 122
From: Lighthouse Point FL
Corvette Stories
The Best of Corvette for Corvette Enthusiasts

How Much Horsepower Every Corvette Engine "LOST" in 1972
Joe Kucinski
Top 10 DOs and DON'Ts for Protecting Your Convertible Top!
Michael S. Palmer
Top 10 Most Explosive Corvettes Ever Made: Power-to-Weight Ratio Ranked!
Joe Kucinski
150 hp to 1,250 hp: Every Corvette Generation Compared by the Specs That Matter
Joe Kucinski
8 Coolest Corvette Pace Cars (and Replicas) of All Time
Verdad Gallardo
Top 10 Corvette Engines RANKED by Peak Torque (70+ Years of Muscle!)
Joe Kucinski
Corvette ZR1X Will Be Pacing the Indy 500, And Could Probably Race, Too!
Verdad Gallardo
Top 10 Corvettes Coming to Mecum Indy 2026!
Brett Foote
Top 10 C9 Corvette MUST-HAVES to Fix These C8 Generation Flaws!
Michael S. Palmer
Team Owner


Joined: Sep 1999
Posts: 20,054
Likes: 44
From: Swansea IL
Looking at the OEM assembly I just don't see any gains to be had by fooling around with the OEM air box assembly (if your stock) I bought and installed a Haltech Stinger and did before after dyno pulls (about 3000 miles apart - plenty of time for the ECM to adjust to the new Halltech intake) and I gained a whopping 2 yes TWO HP.
I'm going back to stock as the Halltech gets soaked when it rains as it has no protection.
Tom
I'm going back to stock as the Halltech gets soaked when it rains as it has no protection.
Tom

Race Director


Joined: Feb 2006
Posts: 11,733
Likes: 15
From: SC
Looking at the OEM assembly I just don't see any gains to be had by fooling around with the OEM air box assembly (if your stock) I bought and installed a Haltech Stinger and did before after dyno pulls (about 3000 miles apart - plenty of time for the ECM to adjust to the new Halltech intake) and I gained a whopping 2 yes TWO HP.
I'm going back to stock as the Halltech gets soaked when it rains as it has no protection.
Tom
I'm going back to stock as the Halltech gets soaked when it rains as it has no protection.
Tom
I now have a K&N aircharger, the quality is much better, cost me less, should add a few HP, and is reusable. A win-win situation over the stock box.
Melting Slicks

Joined: Jun 2006
Posts: 2,208
Likes: 1
I gained 4rwhp and 6rwtq with the Halltech I had installed at the time. I think it's worth the fact you can reuse the filters and get some HP gain to boot. I was disapointed in the Halltech quality though as the plastic airbridge is very flimsy.
I now have a K&N aircharger, the quality is much better, cost me less, should add a few HP, and is reusable. A win-win situation over the stock box.
I now have a K&N aircharger, the quality is much better, cost me less, should add a few HP, and is reusable. A win-win situation over the stock box.

Burning Brakes
Joined: Mar 2003
Posts: 1,030
Likes: 0
From: Pittsburgh PA
you have to switch sides then flip them. cut the shroud, there it is again, just becareful, all you got to do is drop the knife and there goes the a/c., around the air boxes after you've switched sides. the face of the filter will fit into the shroud if you cut off the top of each filter box. once you get the assembly back in place, get some pipe insulation and put it on the cut edge of the shroud. this will seal the assembly and keep road debris out of the engine compartment.

Minimal gains but free is free-I'll take 2-3 hp for free
Thread Starter
Burning Brakes
Joined: Jan 2007
Posts: 968
Likes: 122
From: Lighthouse Point FL
you have to switch sides then flip them. cut the shroud, there it is again, just becareful, all you got to do is drop the knife and there goes the a/c., around the air boxes after you've switched sides. the face of the filter will fit into the shroud if you cut off the top of each filter box. once you get the assembly back in place, get some pipe insulation and put it on the cut edge of the shroud. this will seal the assembly and keep road debris out of the engine compartment.
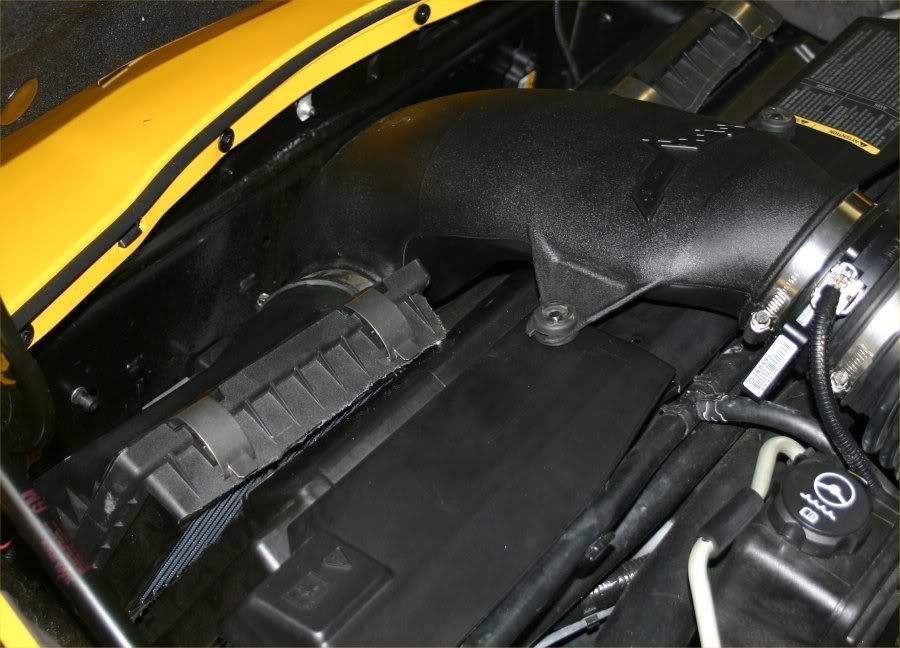
I tried to mock this up as you describe. I can't get the air filter assemblies to fit onto the pins in the bumper support after I flip them over. I would have to cut away most of the front portion of the shroud to get the filters on the pins.
Are you just letting the air filters rest on the shroud, or are you using the pins to secure them at the front?
Drifting
Joined: Jul 2005
Posts: 1,533
Likes: 0
From: az
I tried to mock this up as you describe. I can't get the air filter assemblies to fit onto the pins in the bumper support after I flip them over. I would have to cut away most of the front portion of the shroud to get the filters on the pins.
Are you just letting the air filters rest on the shroud, or are you using the pins to secure them at the front?
Are you just letting the air filters rest on the shroud, or are you using the pins to secure them at the front?
Safety Car
Joined: Dec 2004
Posts: 3,565
Likes: 5
From: stafford country, va. Avatar: Me on turn 3 @ Bristol (The World's Fastest Half-Mile)
close...but when i did it to mine (before the vararam install), i was able to get the filters further into the shroud, and sealed the opening with the pipe insulation. it made it impossible to change the filters without removing the complete assembly.
