


C6 headlight disassembly HELP

Thread Starter
Heel & Toe

Joined: Jan 2011
Posts: 15
Likes: 0
From: LA CA
Hello All, Preparing to disassemble my C6 headlamps to change lens...
I took all screws I could out before the baking (275 degress for 15 mins)
Question is does the DS1 (Xenon) bulb need to be removed before baking?
I tried but, wiring seems to have a hard time coming out, cuz connectors are too big for the passageways ?
Or can they stay in during the baking process?
ANY TIPS would be appreciated!!
Thanks ALL
Pro


Joined: Jan 2010
Posts: 629
Likes: 65
From: Freedom PA
Hello All, Preparing to disassemble my C6 headlamps to change lens...
I took all screws I could out before the baking (275 degrees for 15 mins)
Question is does the DS1 (Xenon) bulb need to be removed before baking?
I tried but, wiring seems to have a hard time coming out, cuz connectors are too big for the passageways ?
Or can they stay in during the baking process?
ANY TIPS would be appreciated!!
Thanks ALL
HID bulbs stayed in as well as the ballast. As for the HID harness it is clipped inside the assembly and cant be removed until the light is apart.
I kept the oven temp to 235. Once it was preheated I put the light in and turned the oven off. I used a 1500 watt hair dryer to extend the working time.
Hair dryer heat on clear lens worked best. It seems the adhesive will separate from the clear plastic easier than the black.
Ed

8th Gear
Joined: Mar 2007
Posts: 8
Likes: 0
From: Kuwait
I've done four headlights so far and only removed the DRL/turn signal, and halogen high beam bulbs.
HID bulbs stayed in as well as the ballast. As for the HID harness it is clipped inside the assembly and cant be removed until the light is apart.
I kept the oven temp to 235. Once it was preheated I put the light in and turned the oven off. I used a 1500 watt hair dryer to extend the working time.
Hair dryer heat on clear lens worked best. It seems the adhesive will separate from the clear plastic easier than the black.
Ed

Pro
Joined: Jan 2010
Posts: 629
Likes: 65
From: Freedom PA
I heated the oven today and was about to do it but didn't have the heart to! I'd appreciate it if you'd explain the oven heating step, what kind of oven? 275F wouldn't that melt the plastic housing material? Any other tips i should consider before i start? It would be great if you could list the steps here
I preheated the oven temp to 235. My wife's electric kitchen oven. Once it was at that temperature I turned the oven off. I placed the headlight light on an aluminum cookie sheet and put it in the oven with the rack near the bottom. closed the door, and let it in there for about 15 min. Took it out of the oven & placed it on a cool cookie sheet to start prying it open. Start at the top of the light at the sharp curve. I just used a medium size common screw driver and a steel body panel clip tool.
The first heat cycle wont give you much progress, but you will see the adhesive start to stretch. Reheat the oven to 235 and go for another 15 minutes. repeat the procedure of prying until you get an opening at the top of the headlight. it will be under a lot of pressure but try to squeeze a flat strip of metal into the opening to hold it open while you put it back in the oven. Same heat cycle again. this time the clear lens will start to separate from the black housing a little easier. Not a lot easier, but a little easier.
Now continue prying it open about 1/2 way down one side using your tools. Place that flat strip of steel in the opening as far down as you can get it. Now start on the other side and work the same distance. All the time using a hair dryer, on high, to keep the clear lens hot. Still using the hair dryer go back to the other side and work down a little further. keep going side to side to open it evenly. Try to keep most of the old adhesive on the black housing. It's easier to get it off of there than it is from the clear lens.
I used a 1500 watt hair dryer to extend the working time. Hair dryer heat on the clear lens near the edge worked best. It seems the adhesive will separate from the clear plastic easier than the black.
If you weren't born with four hands, definitely get a helper to hold the light with a towel and work the hair dryer while you pry. I had the assistance of my wife of forty years, but don't ask a girlfriend. This job could ruin a relationship. She, or he will curse you when you slip and stab their hands with the screwdriver, and you will scream at them for burning your hands with the hair dryer, but remain vigilant to the task at hand. You can always get a new helper for free, (Not a wife. They are very expensive to replace,) but these lights are expensive.
Your helper will now avoid you, and not speak to you for several days, but that's a good thing. You can use that free time to prep and paint the lights. No assistance is needed for reassembly so it is not important how long the helper remains angry with you.
Have fun.

Ed

Melting Slicks


Joined: Sep 2001
Posts: 2,218
Likes: 0
From: Glendale AZ
I just did this WITH SUCESS!
yea!
for me, I did everything stated above.
My "cooking" was a bit different.
for me I have an electric oven, preheat to 235.
and leave the oven cooking at 235. Using an infrared temp probe I montered the housing.
at 145* and 165* theunit would not budge.
Once the unit reached 200*+/- (one was 196* and the other was 201*). I was able to get 90% broke free. the last 2" was a little more difficult because the temp had droppped down to 163*.
Using a heat gun (1500watt hair dryer) I got it back up to 200* and it came apart with ease.
My "cooking" time while leaving the oven at 235* was 12 min -/+.
I will say its nerve racking and I would not do it again unless a friend had blackmail photos
cheers
cahd
Last edited by 71'AirStrike; Aug 27, 2011 at 05:57 AM.
Pro
Joined: Jan 2010
Posts: 629
Likes: 65
From: Freedom PA
I just did this WITH SUCESS!
yea!
for me, I did everything stated above.
My "cooking" was a bit different.
for me I have an electric oven, preheat to 235.
and leave the oven cooking at 235. Using an infrared temp probe I montered the housing.
at 145* and 165* theunit would not budge.
Once the unit reached 200*+/- (one was 196* and the other was 201*). I was able to get 90% broke free. the last 2" was a little more difficult because the temp had droppped down to 163*.
Using a heat gun (1500watt hair dryer) I got it back up to 200* and it came apart with ease.
My "cooking" time while leaving the oven at 235* was 12 min -/+.
I will say its nerve racking and I would not do it again unless a friend had blackmail photos
cheers
cahd
yea!
for me, I did everything stated above.
My "cooking" was a bit different.
for me I have an electric oven, preheat to 235.
and leave the oven cooking at 235. Using an infrared temp probe I montered the housing.
at 145* and 165* theunit would not budge.
Once the unit reached 200*+/- (one was 196* and the other was 201*). I was able to get 90% broke free. the last 2" was a little more difficult because the temp had droppped down to 163*.
Using a heat gun (1500watt hair dryer) I got it back up to 200* and it came apart with ease.
My "cooking" time while leaving the oven at 235* was 12 min -/+.
I will say its nerve racking and I would not do it again unless a friend had blackmail photos
cheers
cahd
I have to take one of mine back apart this winter because I started to get some cloudy streaks on the inside of the lens. I cleaned, and polished the inside of the lenses before sealing them back up.
The right side is good, but I must not have gotten all of the polish from the driver�s side. It isn�t noticeable unless you are in the right position with the sun shining directly on them.
They looked good until we got into the high 90o heat of the summer. It�s not the usual clouding that you get from moisture so it has to come apart.
I am not looking forward to taking it back apart. I used LocTite Premium urethane adhesive to seal them up. It got really hard. I hope it softens with heat. I will also buy one of those infrared temperature tools before doing the job.
Thanks for the tips.

Ed
Corvette Stories
The Best of Corvette for Corvette Enthusiasts

Top 10 Most Expensive Corvettes Ever Sold on Bring A Trailer
Brett Foote
10 Things Every Corvette Owner Needs (2026 Edition)
Michael S. Palmer
8 Most "Only Corvette Owners Understand" Quirks and Problems
Pouria Savadkouei
10 Reasons the C6 Z06 is Still A Performance Benchmark After 20 Years
Joe Kucinski
How Much Horsepower Every Corvette Engine "LOST" in 1972
Joe Kucinski
Top 10 DOs and DON'Ts for Protecting Your Convertible Top!
Michael S. Palmer
Top 10 Most Explosive Corvettes Ever Made: Power-to-Weight Ratio Ranked!
Joe Kucinski
150 hp to 1,250 hp: Every Corvette Generation Compared by the Specs That Matter
Joe Kucinski
8 Coolest Corvette Pace Cars (and Replicas) of All Time
Verdad Gallardo
Pro
Joined: Jan 2010
Posts: 629
Likes: 65
From: Freedom PA
You will also have to remove all of the screws from the fenders along the engine compartment, and the bracket that holds the fender to the bumper.
Ed

Racer
Joined: Jun 2014
Posts: 384
Likes: 3
I have a 2013. I think they redesigned the headlamps. I cannot open the sealant. It is extremely solid. Also, the three bolts seem to be reversed. The ends are pointing upwards with a nut holding it in now. I keep turning the nut and nothing happens.
Please help.
Please help.

Heel & Toe
Joined: Mar 2015
Posts: 22
Likes: 1
Hey so I actually did the procedure today, and I have to say these are probably one of the easiest headlights to take apart that are glued!
After taking bulbs, wire, bolts etc.. that needed to be removed .
I preheated the oven to 235, once preheated I stuck the headlight in there on a cooking sheet and waited 13 minutes. Took a regular flat head and started prying it open. Within 2 minutes or less it was off!! No heat gun or hair dryer needed!
Burning Brakes


Joined: Nov 2006
Posts: 1,247
Likes: 7
Hey so I actually did the procedure today, and I have to say these are probably one of the easiest headlights to take apart that are glued!
After taking bulbs, wire, bolts etc.. that needed to be removed .
I preheated the oven to 235, once preheated I stuck the headlight in there on a cooking sheet and waited 13 minutes. Took a regular flat head and started prying it open. Within 2 minutes or less it was off!! No heat gun or hair dryer needed!
After taking bulbs, wire, bolts etc.. that needed to be removed .
I preheated the oven to 235, once preheated I stuck the headlight in there on a cooking sheet and waited 13 minutes. Took a regular flat head and started prying it open. Within 2 minutes or less it was off!! No heat gun or hair dryer needed!
Nice! I have a nice set of Carbon Fiber hydro dipped oem inlays that would go great in there
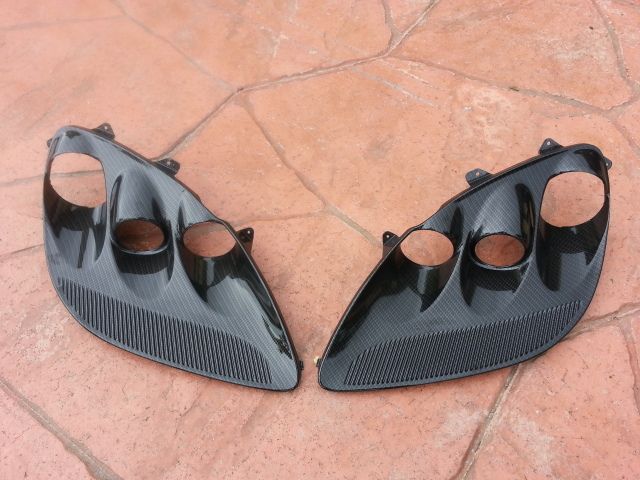
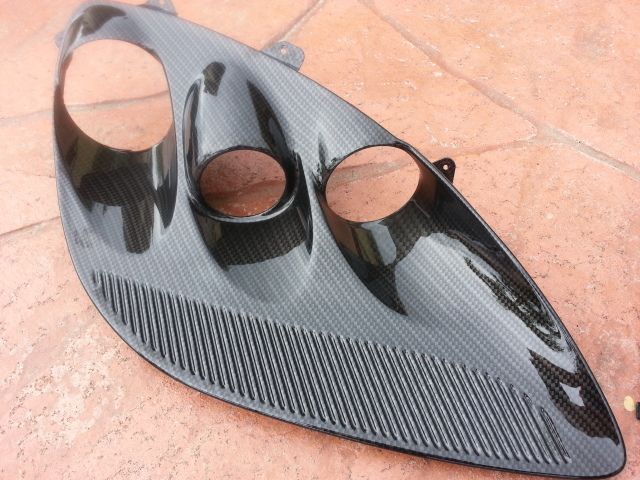
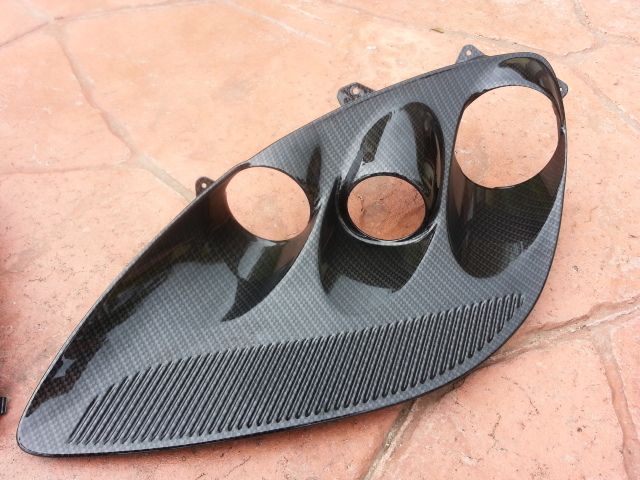
the set in the car are mine. this is an extra set i have for sale

Drifting

Joined: Apr 2013
Posts: 1,352
Likes: 8
From: Jupiter Florida

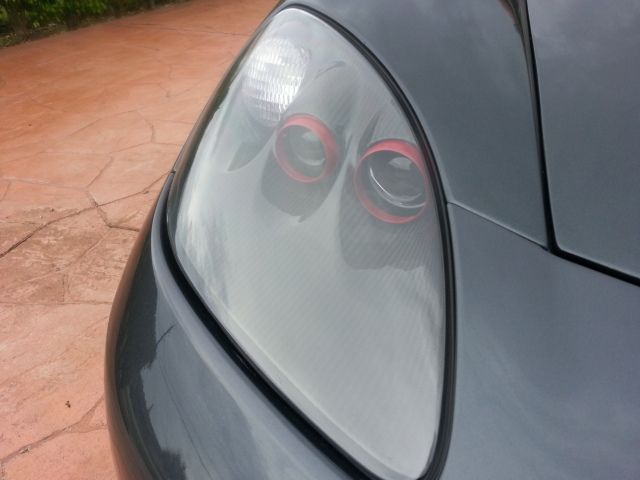
I am in the process of doing the lens replacement routine. More of pain than I thought it would be, particularly the glue removal process.
And I cooked them much hotter than you guys did: 350 degrees to separate them, and 275 degrees on recycles to scrape the old glue, which is the most painful step of the whole process.

And I'm not even done yet!
But I think the worse is behind me: I have both units apart, glue channels cleaned up.

You can see the glue residue on the bottom left of the pic.
Now I need to glue the new lenses back on and put the completed assemblies back in the car.
Last edited by GuyFromLeMans; Mar 15, 2015 at 10:27 PM.

Race Director


Joined: Sep 2009
Posts: 11,349
Likes: 2,443
From: Eastern
That was a much more sophisticated method than mine, where I went strictly by time. I’m impressed.
I have to take one of mine back apart this winter because I started to get some cloudy streaks on the inside of the lens. I cleaned, and polished the inside of the lenses before sealing them back up.
The right side is good, but I must not have gotten all of the polish from the driver’s side. It isn’t noticeable unless you are in the right position with the sun shining directly on them.
They looked good until we got into the high 90o heat of the summer. It’s not the usual clouding that you get from moisture so it has to come apart.
I am not looking forward to taking it back apart. I used LocTite Premium urethane adhesive to seal them up. It got really hard. I hope it softens with heat. I will also buy one of those infrared temperature tools before doing the job.
Thanks for the tips.
Ed
When you removed your headlight lens to clean the inside, did the heat cycles in the oven do any damage to the lens itself? When it was hot after heating in the oven, did the lens surface smudge from the gloves that you were holding it while you were spreading it apart.
I have replaced the old lenses with new, and I used the oven method as well, but I cant remember how the old lens looked after I had them off, whether they looked worse than when I had them on the assemblies.
Is it possible that the oven heat cycles affects the inside lens or outside lens UV protection?
Thanks
Last edited by 4SUMERZ; Nov 21, 2015 at 05:34 PM.