When you click on links to various merchants on this site and make a purchase, this can result in this site earning a commission. Affiliate programs and affiliations include, but are not limited to, the eBay Partner Network.
Used mine on a Corvette club trip this past 4 day weekend and it works great, wish I had found this for my C5 when I had it, would have saved a lot of curb scratches.
1. Used the Wifi Box from the Round Cam, but used the Esky Square Cam for the camera. The leads are way too short on both. It forced me to move the camera from the grill centered to the left side of the grill. I might change this when I get a longer leads that were recommended after I did the install. Dah
2. Be sure to Waterproof the Camera One-Button Adjustment Box, because when you done it could be exposed to water. I used this Vinyl Tape that sticks only to itself. Some places call it Rescue Tape. I used the same tape to hold all the leads from pulling apart.
3. I mounted the camera using 3M High Performance Double Sided Tape. I cleaned the grill and the bracket to insure a permanent fit. I can probably remove it using a Trim Tool.
4. Mounted the WiFi Unit on top of the Air Cleaner Box using 3M Industrial Velcro. Yes the hood closes with touching the unit. This is the same type Velcro that is used to mount an EZPass to the windshield.
5. I cut a small slit in the Fuse Box so that the lid would not crimp the power wire.
All and all, this is a cheap curb cam...but it does work and there installation is fairly simple. Thanks to all guys on here that make this idea possible.
Waterproofed the Camera Adjustment Box
Taped all the connections together to keep them from pulling apart
Ran the power lead through that fuse box.
Cut a small slit in the fuse using a Dremel to prevent the wire from getting pinched.
Used the Fuse Tap to the Ignition Even Fuse. This insures that the camera is only on when the car is running.
Mounted the WiFi Unit on top of the Air Cleaner.
Mounted the camera using 3M High Performance Double Stick Tape. Had to put in the left at the top of the grill because of the short leads.
The Esky Camera is far superior to the other camera. It has all sorts of adjustments.
My original kit and camera has the lines and I like them, helps determine how close the curb block is.
Put mine in today too. Used the video/power extension cable from Amazon that I posted earlier in the thread. You also will need a female to female RCA adapter if you go this route (I just happen to have one). I mounted the wi-fi unit up by the firewall underneath the passenger side hood latch. I was able to use some of the clips to secure the wires from when I installed the curb alert. Also used a micro-tap on fuse 27. The bottom red line is about 2-3 inches from my splitter. I used lots of 3M tape. Pretty happy with the results. I just wish the camera app worked in portrait mode.
Put mine in today too. Used the video/power extension cable from Amazon that I posted earlier in the thread. You also will need a female to female RCA adapter if you go this route (I just happen to have one). I mounted the wi-fi unit up by the firewall underneath the passenger side hood latch. I was able to use some of the clips to secure the wires from when I installed the curb alert. Also used a micro-tap on fuse 27. The bottom red line is about 2-3 inches from my splitter. I used lots of 3M tape. Pretty happy with the results. I just wish the camera app worked in portrait mode.
Nice clean install. I think I'm going or the extension cords and coupler. That way I can move my cam to where I wanted it originally.
Nice clean install. I think I'm going or the extension cords and coupler. That way I can move my cam to where I wanted it originally.
Thanks. The extension cable made it much easier. I zip tied the extra cable and stuffed it behind the headlight (the trim piece above it pops right off). I took the Torx bolts off that hold the fender in the engine compartment (there are 3) and used a nylon trim tool to stuff the cable under the fender. I thought about bringing the wi-fi unit into the cabin, but I think it is pretty protected where I mounted it in the engine compartment. Rather than putting a little nick in the fuse box, I reinforced the wire with heat shrink tubing.
The only issues I had was the realization I needed a female to female RCA adapter and I bought a mini fuse tap rather than a micro fuse tap. Quick trip to AutoZone fixed that.
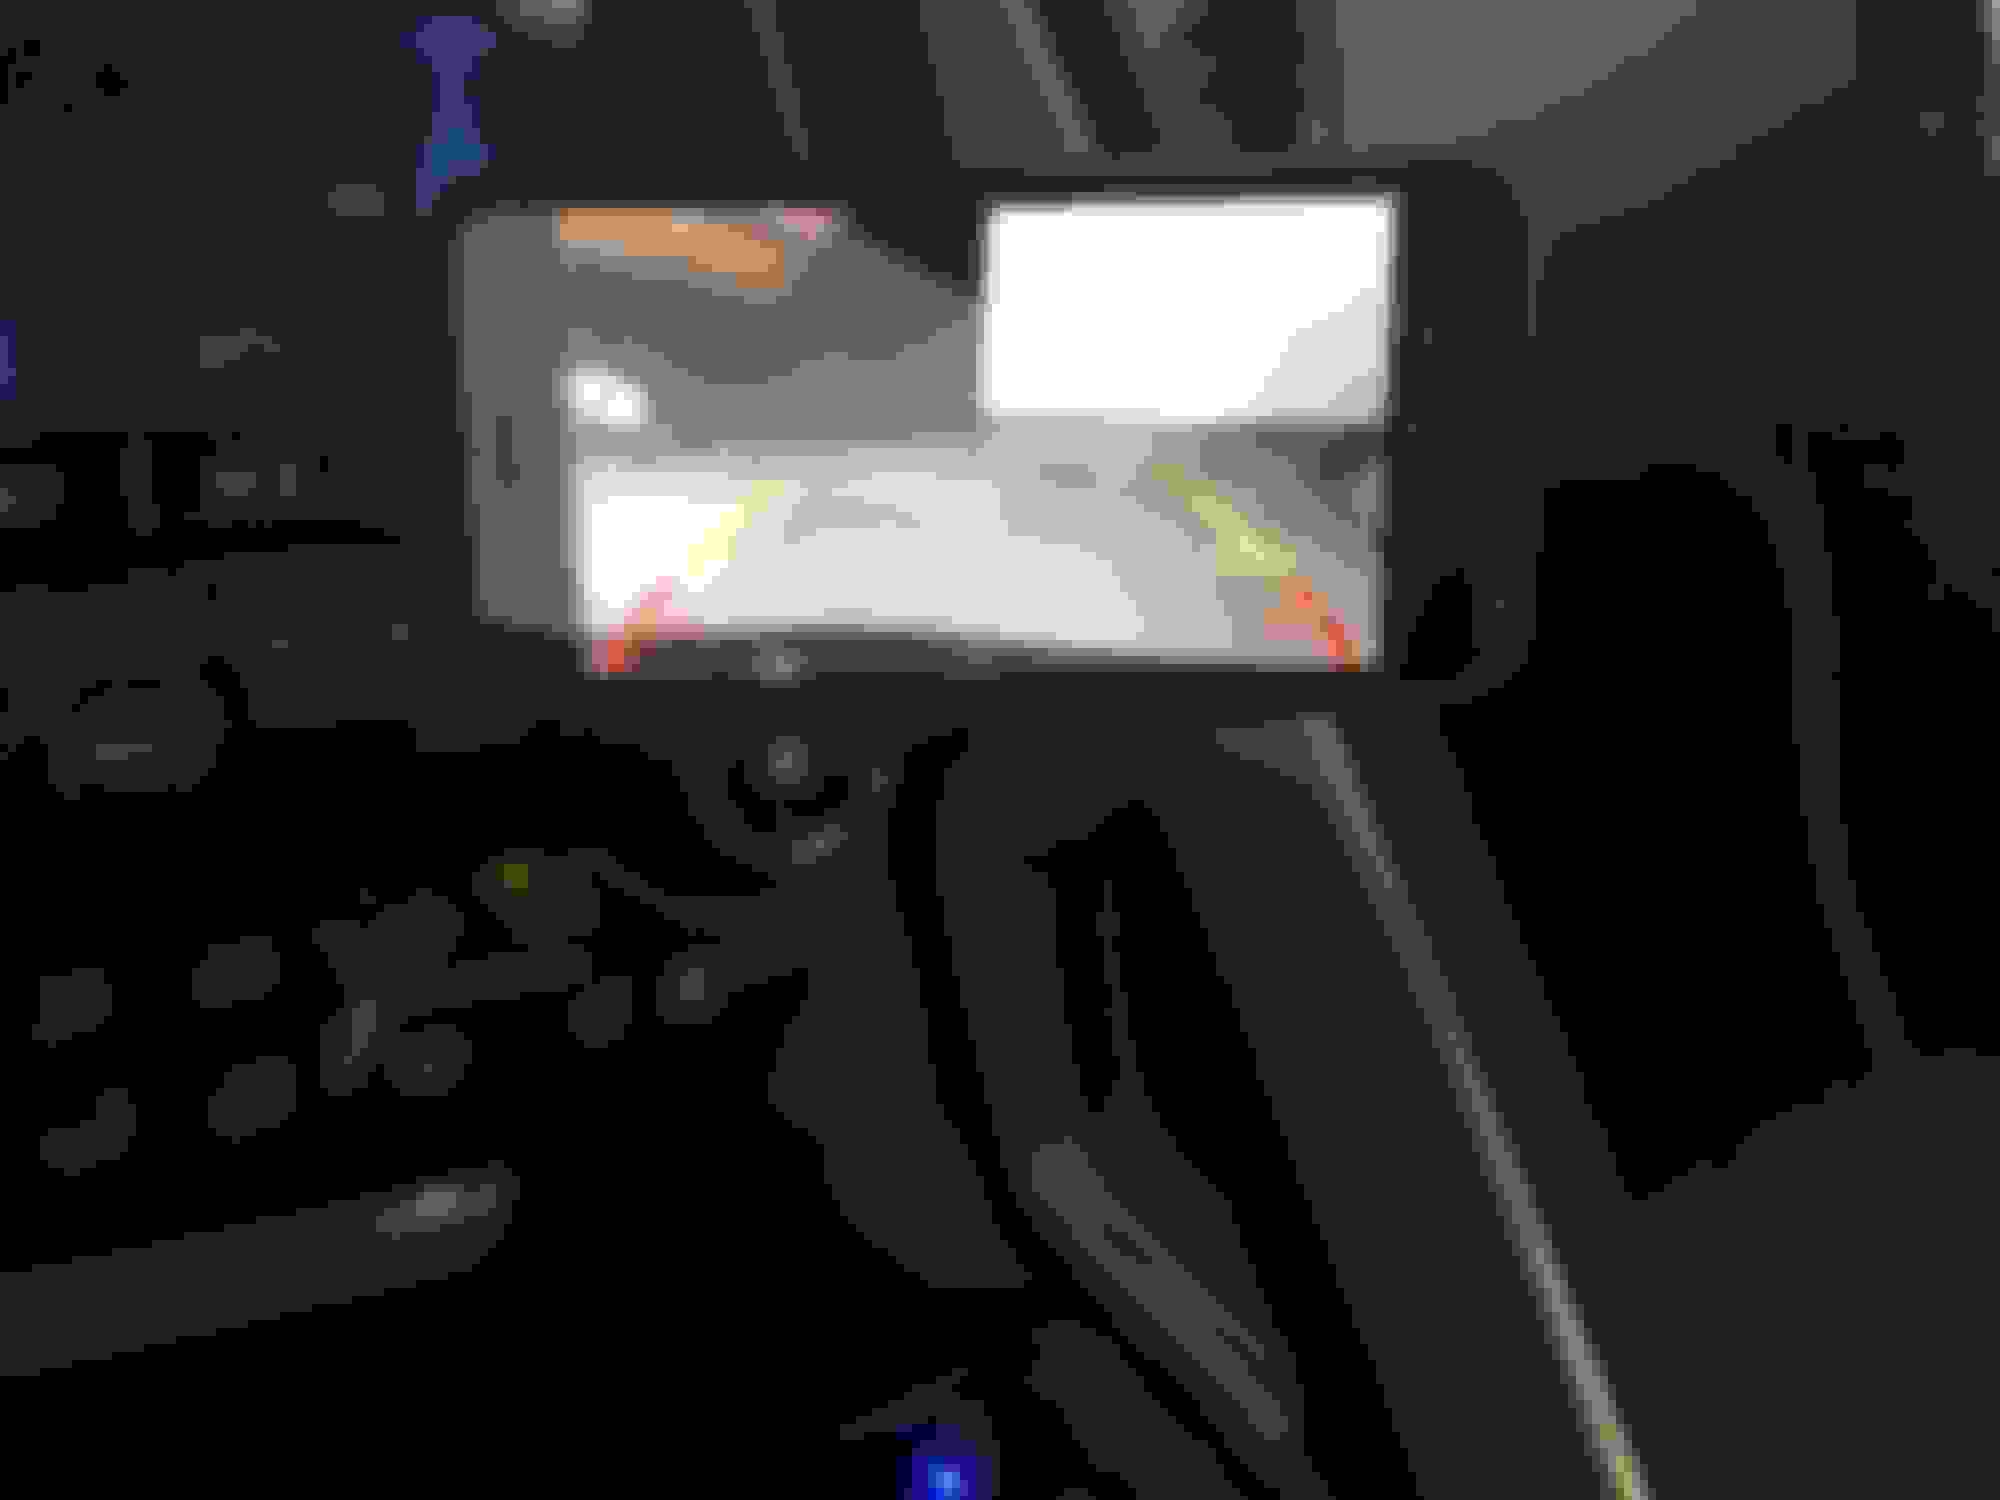
After following this thread and posts I assume the only way to see the aftermarket front camera video is to use your cell phone. So when you are parking the C7, you must have your cell phone, turn it on, go to the app and view the video. You also need a cell phone holder and have to view in a "landscape position".
Is this correct?
While the camera seems to be a great feature it also seems having to go to the cell phone all the time, find the app and view the video is a time-consuming process and a PITA.
Is there a way to integrate the video image into the screen already built into the C7?
What is the major difference between this aftermarket camera and those who own the 2016 MY C7 from an operational standpoint?
..
Navtool will integrate an aftermarket camera with the factory screen, but it's pricey.
I understand your option that it is a PITA. It isn't an alternative for everyone. However, as you can see from my pictures, I already have a phone mount and I use Waze for navigation, so it isn't a big deal for me.
...
While the camera seems to be a great feature it also seems having to go to the cell phone all the time, find the app and view the video is a time-suming process and a PITA.
...
What is the major difference between this aftermarket camera and those who own the 2016 MY C7 from an operational standpoint?
..
There is a thing I read about here on the forums called Curb-Alert that provides an audio alert if you get too close to something you don't want to hit. One post I read indicates that the C7 doesn't turn on its front camera easily:
Originally Posted by moparconvert
...My C7 has the camera and although useful, it is sorta a pain to use because you have to put the car in reverse then put it in first to activate the camera and if you are going real slow it turns off frequently making you repeat the sequence all over again. How many people stop to put the car in reverse then put the car in first when they pull into a parking place? Also it is sometimes hard to discern where the curb is on the image and where there is just a break in the pavement before the curb. With the curbalert you can just pull in to the parking space as usual and get the warning at your preset distance from the curb without all of the physical gymnastics. Sometimes I use the camera as well but most of the time I don't take the time to go through the hastle to active the camera.
I'll be picking my car this week and I guess I'll find out if the interface for the C7's front camera is really this stupid. If so, I'll probably get one of those Curb Alerts.
Navtool will integrate an aftermarket camera with the factory screen, but it's pricey.
I understand your option that it is a PITA. It isn't an alternative for everyone. However, as you can see from my pictures, I already have a phone mount and I use Waze for navigation, so it isn't a big deal for me.
Exactly, this was the best, most inexpensive way I found and the wifi comes on automatically and my phone is already mounted and this past weekend it was used several times.
There is a thing I read about here on the forums called Curb-Alert that provides an audio alert if you get too close to something you don't want to hit. One post I read indicates that the C7 doesn't turn on its front camera easily:
...My C7 has the camera and although useful, it is sorta a pain to use because you have to put the car in reverse then put it in first to activate the camera and if you are going real slow it turns off frequently making you repeat the sequence all over again. How many people stop to put the car in reverse then put the car in first when they pull into a parking place? Also it is sometimes hard to discern where the curb is on the image and where there is just a break in the pavement before the curb. With the curbalert you can just pull in to the parking space as usual and get the warning at your preset distance from the curb without all of the physical gymnastics. Sometimes I use the camera as well but most of the time I don't take the time to go through the hastle to active the camera.
I'll be picking my car this week and I guess I'll find out if the interface for the C7's front camera is really this stupid. If so, I'll probably get one of those Curb Alerts.
.
That has not been my experience with the front mounted cameras. After you pull into a parking lot and are approaching the space, there is a camera "button" on the touch screen. Just touch that and the front cameras come on. It is speed sensitive so you cant turn them on until you are pretty much at parking speeds.
If you are straightening out your parking job, back and forth to get lined up where you want, the cameras automatically switch from front to rear based on the direction you are going.
I'll add the front cameras show 3 views. 2 forward views and one that is merged showing straight down on the forward most points.
I have the 2016 MY and glad I have the factory camera - my '96 chin has been repaired too many times and this thread may come in handy for that year!
Regarding the 2016 MY camera icon on the screen - My icon was originally on the 2nd screen, and I found it easier to go into reverse, then back into drive to engage the camera rather than punching the screen and adding to the fingerprints...similar to what someone else has posted.
However, it seems that the camera icon has now moved onto the first screen (don't know how...) and that pushing-the-screen-once method seems easier than the reverse-forward procedure.
Either the factory built or the add-on, this is something you'll quickly get used to and can't do without.
can I use my old I phone for the display
it is not activated on a network now but I can connect to wifi.
I would keep the phone in the cubby hole behind the info screen and plug it into the usb port.
if this cant be done I would get a cheap lcd screen and try and get wires though the cubby storage behind the screen. does that cubby box come out easy or is there and easy way to get wires into the box without taking the dash apart
thanks
An old iPhone would work perfect, as long as it will connect to wifi. Since you have a USB port in the cubby you can leave it hooked up. I believe the Cubby USB will loose power when the ignition is turned off. You will have to unlock and activate the app when you start the car.
Just remember that you have to download the WIFIAV app and I'm not sure how old a version of iOS (iPhone) it will run on.
Last edited by Bob Beroza; 06-16-2016 at 01:11 PM.

 06-12-2016, 02:56 PM