When you click on links to various merchants on this site and make a purchase, this can result in this site earning a commission. Affiliate programs and affiliations include, but are not limited to, the eBay Partner Network.
Can you provide a list of all the parts # that would be required to turn a Z51 into a "true" wide body?
I'm trying to get a price estimation for a complete job. I don't have enough car knowledge so I wouldn't take on this challenge myself. I'd have to take it to a reliable body shop or dealership and have the work done there.
These are the correct part numbers as of today. Please double check before you order because GM has changed several numbers recently. And remember that when you look up a part number it must be identified with the notation "with Z06" otherwise it can be a stingray part which will be what you already have!
Front Fenders: 23360232 and 23360233
Front Wheel Well Liners: 23327373 and 23259924 (new number)
Apertures: 23292866 and 23292867 (new number)
Rear Quarters: 23242838 and 23197627 (new number)
Rear Wheel Well Liners: 22887232 and 23327813 (new number)
Rear Bumper Cover: 23368629
Fuel Compartment Door: 22911933
Front Fender Side Vents: 23122770 and 23122771
Nuts to attach Side Vents, 6 needed: 11546454
Front Fender Molding Strips: 23315196 and 23315197
Rear Valence Side Grilles: 23254476 and 23254477
Quarter Panel to Rear Bumper Attaching Retainers: 23366039 and 23366040
Quarter Panel Inner Braces: 20980050 and 20980051
These are the correct part numbers as of today. Please double check before you order because GM has changed several numbers recently. And remember that when you look up a part number it must be identified with the notation "with Z06" otherwise it can be a stingray part which will be what you already have!
Front Fenders: 23360232 and 23360233
Front Wheel Well Liners: 23327373 and 23259924 (new number)
Apertures: 23292866 and 23292867 (new number)
Rear Quarters: 23242838 and 23197627 (new number)
Rear Wheel Well Liners: 22887232 and 23327813 (new number)
Rear Bumper Cover: 23368629
Front Fender Side Vents: 23122770 and 23122771
Studs and Nuts to attach Side Vents: 11546425 and 11546454
Front Fender Molding Strips: 23315196 and 23315197
Rear Valence Side Grilles: 23254476 and 23254477
JV
Wow that's a lot of parts! I am impressed you were able to get it down to a science. Especially with all the small nick and nacks that aren't visible to the eye on a "fully built car."
My dream is to get a Corvette C7 with the wide body of a GS, but:
1) Keep the "shorter" spoiler design of a z51
2) Keep the "smaller" side vents w/ stringray of a z51.
3) Michelin to make tires in all season sizes to fit the rims of z06 wheels. This is pretty much a necessity where I live.
4) Full length "G3-Carbon" side fender flares that combine the spats and the mud flap into one. (They're currently working on developing this as we speak)
May I ask two more questions on your end product?:
1) Will you be able to keep the "small" z51 side vents or have to add on the "bigger" GS/Z06 style vents. I don't like the larger vents (hence why I did not get a GS).
2) Since you mention the rear is now "wider," I'm assuming it is impossible to maintain the "clean" look of the Z51 spoiler. Now you will have to throw on one of these bad boys? (Bummer if that is the case; at least for my end)
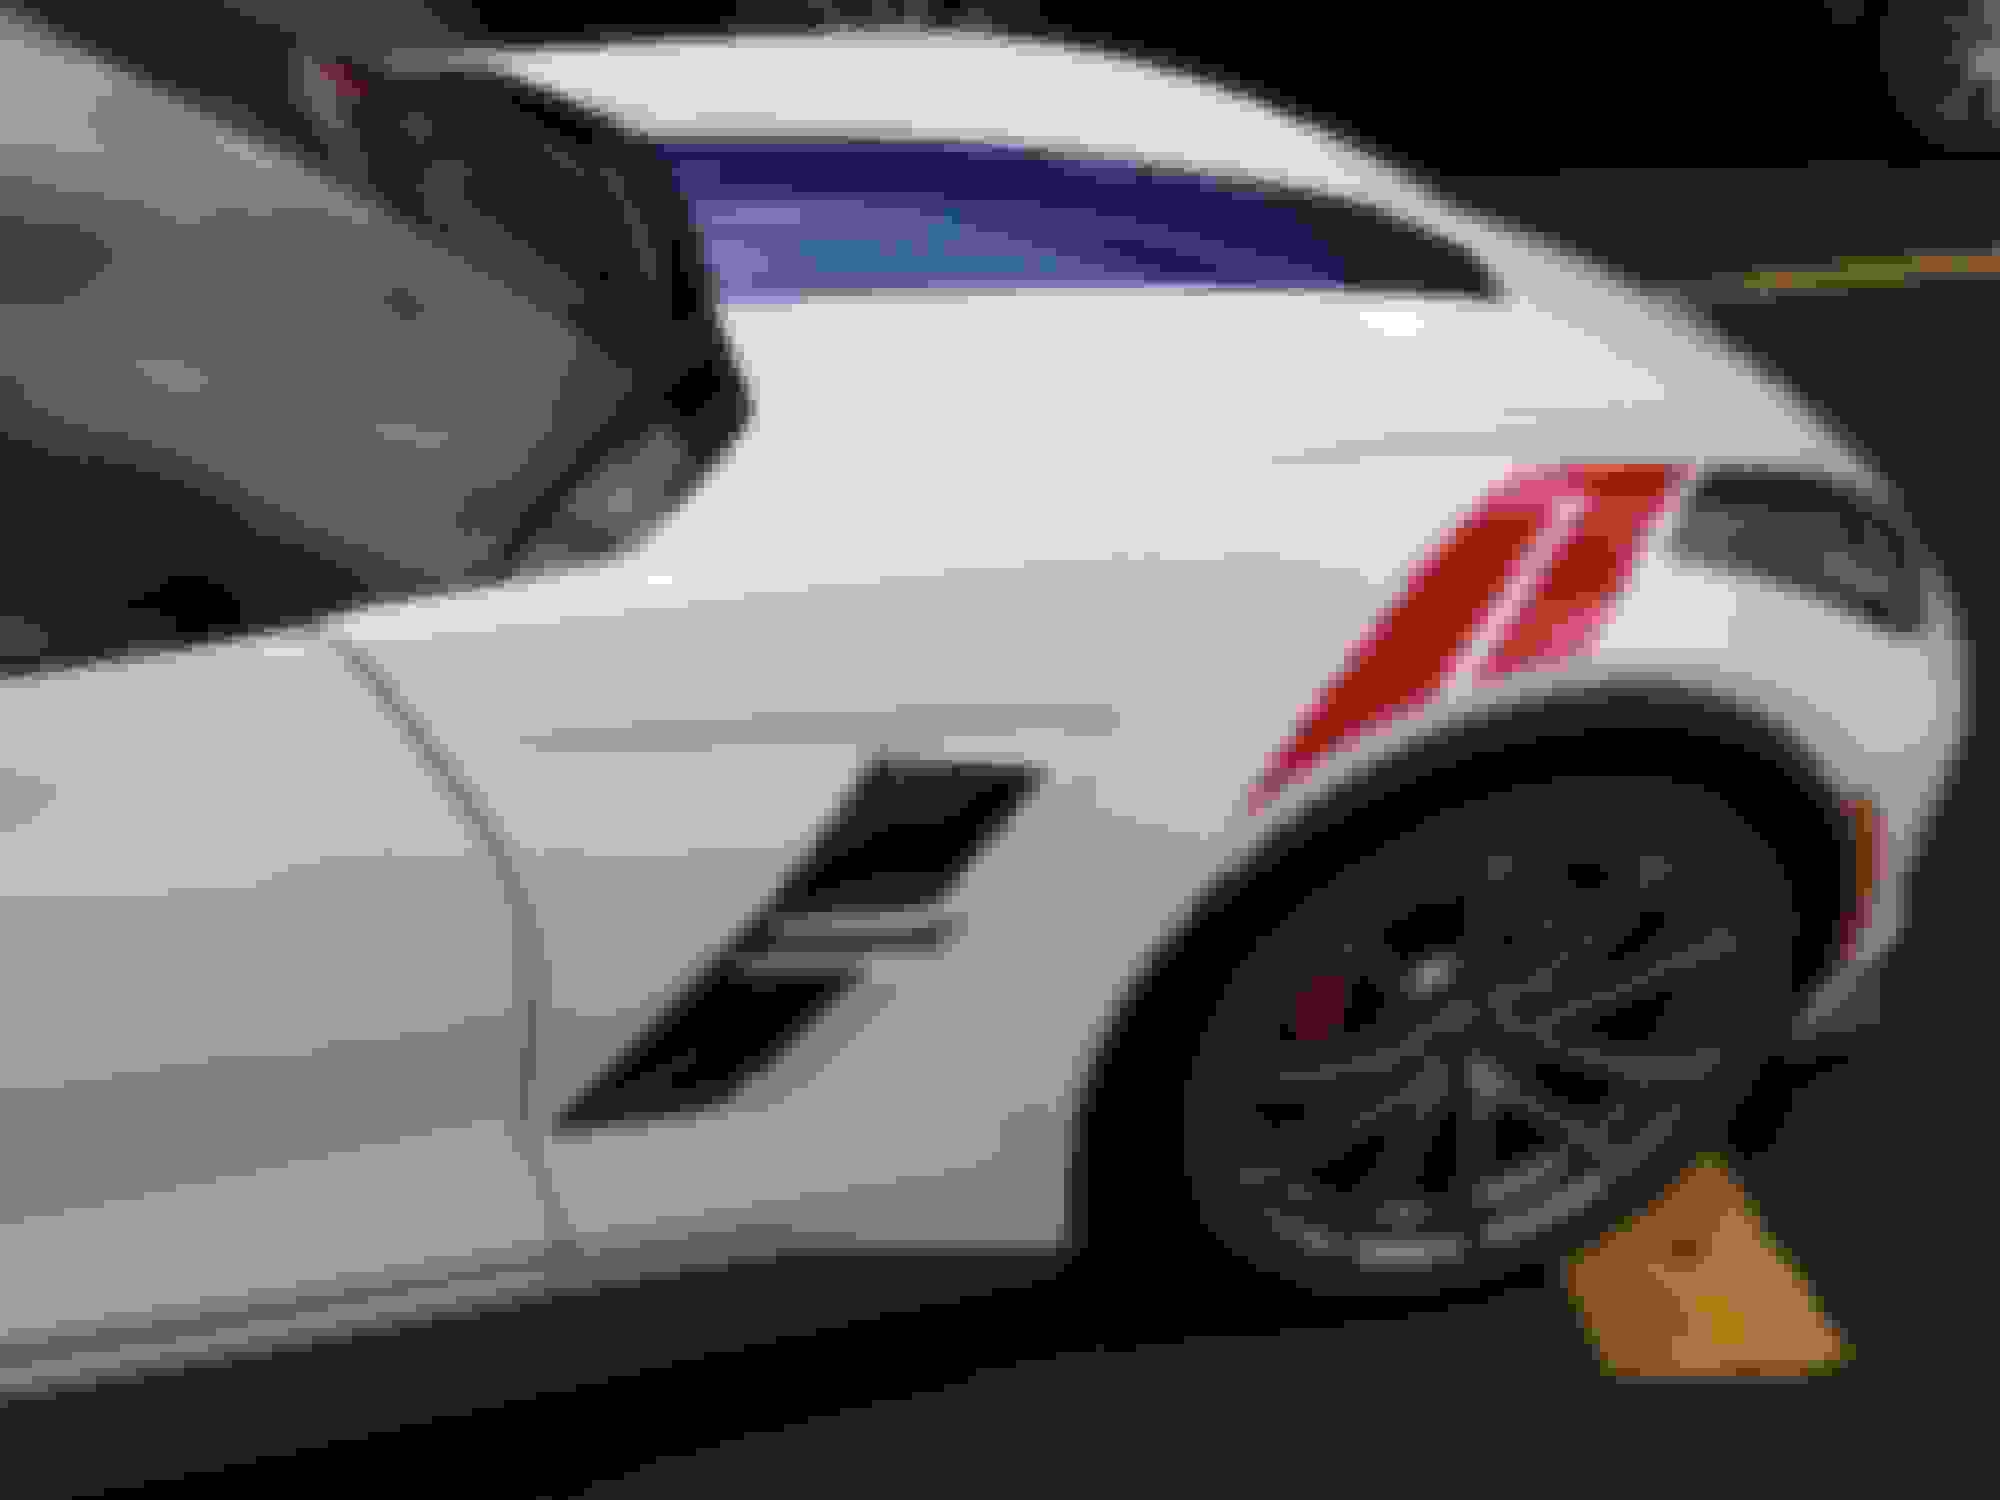
I hear ya on both those points! I also prefer the fender side vents and rear spoiler on the Z51, but I actually need the down force of the Z06 wickerbill for the track, and the wide body fender only comes with the wider opening for the Z06 vent, so I've learned to like them. I'm going to add two small touches to the fender vent that will make it more to my taste. I'm going to replace the small 'Z06' badge which attaches to the center of the vent with either one that says 'Z51' or something I can have made to order, and there is a black 'shadow' vinyl strip available which runs along the horizontal crease at the top of the vent, towards the rear, about 14" long and tapering to a point. It gives the vent a more dimensional look. Here it is on my car now.
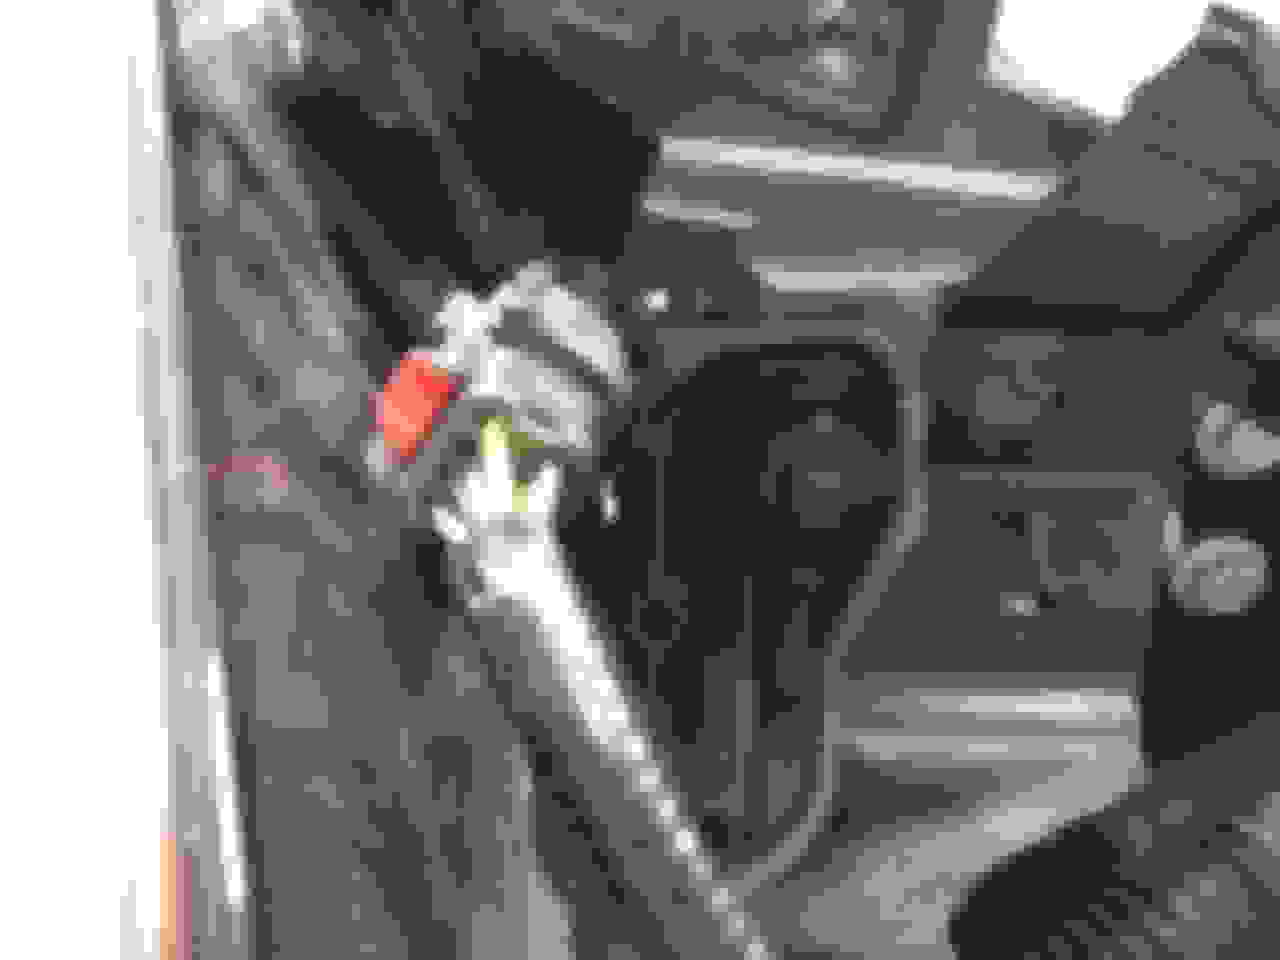
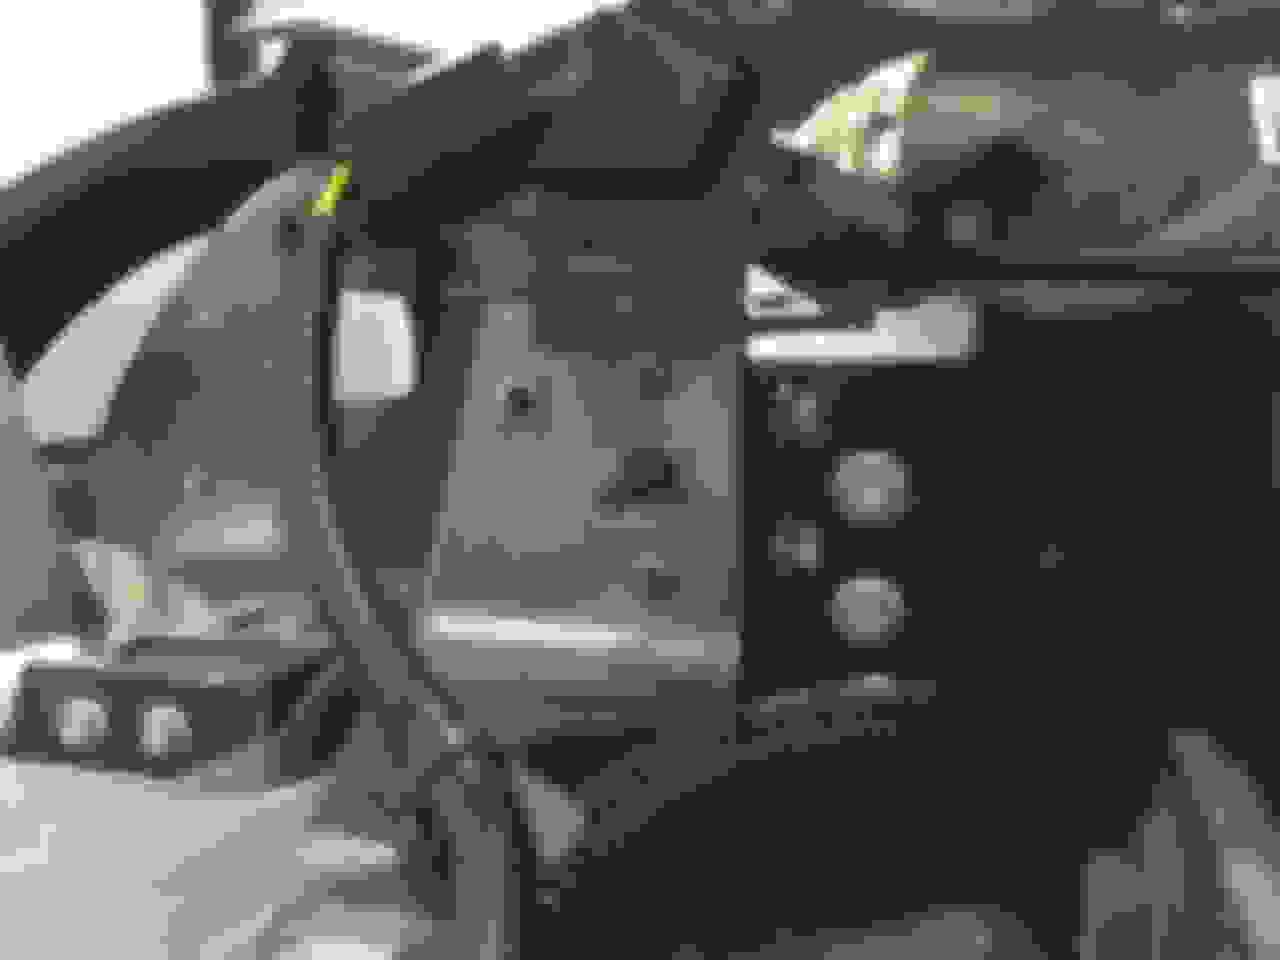
I got a lot done today, so lets get to it. Next up are the front fenders. There are more fasteners here than on the quarter panels, but its no more complex. The headlights come out first because there are fender attaching points under them. First remove the two screws holding the small attach plate for the upper corner of the front bumper cover. These are just above and to the inboard side of the headlight (second picture, upper right). The plate has to come out otherwise the headlight will scrape against it when you pull it forward and out. Then remove the two screws which hold the headlight in place and slide the headlight assembly forward and either disconnect the wiring harness connector or just lay the headlight in the engine compartment as I did.
After the headlight is out, remove all bolts and screws shown around the forward part of the fender where it attaches to the frame. Then remove the torx screws along the top edge of the fender. There is also one hidden under the black plastic piece at the top front edge of the fender. There is another torx screw hidden under the weather stripping at the rear of the top of the fender. Remove the rubber/plastic strip shown, then pry up the flange enough to remove that last screw. There is one bolt under the rear of the fender near the door, then another which must be accessed in the door jamb. With the door open look forward near the top of the door and you'll see the 10mm bolt head. The last attachment is at the rear of the fender on the inside of the wheel well. Look rearward in the well and you'll see the last 10mm bolt head. Once all these are removed the fender will pull straight sideways away from the car.
Be sure to save the padding attached to the rear edge of the fender with three plugs.
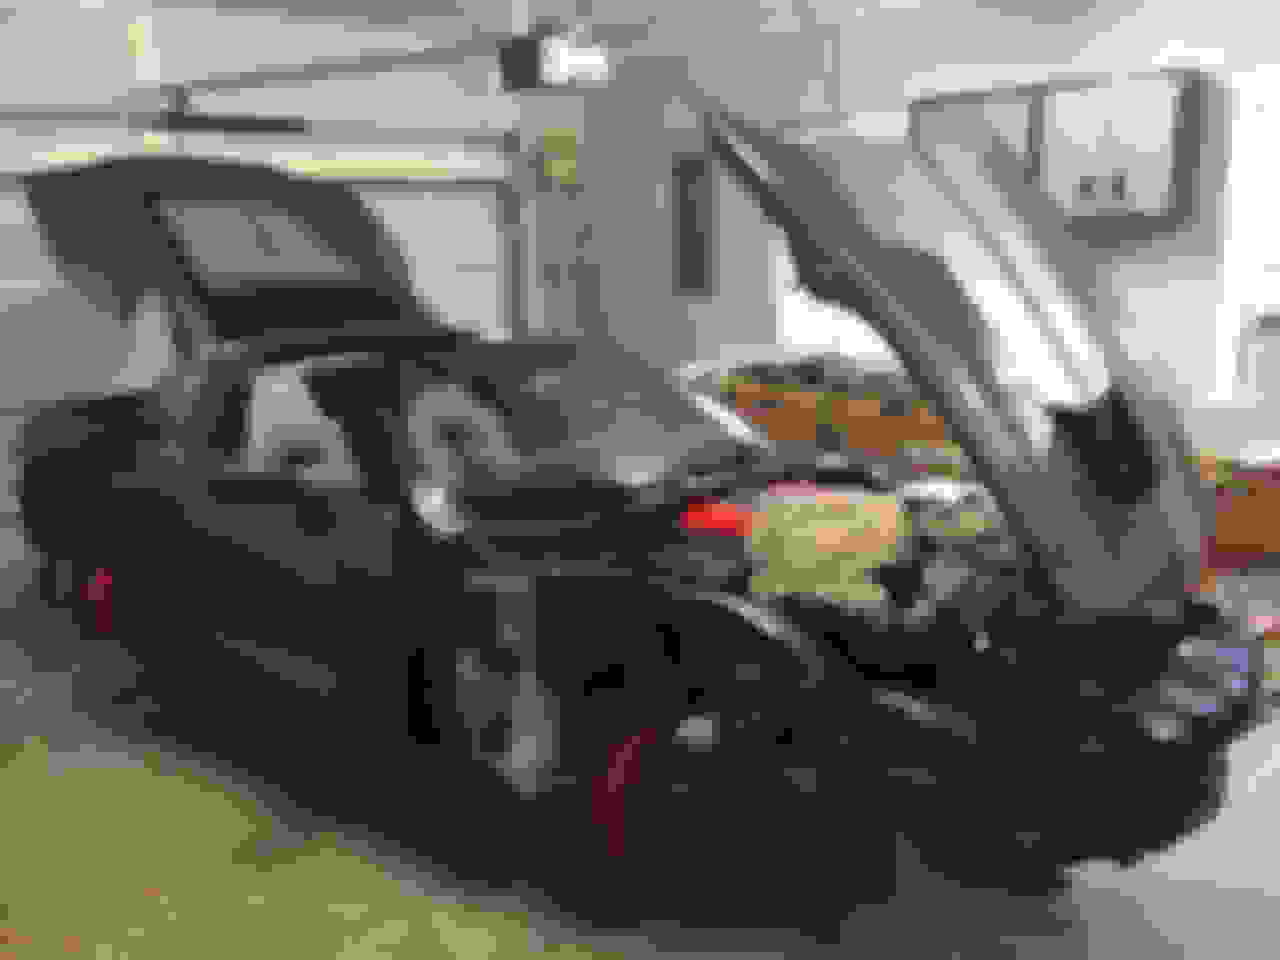
Next we'll remove the doors. I didn't have any guidelines for this part but it turned out to be really simple once you know exactly what to do. With the door closed find the wiring harness behind the front edge. It is covered with a rubber boot to keep out water. Pull that rubber boot away to reveal a rectangular multi-plug. At the top of that plastic plug is a release cradle. Pull that cradle backwards and the plug can be disconnected.
CAUTION: The doors are quite heavy. Only remove the hinge bolts with the door closed and latched. It can be done with the door open partially, but it must be supported completely and solidly, otherwise it can fall on you or catch and crush your hand.
CAUTION: The doors are quite heavy. Only remove the hinge bolts with the door closed and latched. It can be done with the door open partially, but it must be supported completely and solidly, otherwise it can fall on you or catch and crush your hand.
Now open the door and disconnect the rod which holds the door in the open position. It is surrounded by the rubber boot you see here. Pull that boot out and you will see a single bolt behind it attaching the rod to the frame. Remove that bolt and close the door. Look at the hinges at the front of the door. I used tape to mark the exact location for reinstallation, but that turned out to not be necessary because the dirt around them left a perfect outline. Remove the four bolts attaching the hinges to the frame (leaving the hinges attached to the door). Have a large cushion or heavy blanket to set the door on. Pull the manual door release, and holding the door on both ends pull it away from the frame. I did all this by myself, but it will be much nicer if you have a friend help out.
Next we'll remove the seats and the trim around the door frame. The trim is attached to the aperture with tabs and clips. Start at the forward end next to the corner of the dash and just pull up and away. It will sound like something is breaking but that's just the clips pulling free. The threshold plate must be pulled up gradually, starting at one end and sliding your hand under it as you move further along underneath. Now remove the seat belt where it attaches to the anchor at the outboard side of the seat. Pry open the plastic casing and remove the single Torx bolt, then slide the steel fitting downward and off. You'll need to reconnect the battery momentarily to move the seat forward, remove the two rear floor mount bolts and then run the seat aft to remove the two forward bolts. While you have power on, tilt the steering wheel all the way up and forward. Now disconnect the battery again and tilt the entire seat backwards so you can see under the front and find the large wiring harness plug. Pull the harness retaining strap away from the seat rail with a trim tool, then swing the plug latch down and unplug it. The seat is heavy but it can be lifted out by one person. Two, however, is better.
Remove the forward bolt covers by pulling them forward, not up!
When removing the trim around the door opening, I got to the section that meets the overhead 'roll bar' section, at shoulder height in the rear. They appear to be connected in a way I couldn't figure out, and rather than removing both sections I just pulled them back enough to access the aperture panel. Much easier to replace them when finished that way.
jet vet, this is the most wonderful, astounding diy thread related to cars that i have ever seen anywhere, ever! i am amazed at the depth and breadth of what you have done and are doing. as someone who has done many projects over many decades, your skill and talent make me feel like a rank amateur. running across this one thread by itself is worth dealing with the hundreds of hours of nonsense that is so prevalent on some of the ego baiting and totally waste of time and energy threads that sometimes show up here.
it never crossed my mind that you could buy the parts as reasonably as you did. kudos to what you have shown here.
replacing the transmission cooler with a better one and then using the original as a secondary with an installation that looks like it was oem design and installation....what talent and dedication to perfection!
i look forward to seeing your finished product.
i started in 1951 by replacing broken spring centerbolts and fuel pumps (often) and rebuilding the carburetor on a 47 ford, and still do some of my own work.
how do you like your coilovers? i'd be interested in any comments you have about them including ride quality, handling difference from stock and anything else you'd care to comment on.
thanks for the details that you have shared with all of us.
This is definitely gonna be one of those threads I check every time it gets bumped. Cool to read about, but the OP probably needs a wheel barrel to haul his ***** around.
This is a really interesting thread, thanks for posting!
I am looking forward to seeing how difficult it is to remove and replace the rocker panels.
that was one of the subjects that crossed my mind too. if what jet vet has accomplished so far is any indication, my guess is he'll make it look like a piece of cake.