
C7 Daily for the lady | Build Thread
 06-28-2017, 01:14 AM
#21
Le Mans Master


 wait, I thought he was the President of Mexico? Or was that Manuel labor??
 06-28-2017, 06:54 AM
#22

Love the car! Enjoy. 
07-05-2017, 03:48 PM
#23

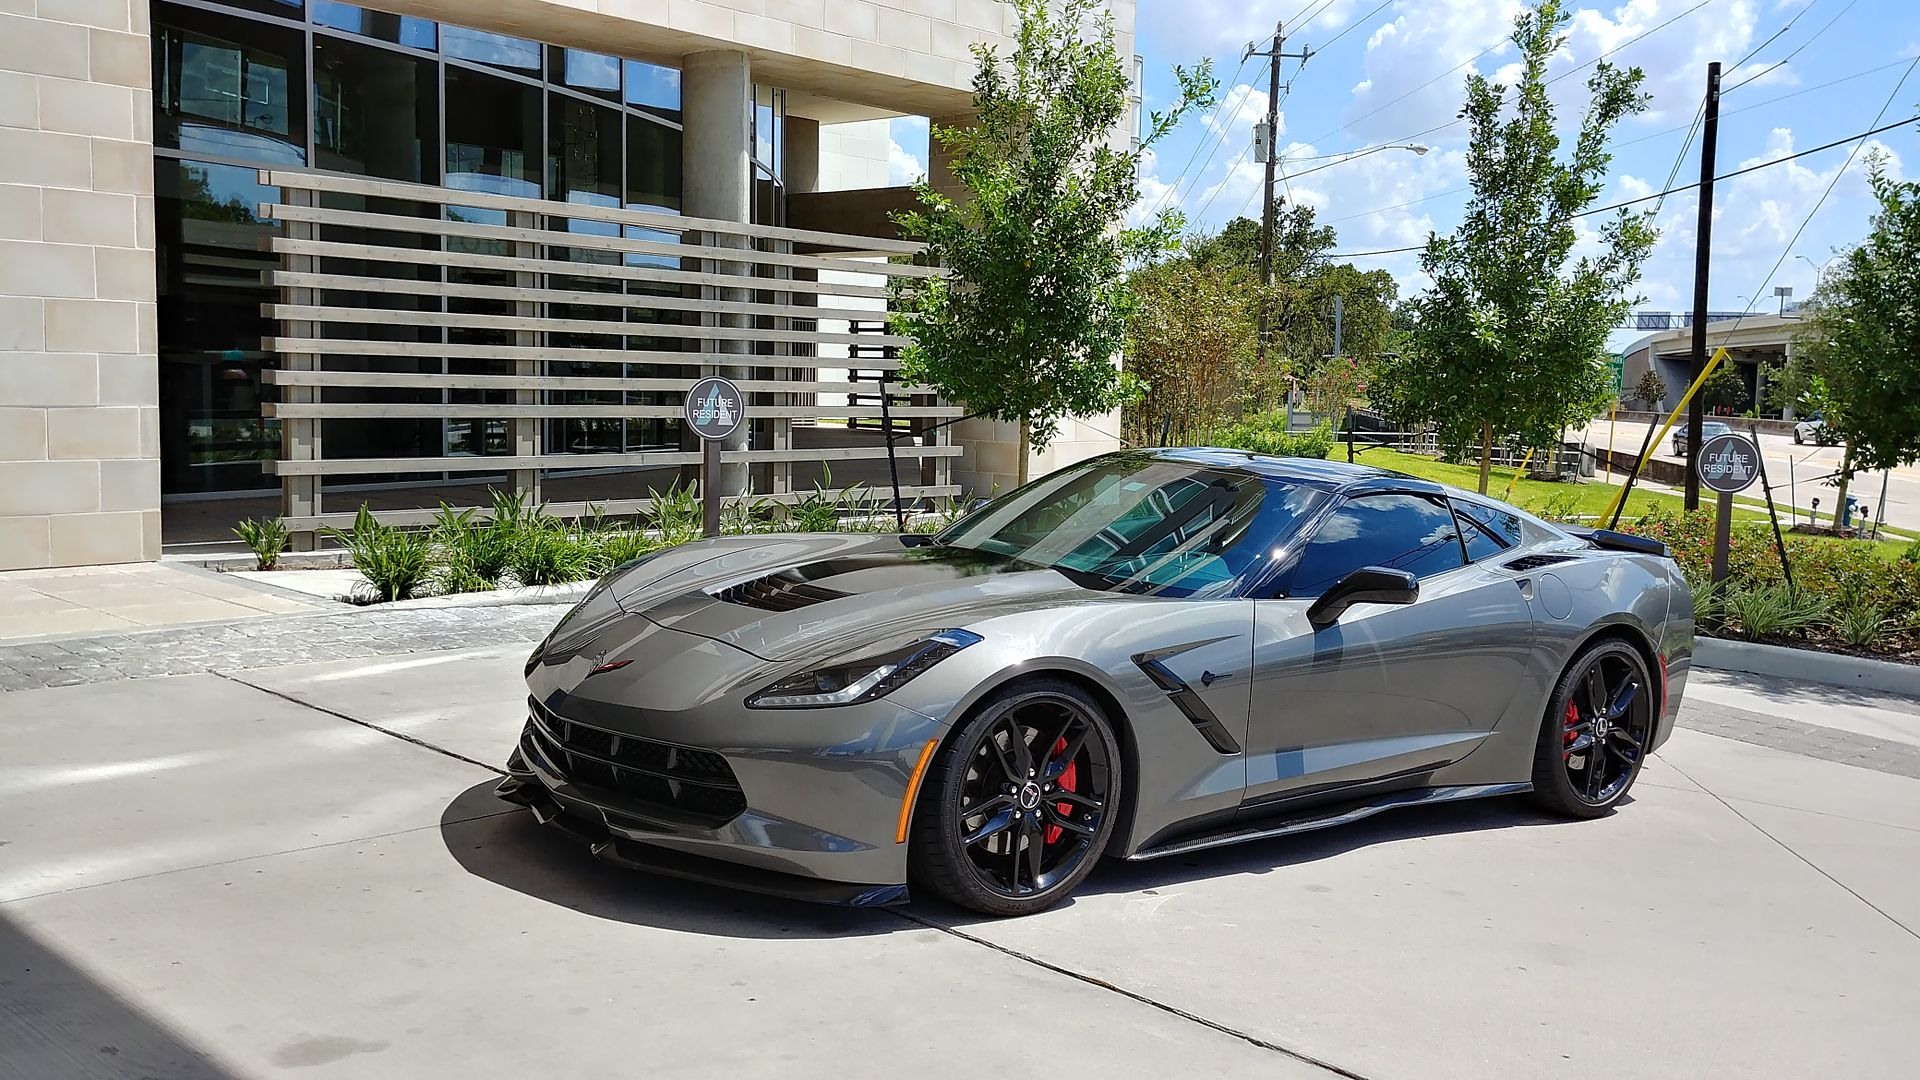
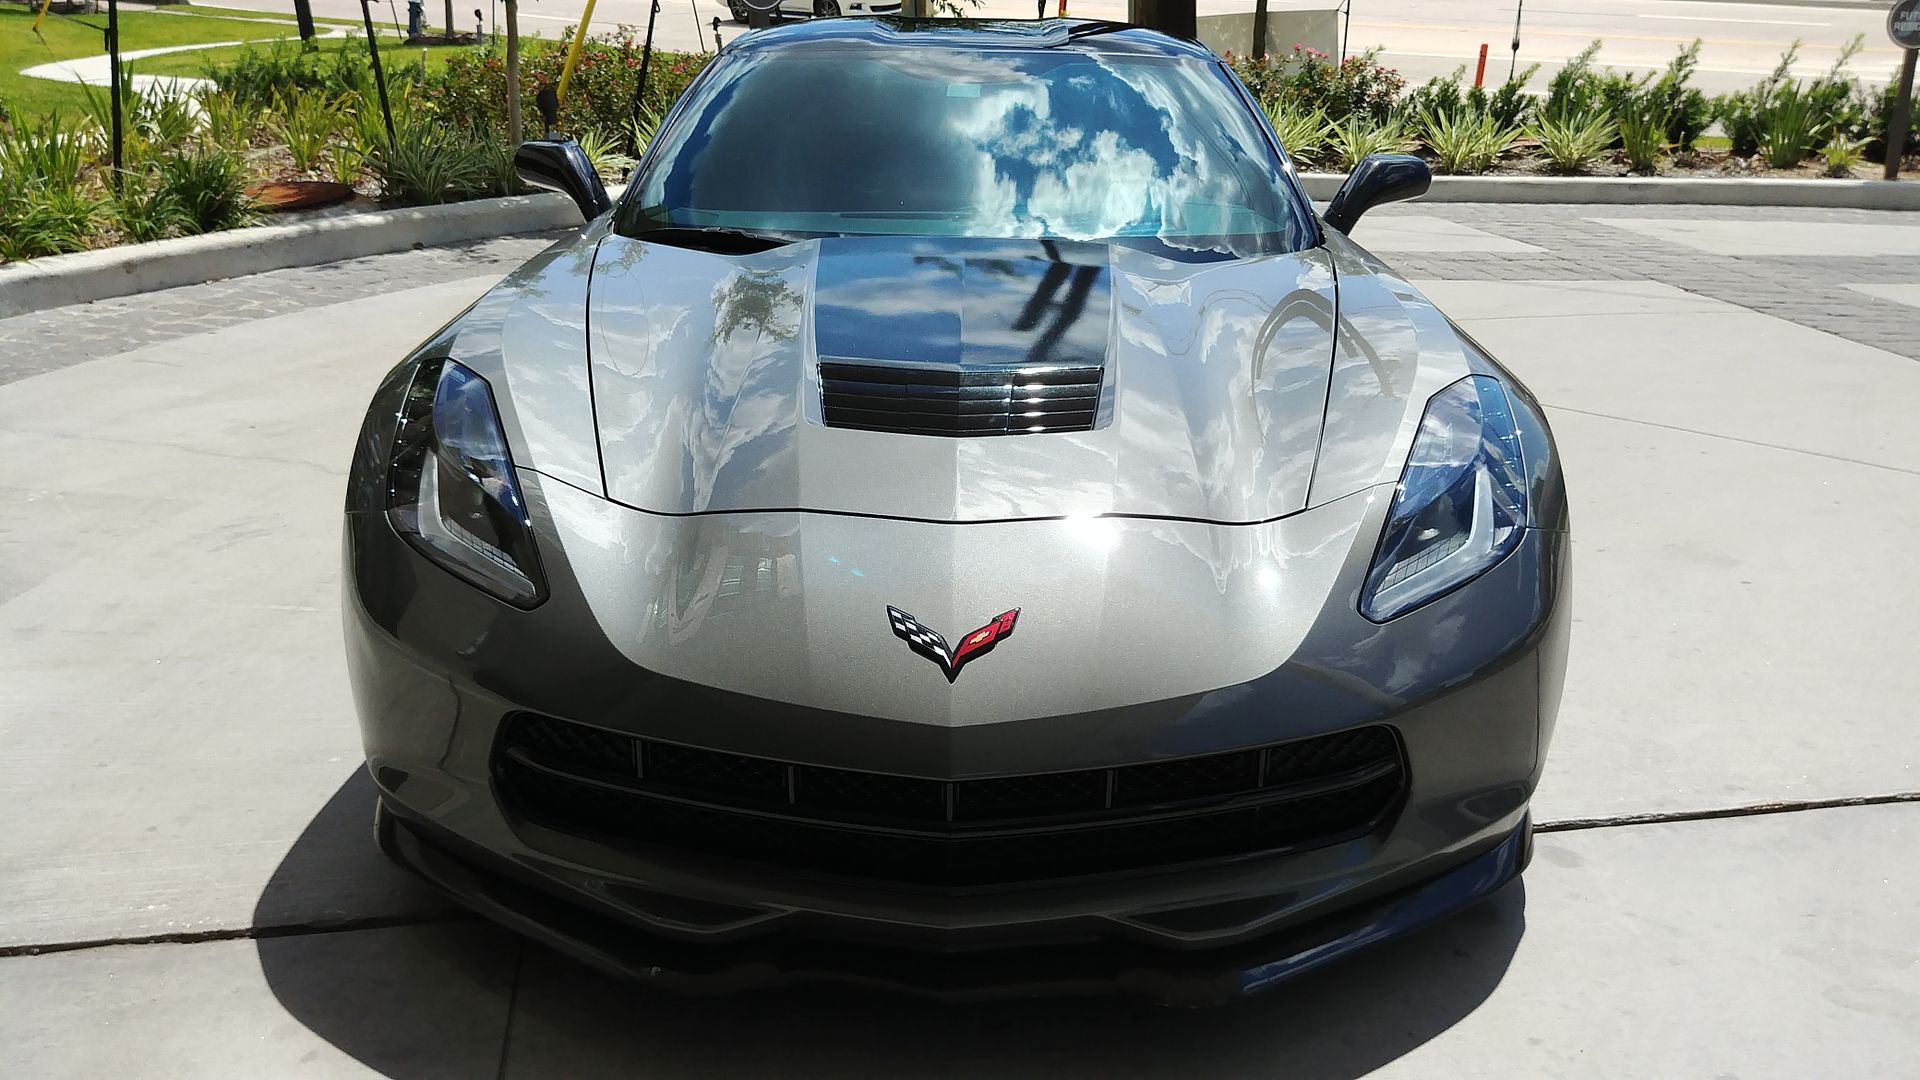
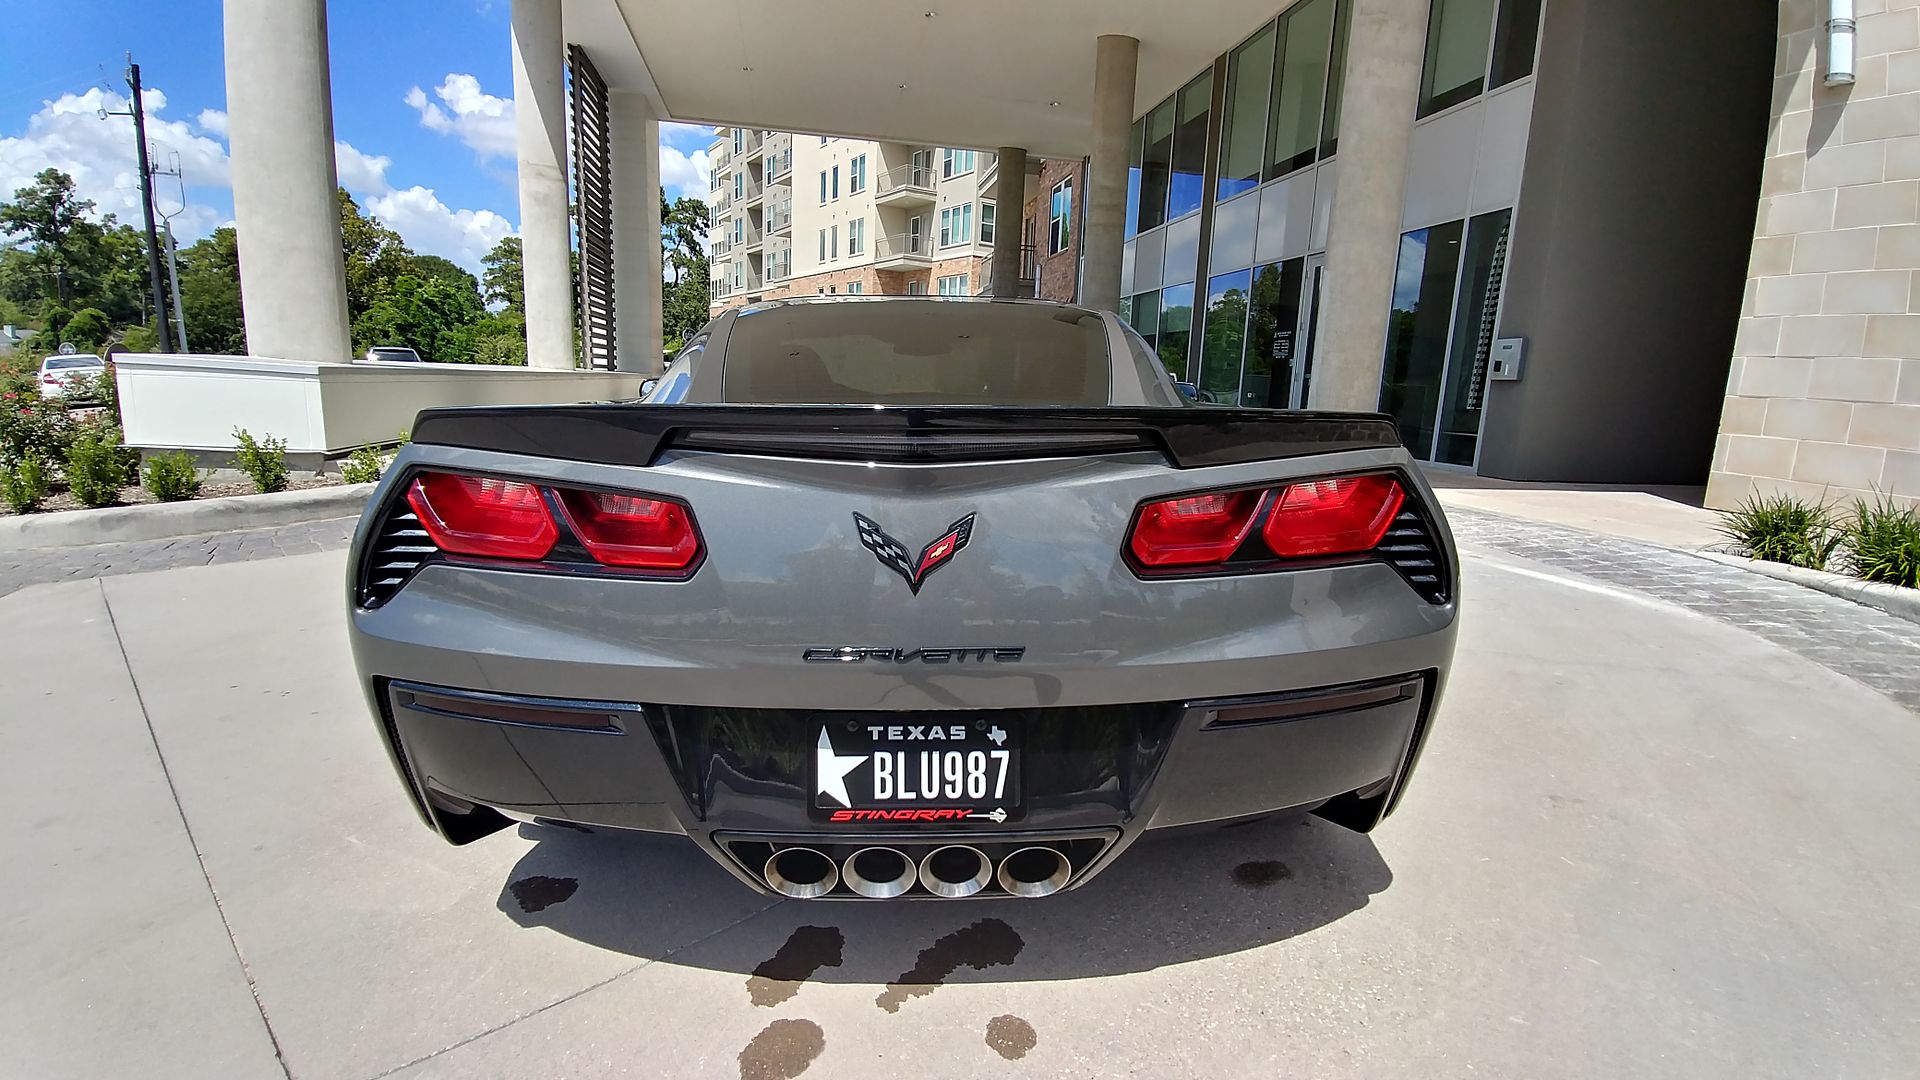
Some more progress on the sneaky ray;
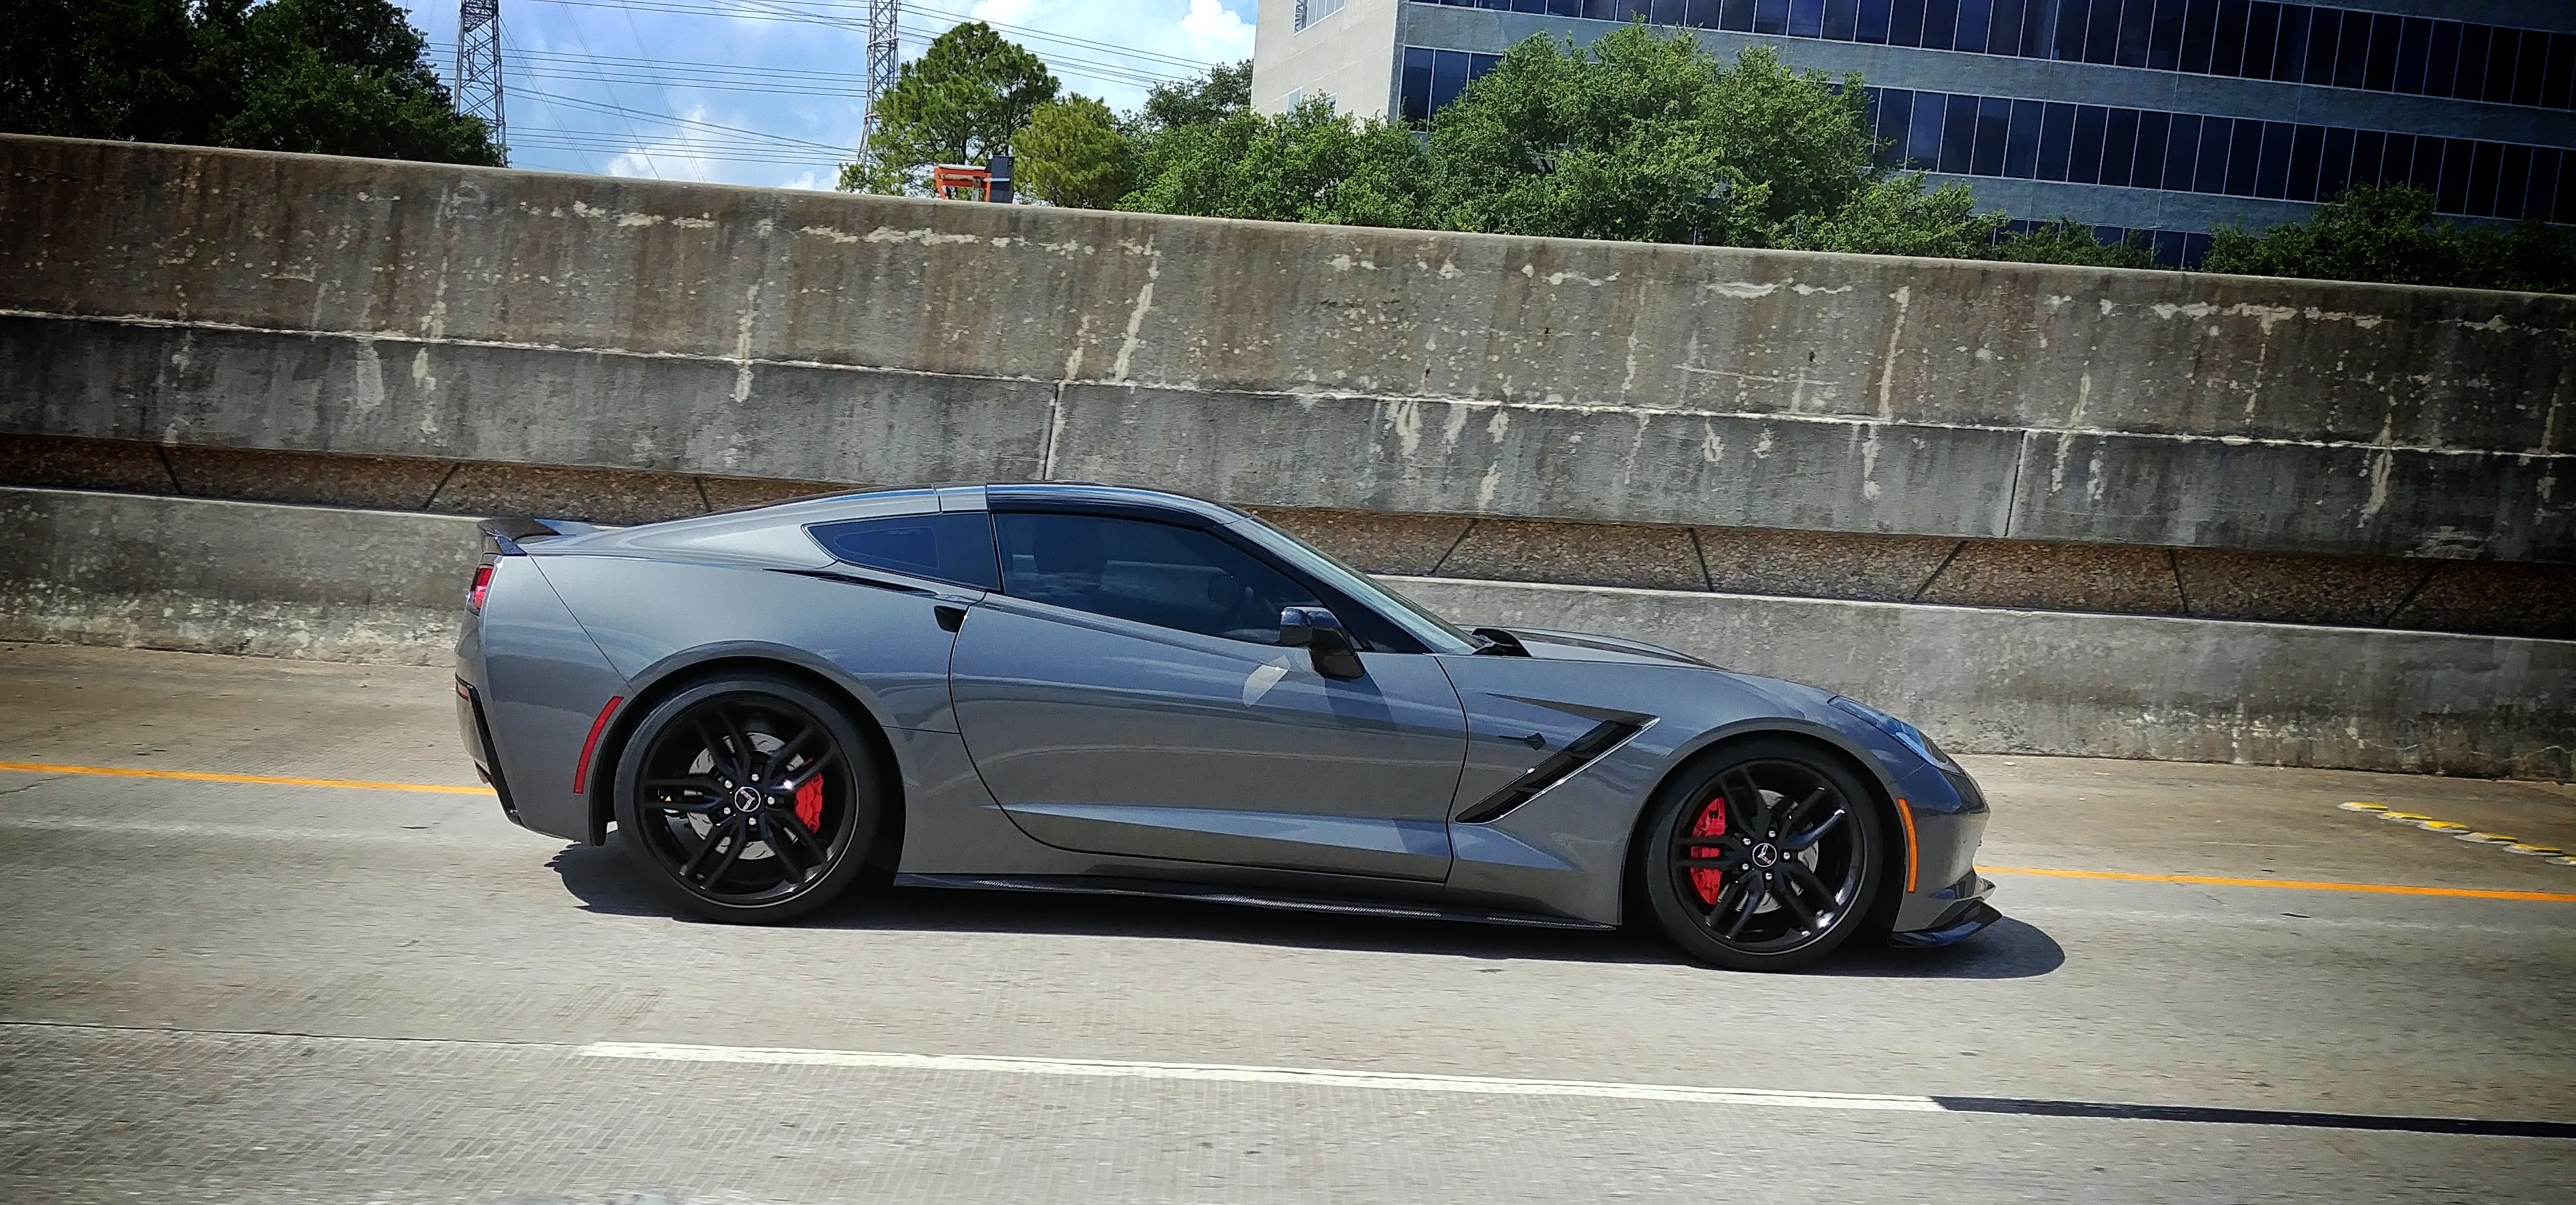
Alignment never felt right on the car when I got it, toe seemed ok but it didn't have very good on center feel and there was more under-steer than I wanted. This didn't get any better after the car was lowered. I gave it a few days to settle down after lowering it, and then had the car aligned to these specs;
Camber:
Front: -1.5*
Rear: -1.0*
Toe:
Front: 0.0 (or slight toe-in)
Rear: 0.0
Caster:
Front: 7.6*
Rear: 0*
Overall a mildish setup for the street and a few track days here n there. Rear caster adjustment on these cars requires special tooling (apparently), and thus could not be adjusted at the shop I visited.
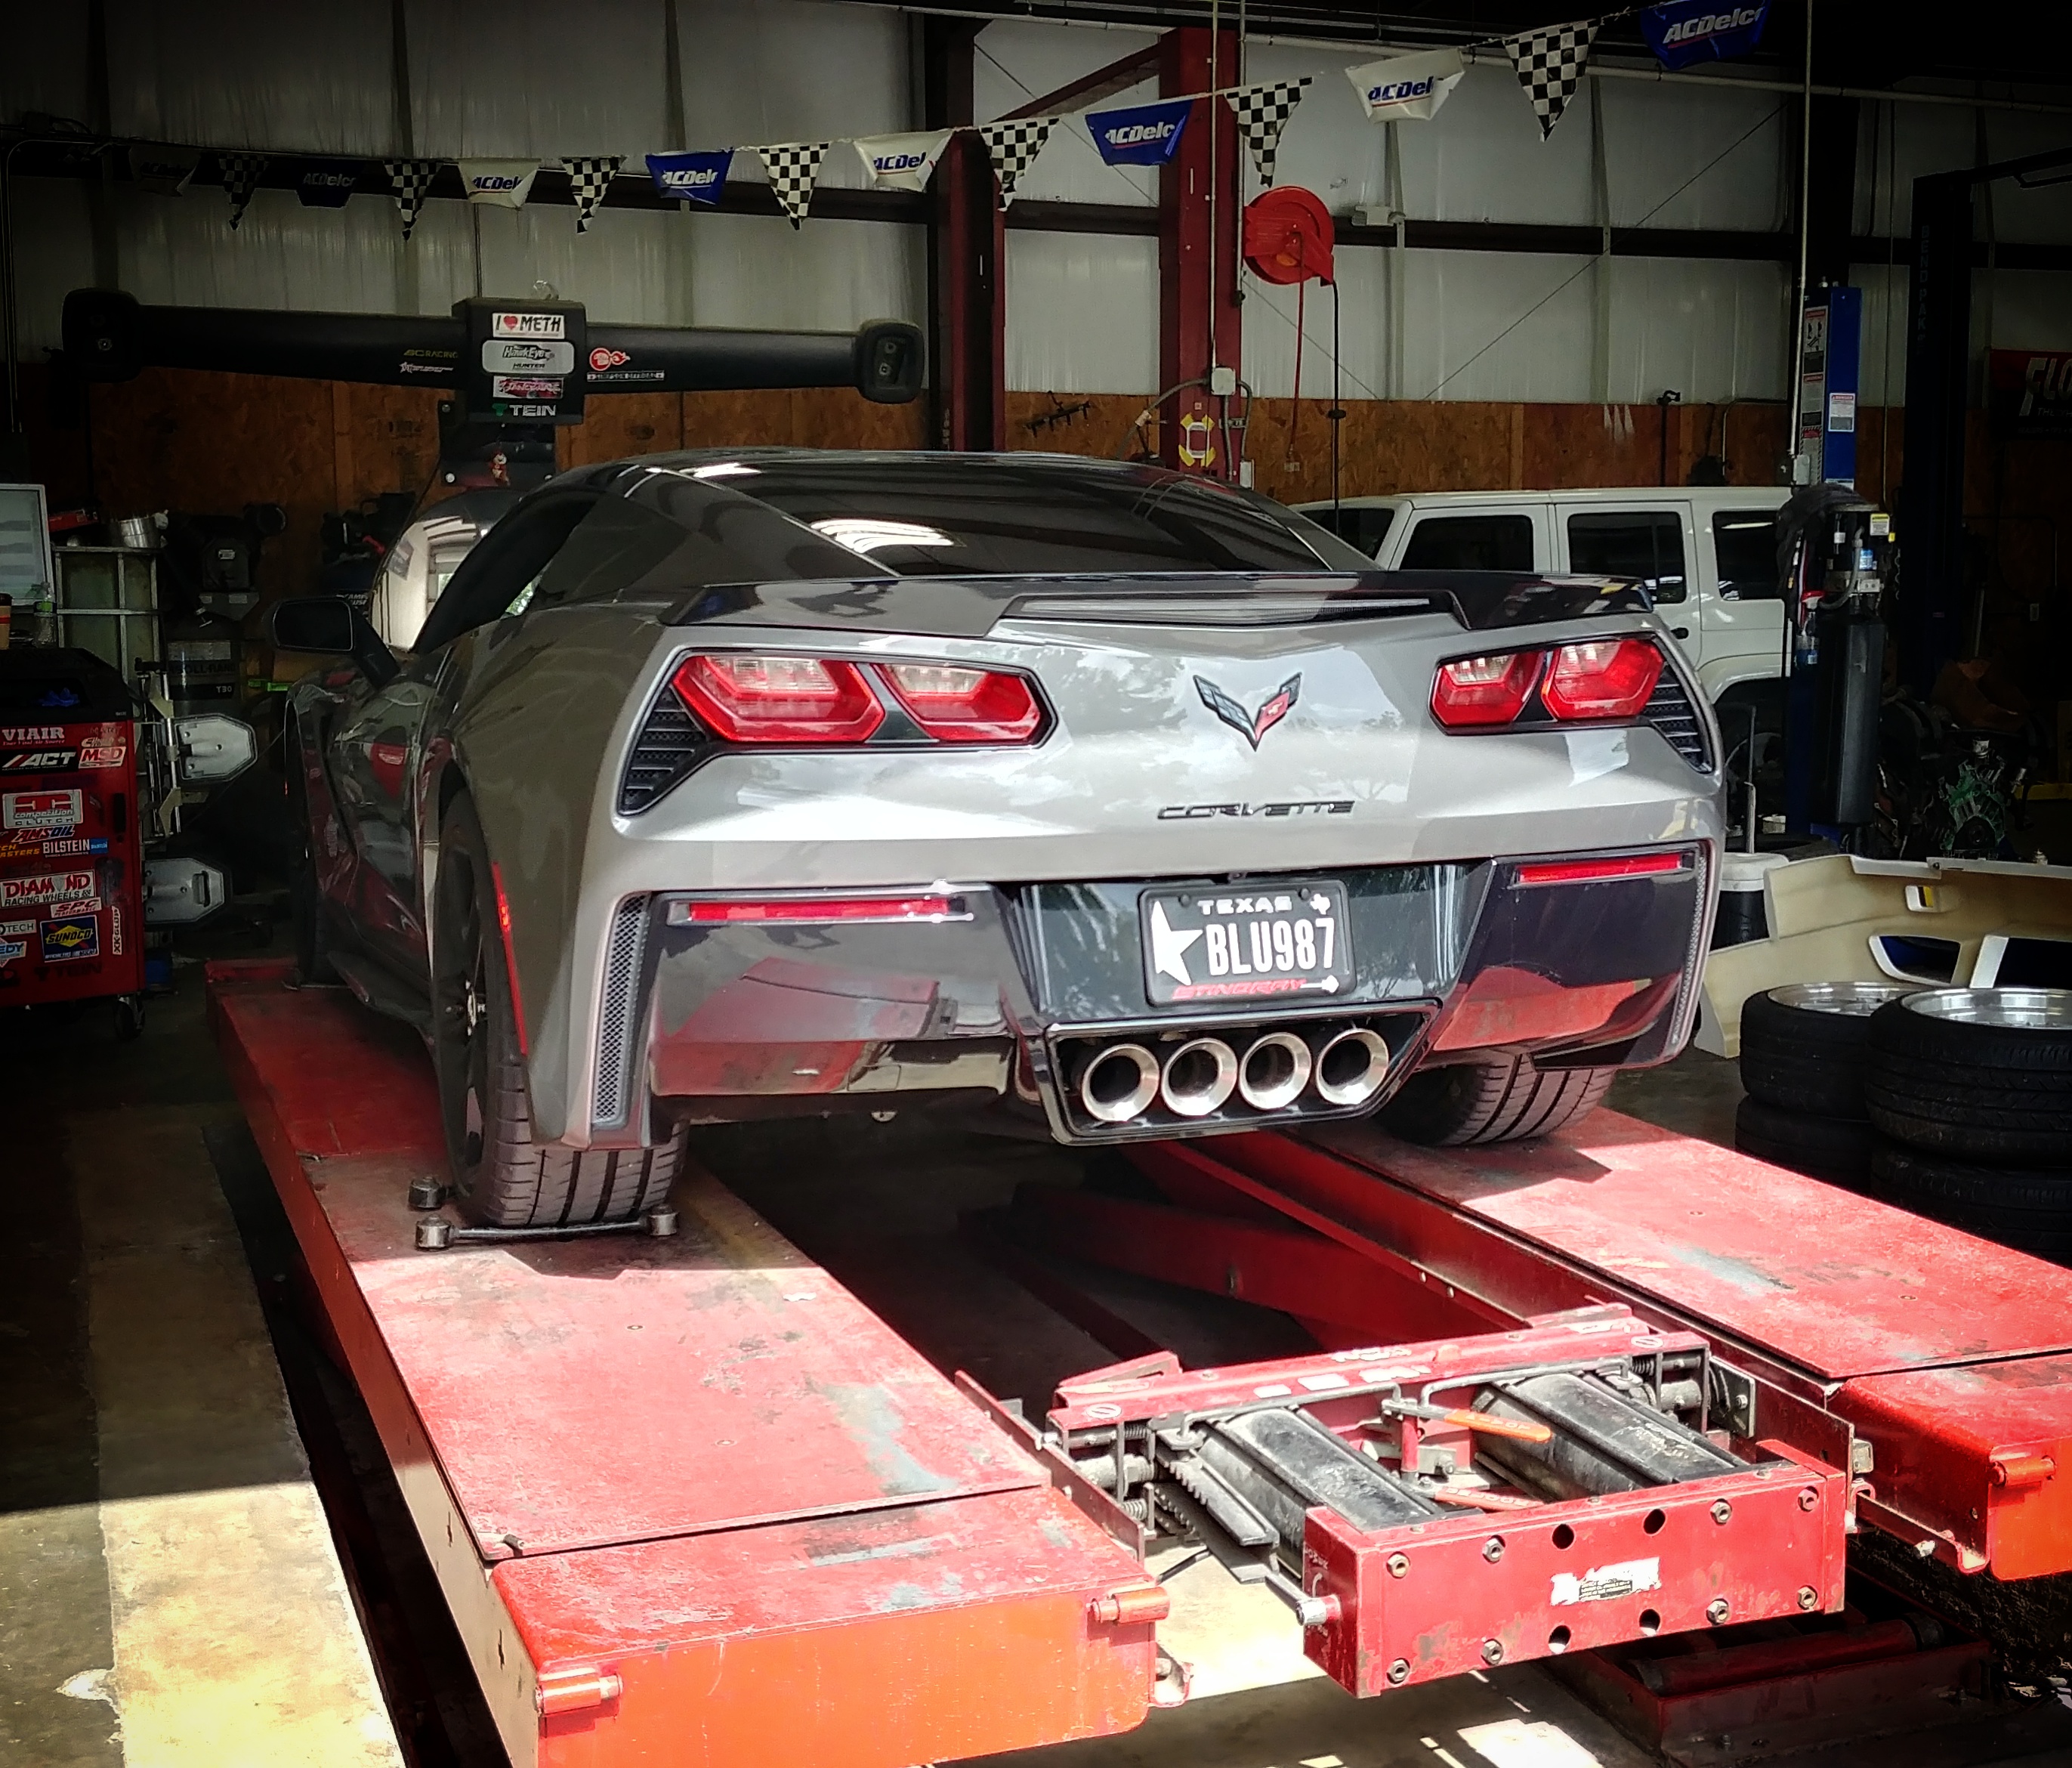
It's amazing how a degree of adjustment here or there can transform how the car feels and reacts under load. I feel like some people really overlook alignments and getting the details right when it comes performance cars. Car feels very neutral now, with a lot better bite on turn in. I cant wait to auto-x and track it, I think the power level of the car is just perfect for the amount of grip and overall body control. I think it will be a hilariously fun car to thrash about.
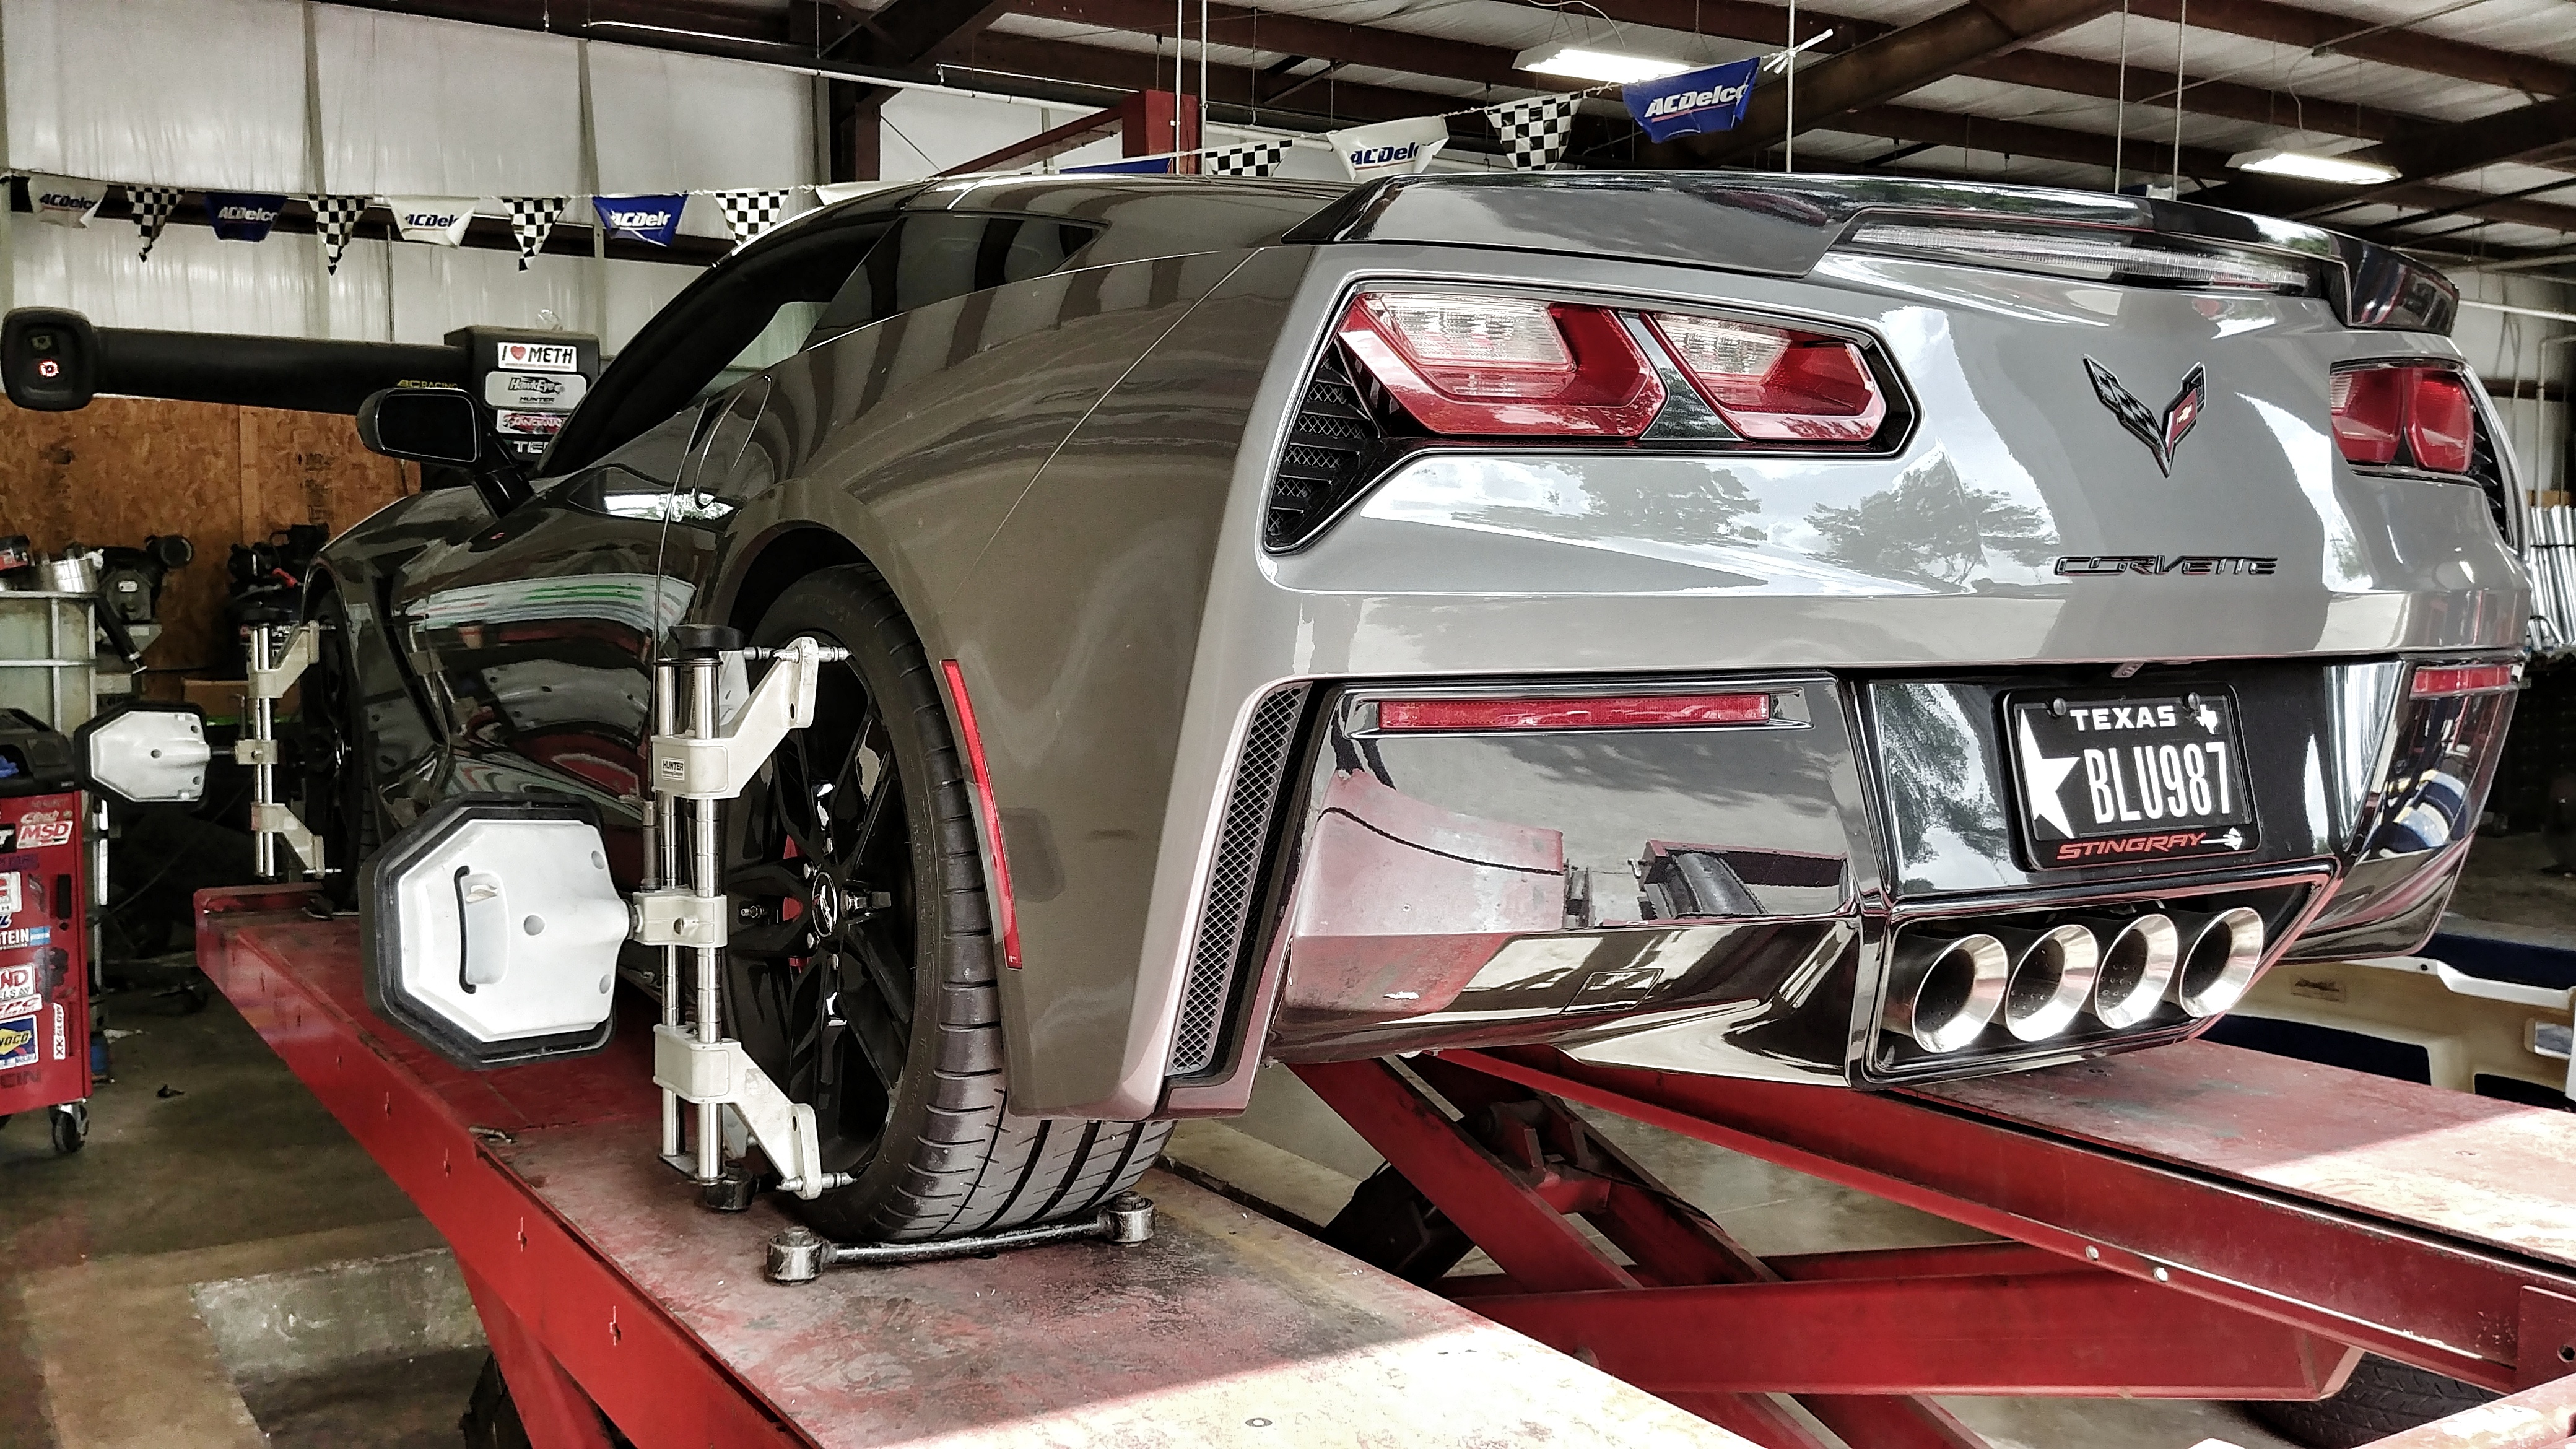
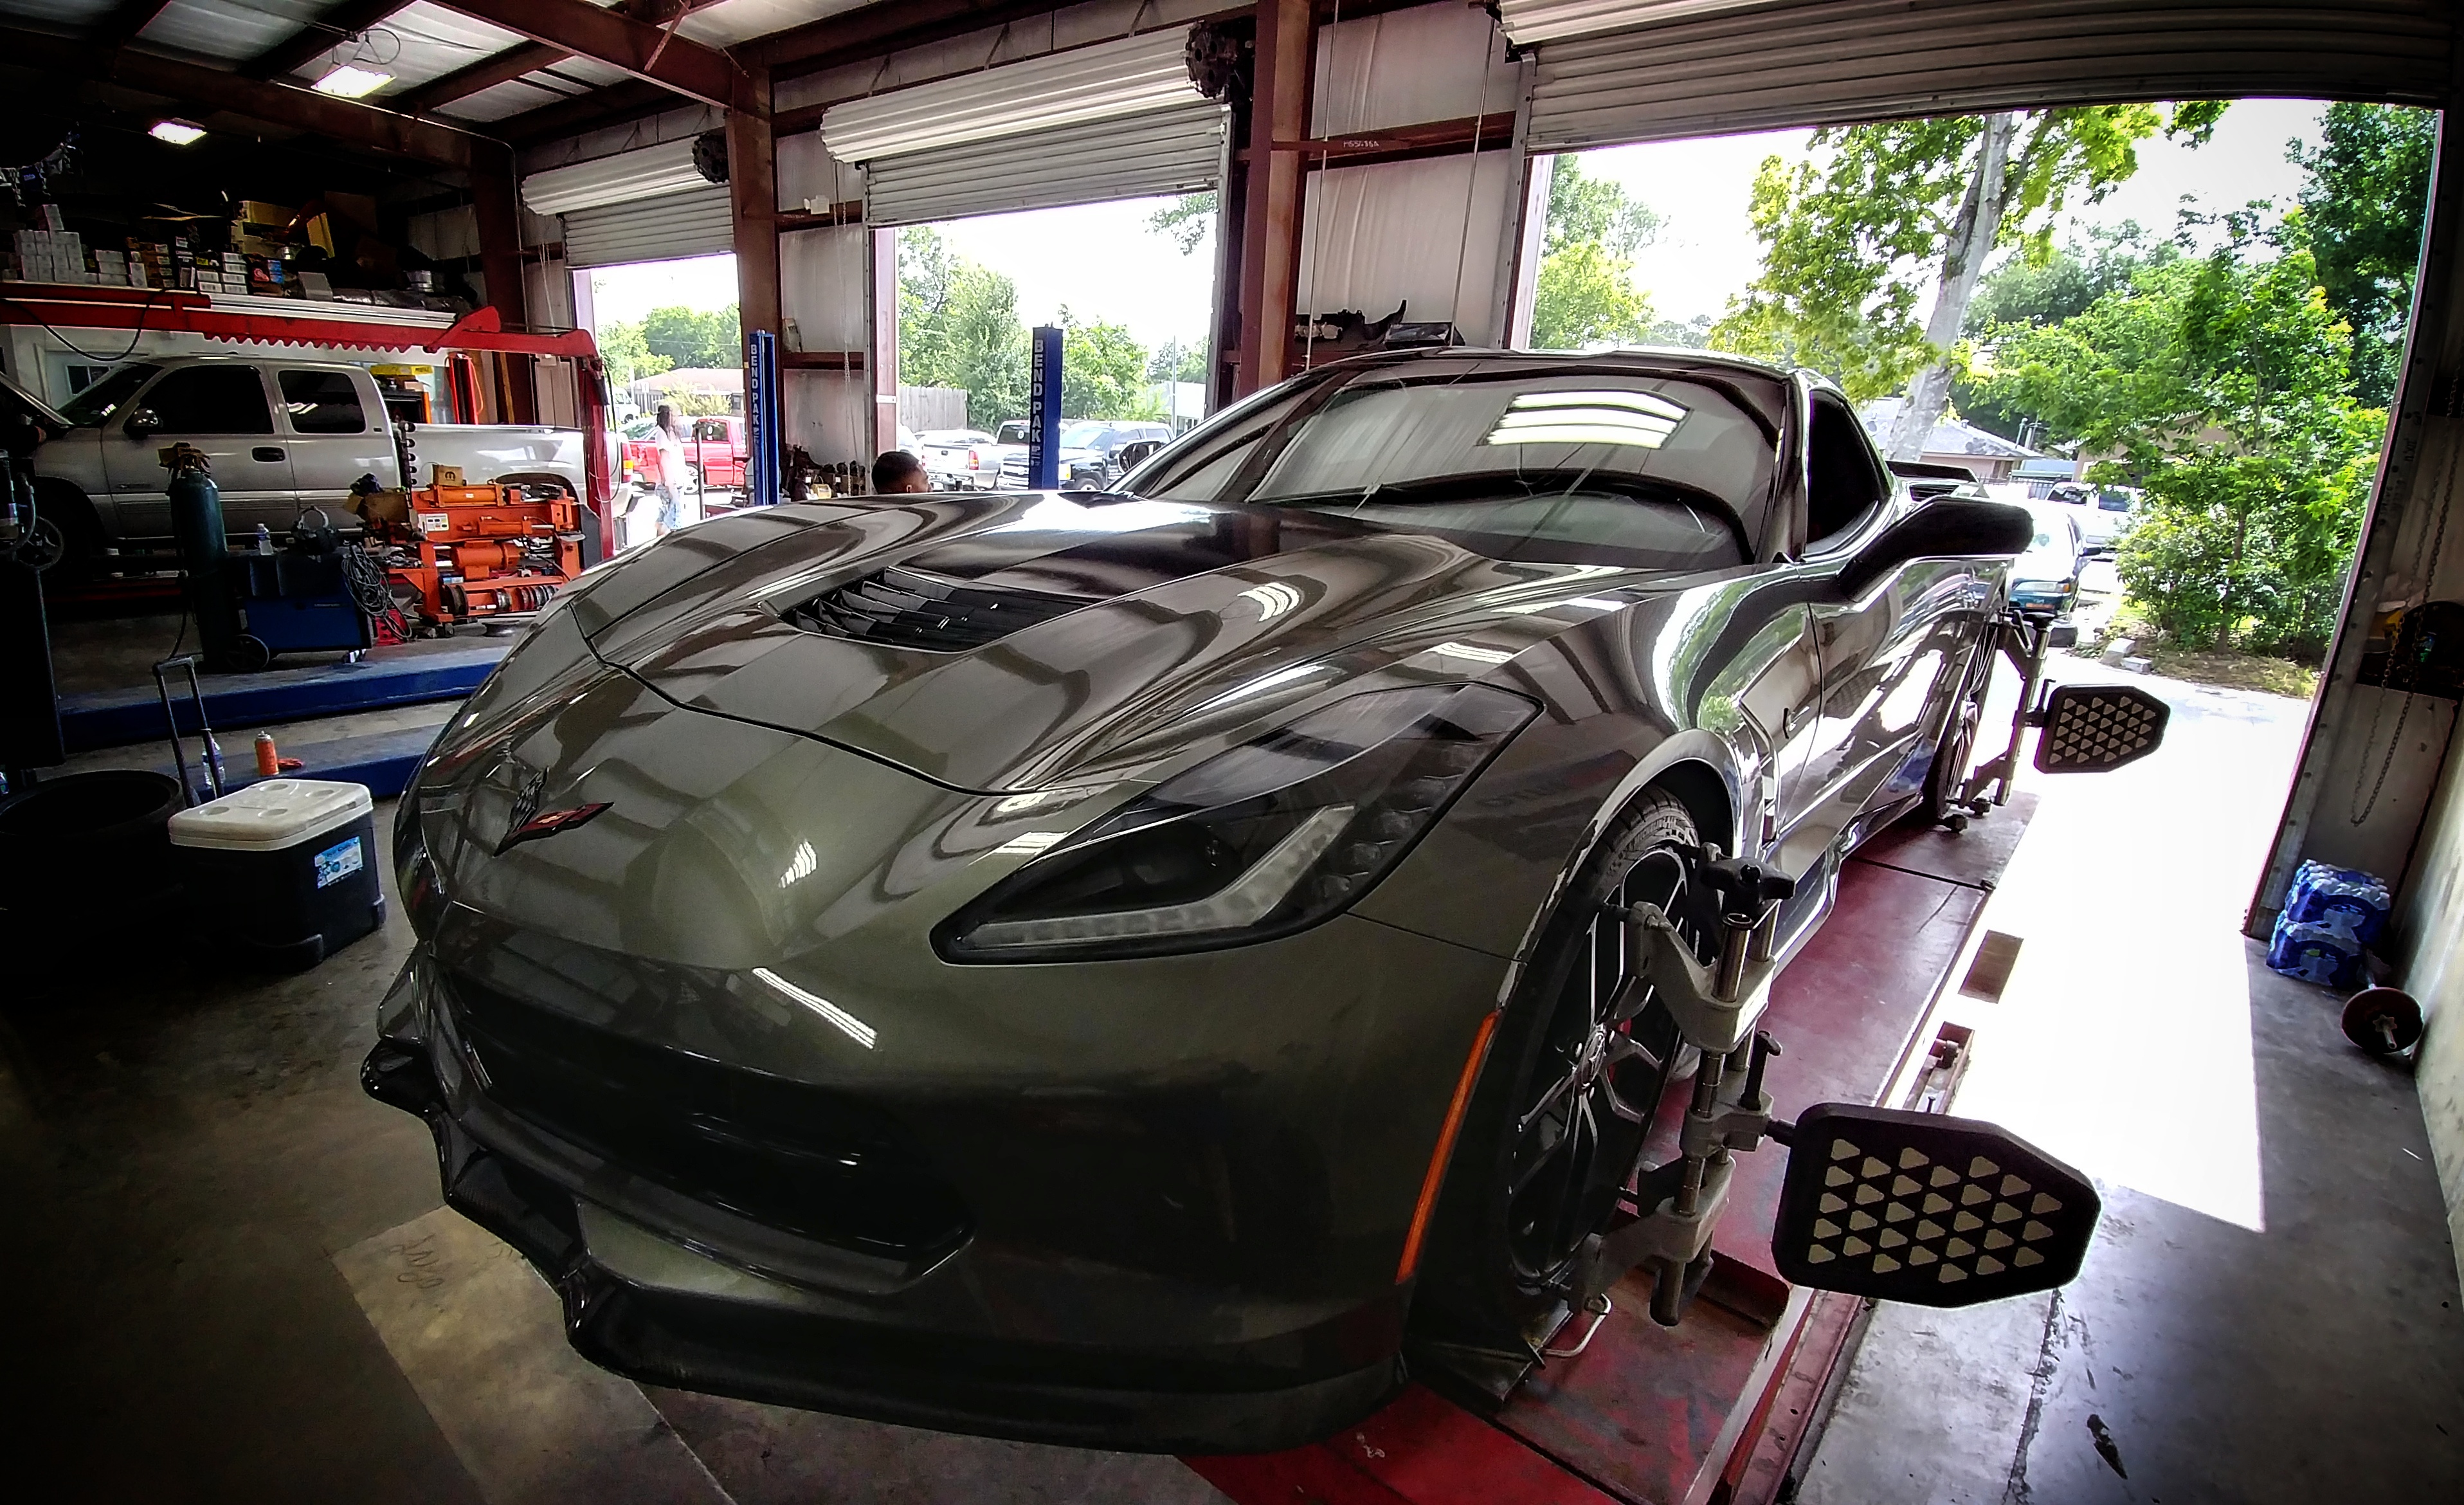
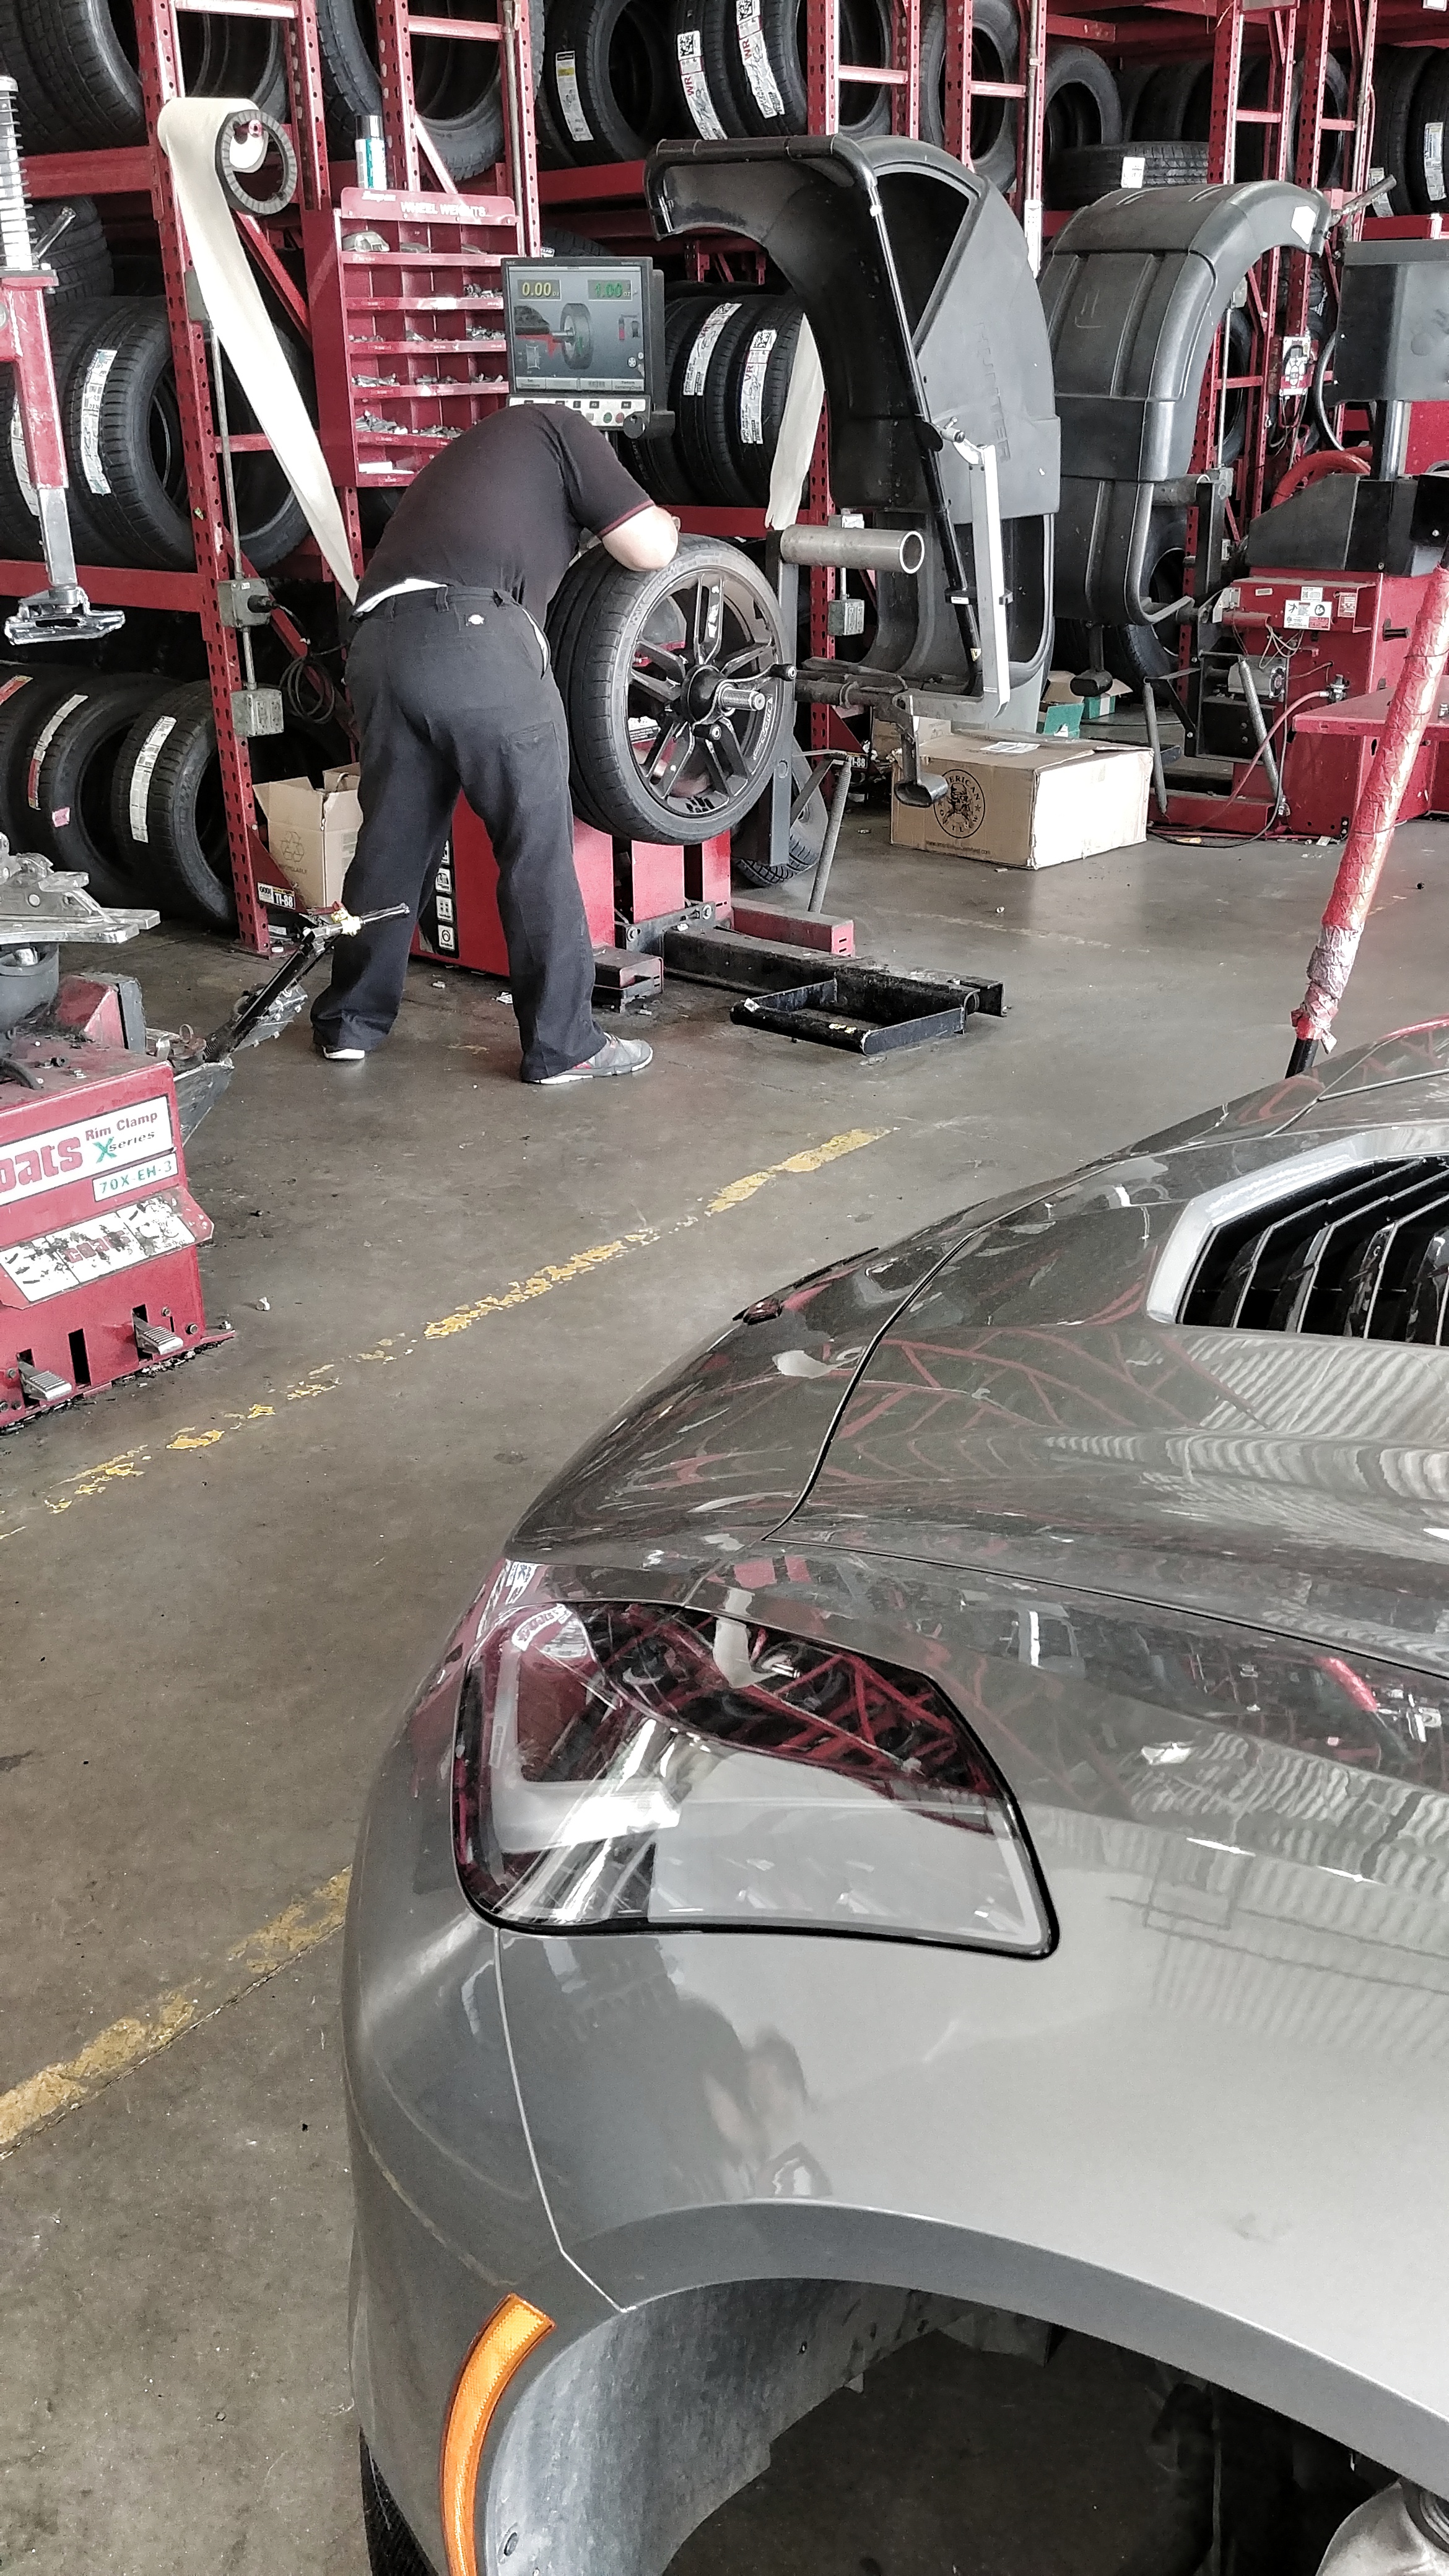
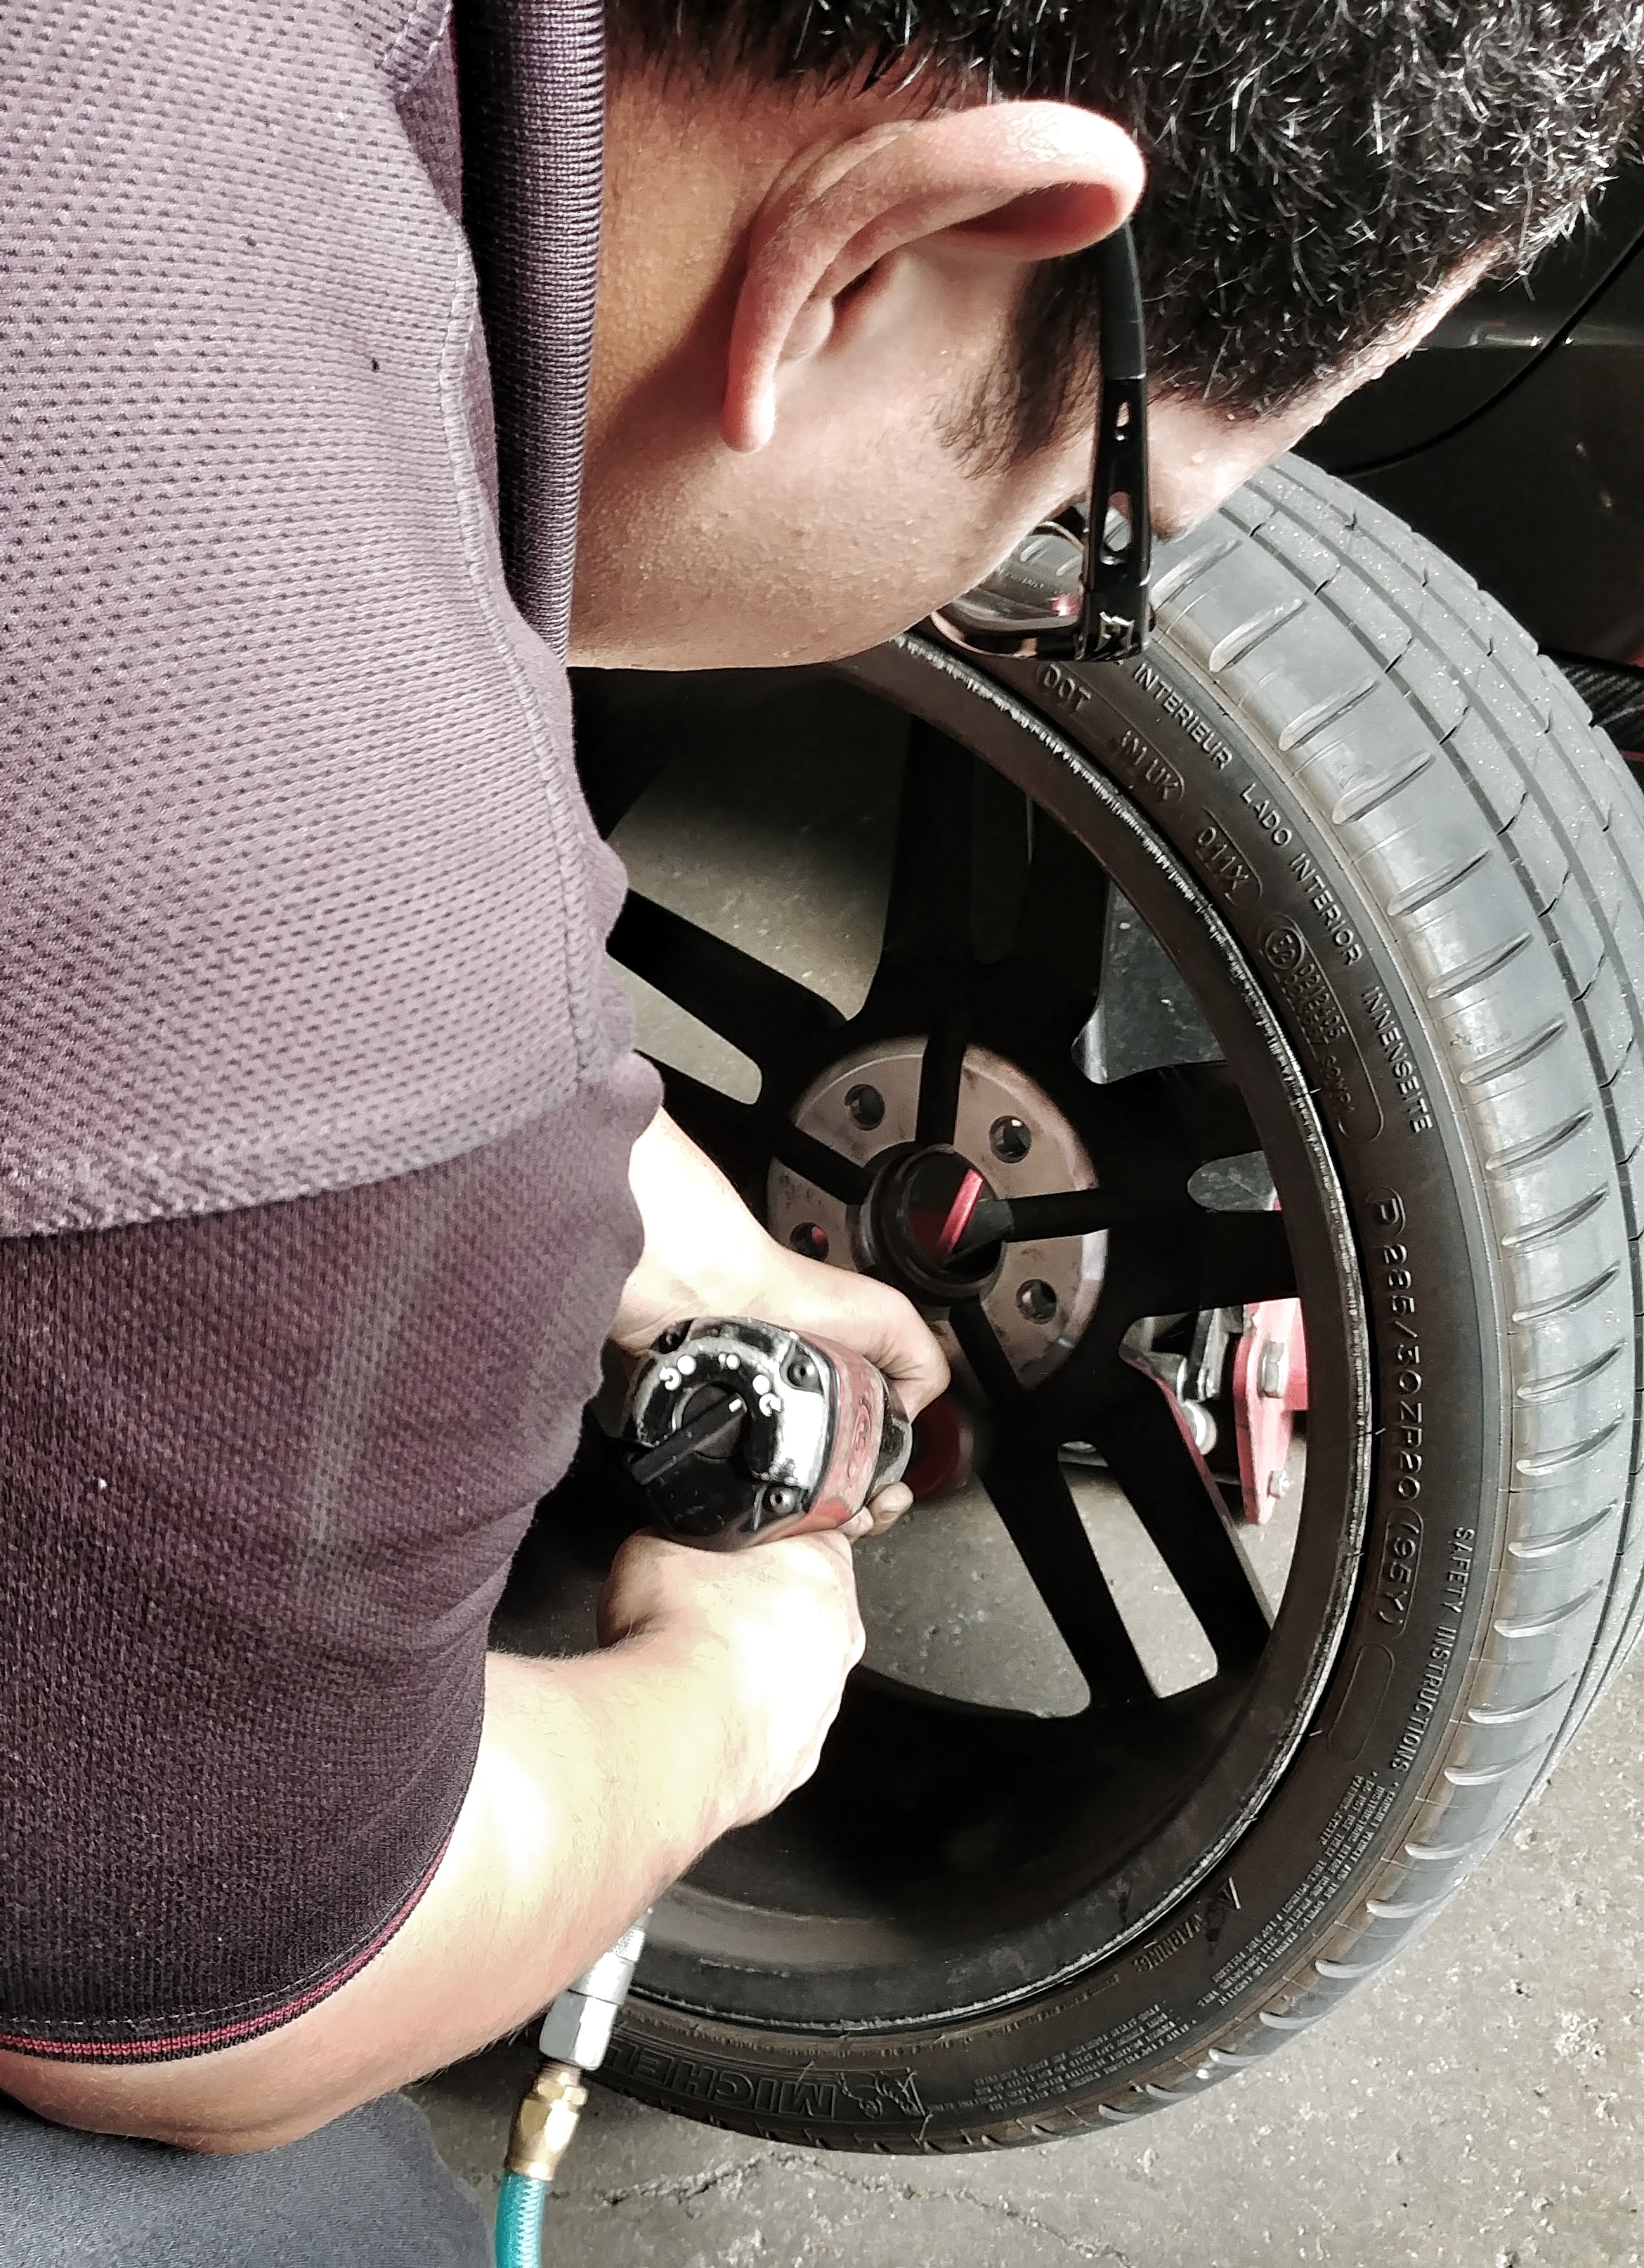
Next up I wanted to check the wheel/tire balance on each corner--its something I do on every car right after purchase--plus, call me crazy but I swear I felt a small vibe here n there at certain speeds. I wanted to make sure there were no bent wheels and everything was zero'd out. Also, a good opportunity to ditch the eye-sore chrome wheel weights in favor of some black units, and to check pad wear and rotor condition.
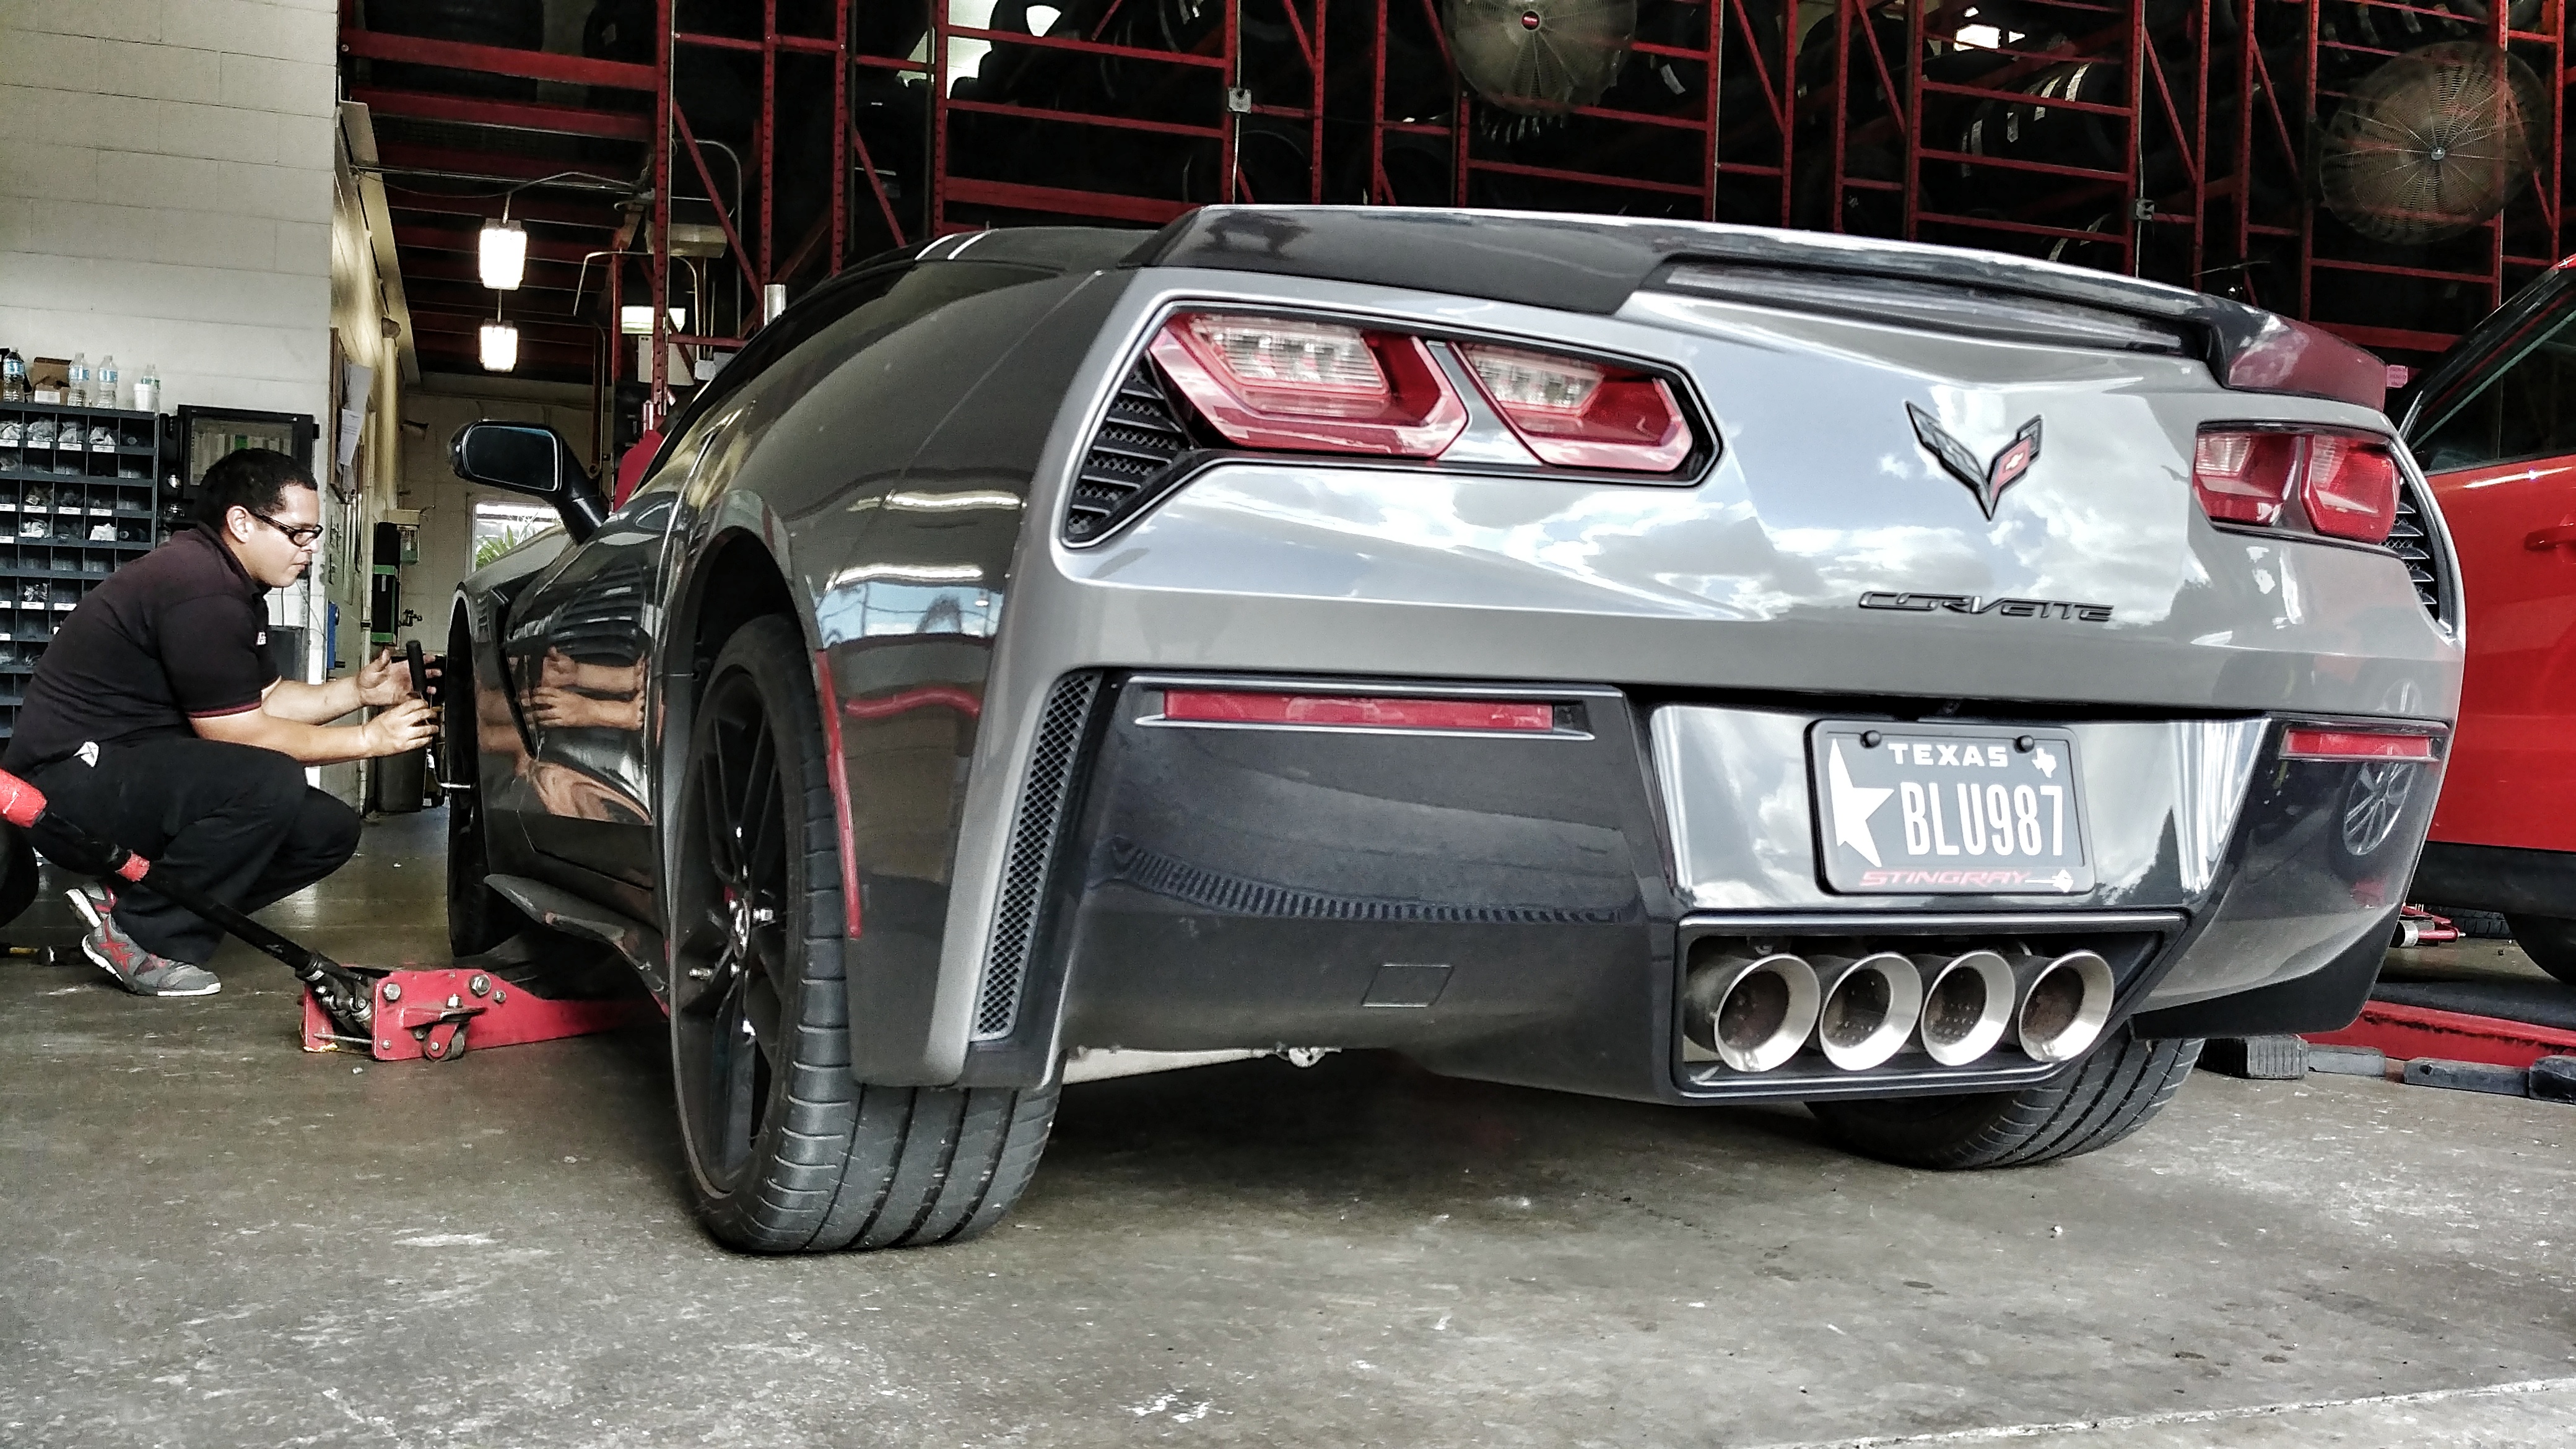
Of course, we immediately found a nail in the front left.

Good thing is that it was easily repairable and far from the sidewalls.

Assembly was fixed, re-mounted, and balanced.
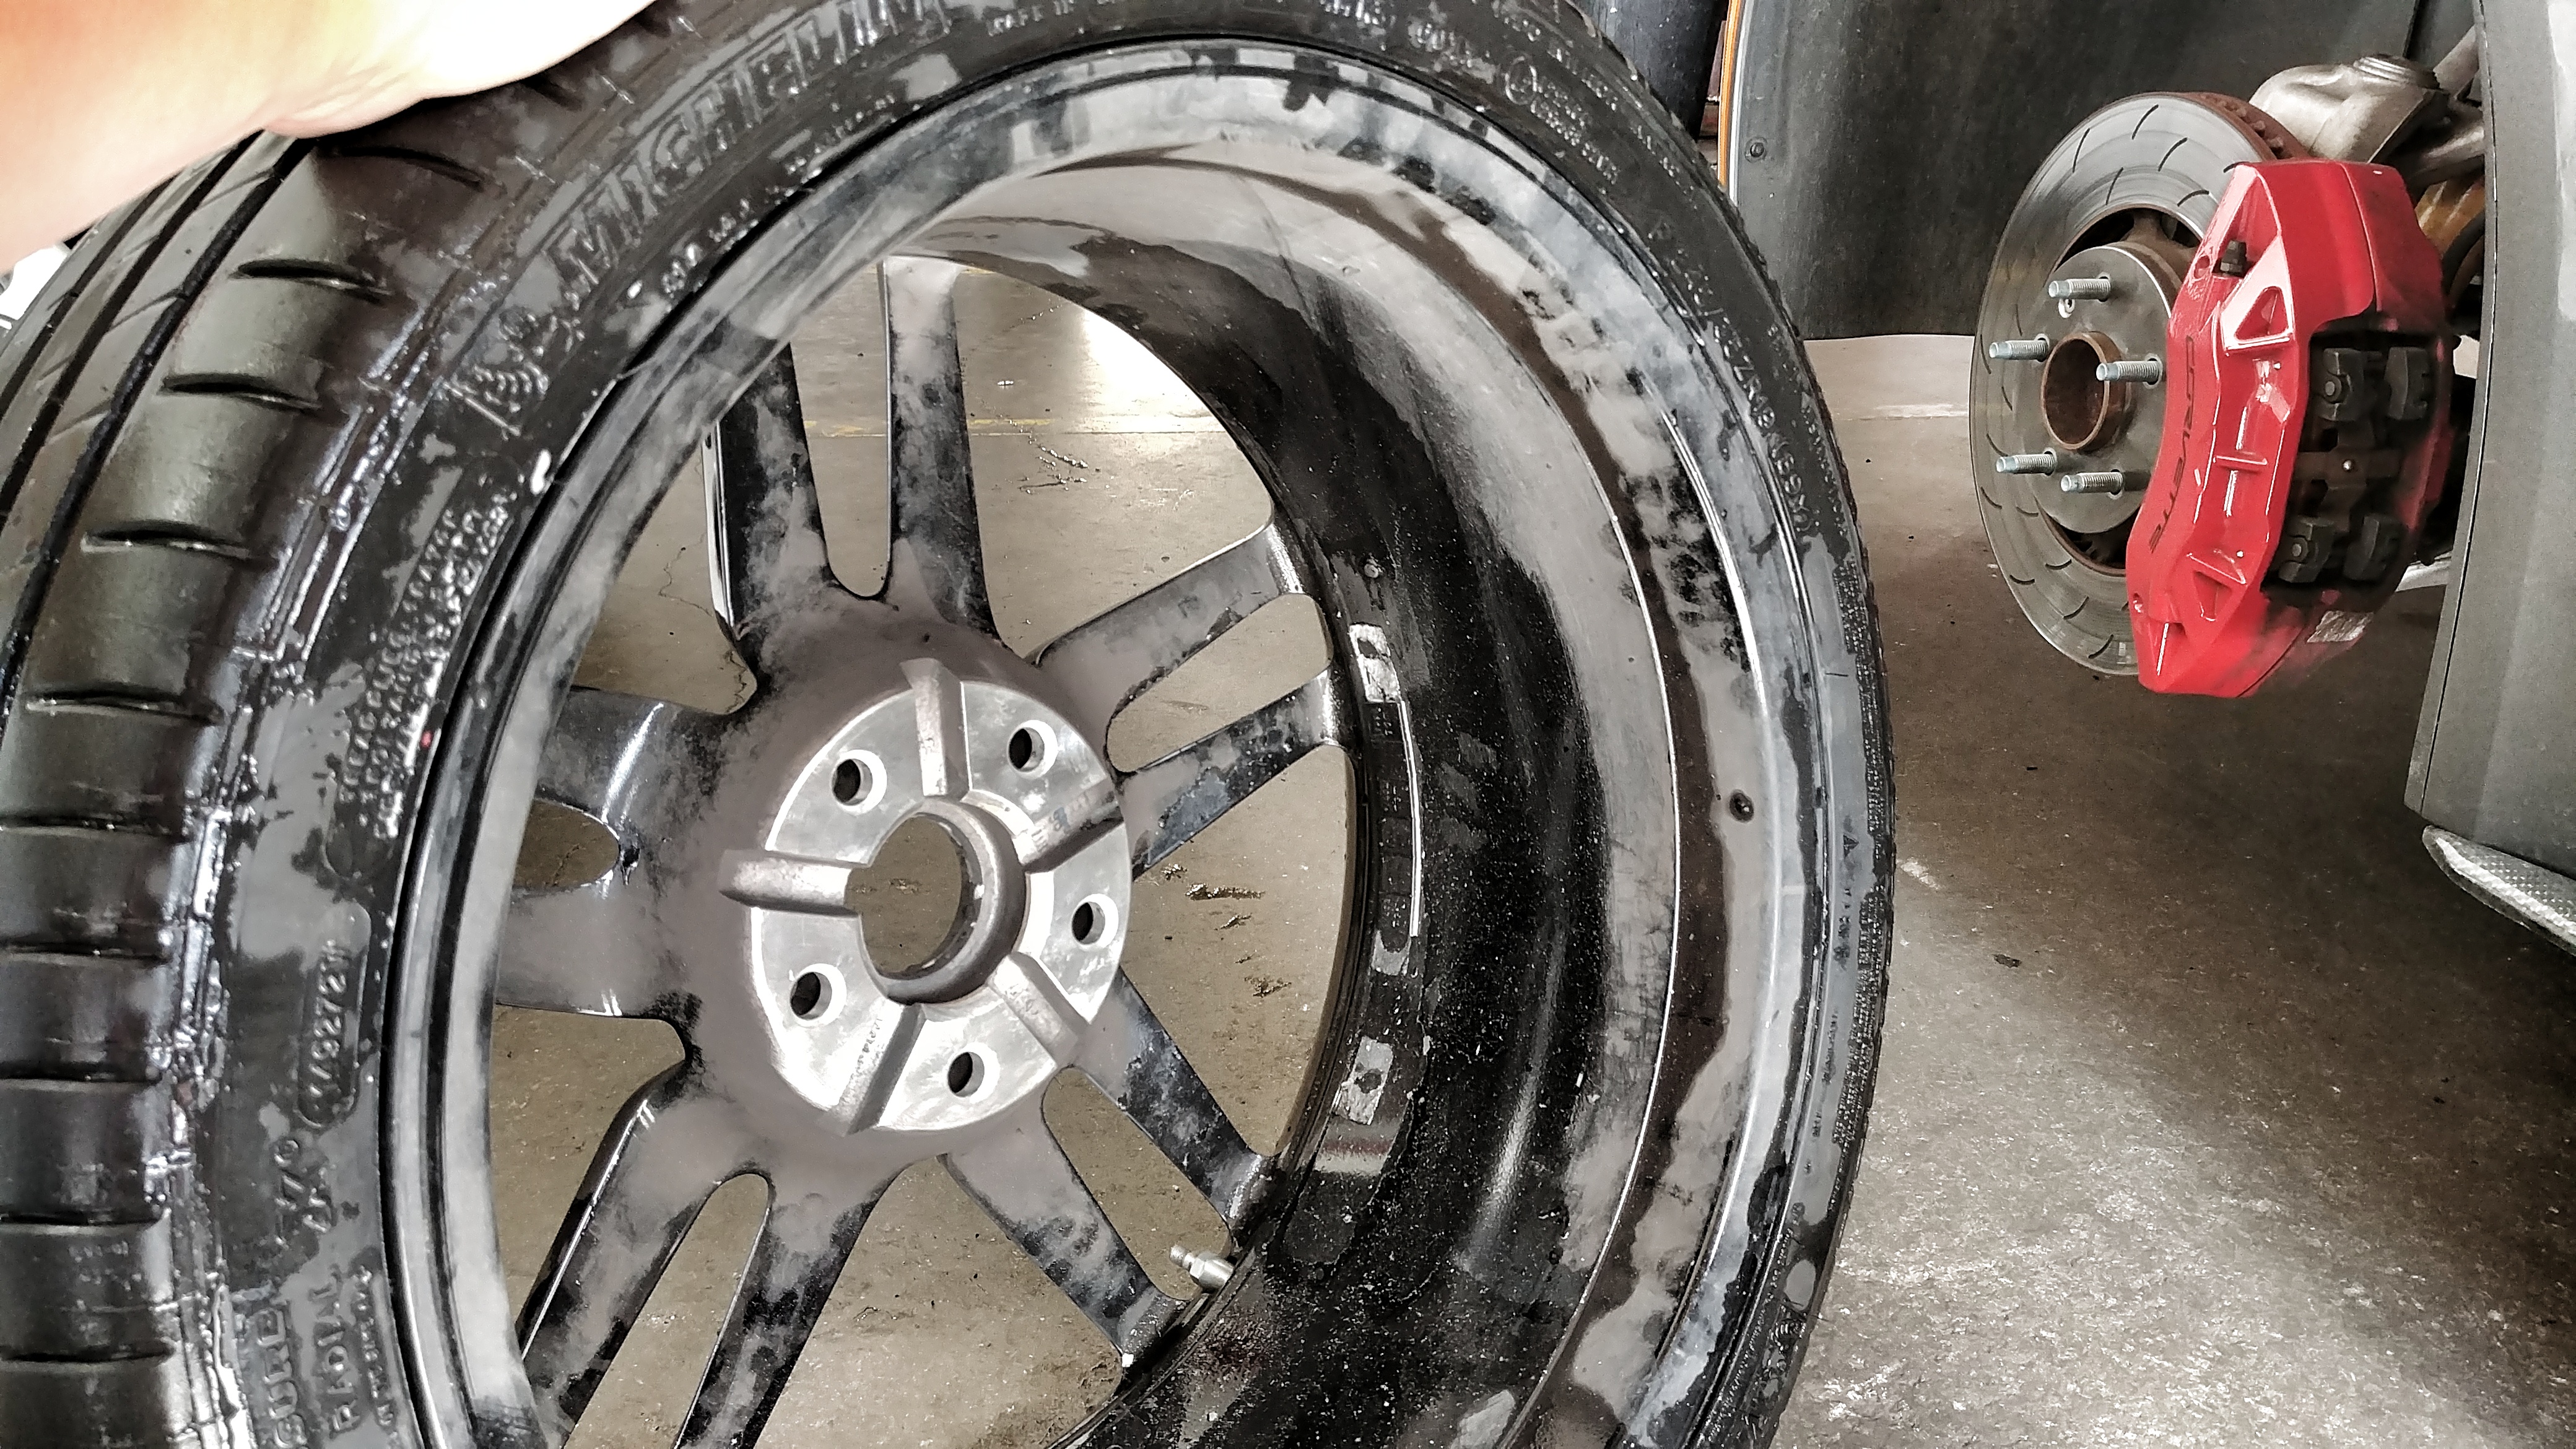
Also took a wire wheel to each hub and wheel mounting pad to make sure mating surfaces are true.
Repeated on each corner;

I wasn't crazy and each wheel/tire was out by .5oz, so the trip was well justified. Pro tip: Spot whether a vette has mag ride or not by the color of its shocks. Yellow means stock Z51, black means MRC.
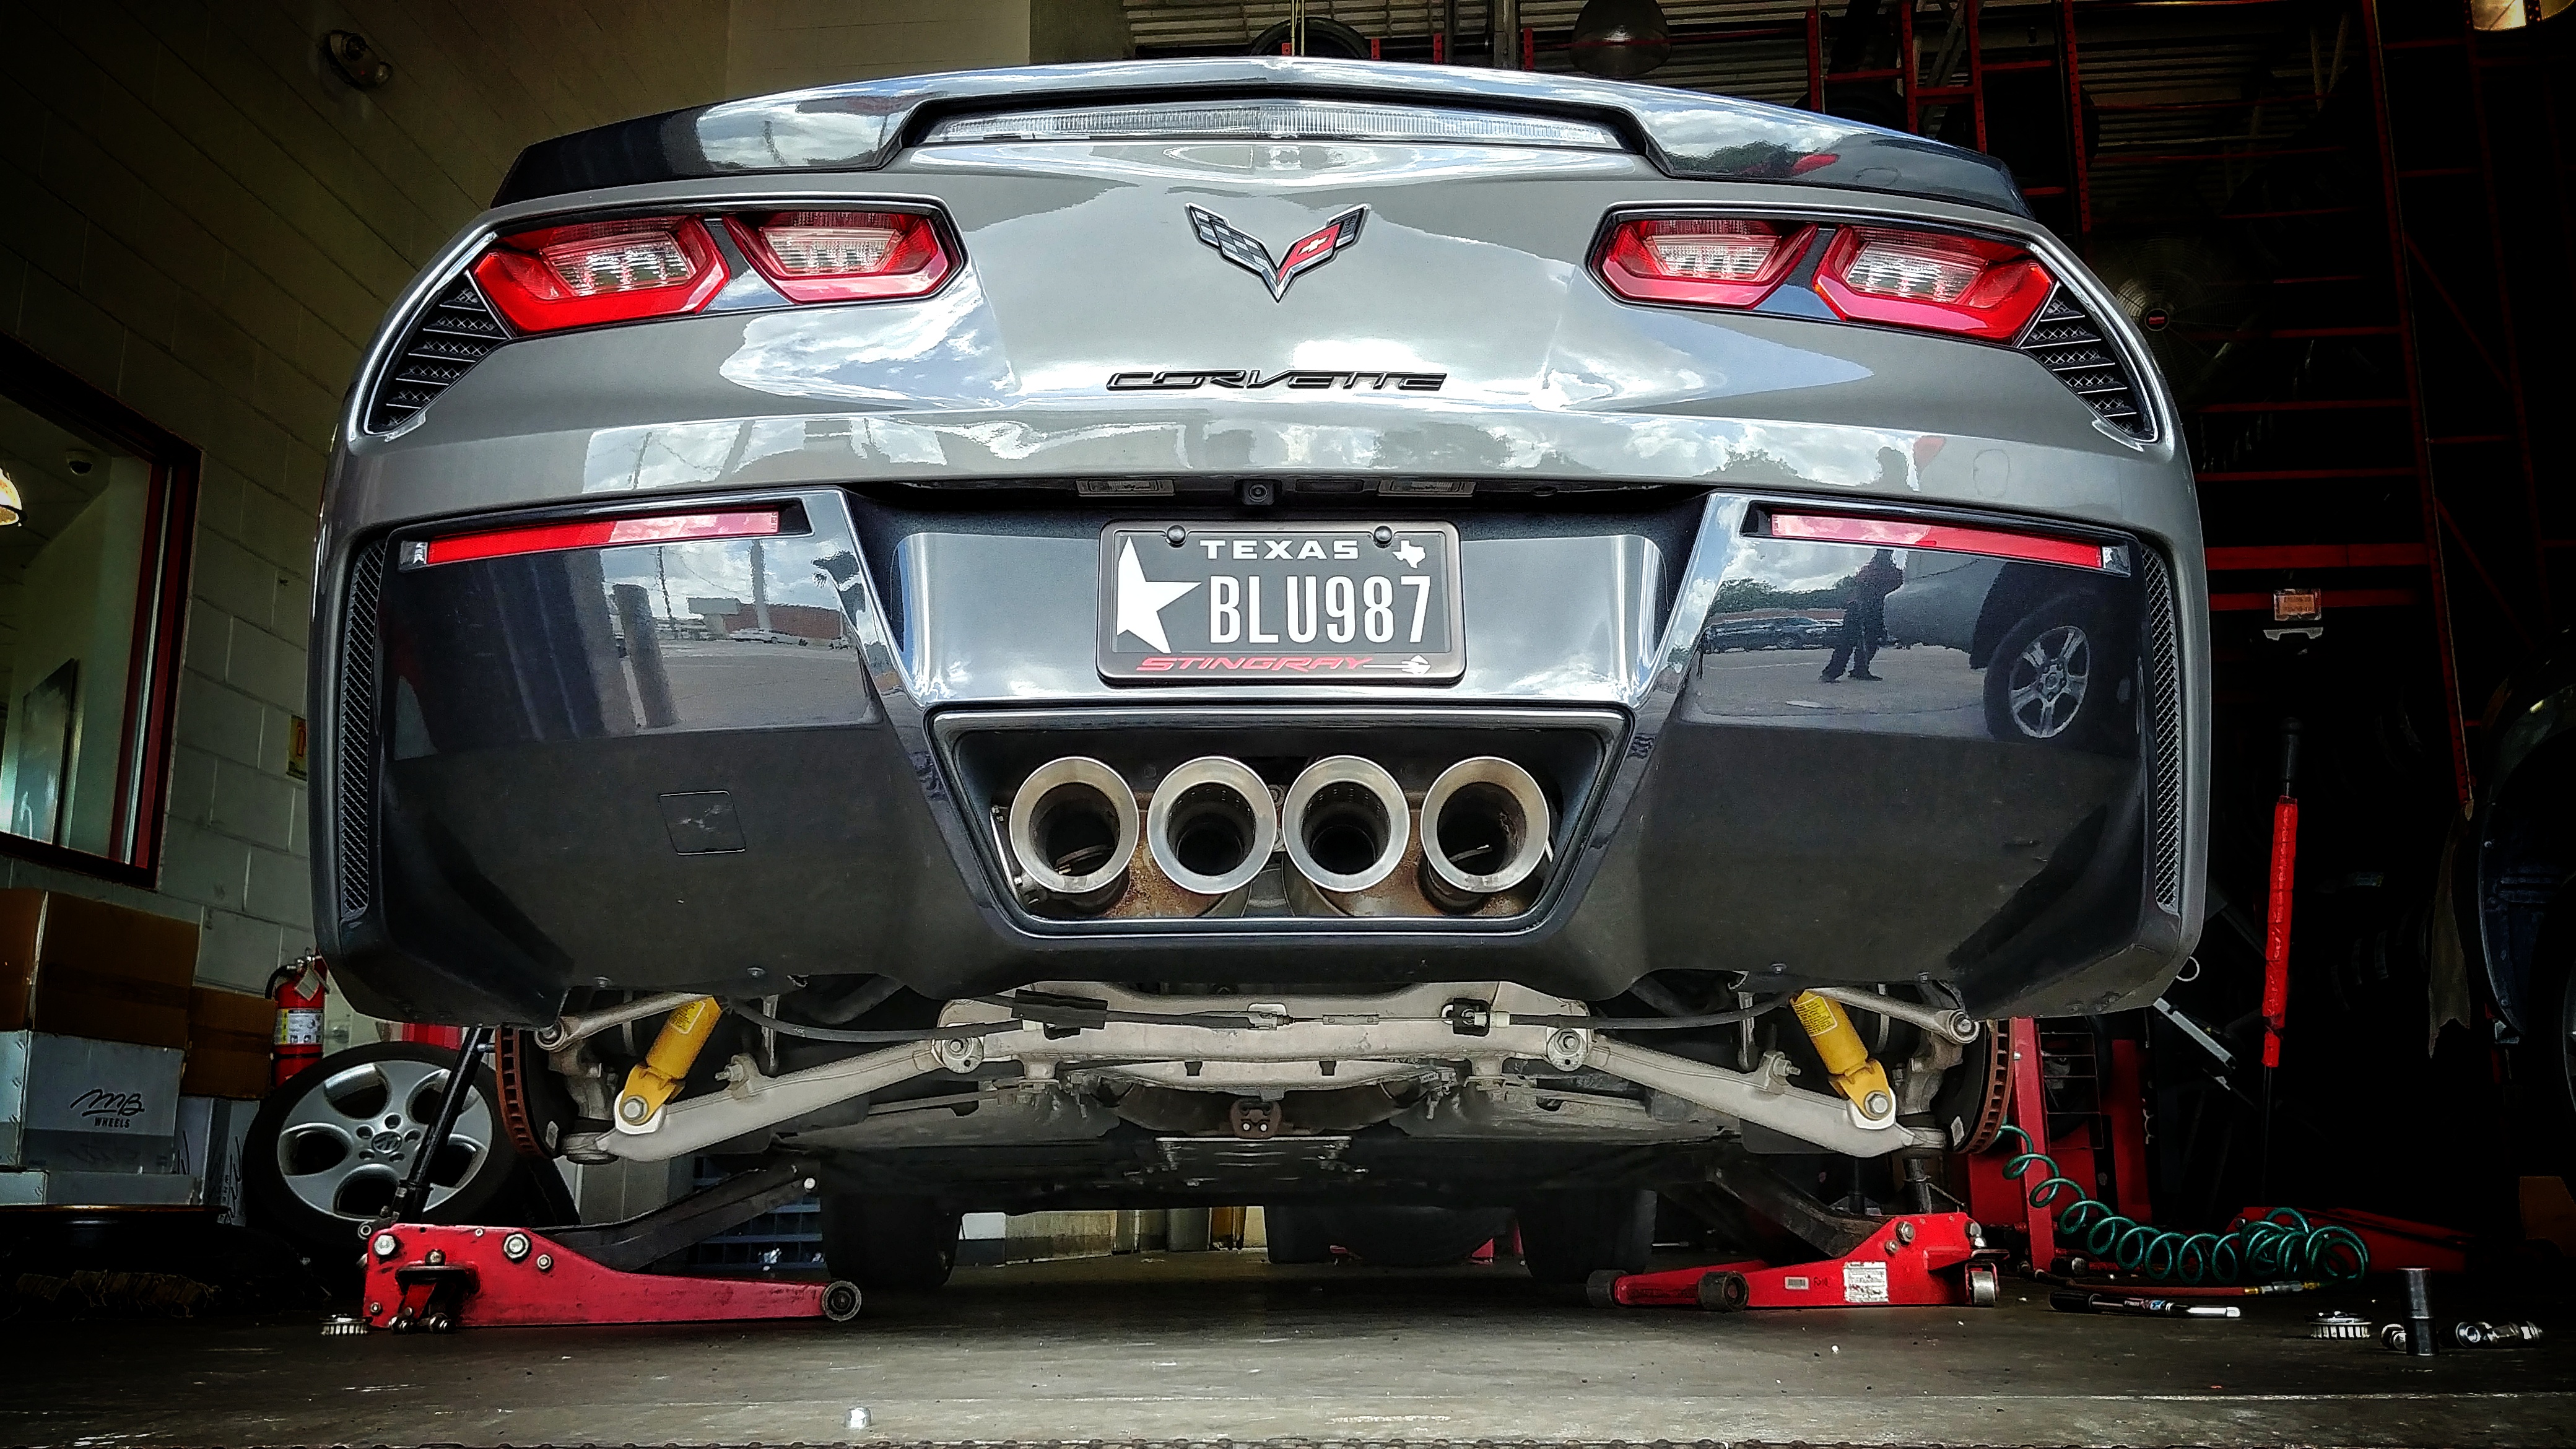
Got out of there and the car was rolling on glass, no vibes, just a mirror smooth wheel at speed. I'm a nut job so I can't really relay how happy it makes me when I know something (like a wheel/tire not being out by .5oz ) is made just so. :laugh:
Alignment never felt right on the car when I got it, toe seemed ok but it didn't have very good on center feel and there was more under-steer than I wanted. This didn't get any better after the car was lowered. I gave it a few days to settle down after lowering it, and then had the car aligned to these specs;
Camber:
Front: -1.5*
Rear: -1.0*
Toe:
Front: 0.0 (or slight toe-in)
Rear: 0.0
Caster:
Front: 7.6*
Rear: 0*
Overall a mildish setup for the street and a few track days here n there. Rear caster adjustment on these cars requires special tooling (apparently), and thus could not be adjusted at the shop I visited.


It's amazing how a degree of adjustment here or there can transform how the car feels and reacts under load. I feel like some people really overlook alignments and getting the details right when it comes performance cars. Car feels very neutral now, with a lot better bite on turn in. I cant wait to auto-x and track it, I think the power level of the car is just perfect for the amount of grip and overall body control. I think it will be a hilariously fun car to thrash about.
Next up I wanted to check the wheel/tire balance on each corner--its something I do on every car right after purchase--plus, call me crazy but I swear I felt a small vibe here n there at certain speeds. I wanted to make sure there were no bent wheels and everything was zero'd out. Also, a good opportunity to ditch the eye-sore chrome wheel weights in favor of some black units, and to check pad wear and rotor condition.

Of course, we immediately found a nail in the front left.

Good thing is that it was easily repairable and far from the sidewalls.

Assembly was fixed, re-mounted, and balanced.

Also took a wire wheel to each hub and wheel mounting pad to make sure mating surfaces are true.

Repeated on each corner;


I wasn't crazy and each wheel/tire was out by .5oz, so the trip was well justified. Pro tip: Spot whether a vette has mag ride or not by the color of its shocks. Yellow means stock Z51, black means MRC.

Got out of there and the car was rolling on glass, no vibes, just a mirror smooth wheel at speed. I'm a nut job so I can't really relay how happy it makes me when I know something (like a wheel/tire not being out by .5oz ) is made just so. :laugh:
 07-05-2017, 03:49 PM
#24
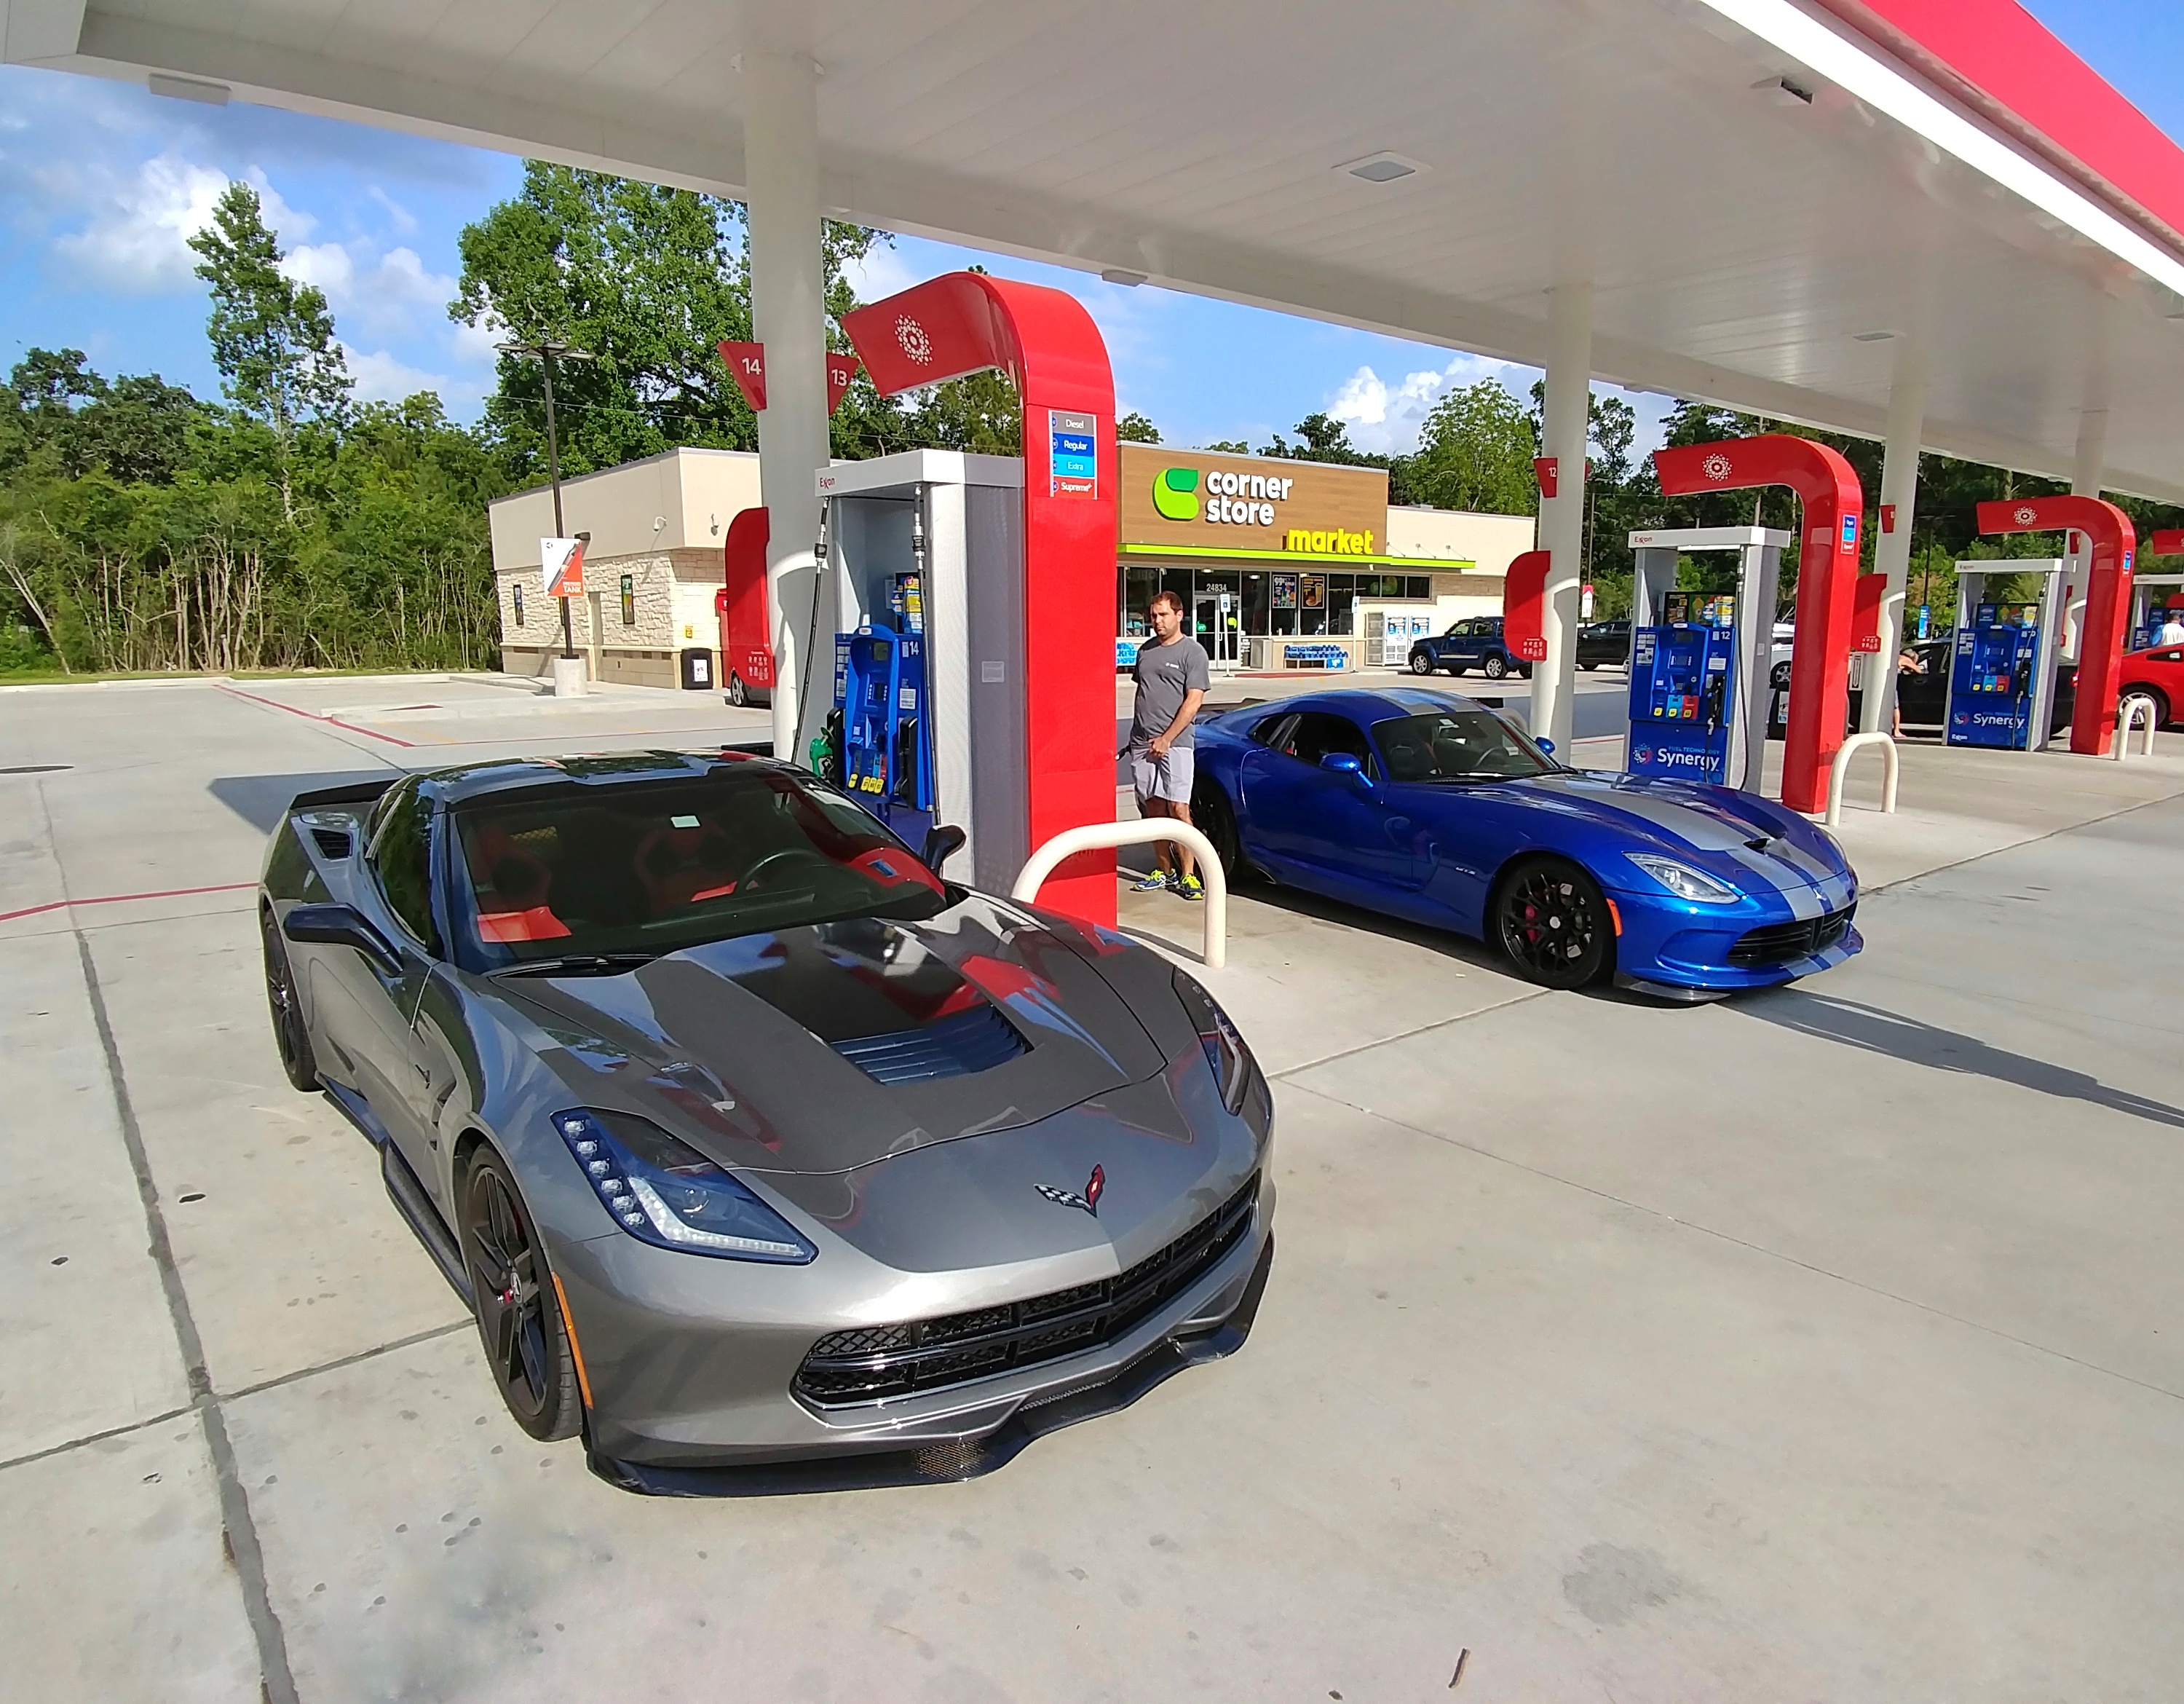
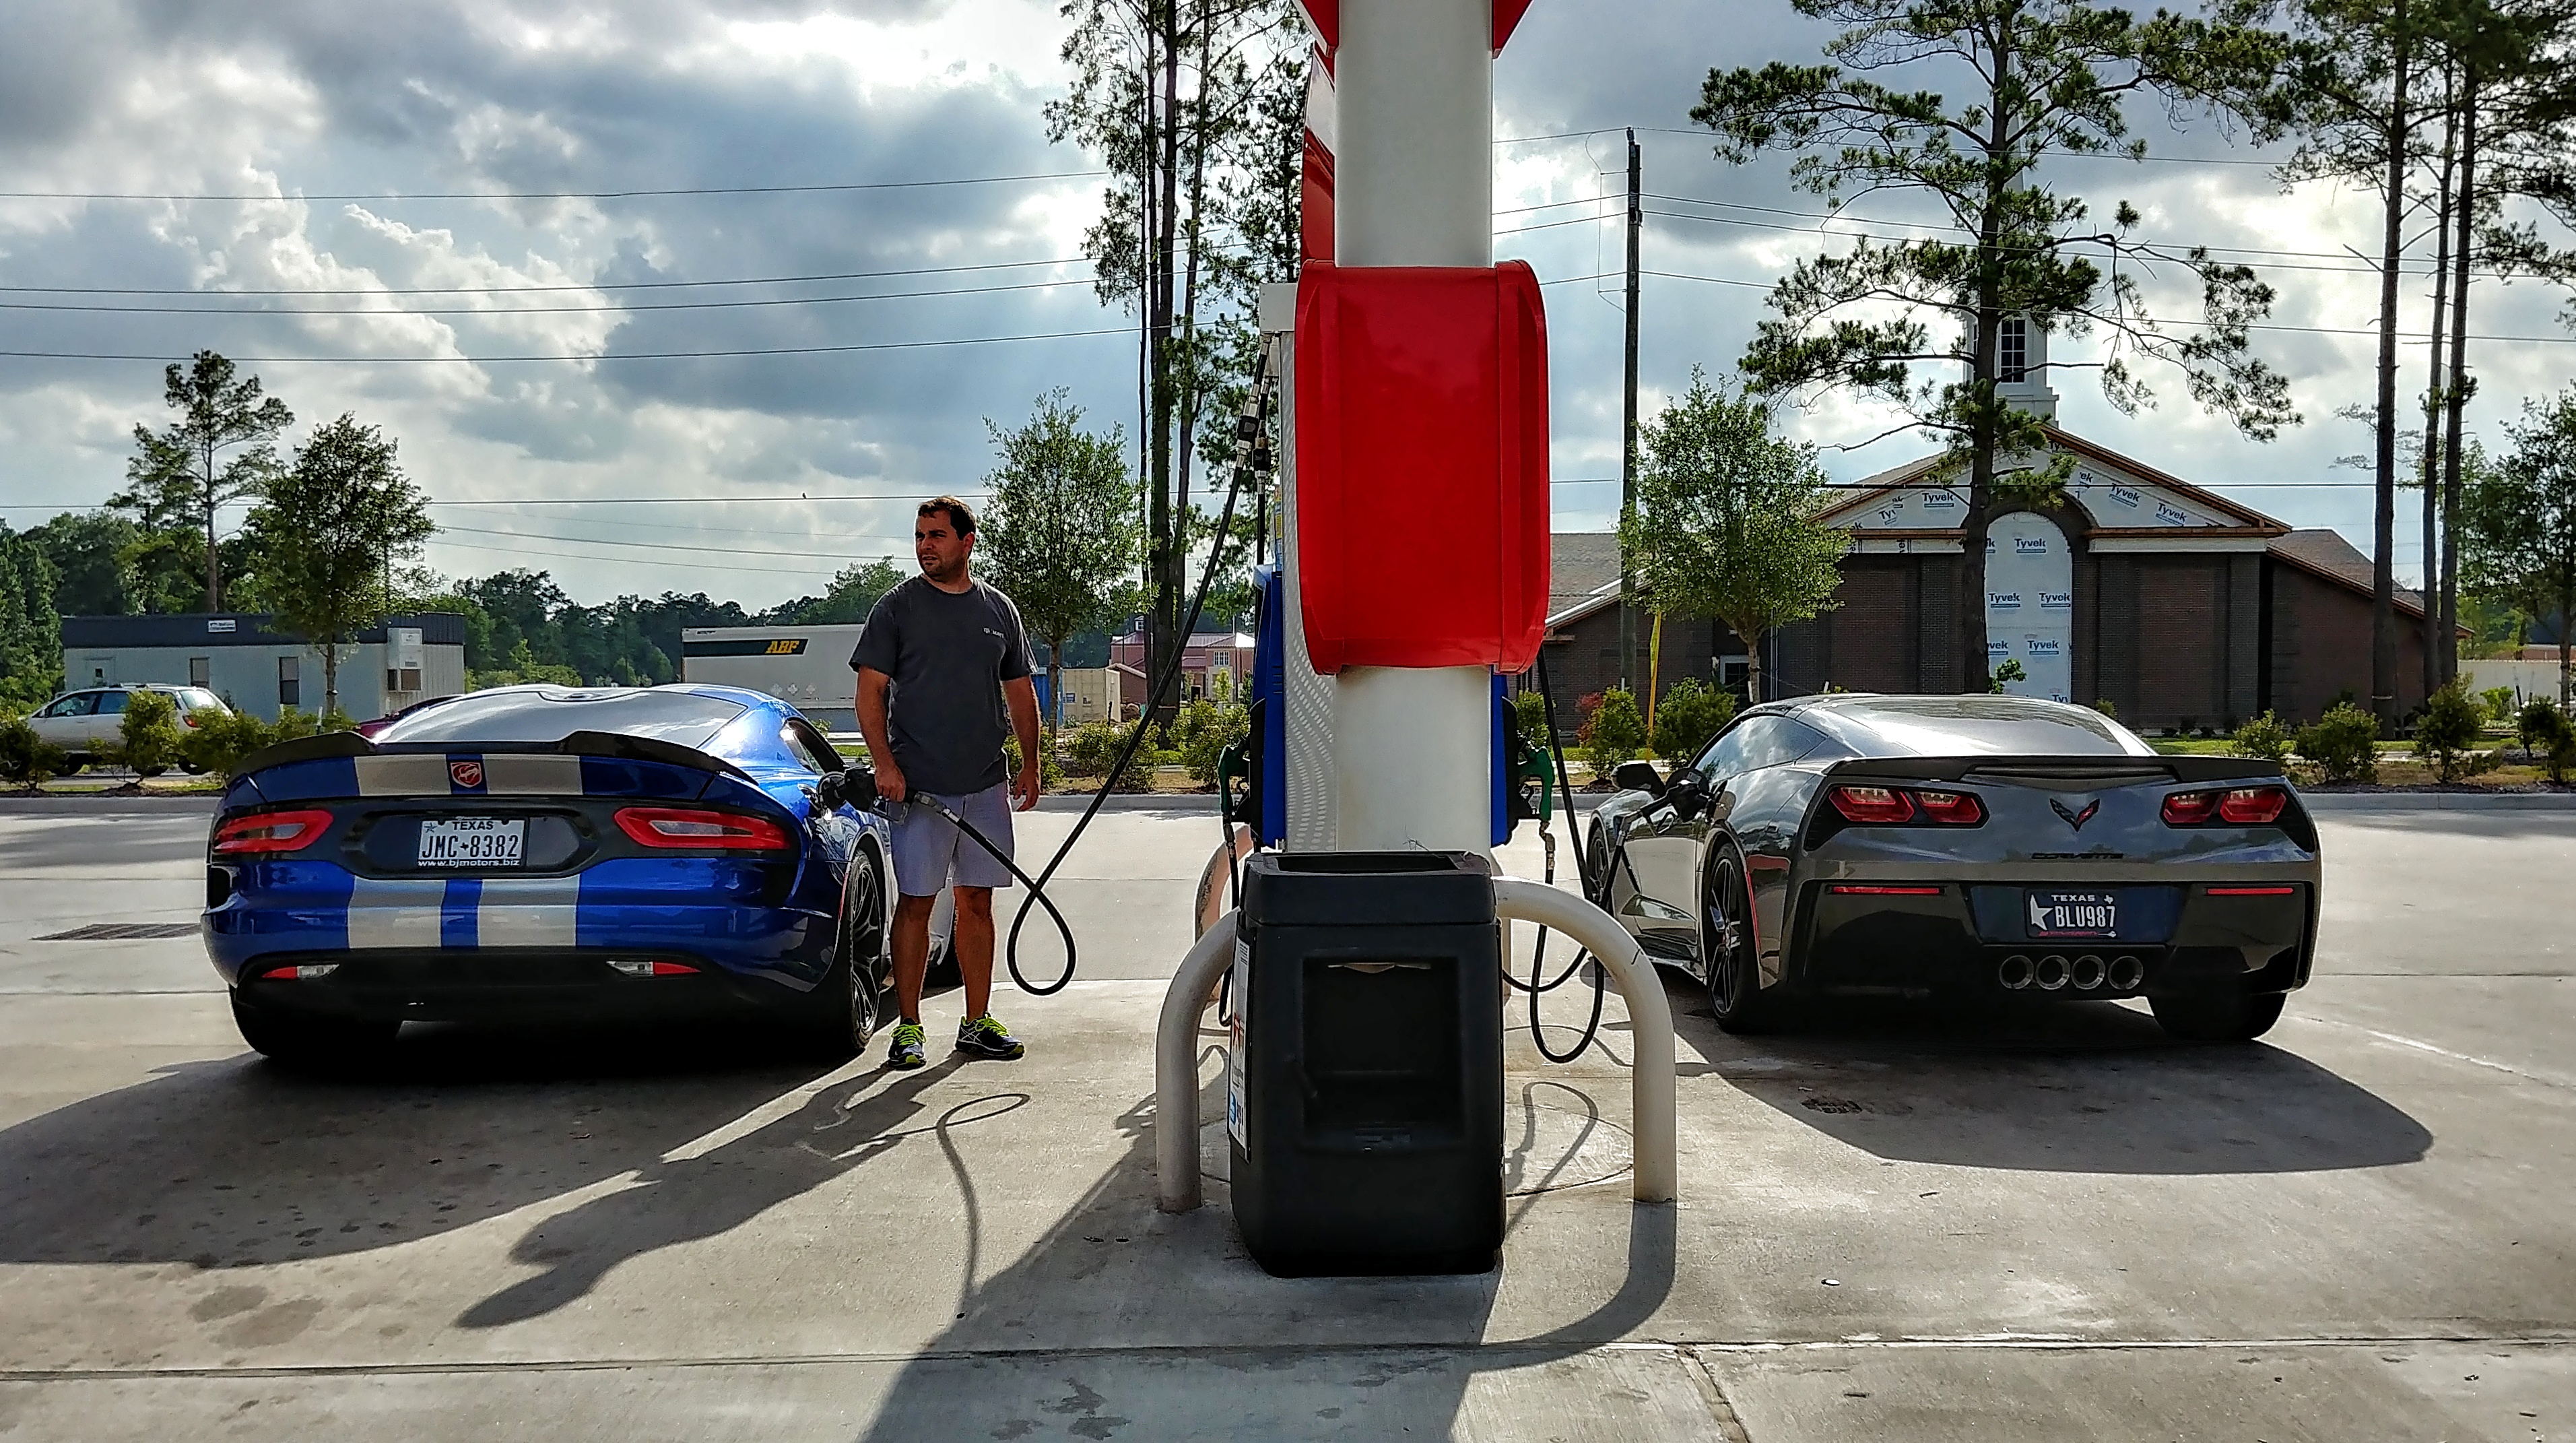
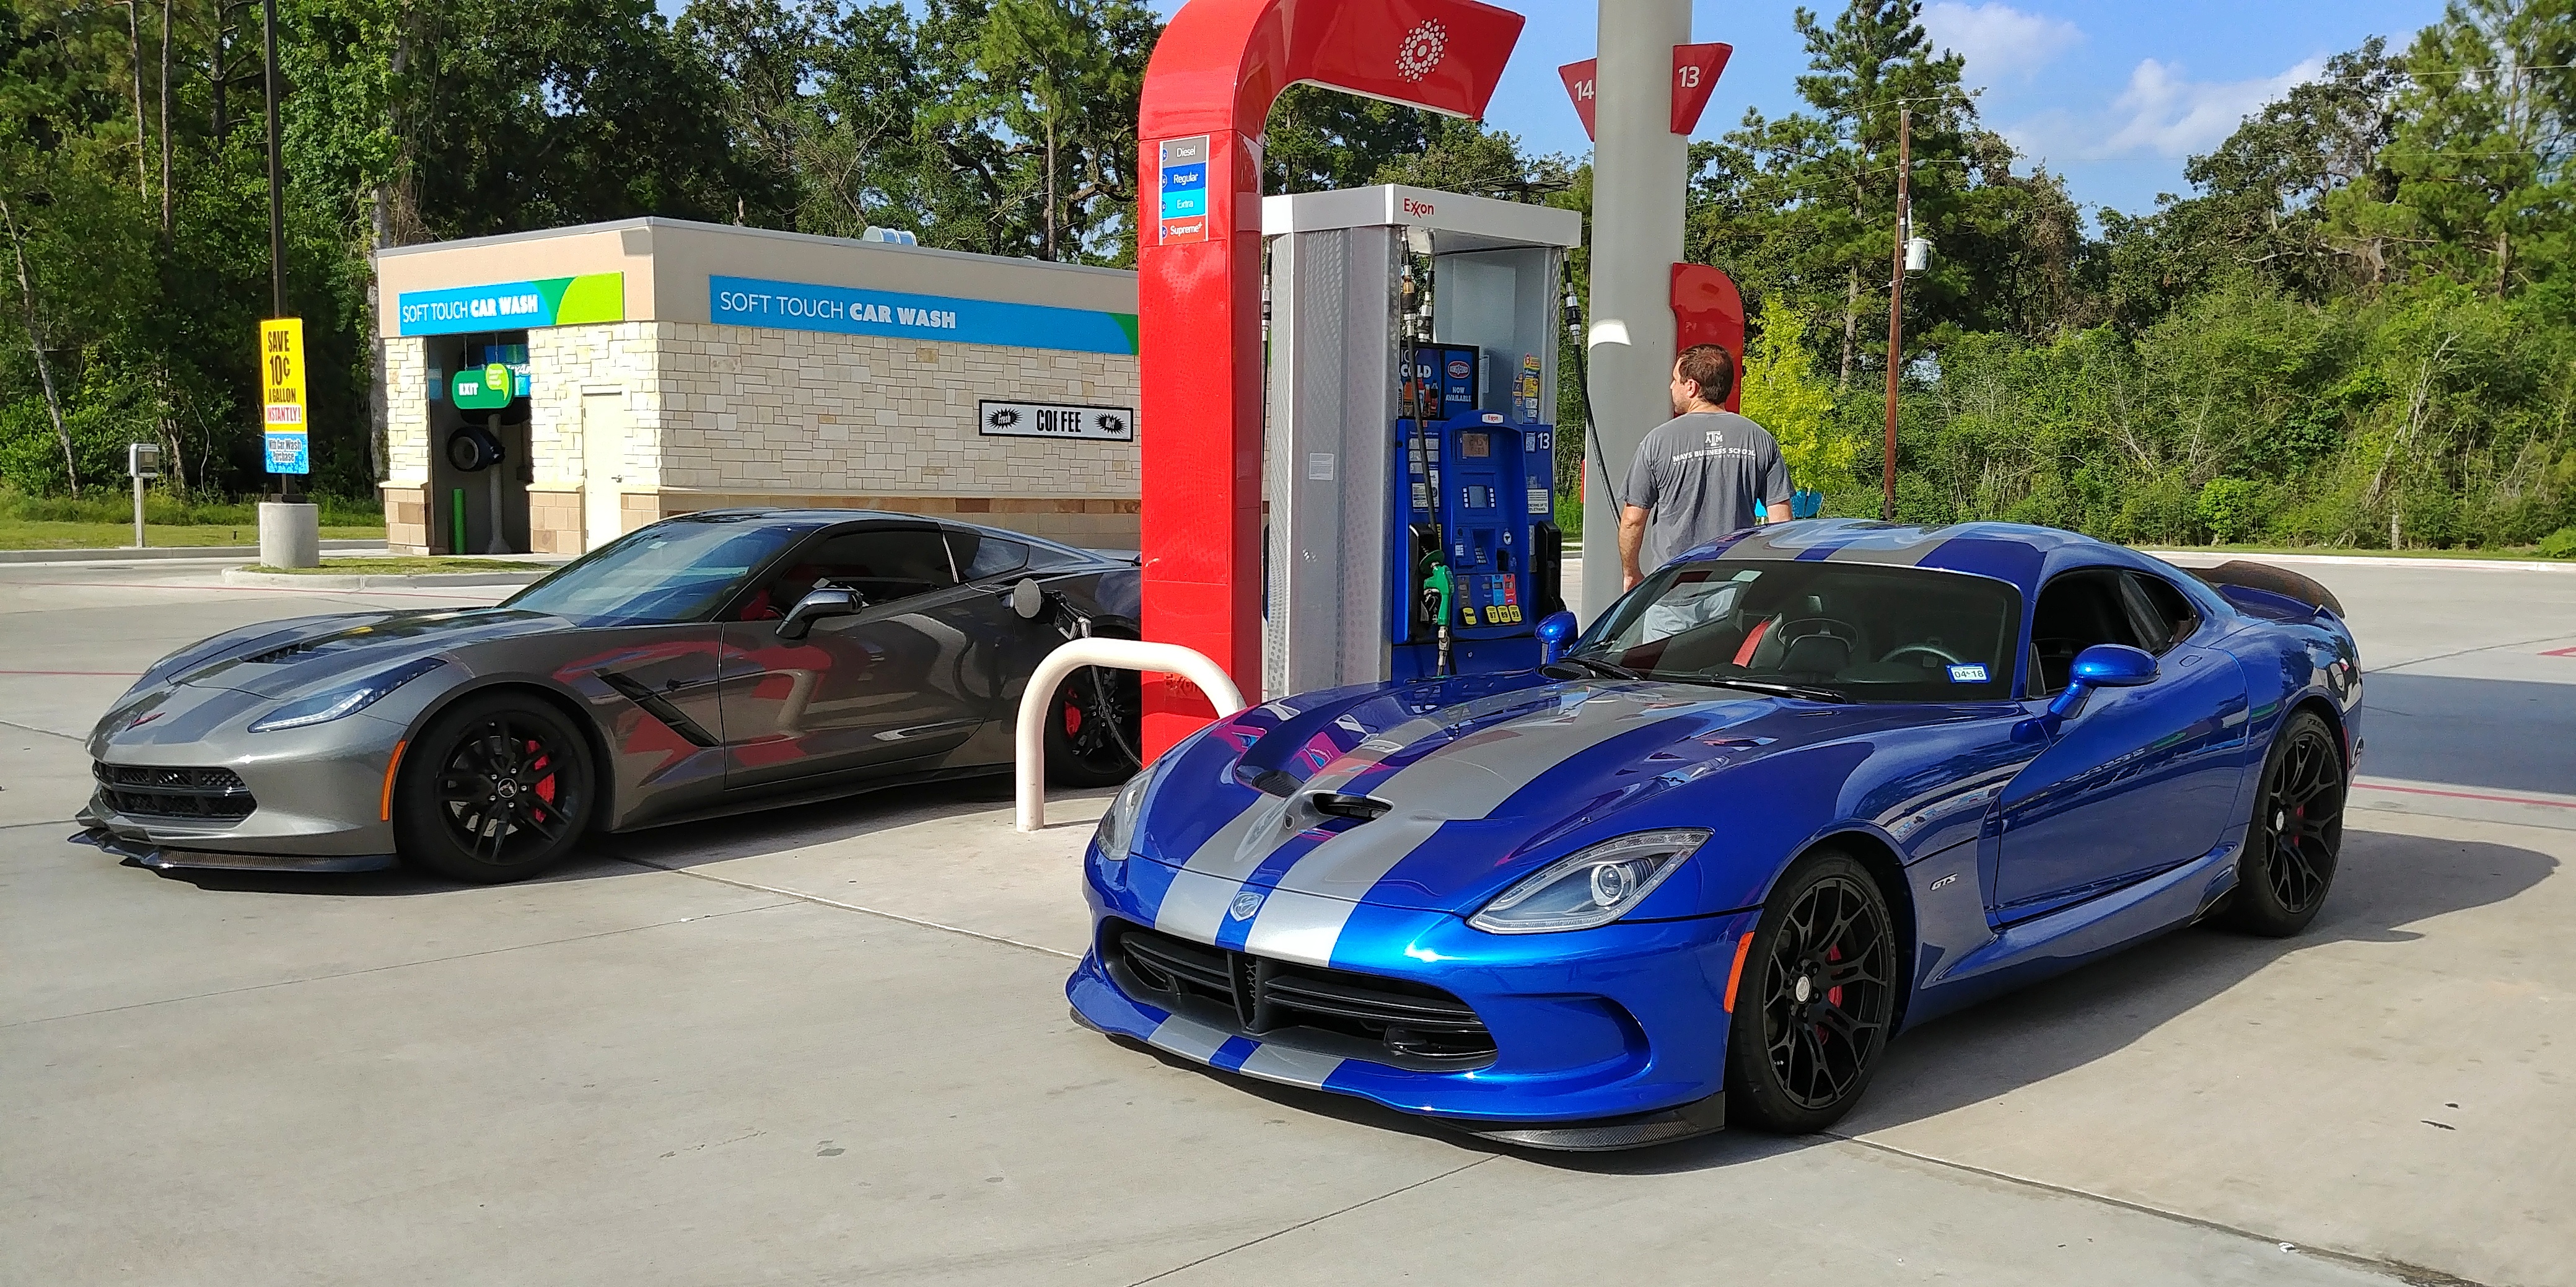
Then took a blast through the forest roads to test out the changes with a buddy who owns my Viper doppelganger (plus stripes). Had an absolute blast out there, but I need bleed the clutch fluid, absolutely no feel, spongy, with on/off engagement.
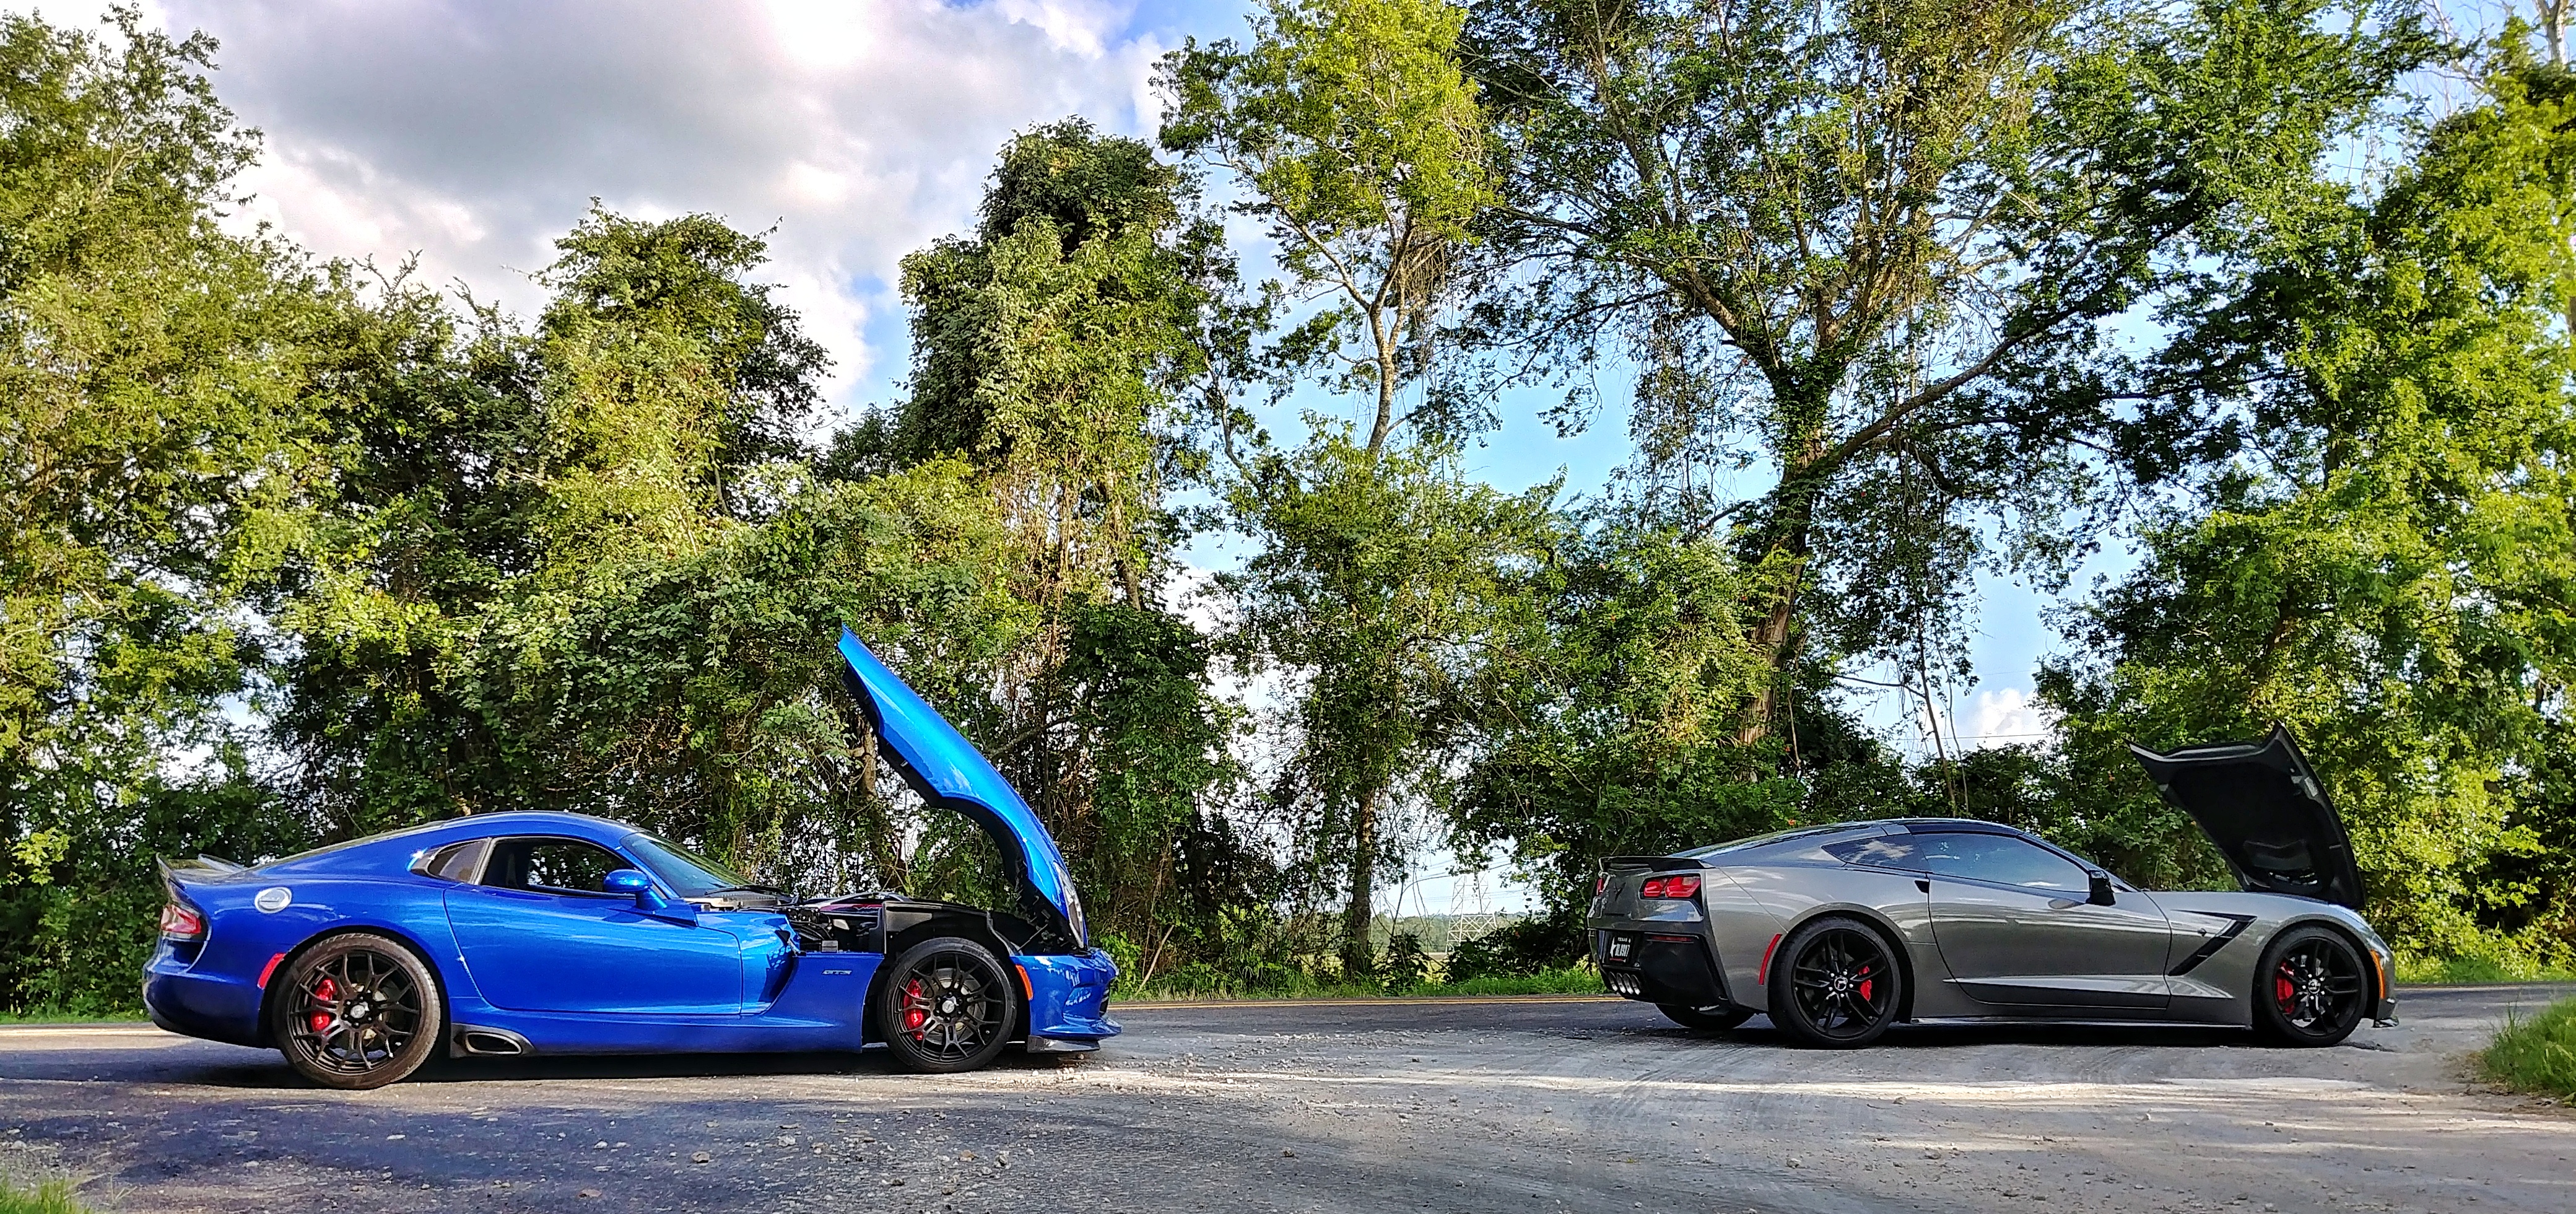
Rounded off with a bath for the Ray;
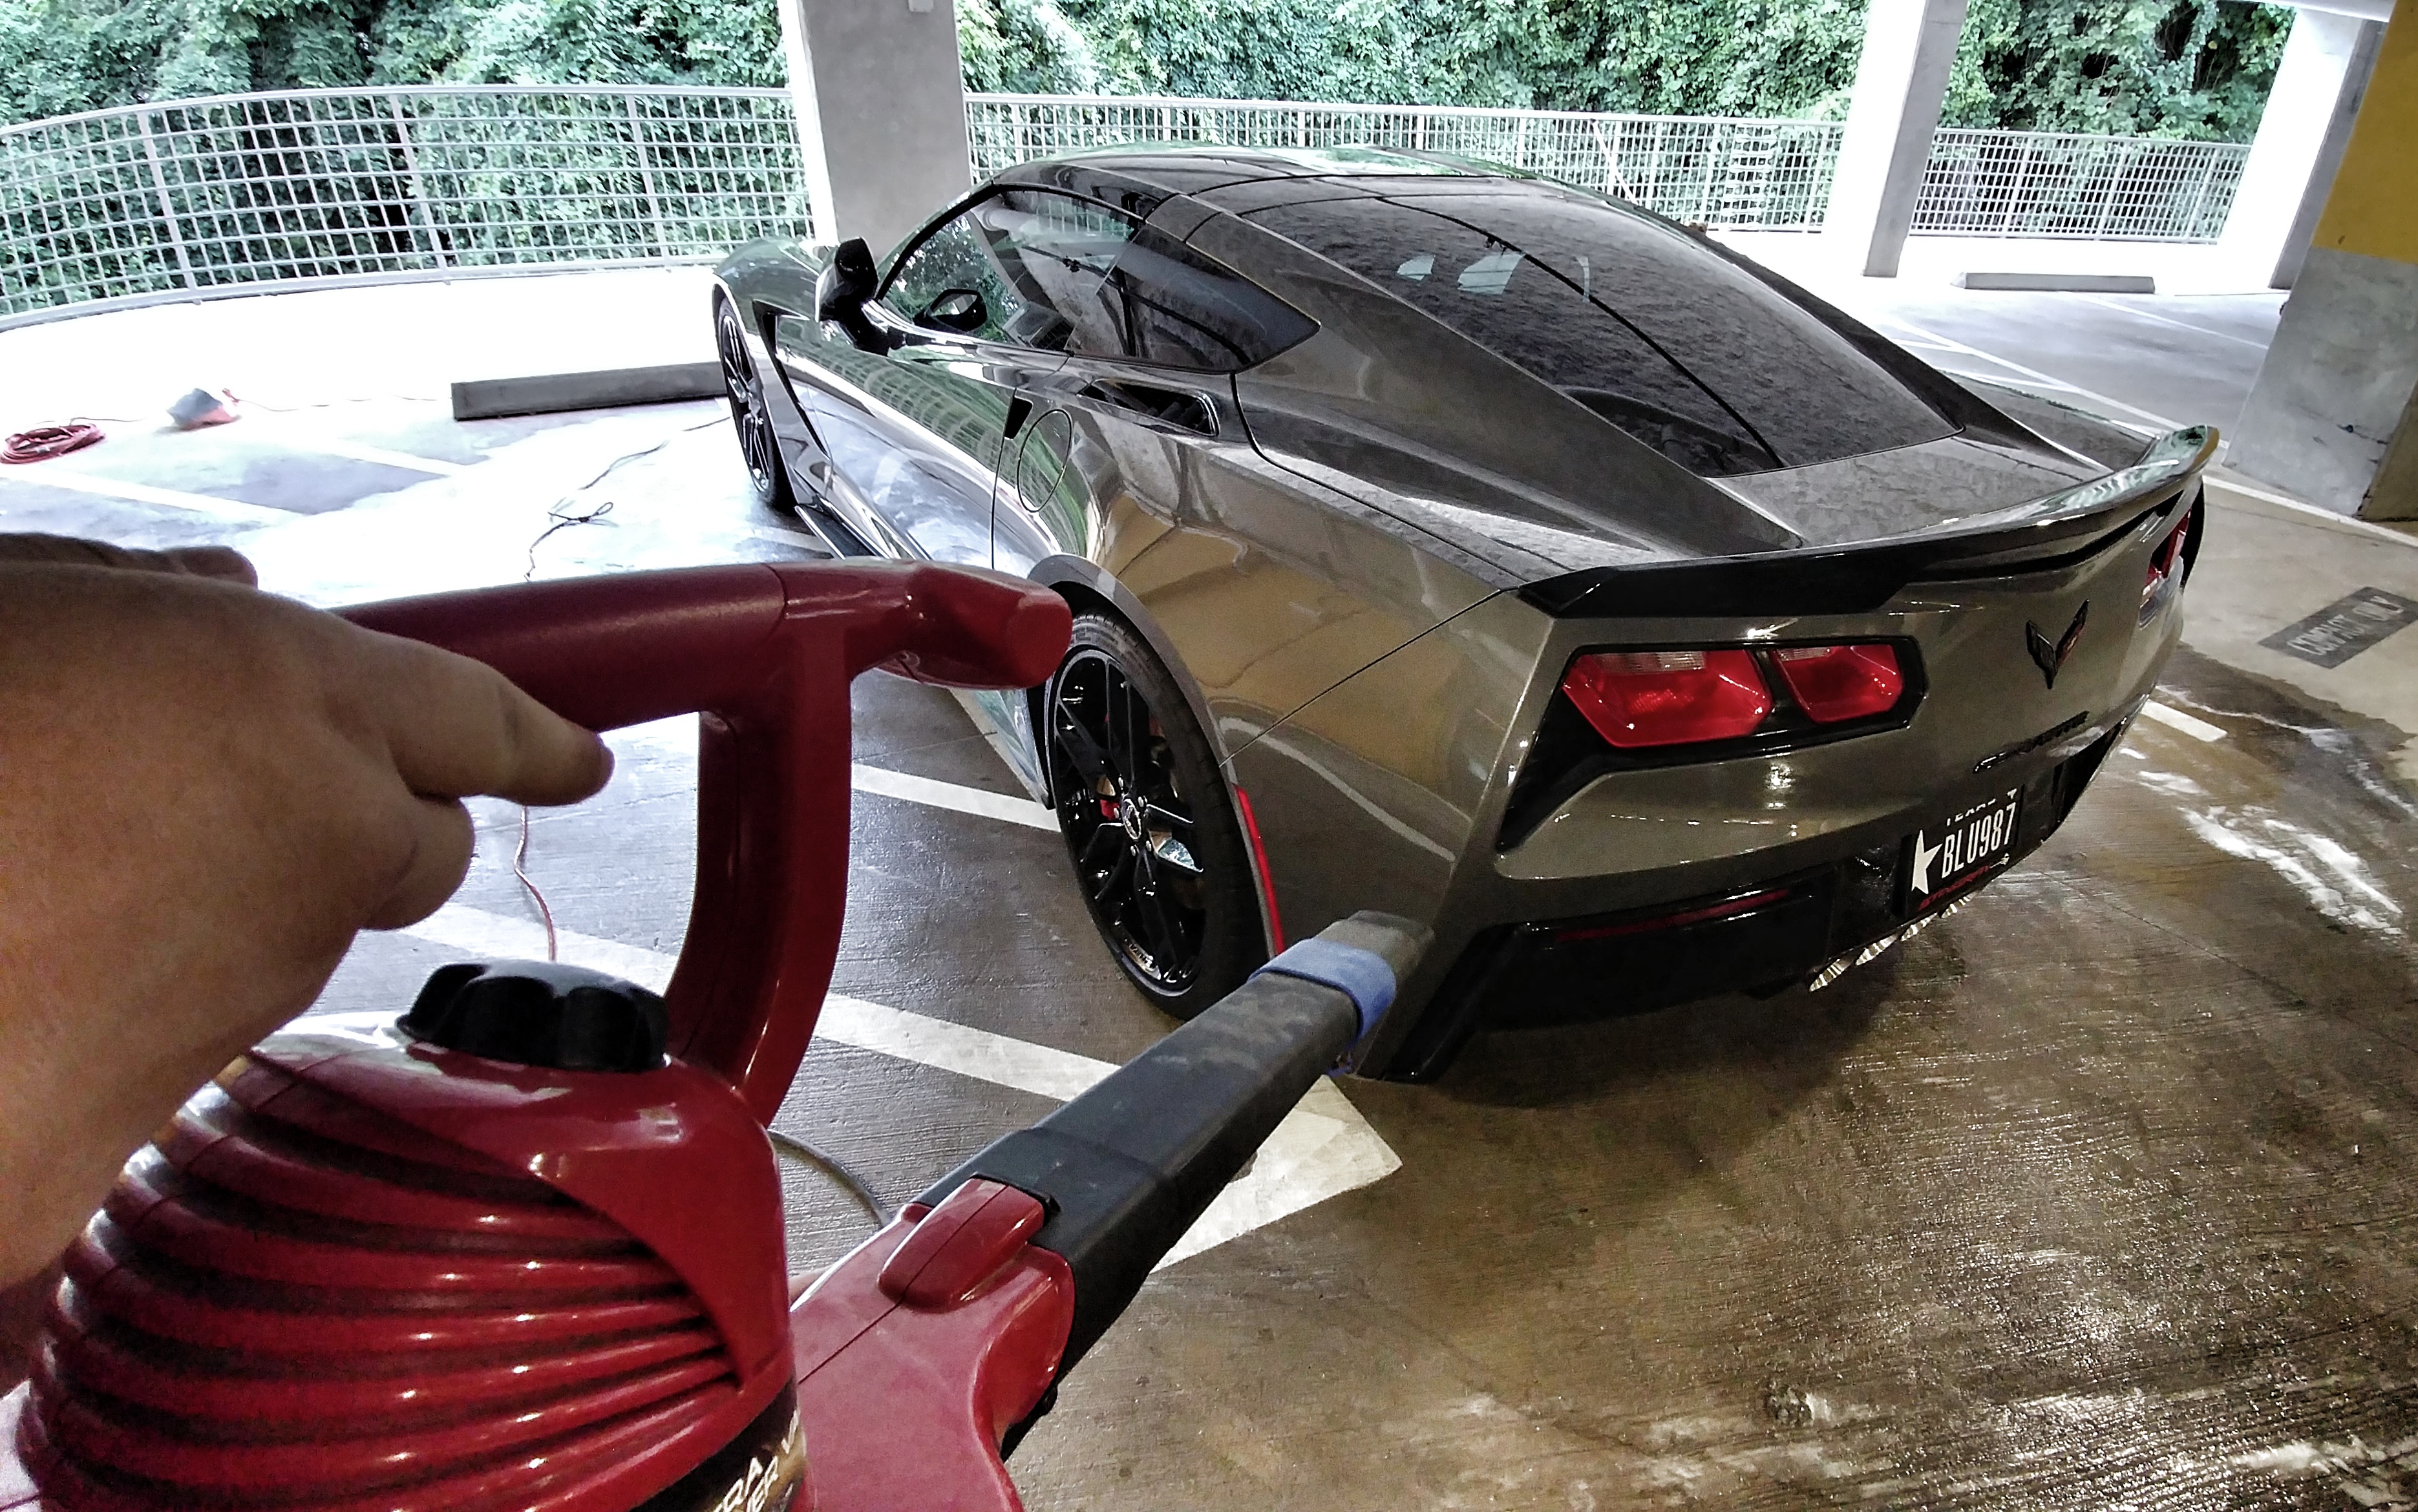


Rounded off with a bath for the Ray;


 07-06-2017, 02:15 PM
#25
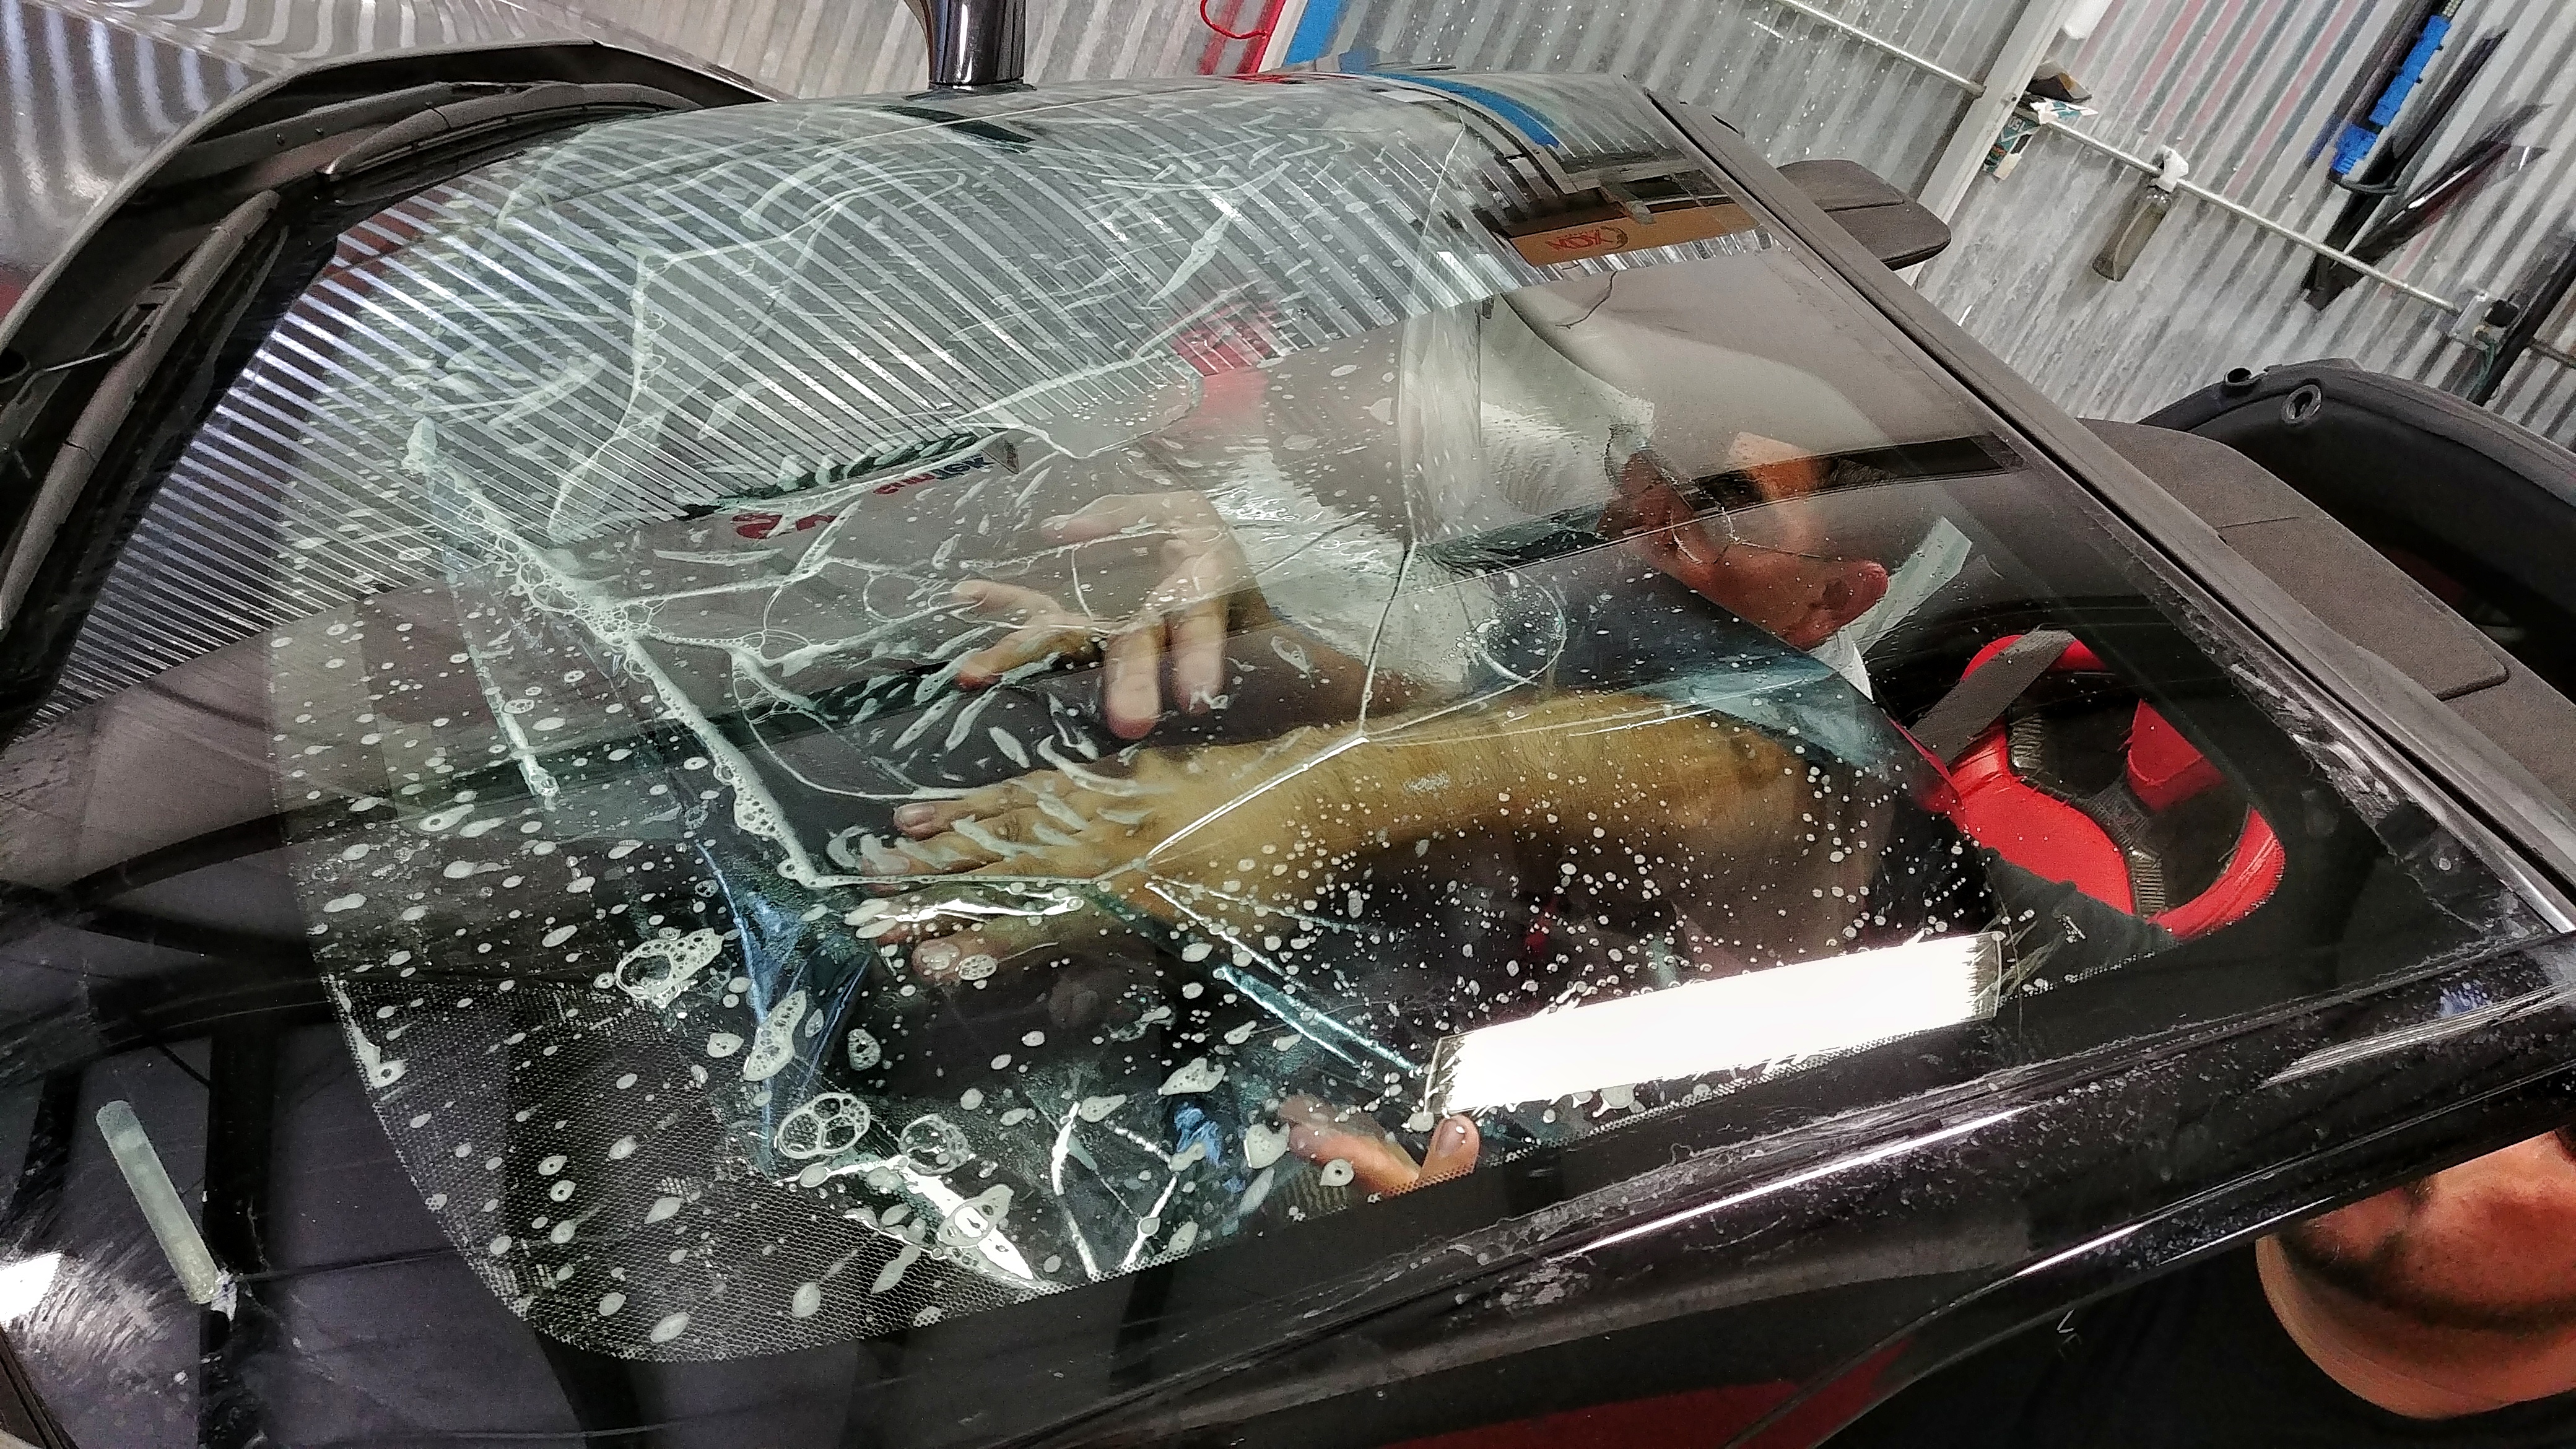
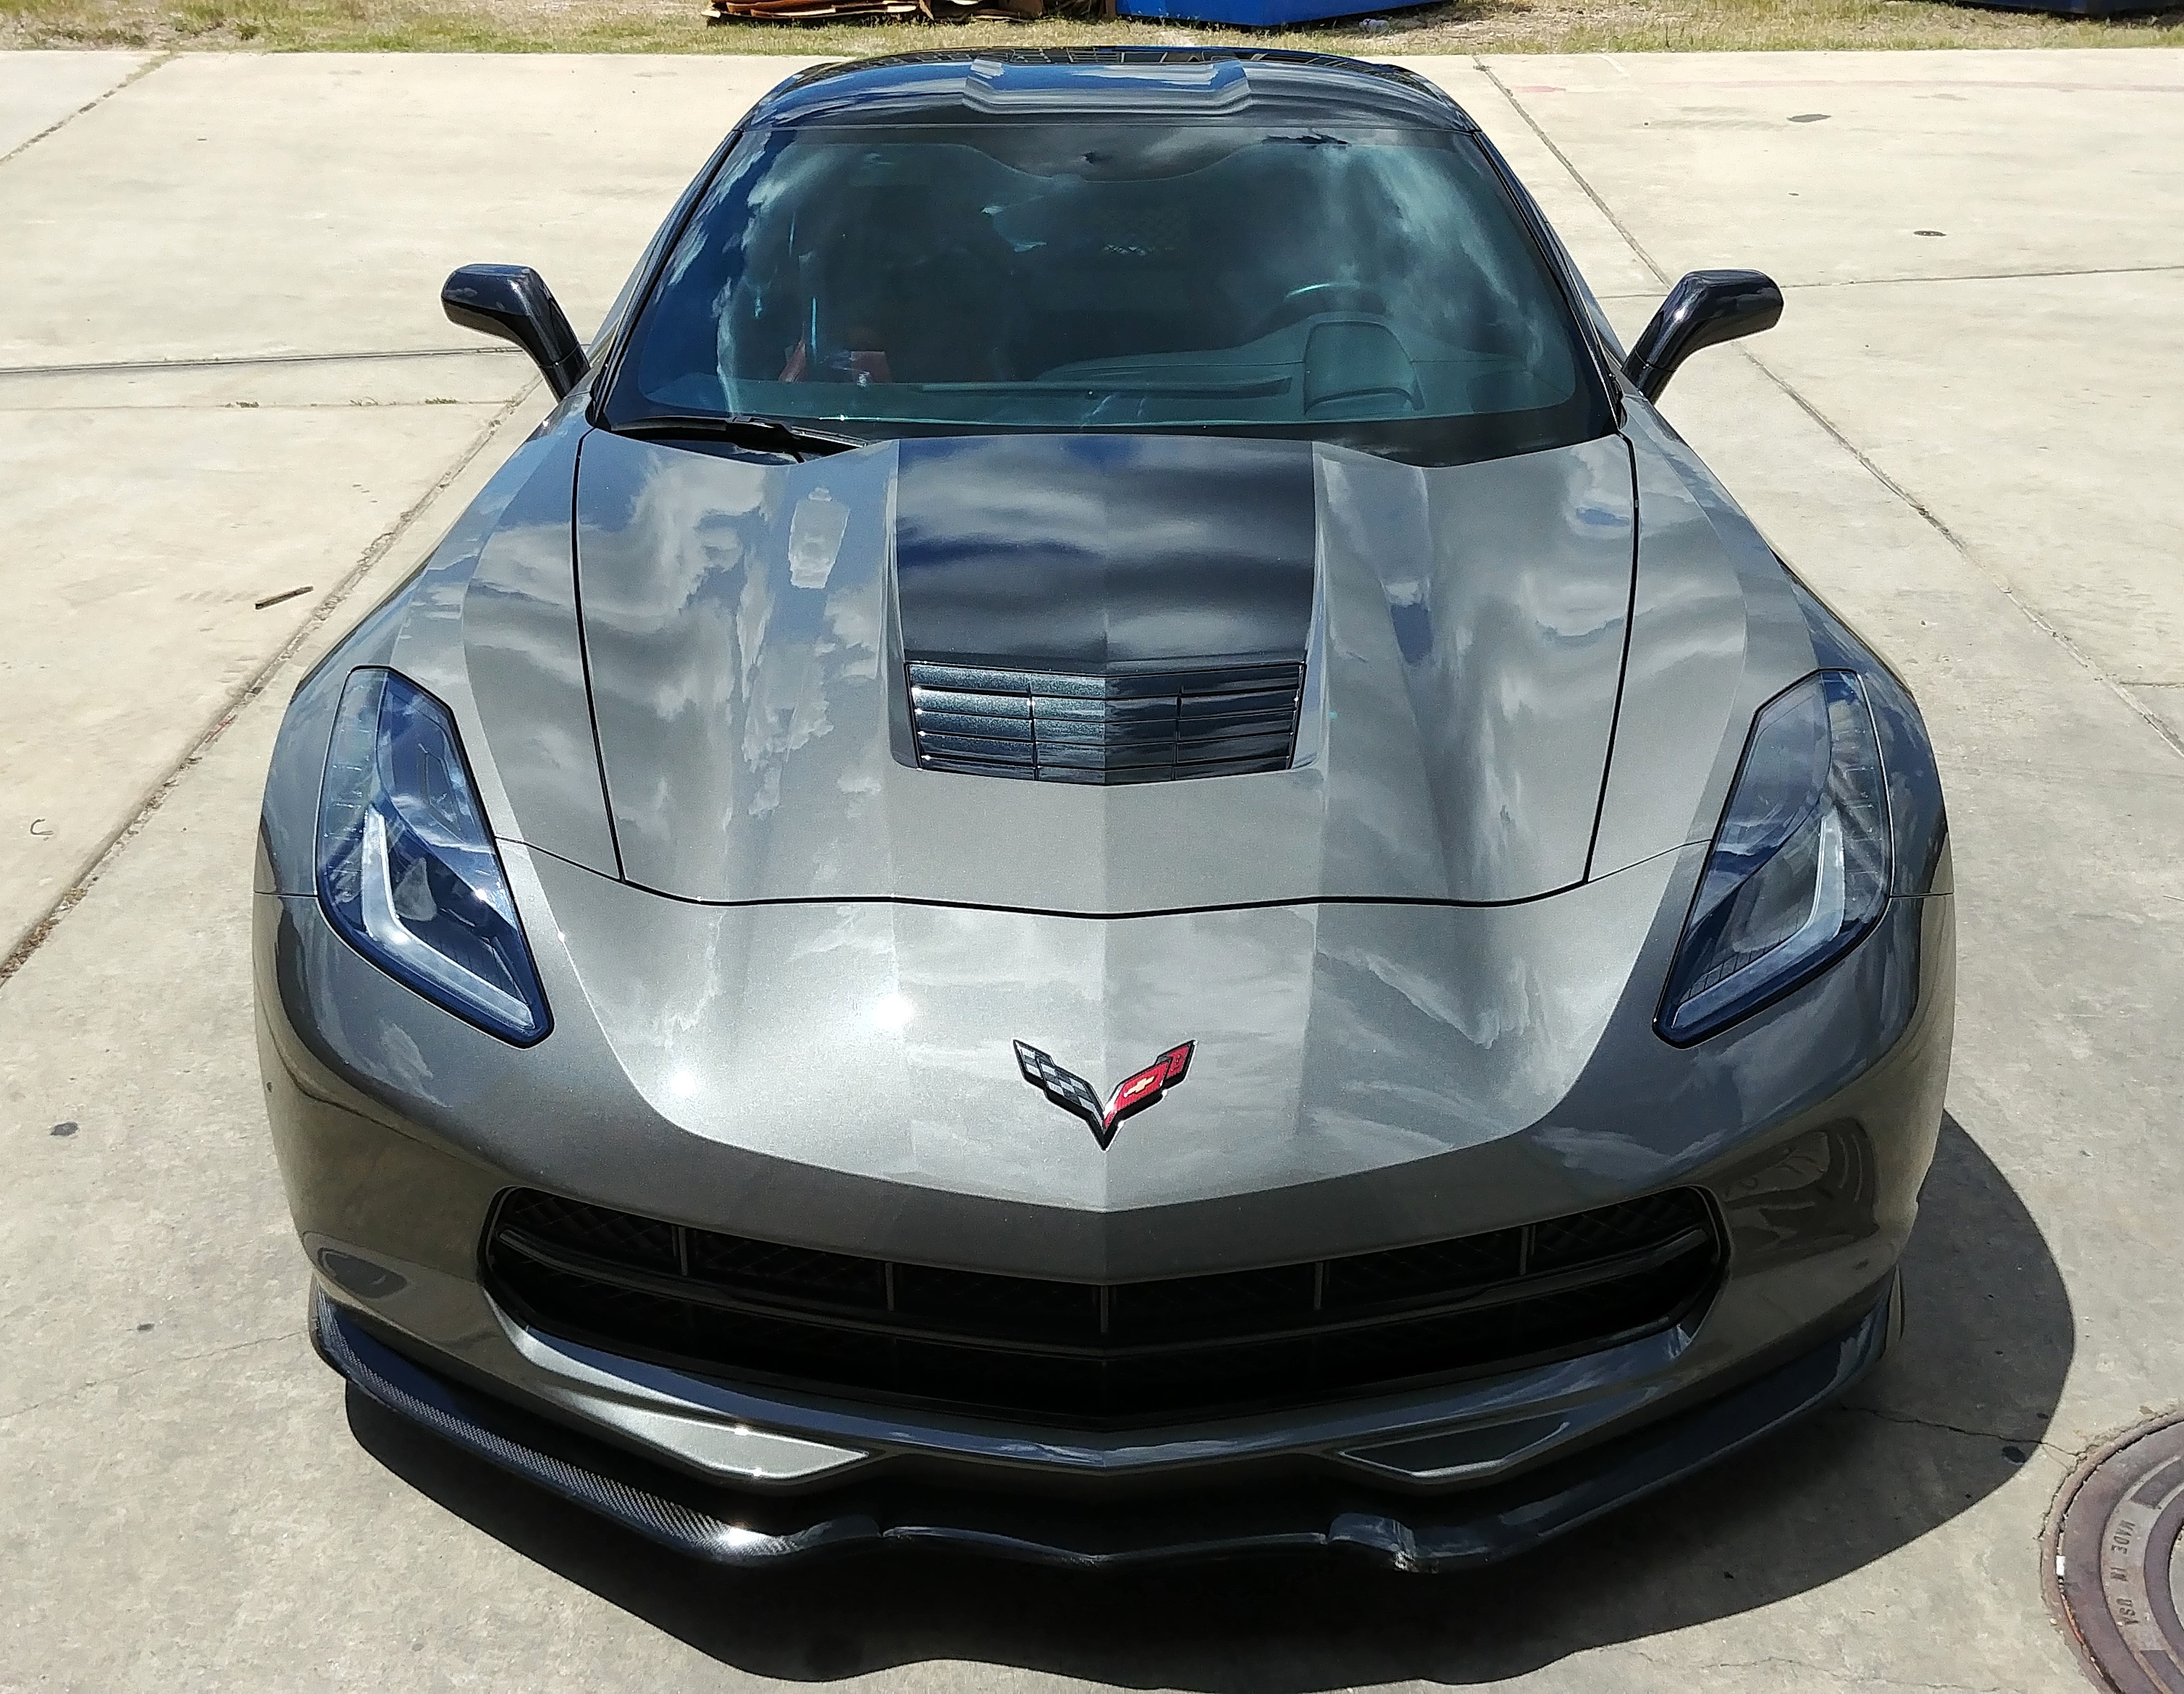
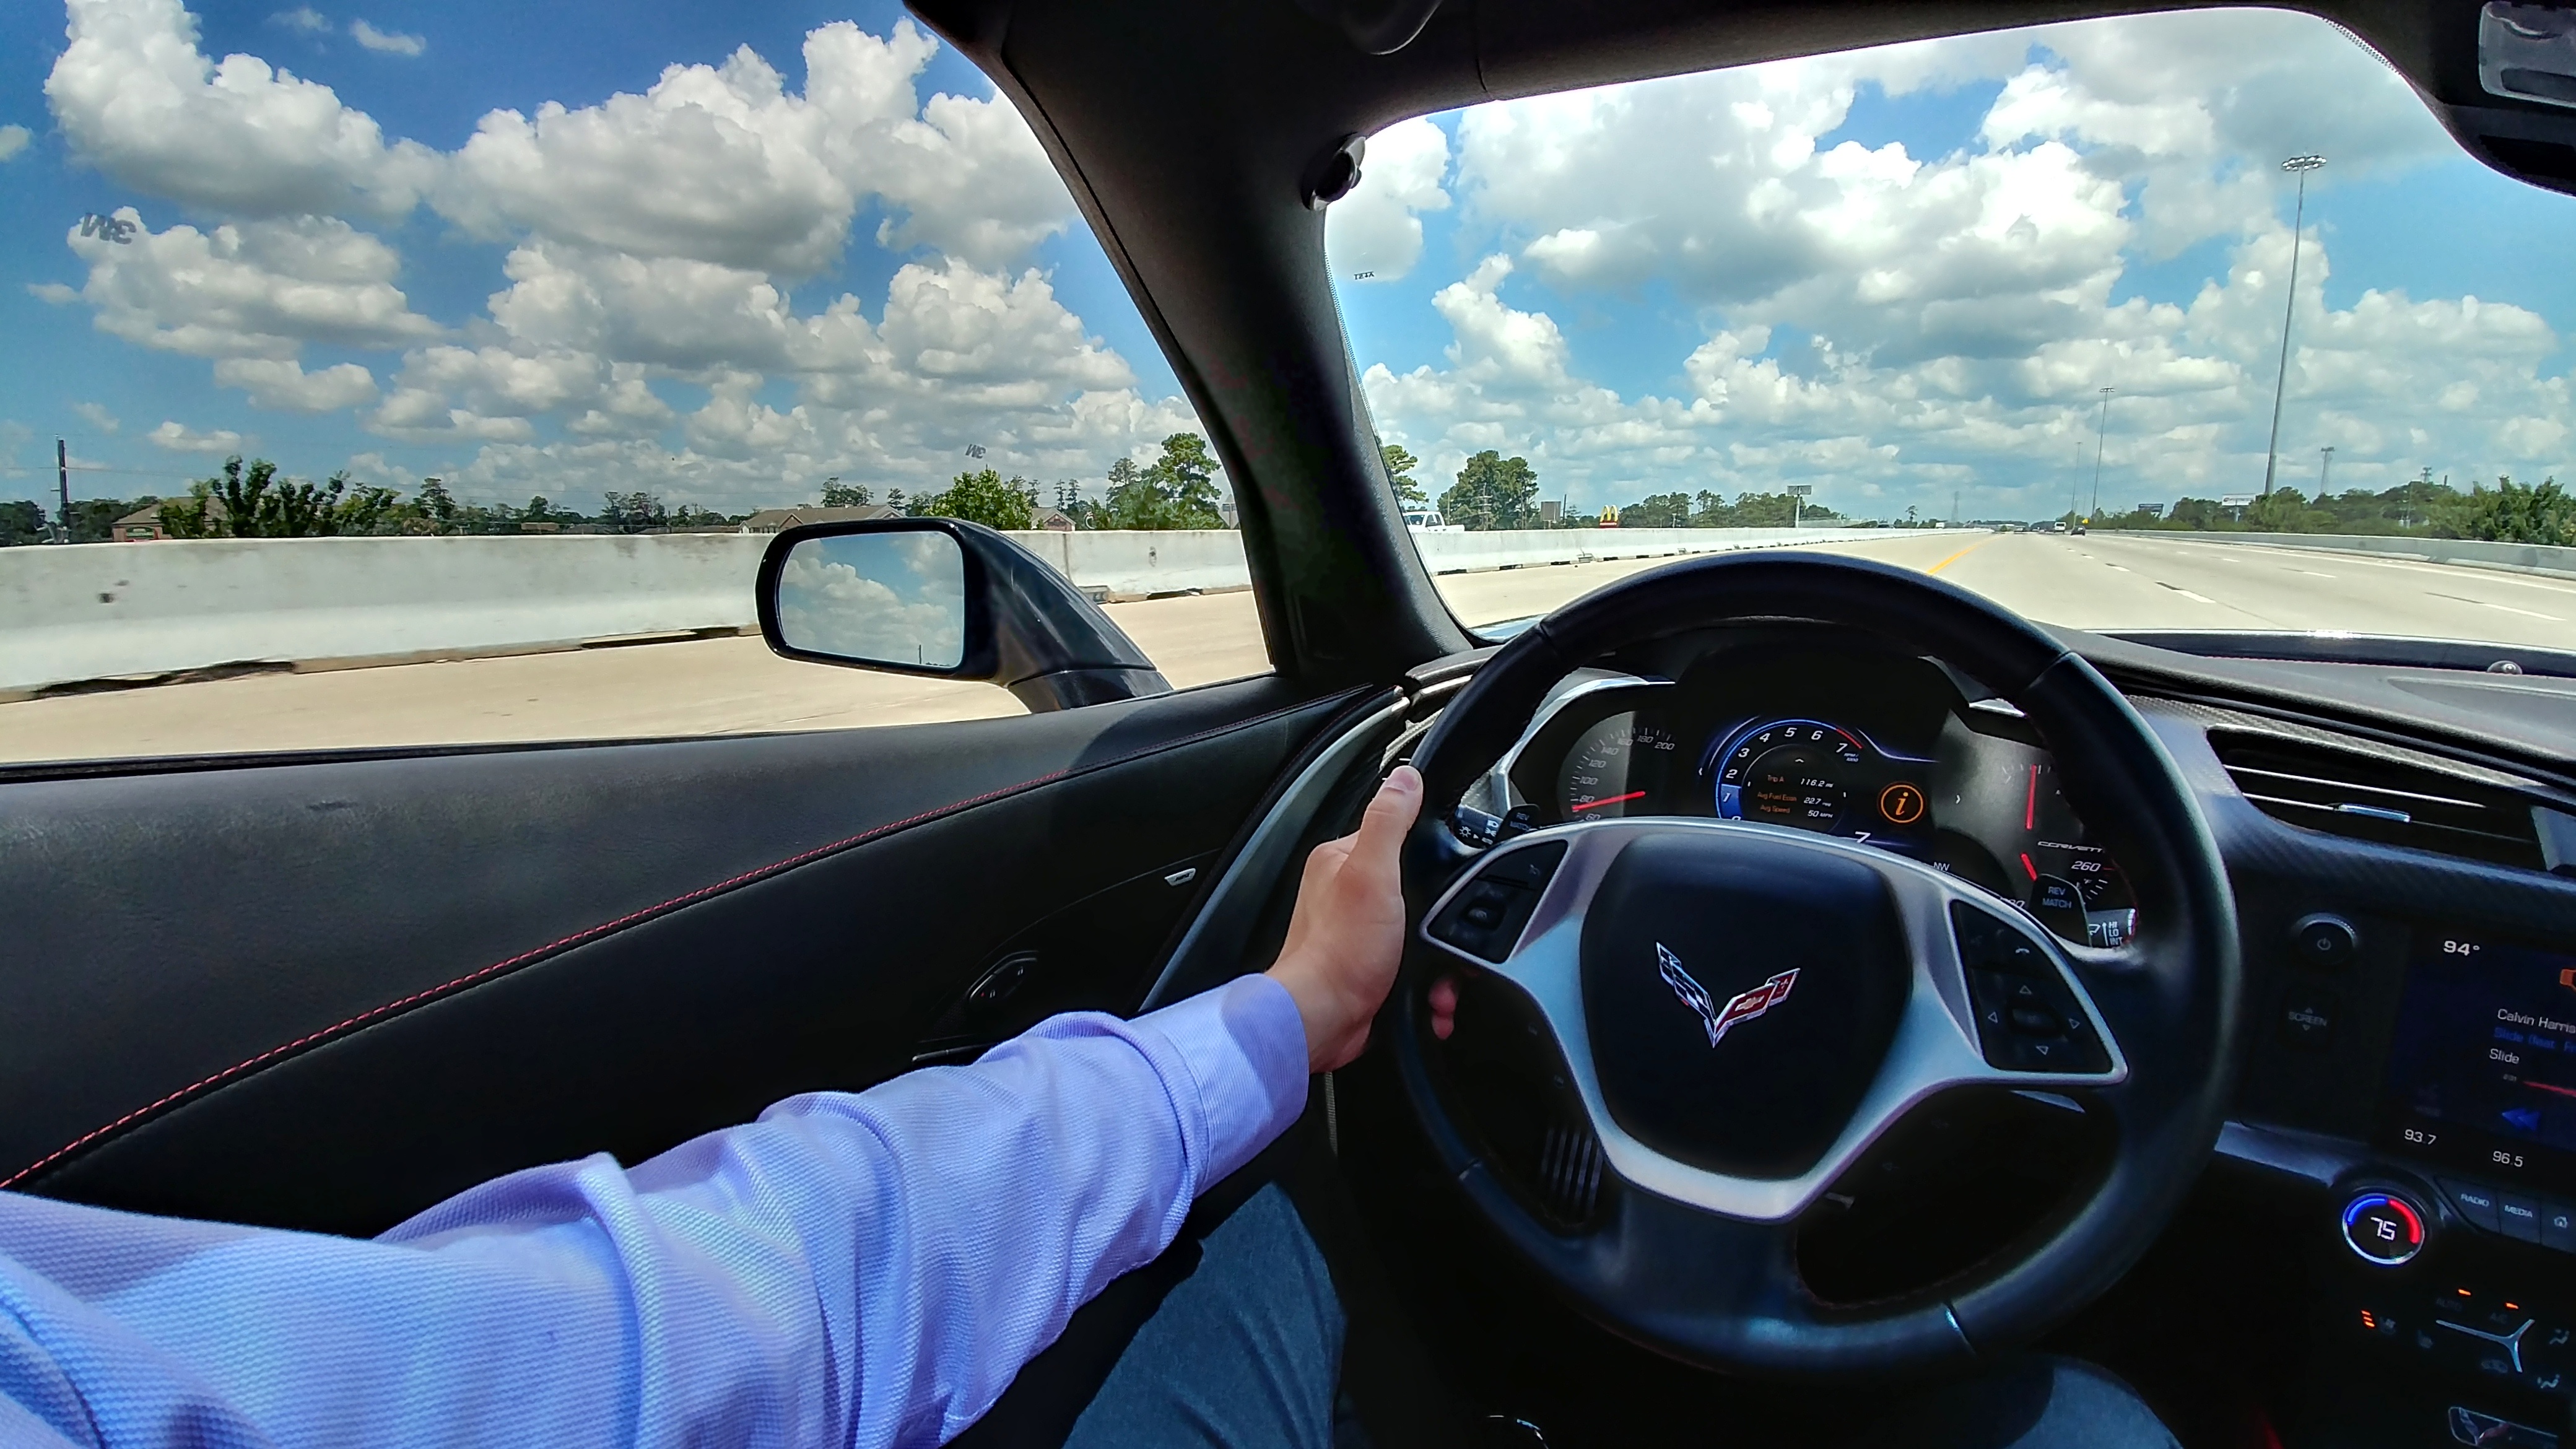
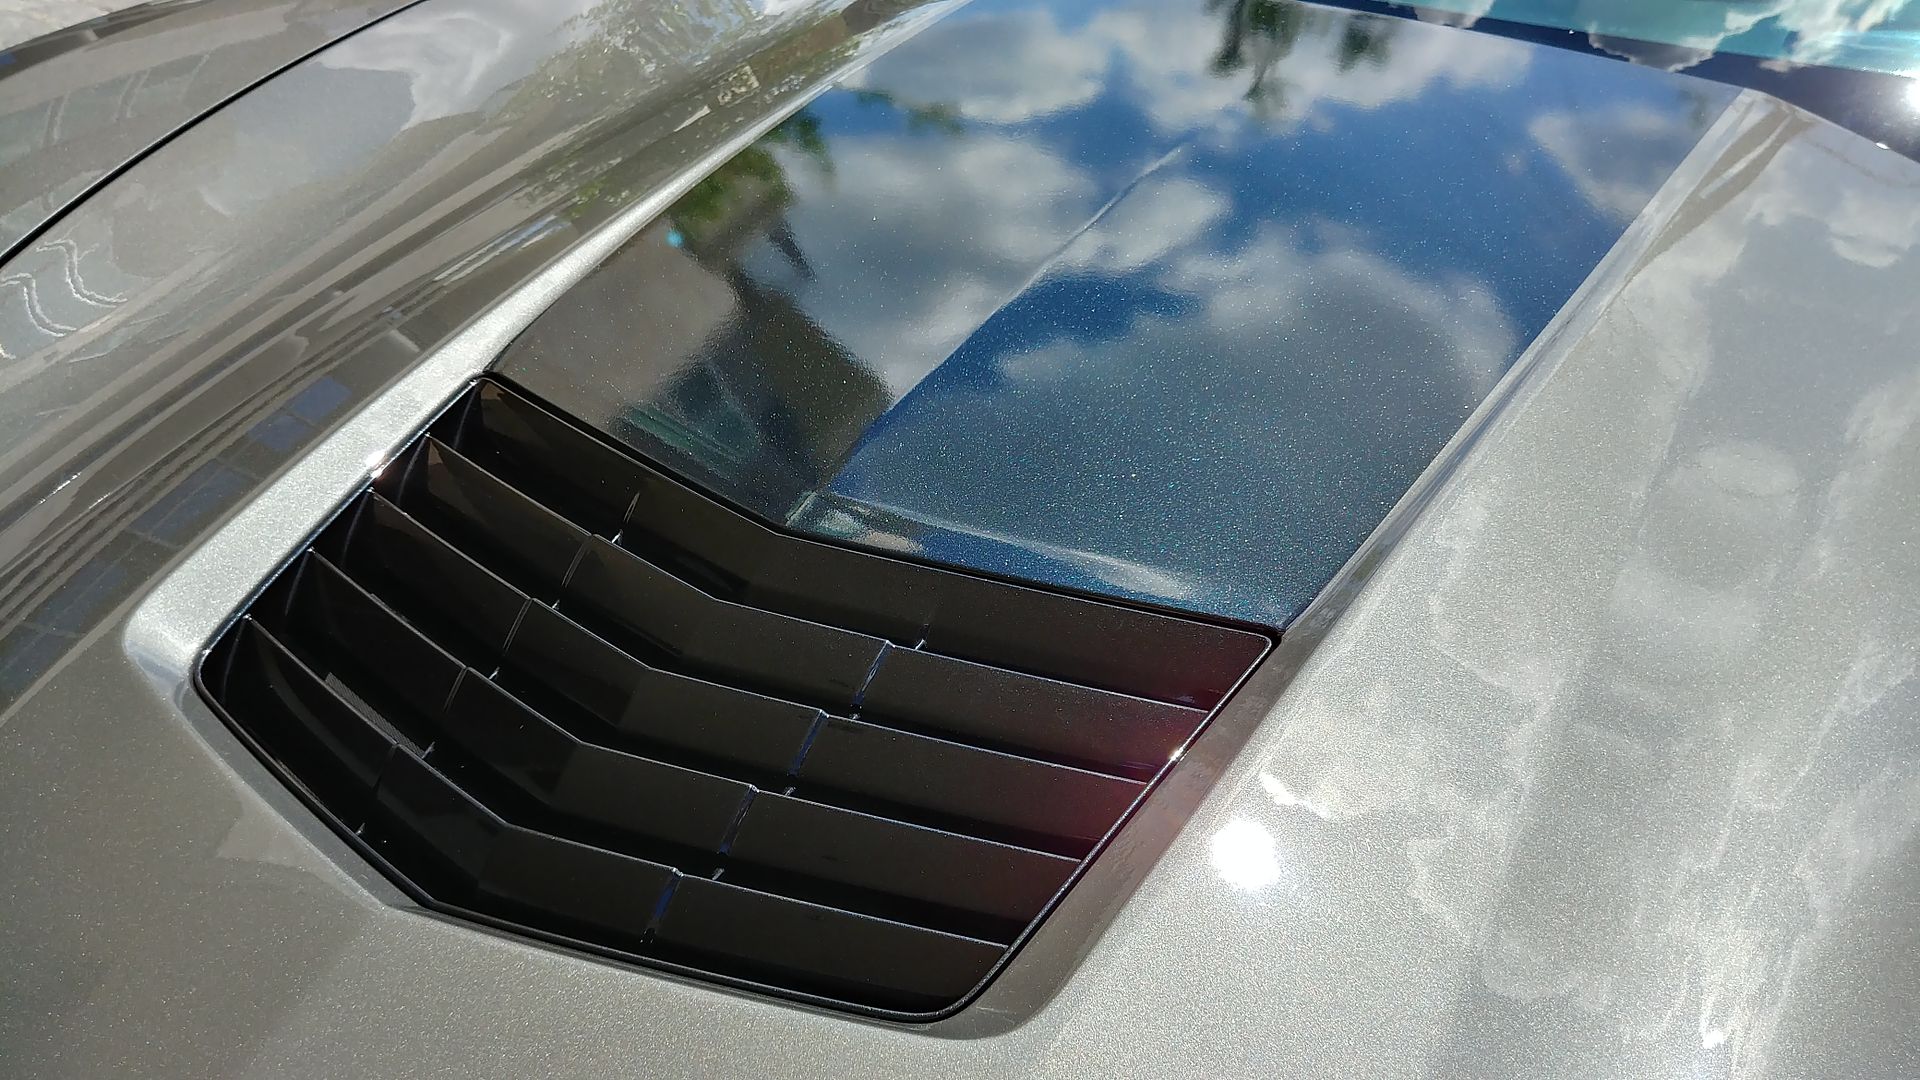
Because Lia has had around 11 skin cancer surgeries to date (mohr's surgeries to remove pre-melanoma and basal skin carcinomas), we take UV protection very seriously in our household. Our 7 series is heavily tinted, windshield included, and she feels very "sun safe" in it. The vette has legal tint all around (35%), but I wanted to tint the windshield, and also the transparent roof, so that she feels more comfortable. The roof itself is lexan (polycarbonate), which as a function of its composition blocks out any harmful UV. So for it, I wanted clear, but high IR rejection film, just so you wouldn't feel the heat from the sun. On the windshield we went with a 70% film, with 90%+ IR rejection, and 99%+ UV.
Everything went swimmingly on the windshield install;
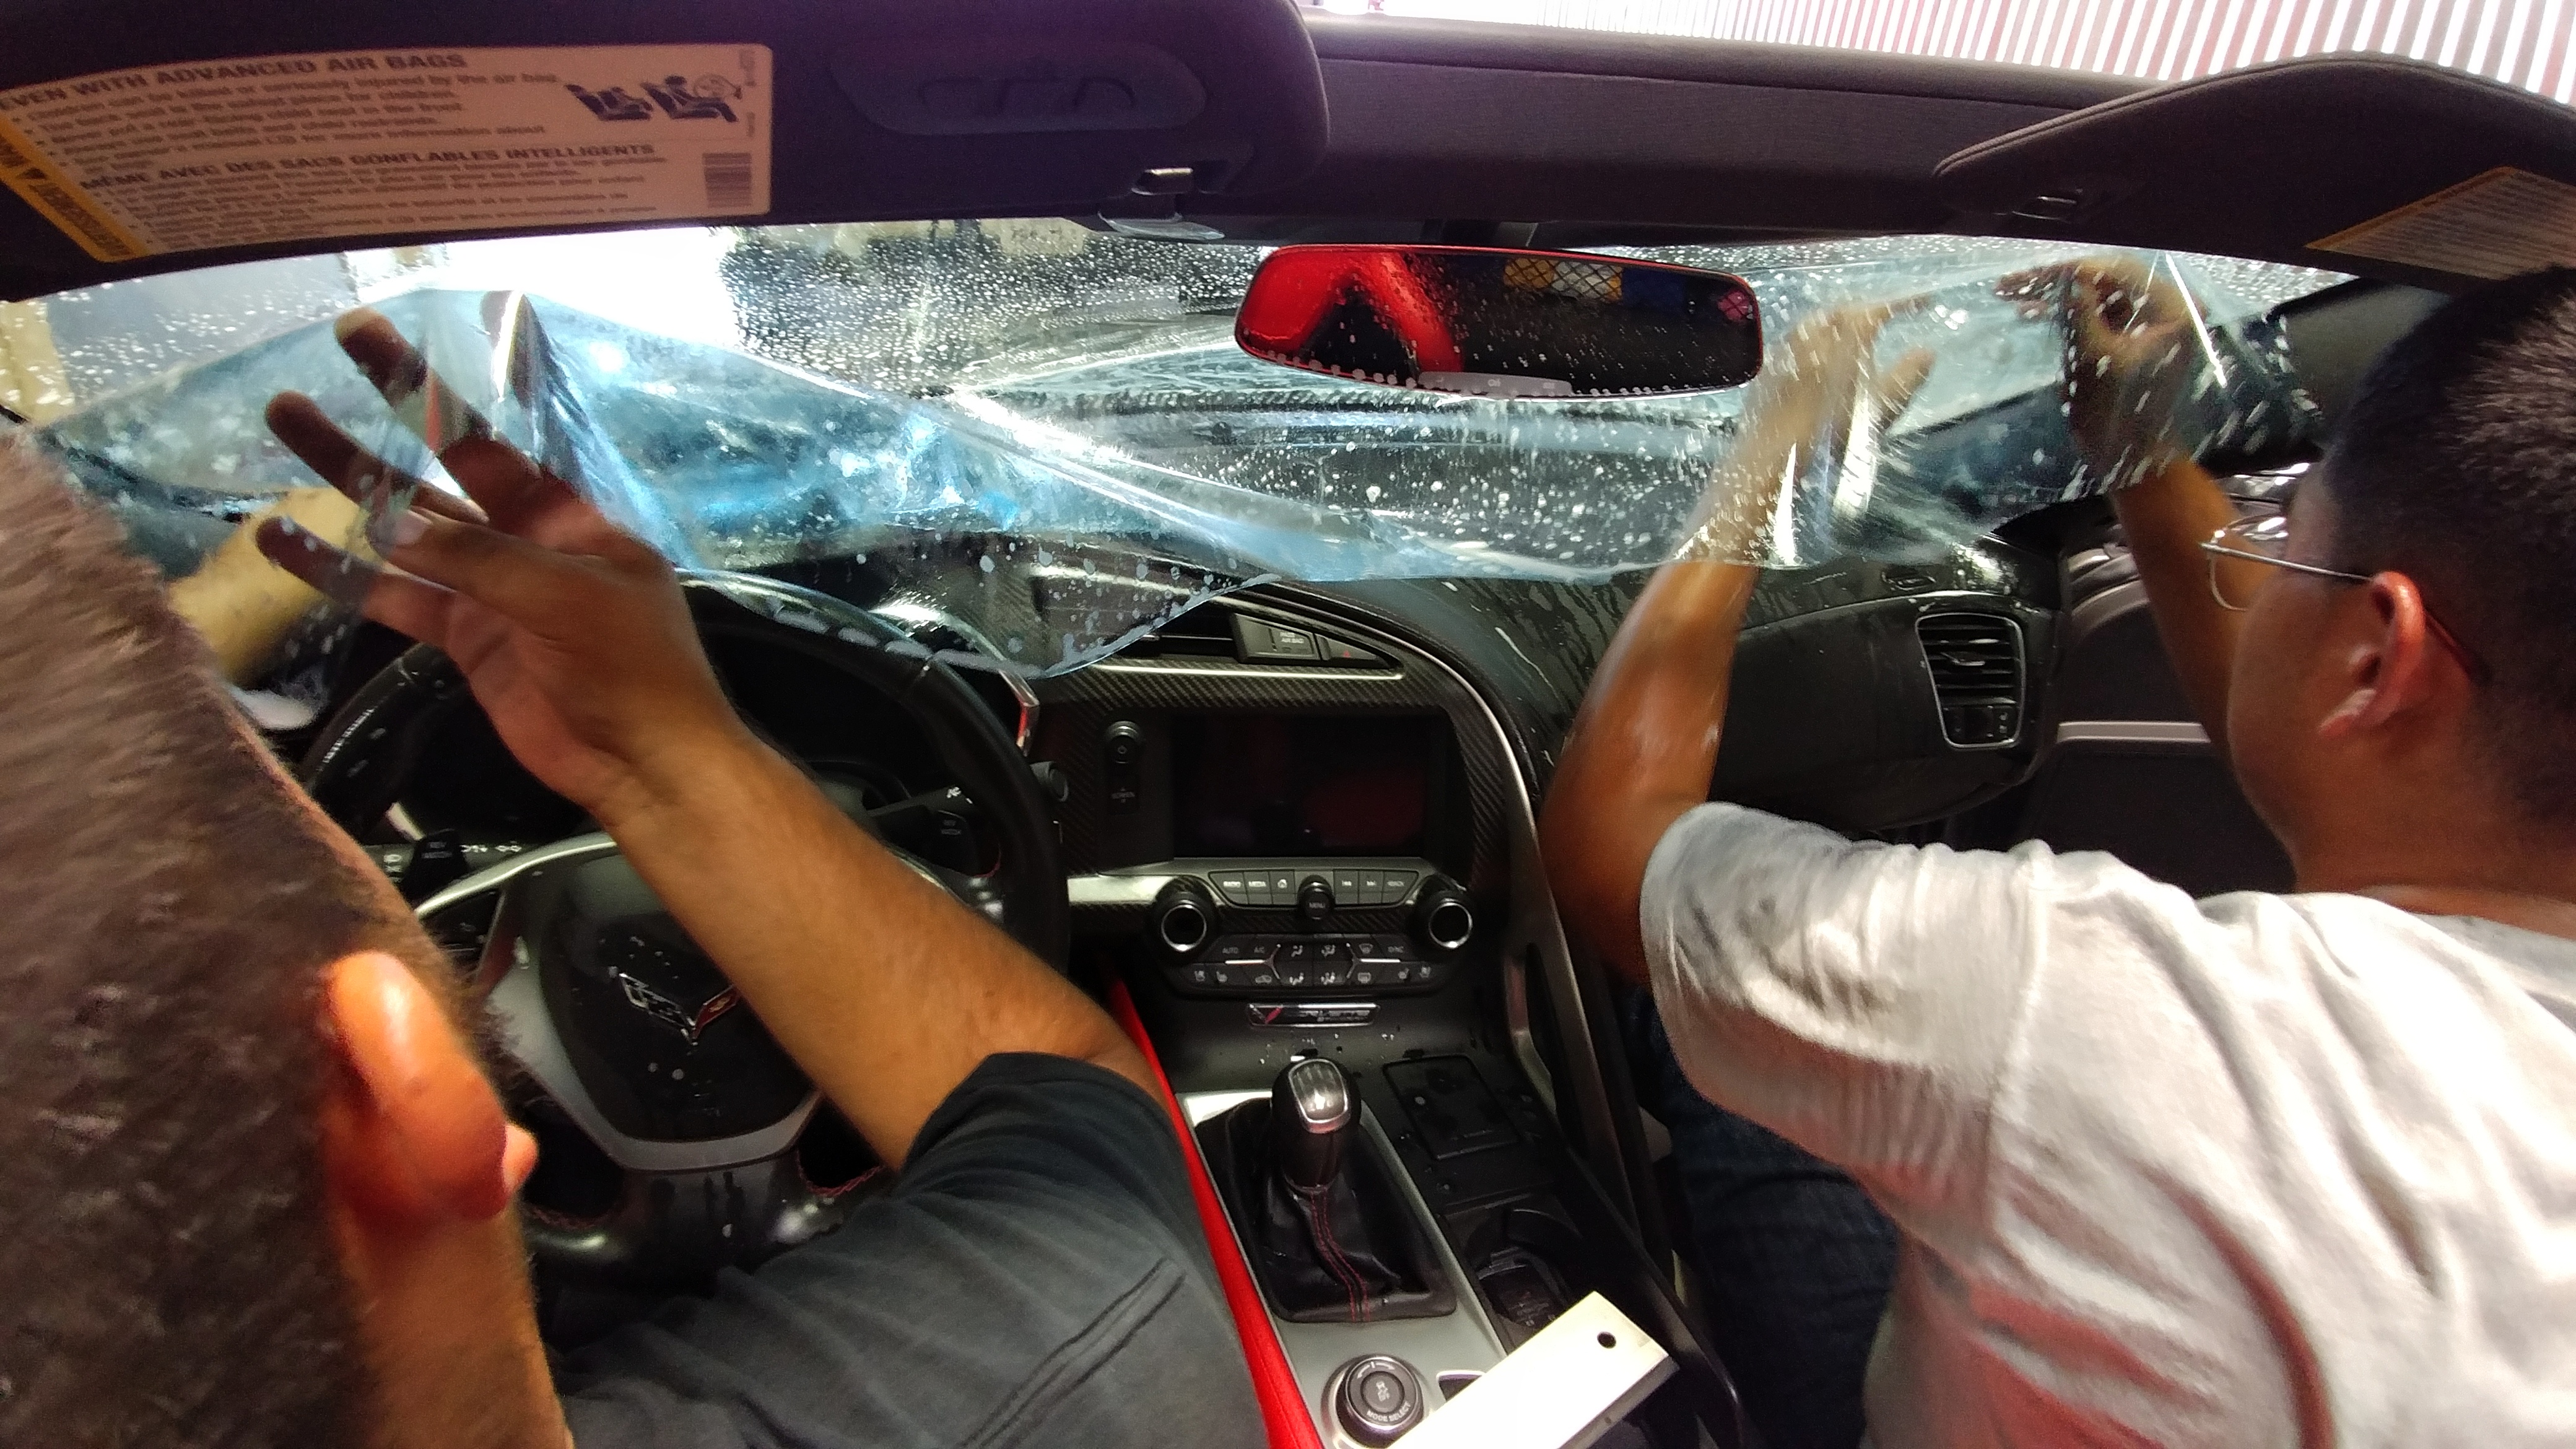
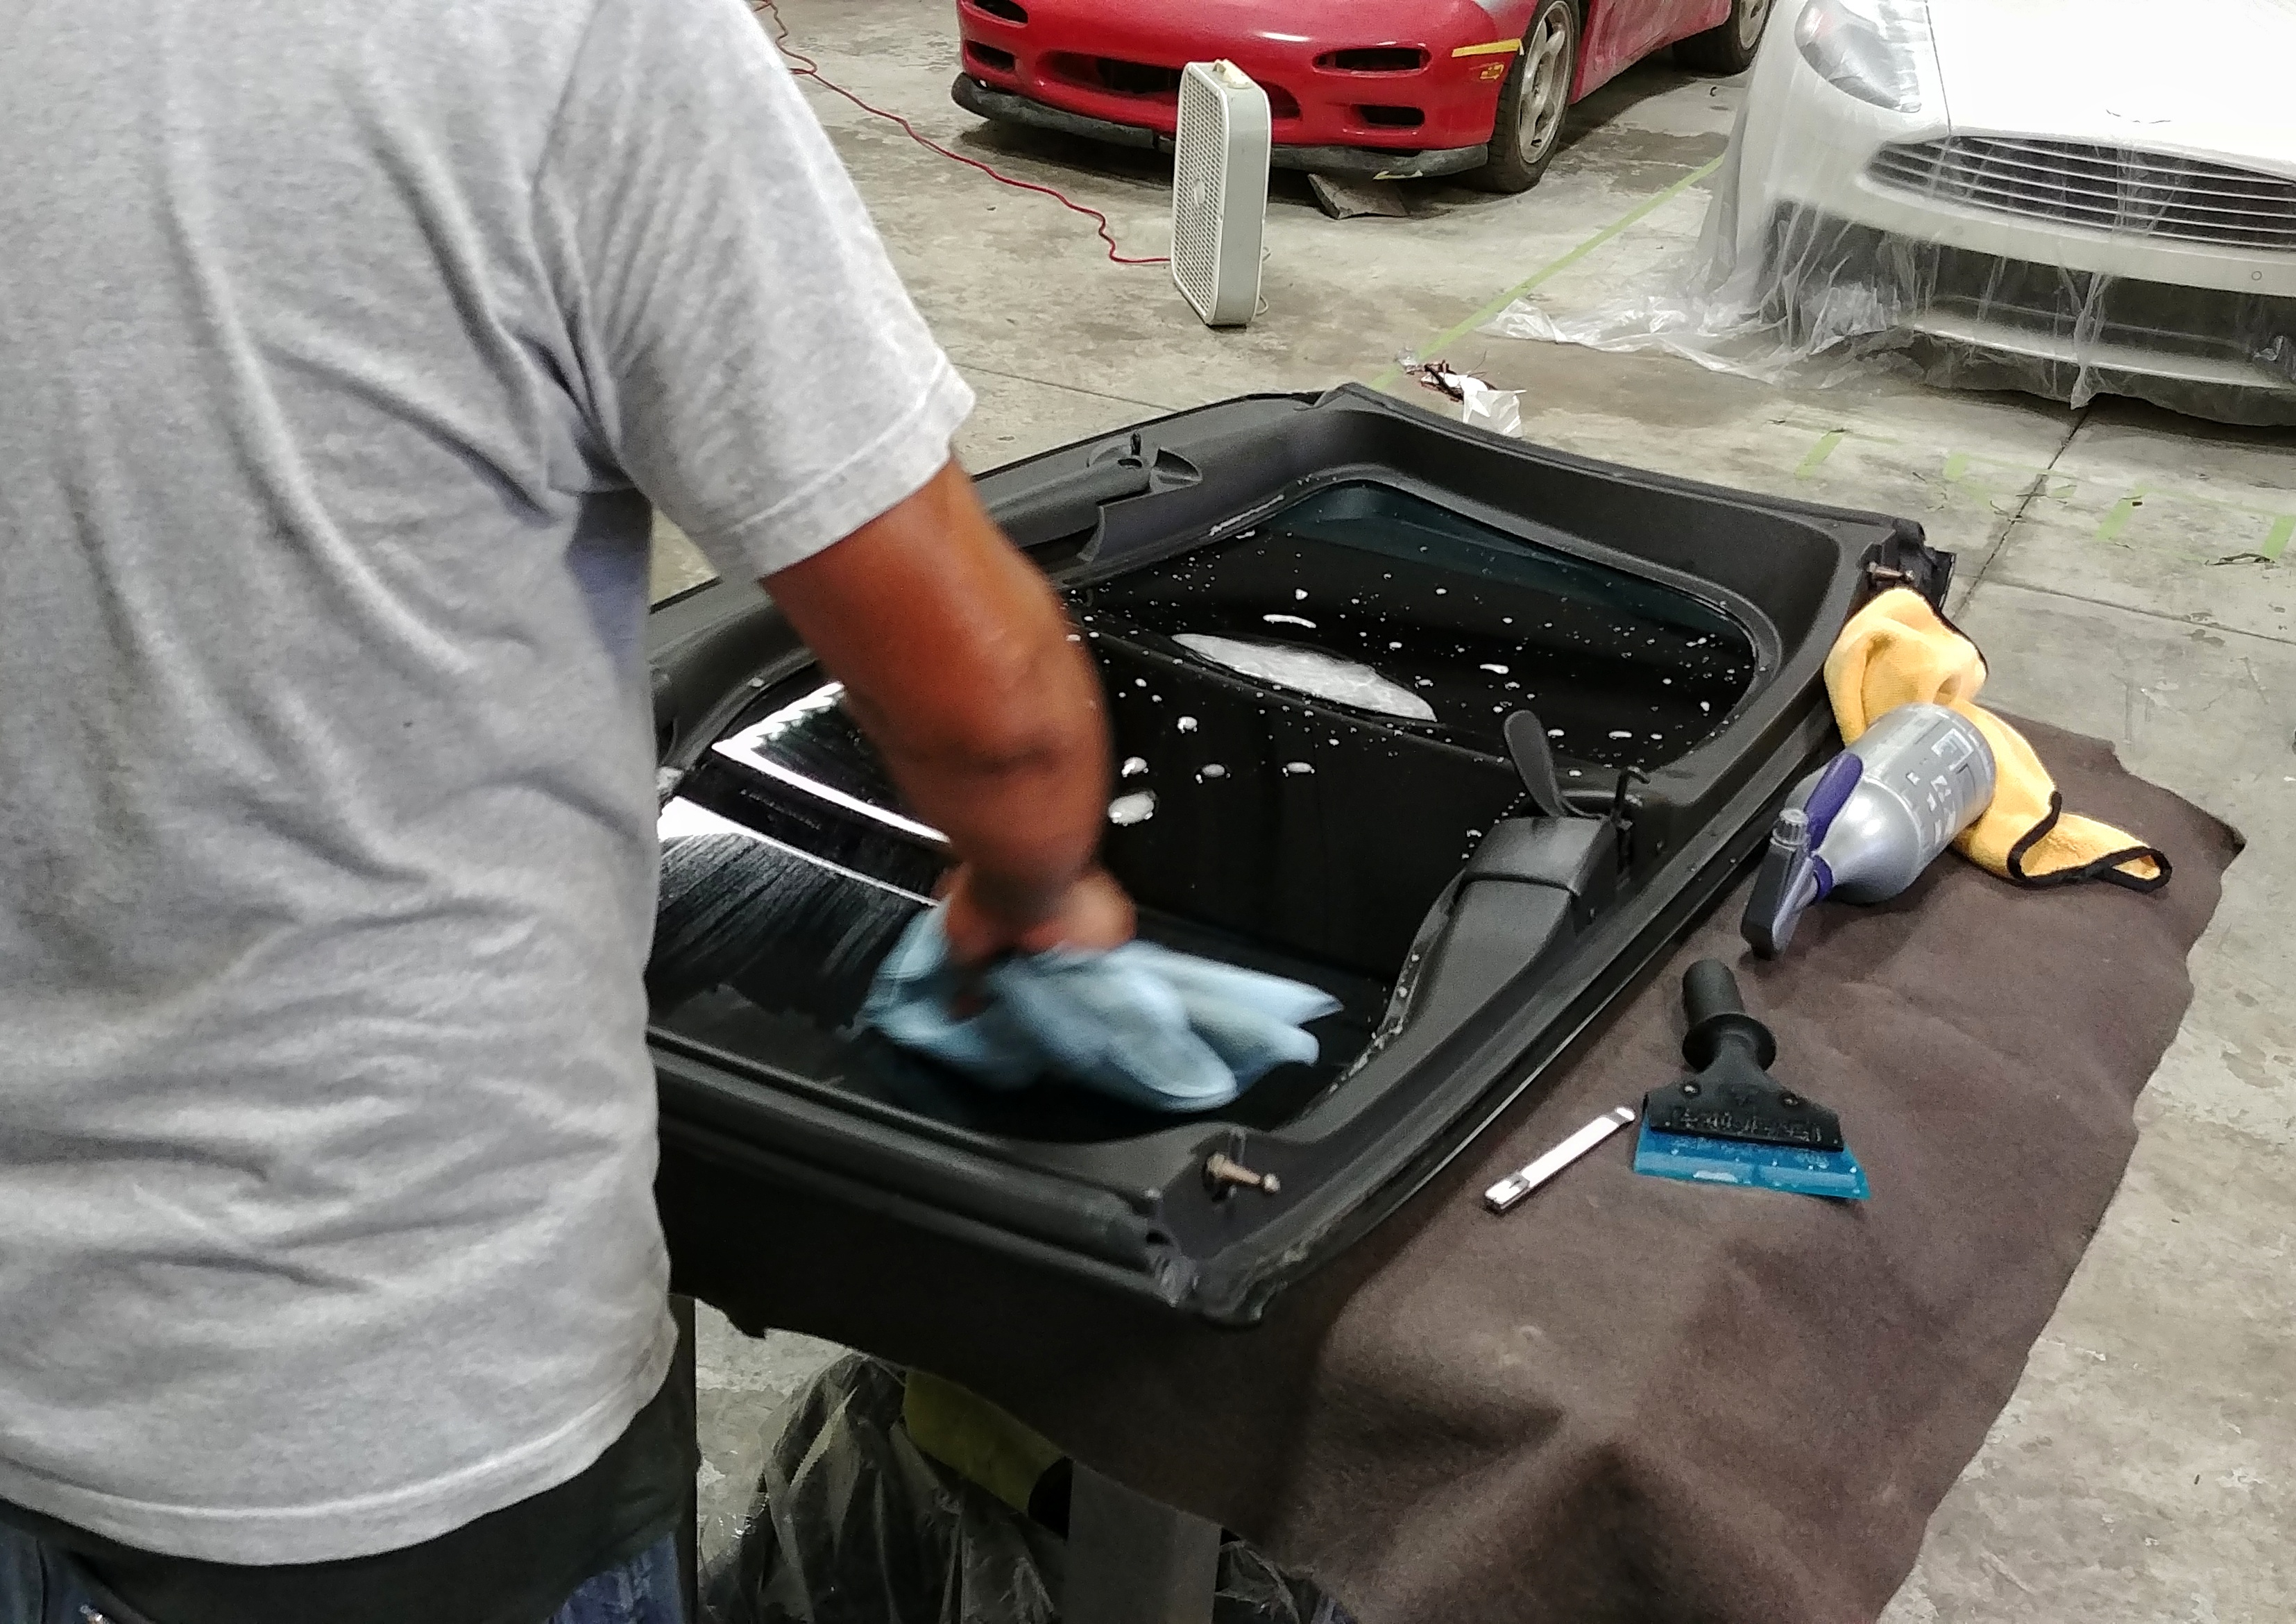
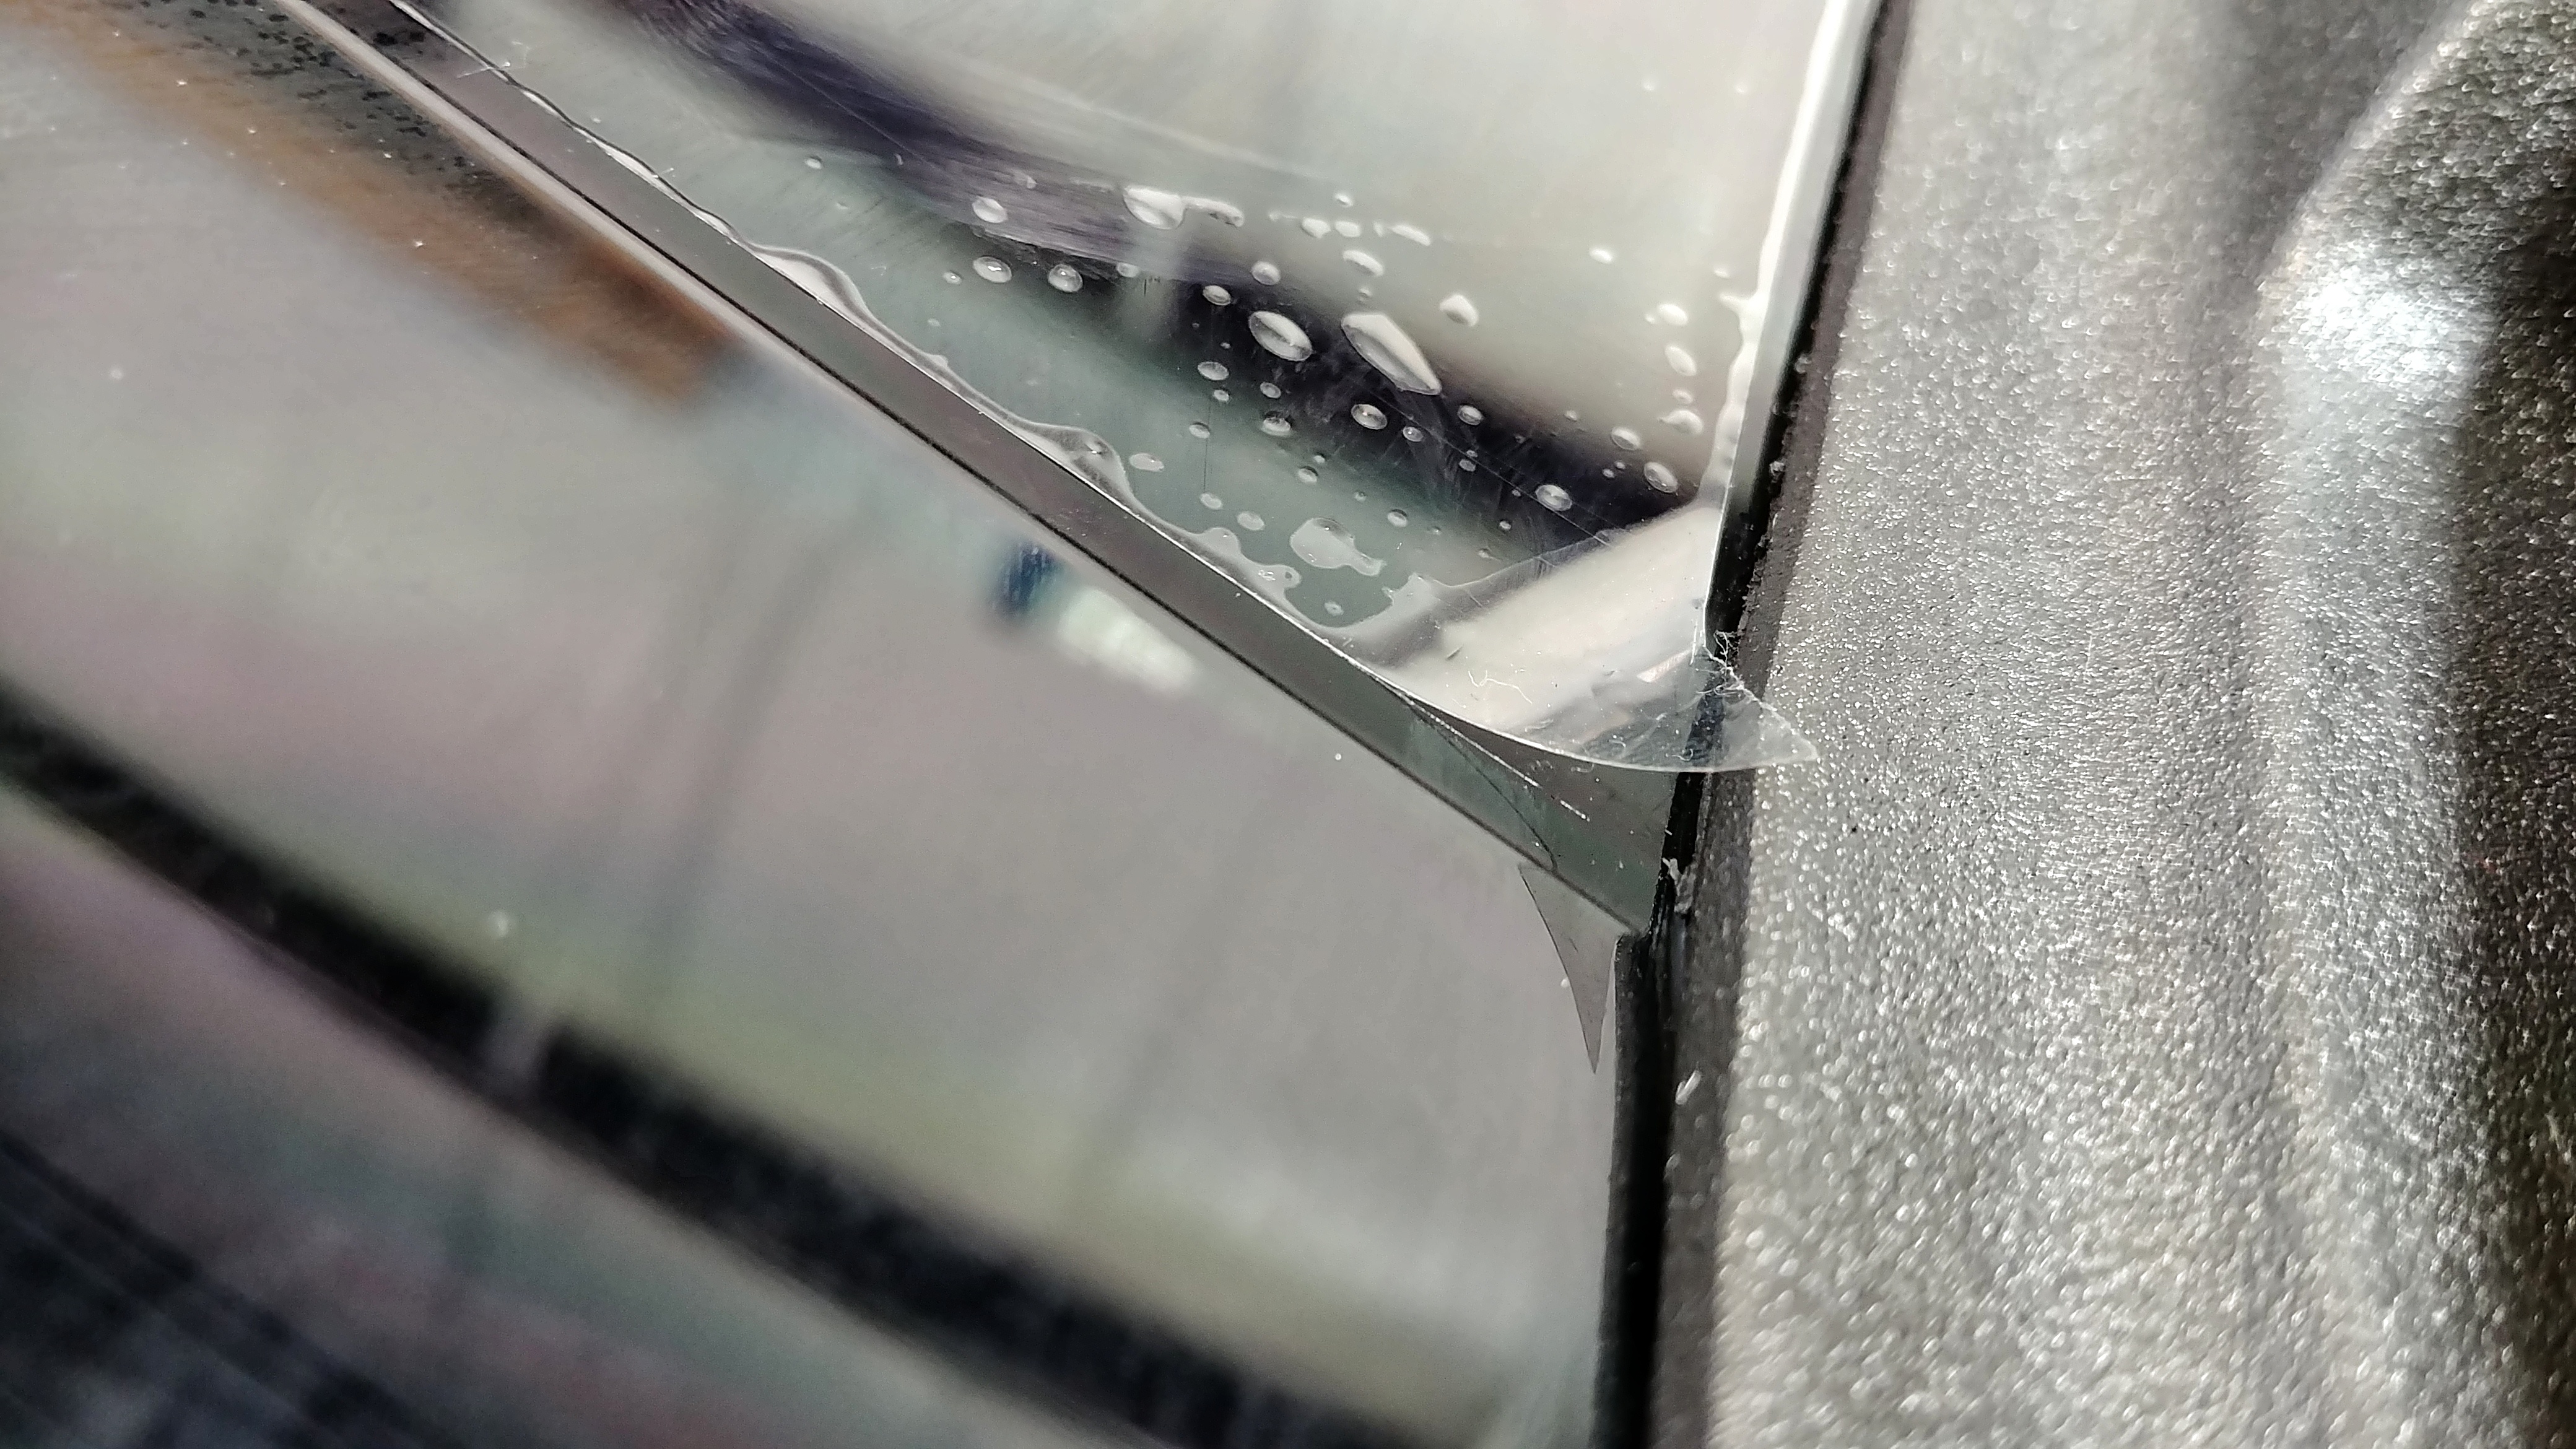
The roof however, is a different story. It was really my stupidity to forget the fact that the roof is plastic, not glass, and that the film wouldn't adhere to it. Try as they might, when you lay the film down, the edges would pop up, and a simple tug would reveal there was absolutely no bond between the adhesive and surface. We settled for just doing the windshield, lesson learned.


Everything went swimmingly on the windshield install;


The roof however, is a different story. It was really my stupidity to forget the fact that the roof is plastic, not glass, and that the film wouldn't adhere to it. Try as they might, when you lay the film down, the edges would pop up, and a simple tug would reveal there was absolutely no bond between the adhesive and surface. We settled for just doing the windshield, lesson learned.

 07-06-2017, 02:16 PM
#26
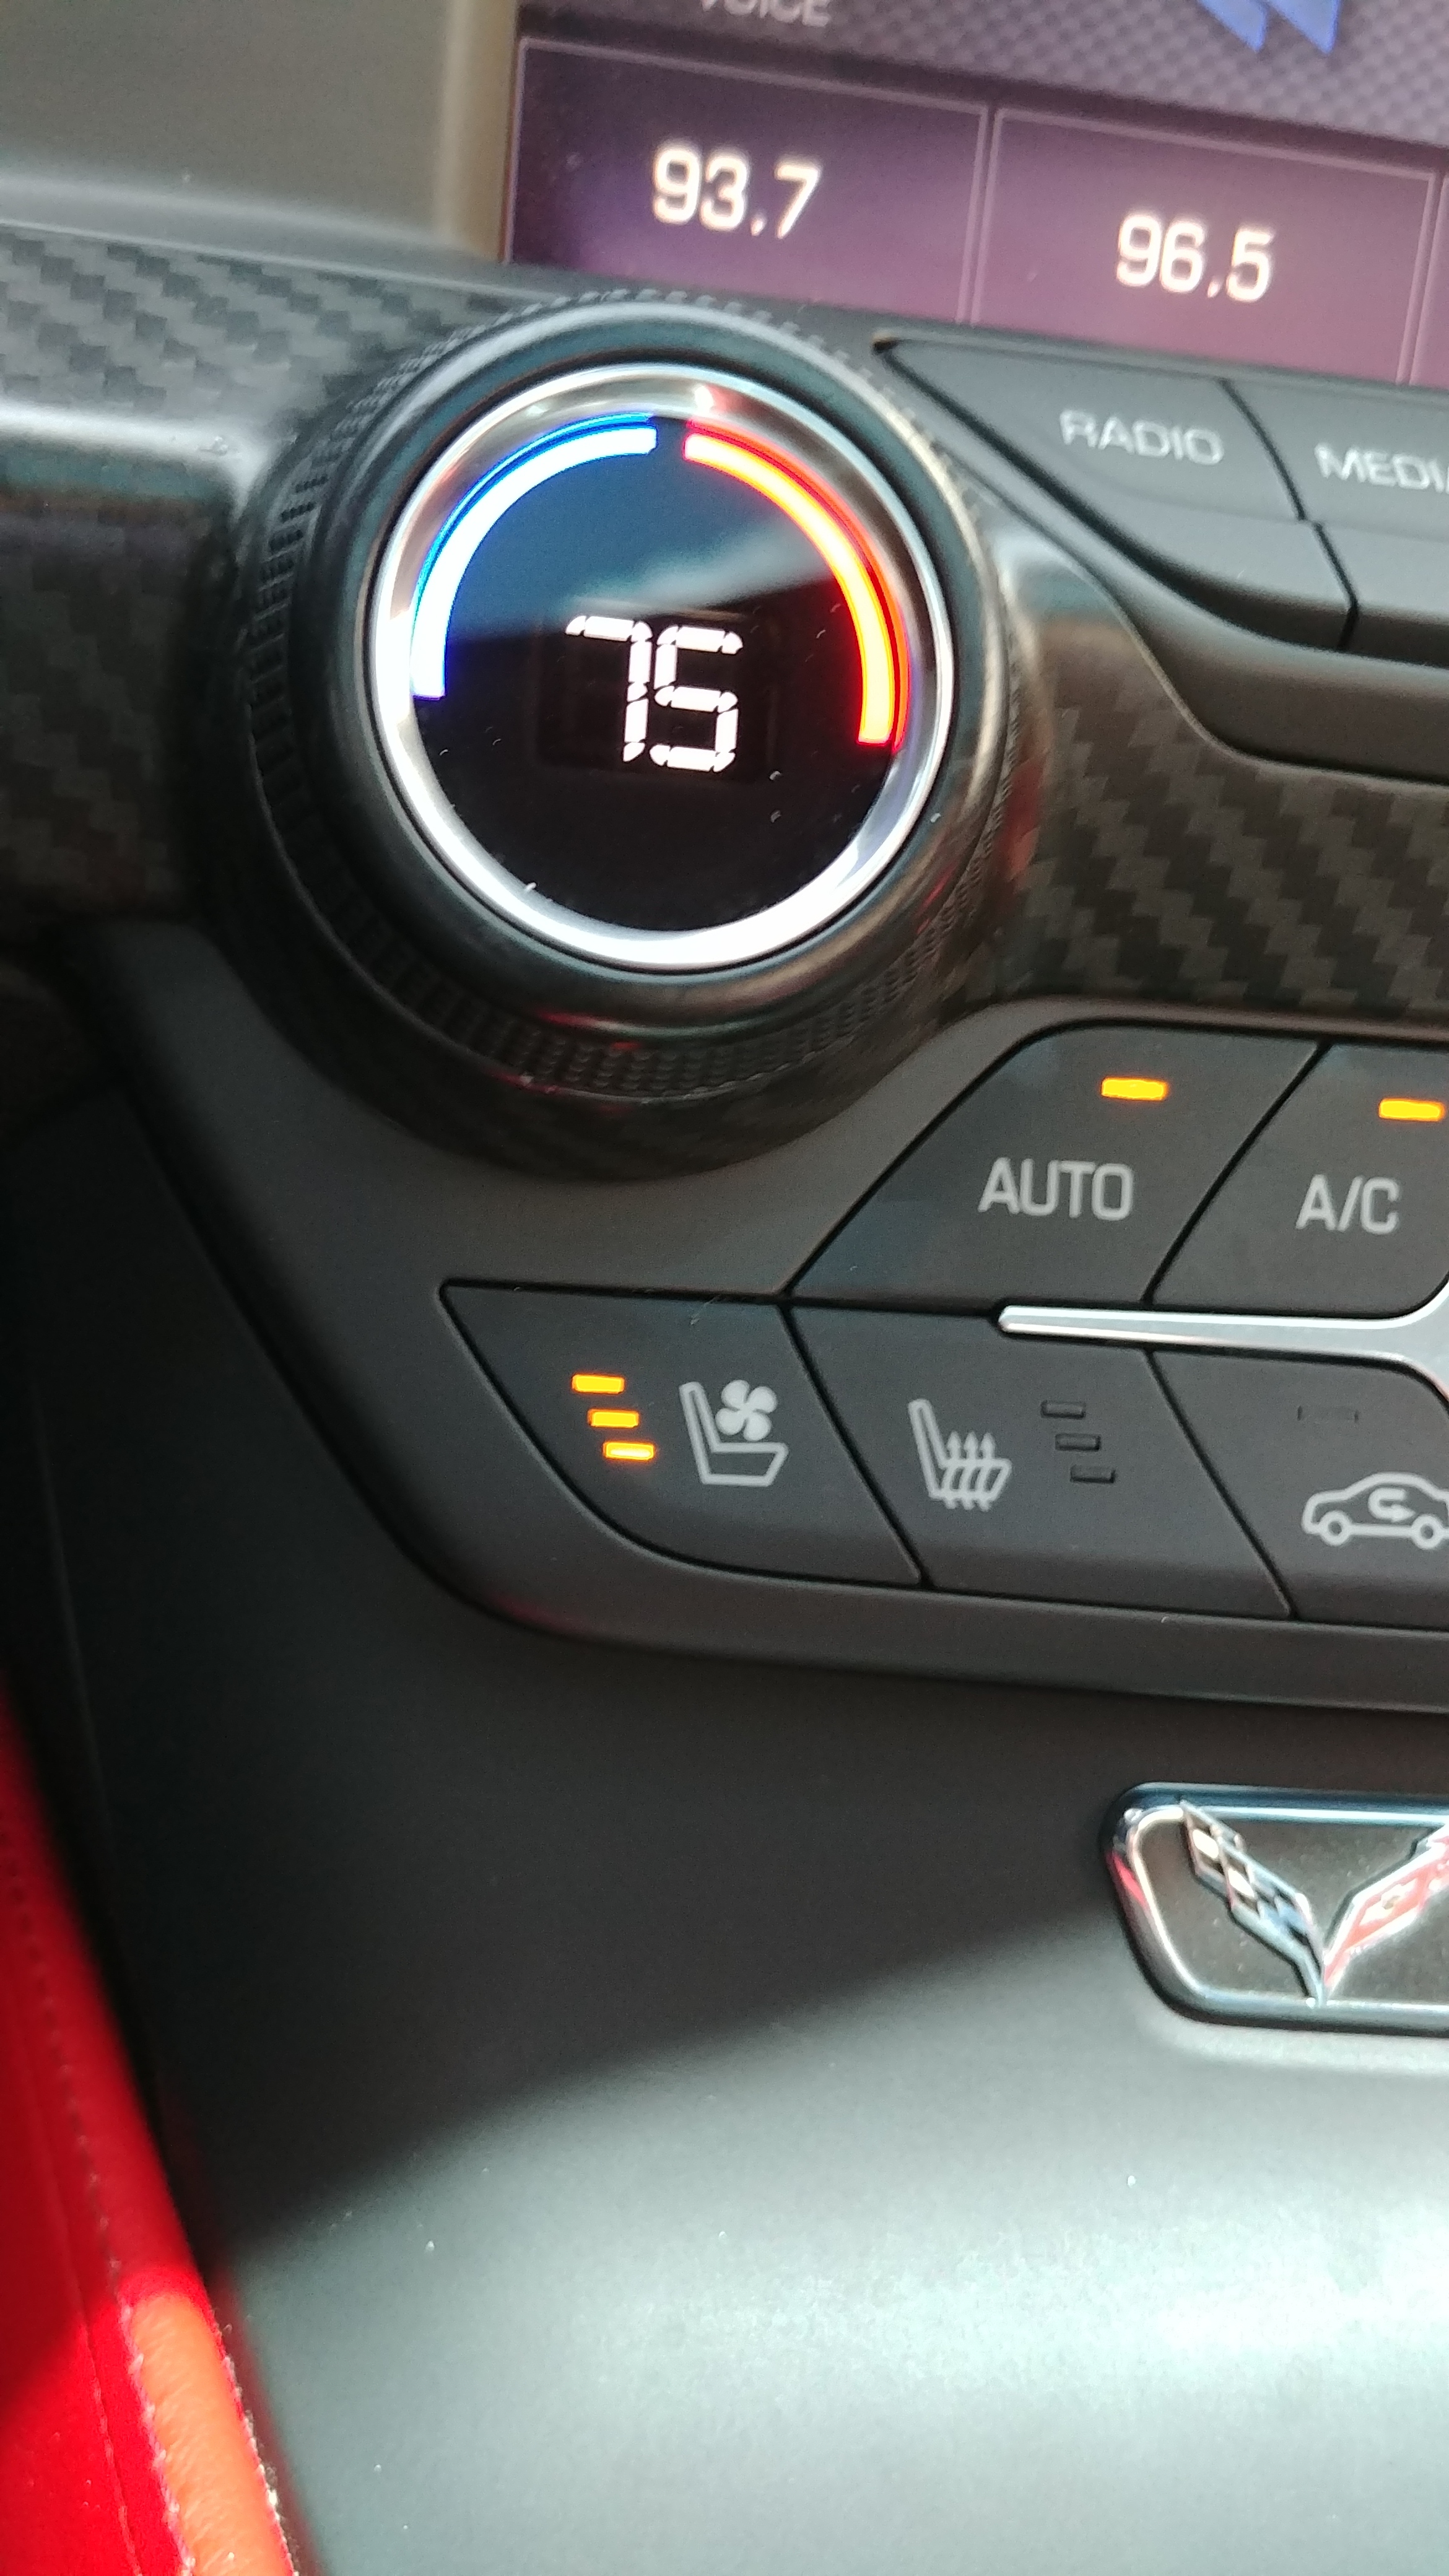
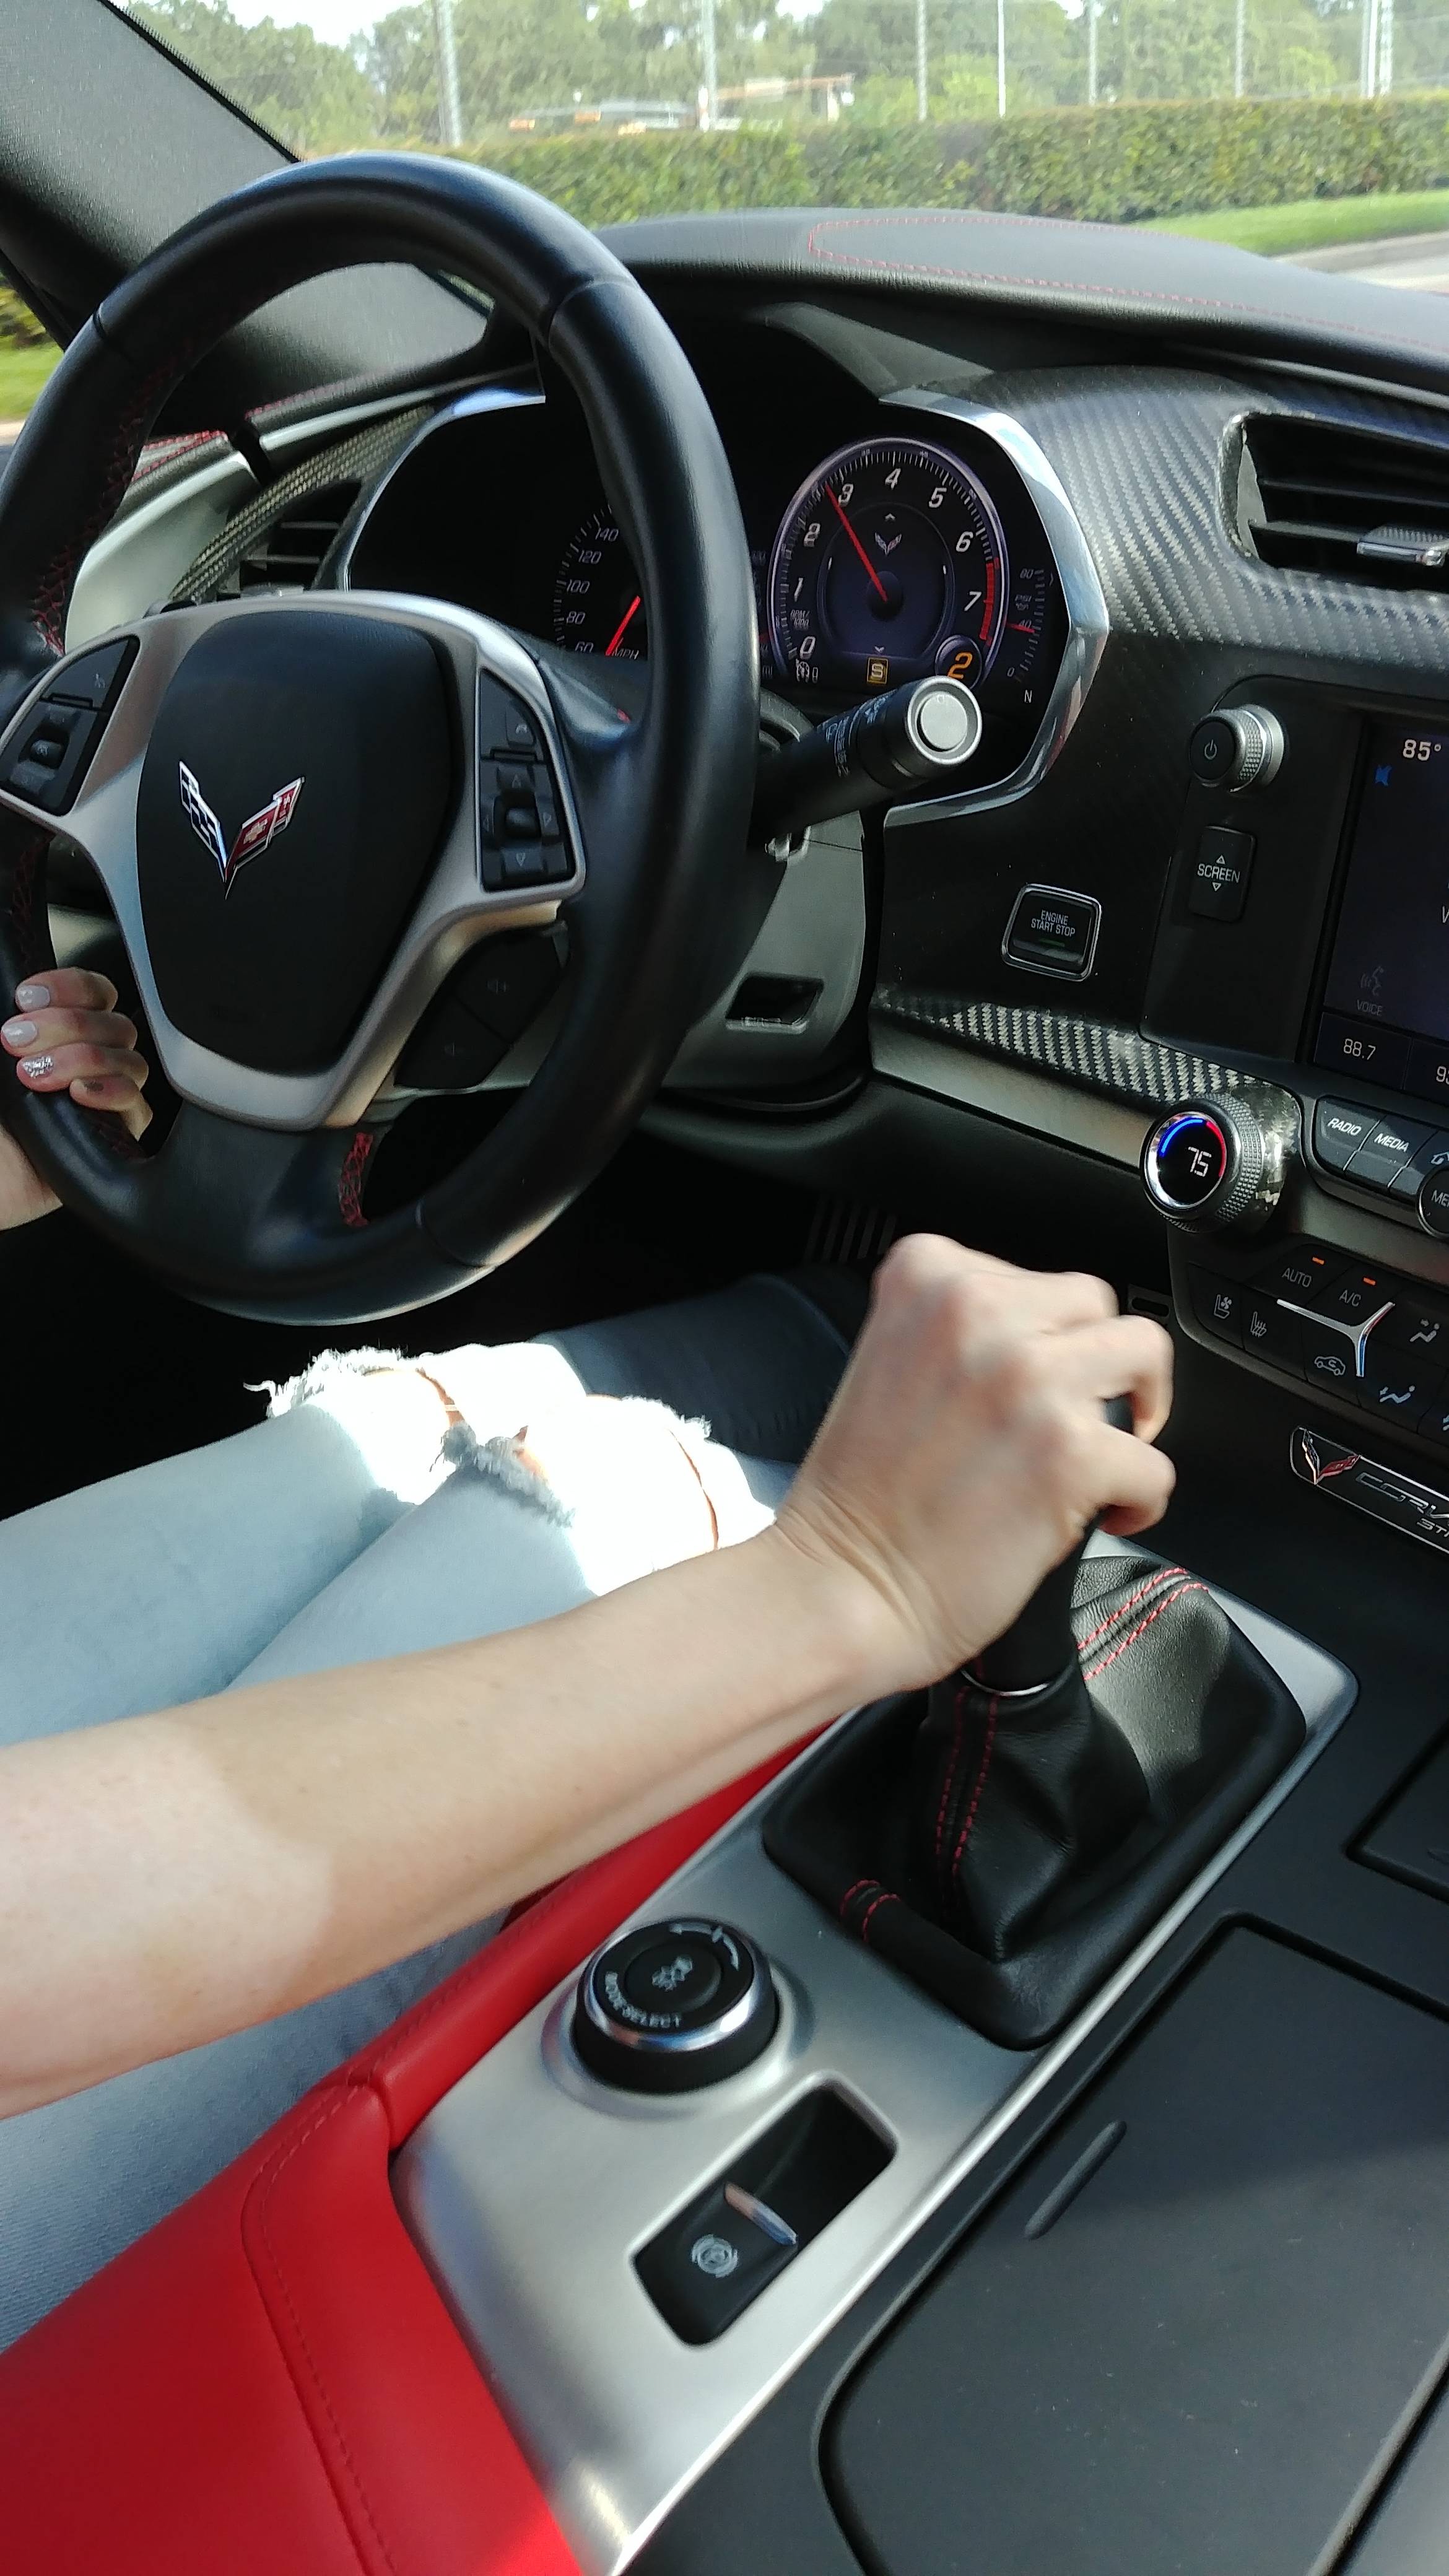
In the end with the windshield tinted, its made a huge difference in cabin heat. Its 100 out today, and I'm perfectly fine cruising around in direct sunlight with the AC on 75.
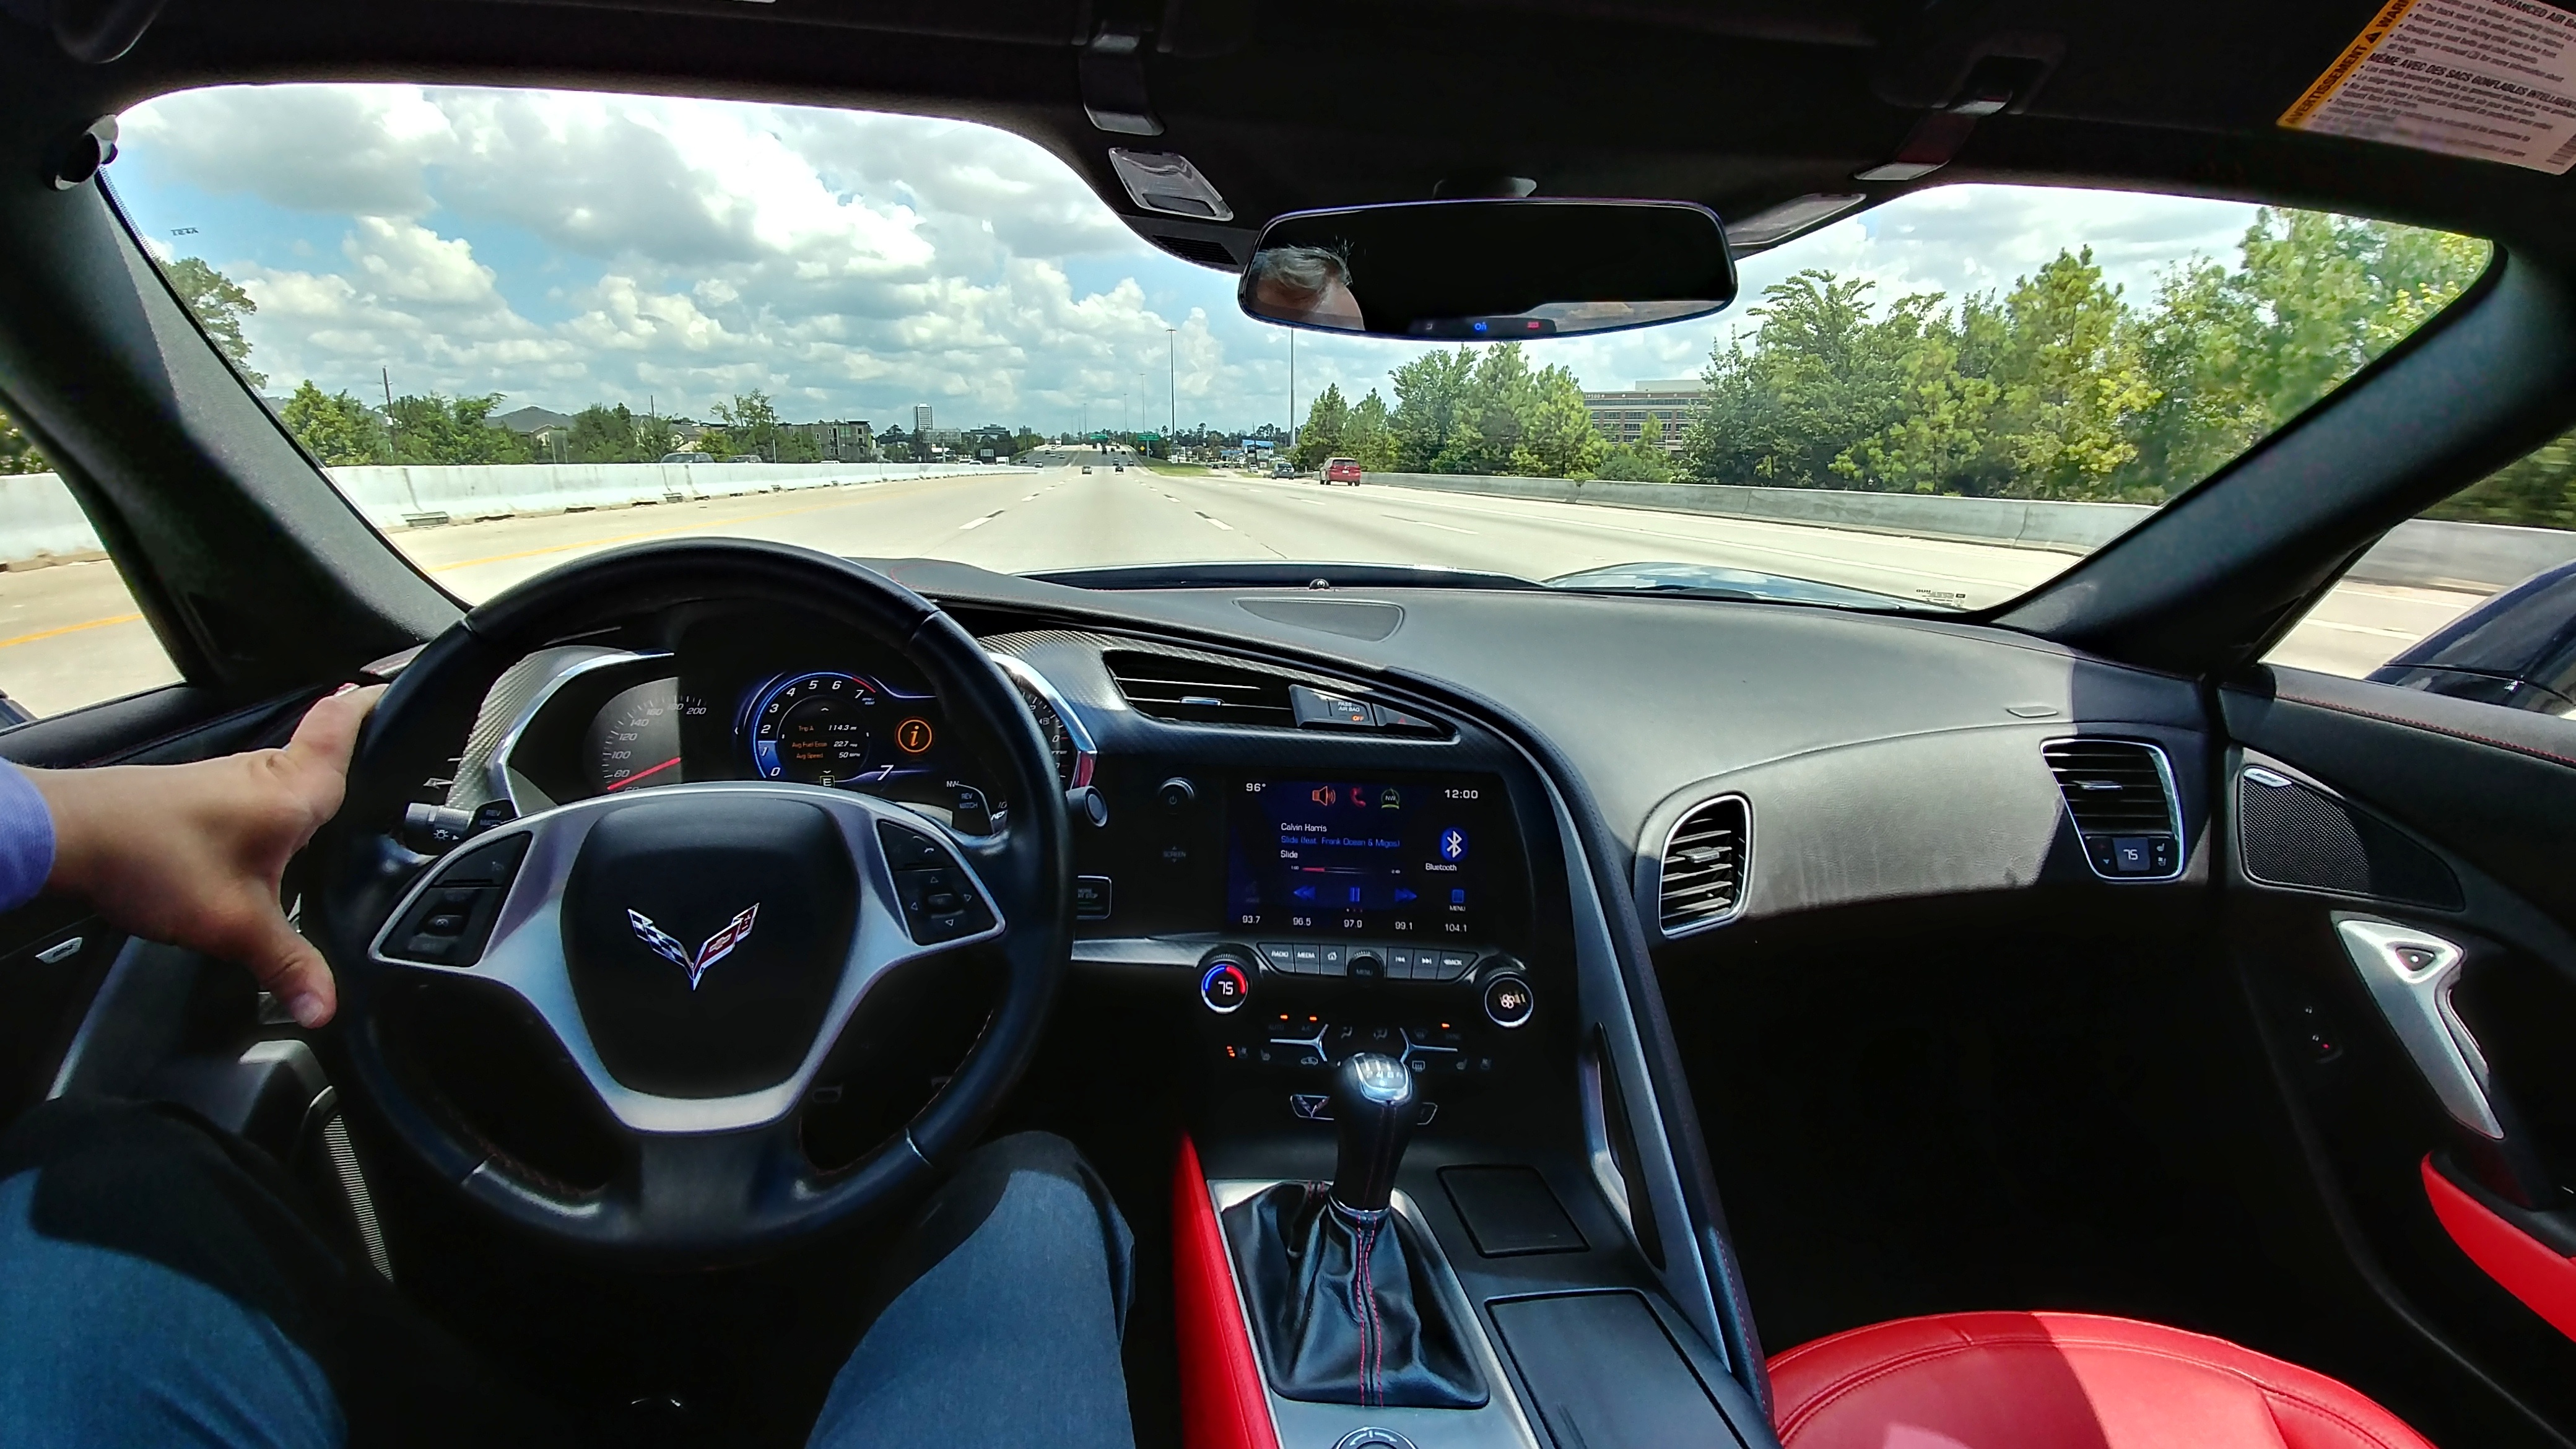
Couldn't live without the AC seats tho. The swamp *** is real in Texas.


Couldn't live without the AC seats tho. The swamp *** is real in Texas.
 07-26-2017, 01:52 PM
#27
Lia's birthday came and went, and one of the things I remember her complaining about when it came to the vette was the shifter feel. Granted this is a transaxle, and your shifter essentially pulls a cable around, but I feel there is tons to be desired with the oem offering. For me its usually all about "how fast can I shift", for her, its a matter of confidence and avoiding the anxiety of "which gear am I going into now". The oem shifter feels very vague in its gates, and is compounded by the 4 gear options on the top side (1,3,5,7).
I decided as one of her gifts, to install a MGW upper/lower box in there, without saying a word. Installation is really straightforward with step-by-step video instruction available on MGW's website.
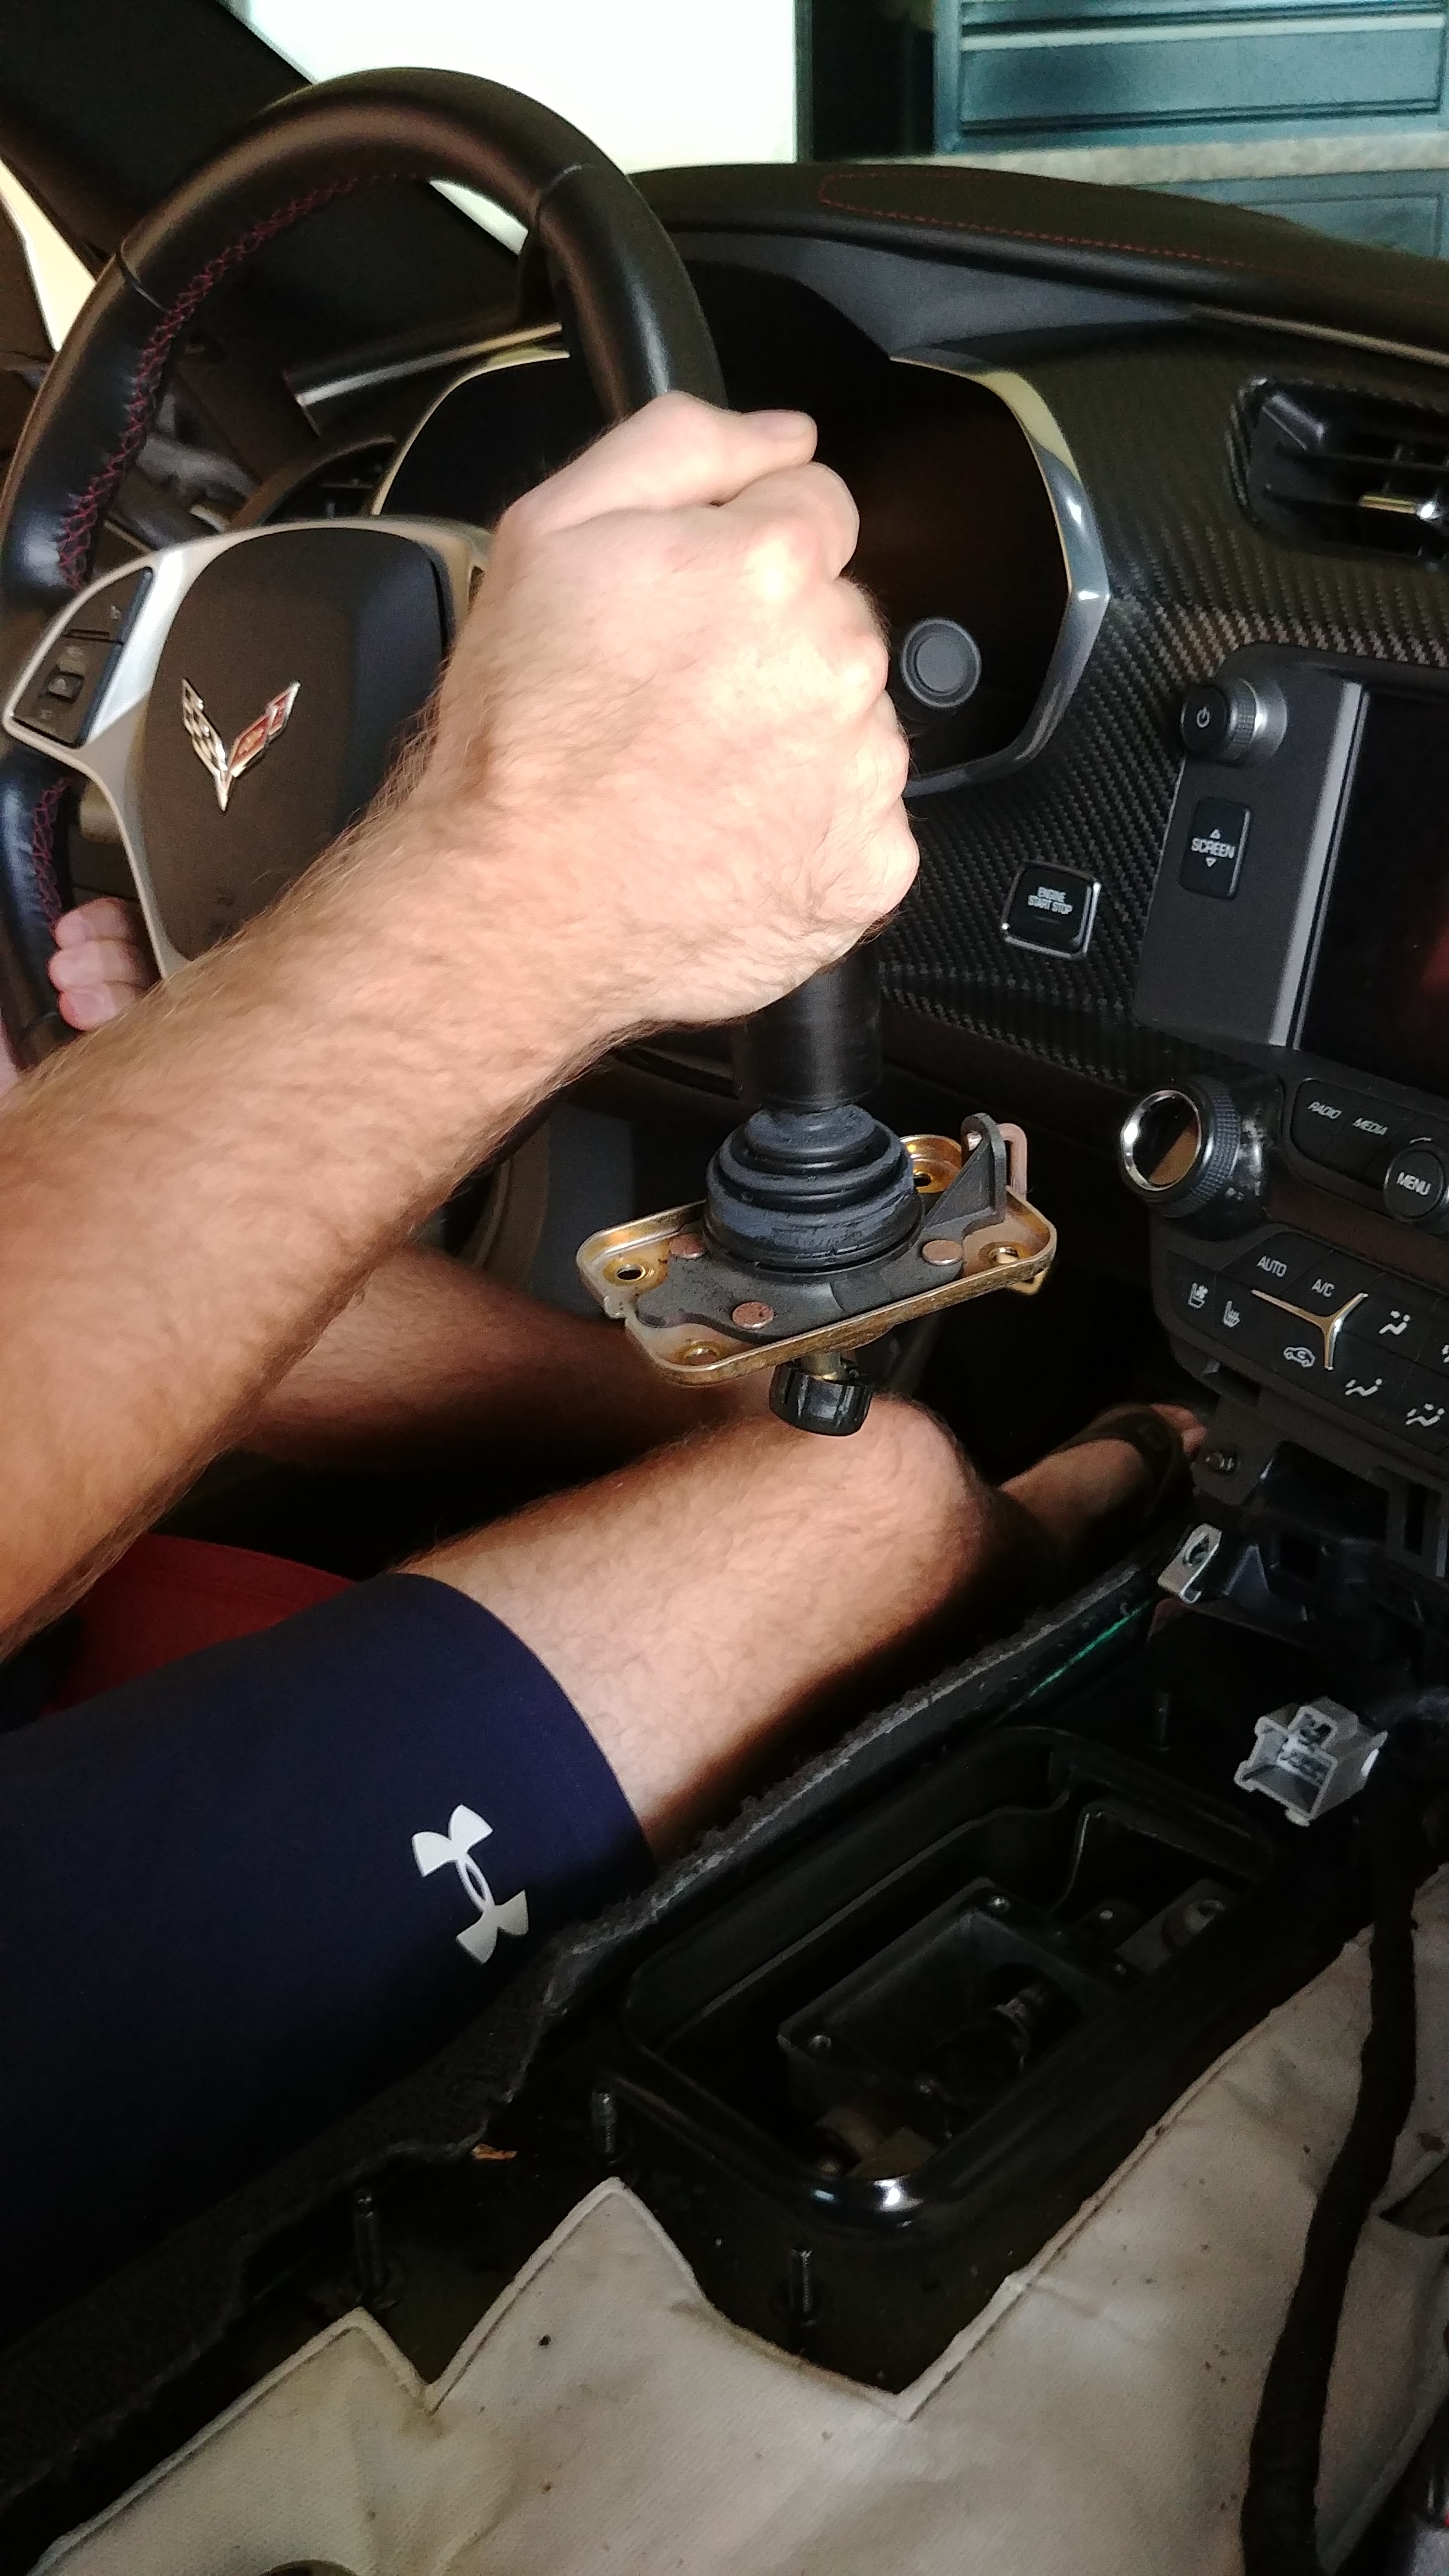
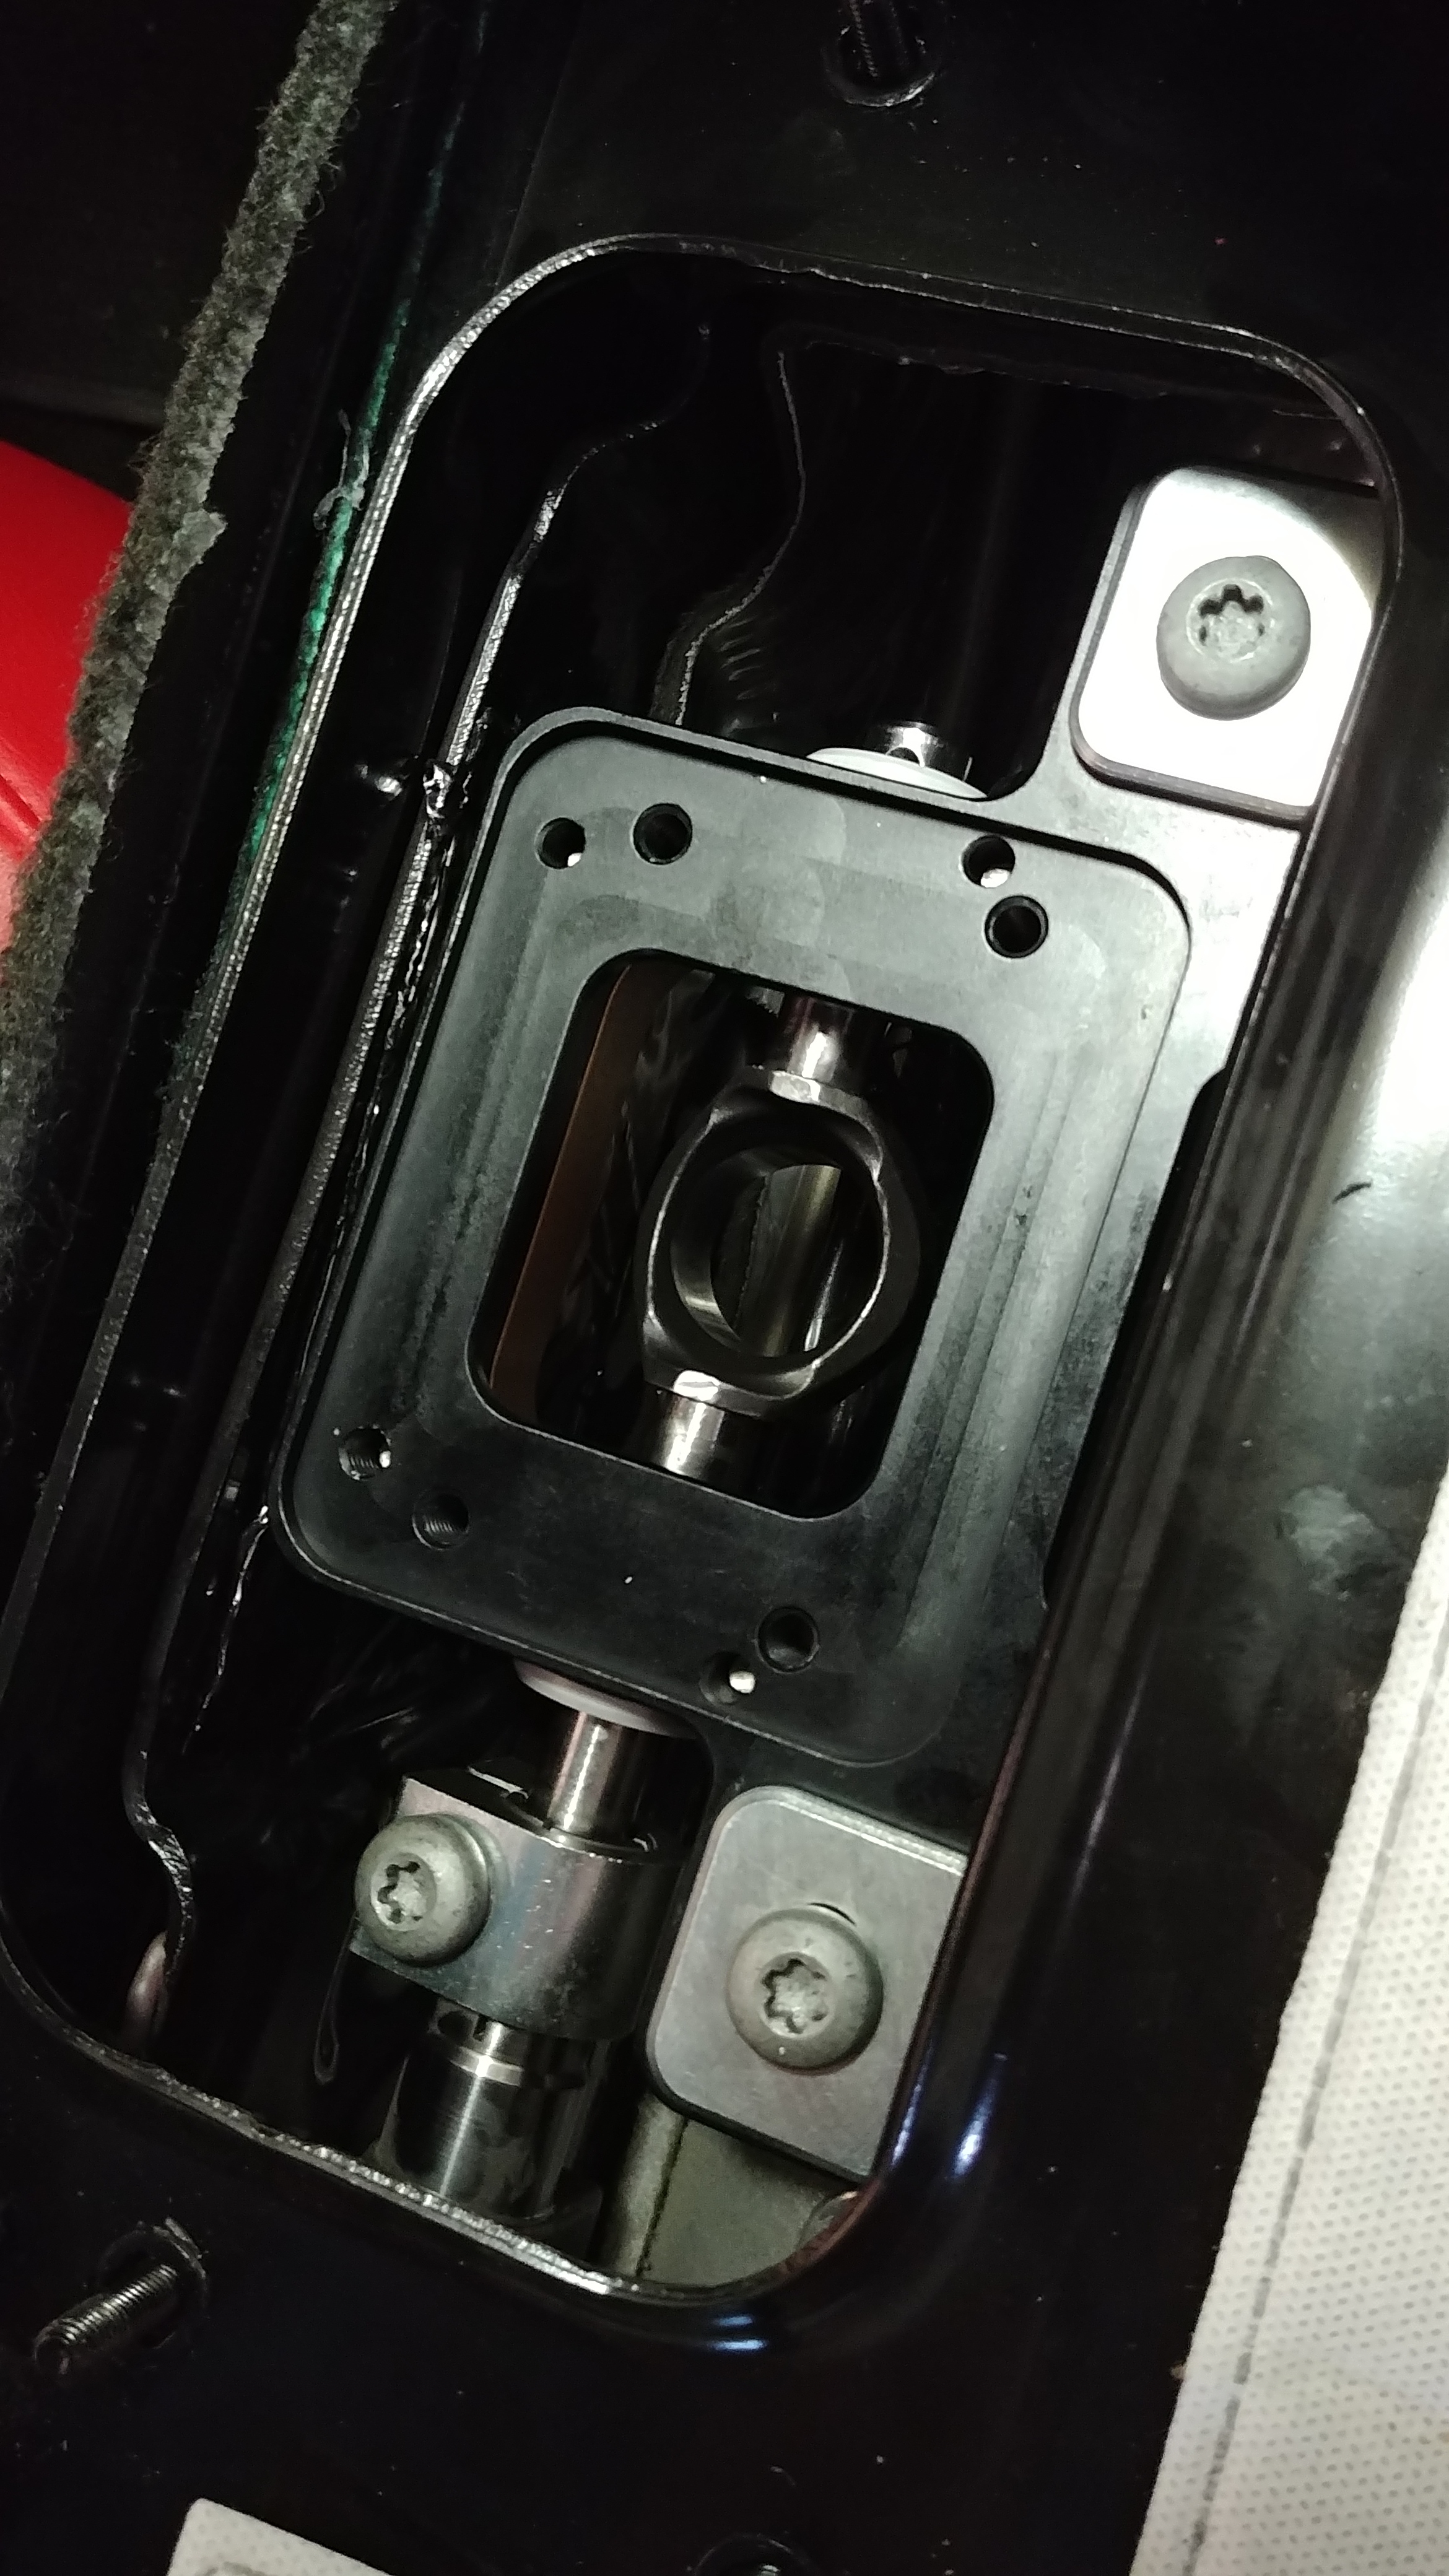
Start by removing the console lid and shift ****.
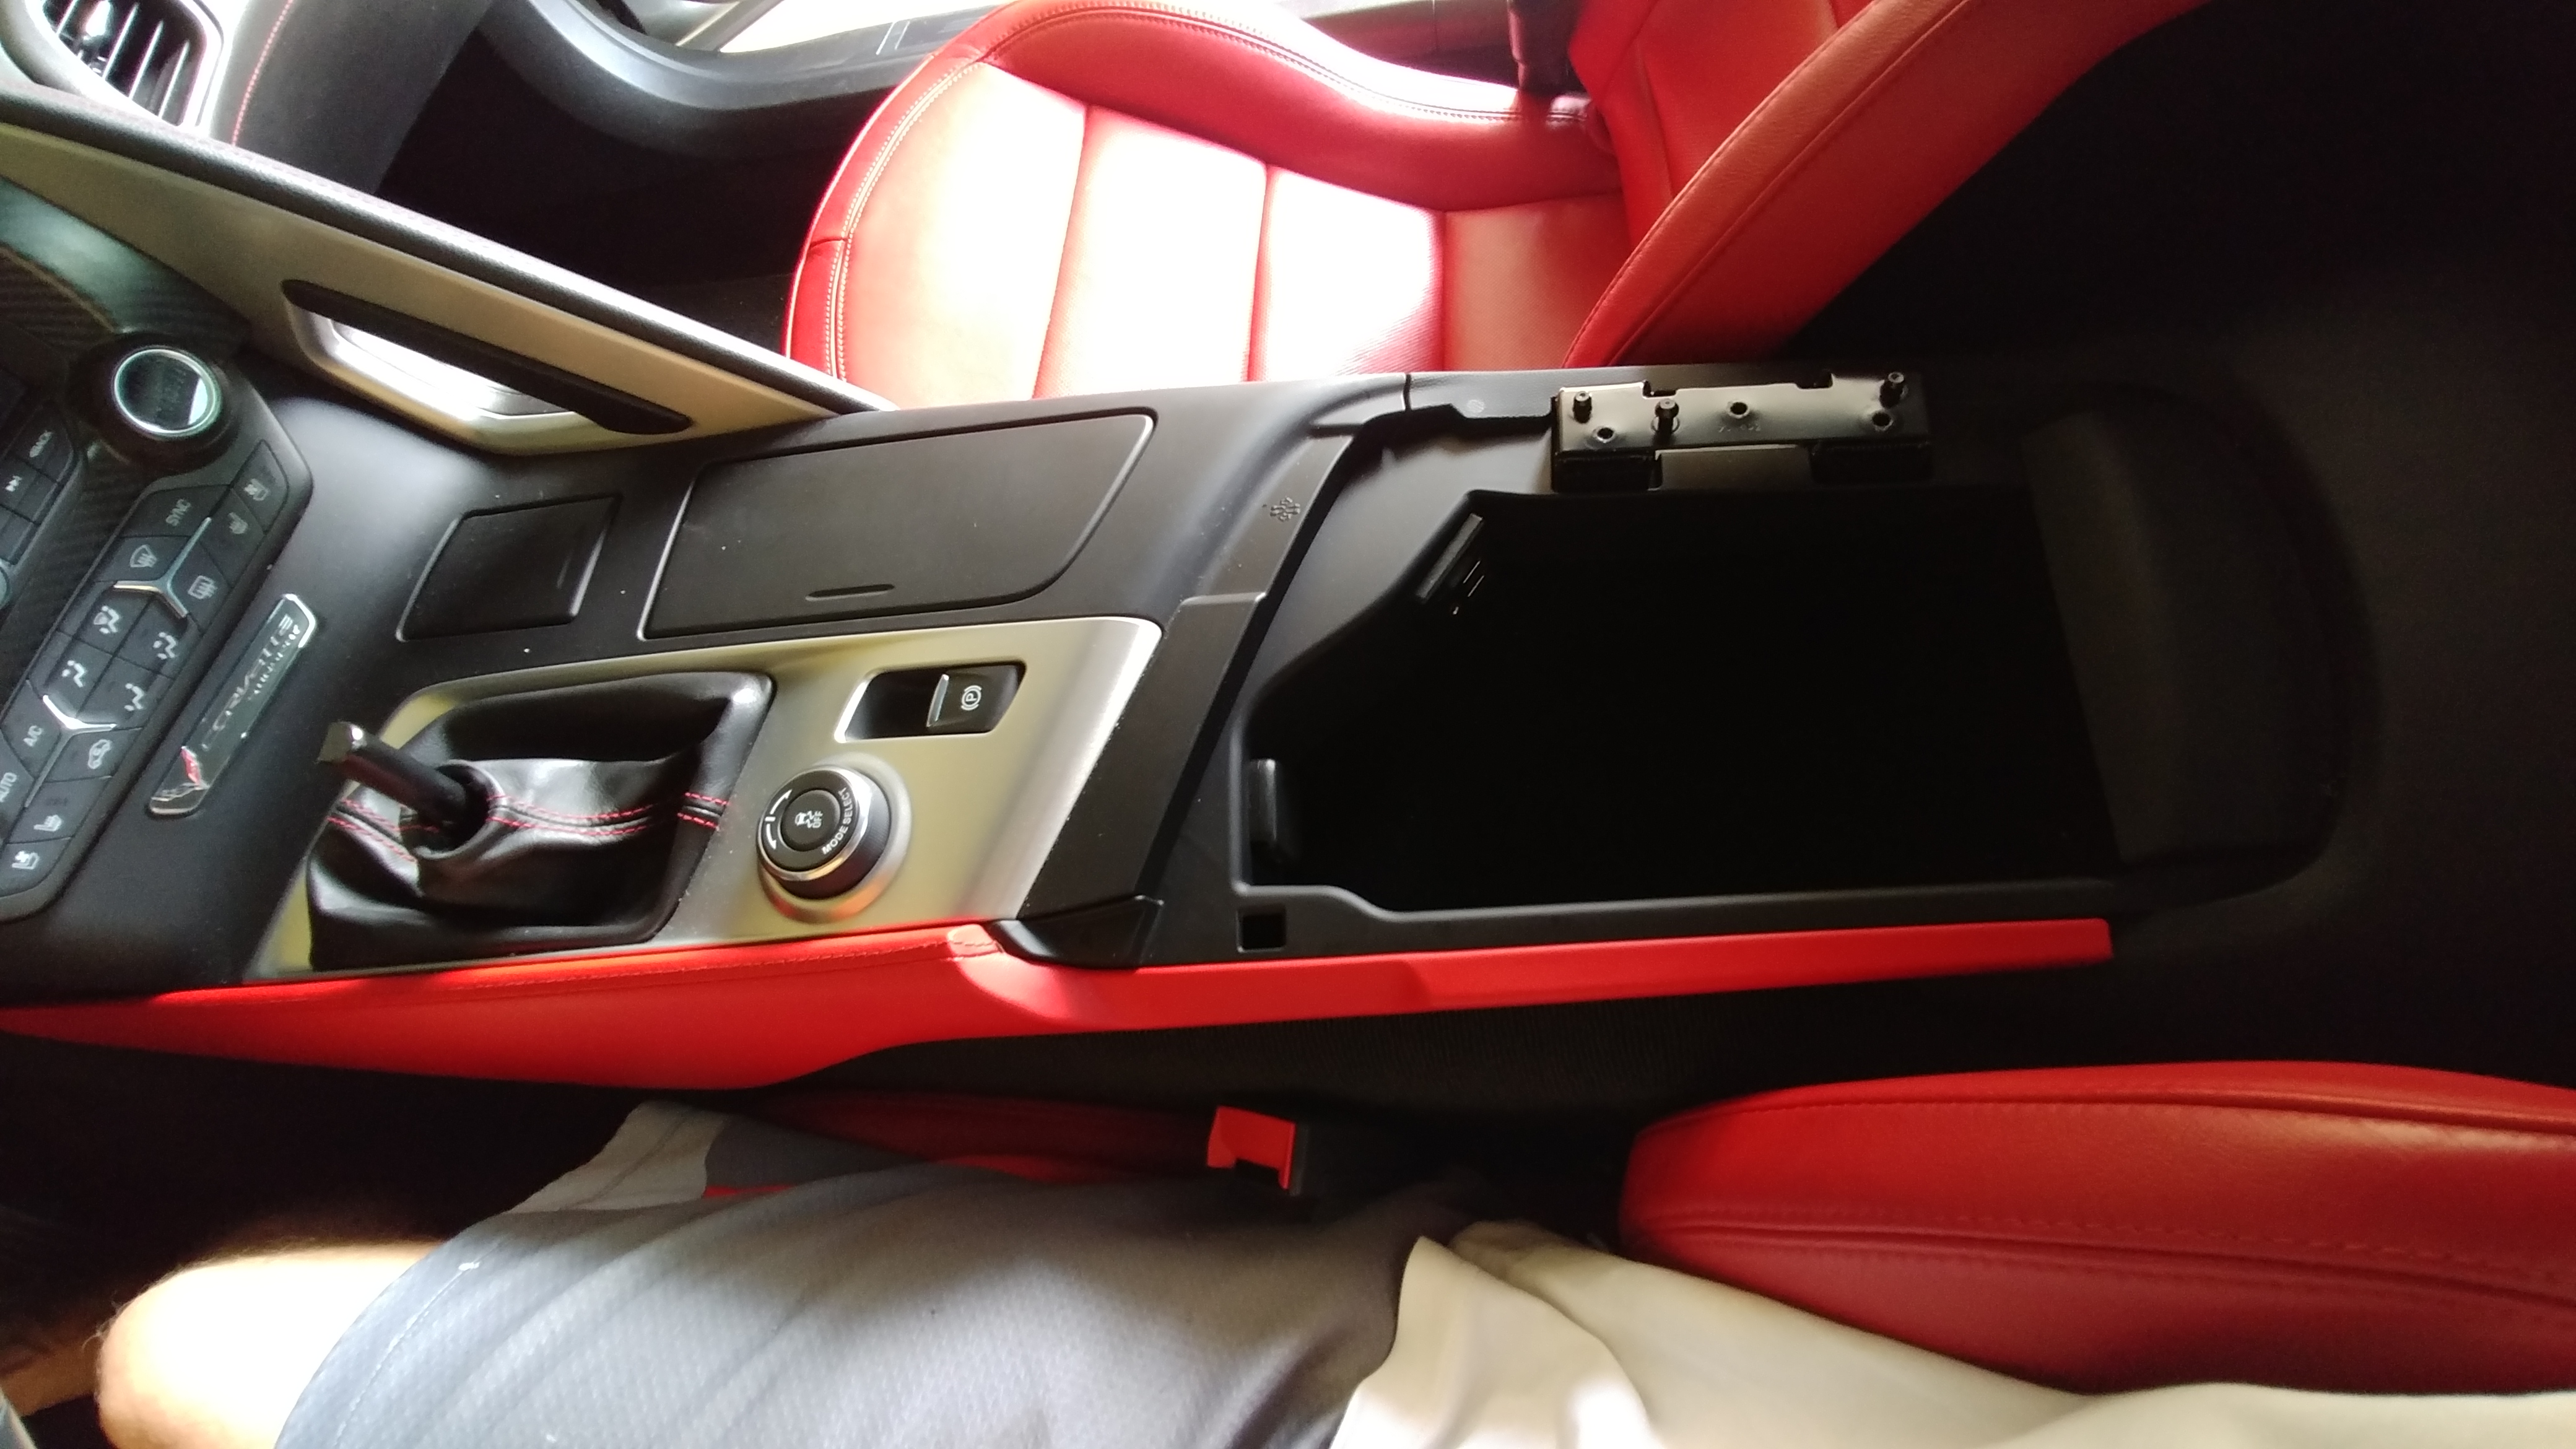
Upper console comes off next (clips and connectors only).
Lower console removed (6 bolts).
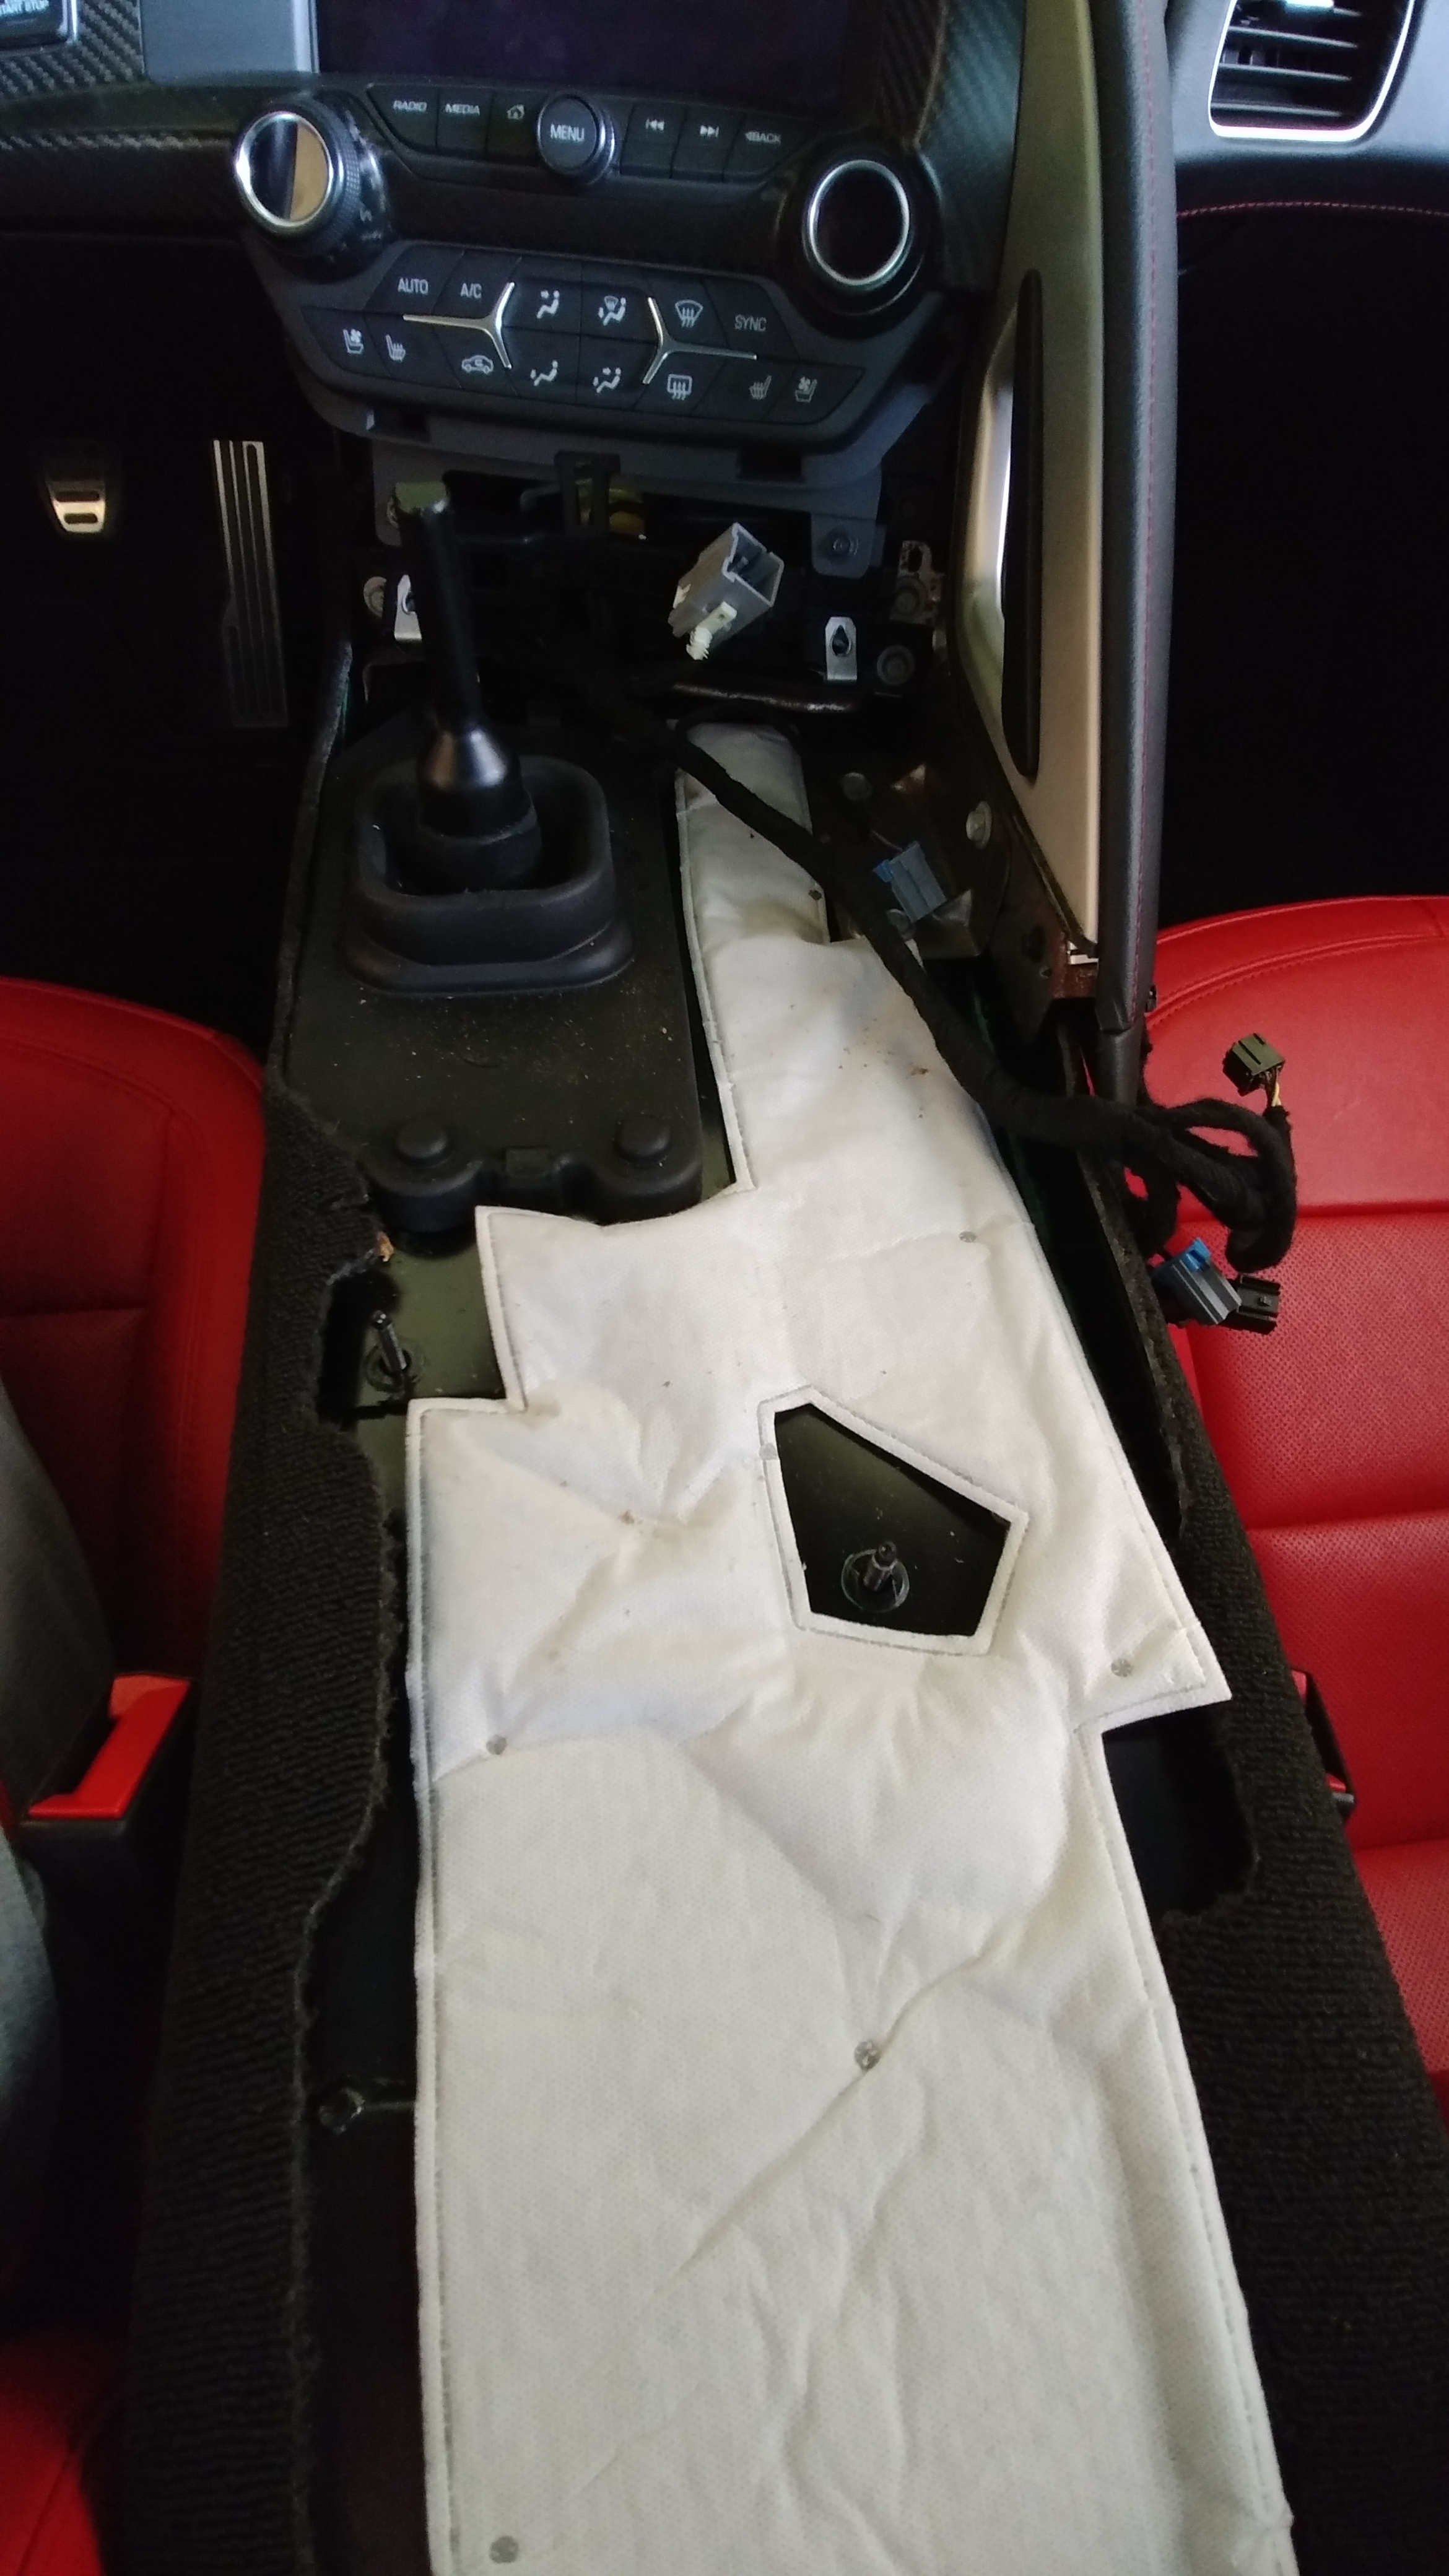
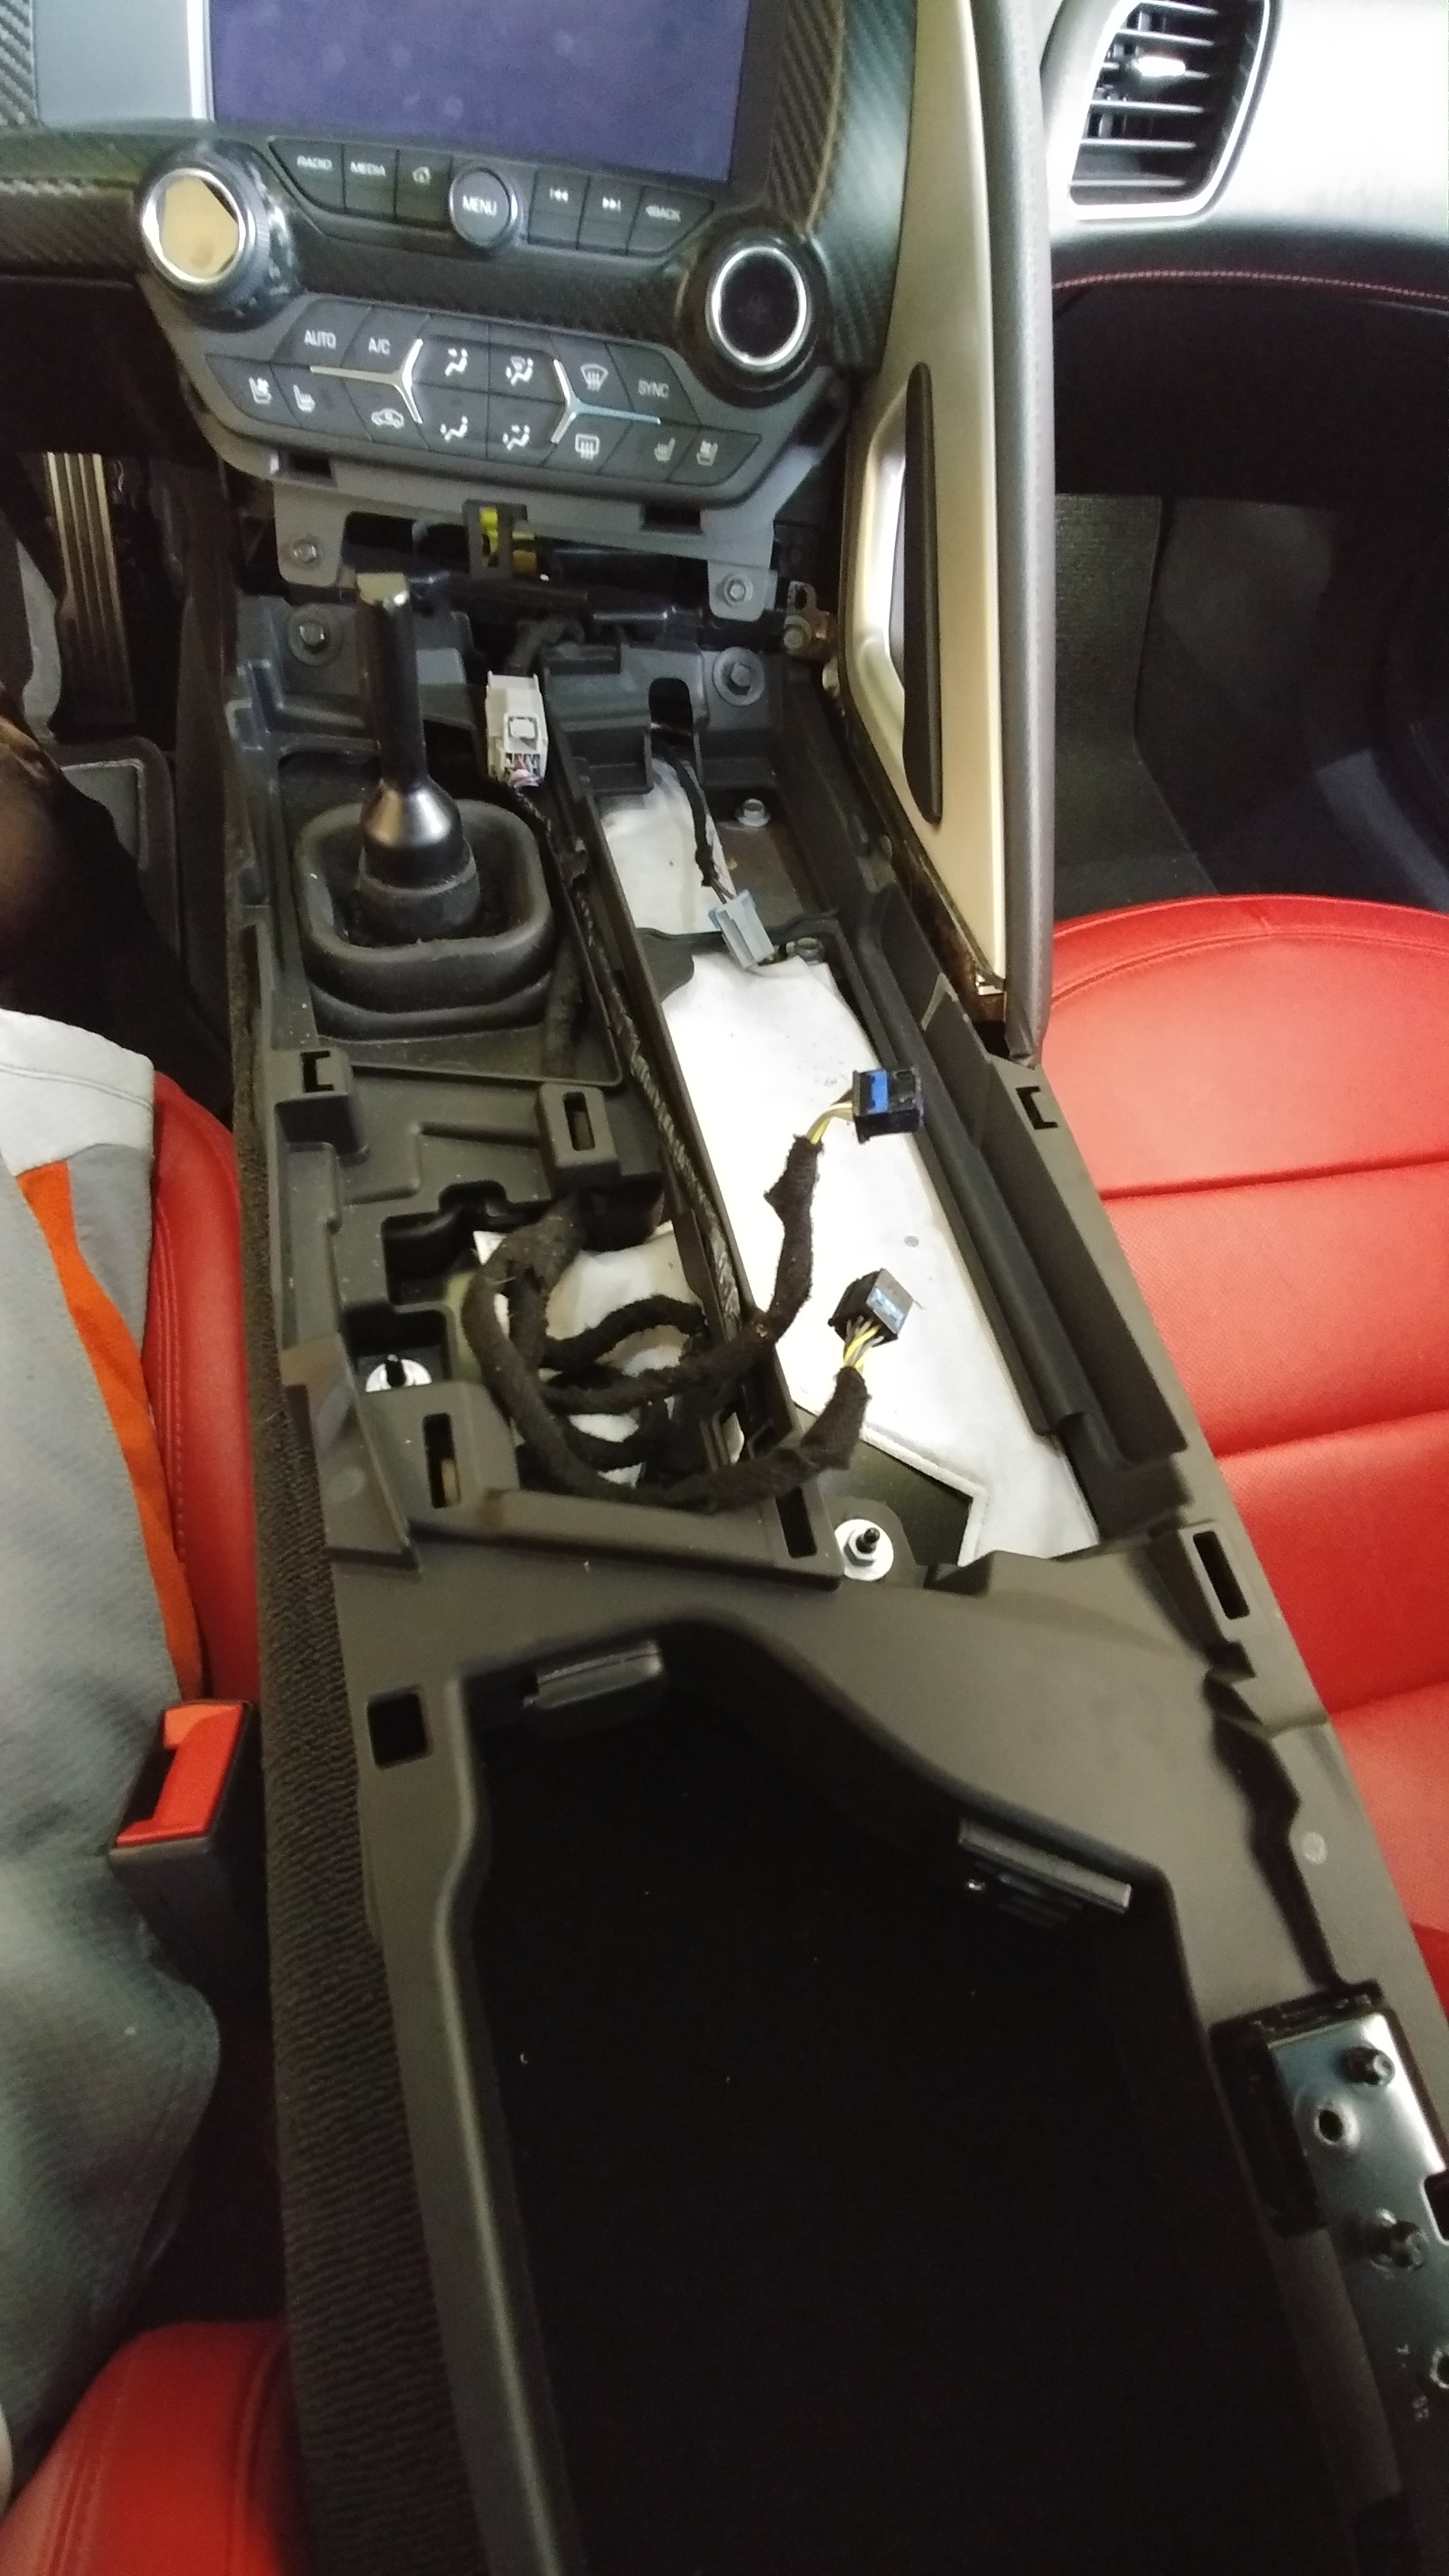
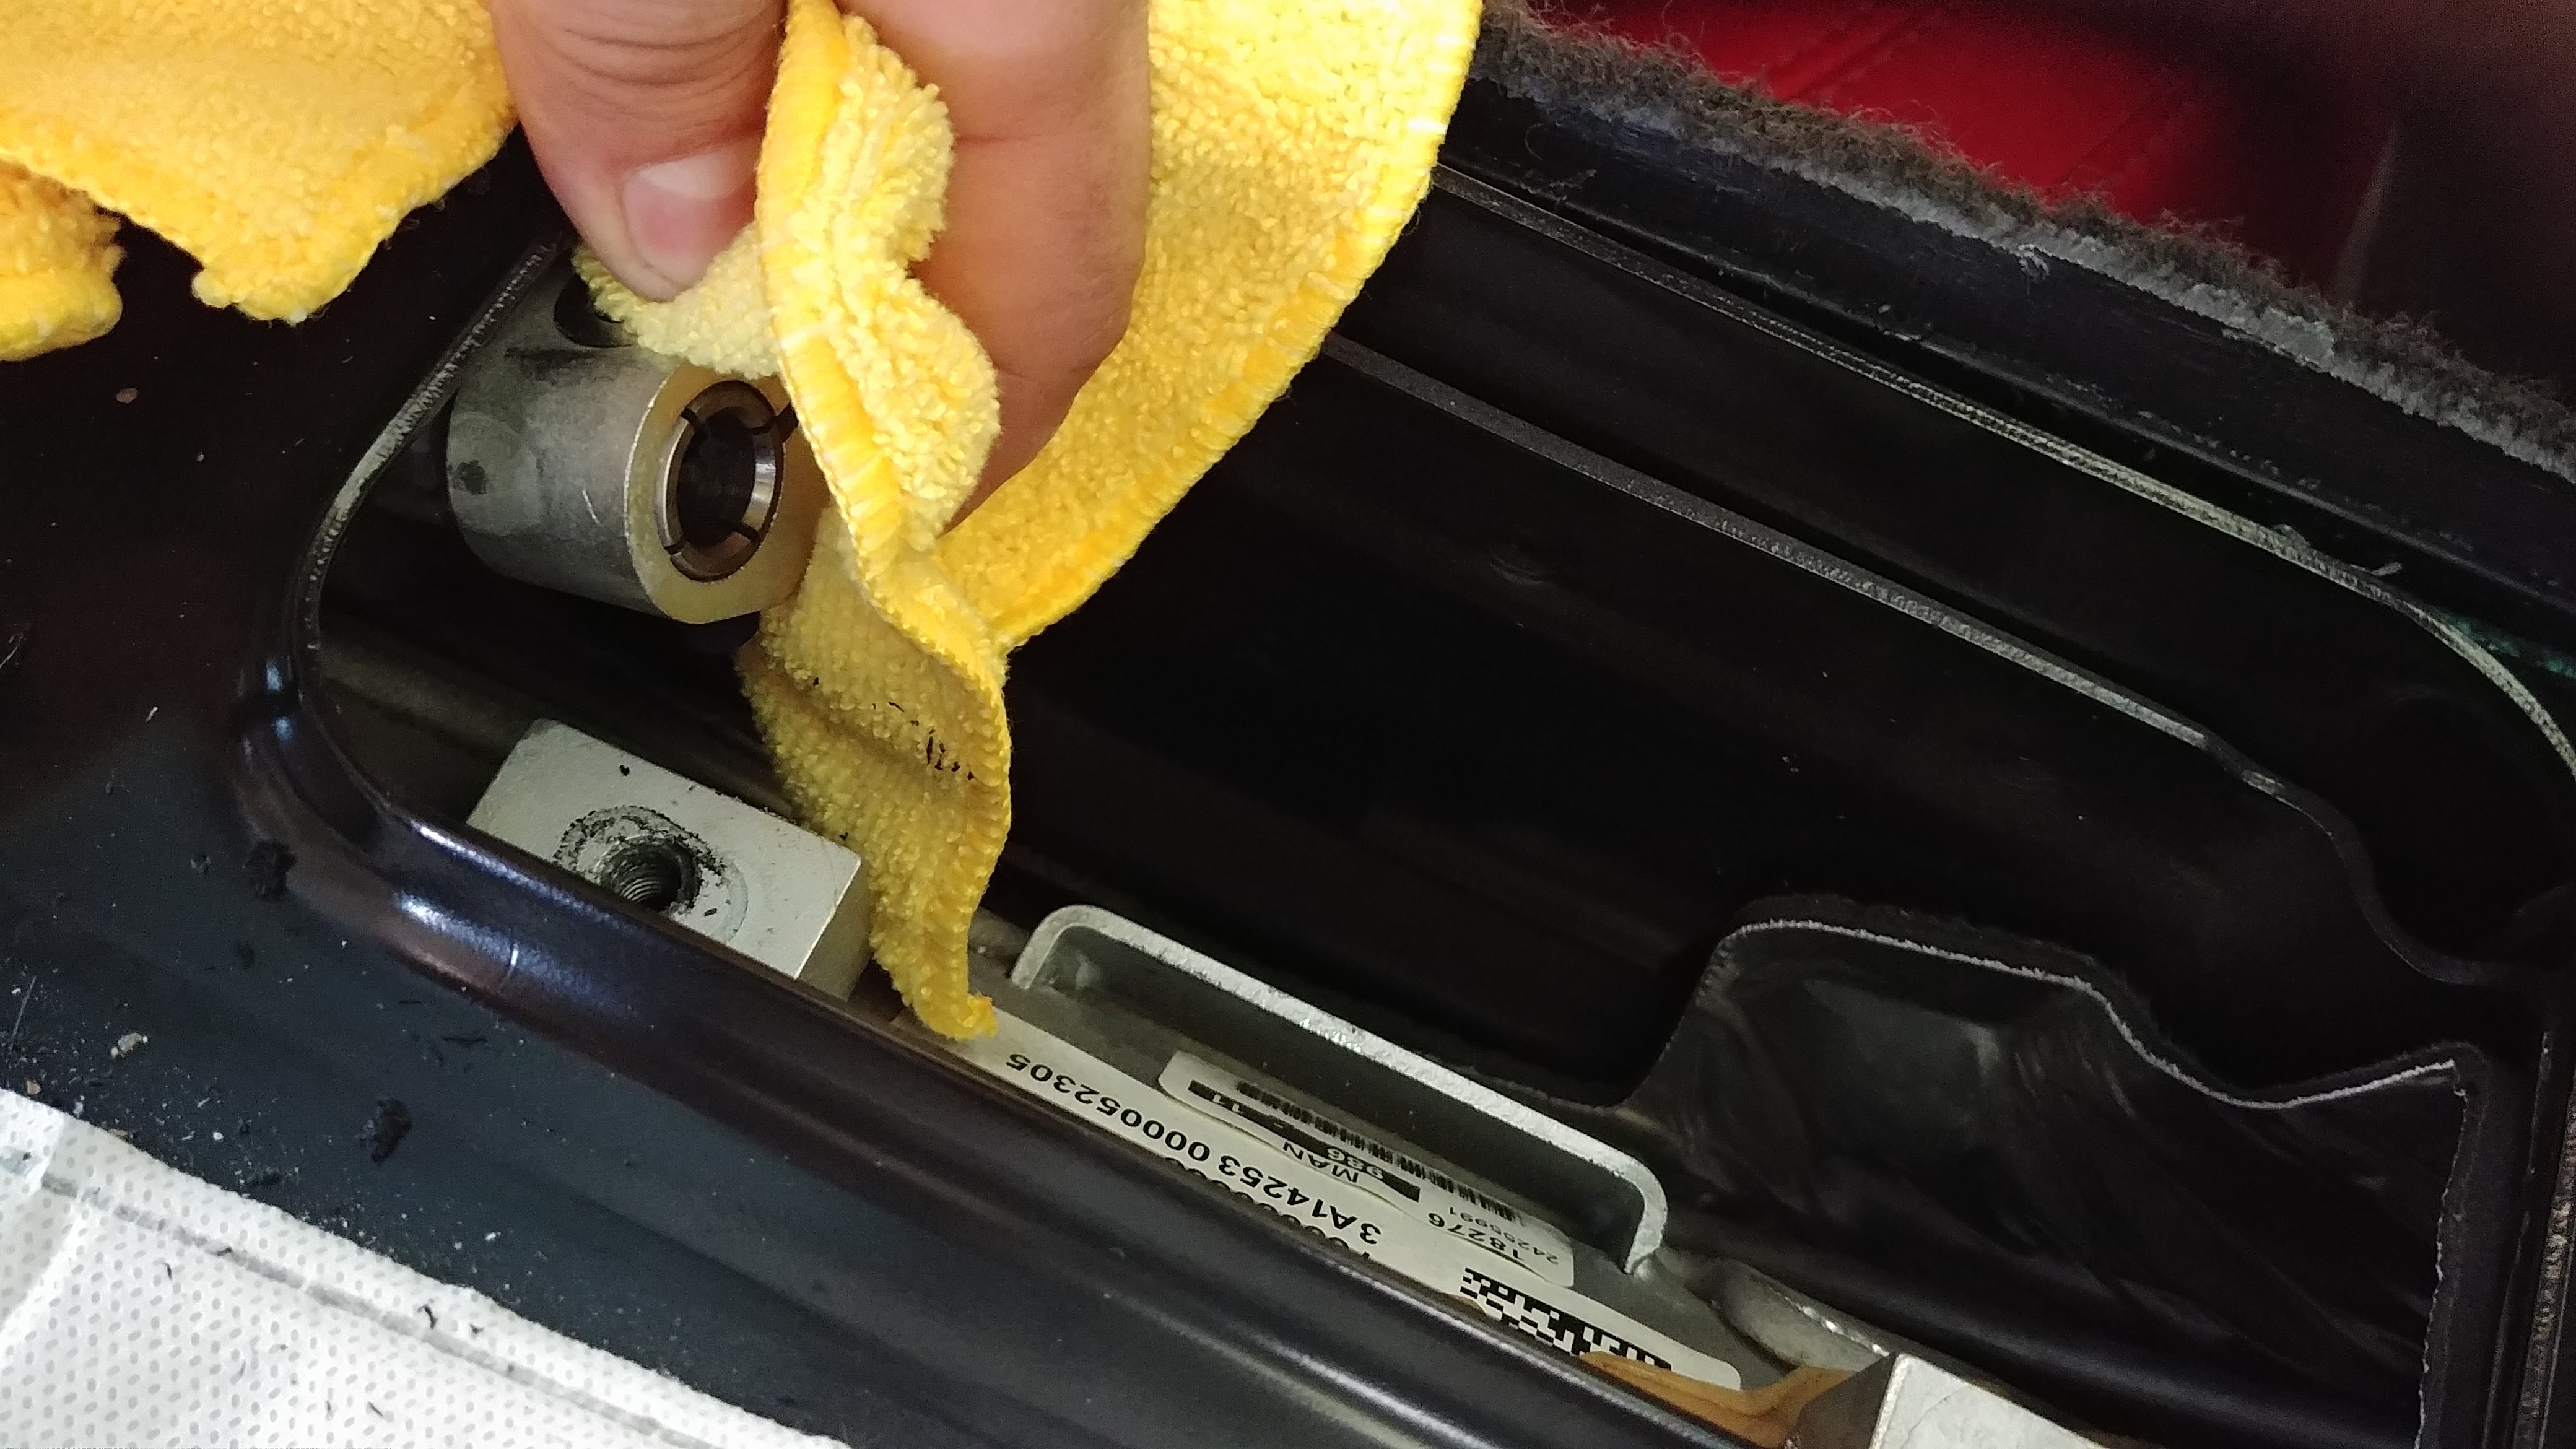
Rubber boot removed exposing the stock upper box;
4 bolts and its ready to be removed;
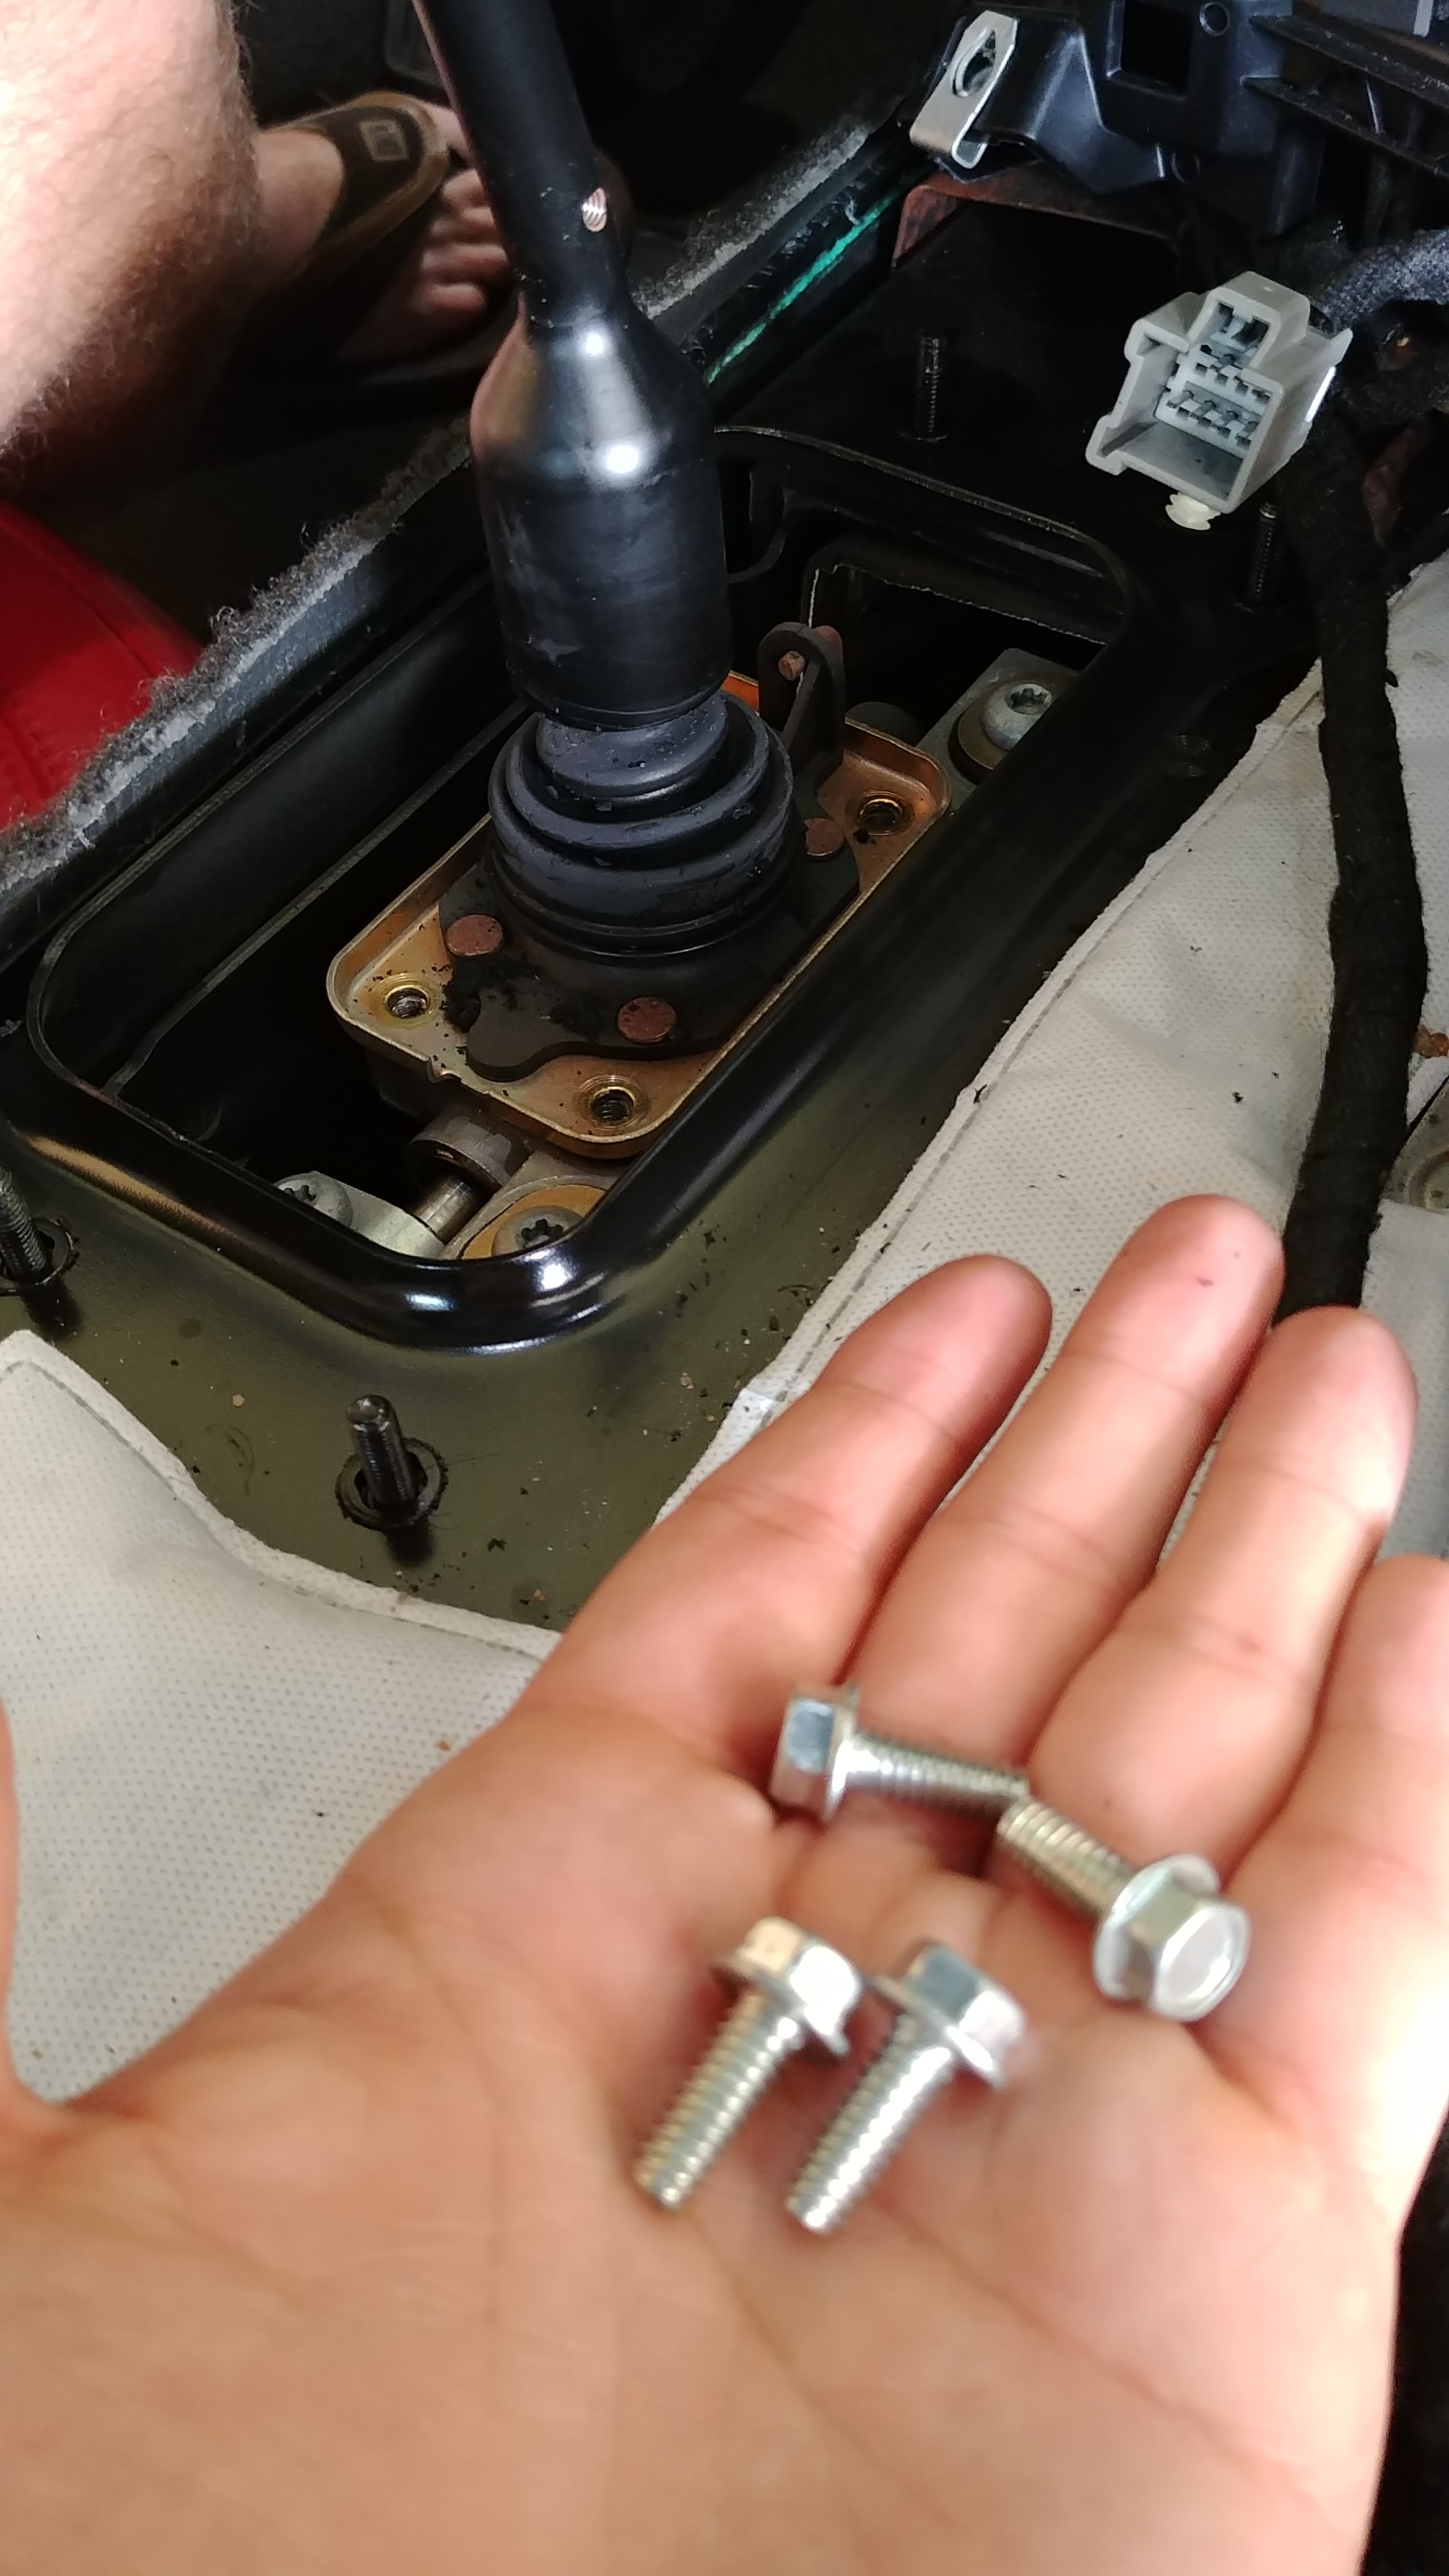
Pretty dainty little guy;
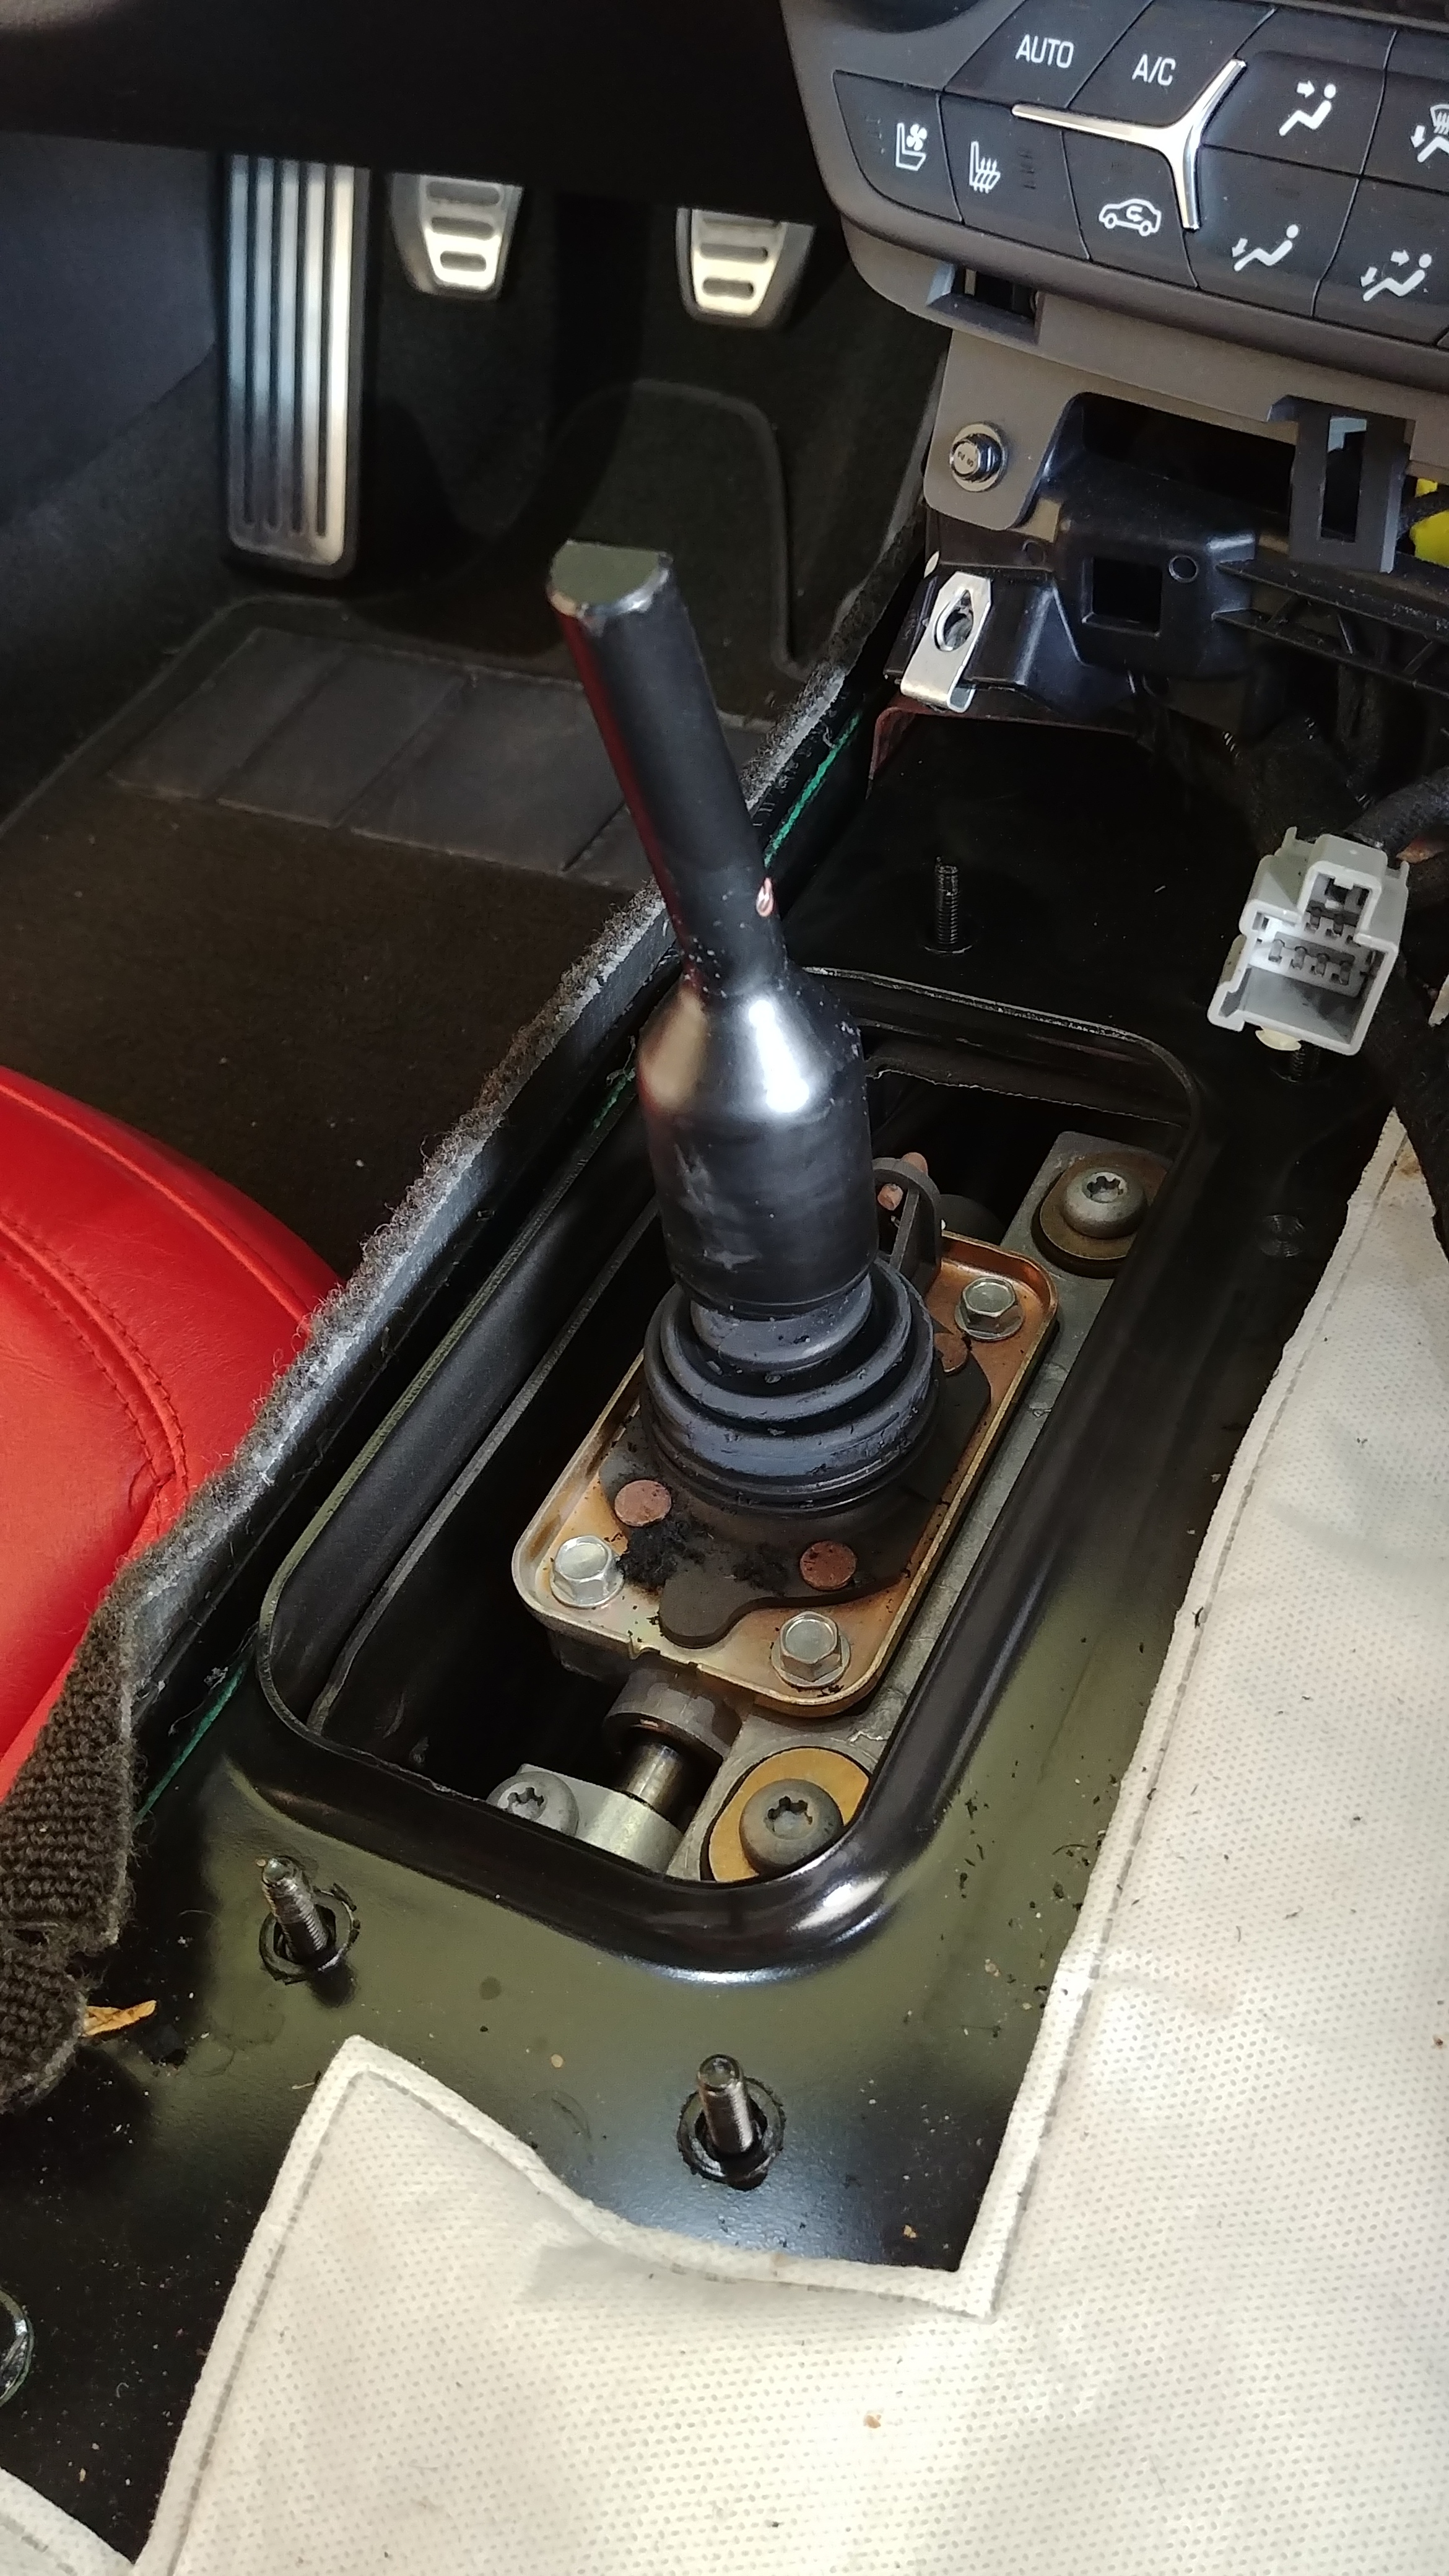
Lower box secured by two bolts, with another bolt securing the shift cable;
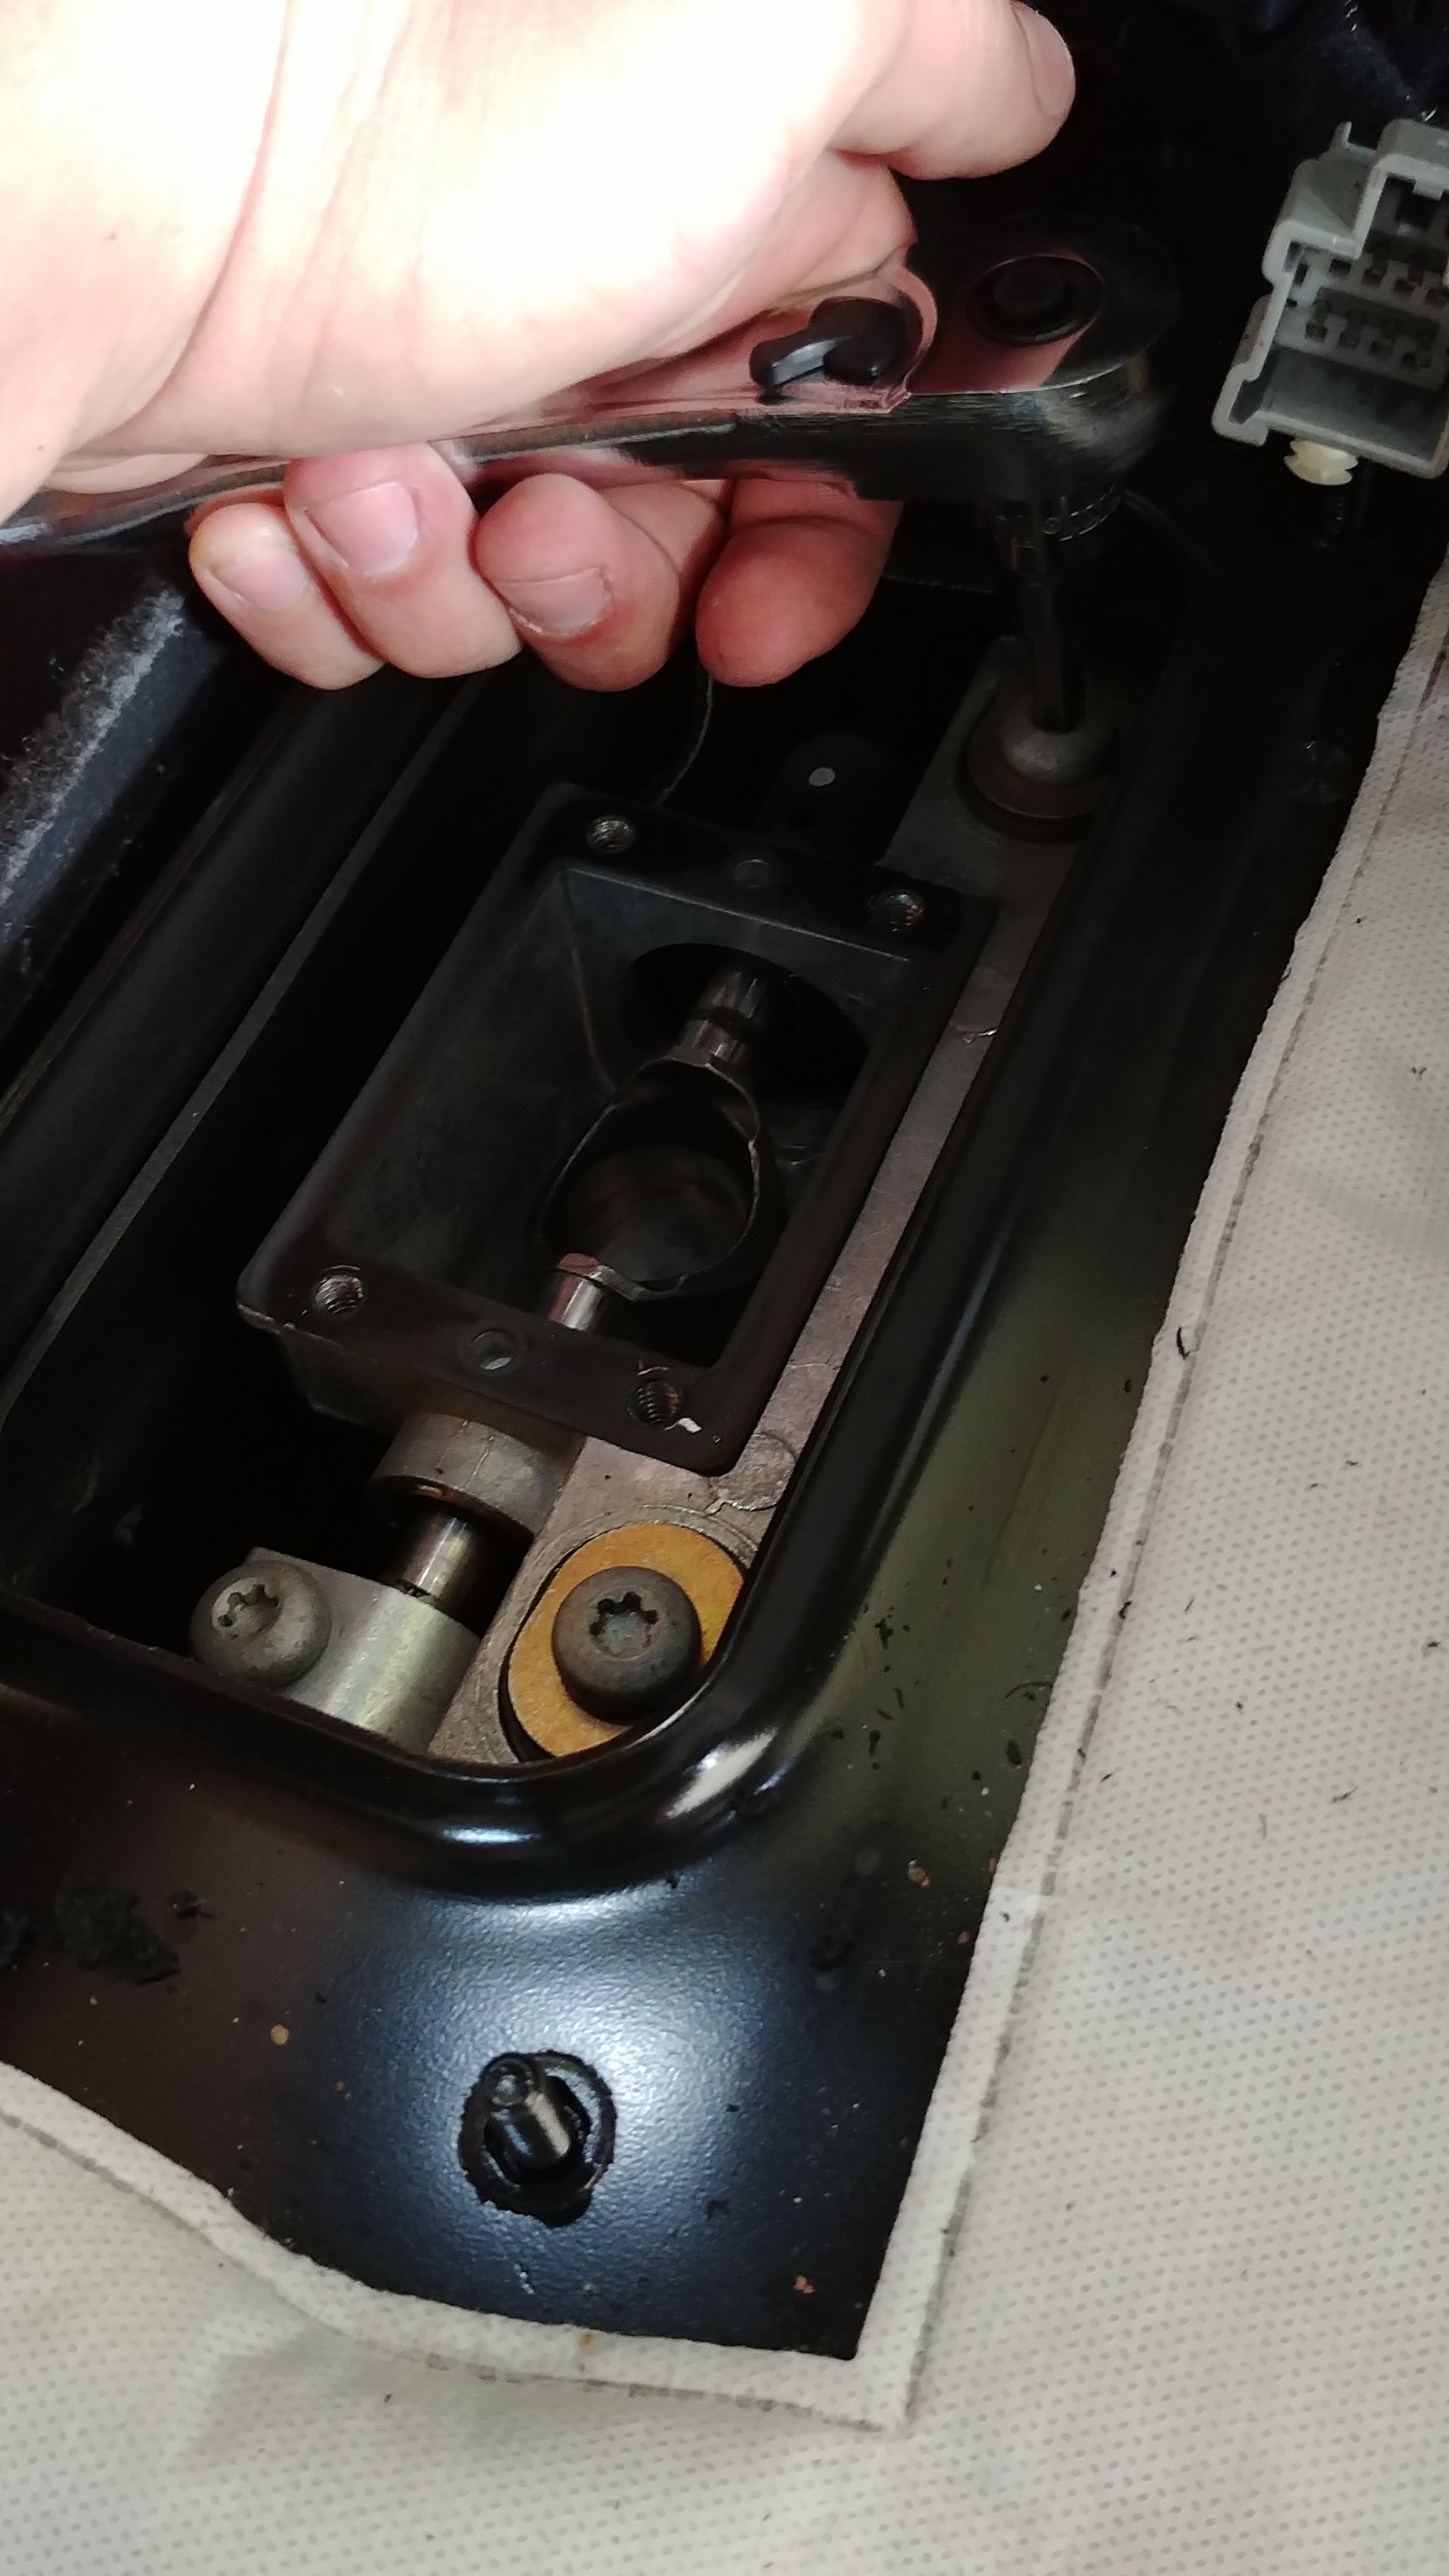
Lower removed;
This what you're motivating to give up the next gear (cable);
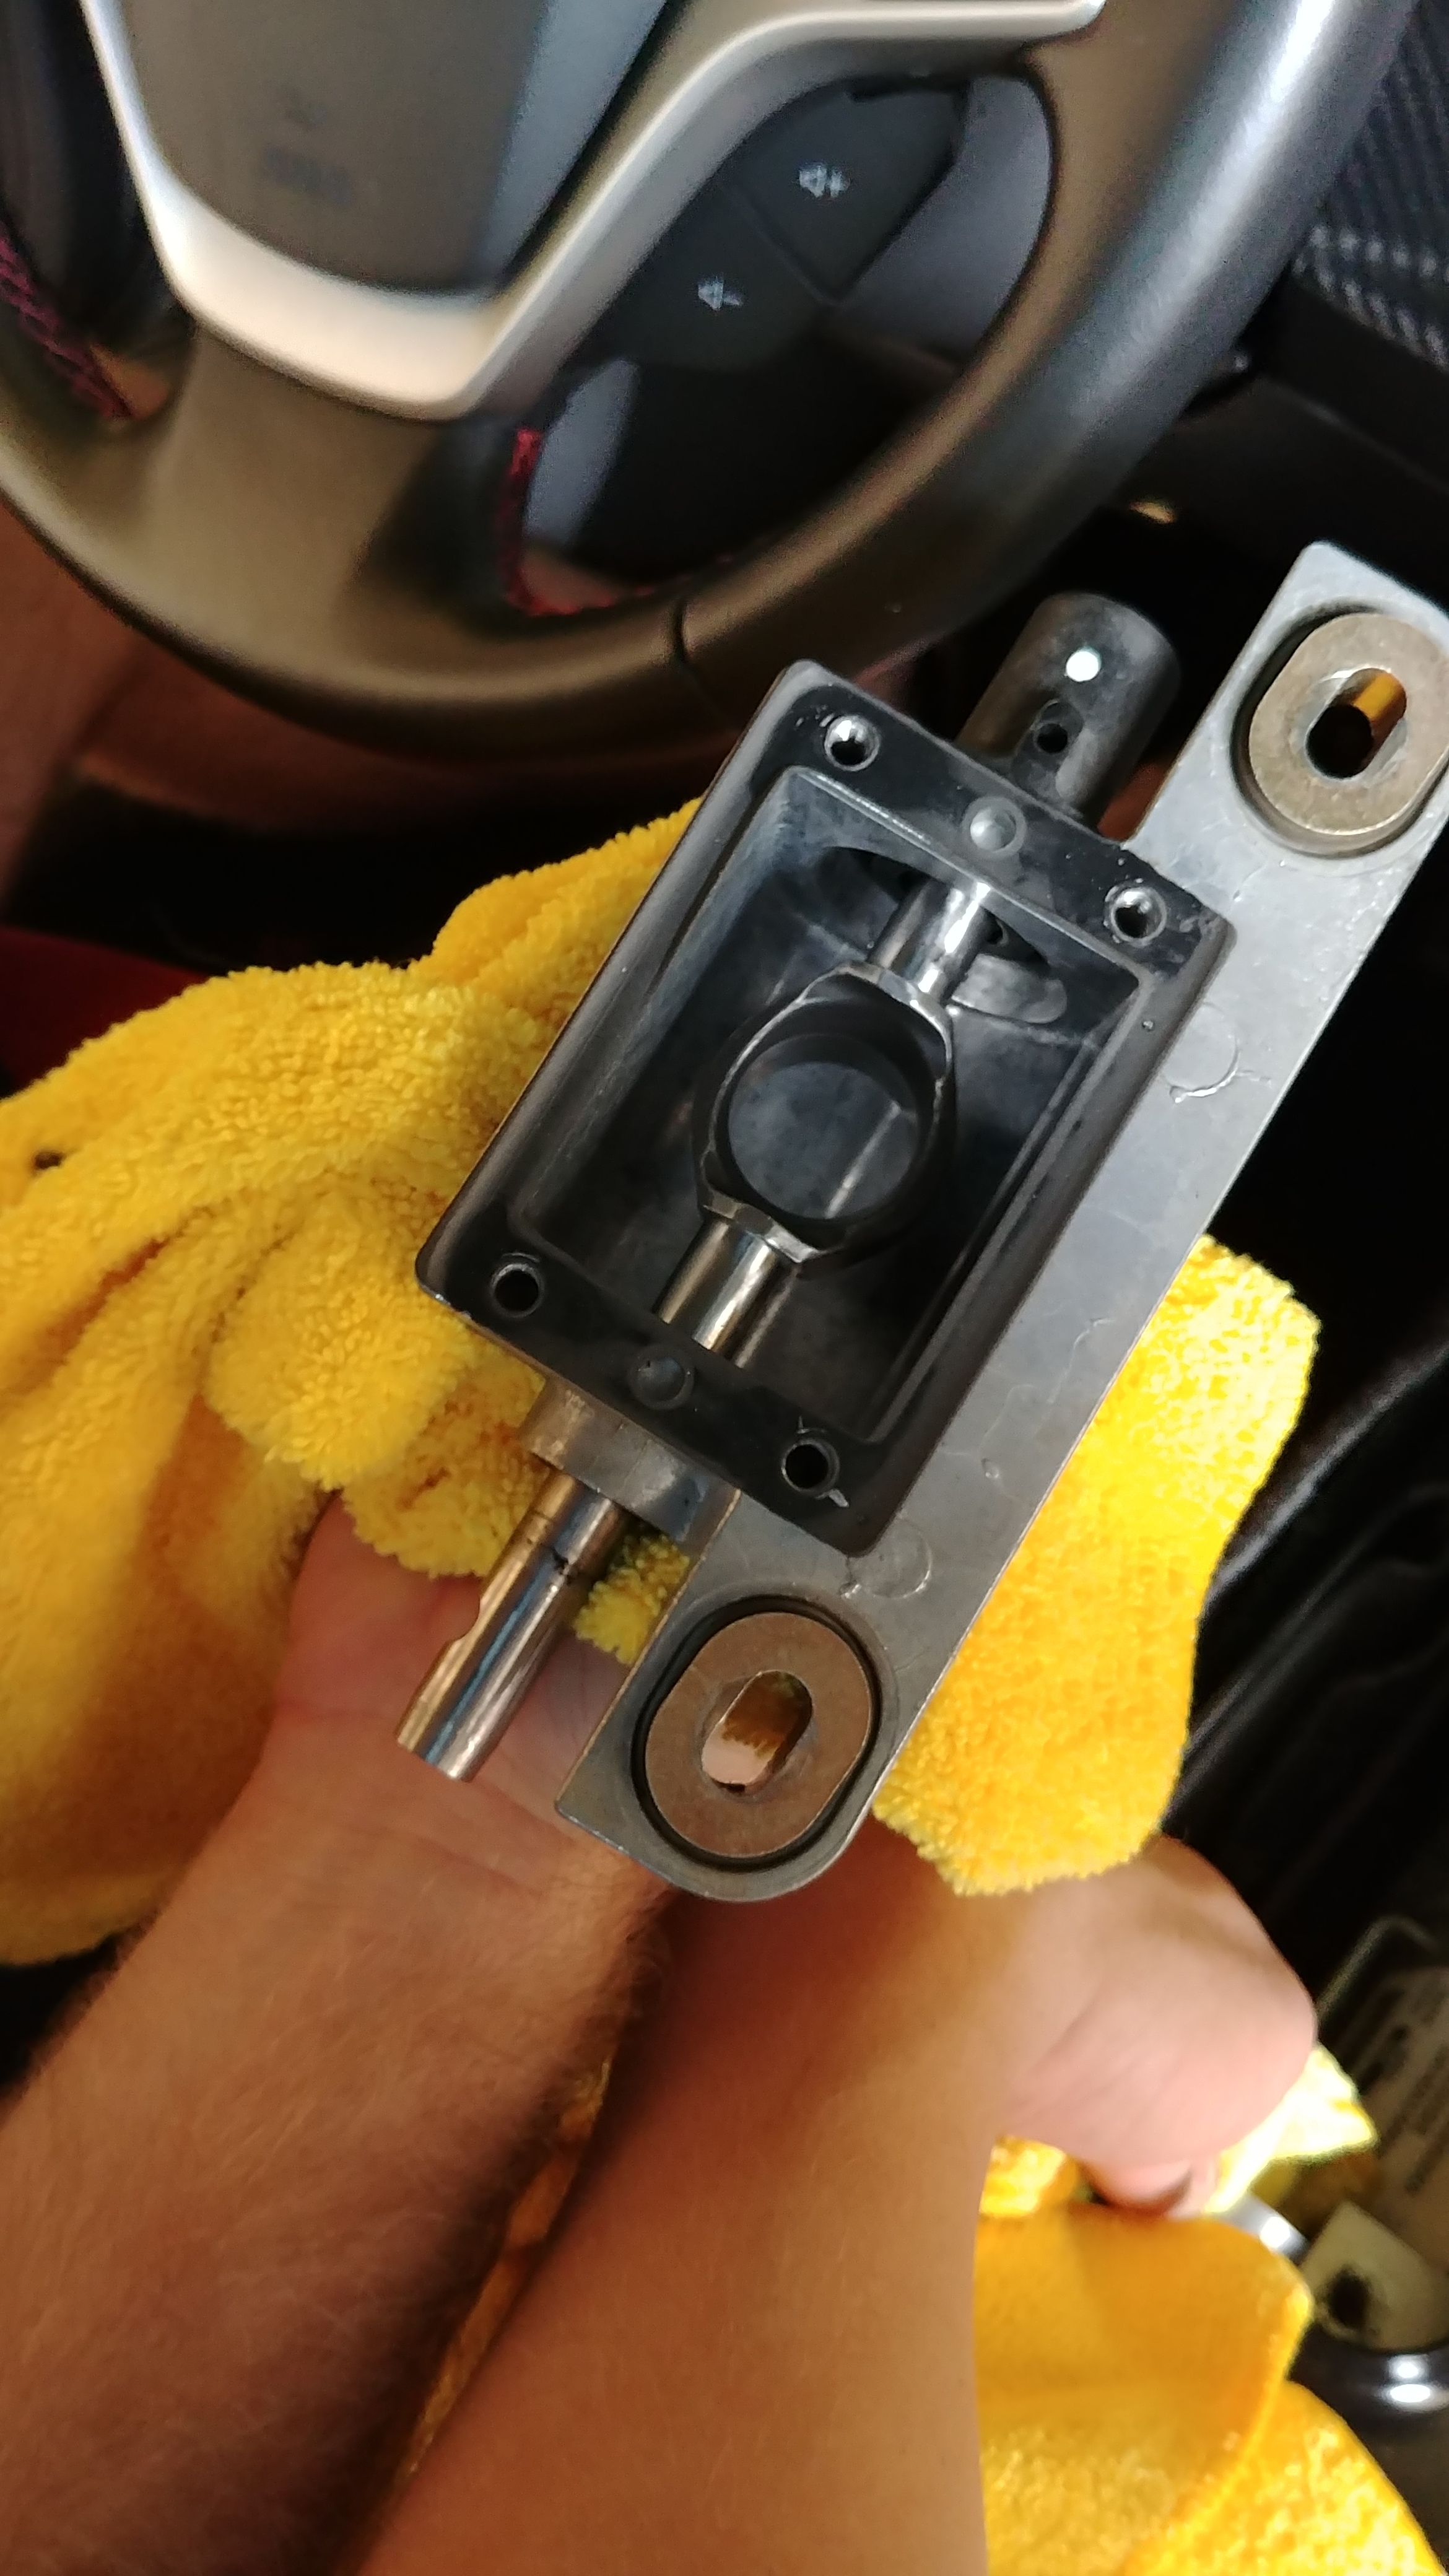
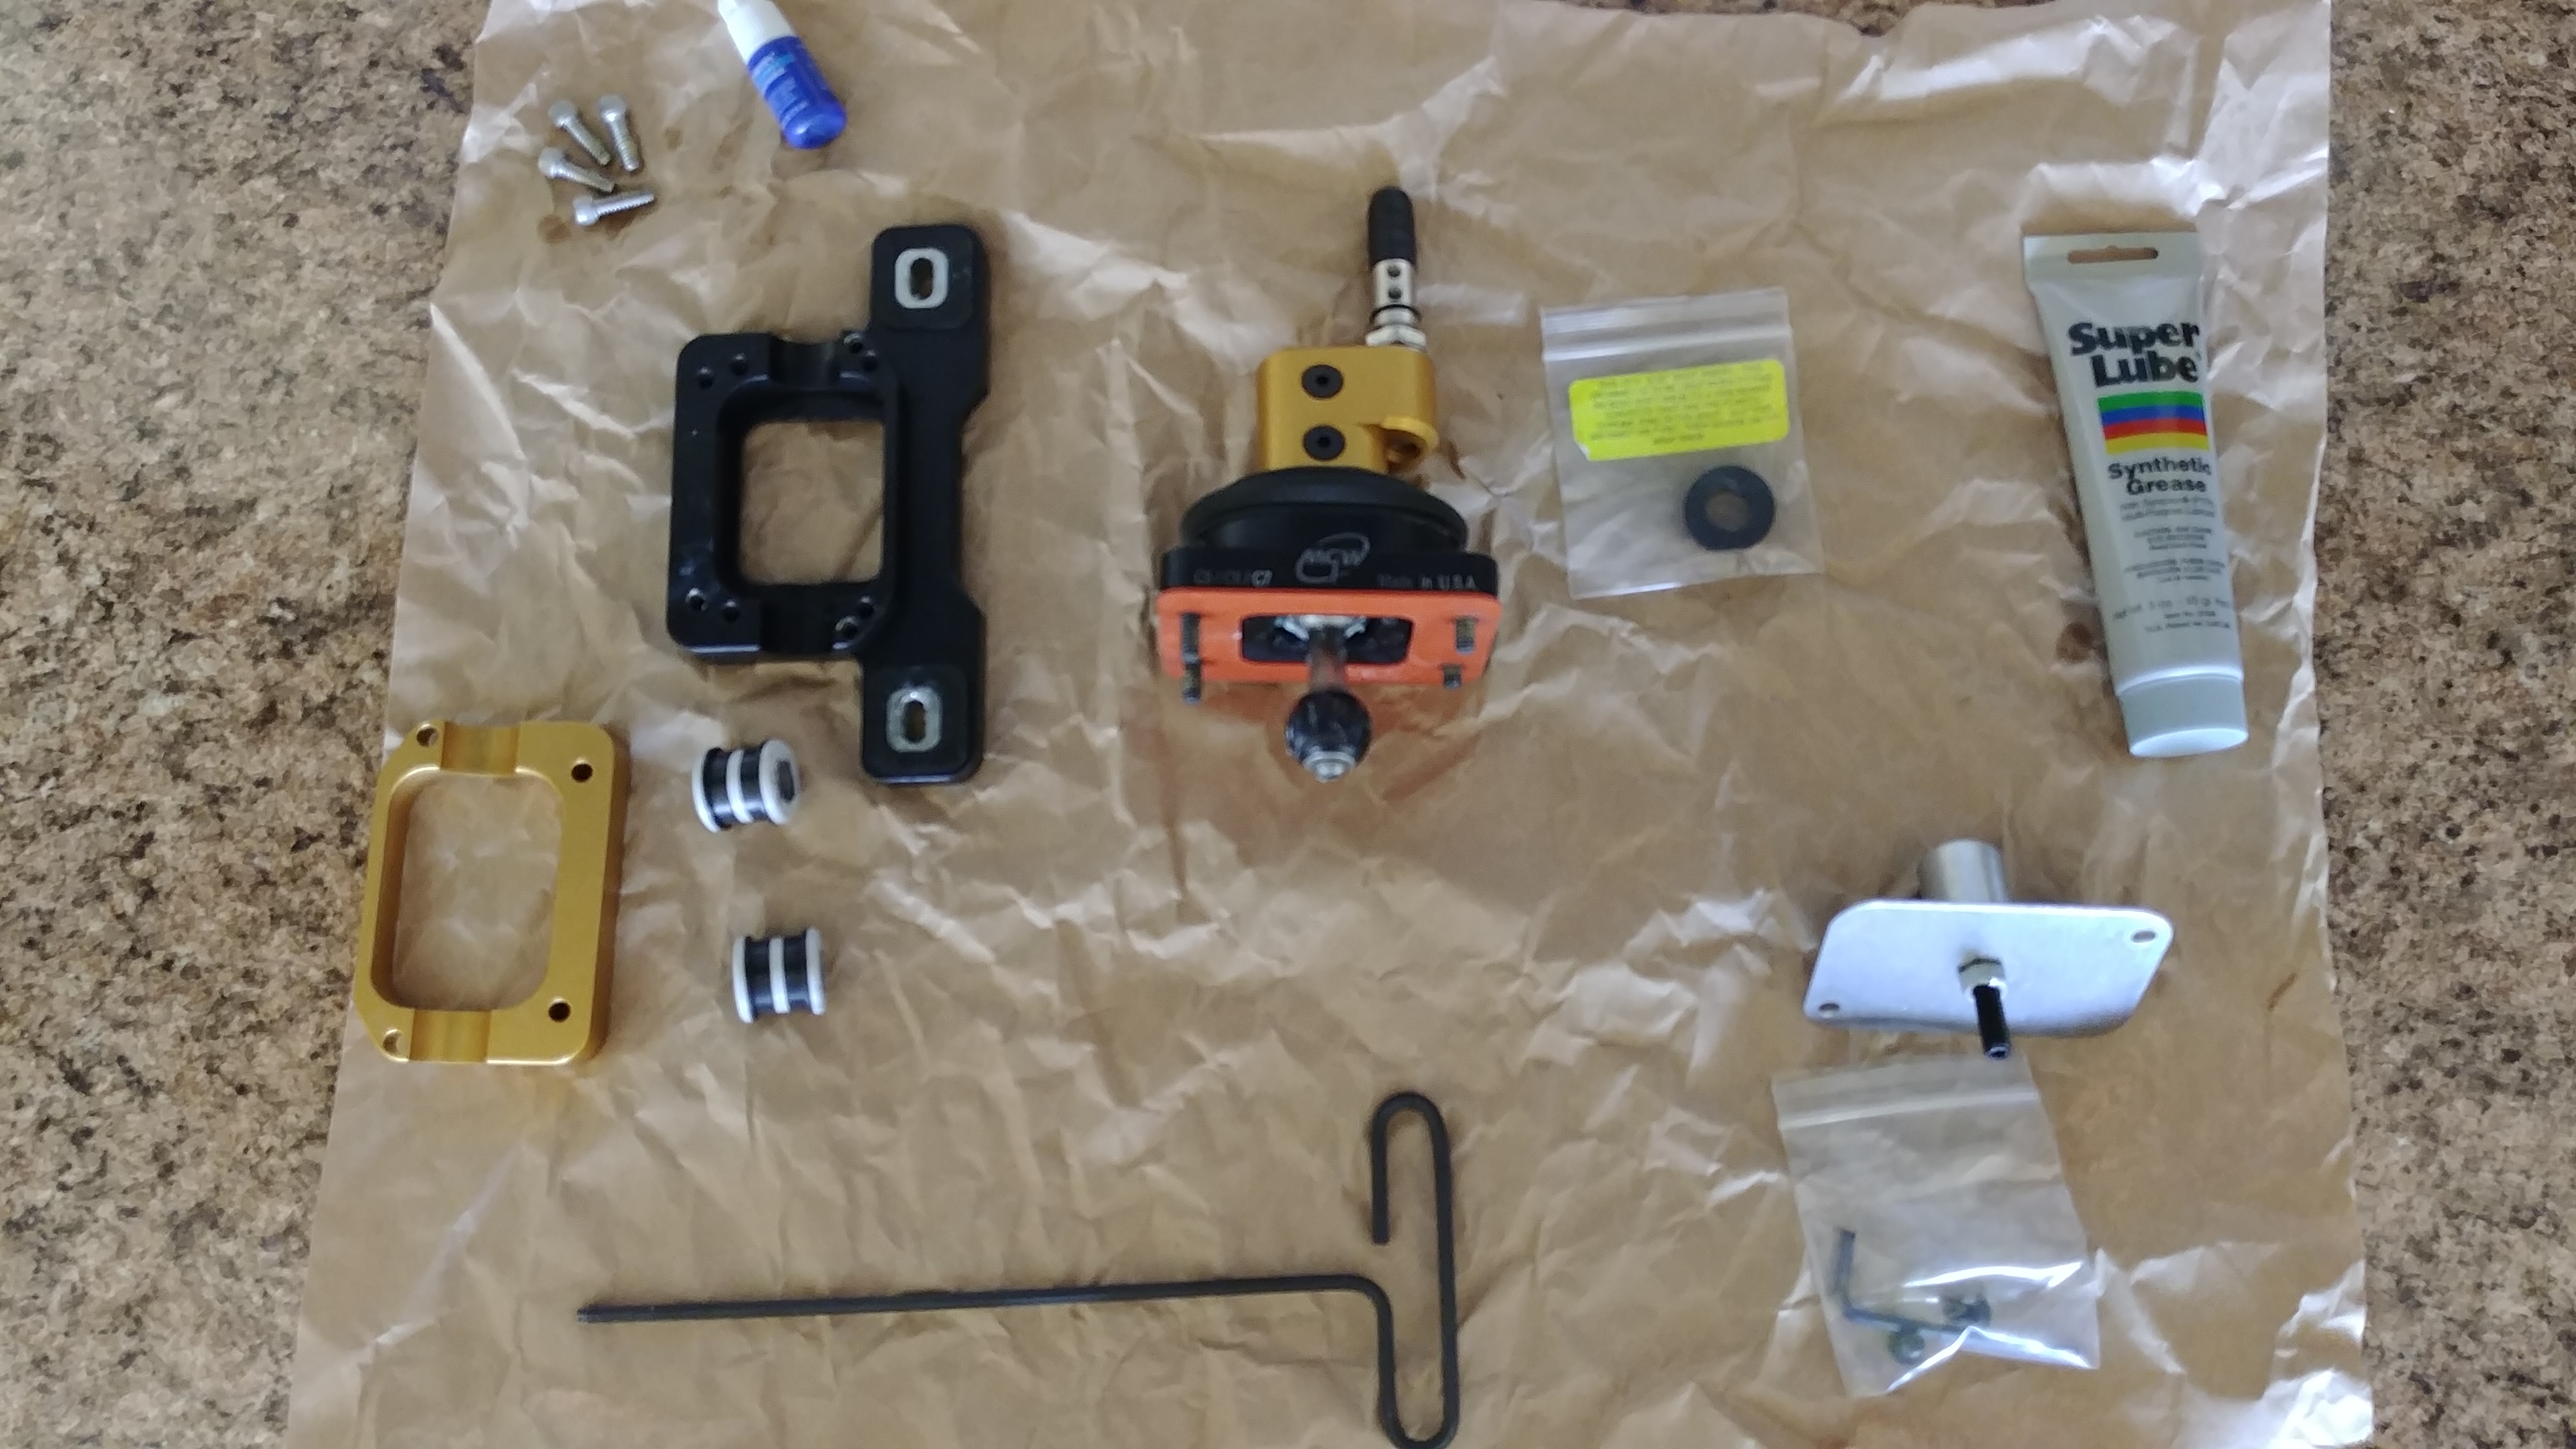
The new setup. Very nicely machined billet aluminum pieces with much better bearing, linkage, and lower box design.
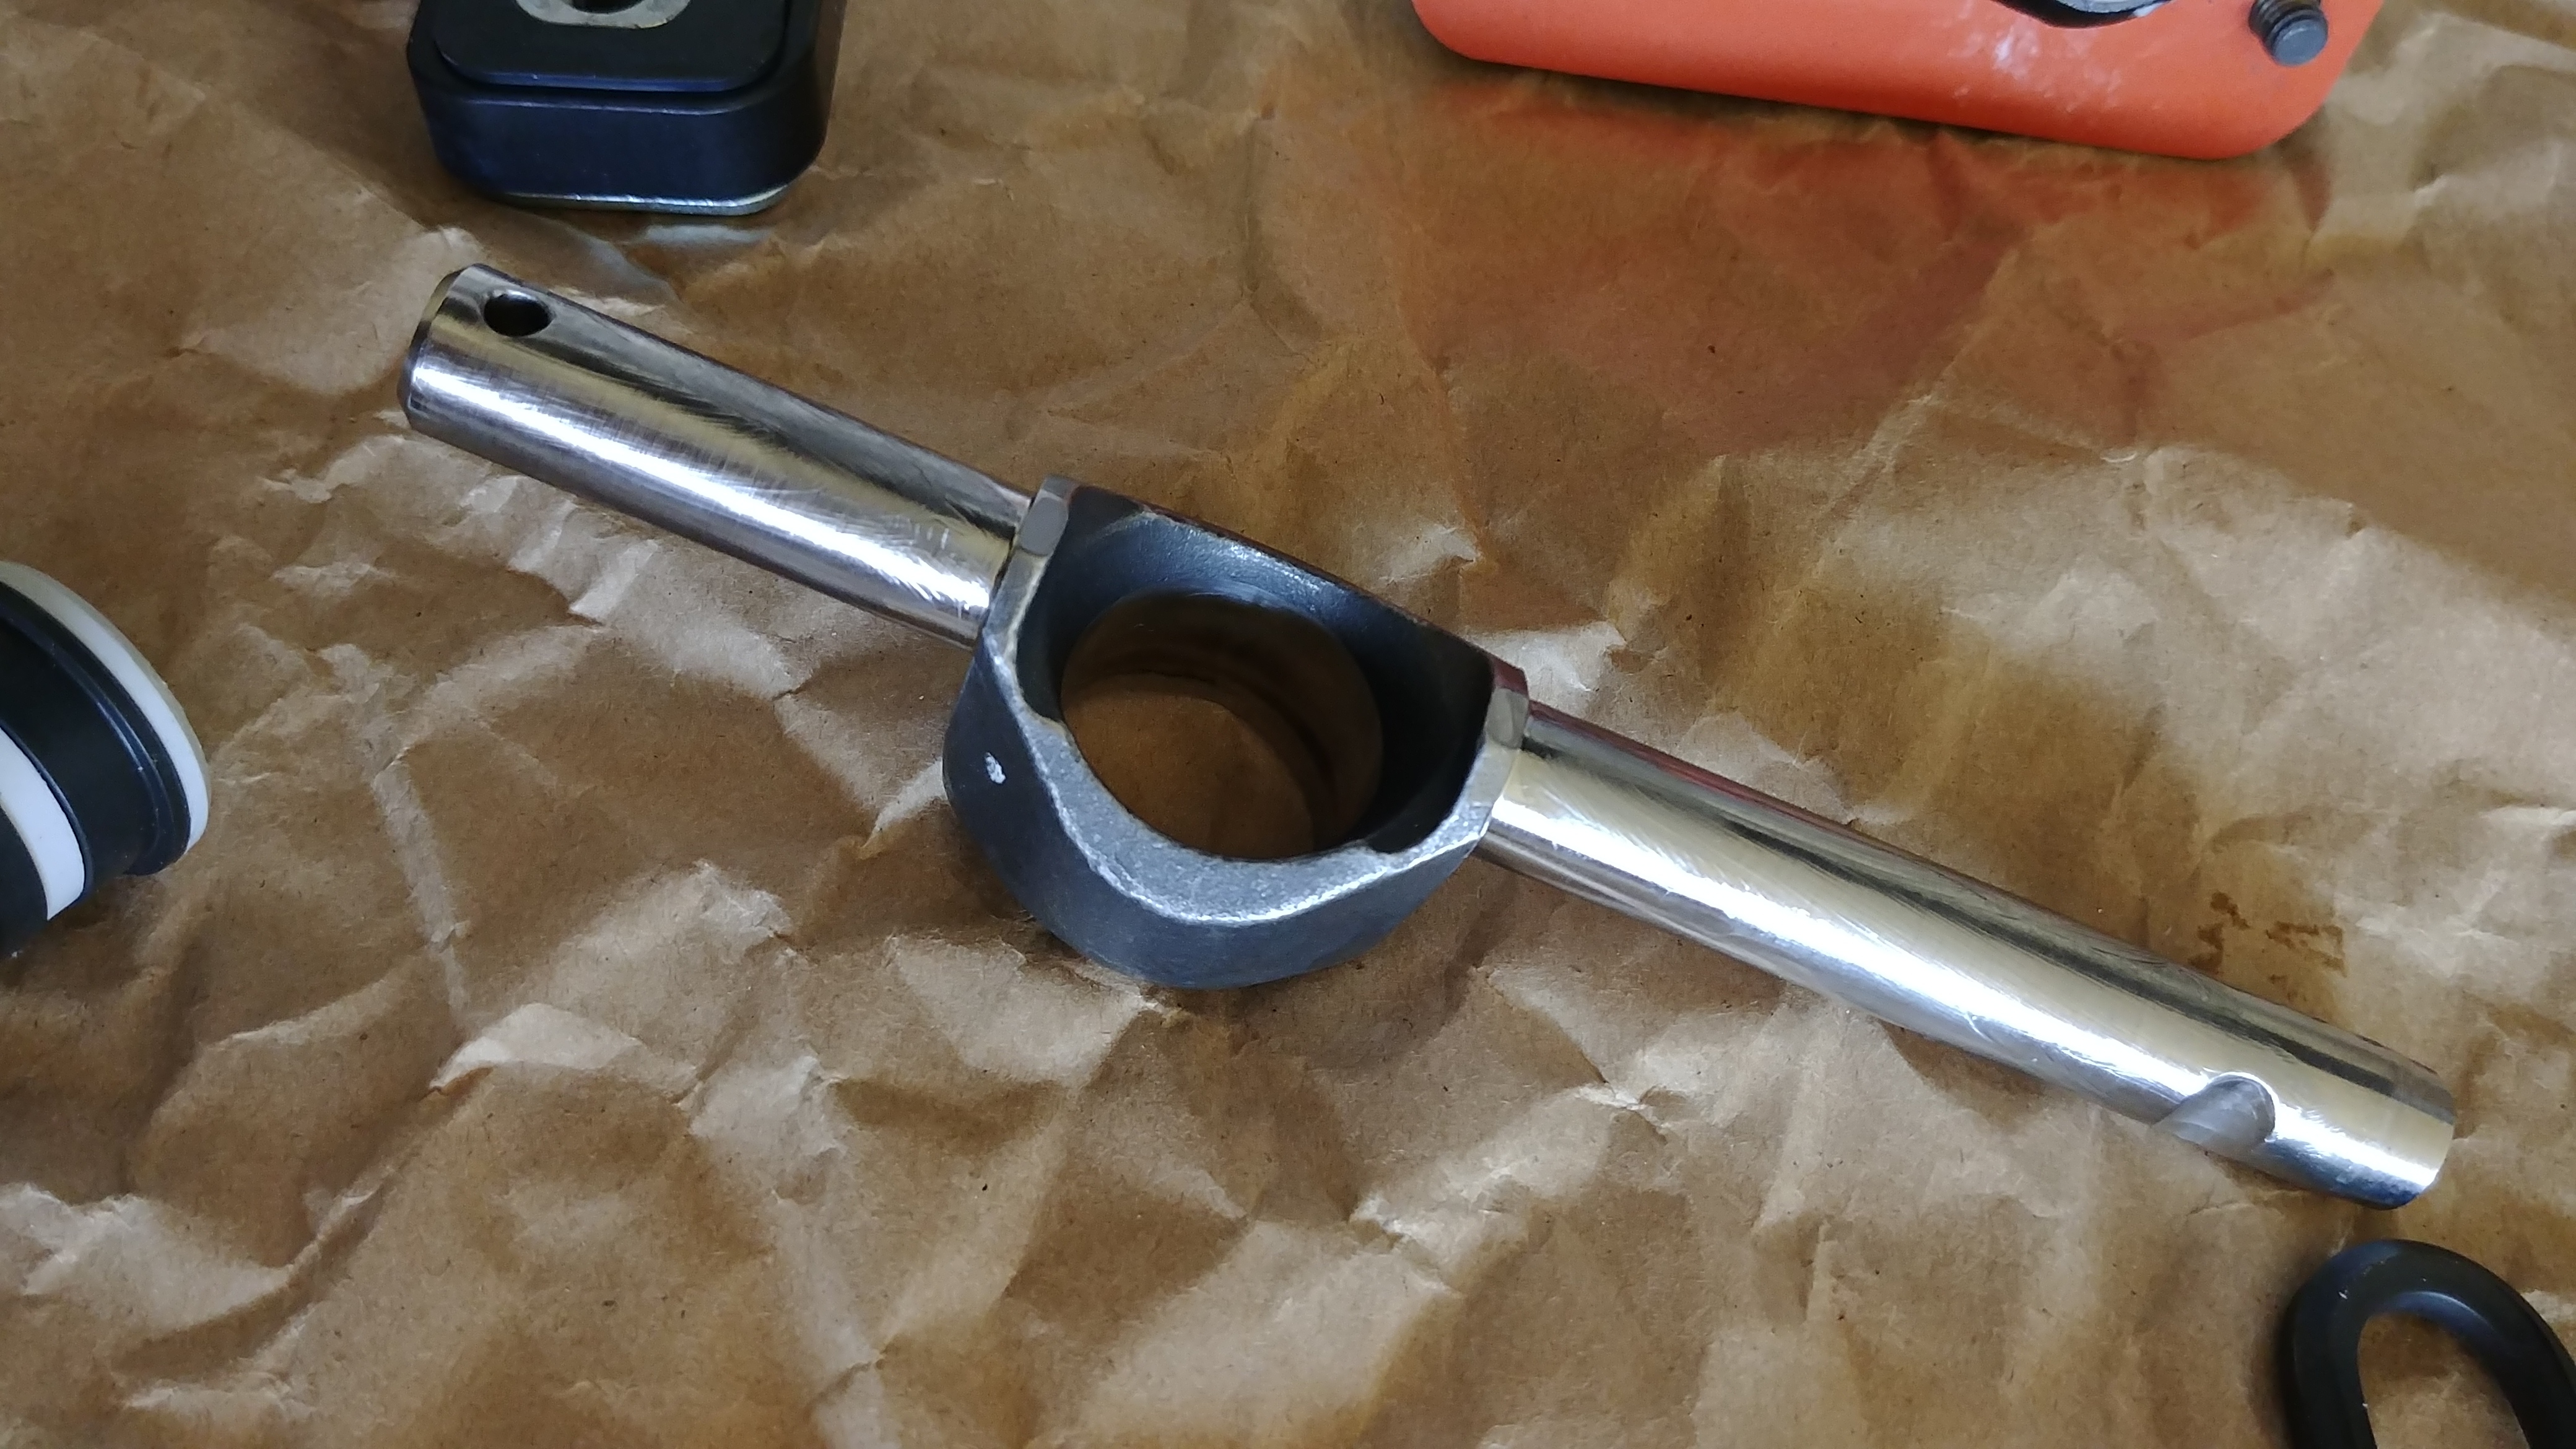
Polished up the shaft with steel wool to reduce binding and improve feel;
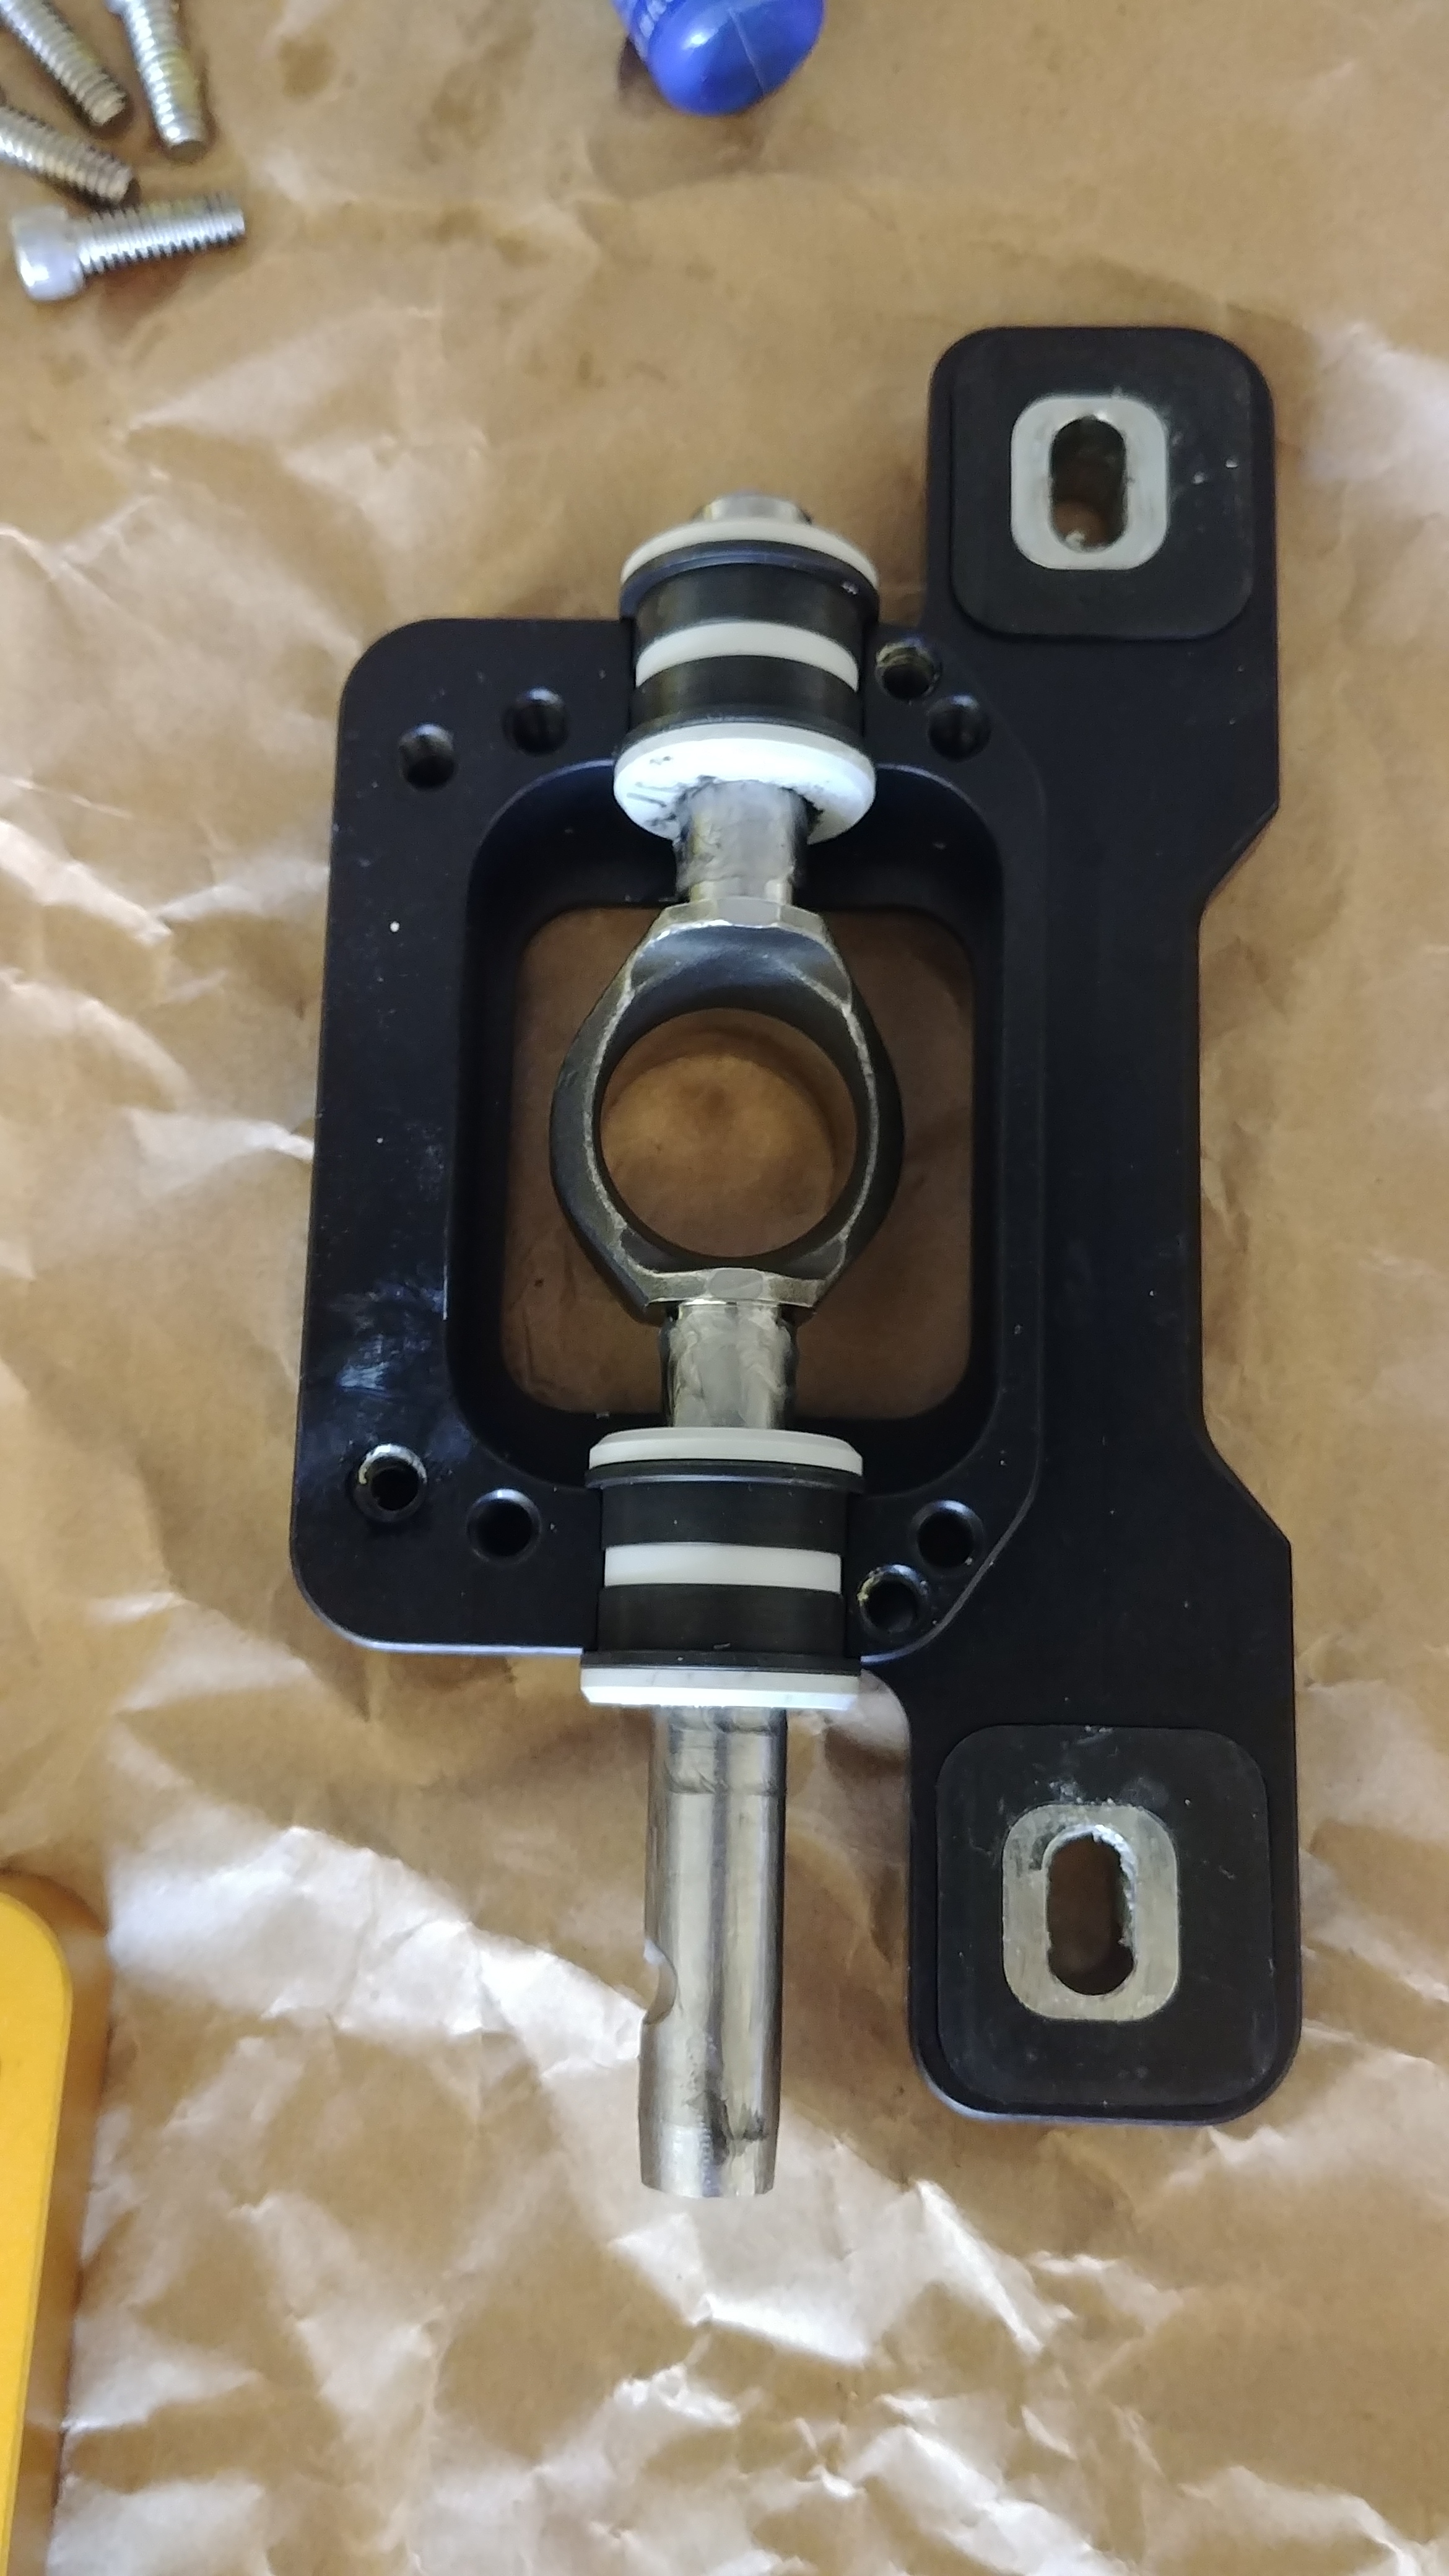
Dropped into lower box with bearings;
Some thermal/vibe insulation installed in the torque tube area, and the lower box re-installed;
Upper box installed.
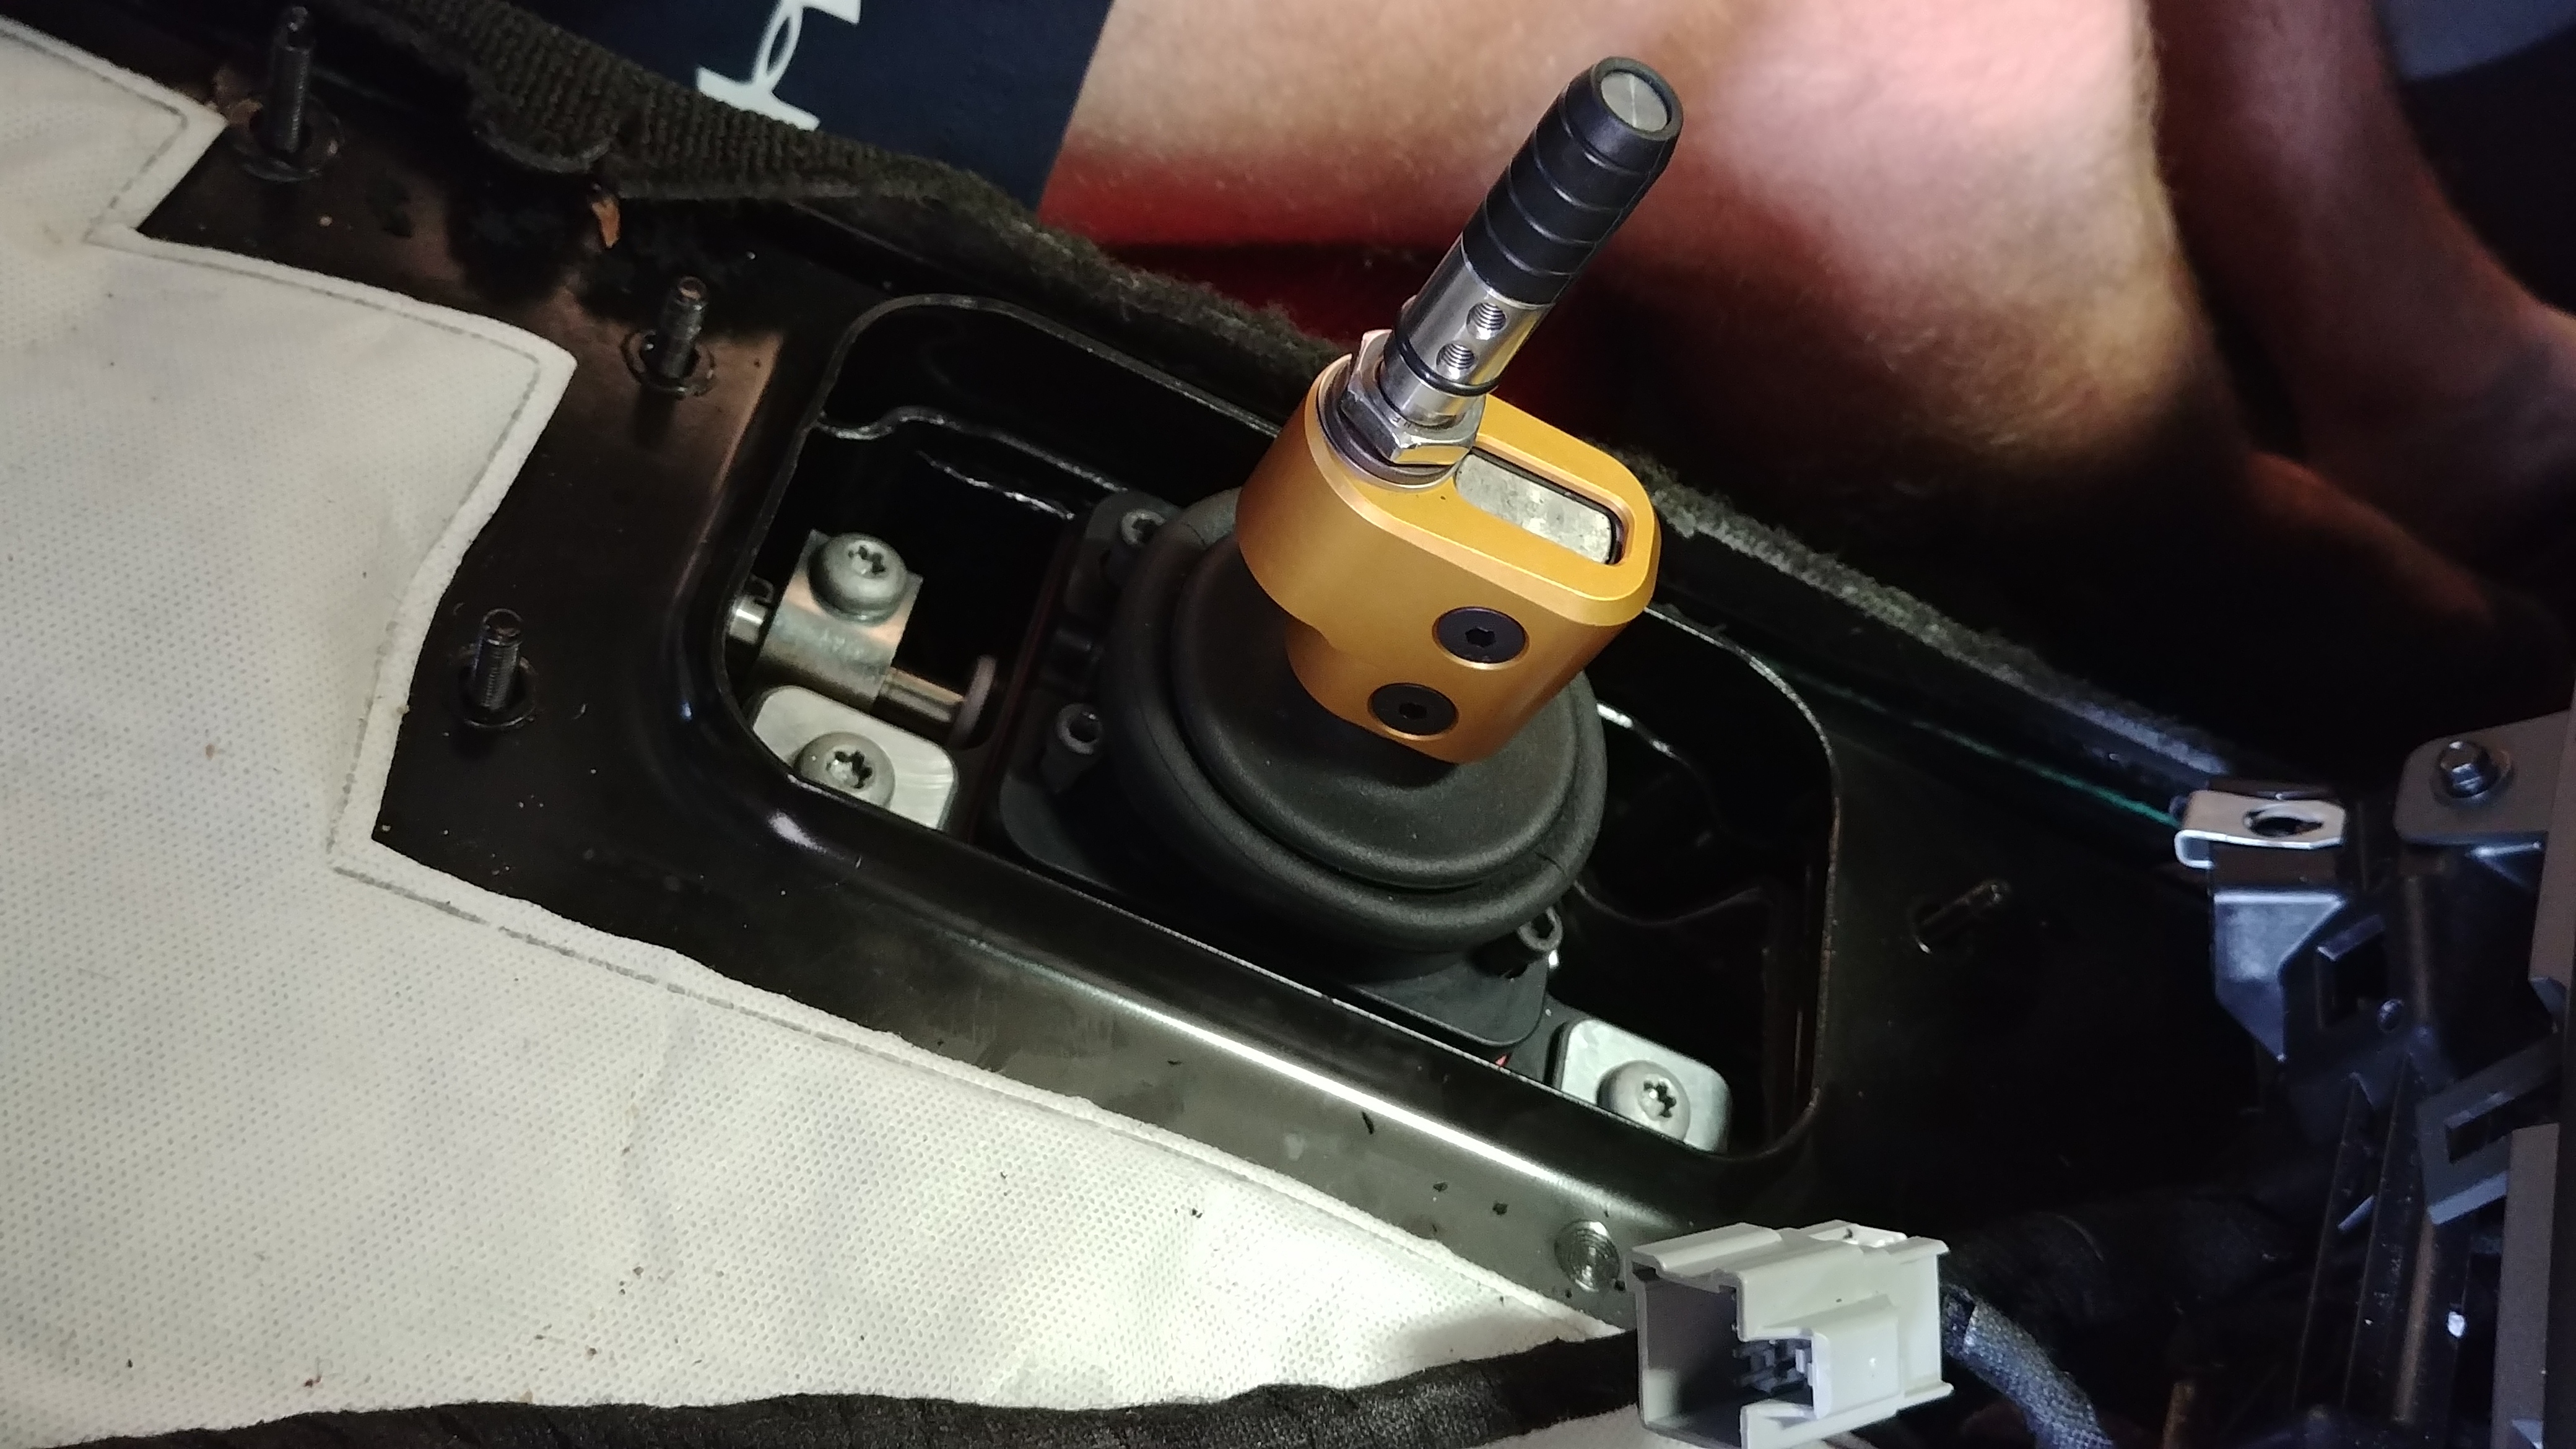
From here it was just a reverse of the above dis-assembly.
I can say the difference in the shifting is absolutely profound. Gates are short and direct, engagement is bolt-action-rifle precise, and the centering spring has enough force to make 2-3 and 4-5 shifts essentially a straight-line affair. It is a genuine pleasure to row the gears now. I don't think you can tell that this is not stabbed directly into the transmission anymore, its that good. I would say that if you're not the modding type and have never touched a vehicle beyond what the oem delivered you, this is the one thing you should modify. Hands down the best modification we'll probably ever do to this car. Lia was absolutely enamored with it on her first drive. I tricked her into "driving me for a snack", and she gave me a strange look as she engaged first gear. The grab for second elisted a "ok, wtf is going on here?!". She spent an hour just driving the car around afterwards, I could tell she was much more confident behind the wheel with it.
I decided as one of her gifts, to install a MGW upper/lower box in there, without saying a word. Installation is really straightforward with step-by-step video instruction available on MGW's website.
Start by removing the console lid and shift ****.

Upper console comes off next (clips and connectors only).

Lower console removed (6 bolts).

Rubber boot removed exposing the stock upper box;

4 bolts and its ready to be removed;

Pretty dainty little guy;

Lower box secured by two bolts, with another bolt securing the shift cable;

Lower removed;

This what you're motivating to give up the next gear (cable);

The new setup. Very nicely machined billet aluminum pieces with much better bearing, linkage, and lower box design.

Polished up the shaft with steel wool to reduce binding and improve feel;

Dropped into lower box with bearings;

Some thermal/vibe insulation installed in the torque tube area, and the lower box re-installed;

Upper box installed.

From here it was just a reverse of the above dis-assembly.
I can say the difference in the shifting is absolutely profound. Gates are short and direct, engagement is bolt-action-rifle precise, and the centering spring has enough force to make 2-3 and 4-5 shifts essentially a straight-line affair. It is a genuine pleasure to row the gears now. I don't think you can tell that this is not stabbed directly into the transmission anymore, its that good. I would say that if you're not the modding type and have never touched a vehicle beyond what the oem delivered you, this is the one thing you should modify. Hands down the best modification we'll probably ever do to this car. Lia was absolutely enamored with it on her first drive. I tricked her into "driving me for a snack", and she gave me a strange look as she engaged first gear. The grab for second elisted a "ok, wtf is going on here?!". She spent an hour just driving the car around afterwards, I could tell she was much more confident behind the wheel with it.


 09-21-2017, 11:17 AM
#29
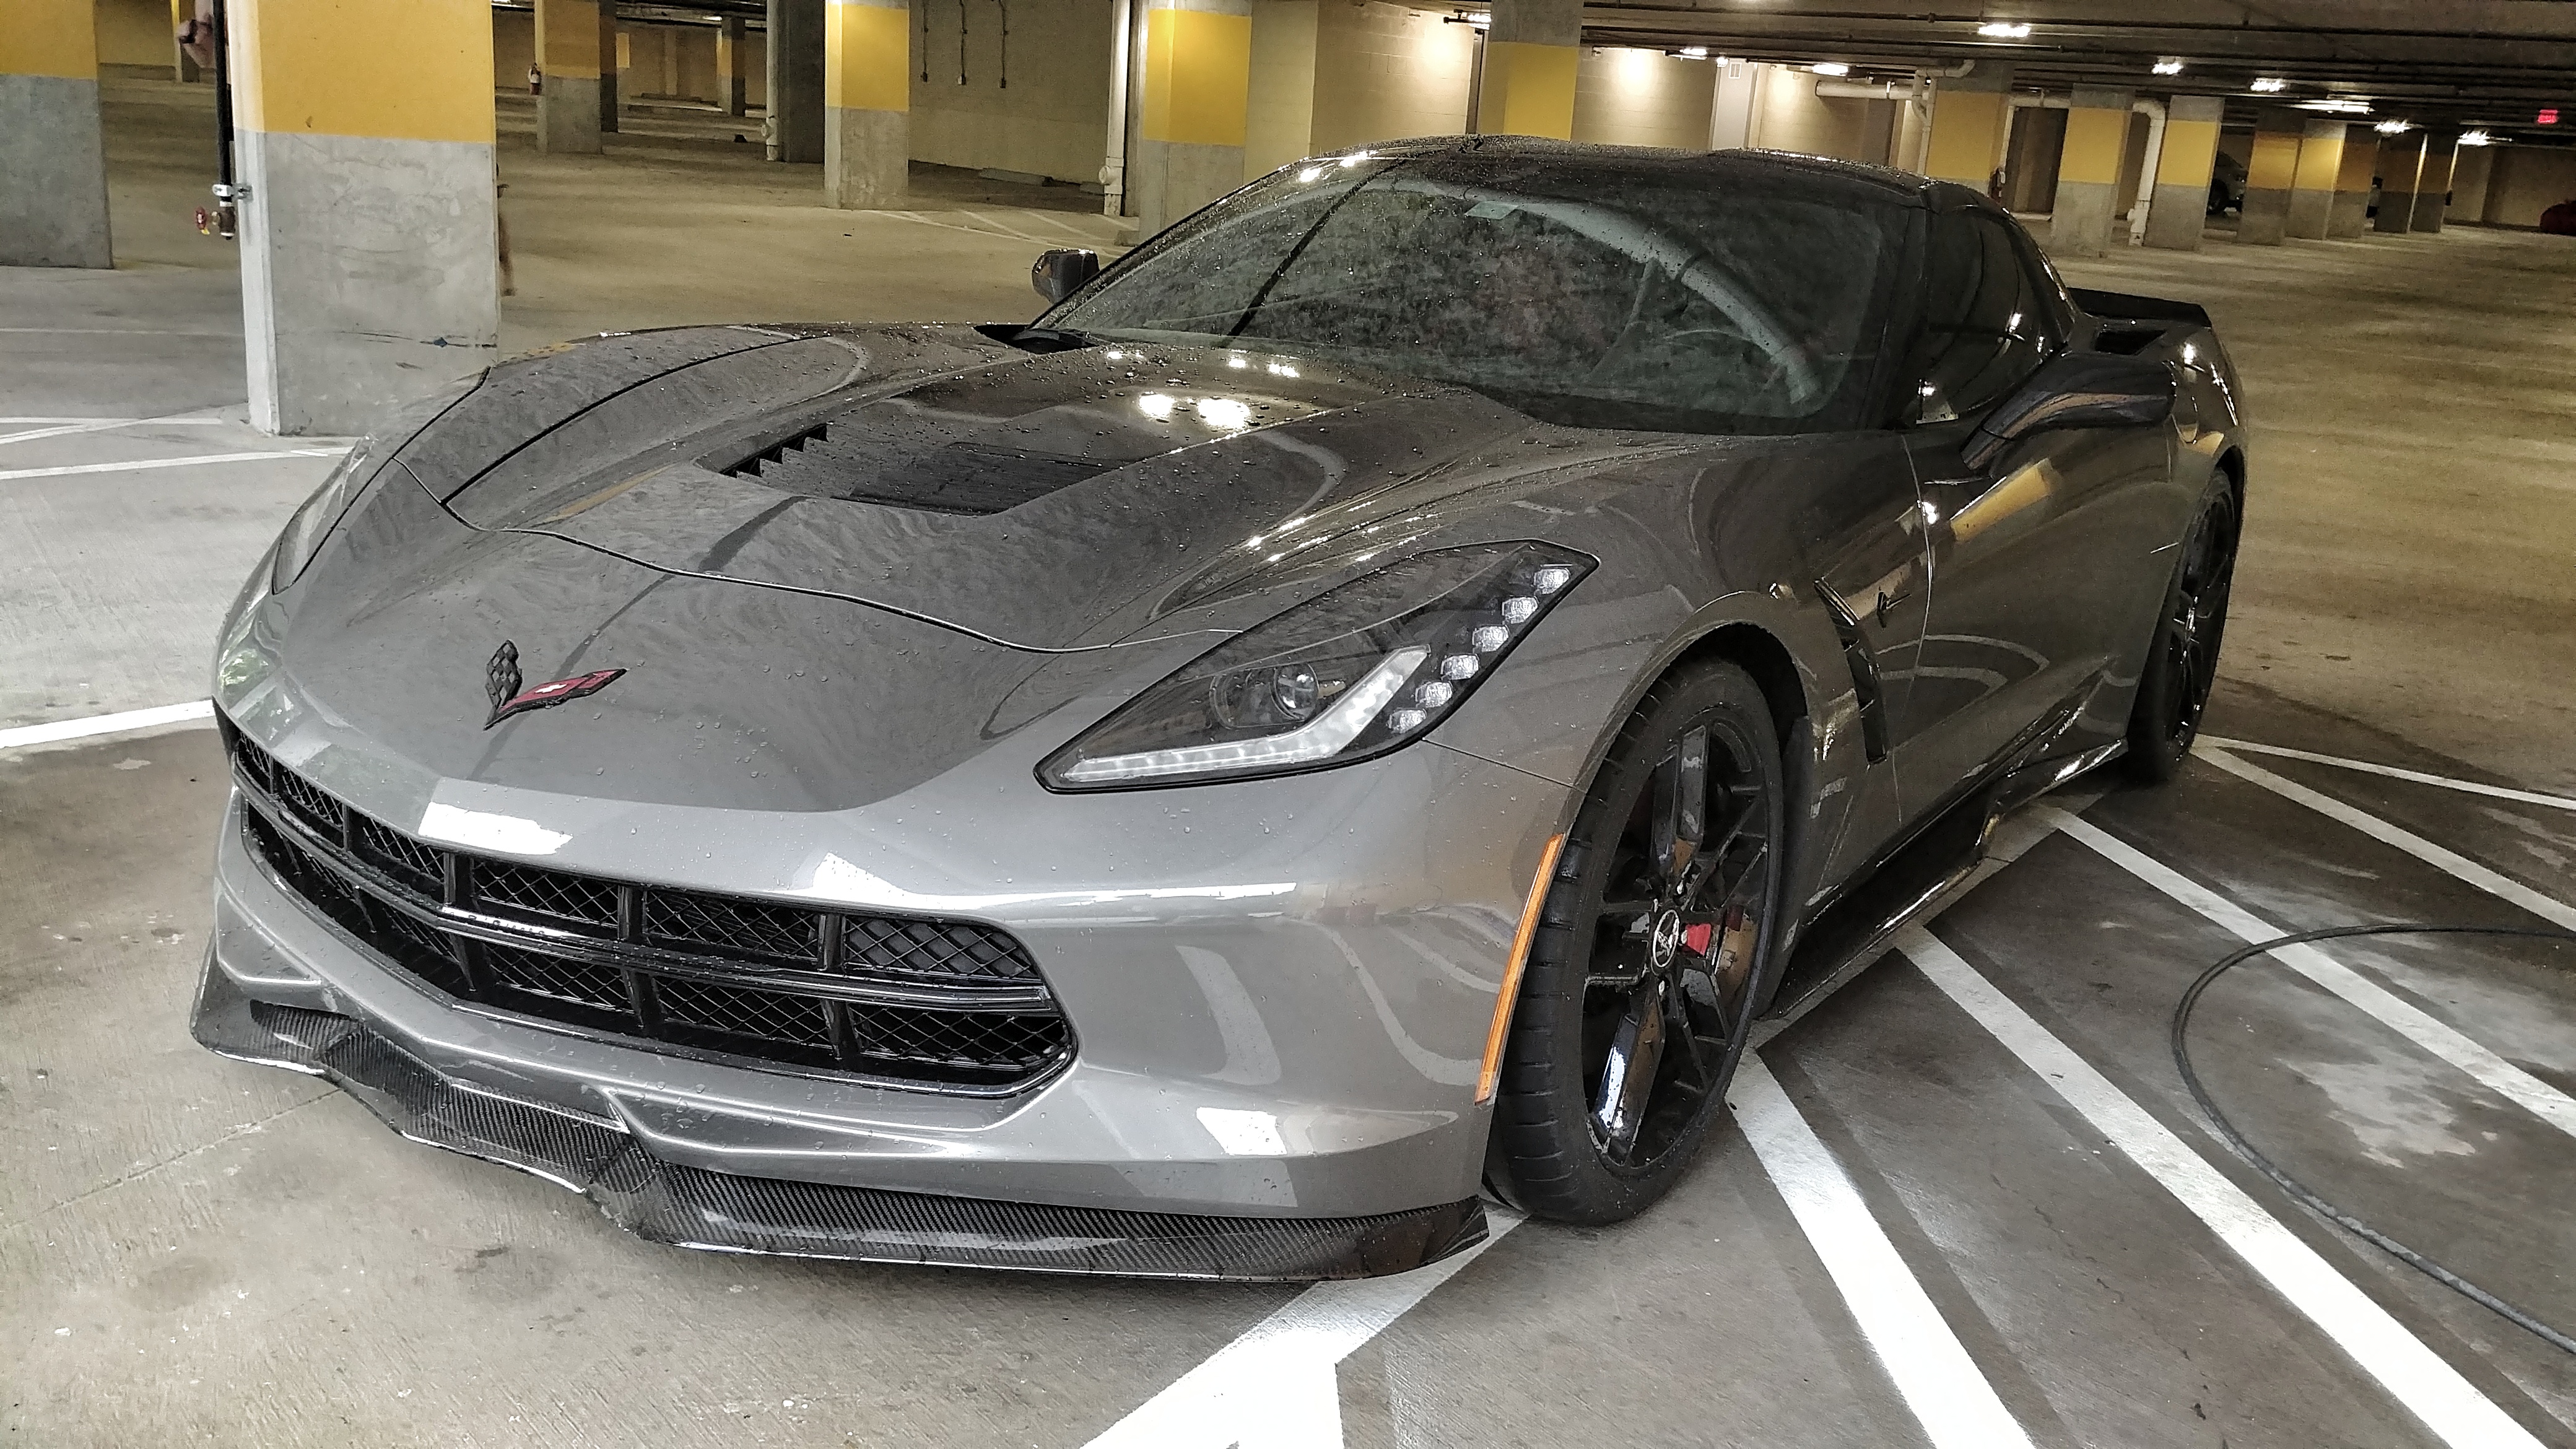
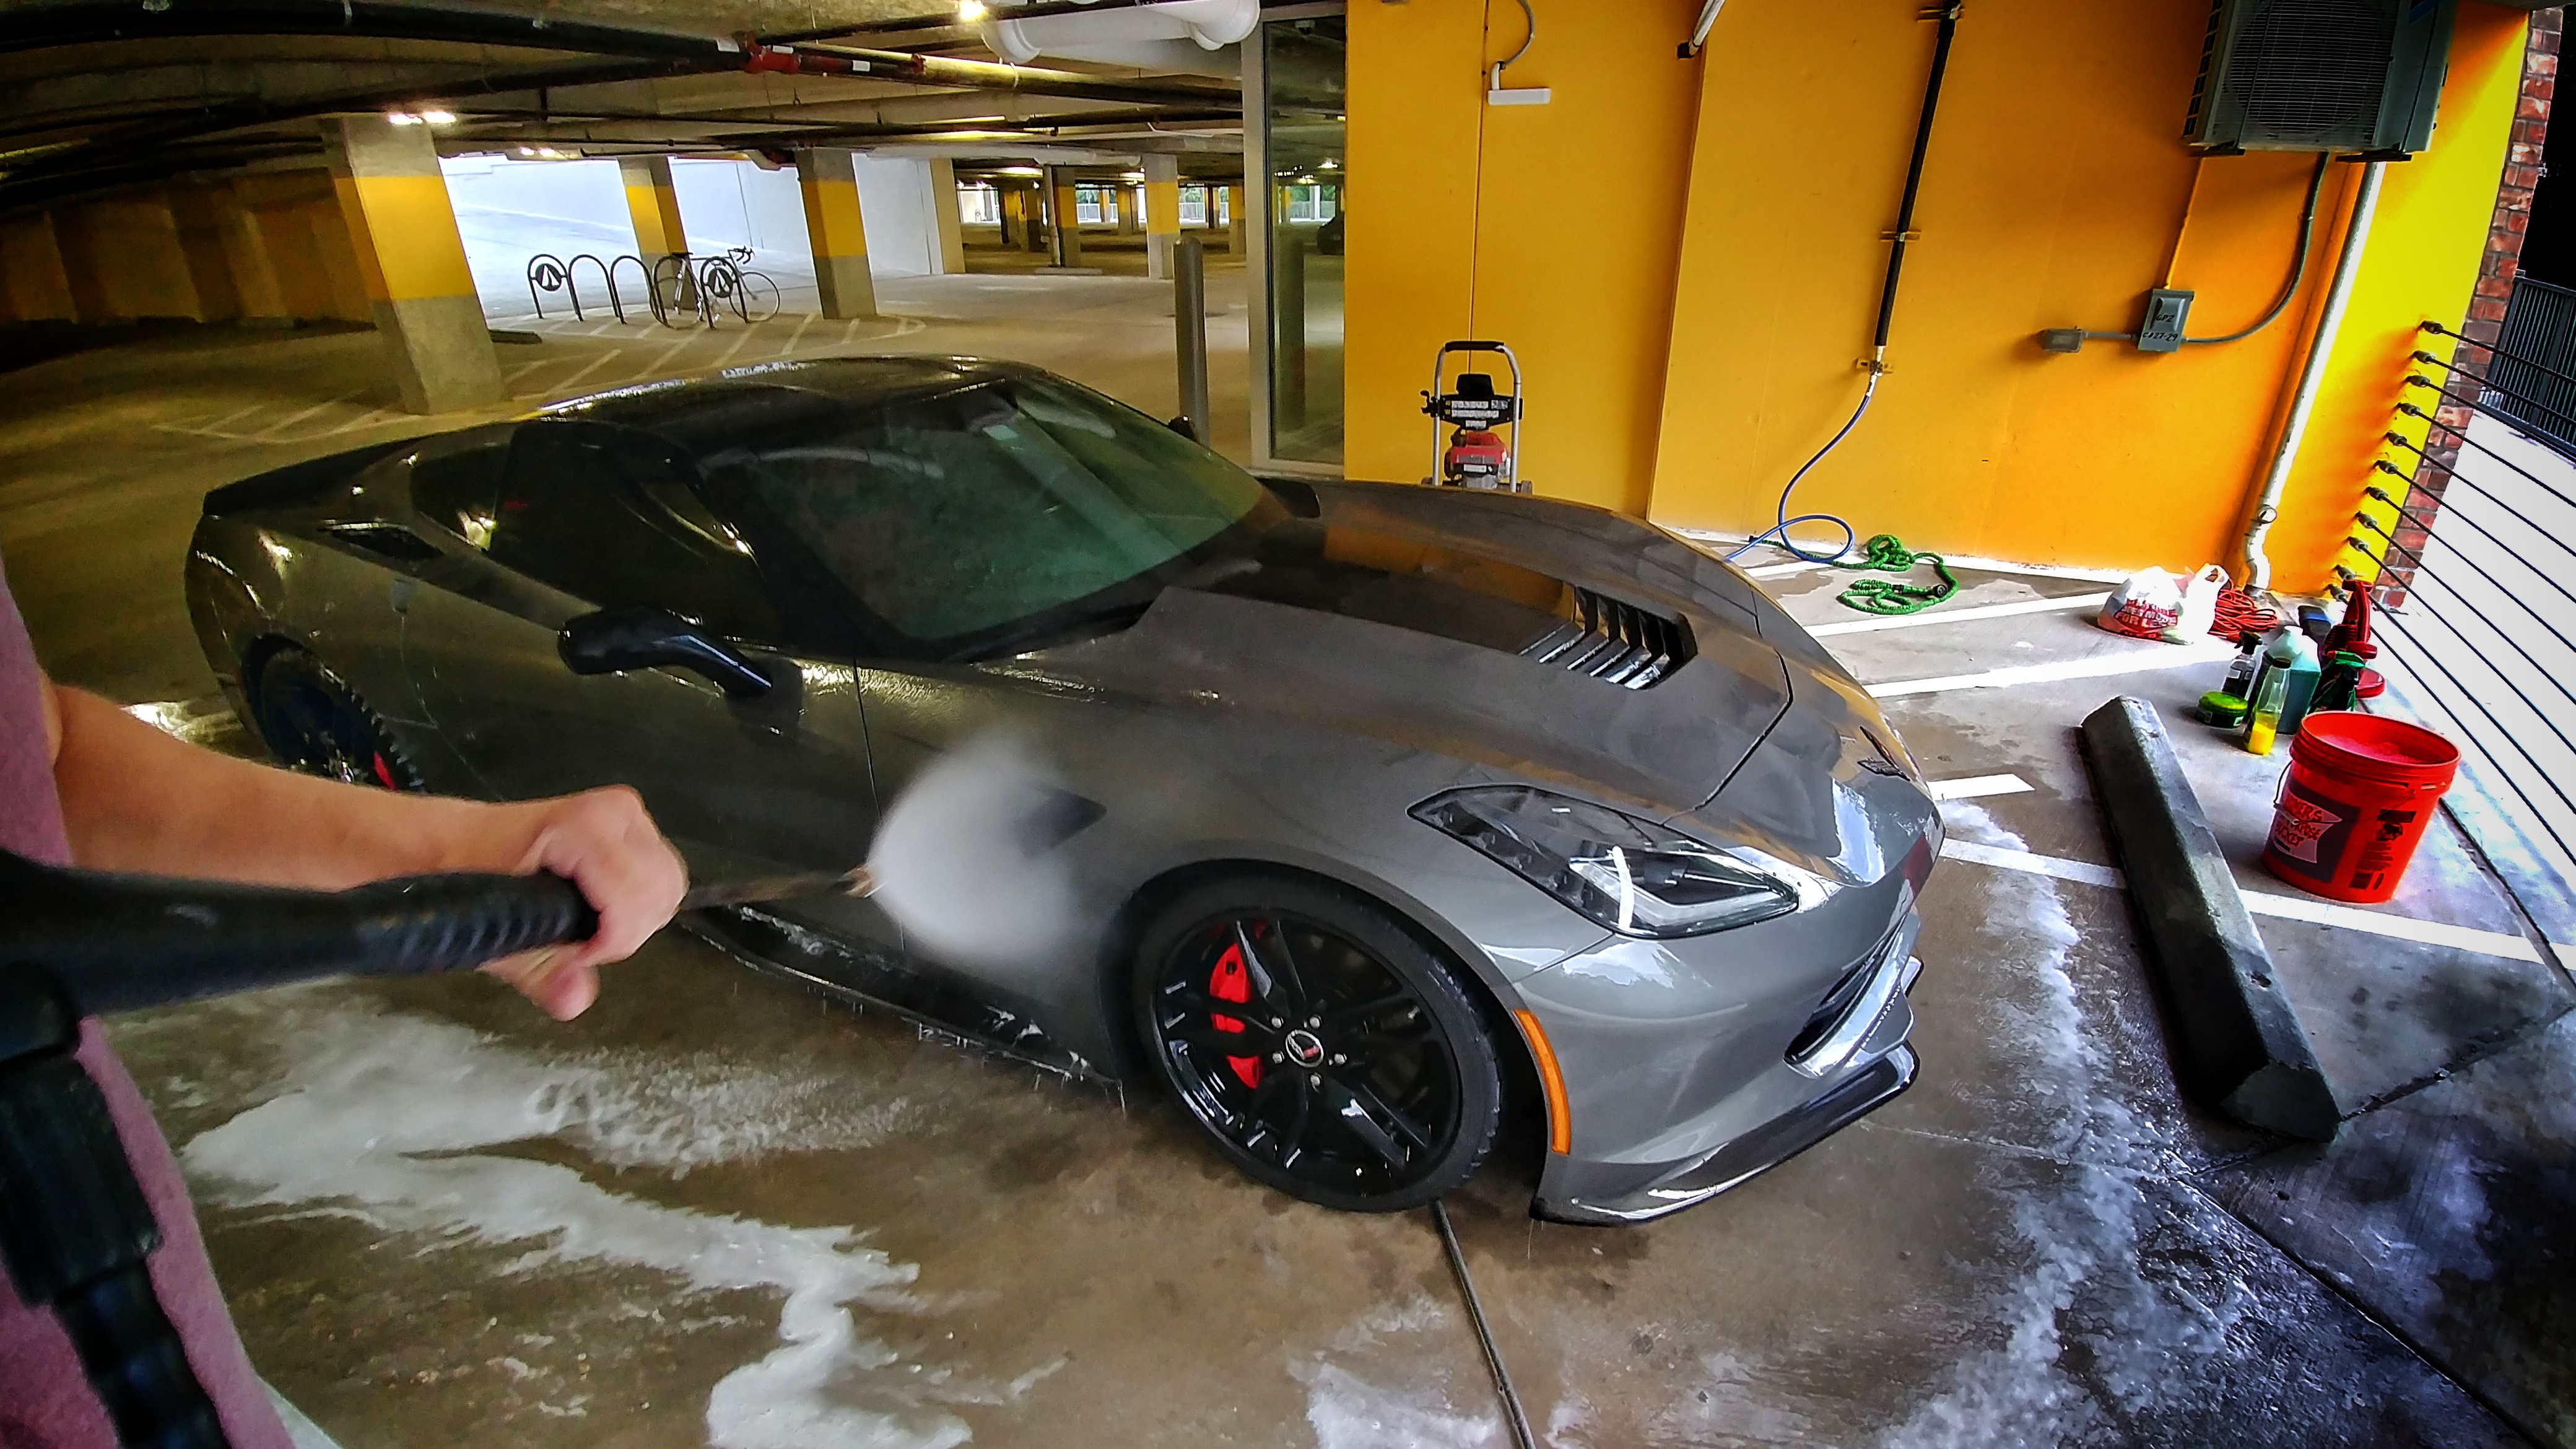
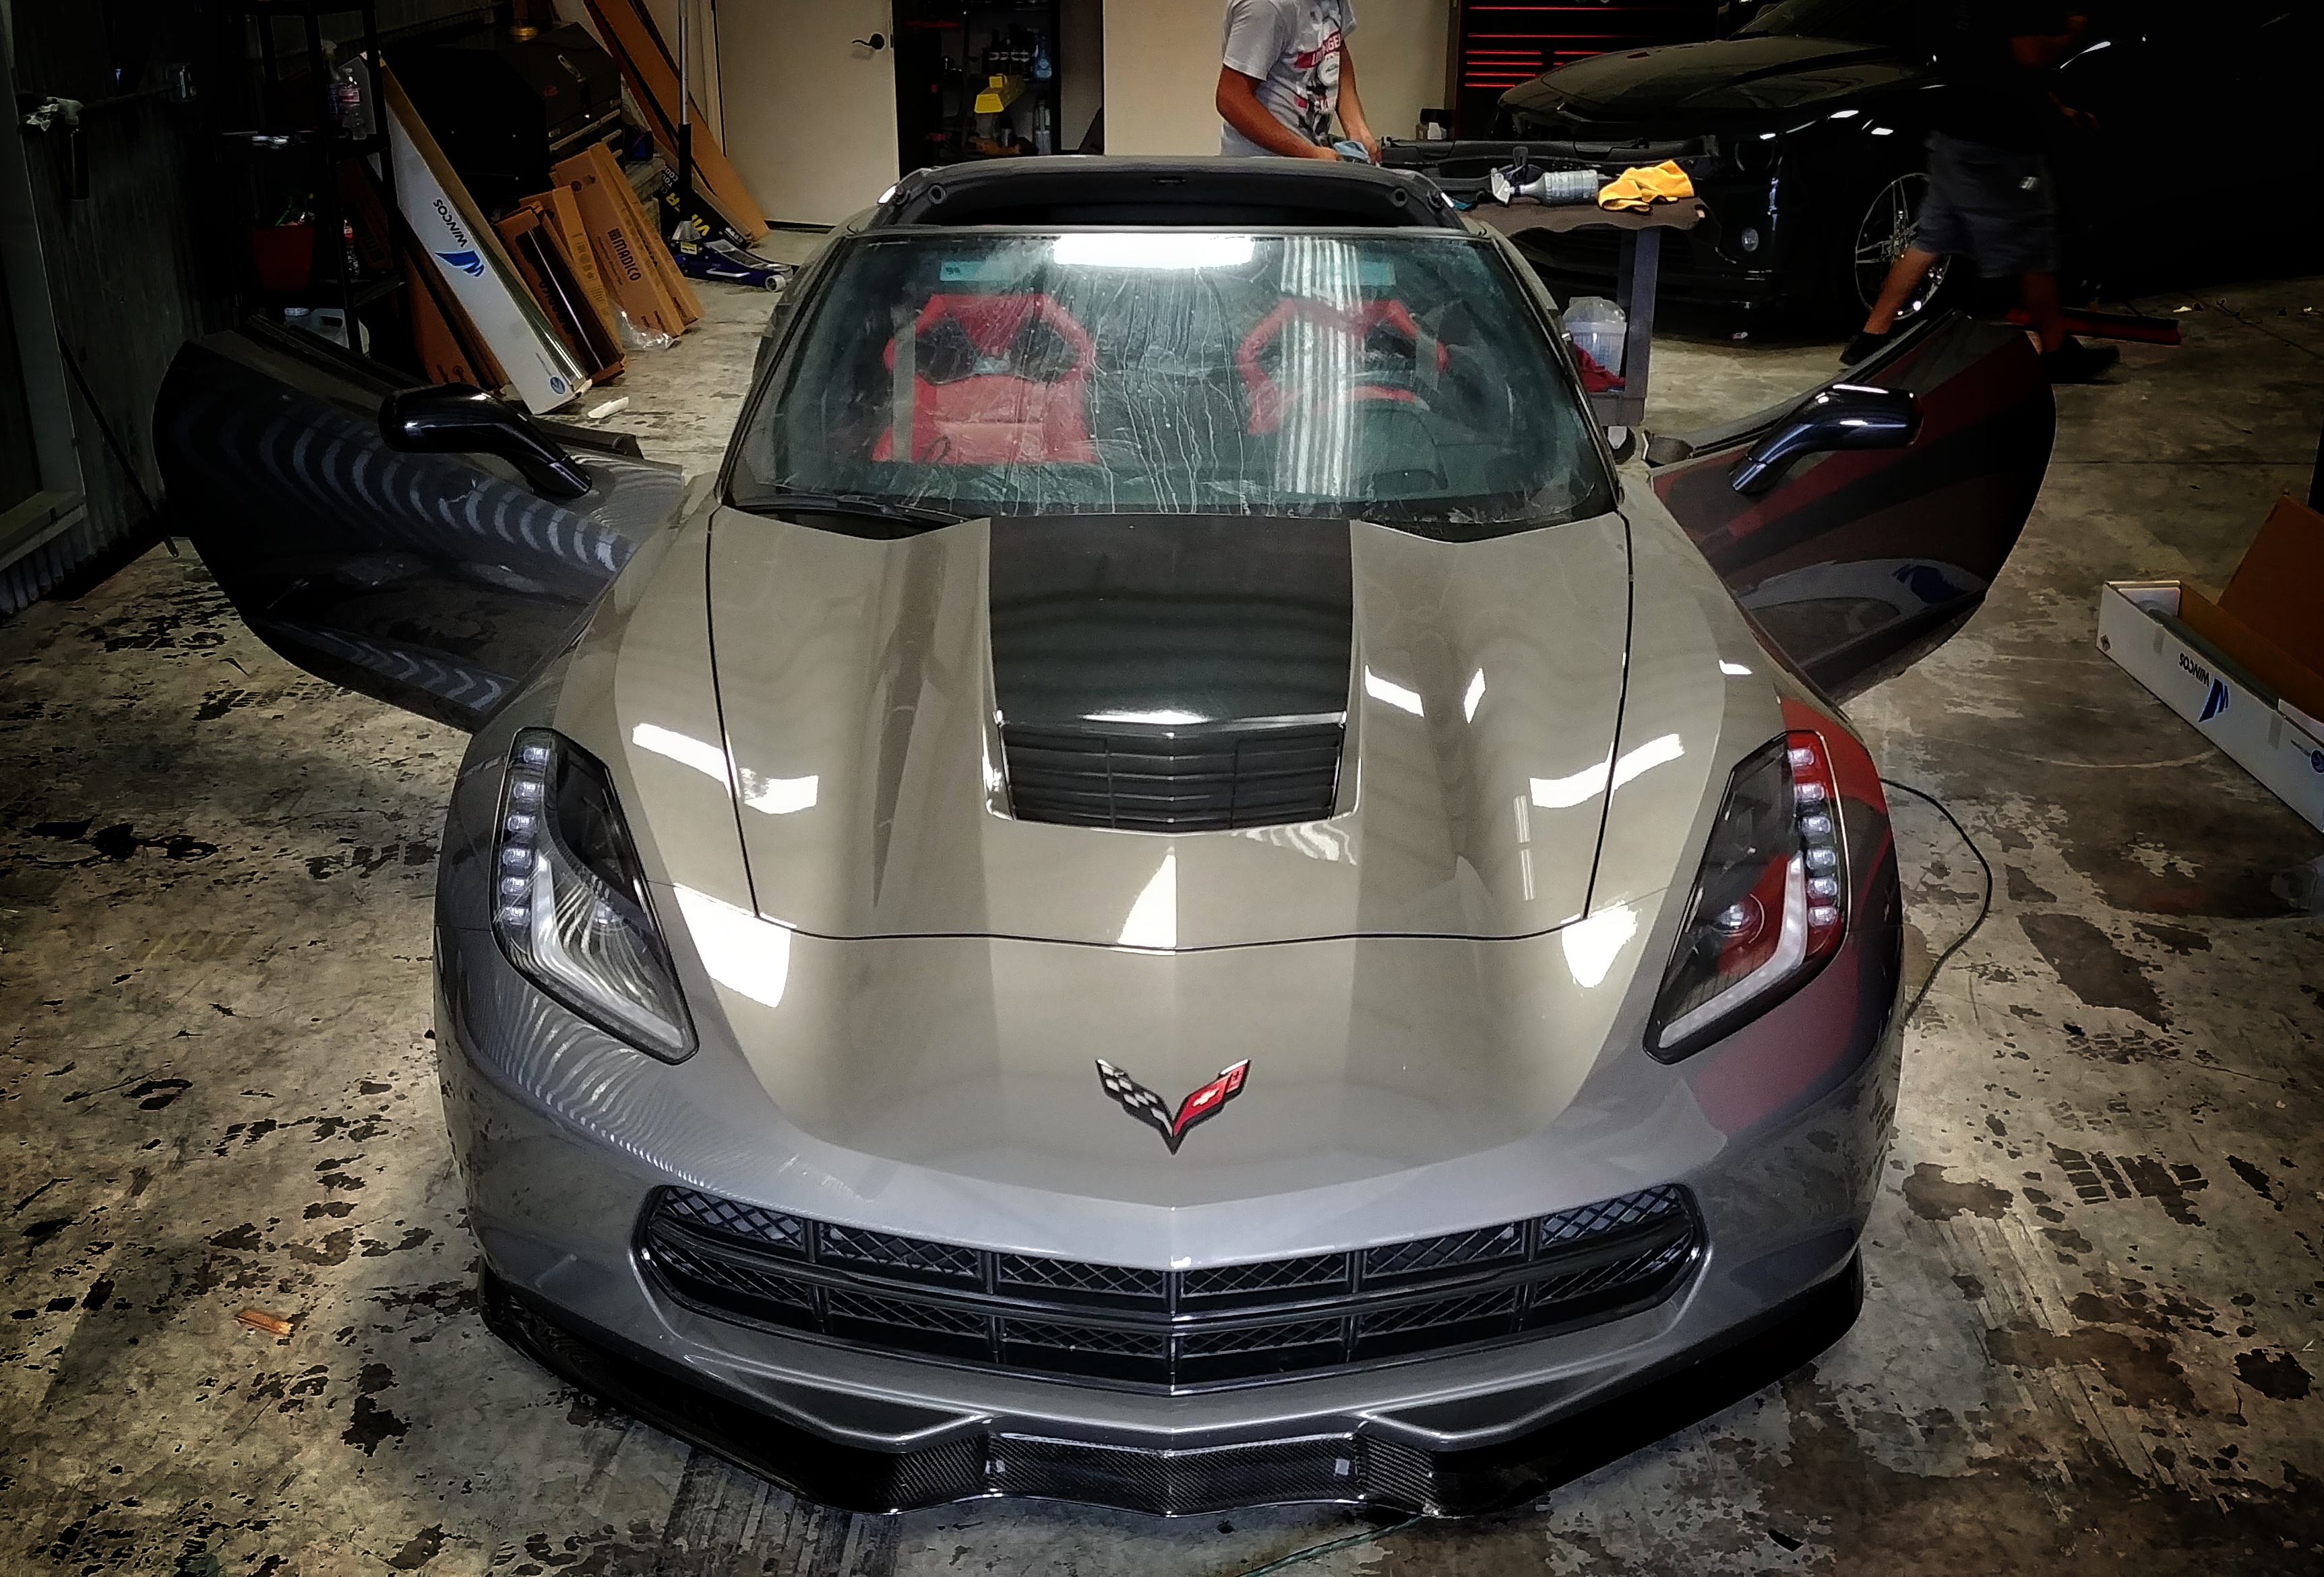
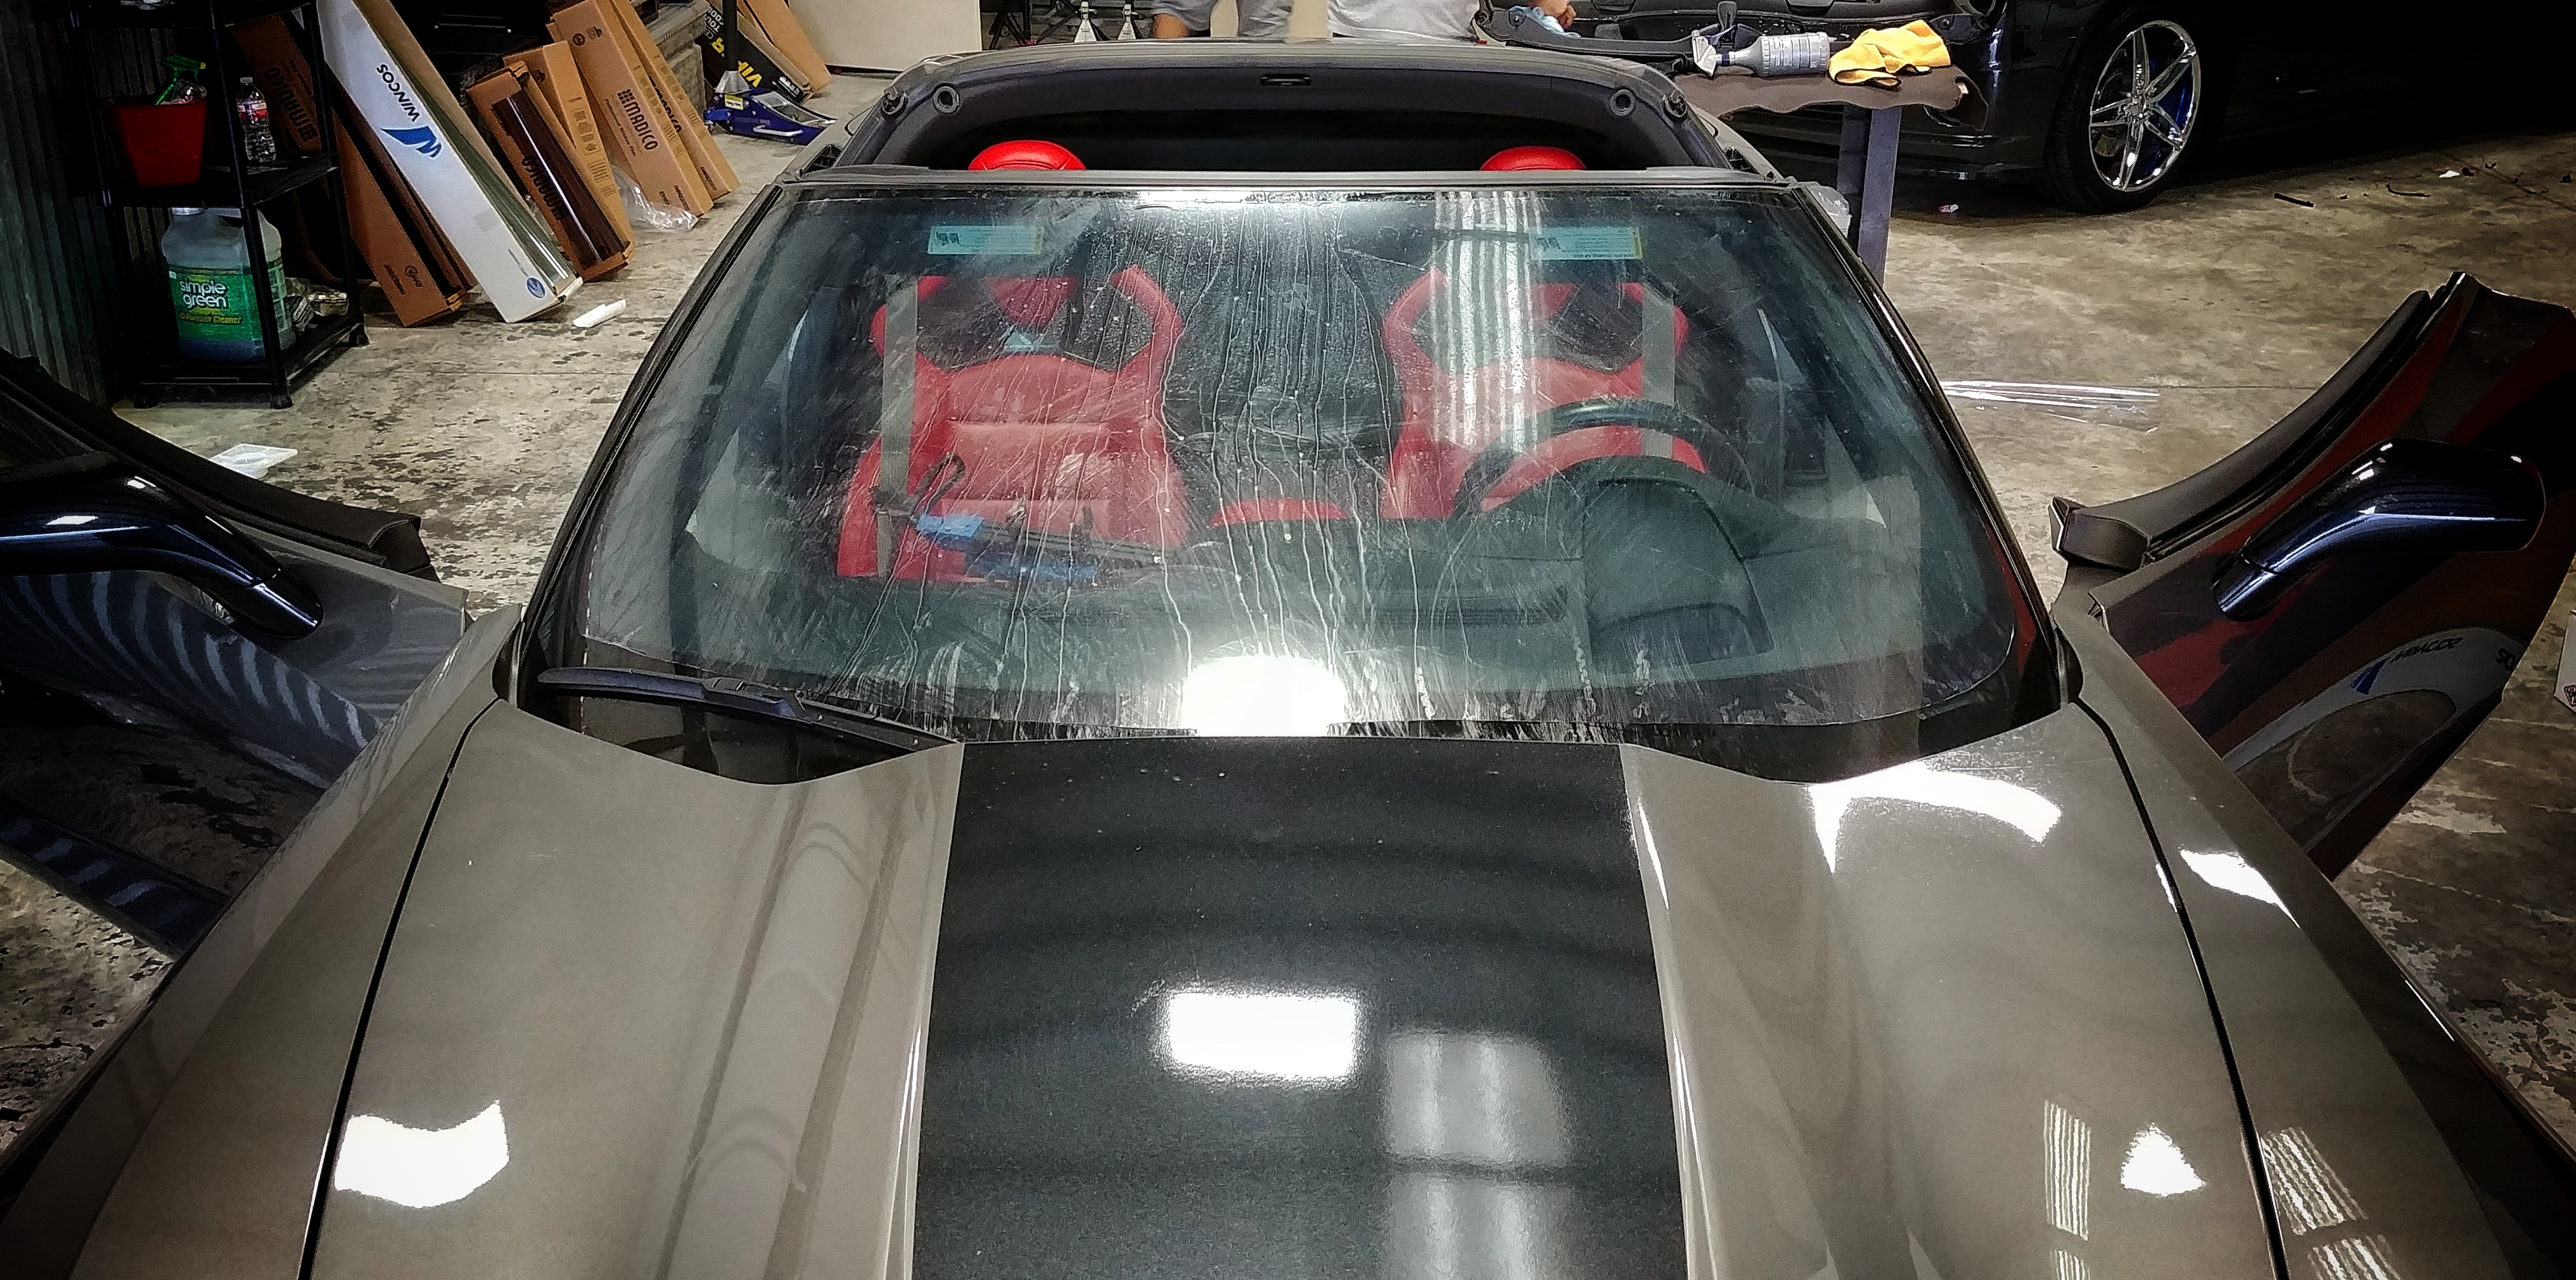
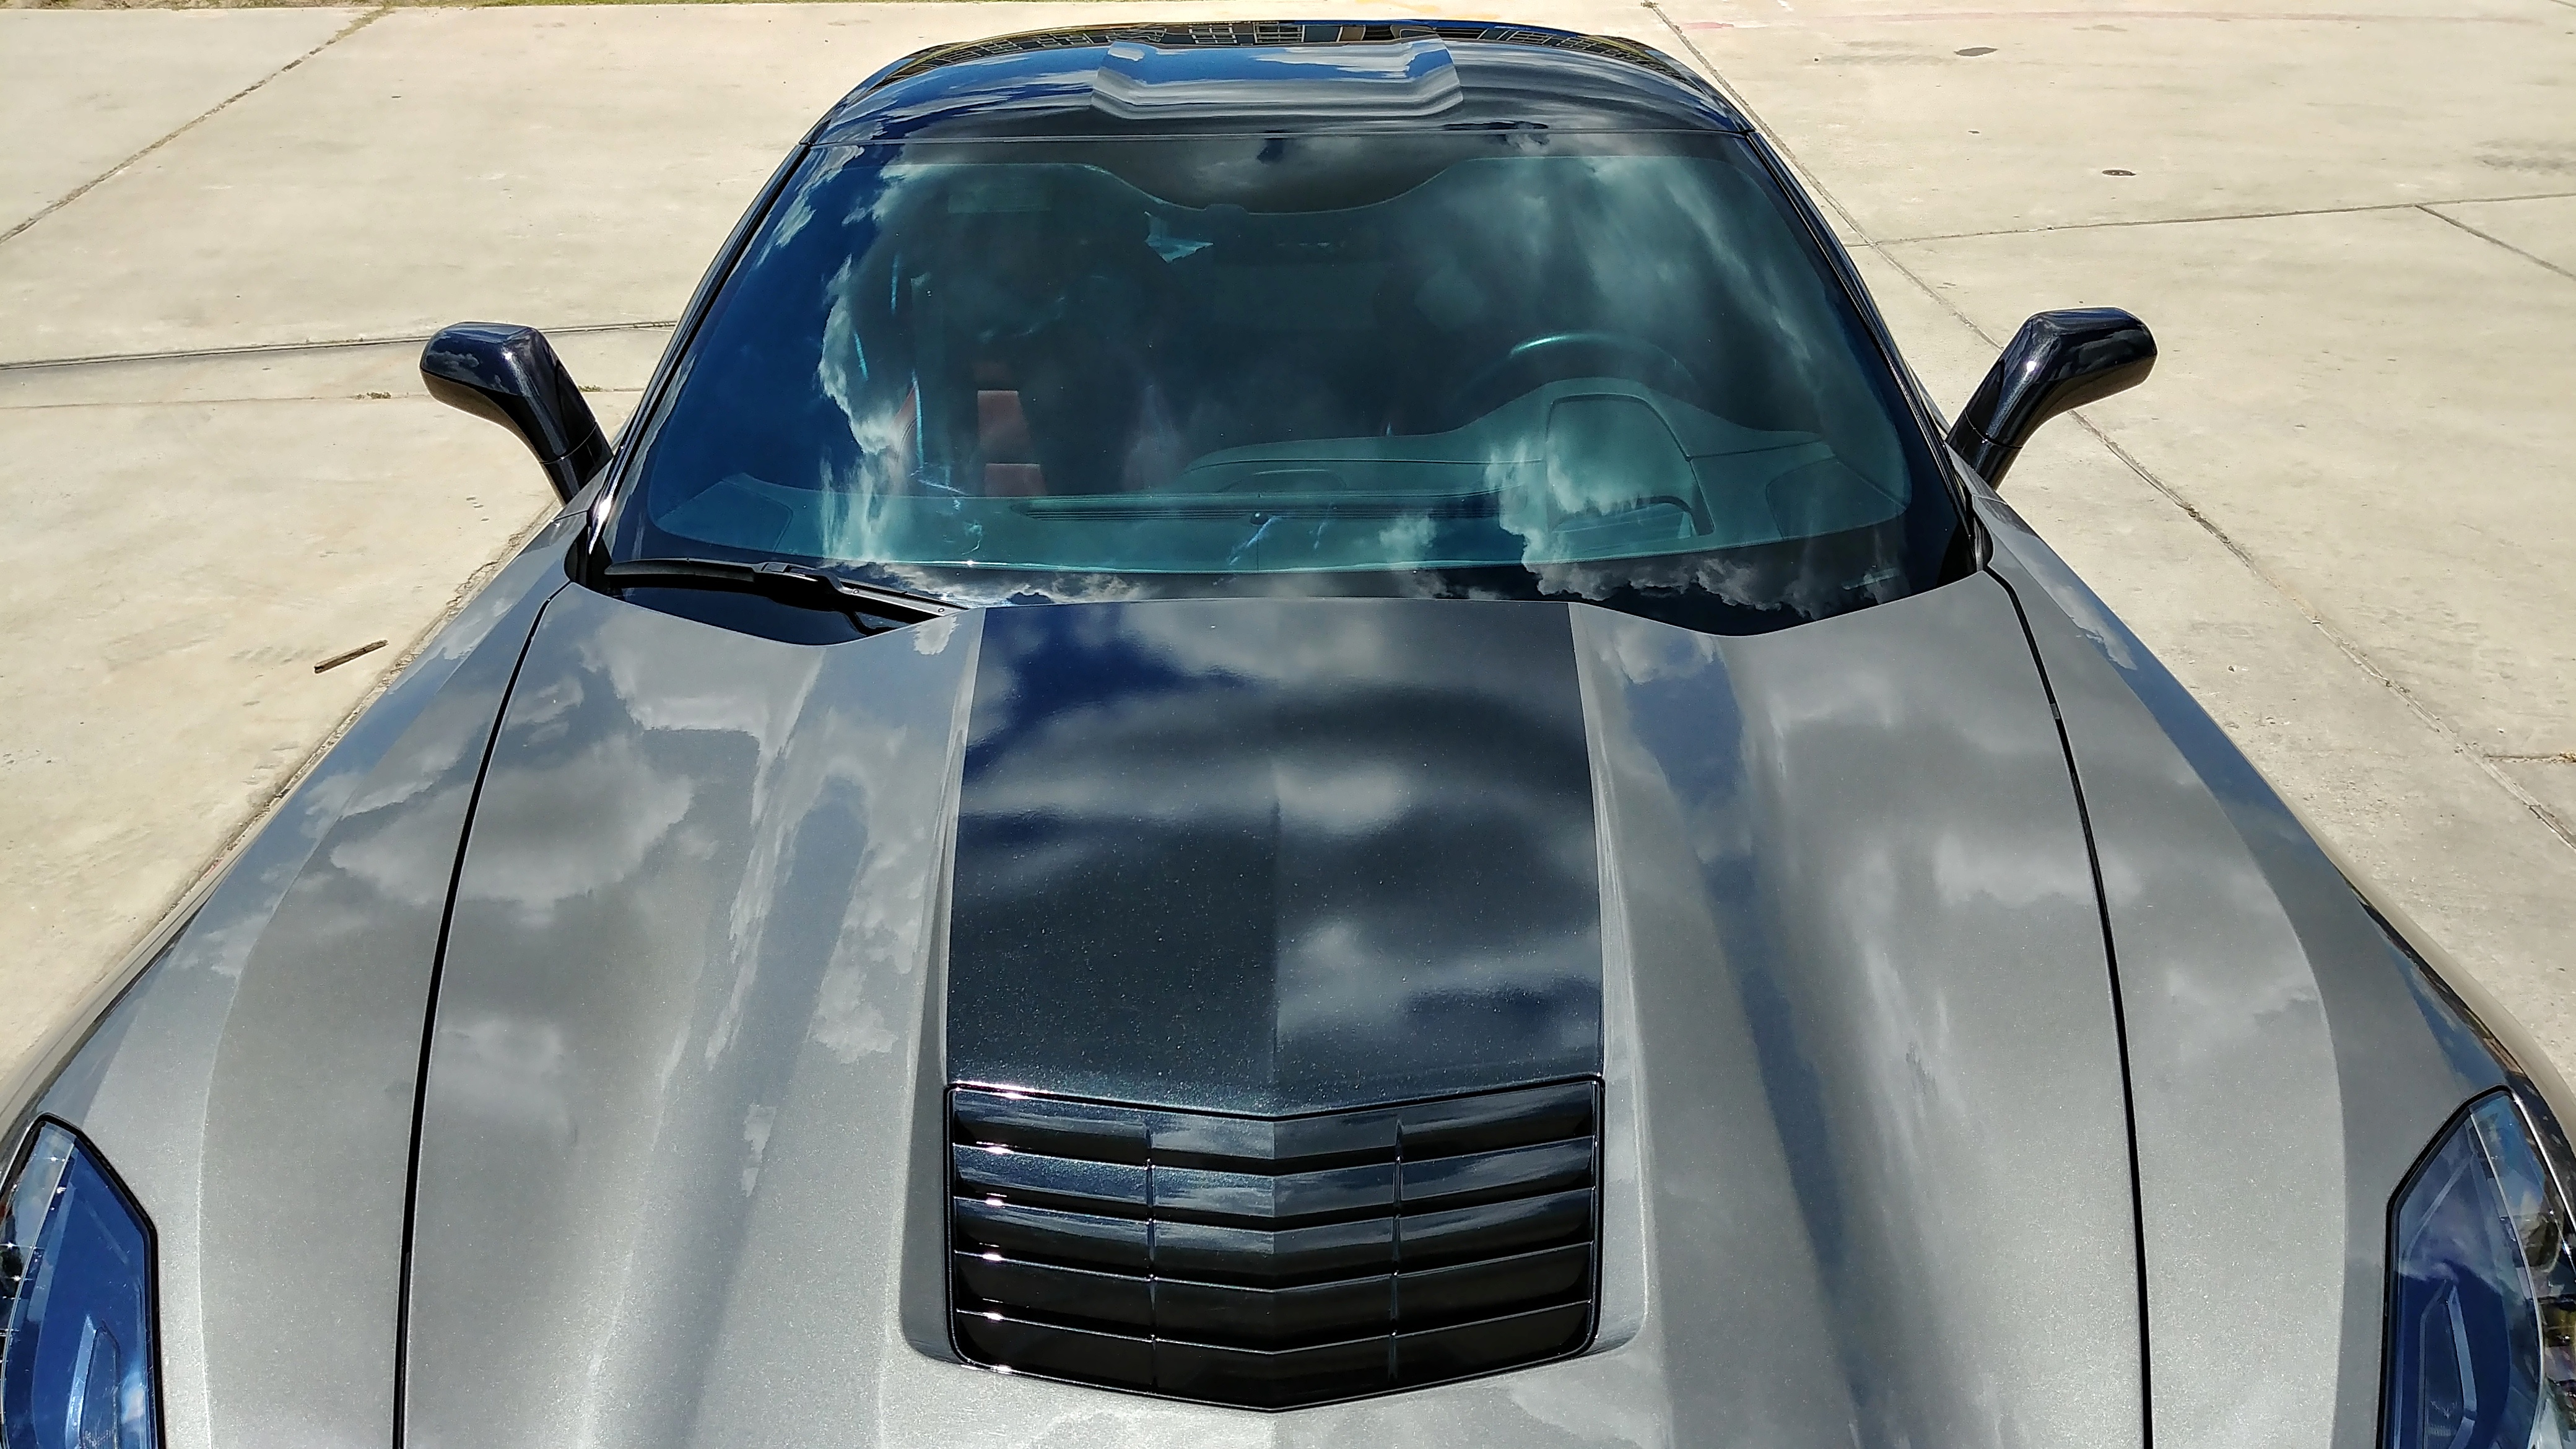
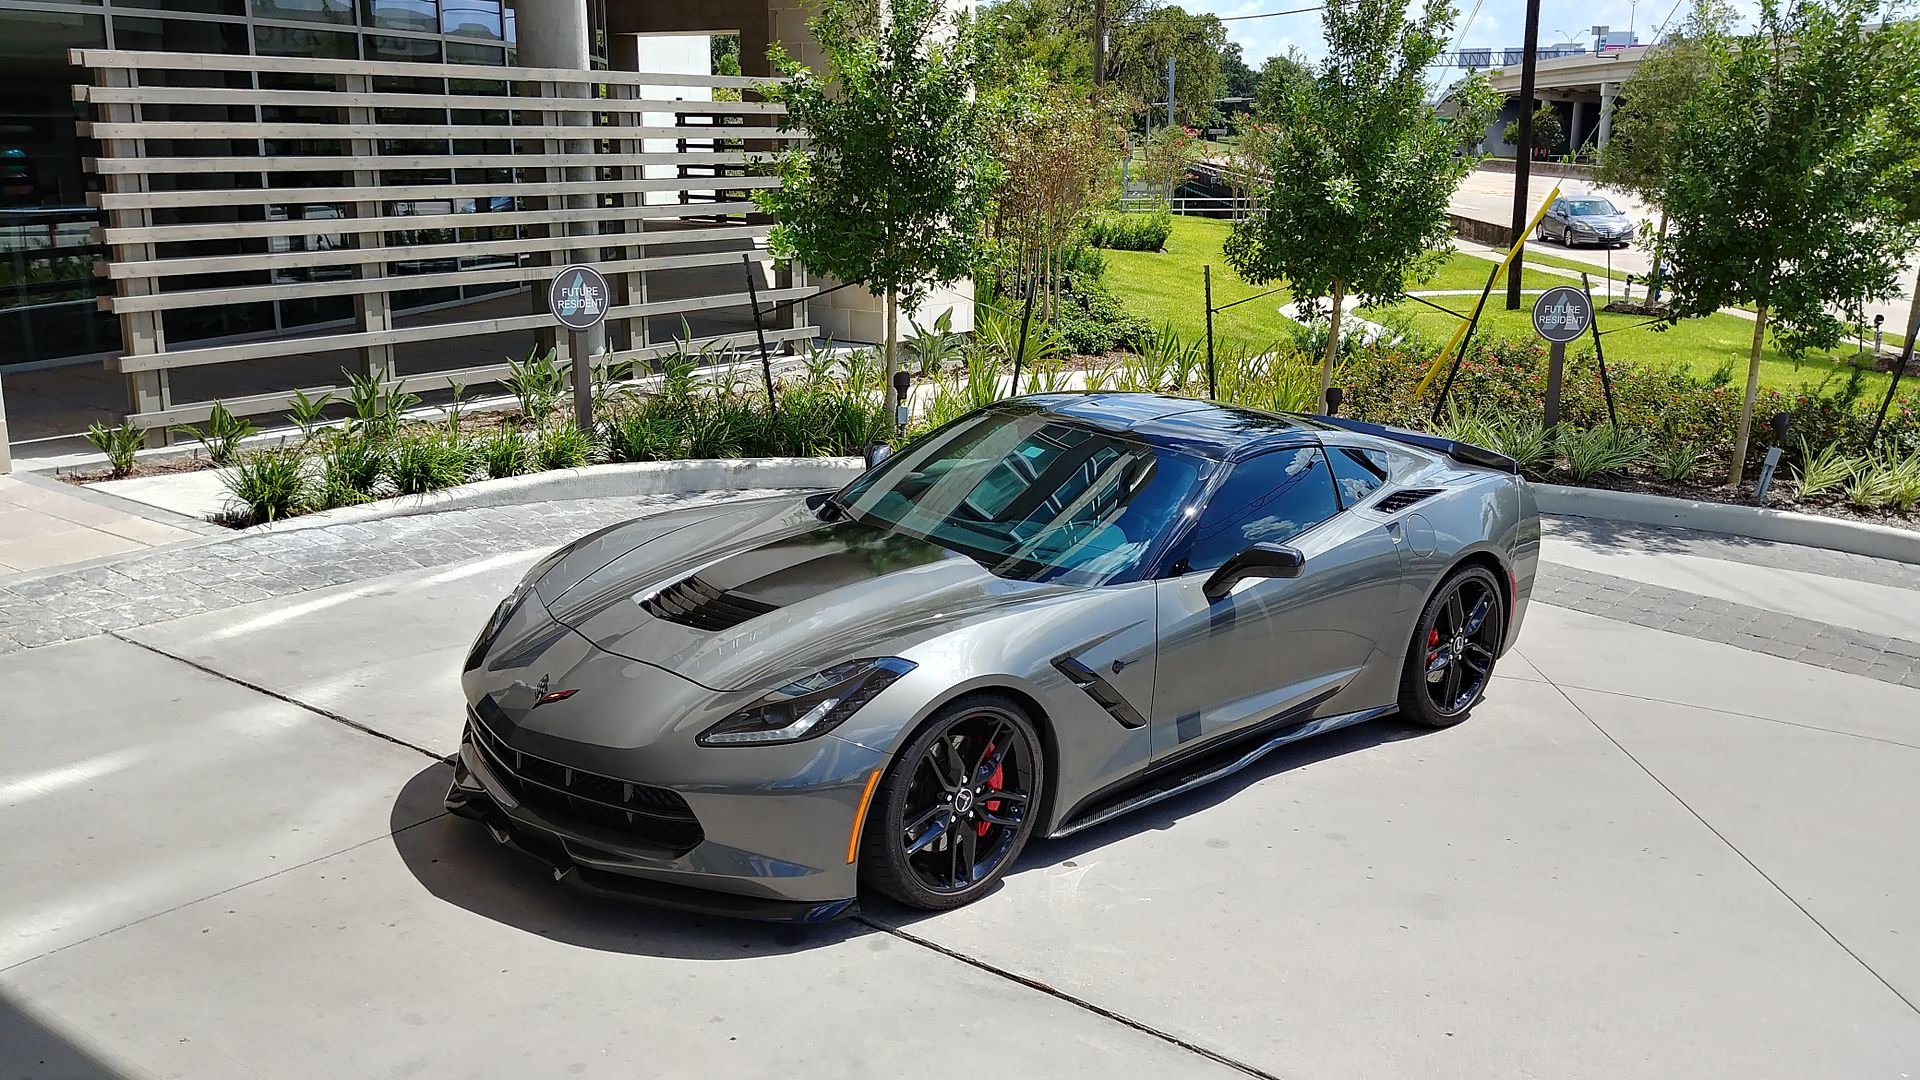
Finally had an opportunity to clay the whole car, and seal it with carpro reload. Sealing it just makes for easier cleaning.
Started out with a pretty dirty bird...
Finished product;
We also took the time to tint the rear bumper reflectors so they would blend in better with the all black rear bumper. I think it came out well.
Started out with a pretty dirty bird...
Finished product;


We also took the time to tint the rear bumper reflectors so they would blend in better with the all black rear bumper. I think it came out well.

 09-21-2017, 05:20 PM
#30

absolutely gorgeous car. love the high quality pics.
quick question though, why did you have curb rash on the inside of your wheel?
quick question though, why did you have curb rash on the inside of your wheel?
09-22-2017, 10:51 AM
#31