When you click on links to various merchants on this site and make a purchase, this can result in this site earning a commission. Affiliate programs and affiliations include, but are not limited to, the eBay Partner Network.
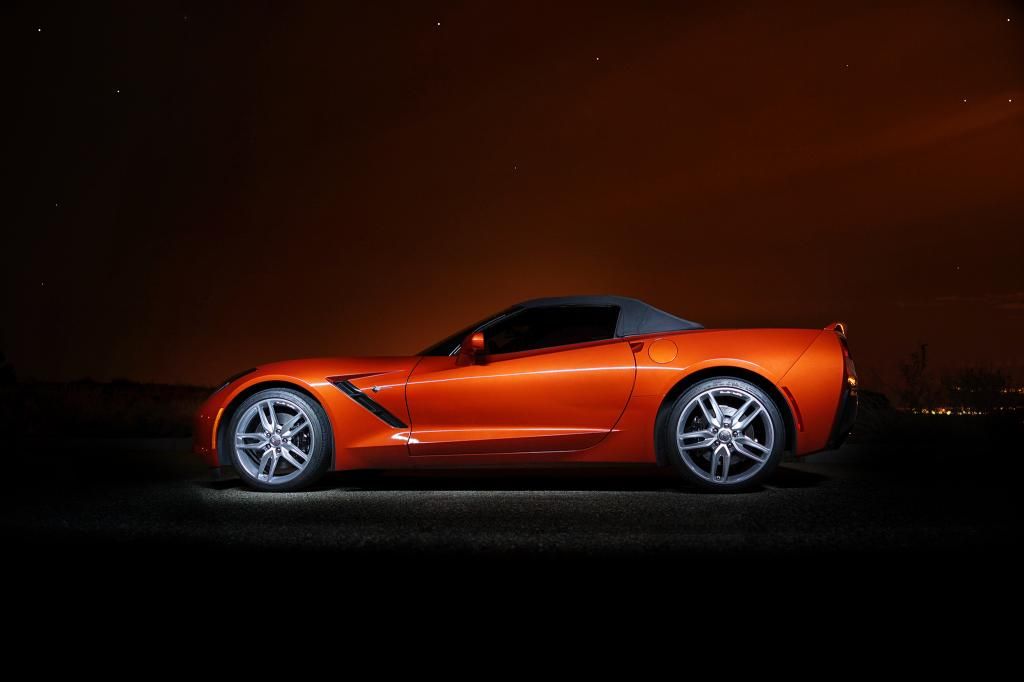
Really busy schedule but I've been wanting to try this.
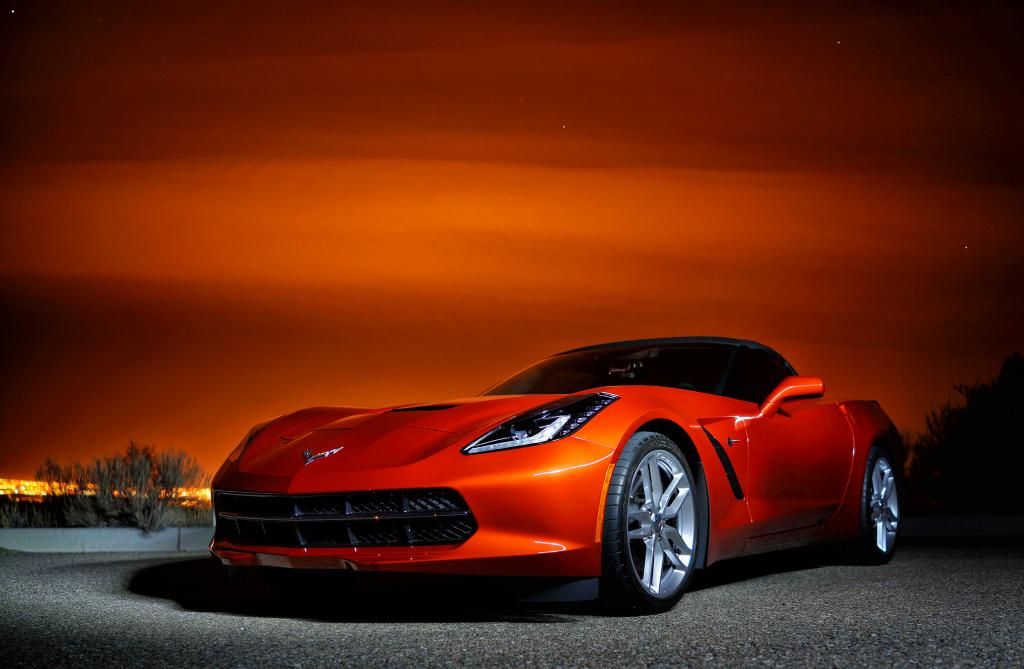
Multiple long exposures using a LED in a softbox. Photos stacked on top of each other in Photoshop with masking done.
Think it came out pretty good for being just at the bottom of my driveway and my first time.
A few things I took away:
1. I really need my bumper spotless and can't clean it as good as I'd like in post
2. I didn't swipe across with the light evenly enough from left to right so the left side is a bit dimmer and shows reflections of the leaves on the ground.
Here's an edit I just did where I clone stamped the right side flipped horizontally onto the left side. It gets rid of the curb, leaves, and brown hue on left side of the bumper.
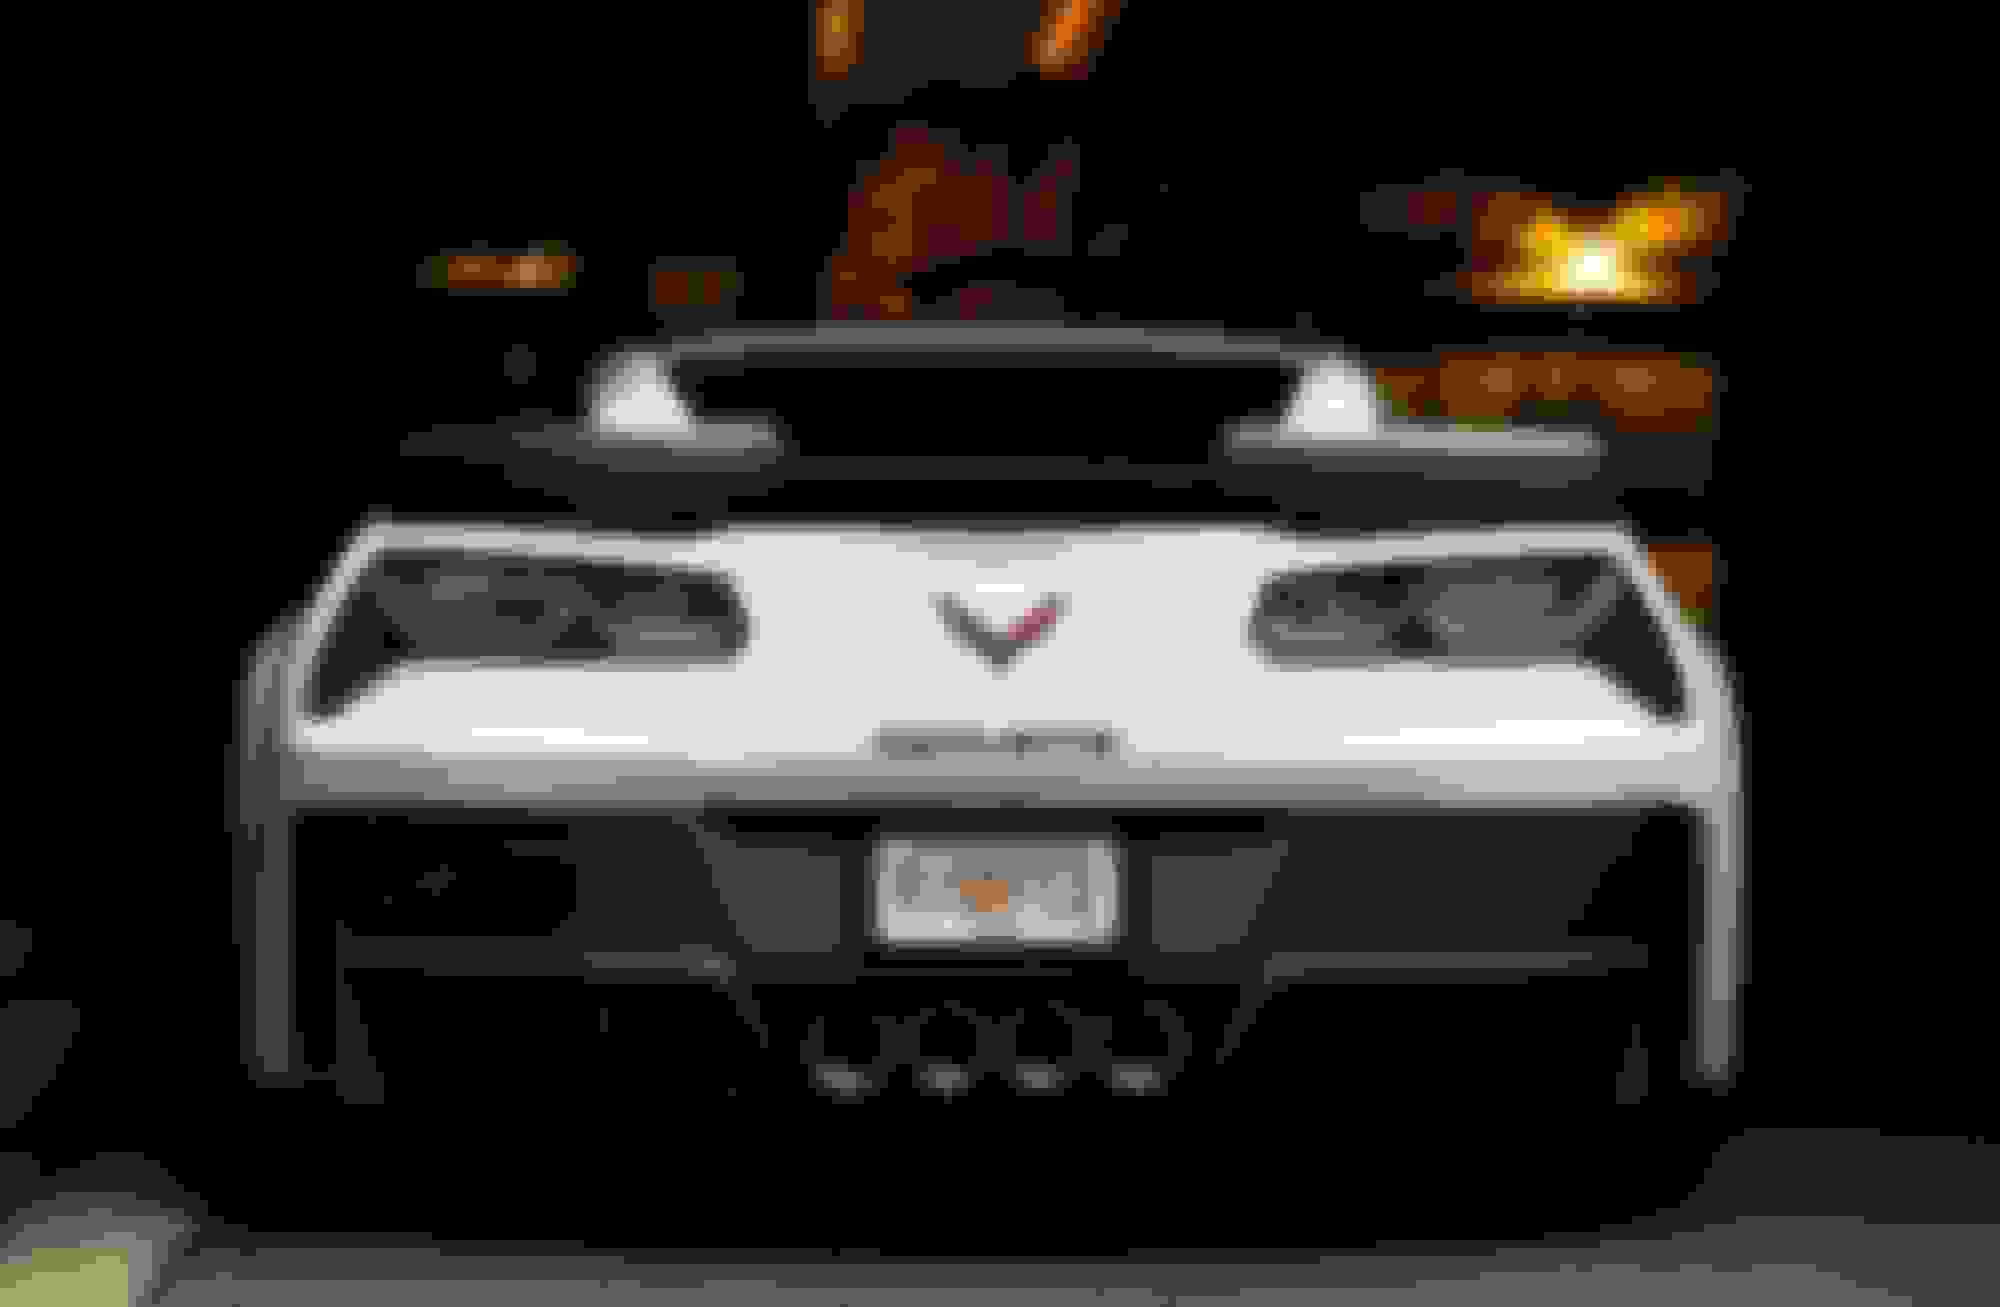
RAINED ALL DAY
So here's a quick one I did shot from inside the garage.
It's where you set a dSLR (or film SLR) on a tripod with an open shutter, in a dark place with your subject, then use a flashlight, or other light source to illuminate the subject, so the camera can expose it.
It's where you set a dSLR (or film SLR) on a tripod with an open shutter, in a dark place with your subject, then use a flashlight, or other light source to illuminate the subject, so the camera can expose it.
Nice first attempt cyi1.
Yup. It was 6 10-second exposure photos I took that are stacked on top of each other. You then mask what you want to keep/remove from each layer and end up with one image.
That's cool... is there software involved? With film you'd think it'd over-expose the areas where the flashlight lingered, but does the software balance the exposures automatically? ie: does it require a special camera?
Multiple exposures are not really necessary unless you want complete control of the exposures. Simply shooting with your dslr on "bulb" setting or experimenting with long exposures you can paint with light in your photo and as long as you keep moving your body will not show up in the image. Its a lot of fun doing this especially when you get great results. OP, job well done with your 6 images!
Great shot! Love the effect...the only thing I'd comment on is the tan tile (?) on the lower left garage floor. It draws my eye and breaks up the image and tells me the photo was taken in a garage.
Otherwise, it would be hard to figure out the background, which is kinda neat I'm sure you can photoshop the gray all the way across tho...
That's cool... is there software involved? With film you'd think it'd over-expose the areas where the flashlight lingered, but does the software balance the exposures automatically? ie: does it require a special camera?
I did multiple runs of each sections because I was afraid of the light being too bright on certain areas. Took about 3-4 of a "top" "middle" "lower" run and picked the best ones.
After you pick the photos you throw them all in photoshop as layers and mask away things you don't want from each layer.
Great shot! Love the effect...the only thing I'd comment on is the tan tile (?) on the lower left garage floor. It draws my eye and breaks up the image and tells me the photo was taken in a garage.
Otherwise, it would be hard to figure out the background, which is kinda neat I'm sure you can photoshop the gray all the way across tho...
I parked it by the curb at the bottom of my driveway. I definitely learned that mistake while I was in post processing. I guess since the curb was there I didn't completely light the left side enough before swiping across. Oh well. It was my first time and I try to learn something every time I shoot and definitely will do a better job the 2nd time.
I parked it by the curb at the bottom of my driveway. I definitely learned that mistake while I was in post processing. I guess since the curb was there I didn't completely light the left side enough before swiping across. Oh well. It was my first time and I try to learn something every time I shoot and definitely will do a better job the 2nd time.
Ah ok... Ya it was hard to figure out what exactly I was seeing. The shot is awesome tho!
My son was working on something similar using my Z as a subject...All I know is that he took this on a sunny afternoon and then spent time on photoshop doing whatever...Too complicated for me!
Really busy schedule but I've been wanting to try this.
Multiple long exposures using a LED in a softbox. Photos stacked on top of each other in Photoshop with masking done.
Think it came out pretty good for being just at the bottom of my driveway and my first time.
A few things I took away:
1. I really need my bumper spotless and can't clean it as good as I'd like in post
2. I didn't swipe across with the light evenly enough from left to right so the left side is a bit dimmer and shows reflections of the leaves on the ground.
I had some friends do this with my car when I first bought it. The pictures were really cool since it was completely dark. It definitely takes some talent to pull it off.
Last edited by Joegovette; 11-12-2018 at 11:40 PM.

 11-12-2018, 02:45 AM


 I'm sure you can photoshop the gray all the way across tho...