When you click on links to various merchants on this site and make a purchase, this can result in this site earning a commission. Affiliate programs and affiliations include, but are not limited to, the eBay Partner Network.
HOW TO: File Fitting and Installing New Piston Rings and Checking Oil Ring Tension
NOTE: This How-To guide is neither endorsed by or property of Corvette Forum or myself in any way/shape/form. All liability stemming from any actions taken in relation to this guide is solely placed upon the end user. (This means you!)
Welcome back to another episode of FYREANT’s How To’s!
When replacing the piston rings in your C7 LT1 motor either with the Vengeance Racing LT1 Drop-in Piston kit (the one we are using for this guide), or most other aftermarket piston kits, the piston rings do not come pre-gapped and are considered “file fit”. Great! What does this mean though..?
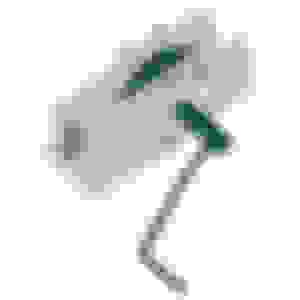
File fit piston rings means that the rings were made so that you would need to cut them down to achieve the desired ring-end-gap for your specific application. In order to do this, you need a piston ring filer. Piston ring filers can be manual, such as the one I am using for this guide, or, they can be electronic, which can be pricey. We need piston ring end gap to ensure that our ring ends do not touch each other because if they did… BOOM! Goes your motor! Below you will see a picture of a manual ring filer, which I purchased from Summit Racing:
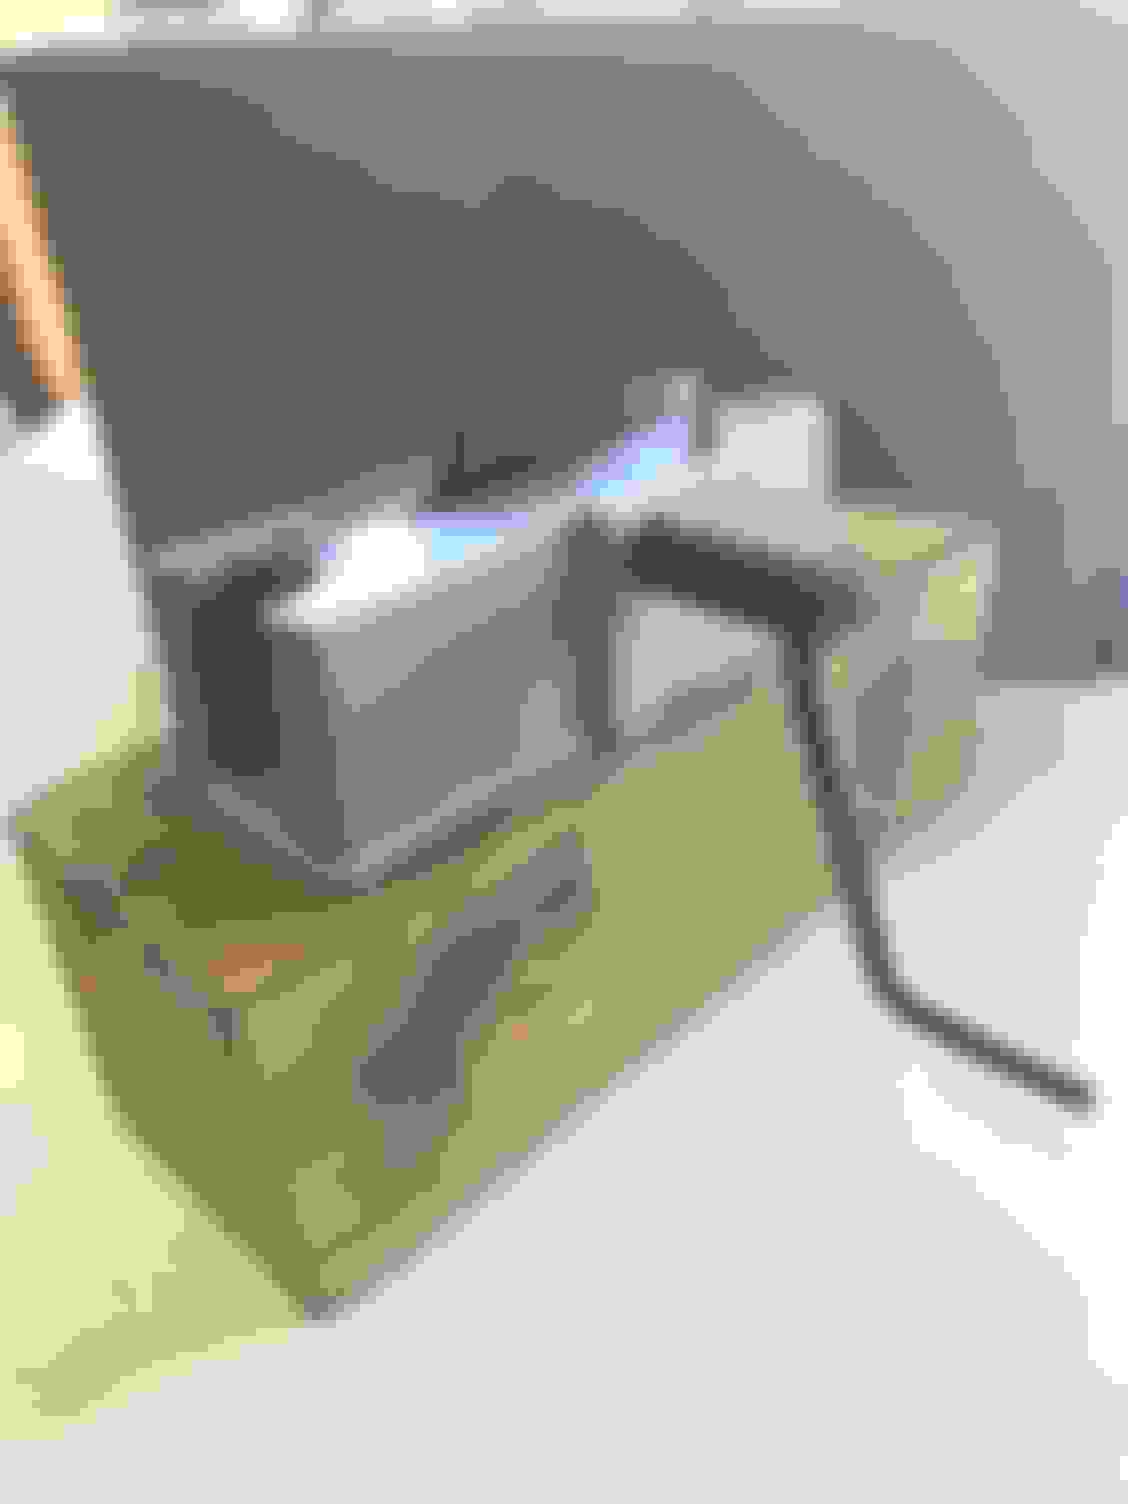
After getting the ring filer and getting it assembled, you’ll immediately notice that the handle to turn the grinding wheel is long and cannot be turned all the way around unless the handle was hanging off the edge of a table. To fix this, I chose to mount my ring filer to a 4x4 block of wood to give me some extra height.
Ok so you got the ring filer, and you got your rings. Now what? Well, you need to get a set of feeler gauges, and you need to know what ring end gap you are trying to achieve for your specific application. For your feeler gauges, if you happen to run into a situation where your feeler gauges don’t have a specific size you need, such as you need 0.027” and your gauges only go up to 0.025”, then you can always stack two feeler gauges together to get the size you need. Therefore, you could use a 0.017” and a 0.010” to make 0.027”. Just make sure they are clean before you stack them together. For your ring end gaps, I would recommend getting with your tuner, or even better, the manufacturer of your pistons and rings to get recommendations from them on what you should use for you end gap. For my application, Vengeance Racing gave me the recommended gaps as follows:
Top Ring: 0.022”
Second Ring: 0.024”
Oil Rail Rings: 0.015”-0.040”
Before we get grindin’, let’s go over a few simple things that are critical for you to know to be successful at file fitting rings:
First: Make sure the ring is facing up, usually by a dimple, or some writing on the face of the ring as shown below.
Second: Never grind both ends of the ring by pinching the ring on both sides. Grinding both ends is a bad idea. You should only grind one end, this way you can use the unaltered ring to square the ring ends up together after you file them, also as shown below:
Third: Always make sure that you are turning the grinder wheel so that it turns towards the center of the ring and not away from the ring. It should be counter-clockwise, or backwards towards you.
Fourth: after grinding the rings, you will need to de-burr them with a small file. Do not chamfer the edges, just simple take off the lip of the ring if it sticks up.
Fifth: Do not grind the rings very much at a time! If you do, you are liable to take off more material then you need to and then you will be ordering another set of rings and have to start over again. This is especially true with the second ring. The second ring is usually the Napier ring and is made from ductile iron, which is softerthan the top compression ring. Remember you can always take more material off, but once you go over, you can’t put material back!
Sixth: Do not file fit the oil rail or the expander ring. They are typically meant to be installed as-is. All you will want to do is confirm the ring end gap for the rails.
Seventh: Make sure when you file the rings end, you keep it square! If you don’t your ring ends could look like this when they are put together /\ and that means you need a new ring and to start over!
In my case, I ended up over-filing my second ring on a couple by 0.001” bringing them out to 0.025” rather than the recommended 0.024”. Because they were close to the desired gap, and because they were the second ring and not the top compression ring, I brought all the other second rings out to 0.025” as well so they are all consistent.
Also, my oil rails came from the factory with ring end gaps around 0.035” - 0.046”. I confirmed with Wiseco that anything under 0.050” is still actually within specification so if you run into this, don’t worry, you’re fine.
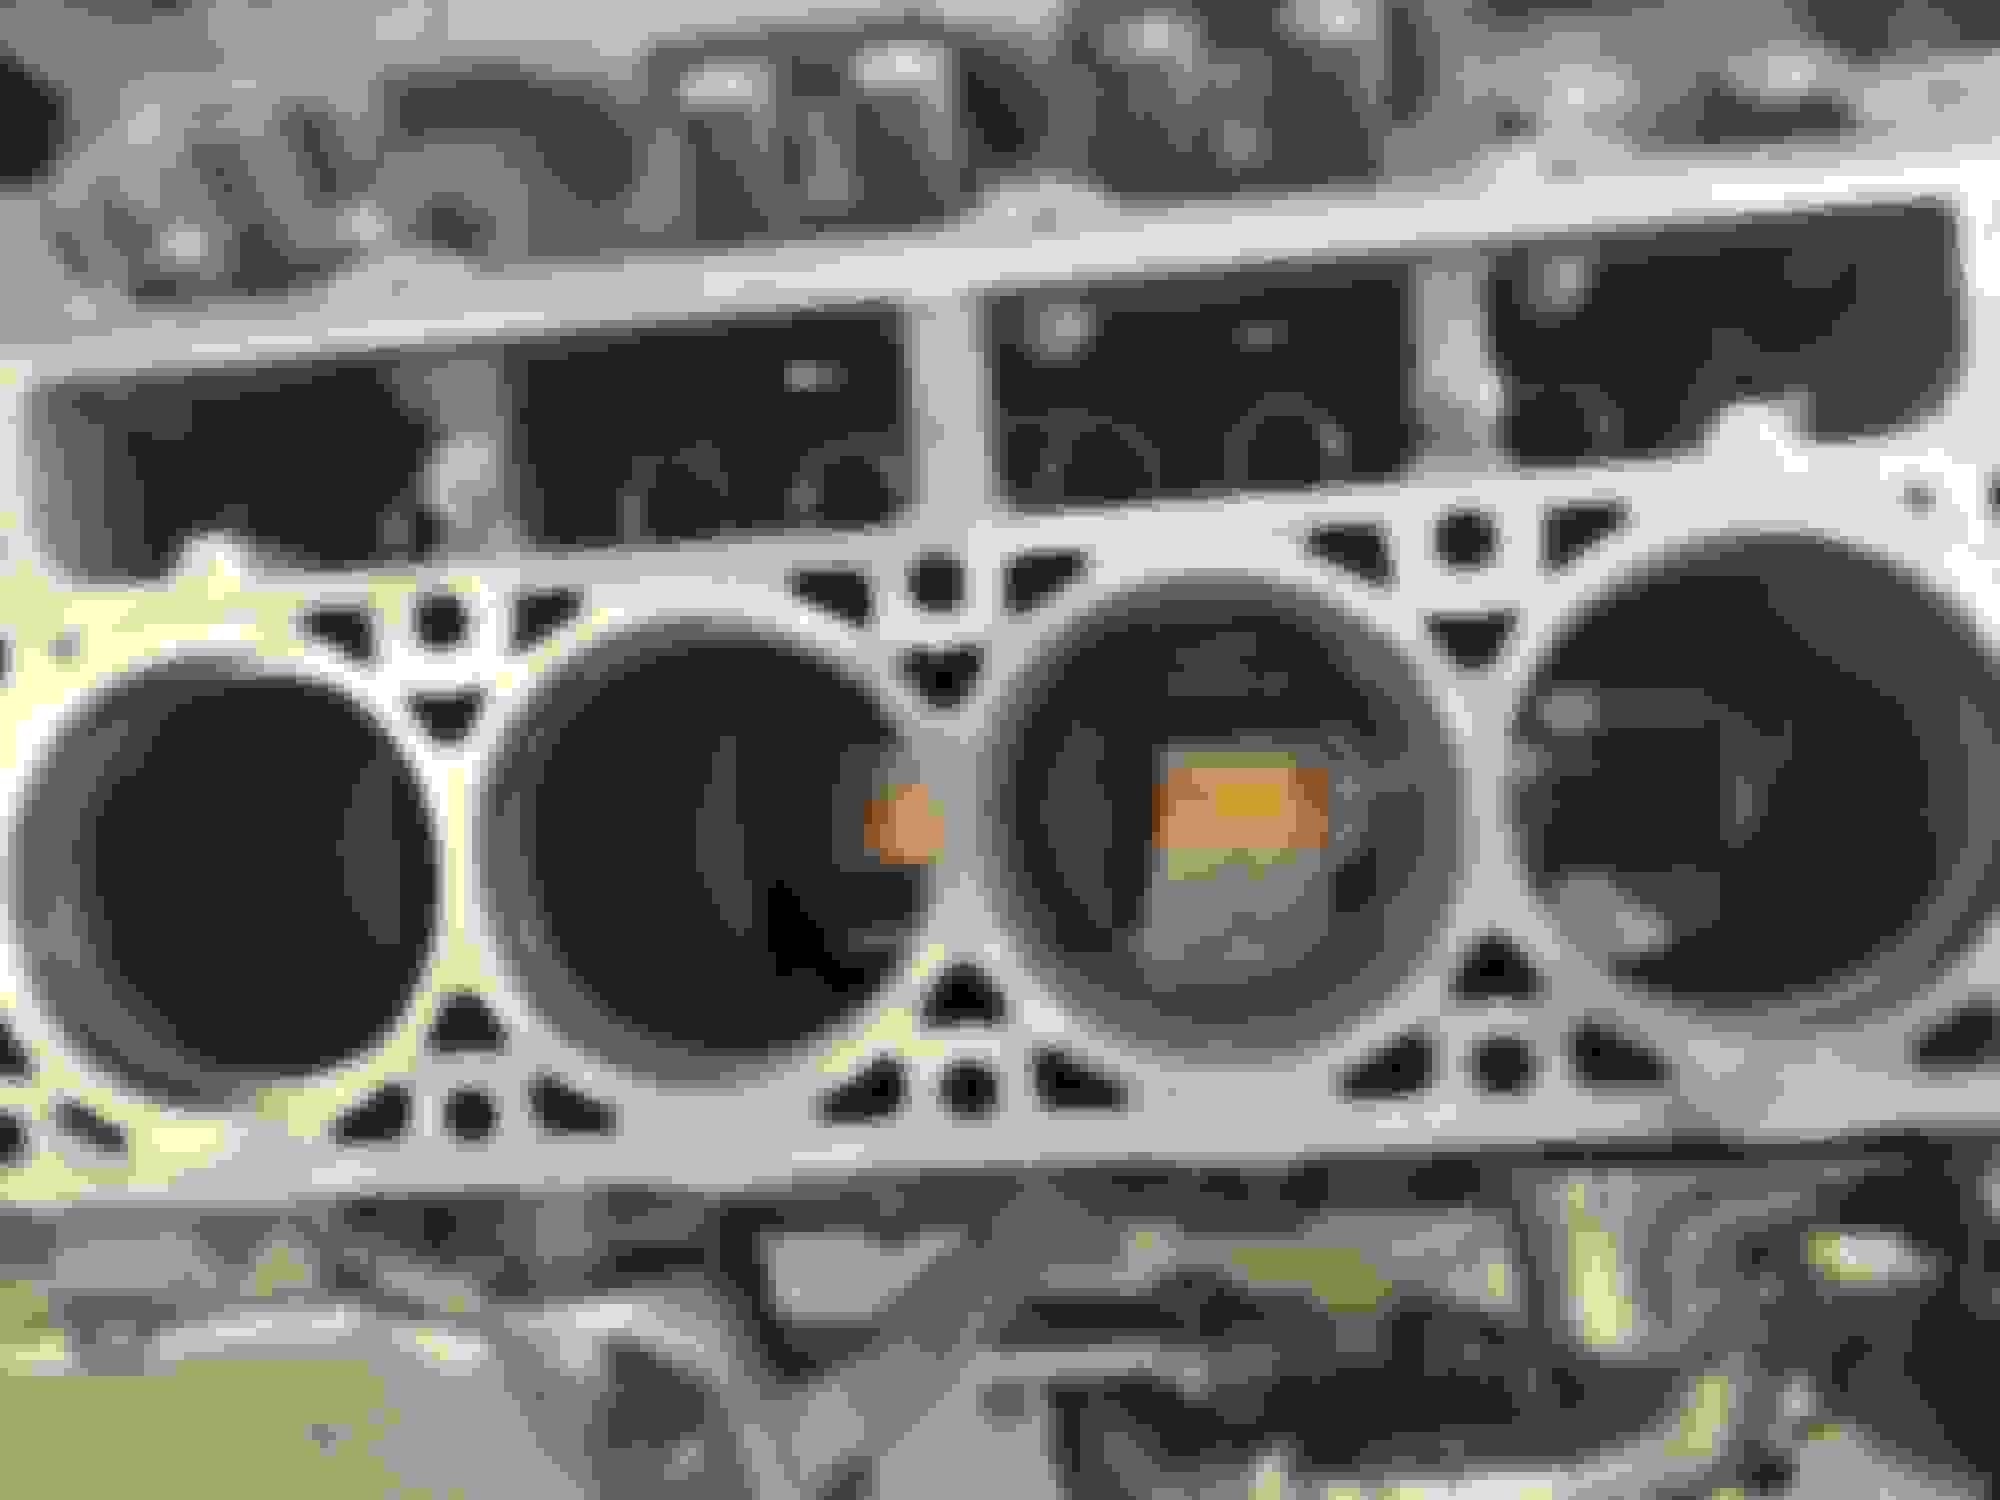
Ok now to start grindin' away. In the below picture you will be how I hold the ring on the filer. I do it this way so that as pointed out by the arrow, only one end gets filed, and I put pressure down with my index finger so that while grinding the ring end doesn’t jump around giving me an ugly end gap.
After you file for a few seconds, take the ring out and put it into the cylinder (you can use an old piston upside down with an old second ring on it to push the new piston into the hole. This is a great way to “square up” the ring to make it perfectly level for proper checking with the feeler gauges. Below you can see a picture where I have all of my top rings in the cylinders. This is because after you get them all to the desired end gap, you should put them all in and check them one more time to make sure that they “feel” exactly the same with the feeler gauges, and if not, adjust accordingly.
Ok so now you got your ring ends at the proper gap, so let’s take this opportunity to test your oil ring “tension”. Oil ring tension tells you how much friction the oil ring creates for the piston and cylinder. The more tension, the higher the friction, the higher the friction, the more horsepower you lose because it takes more effort to turn the motor over. A standard engine typically has about 20 LBs of oil ring tension. A high performance motor typically has 10-15 LBs, and super high performance can be even lower than 10 LBs. By lowering oil ring tension, you can actually gain horsepower! Remember though, you cannot adjust oil ring tension without getting a different setup of oil rings from the manufacturer.
In order to test the oil ring tension, you need to install the oil ring expander, and both the oil ring rails on to the piston. Now install the piston into your piston ring compressor, upside down! Make sure to lube up the cylinder with some WD40 for now also. What we are going to do is install the piston into the cylinder with the connecting rod sticking out the top and push the piston down towards the bottom of the cylinder. I’ll show you why here in just a second.
Using a luggage weight scale that you can get from Walmart, put the hook for the scale on the inside of the connecting rod journal without the bearing in there. Next pull on the scale, (which in turn will pull on the piston) until it starts moving towards the top of the cylinder. At the point that it moves, the little stop arm on the scale will tell you how many LBs it took to move the piston! This is your oil ring tension for this cylinder. Mine all came out to 12-15 LBs.
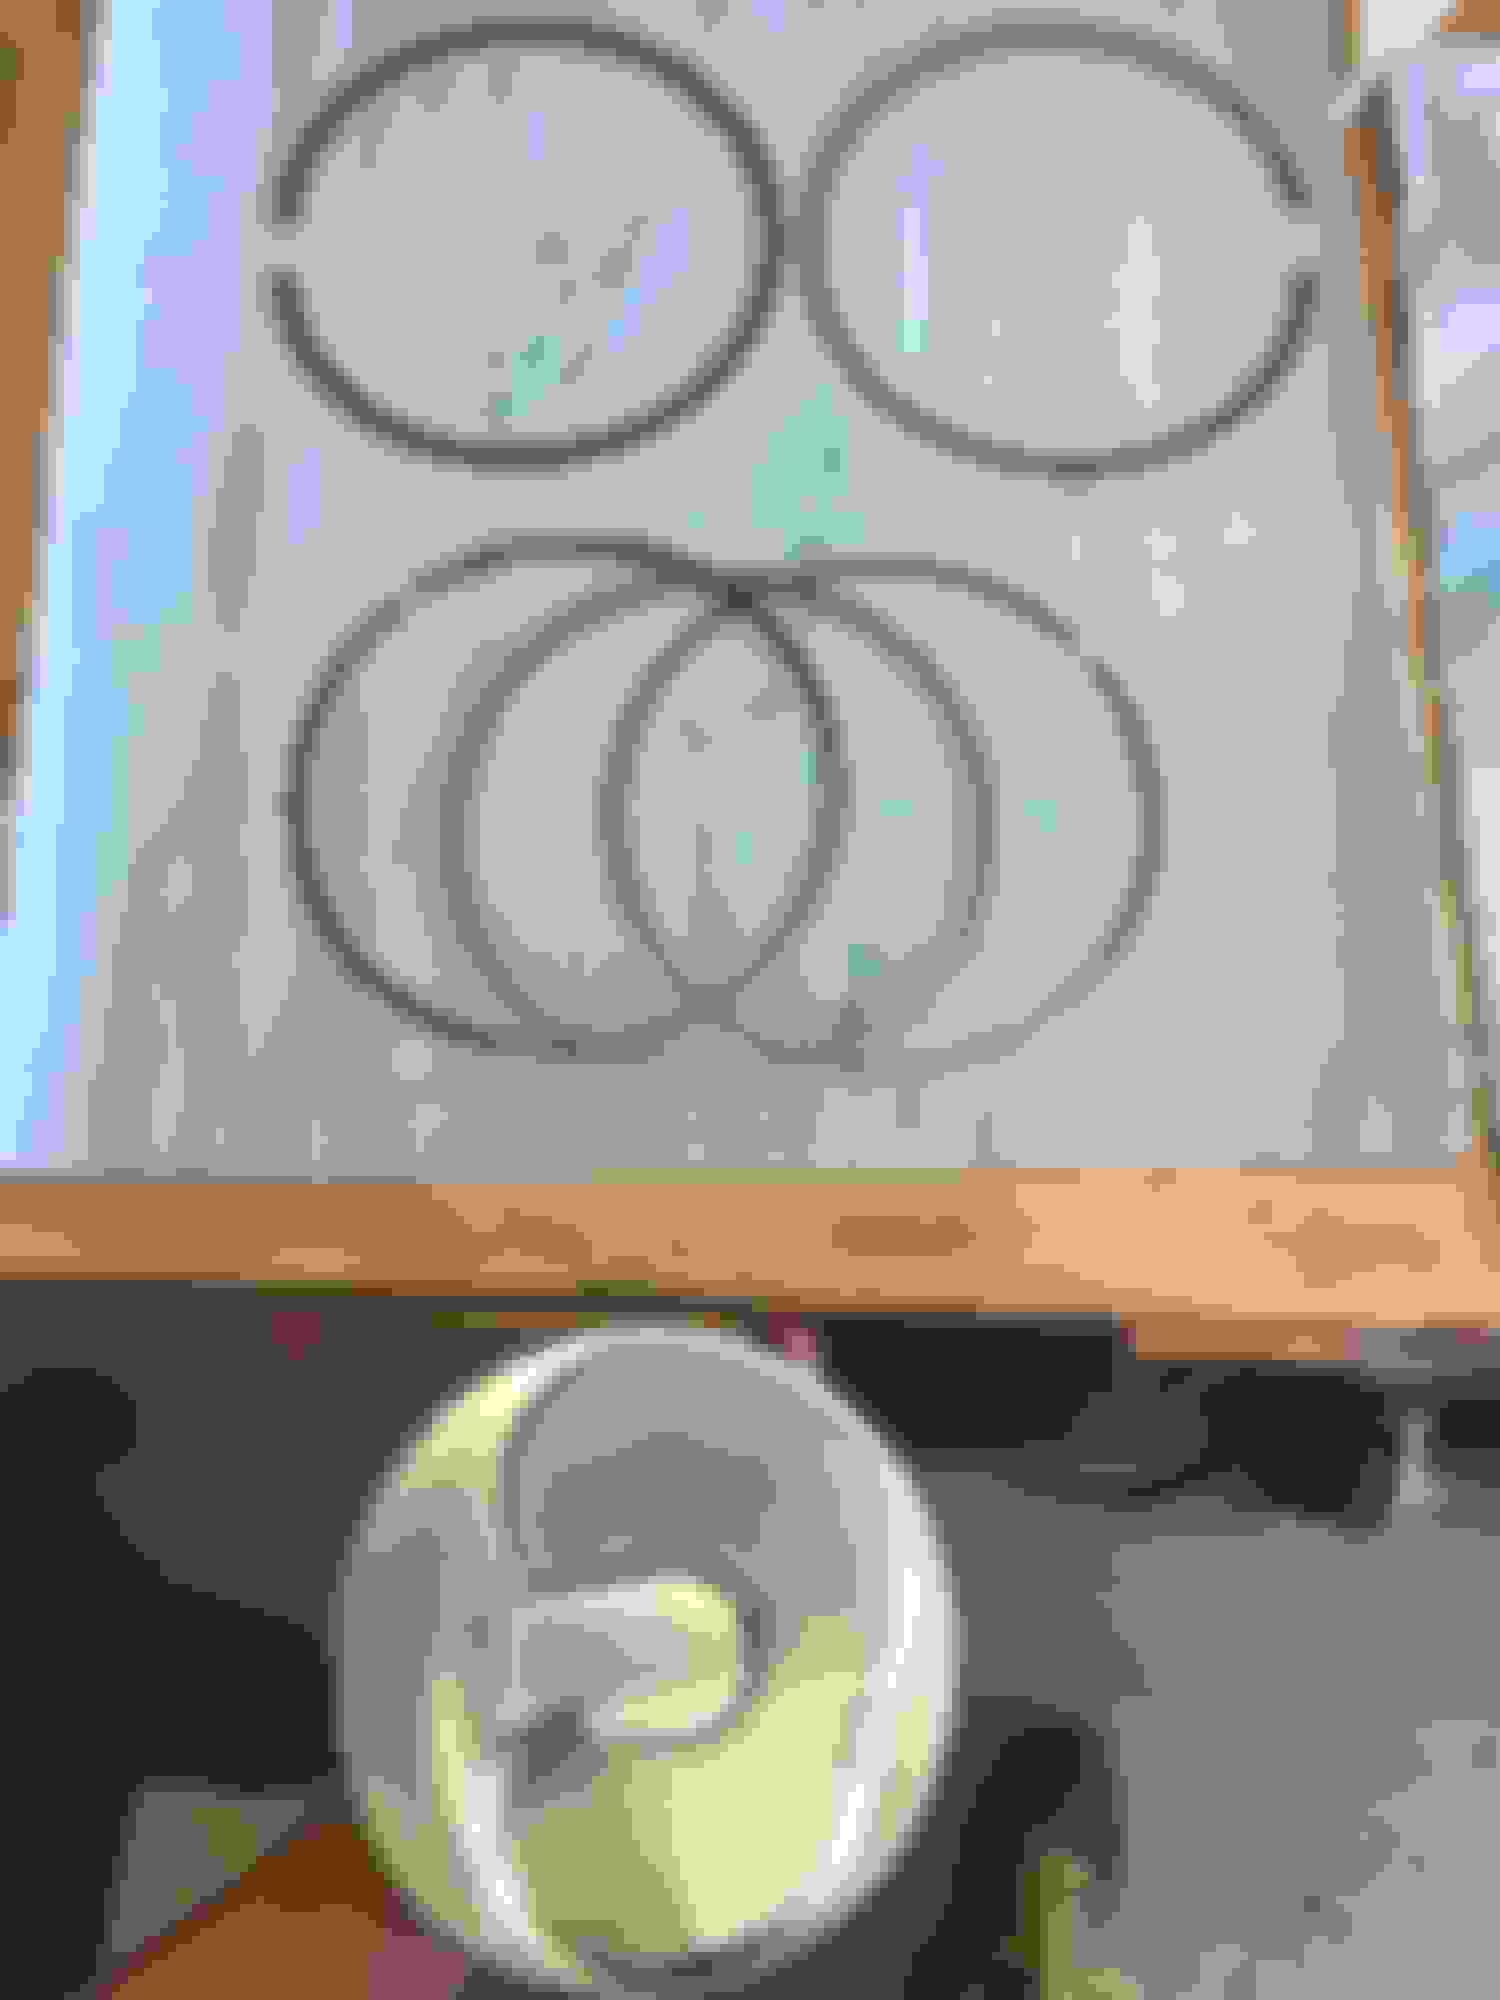
So how do you install the rings onto the pistons? Can’t you just get them on there and be good to go?! NOPE! In order to get proper seal, you must “clock” the piston rings the proper way. To do this, I have included a diagram below, which outlines how I clock the rings on the piston.
For a real world example, I have shown below a picture of my rings laid out so you can see them, as well as the direction the piston would be facing as the rings are clocked and ready to be installed as they are laid out on the table.
It is important to note that you cannot “roll the rings” onto the piston. You MUST use a ring expander to install them! Failure to do so could result in chipping or flaking off the Moly coating on the rings!
That wraps up this How To. There are more to come such as Vengeance Racing piston installation, how to degree your cam, cam phaser limiter install, etc!
Good point on the ring expander, though I confess I still spiral rings on sometimes :-(
Had a fellow bring in a motor that he'd built, which was smoking terribly and not running worth crap. Quick check revealed a seriously fouled plug or two.
Teardown revealed that piston 6 was missing the oil ring and piston 7 was missing ALL of it's rings.
When asked, he went out to the car to get them - the "spares", he thought they were! So, two lessons:
1) They don't give you spares in a ring set
2) Don't drink as you assemble an engine!
Well crap! I had a few extra rings after doing this guide too!! LOL
Needing some advice, I got the two top rings filled down on my set up but the oil expander and both retainers dont seem right. When I install the upper and lower retainer in the block and square them I literally have zero clearance. Is that normal, I know my OEM ones have a few thousands between them if I square them in a cylinder alone. Any advice? Thanks
Needing some advice, I got the two top rings filled down on my set up but the oil expander and both retainers dont seem right. When I install the upper and lower retainer in the block and square them I literally have zero clearance. Is that normal, I know my OEM ones have a few thousands between them if I square them in a cylinder alone. Any advice? Thanks
that doesn�t sound right. The oil retainer rings should be like 0.040-0.050 or so I believe.
that doesn�t sound right. The oil retainer rings should be like 0.040-0.050 or so I believe.
Yeah I reached out to the vendor for additional support. I'll be able to file the the upper and lower retainers. The the oil expansion ring is what worries me.
Yeah I reached out to the vendor for additional support. I'll be able to file the the upper and lower retainers. The the oil expansion ring is what worries me.
Thank you!
Exactly what I would do is get specs from the vendor. Each set of rings have different properties and also as ANT says also depends on goals of the motor. But for sure heat expands those rings you absolutely want some clearance.

 05-28-2017, 01:18 AM