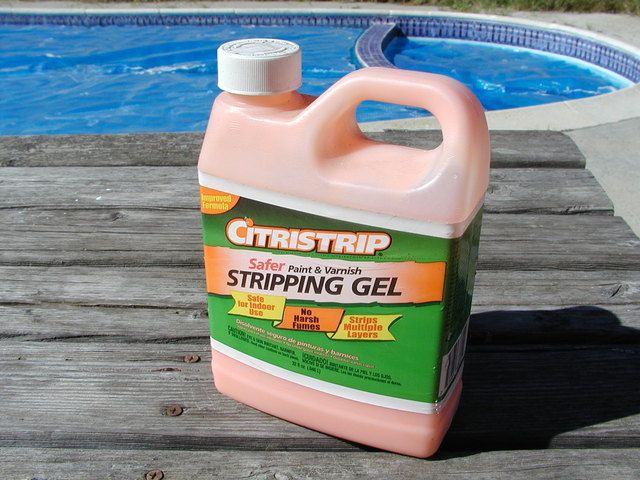
CITRISTRIP Stripping Gel
 02-12-2016, 02:18 PM
#1
Melting Slicks

Thread Starter
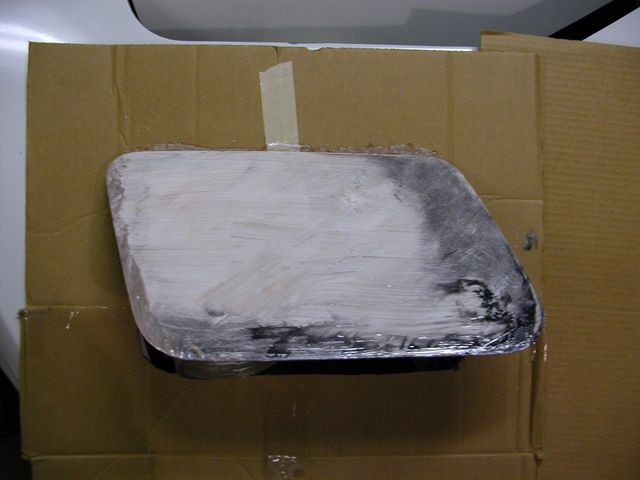
My experience using it, with the original Headlight Bezel.
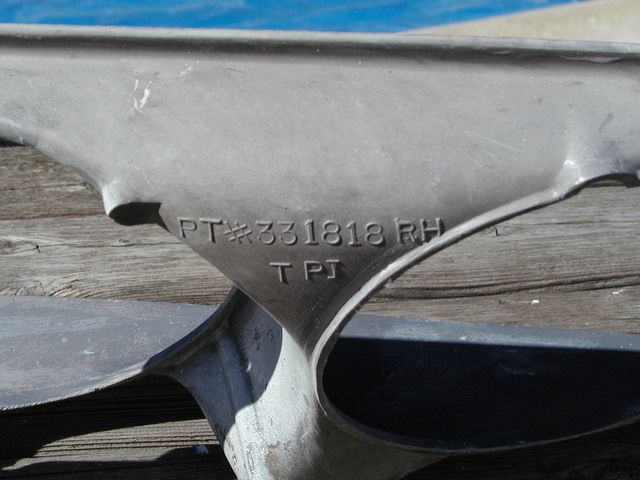
Now the part had been repainted once before. With what, I don't know, as it was a project in work when purchased. The stripper left the surface smooth, with no crazing or damage. No fumes either.
Pretty amazing stuff.
Steve


Now the part had been repainted once before. With what, I don't know, as it was a project in work when purchased. The stripper left the surface smooth, with no crazing or damage. No fumes either.
Pretty amazing stuff.
Steve

The following users liked this post:
DUB (02-12-2016)
02-12-2016, 05:43 PM
#2
Race Director


LOOKS GOOD.
Did you rinse it only with water???
The part still appears to have the factory applied dark gray primer/sealer. Which is a good thing...
DUB
Did you rinse it only with water???
The part still appears to have the factory applied dark gray primer/sealer. Which is a good thing...
DUB
The following users liked this post:
Cavu2u (02-12-2016)
02-12-2016, 06:18 PM
#3
Melting Slicks
Thread Starter
This evolution all started because of a loose Headlight Bulb Retainer Ring (RH Hi Beam) as I was driving to "work" before dawn this morning (flickering road signs ahead). Just one of the three tabs lost it's spot weld, and that was enough to make that bulb dance in it's cup.
This unexpected Headlight problem was the motivation I needed to get this long-overdue paint job started. The Headlight door will be next, then the LH assembly will follow. And on. And on.
Steve
02-12-2016, 06:56 PM
#4
Race Director
Thanks. And yes, I actually wiped it all down with a clean rag, did the touch-up sanding, then sprayed it down with a garden hose, all within a half hour.
This evolution all started because of a loose Headlight Bulb Retainer Ring (RH Hi Beam) as I was driving to "work" before dawn this morning (flickering road signs ahead). Just one of the three tabs lost it's spot weld, and that was enough to make that bulb dance in it's cup.
This unexpected Headlight problem was the motivation I needed to get this long-overdue paint job started. The Headlight door will be next, then the LH assembly will follow. And on. And on.
Steve

Steve,
I personally prefer to wipe the part down with automotive grade lacquer thinner and dry it off myself. But I use another type of stripper and that is how I have been doing it for decades and why change my procedure when it is working and not causing for a problem.
Not knowing where you are doing this or your attack plan and the time you expect it to take. Just keep in mind that if your are cramped for space or the conditions where you work on it are not the best suited for doing body work. When you start to strip it and get it exposed...hopefully you keep THIS in mind and make sure that you protect the bare body while it is being worked on.
DUB
02-13-2016, 03:18 PM
#5
Melting Slicks
Thread Starter
I'm in San Diego DUB. Supposed to hit 80+ today. Been like this for a week now and supposed to stay hot thru Wednesday. 
Got the other Headlight Bezel stripped & primed this morning, and now starting on the Headlight Lids.
Took another coat of stripper to faze this paint.
Better go remove it now.
Steve
Got the other Headlight Bezel stripped & primed this morning, and now starting on the Headlight Lids.

Took another coat of stripper to faze this paint.

Better go remove it now.
Steve
02-13-2016, 04:18 PM
#6
Melting Slicks
Thread Starter
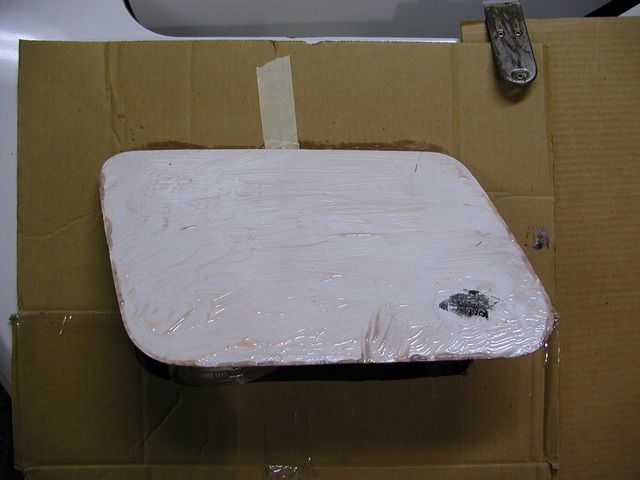
It appears that I am about to deal with some really thick paint from here on out. After two applications of stripper:
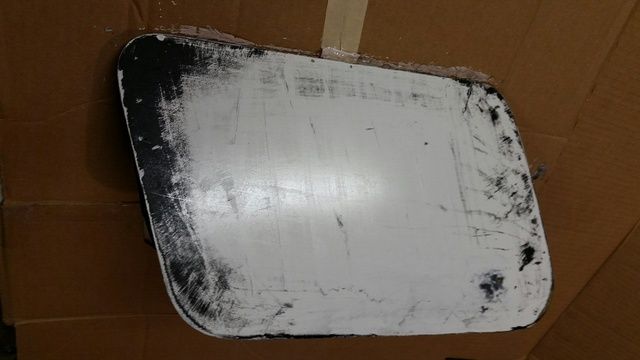
Looks like gator skin.
I'm really tempted to take a sander to it once it dries a little, starting with 150 Grit and work up.
Obvious it's been painted before, at least once. And not stripped prior to, either.
Gee. Hope I don't DIE before I'm finished with the car!
And, all of a sudden 8 Grand for a paint job doesn't sound all that unreasonable either.
Steve

Looks like gator skin.

I'm really tempted to take a sander to it once it dries a little, starting with 150 Grit and work up.
Obvious it's been painted before, at least once. And not stripped prior to, either.
Gee. Hope I don't DIE before I'm finished with the car!
And, all of a sudden 8 Grand for a paint job doesn't sound all that unreasonable either.
Steve
Last edited by Cavu2u; 02-13-2016 at 04:27 PM.
02-13-2016, 05:13 PM
#7
Race Director
Depending on what method you use to sand the top of your headlight door...just be aware that it is an aluminum part and you can easily sand divots in the surface. When I sand these...I generally long board them and block them flat.
DUB
DUB
02-15-2016, 07:04 PM
#9
Melting Slicks
Thread Starter

Finished off with a top coat of a Sherwin-Williams product called Jet-Glo. It's an outstanding, hard, mirror finish. Overkill for these.
This all started with Citristrip, and it worked for me on this car's paint.
Steve
02-16-2016, 06:06 PM
#10
Race Director
Headlight bezels look good...but I am curious if when you paint the car and try to get a nib or speck of trash out of the paint if it will allow you to do so. I have used some paints that COULD NOT be sanded and buffed successfully. They just got TOO HARD.
DUB
DUB
02-16-2016, 10:14 PM
#11
Melting Slicks
Thread Starter
Steve
02-17-2016, 05:28 PM
#12
Race Director
I don't know if it could DUB. The paint pro at the airport has a very elaborate and through way of cleaning the paint hanger's area before shooting a plane, and his results have always been flawless. Never seen him have to touch up a job. The paint lays down extremely well. It should, at $400+ a gallon. I've learned alot from Hugo, and hope to be as good as him someday. Wouldn't bet on that one though.
Steve
Steve
If you have someone who knows what they are doing with this paint....that is GOOD.Hope all goes well.
DUB
The following users liked this post:
Cavu2u (02-17-2016)
02-22-2016, 10:32 AM
#14
Melting Slicks
Thread Starter
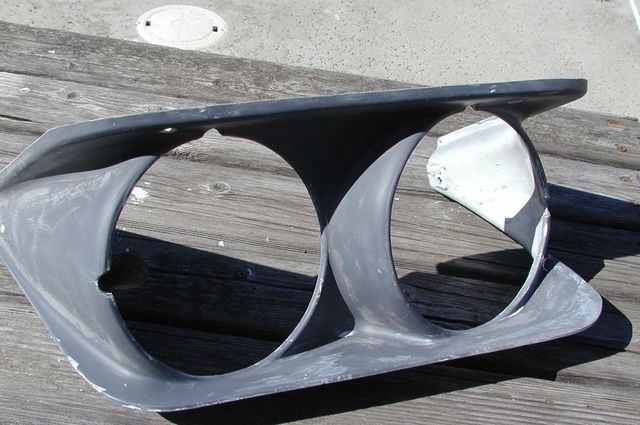
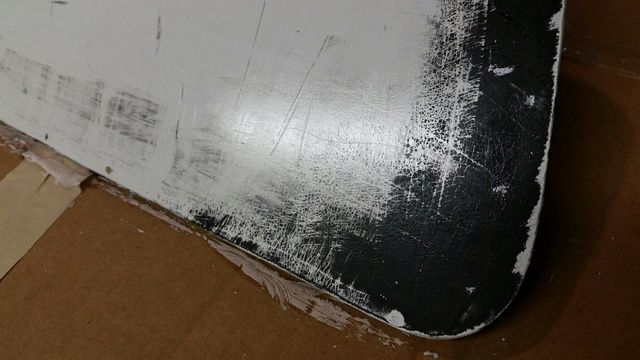
Off subject a bit, but was wondering about T-Top corner repair with bare fiberglass.
Which product works best for corner nick repair. I don't have much faith in Bondo if applied to nicks like this:
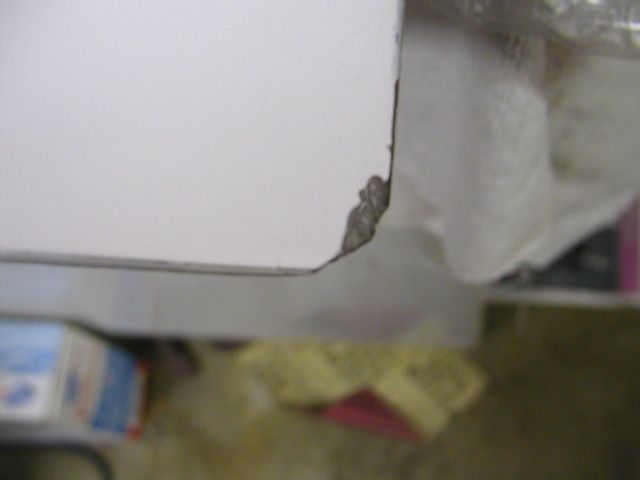
Something hard and durable is out there on the market, but what?
Thanks in advance.
Steve
Which product works best for corner nick repair. I don't have much faith in Bondo if applied to nicks like this:


Something hard and durable is out there on the market, but what?
Thanks in advance.
Steve
02-22-2016, 05:38 PM
#15
Race Director
What year is the car again???
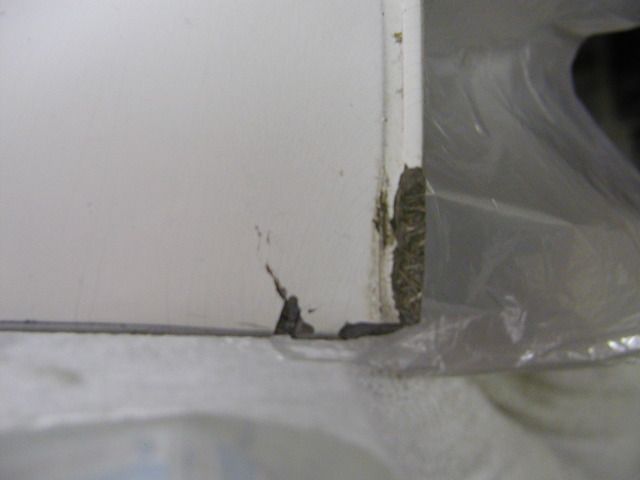
In the top photo....is that missing piece of fiberglass actually what would be under the trim that is on the outer front edge of the T-top???? So this means that the top photo is the front corner of the LEFT t-top.
Depending on the year of the car and the material that was used to make the T-tops. You can use WEST SYSTEMS epoxy resin and mat on the repair for the LOWER PHOTO. OR...due to trying to build it out with Vette Panel Adhesive could be done but you would have to add some fibers in with it due to the amount of missing corner. I could repair BOTH area with the Vette Panel Adhesive but it takes different procedures when using the VPA due to both repairs are different.
DUB
02-22-2016, 06:58 PM
#16
Melting Slicks
Thread Starter
What year is the car again???
1973
In the top photo....is that missing piece of fiberglass actually what would be under the trim that is on the outer front edge of the T-top???? So this means that the top photo is the front corner of the LEFT t-top.
Both photos are of the Driver's T-Top. Top picture is of the Front Inner corner (Trim Strip covers it), and the lower picture is of the Inner Rear corner.
Depending on the year of the car and the material that was used to make the T-tops. You can use WEST SYSTEMS epoxy resin and mat on the repair for the LOWER PHOTO. OR...due to trying to build it out with Vette Panel Adhesive could be done but you would have to add some fibers in with it due to the amount of missing corner. I could repair BOTH area with the Vette Panel Adhesive but it takes different procedures when using the VPA due to both repairs are different.
DUB
Steve
03-12-2016, 11:16 AM
#17
Melting Slicks
Thread Starter
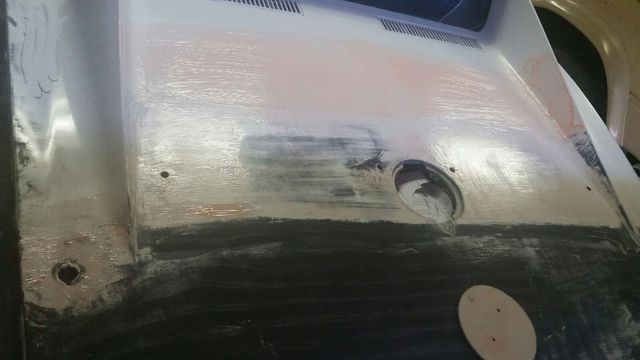
Currently using it on the rear deck.
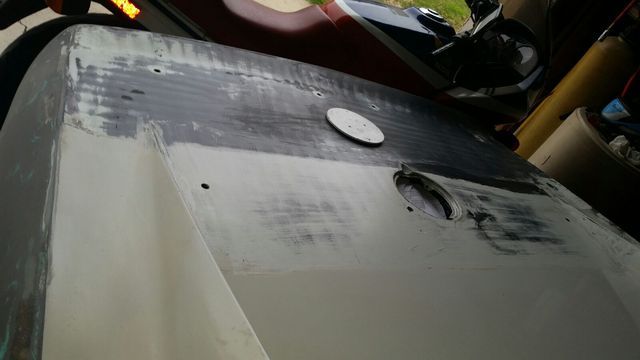
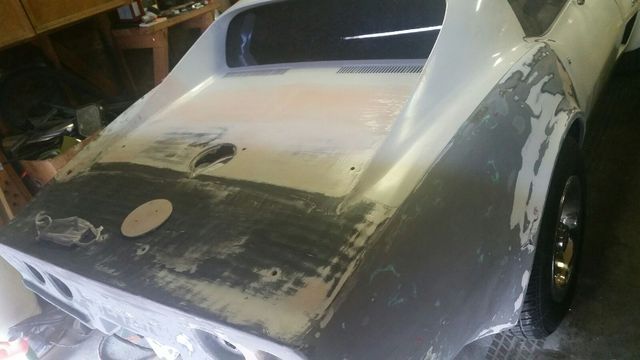
This body has been repainted, on top of the factory topcoat. I'm finding out that it takes 2 applications of Citristrip: one to remove the local paint job, and the other to remove the factory one. Going is sections seems to work best.
Steve


This body has been repainted, on top of the factory topcoat. I'm finding out that it takes 2 applications of Citristrip: one to remove the local paint job, and the other to remove the factory one. Going is sections seems to work best.

Steve
03-13-2016, 05:52 PM
#18
Race Director
It is WISE to use masking tape over any holes...such as antenna and luggage rack holes. The last thing you want is to allow the stripper to get into the fiberglass through the edge of the fiberglass...or get up under it...where you can not get to it easily to remove.
Other than that...LOOKING GOOD...keep up the good work.
DUB
Other than that...LOOKING GOOD...keep up the good work.
DUB
 08-24-2021, 05:55 PM
#20


Steve,
I personally prefer to wipe the part down with automotive grade lacquer thinner and dry it off myself. But I use another type of stripper and that is how I have been doing it for decades and why change my procedure when it is working and not causing for a problem.
Not knowing where you are doing this or your attack plan and the time you expect it to take. Just keep in mind that if your are cramped for space or the conditions where you work on it are not the best suited for doing body work. When you start to strip it and get it exposed...hopefully you keep THIS in mind and make sure that you protect the bare body while it is being worked on.
DUB
Thank you!